Status: just a draft
Updates:
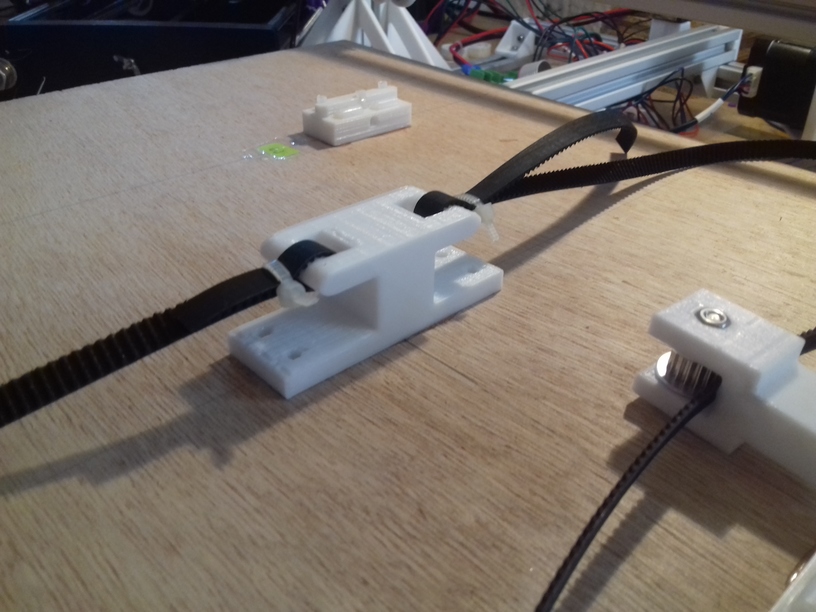
- 2020/12/23: added more details on Y bed, and size comparison, blog post published.
- 2020/12/17: X motor mount done, X belt pulley holder, XZ cantilever x-offset 10mm.
- 2020/12/12: just the basic idea, an early draft with a few options (extra foot, 3/4 wheels for Z carriage), 6 vs 7 vs 9 beams.
Introduction
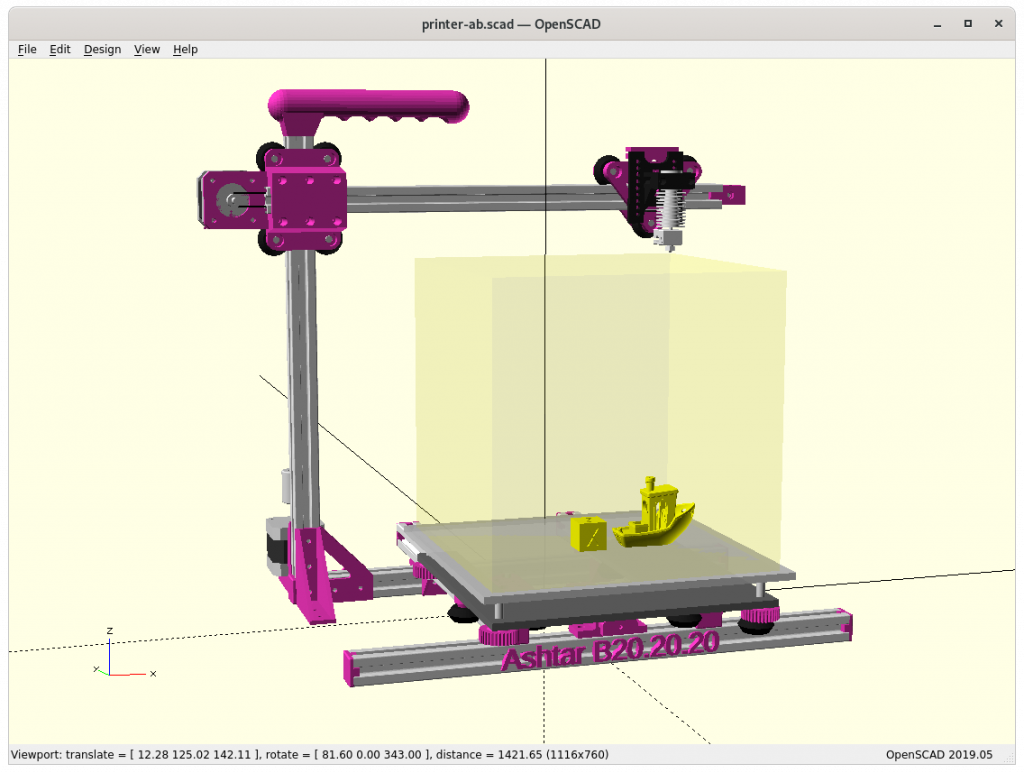
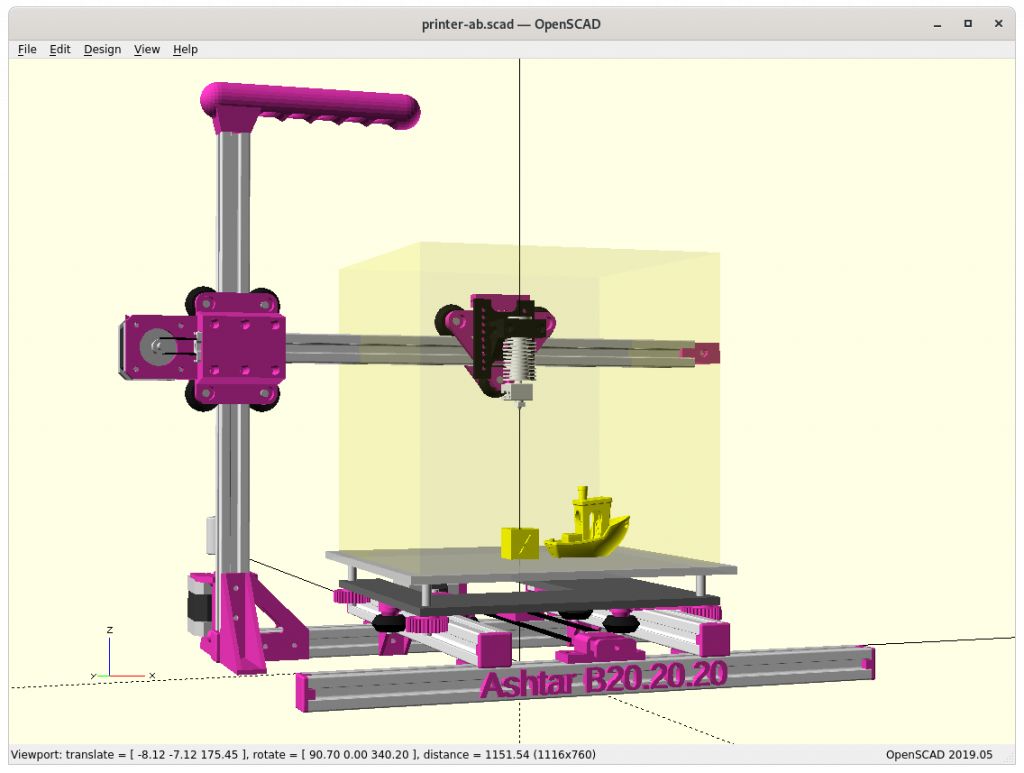
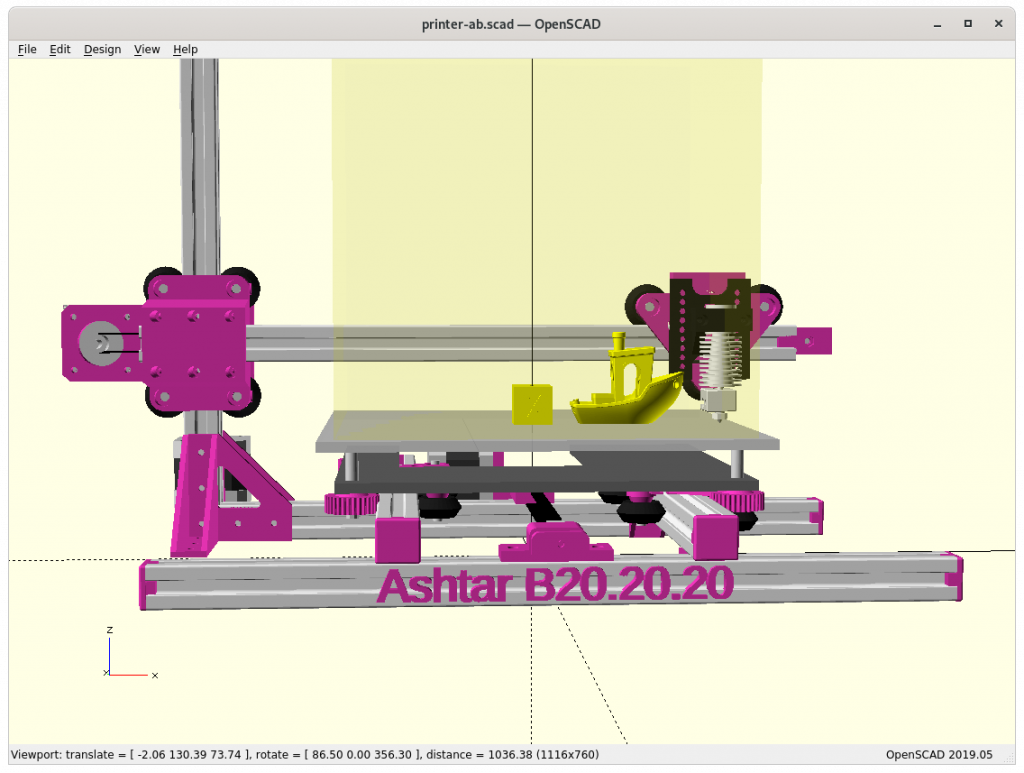
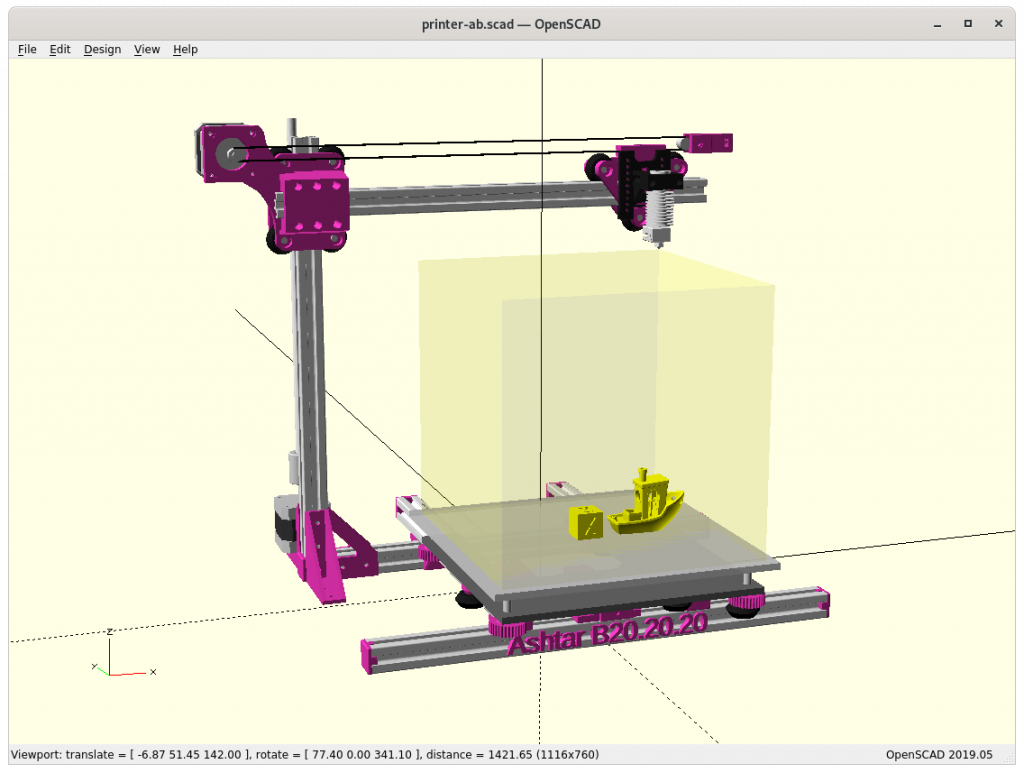
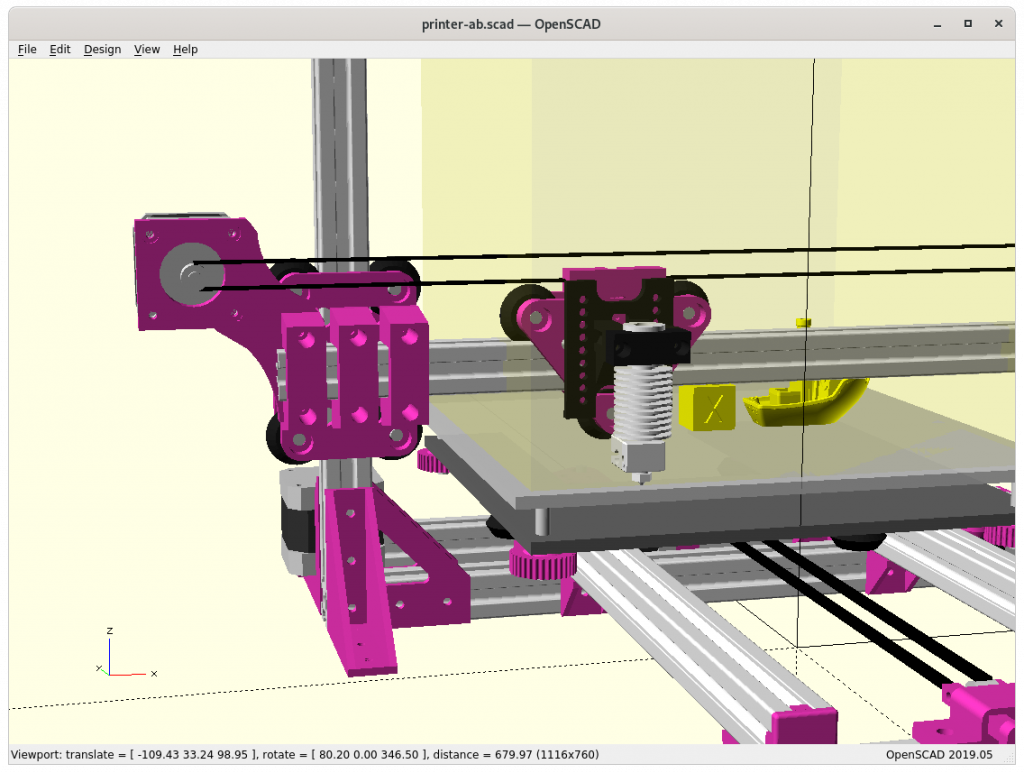
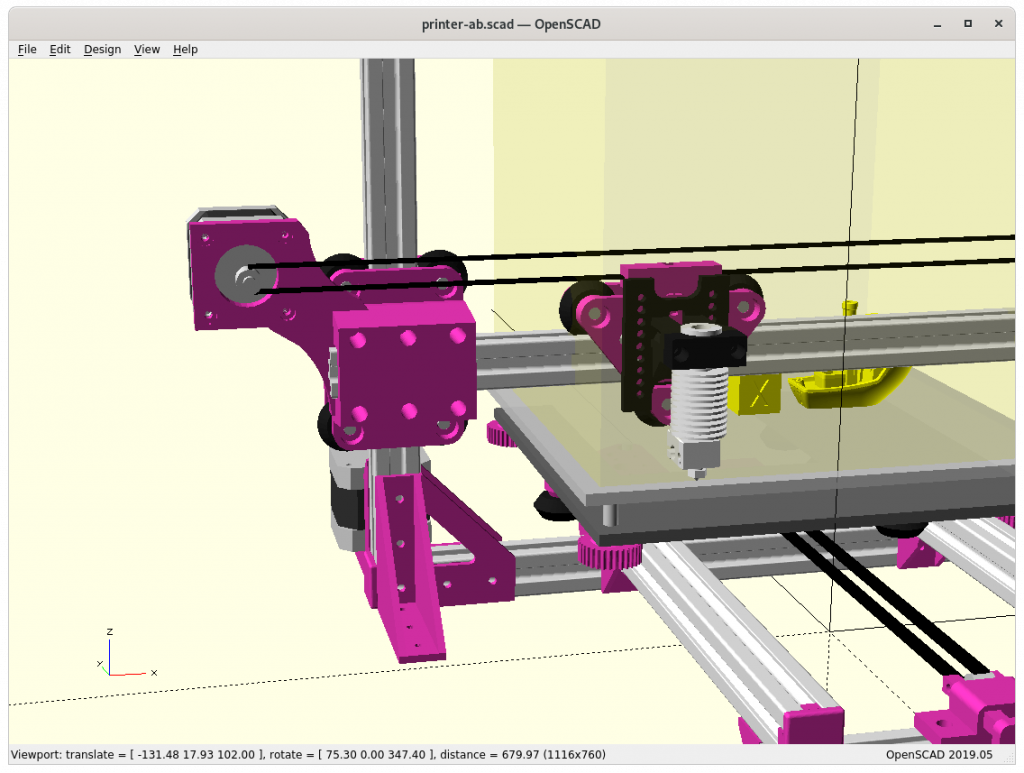
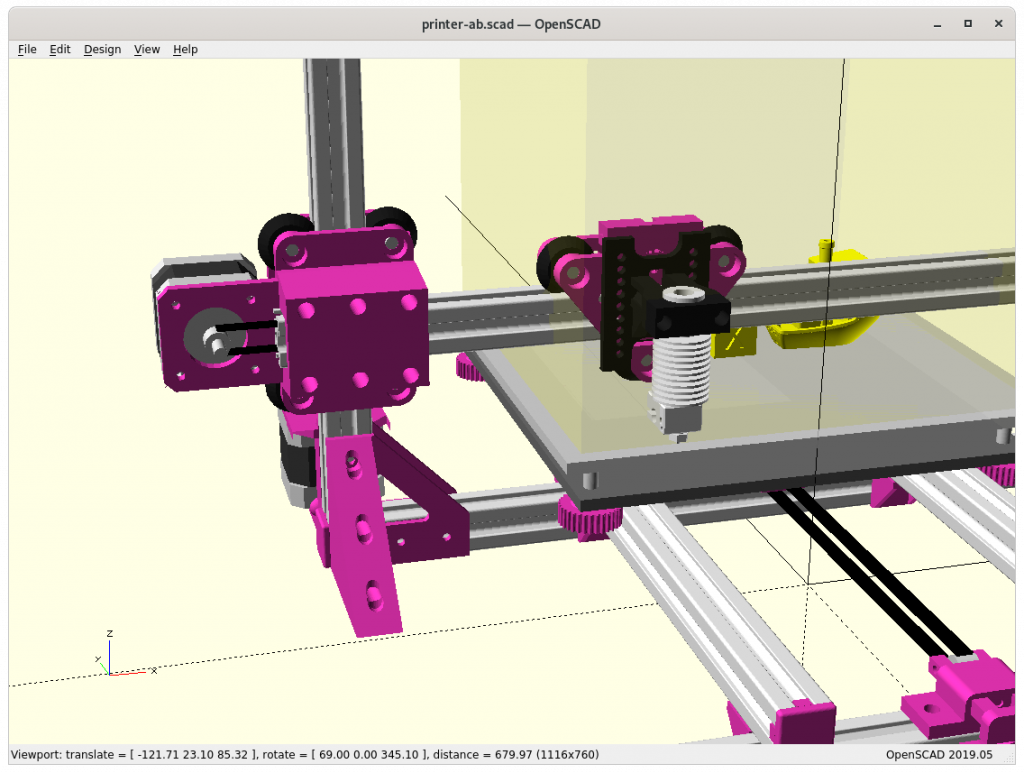
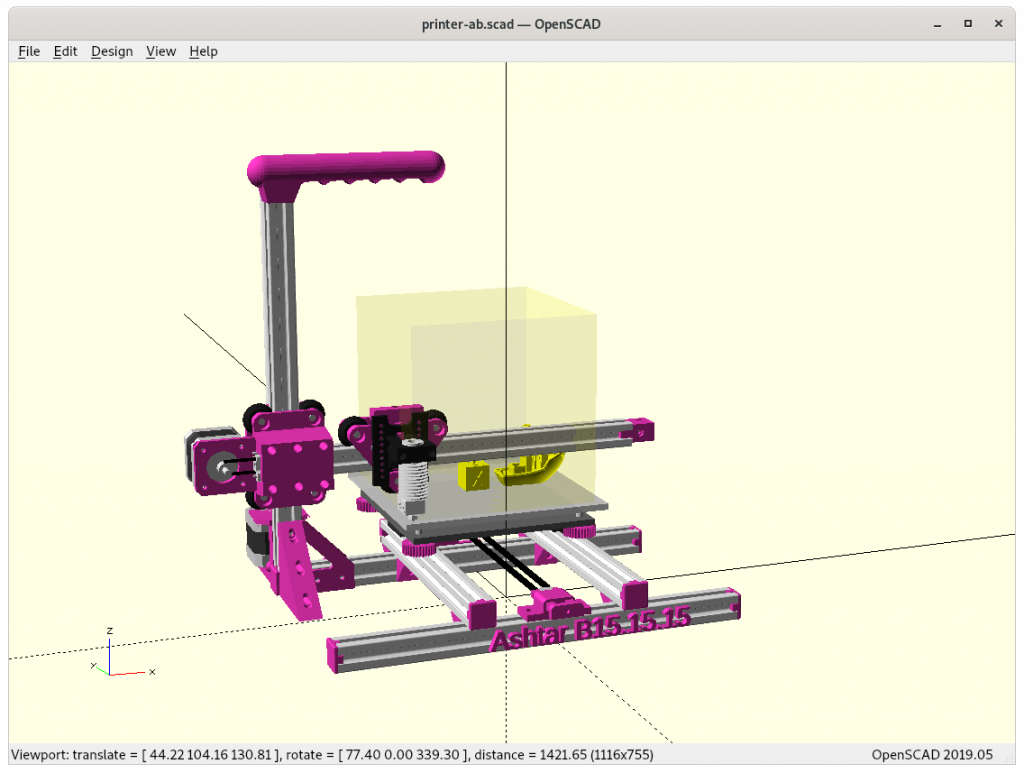
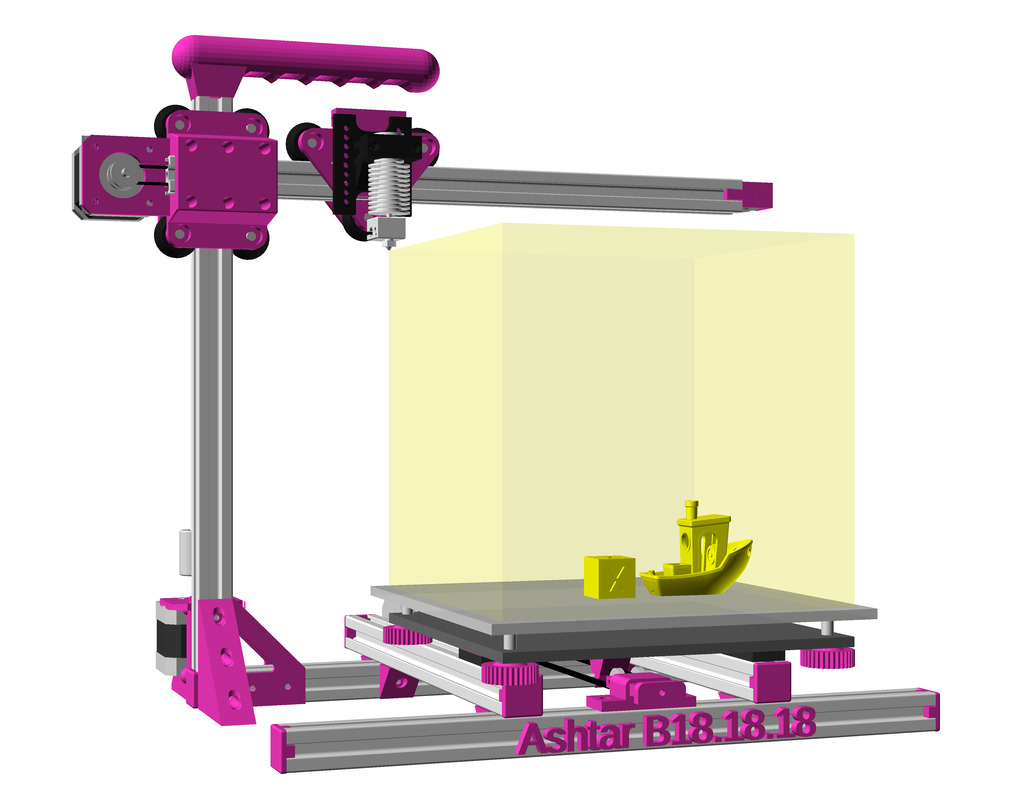
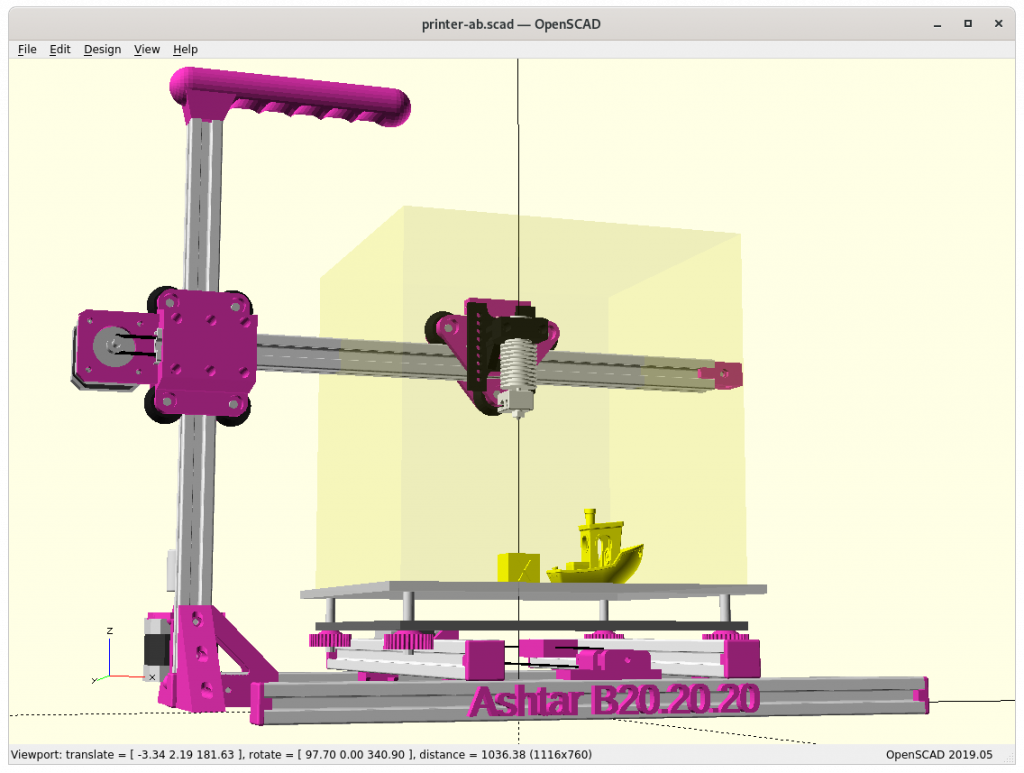
Ashtar K was the first design with 2020 T-slot alu extrusions, and I used 11 beams of 500mm length to make up the entire frame. In the back of my mind I thought also doing a Cantilever 3D printer with 2020 T- or V-slot, like the Prusa Mini or Printrbot Simple Metal, and as before I like to reuse the frame as rails directly and not use any smooth rods or alike, which means X beam as V-slot, and optionally Z beam as well as V-slot, Ashtar B:
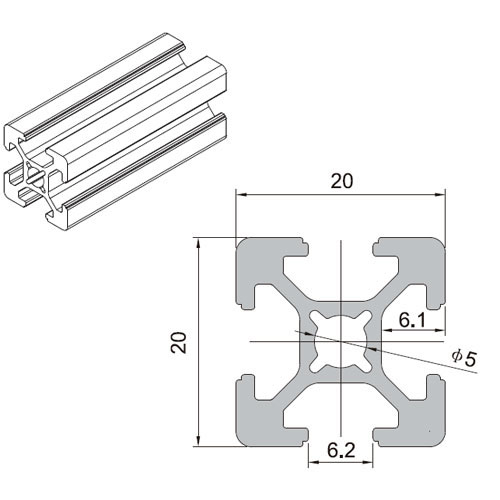
T-Slot 2020 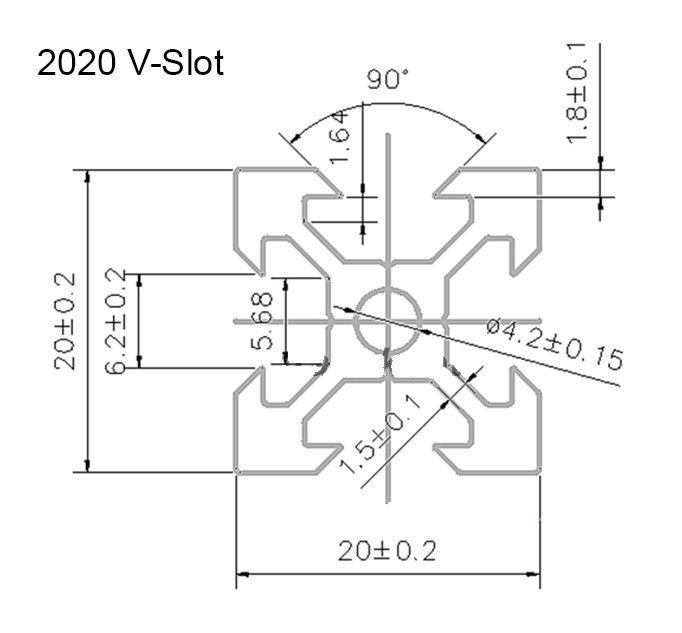
V-Slot 2020 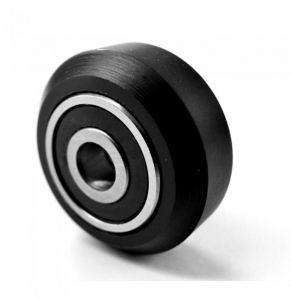
V wheel
Draft
A build-volume of 140mm to 190mm each axis is targeted in order to keep the X axis short – also, likely using a Bowden extruder setup where just a hotend resides on the X carriage.
Specifications
- Build Volume: ~180x180x180mm
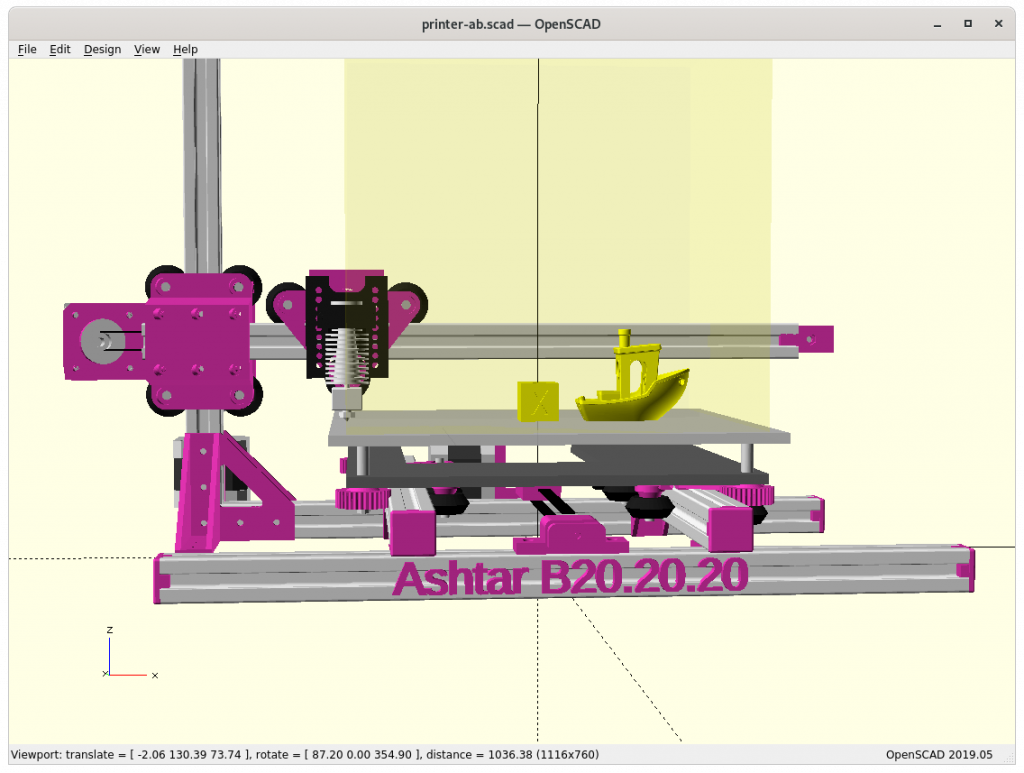
- Frame: 6x 340mm 2020 alu profiles
- 2x V-Slot (X and Z axis)
- 4x T-Slot (Y axis with simple sliders where T-Slot are sufficient)
Issues to Resolve
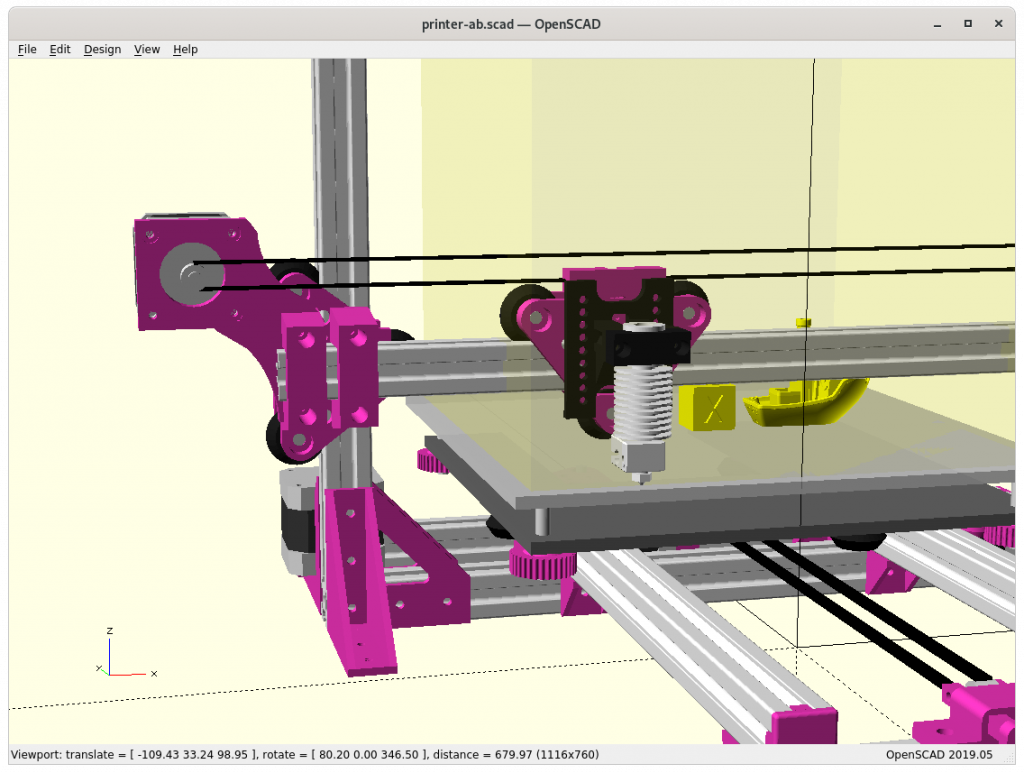
- X belt routing:
outside of 2020 extrusion orinside - X motor mount:
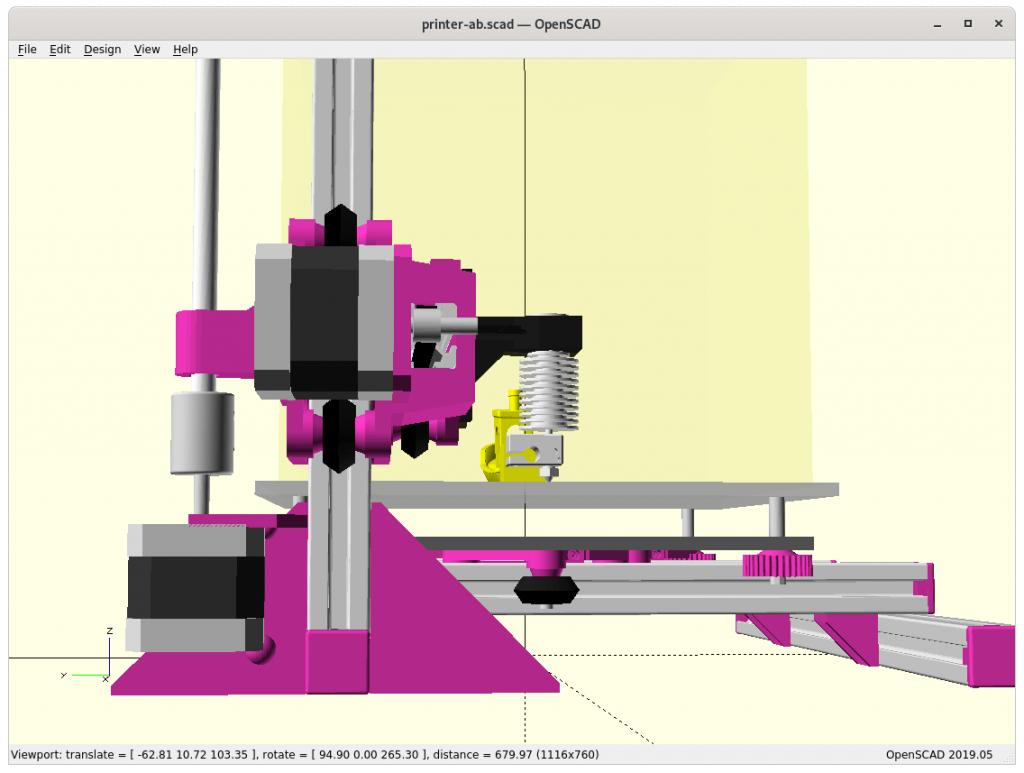
rather simple, perhaps combine with, donexcarriage_short_hmount_2020() - Y motor mount position: will determine overall build volume
- Y bed slider: perhaps like Ashtar K final version
- testing overall stability: 6, 7 or 9 beams
3 vs 4 wheels on Z carriage, 4 wheels (see below why)- positioning: extruder, controller, display, power supply, optional filament holder
- positions of X, Y and Z endswitches
- tune to a common build volume while having uni-length beams/extrusions
- 150mm, 200mm, 215mm for X & Y build axis length
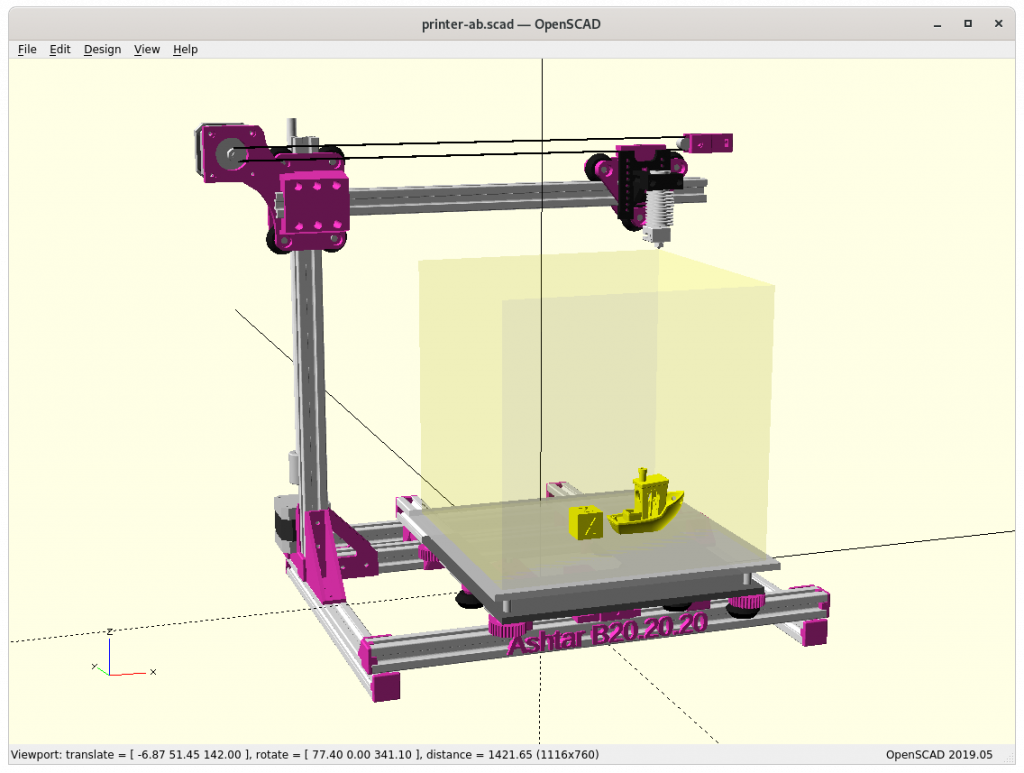
Frame: 6 vs 7 vs 9 beams
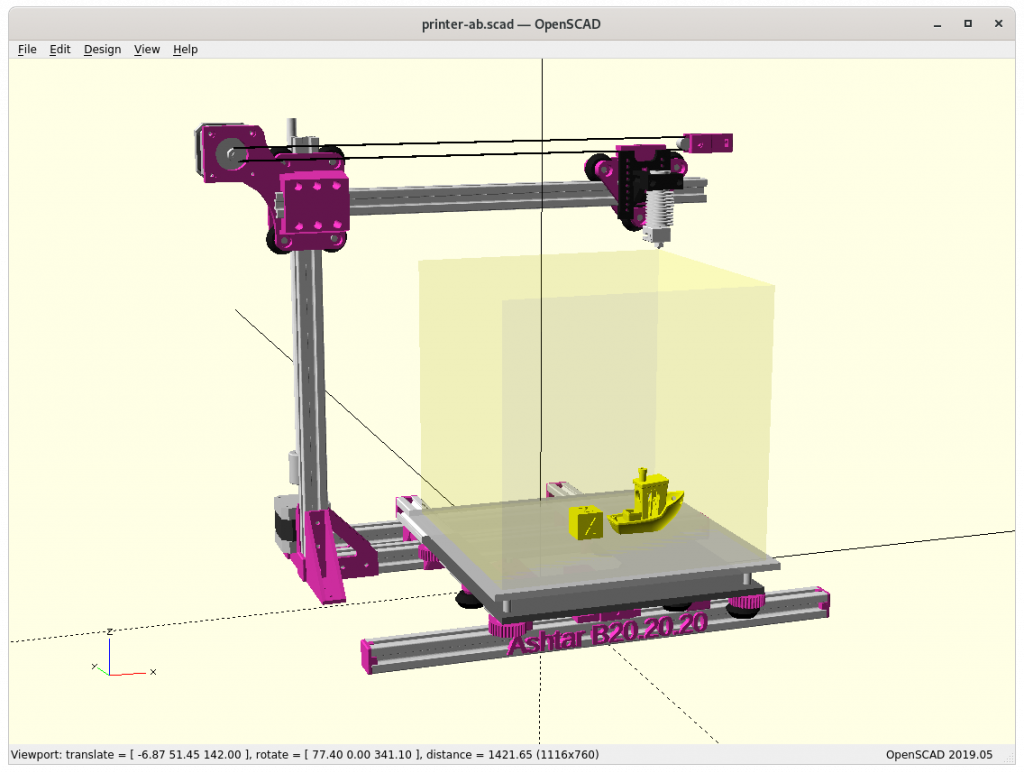
The 9 beams give an overall better sturdiness, but not sure how essential at small building volume (less than 220mm each axis). I might be able to remove beam, the last beam at the back at the bottom reducing to only 6 beams, in that case the Y motor is mounted on the remaining beam in the back.
Z Carriage: 3 vs 4 wheels module
The 4 wheels looks better also because it allows to add another 2020 horizontal mount or wider mount, some X range is sacrificed (10-20mm).
Different Sizes
The build volume from 150mm to 200mm for each axis, I like to have 200mm but not sure if the X axis can maintain linearity fully (e.g. half of a layer-height such as 0.1mm ⇒ 0.05mm linearity for head X = 0 .. max), I might to have to settle for 180mm or even 150mm. Actual tests and fine tuning of the Z axis (4 wheels V carriage) and X axis (3 wheels V carriage) will tell.
Comparison
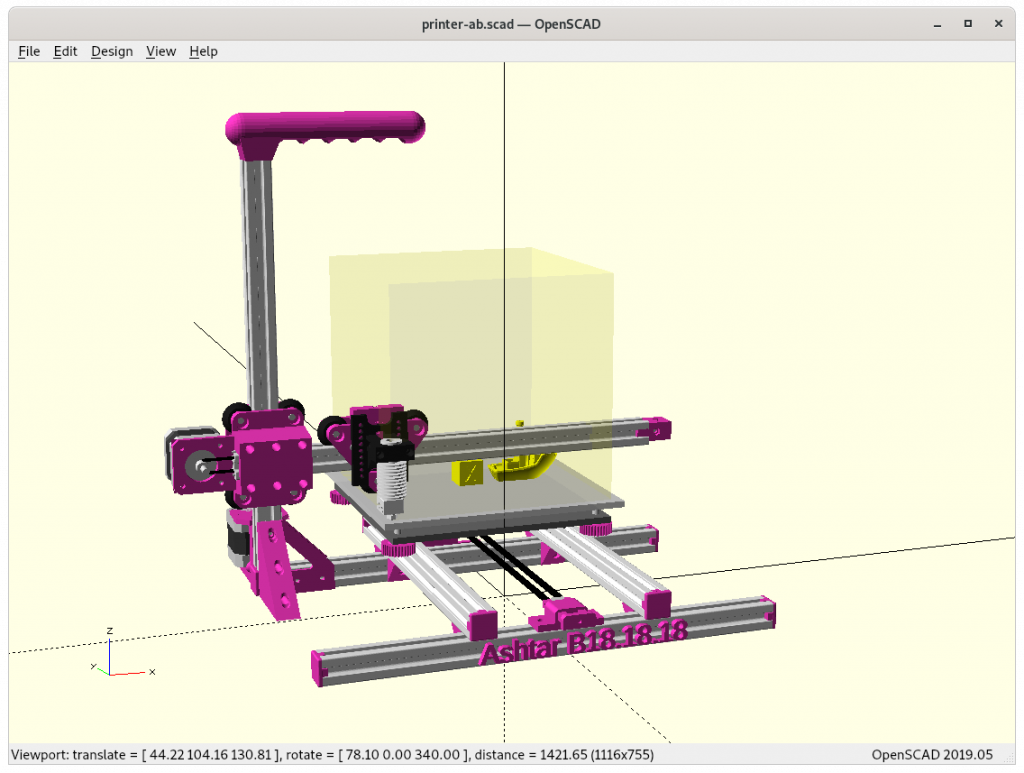
Build Axis: 150mm (83%)
Area: 225cm2 (69%)
Volume: 3.4Kcm3 (58%)
Build Axis: 180mm (100%)
Area: 324cm2 (100%)
Volume: 5.8Kcm3 (100%)
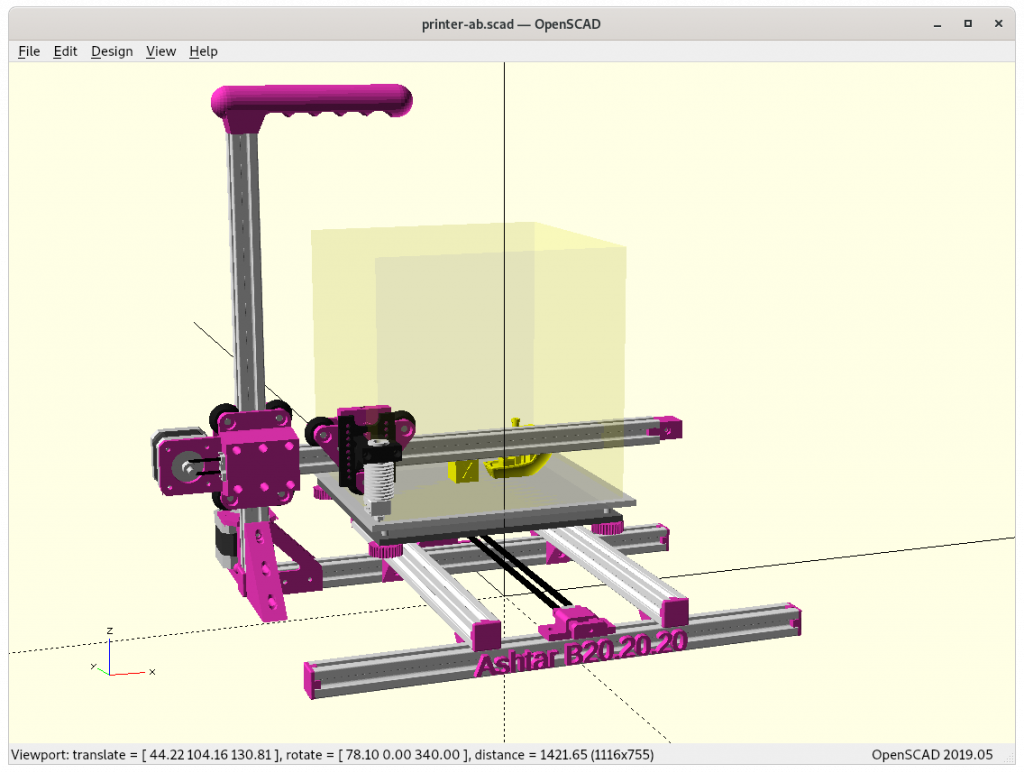
Build Axis: 200mm (111%)
Area: 400cm2 (123%)
Volume: 8Kcm3 (137%)
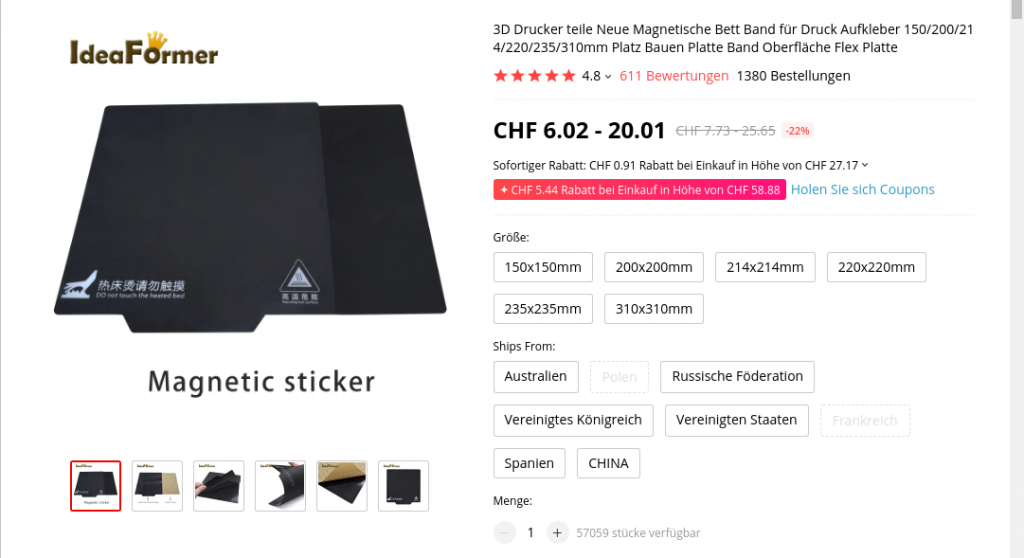
Common quadratic bed-sizes are 150mm, 200mm, 214mm, 220mm and 235mm e.g. for magnetic beds. A 200mm bed can be used but only 180mm be printed, as I have sufficient margin on the XZ cantilever side.
Y Bed
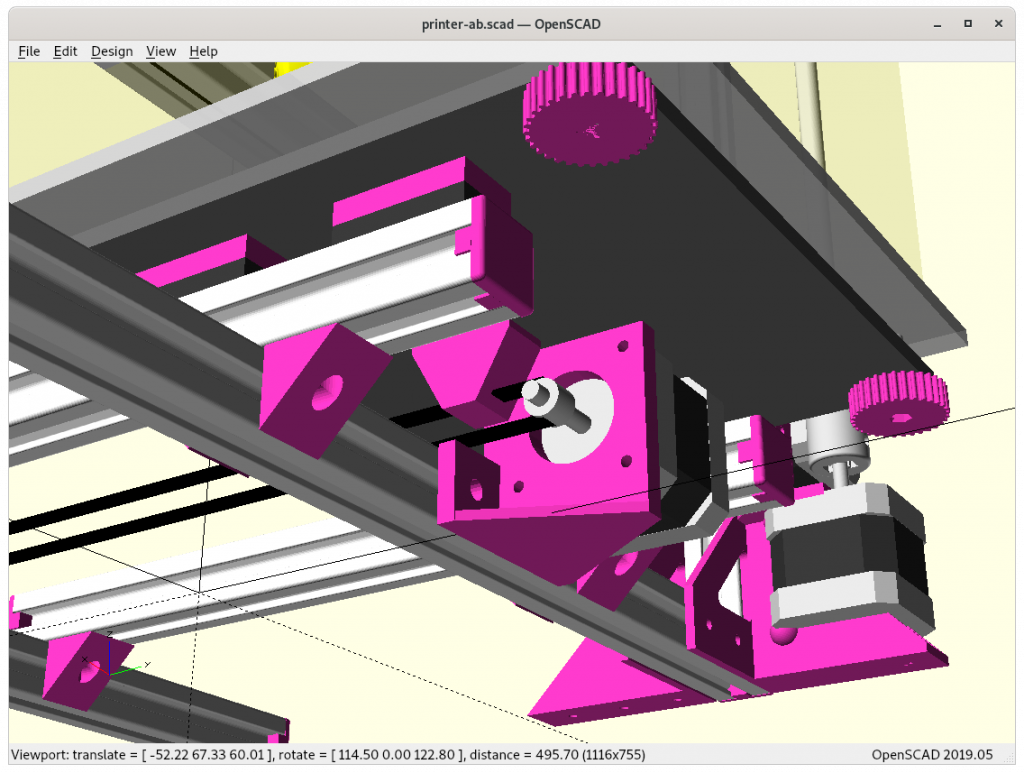
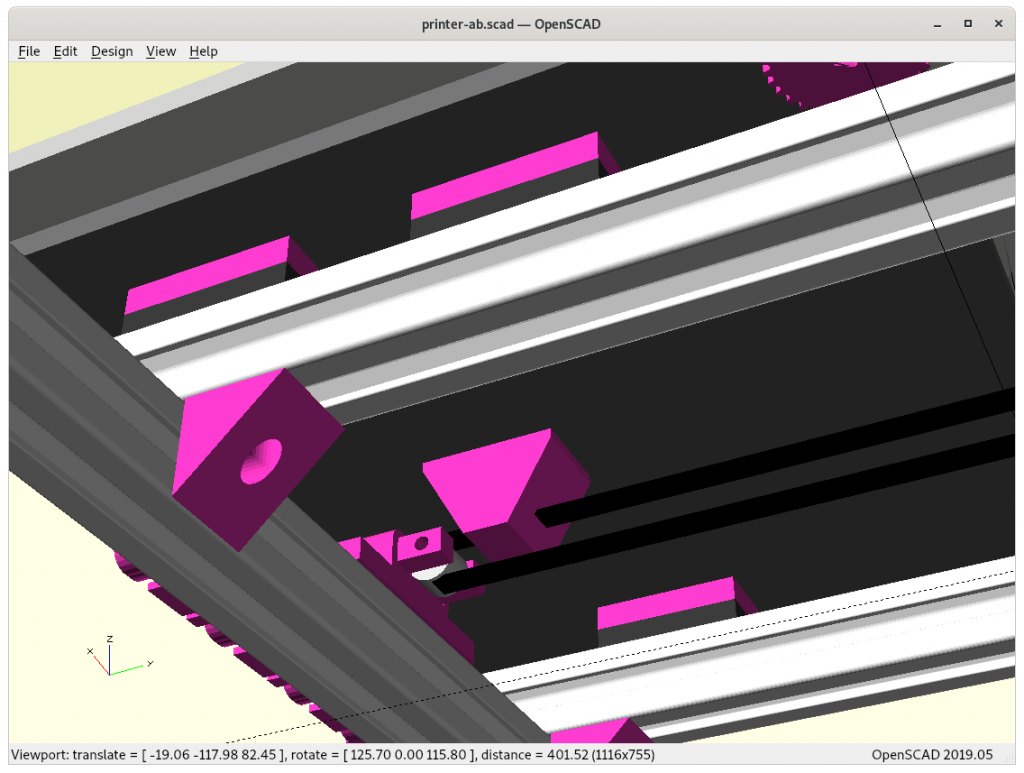
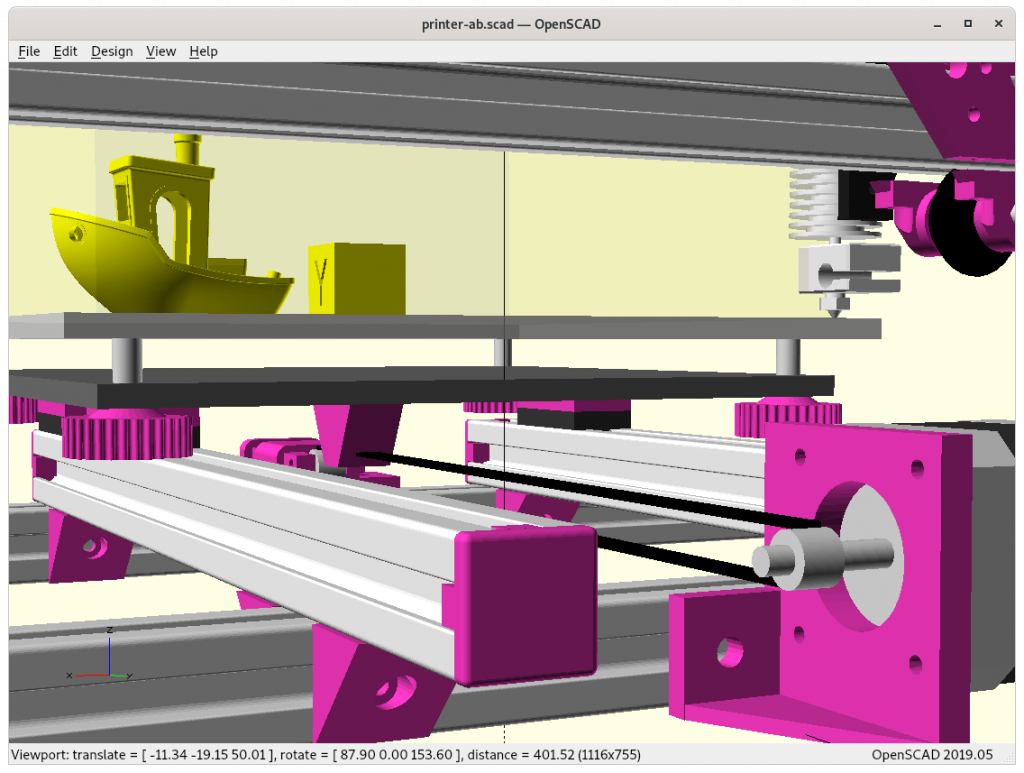
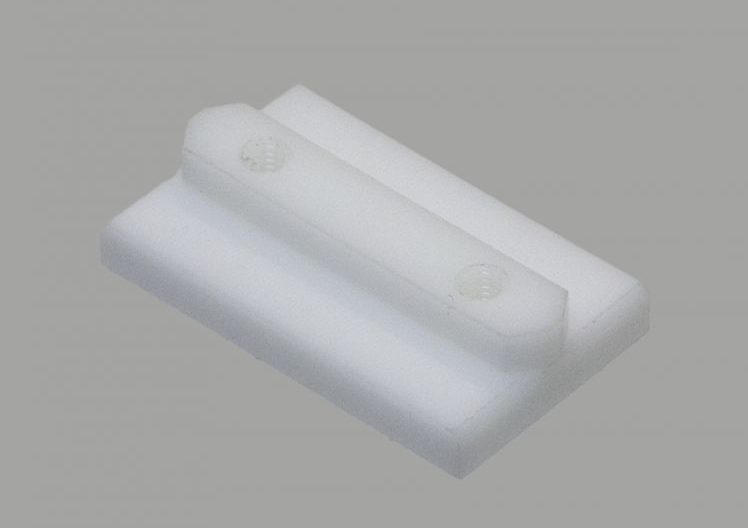
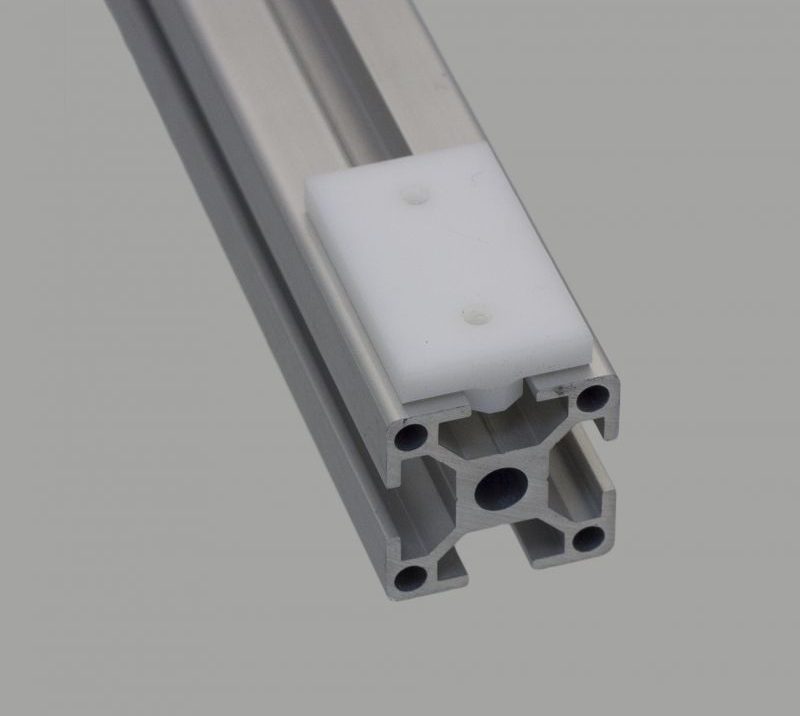
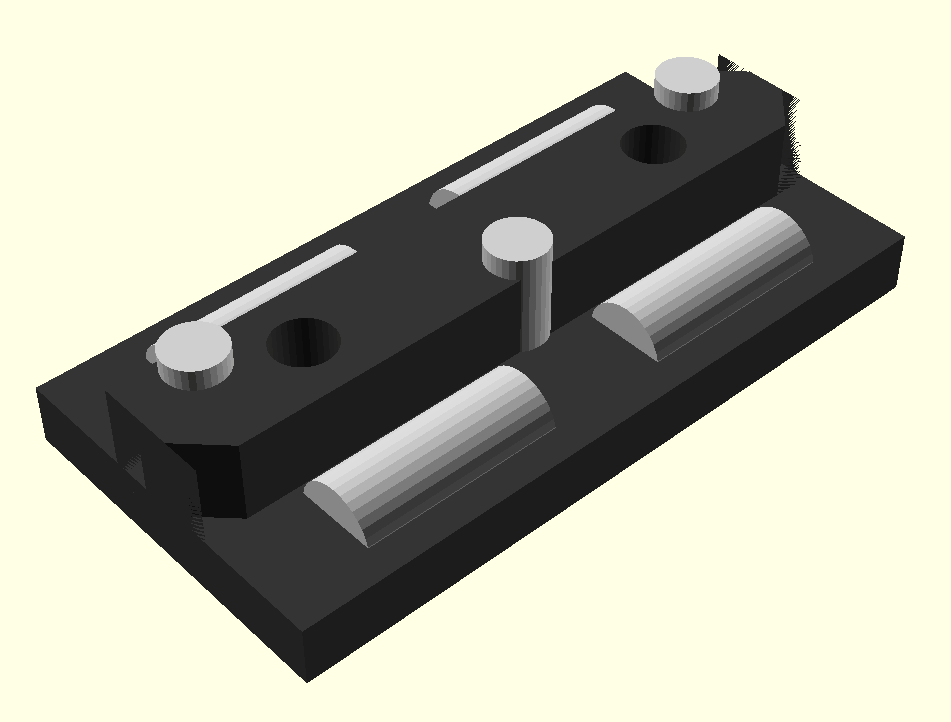
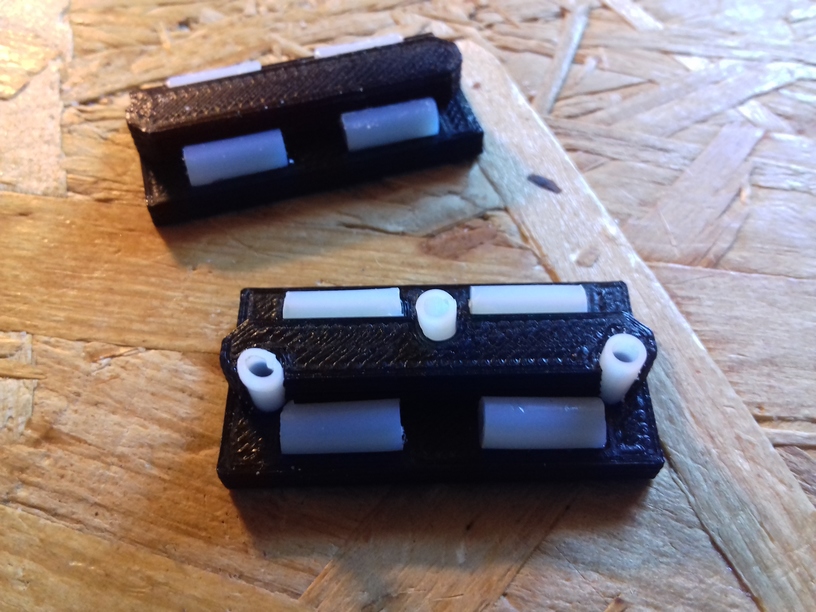
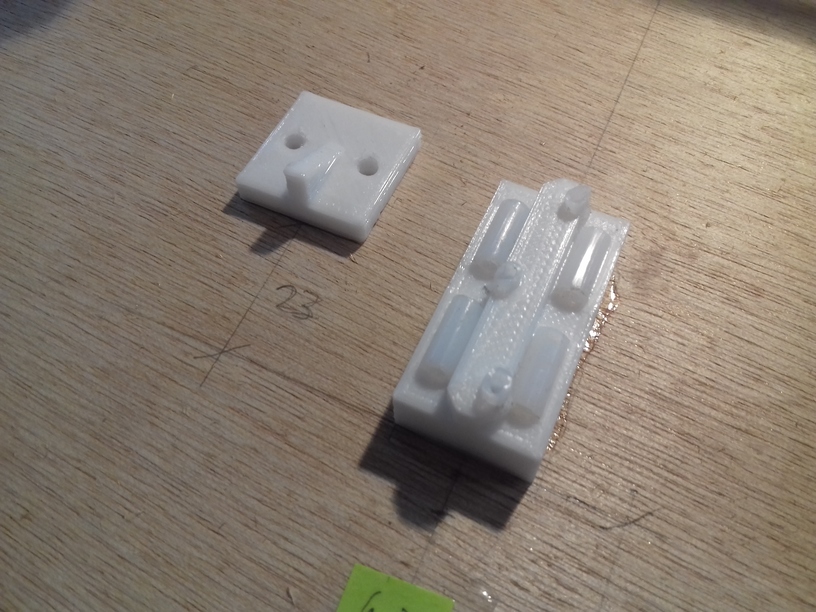
I gonna use the simple slider riding on T-slot (derived from an existing nylon slider) for the Y bed, 3 sliders in total:
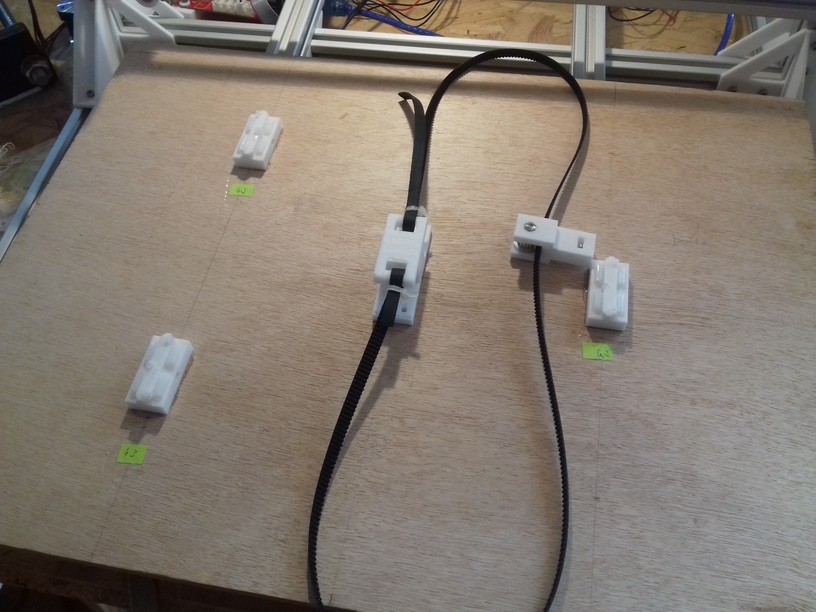
The sliders are glued beneath the Y carriage, then the Y bed snaps into the T-slots easily. I have printed on these sliders with two Ashtar K‘s (K1 = 380×400, K2 = 300×300) for about 1+ years successful. This simple approach requires gravity, and the bed needs its own weight to stay in place (cannot be up-side-down or in no-gravity environment like International Space Station ISS).
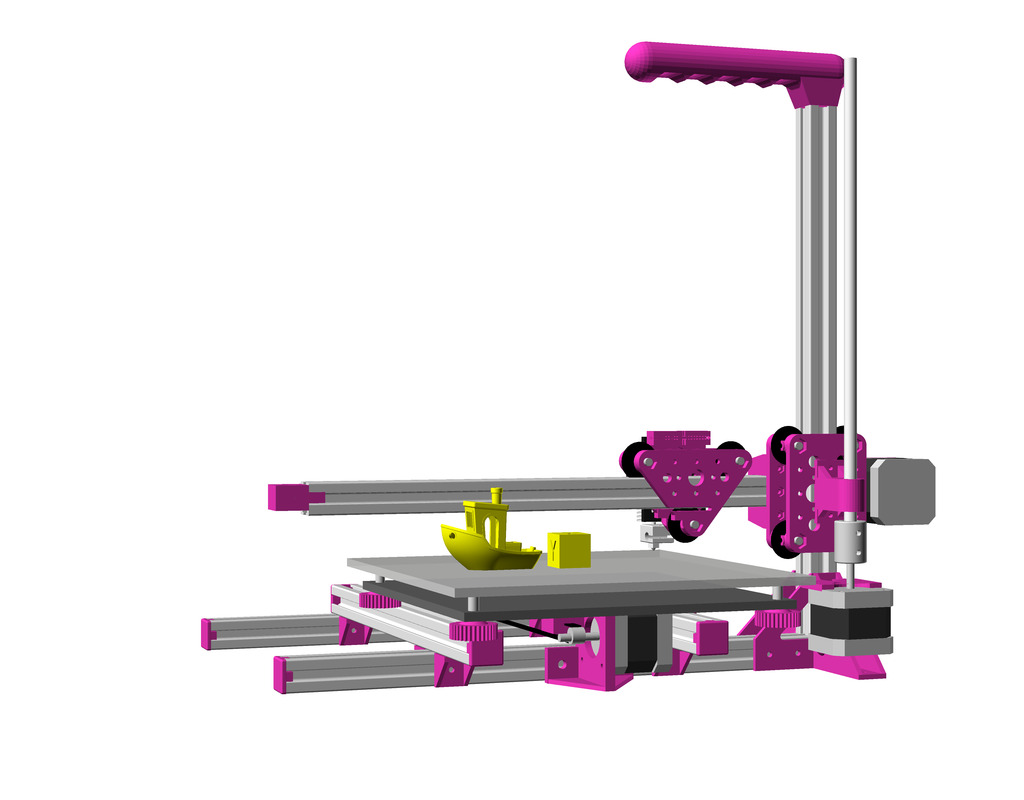
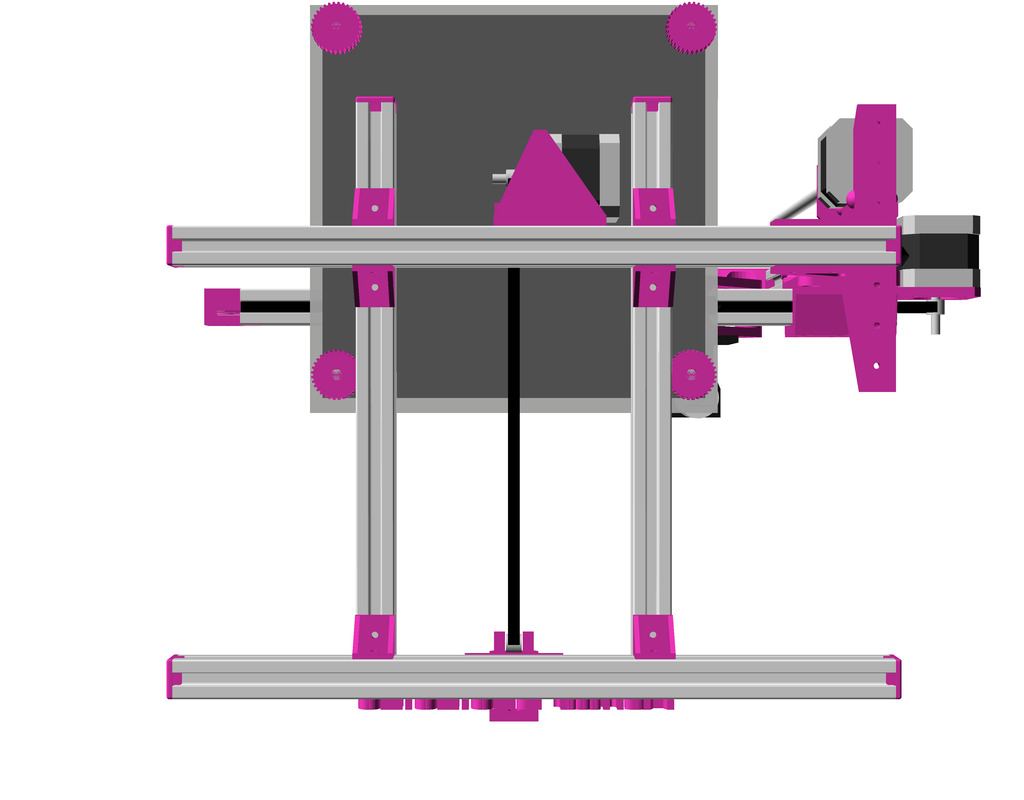
Back & Bottom View
References
- 3D Printer Cantilever 2.0 (C3D), a full instructable guide
- Peddi Printer, linear rail and 2020 alu extrusions
- OpenBuilds: MakerSL MSL-5 Cantilevered 3D Printer,


