
Updates:
- 2025/03/11: added reference to RotBotSlicer
- 2021/09/28: added reference to newly published paper by ZHAW
- 2021/03/22: 0.4.5: source released on github, page published
- 2021/03/20: 0.4.2: adding more core slicer examples
- 2021/03/17: 0.3.1: start writing page, provide overview of settings
Table of Contents
Introduction
Slicer4RTN aka “Slicer for Rotating Tilted Nozzle (RTN)” is a highly experimental conic slicer utilizing existing planar slicer like Slic3r with pre- and post-processing to create G-code which can be printed with a 4-axis RTN, allowing to print particular overhangs without support:
Some of the conceptual thoughts on Conic Slicing for Rotating Tilted Nozzle (RTN).
Features
- conic slicing (rotating tilted nozzle)
- variable angle of cone
- single rotation or unlimited rotation
- printing 90° – 110° overhangs without support, given some conditions
- unidirectional tilted slicing (tilted nozzle)
- variable tilt angle
- printing 90° – 110° overhangs in one direction, like possible with a belt printer
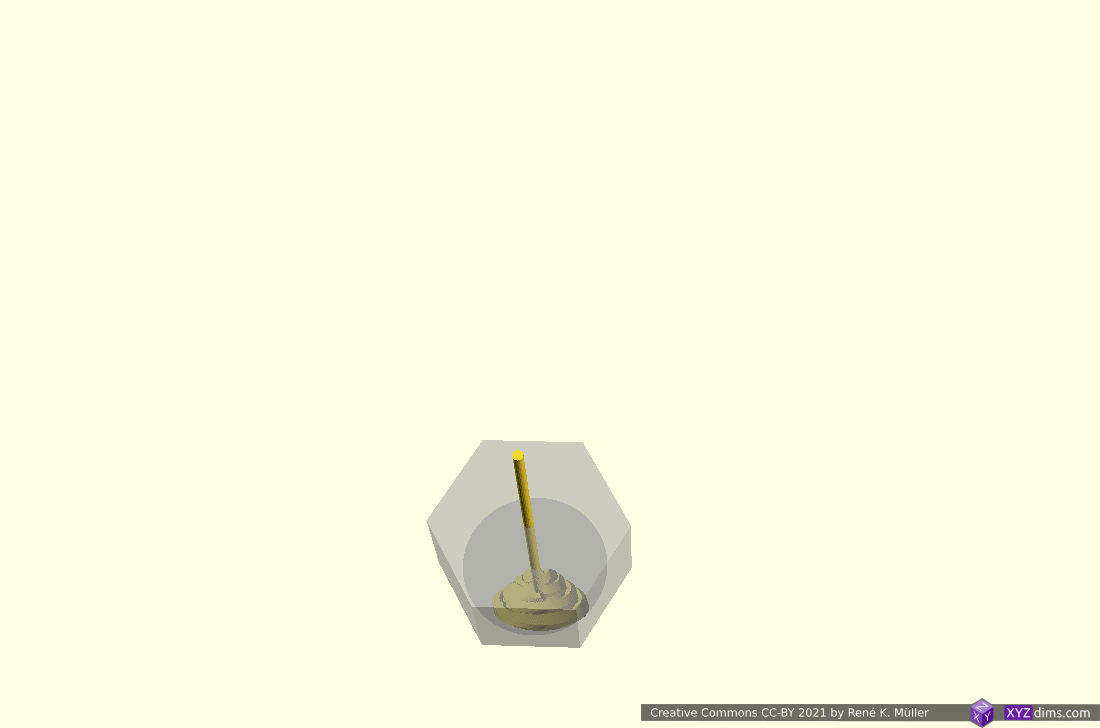
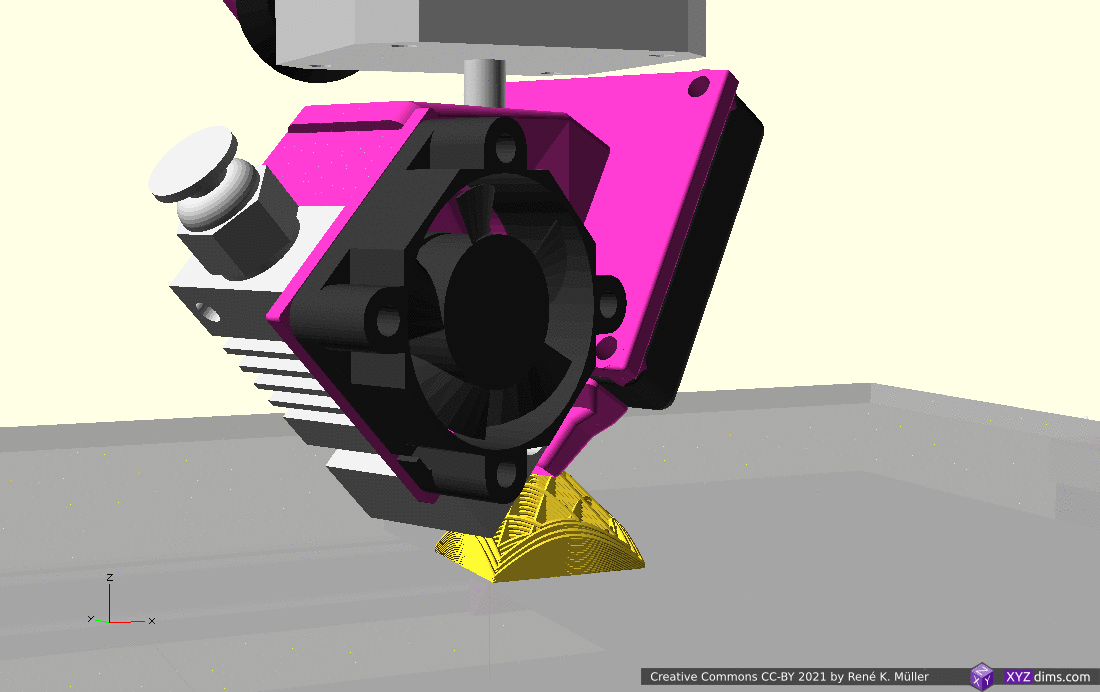
And yes you can print non-planar conic sliced G-code with an ordinary 3-axis 3D printer if you dare, something like this:
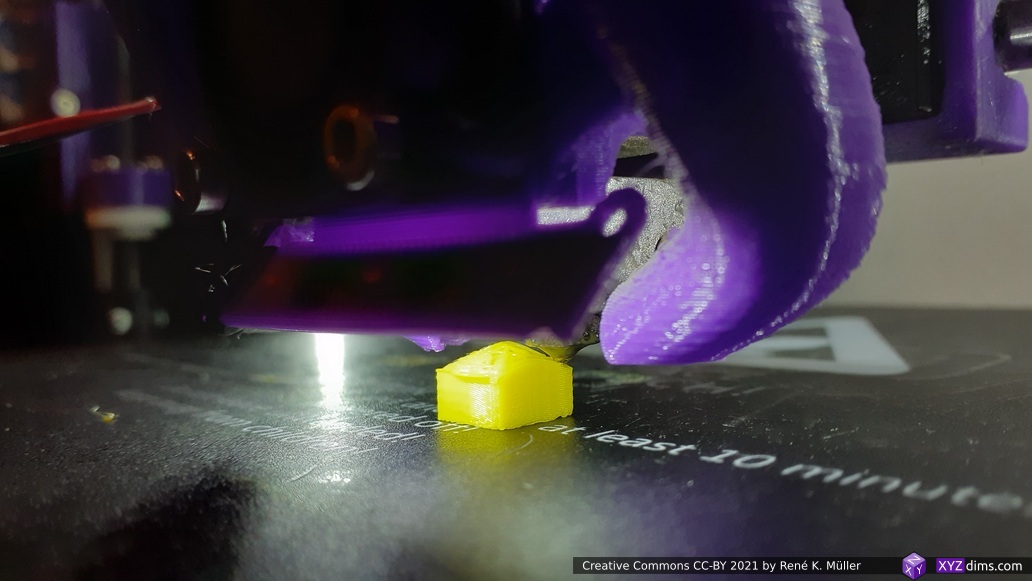
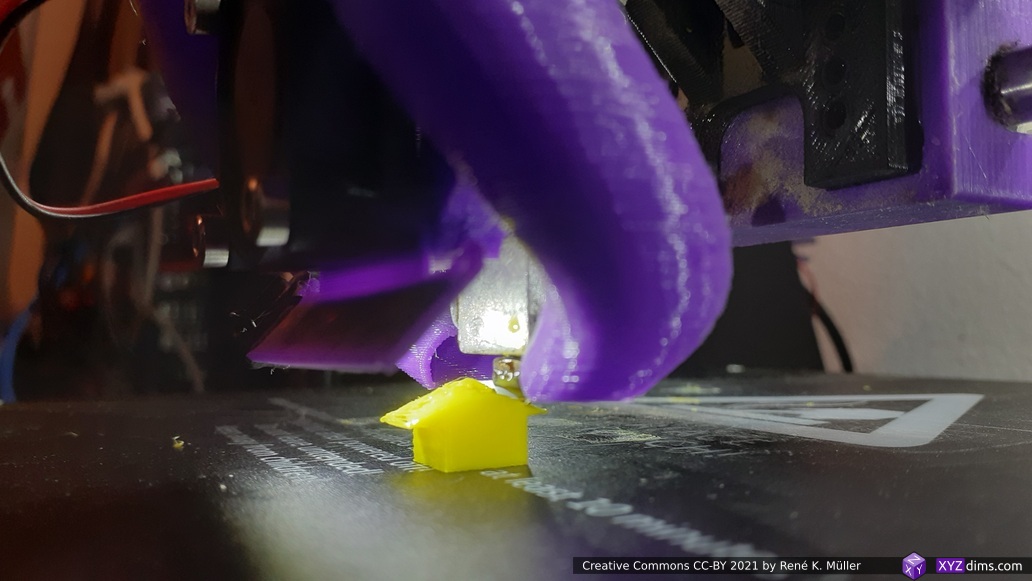
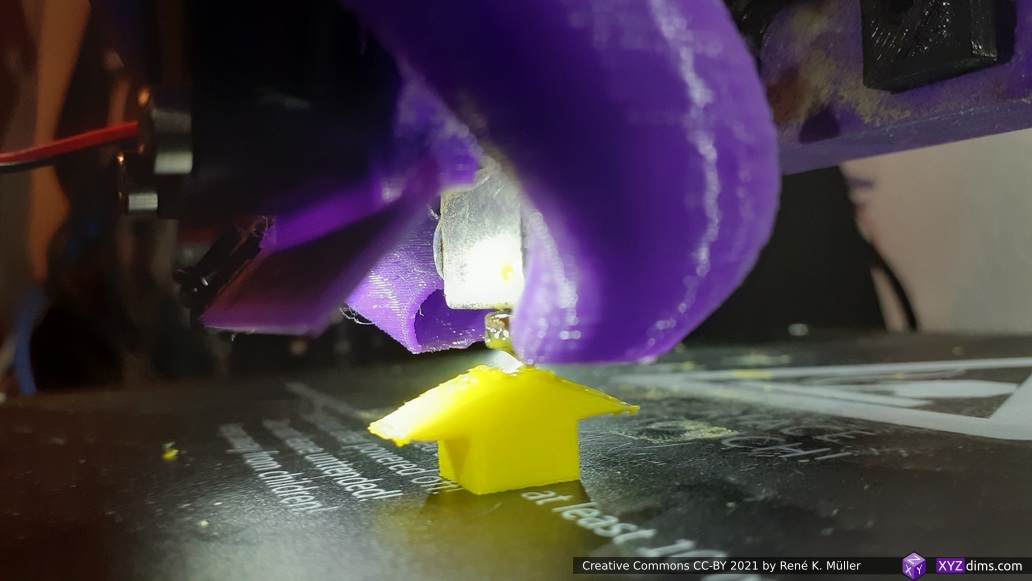
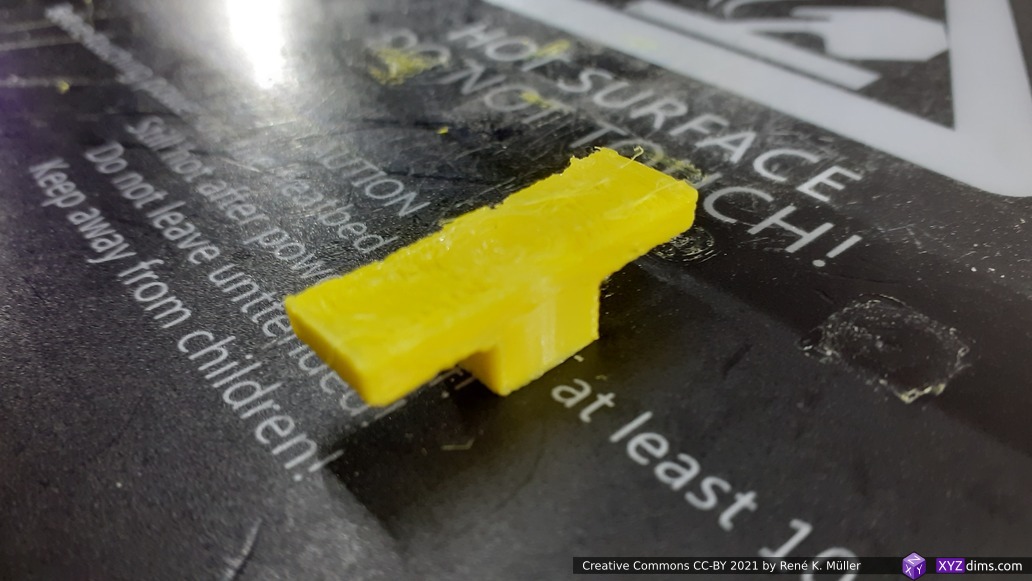
Just keep your expectation on the print quality low, as you try to print with a vertical nozzle which is meant to be printed with a tilted nozzle, but you will be able to print 90° overhangs without support structure.
Download
https://github.com/Spiritdude/Slicer4RTN
Usage
% slicer4rtn
USAGE Slicer4RTN 0.4.4: [<opts>] <file.stl> ...
   options:
      -v or --verbose      increase verbosity
      --version            display version and exit
      -k or --keep         keep all temporary files (temp.stl, temp.gcode)
      --recenter           recenter model X- & Y-wise
      --subdivide=<n>      set midpoint subdivisions (default: 2)
      --mode=<mode>        set cone mode, either 'outside' or 'inside' (default: 'outside')
      --output=<fname>     override default naming convention file.stl -> file.gcode
      --axis=<axis>        set axis count of printer: 3, 4 or 5 (default: 4)
      --angle=<angle>      set angle of cone (default: 45)
      --center=<cx,cy>     set conic slicing center (default: 0,0)
      --bed-center=<cx,cy> set bed-enter, only affects output G-code (default: 100,100)
      --layer-height=<z>   set conic layer height (default: 0.2)
      --rot-gcode=<v>      set G-code symbol for rotation (default: A)
      --rot-revolv=<mode>  set rotation revolution, 0 = unlimited, 1 = once (default: 1)
      --rot-offset=<a>     set rotation offset (default: -90)
      --rot-fixed=<angle>  set fixed rotation angle, usable if --axis=3 but 4-axis or 5-axis printer is target
      --tilt-gcode=<v>     set G-code symbol for tilt for 5-axis operation (default: B)
      --zoff=<v>           set z-offset, will be added to G1 ... Z<v>
      --erate=<f>          set extrusion rate (multiplier, default: 1)
      --efmin=<v>          set extrusion factor minimum, (default: 0.01)
      --efmax=<v>          set extrusion factor maximum, (default: 3)
      --inter-steps=<n>    set interpolation steps per mm (default: 2)
      --motion-minz=<v>    set minimum Z level for motion (without extrusion) (default: 0.2)
      --max-speed=<s>      set maximum speed (default: 0)
      --slicer=<slicer>    set slicer (default: 'slic3r')
      --slicer.<k>=<v>     add additional slicer arguments, e.g. --slicer.infill-density=0
      --<k>=<v>            all other arguments not for slicer4rtn will be passed to the core slicer (slic3r)

   examples:
      slicer4rtn sphere.stl
      slicer4rtn overhang.stl --output=sample.gcode
      slicer4rtn overhang.stl --axis=5 --output=sample.gcode
      slicer4rtn overhang.stl --axis=3 --output=sample-belt-printer.gcode --fill-density=5
      slicer4rtn model-6.stl --angle=25 --subdivide=5
Options
subdivide
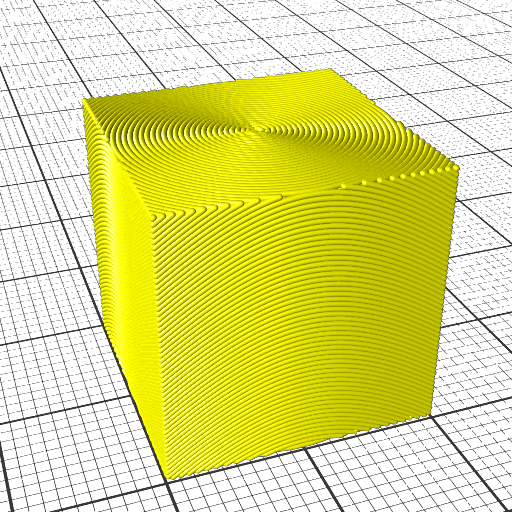
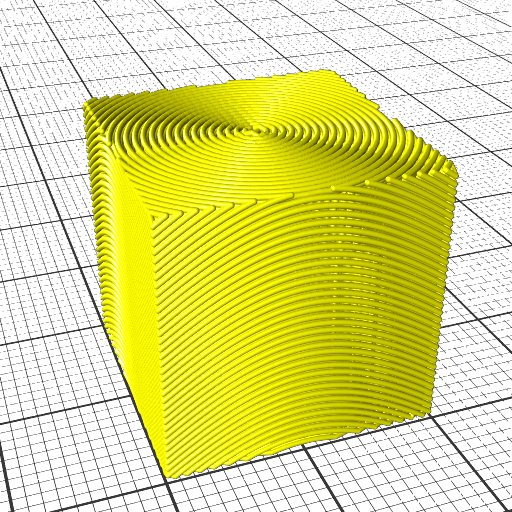
By default the faces of model is 2x subdivided, you can turn it off by --subdivide=0 or increase like --subdivide=5 for a cube. The current algorithm depends on sufficient detailed faces.


So for simple STLs choose subdivide=5 or higher, for already complex STLs with thousands of faces, you may go with the default.
recenter
If you slice a model you did not create yourself, very likely the model might not be properly aligned or centered, with --recenter you can enforce recentering the model X- and Y-wise.
mode
By default outside mode is used, you may change it with --mode=inside which slices for inside-cone printing. Currently slicer4rtn does not segment parts according their required mode, you have to do this manually right now. This may change with a later version.


Needless to say, this mode switch is very basic and only makes sense for very simple models.
axis
By default G-code for 4-axis Rotating Tilted Nozzle (RTN) is generated (--axis=4), which includes rotational information.
--axis=3generates tilted slices at angle 45° (which can be changed with--angle=..) which means overhangs can only be printed in one direction; the G-code can be printed with a 3-axis 3D printer now like a belt-printer; also--rot-fixed=..one controls the direction of the tilt slicing--axis=4is the default, a 45° tilted nozzle is implied--axis=5adds an additional fixed tilt into the G-code likeB45and is printable on a 5-axis Penta Axis (PAX) printer
--axis=3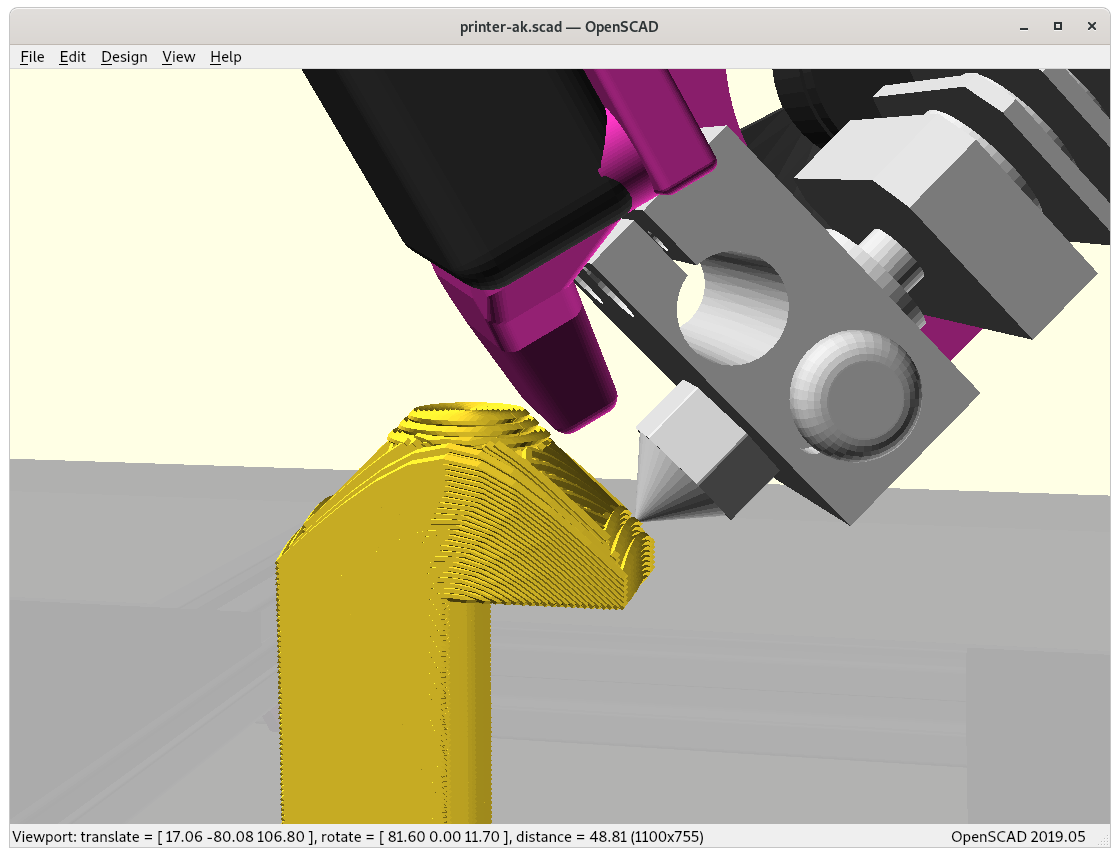
--axis=4 for RTN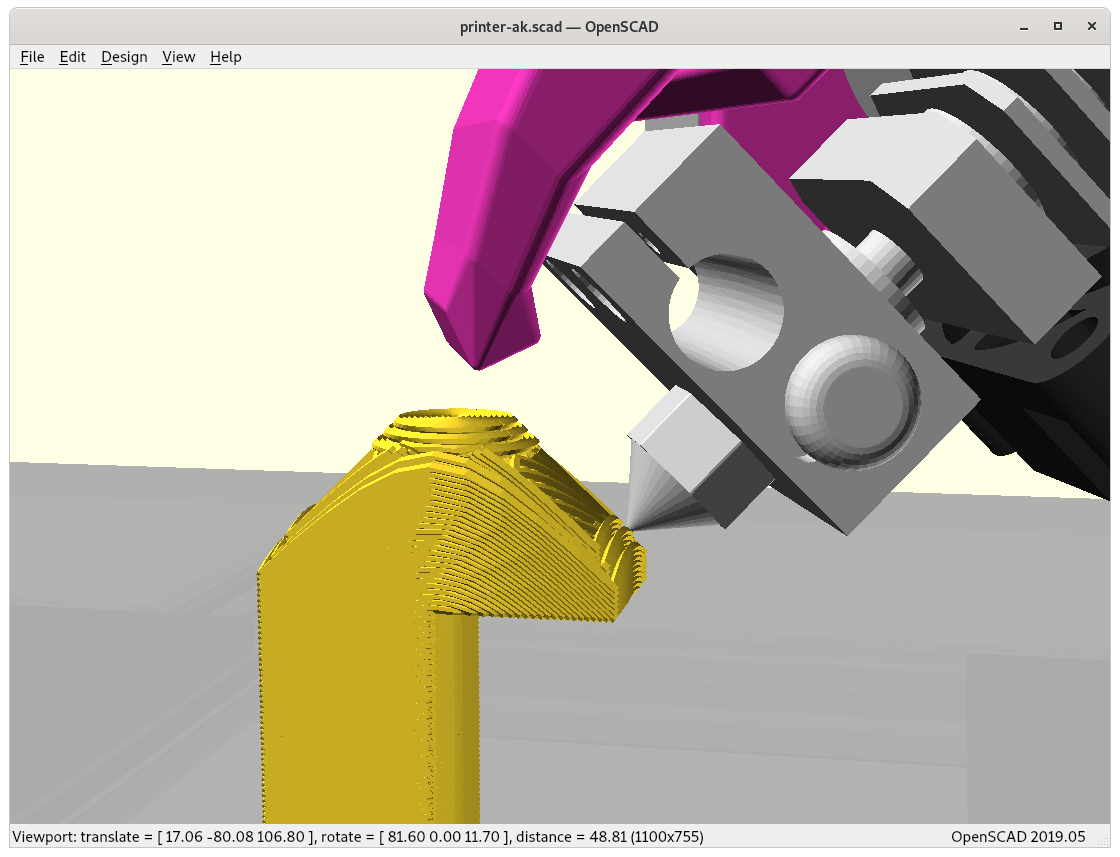
--axis=5 for PAXangle
By default the conic angle is set to 45° and can be changed with --angle=.., e.g. for a 3-axis 3D printer the angle can be set to 15..25° to print conic slices with a vertical nozzle.


If you plan to print conic sliced overhang pieces on your traditional 3-axis 3D printer, then consult the article on 90° Overhangs without Support Structure with Non-Planar Slicing on 3-axis Printer.
center
By default the conic slicing center is set to 0,0 and can be change with --center=x,y


You control the conic slicing center twofold:
- with the model itself
- with
--center=cx,cy
You may use --recenter switch to force the model be recentered X- & Y-wise; this is recommended if you did not create the model yourself and the STL is not centered properly.
bed-center
The slicer final output will be offsetted by these coordinates, by default it is 100,100 which should work for most 3D printers.
layer-height
By default 0.2mm conic layer height is set, and can be changed with --layer-height=h [mm]
Note: the layer height for the core slicer is calculated and might exceed the hard limits of the core slicer, so reduce the layer height so that slicer4rtn doesn’t stumble.
rot-gcode
By default the rotational angle is passed to G-code with A and can be changed, e.g. the RotBot uses U in the firmware to process the rotation angle, hence using --rot-gcode=U
rot-revolv
By default the printhead can only revolve once (-180°..180°), hence --rot-revolv=1; a more mechanical complex RTN is the RotBot by ZHAW which permits unlimited rotations with a slip ring, then use --rot-revolv=0
Note: rot-revolv=0 resets at layer change the rotation angle to mod(360) again.
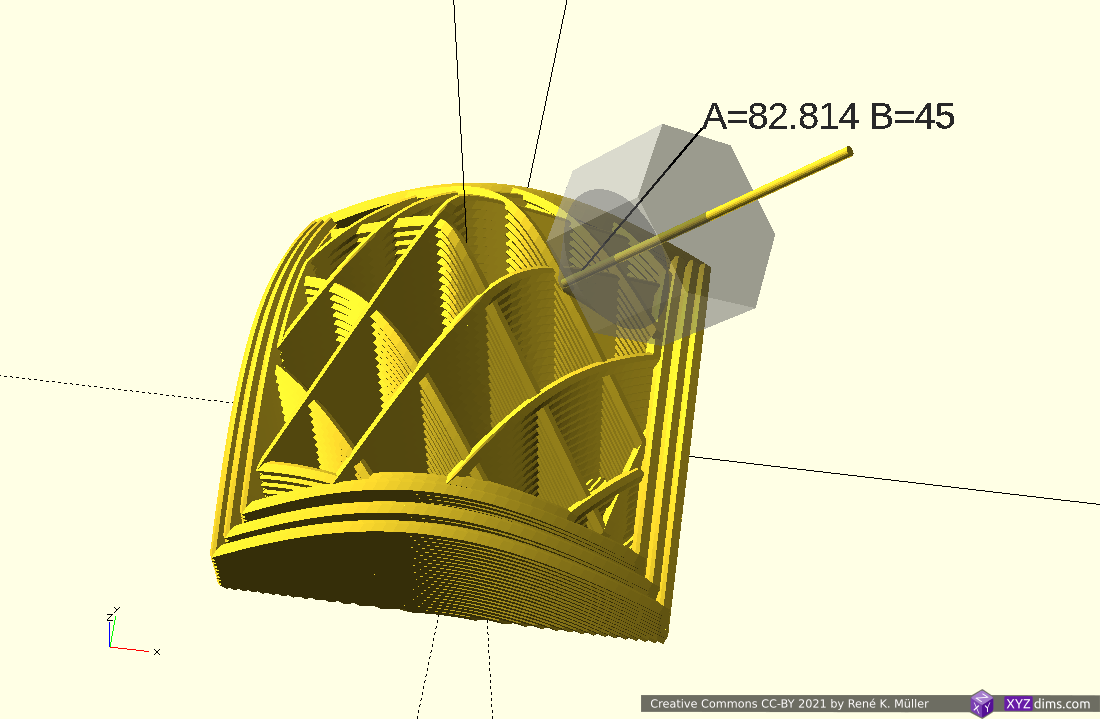
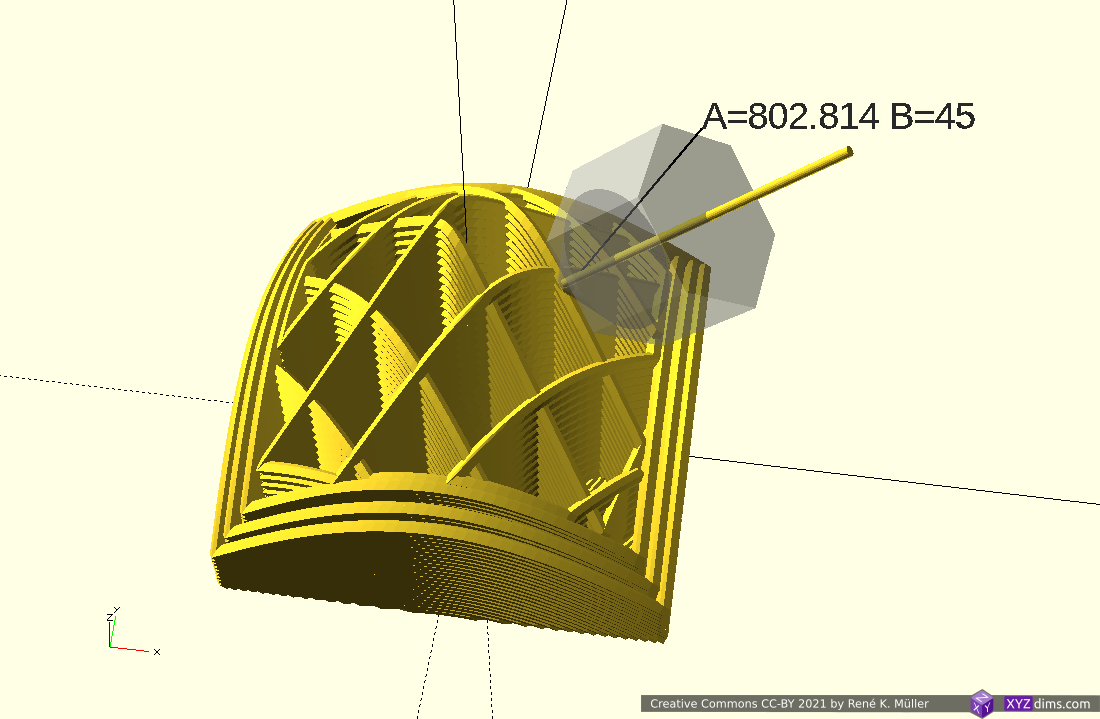
rot-offset
The rotation angle of the tilted nozzle is calculated by the traditional X/Y coordinate system; as I designed my Rotating Tilted Nozzle (RTN) I defined the 0° to be in front, and traditional counter-clockwise with increasing angle; so by default rot-offset is equal -90°.
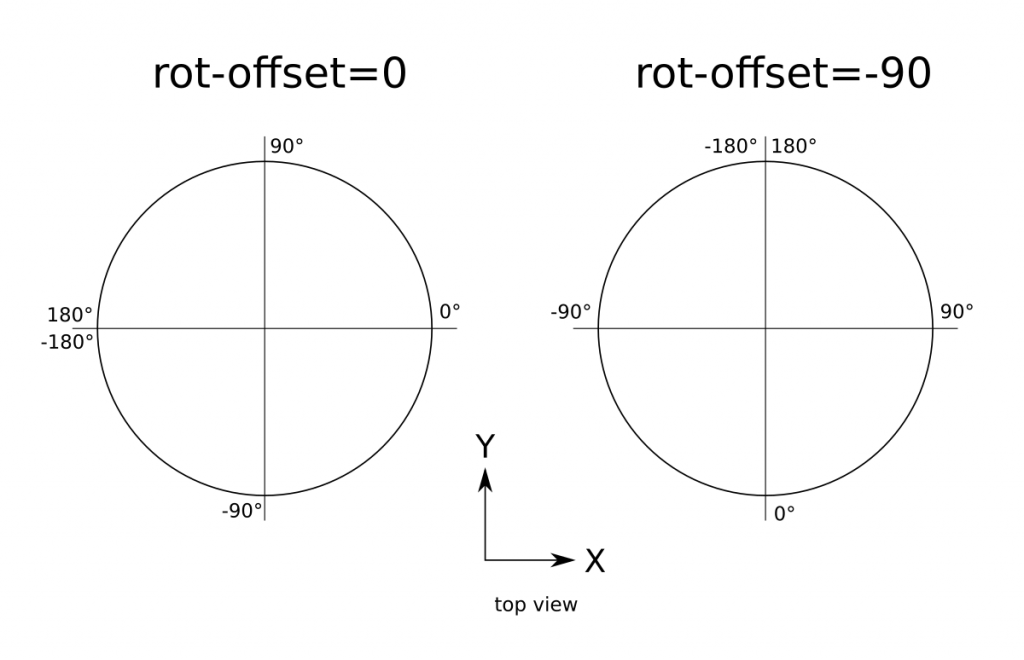
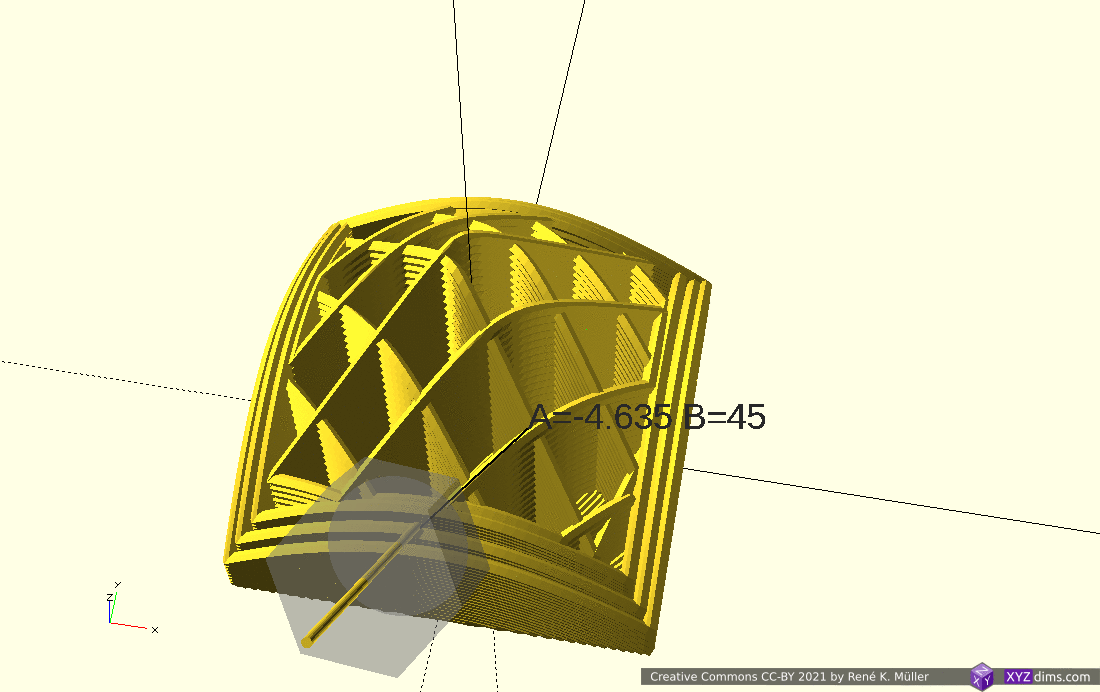
rot-offset=-90 rotation angle A, and tilt angle B shownrot-fixed
In case you like to have non-rotating printing and single direction slicing therefore, then fix the angle with --rot-fixed=angle.
axis=3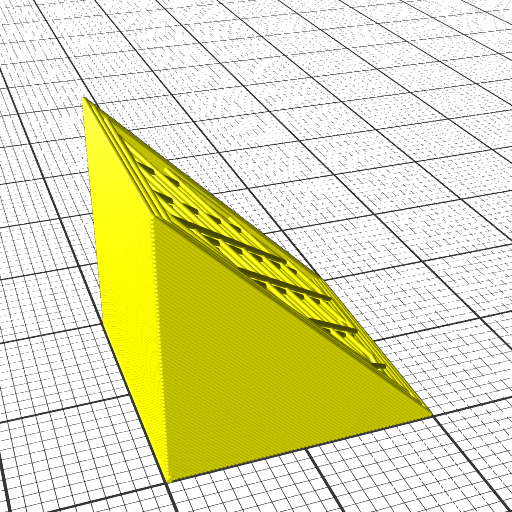
axis=3 rot-fixed=90
axis=3 rot-fixed=-45tilt-gcode
In case when targeting 5-axis Penta Axis (PAX) --axis=5 the tilt G-code is added as default as Bangle, you may change the code with --tilt-gcode=V for example.
erate
In case you have trouble with under- or over-extrusion you can change the multiplier with --erate=f for example to reduce extrusion by 10% use --erate=0.9
inter-steps
By default 2 steps per mm are interpolated per planar G1 extrusion, you may refine it by increasing it, e.g. --inter-steps=4; be aware it creates larger G-code outputs.
slicer
By default Slic3r (slic3r) is used as core slicer, an overview of current supported core slicers, selectable with --slicer=...
- Slic3r 1.2.9 (
slic3r): gives good results so far with minimal configuration ★★★★★ - Prusa Slicer 2.1.1 (
prusa-slicer): struggles to slice inverted conic models and fails to create G-code with a message likeEmpty layers detected, the output would not be printable.It may help to increase--subdivide=n, be aware of immense amount of faces ★★★★★ - Mandoline (
mandoline): fails mostly to slice inverted conic models, but could become relevant in later development ★★★★★ - CuraEngineLegacy 15.10 (
CuraEngineLegacy): outdated but surprisingly gives good results, easy to use on command-line ★★★★★ - CuraEngine 4.4.1 (
CuraEngine): gives good results, but is tedious to configure on command-line as requires base configuration in .json, which changes with each new version; it gives warnings & errors for small polygons but makes an effort regardless giving G-code (good behavior, better than Prusa Slicer) ★★★★★- Cura CLI Wrapper (
cura-slicer): same as CuraEngine but easier to configure (allows to query hundreds of possible settings directly withcura-slicer(recommended)
- Cura CLI Wrapper (

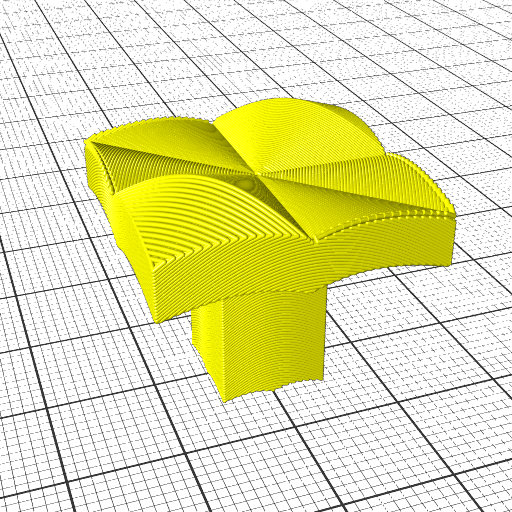
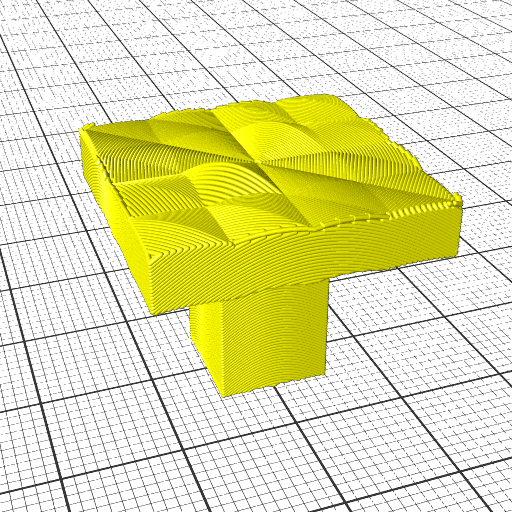
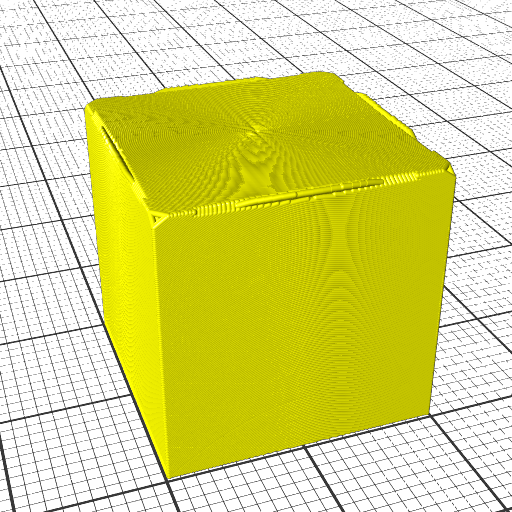
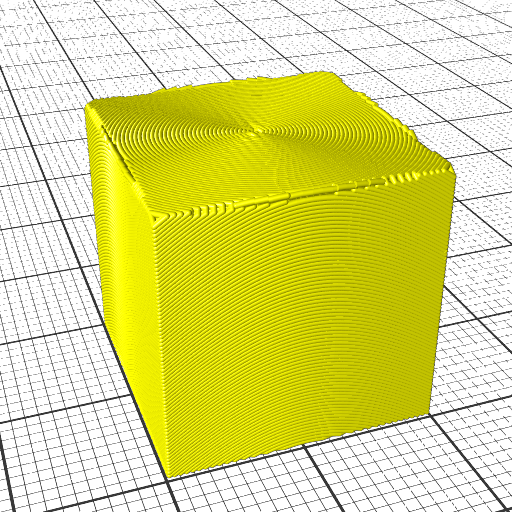
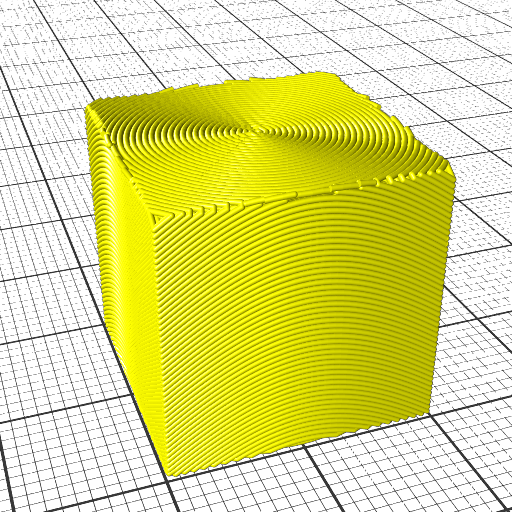
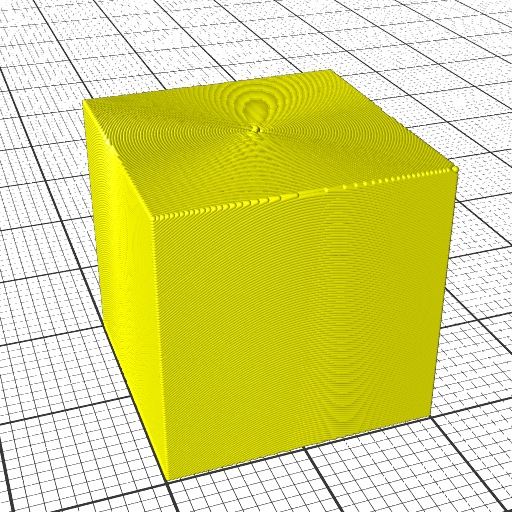
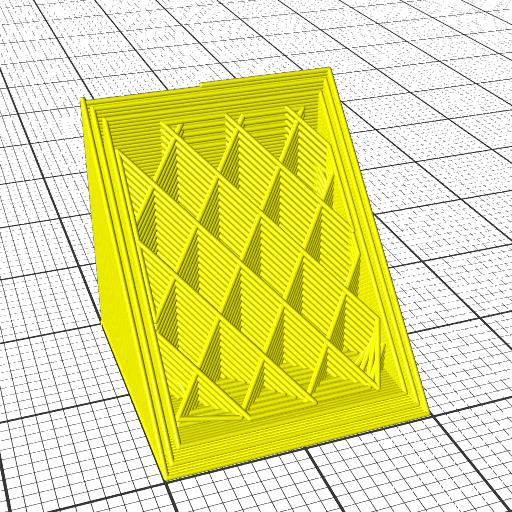
Example of 20mm cube & overhang nr 3 4mm shown at 50% complete:
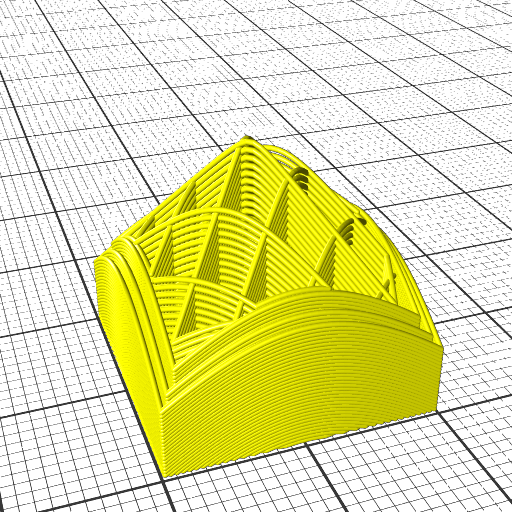
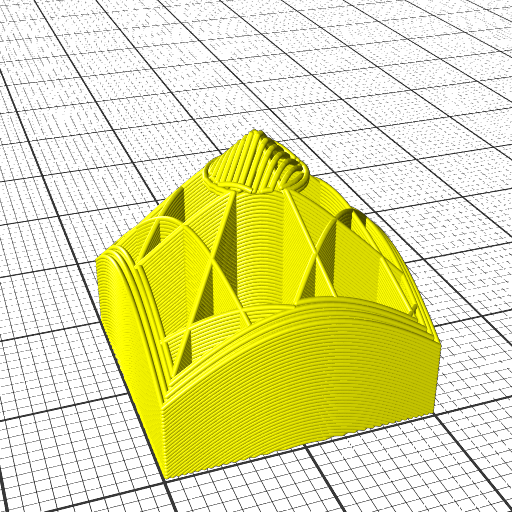

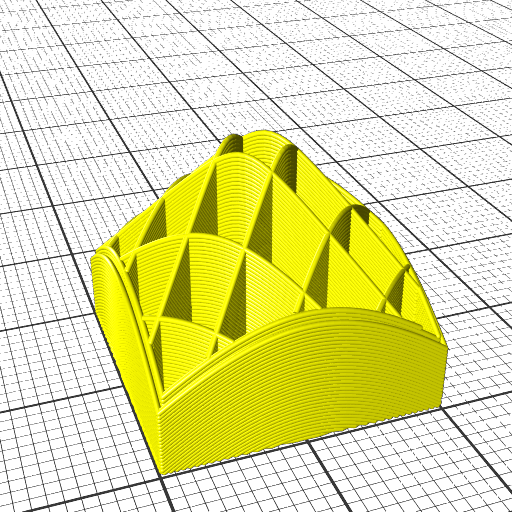

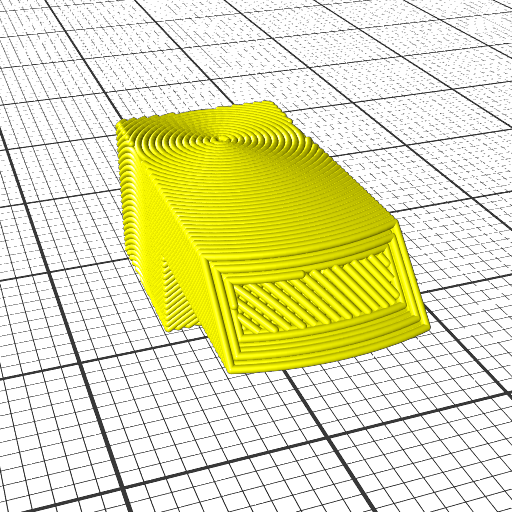

Slic3r 1.2.9 performs reliable on 20mm cube and overhang nr 3 4mm model, and CuraEngine 4.4.1 gives excellent results as long layer-height is low (below 0.2), whereas older Cura 3.8.x struggles – so definitely use Cura 4.x series.
G-code Size
As conic slices range over X, Y and Z, the G-code becomes quite verbose compared to horizontal slices, for example 20mm cube sliced both times with Slic3r 1.2.1:
- horizontal slices: 152 KiB (4.7K
G1lines) - conic slices: 7,565 KiB (93.6K
G1lines)
which is a significant increase of 50x size of G-code and 20x more G1 statements.
Common Settings
By default
/usr/share/slicer4rtn/slicer4rtn.ini(system-wide) and~/.config/slicer4rtn/slicer4rtn.ini(user)
are considered where all settings can be listed to provide new defaults for slicer4rtn, for example:
# my own settings:
layer-height = 0.15
bed-center = 120,100
rot-offset = 0
rot-resolv = 0
You can use ‘#‘ as a leading indication that the rest of the line is a comment and disregarded.
Note: It is recommended to only list slicer4rtn specific settings there, not slicer specific settings (see below).
Slicer Specific Settings
Each core slicer may have their own base settings, so you don’t need to add it everytime when calling slicer4rtn, so include them in your user settings:
User Slicer Settings
~/.config/slicer4rtn/slic3r.ini~/.config/slicer4rtn/prusa-slicer.ini~/.config/slicer4rtn/mandoline.ini~/.config/slicer4rtn/CuraEngine.ini~/.config/slicer4rtn/CuraEngineLegacy.ini~/.config/slicer4rtn/cura-slicer.ini
Make your changes in those files, as they will not be overwritten when you upgrade slicer4rtn in the future, for example slic3r.ini:
external-perimeter-speed = 10%Note: slic3r and prusa-slicer directly load their slicer specific settings from the file, whereas the other slicers the settings will be parsed by slicer4rtn and passed on via internal command-line execution.
System-Wide Slicer Settings
By default make install installs some base system-wide configs in /usr/share/slicer4rtn with the same filenames as mentioned above, those will be overwritten in future releases of Slicer4RTN, but your user settings will not be overwritten.
When running slicer4rtn is executed first are the system-wide configs loaded, then the user specifics.
Print3r & Slicer4RTN
As of print3r 0.3.2 or later slicer4rtn is supported as well:
.config/print3r/printer/<yourprinter>.iniand make a copy like.config/print3r/printer/<yourprinter>-rtn.iniadd following lines:
slicer = slicer4rtn
# slicer4rtn specific seeting prepend 'slicer4rtn.' for settings, like:
# slicer4rtn.slicer = prusa-slicer
angle = 25
and alter the start-gcode line with increasing Z motion as well, e.g for my Prusa-i3 clone it has a M6 threaded rod, which means one revolution (200 full steps) 1mm Z motion, hence
start-gcode = ".....\nM203 Z6\n...."increased Z motion speed to come close to X- and Y- speed, it creates more even extrusions, nicer prints.
Actual use with print3r goes then like this, my Prusa-i3 clone named y3228-rtn now:
% print3r --printer=y3228-rtn --random-placement print overhang4l4mm.stl
% print3r --printer=y3228-rtn --layer-height=0.3 --fill-density=5 print overhang4l4mm.stl
% print3r --printer=y3228-rtn --scad print 'sphere(10)' --fill-density=5
it slices and forwards the G-code according your setup without the requirement to invoke slicer4rtn manually anymore.
References
- RotBot by ZHAW, the inventors of the Rotating Tilted Nozzle (RTN) approach by Prof. Dr. Wilfried Elspass, Dr. Christian Jaeger, Michael Wüthrich, Maurus Gubser, Philip Bos and Simon Holdener
- RotBotSlicer Non-Planar Slicer (github)
- A Novel Slicing Strategy to Print Overhangs without Support Material (published 2021/09/27, free PDF)
- Conic Slicing for Rotating Tilted Nozzle (RTN), introductory article
- Rotating Tilted Nozzle (RTN), my own approach of RTN
- Penta Axis / 5-axis (PAX) can print 4-axis/RTN conic sliced models too
- Sub-Volume Segmenting & (Non-)Planar Slicing, mixing various slicing methods together