Updates:
- 2023/07/25: adding 20mm/40mm TPMS photos
- 2023/03/12: starting write-up, and published
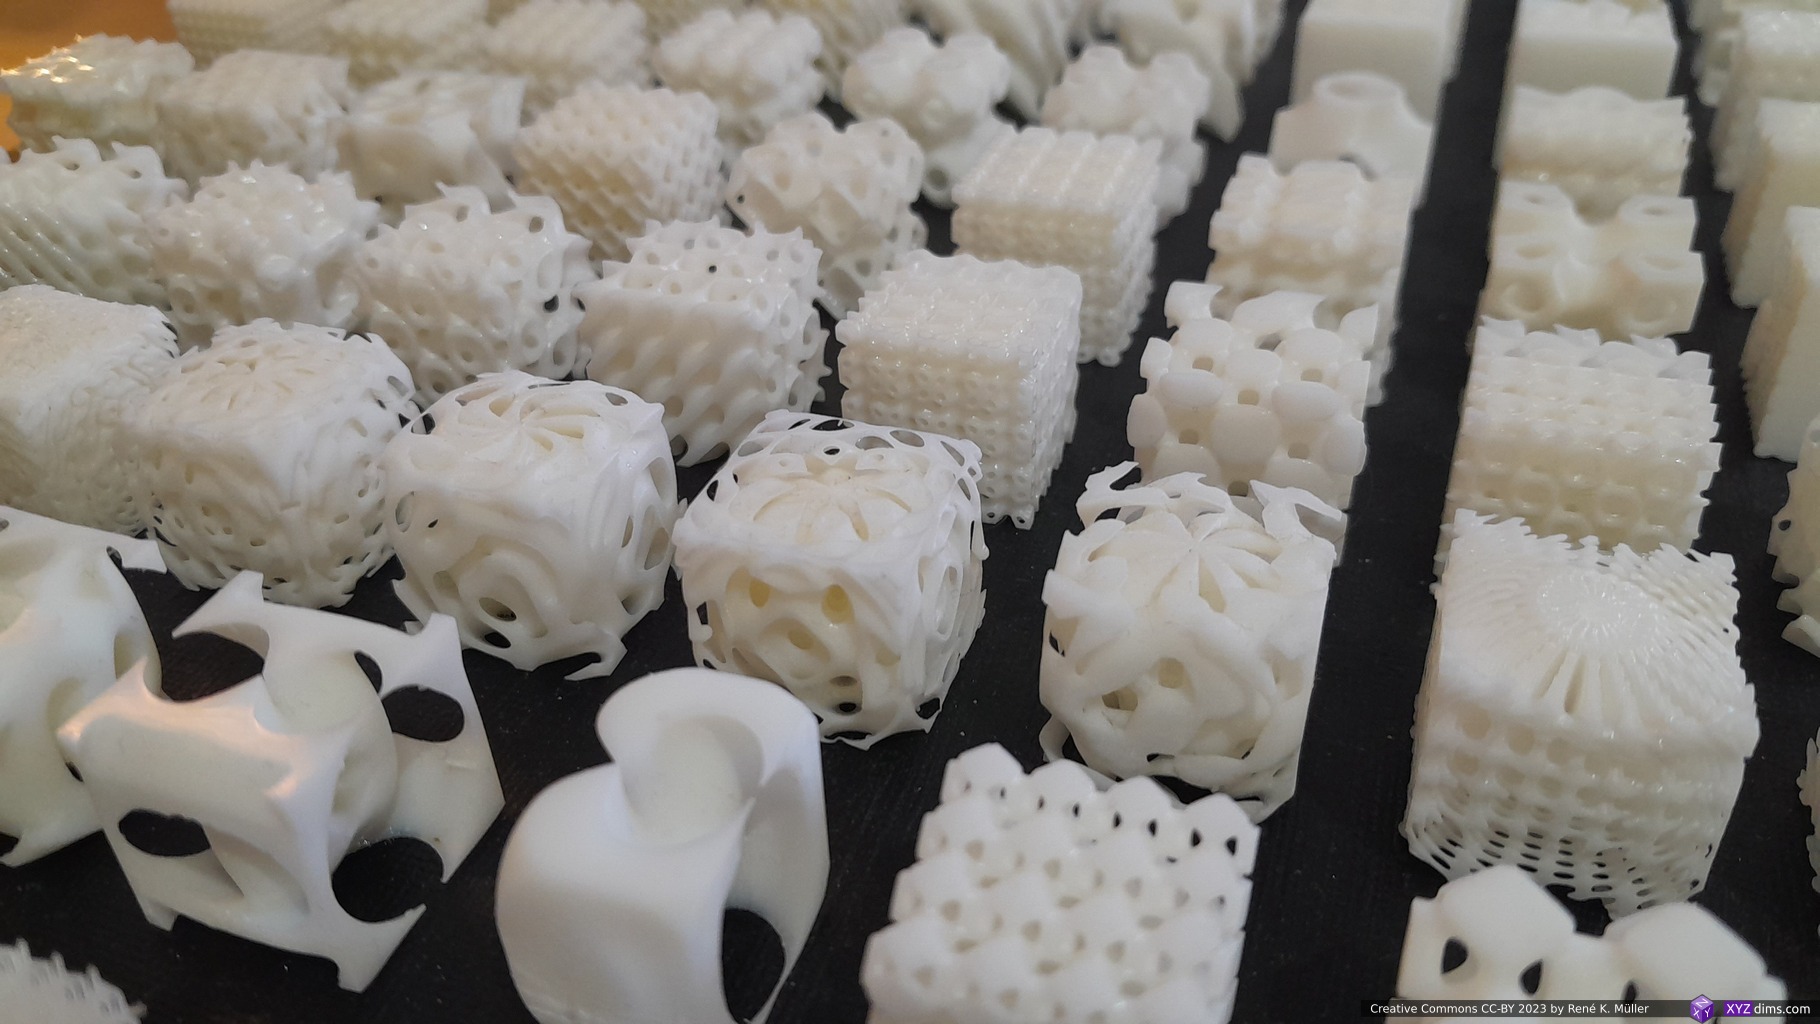
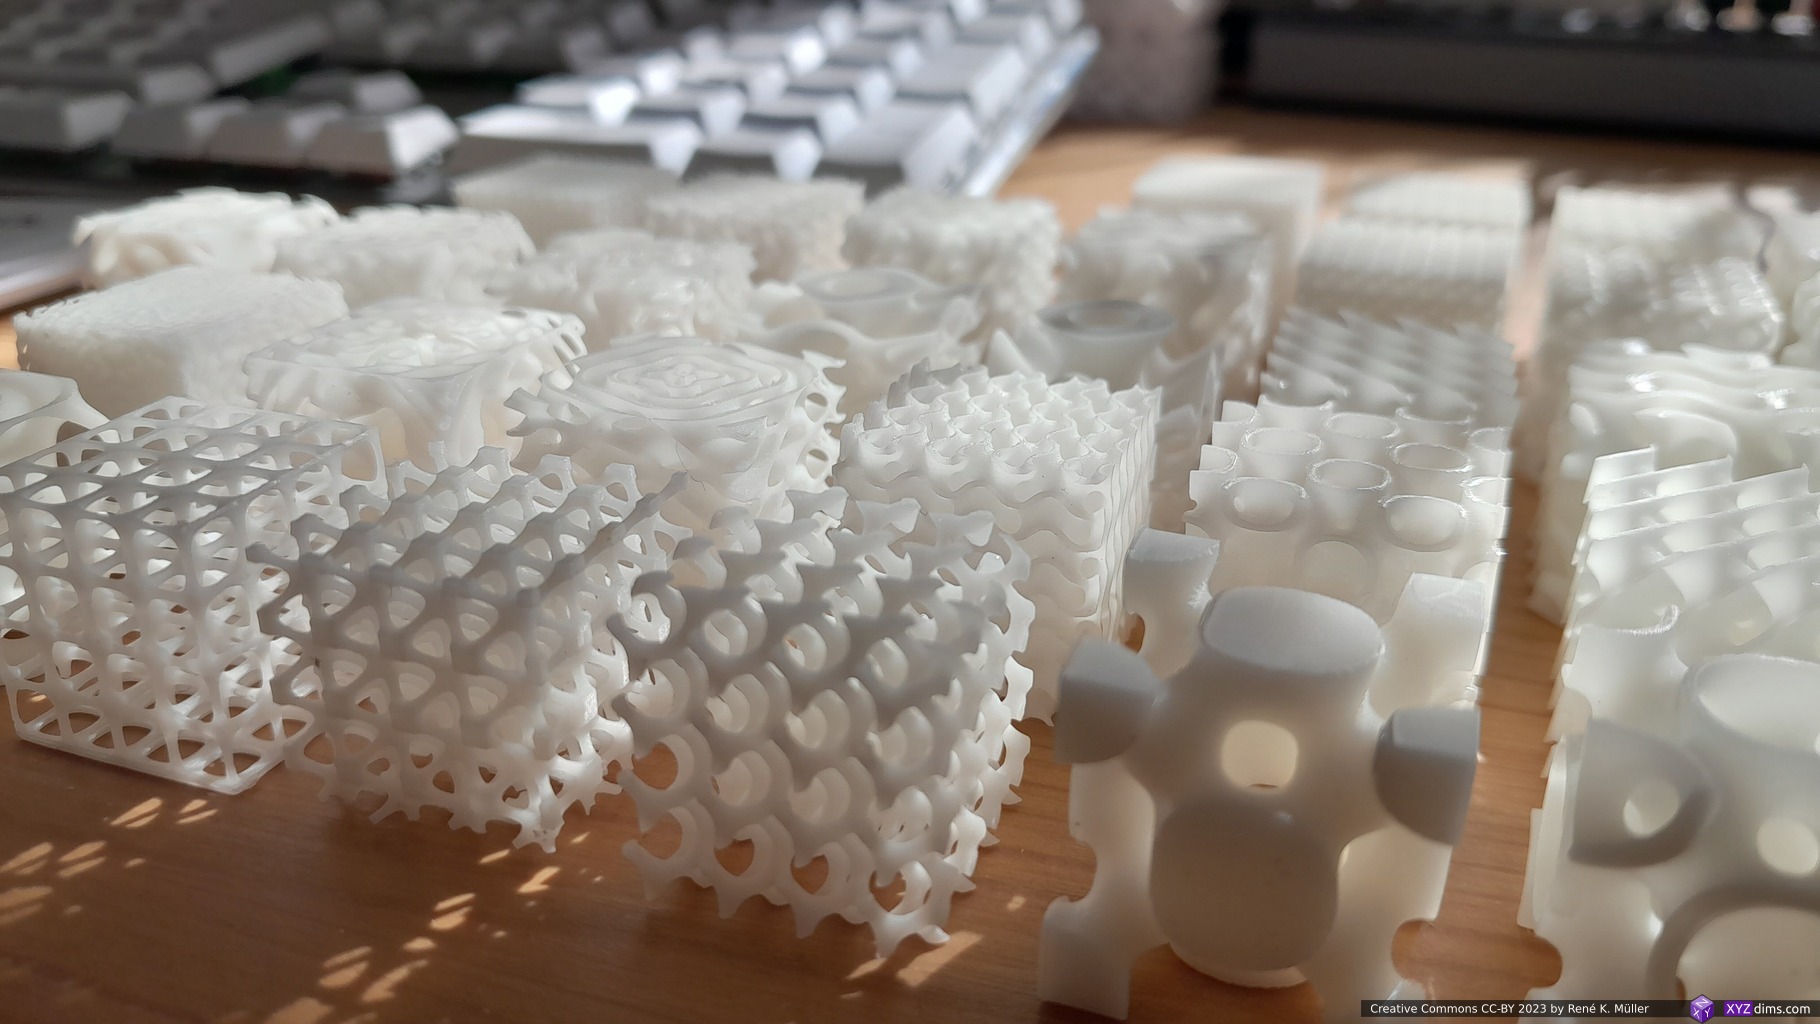
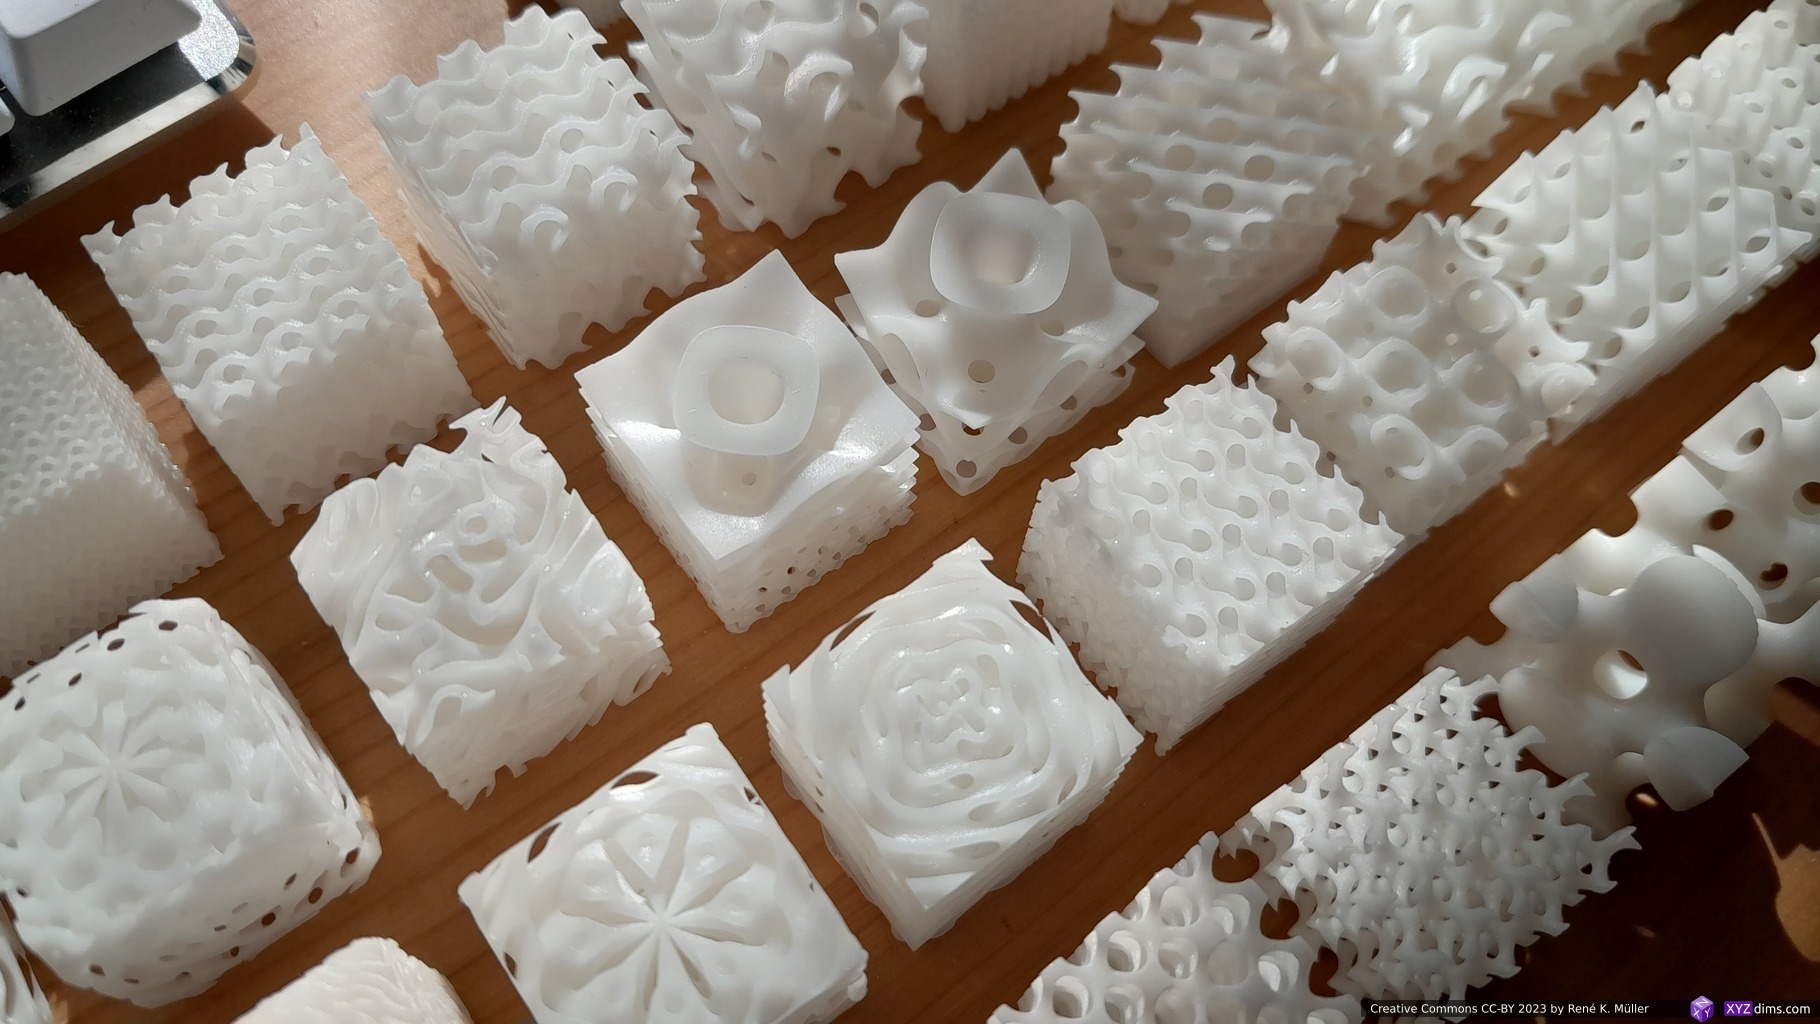
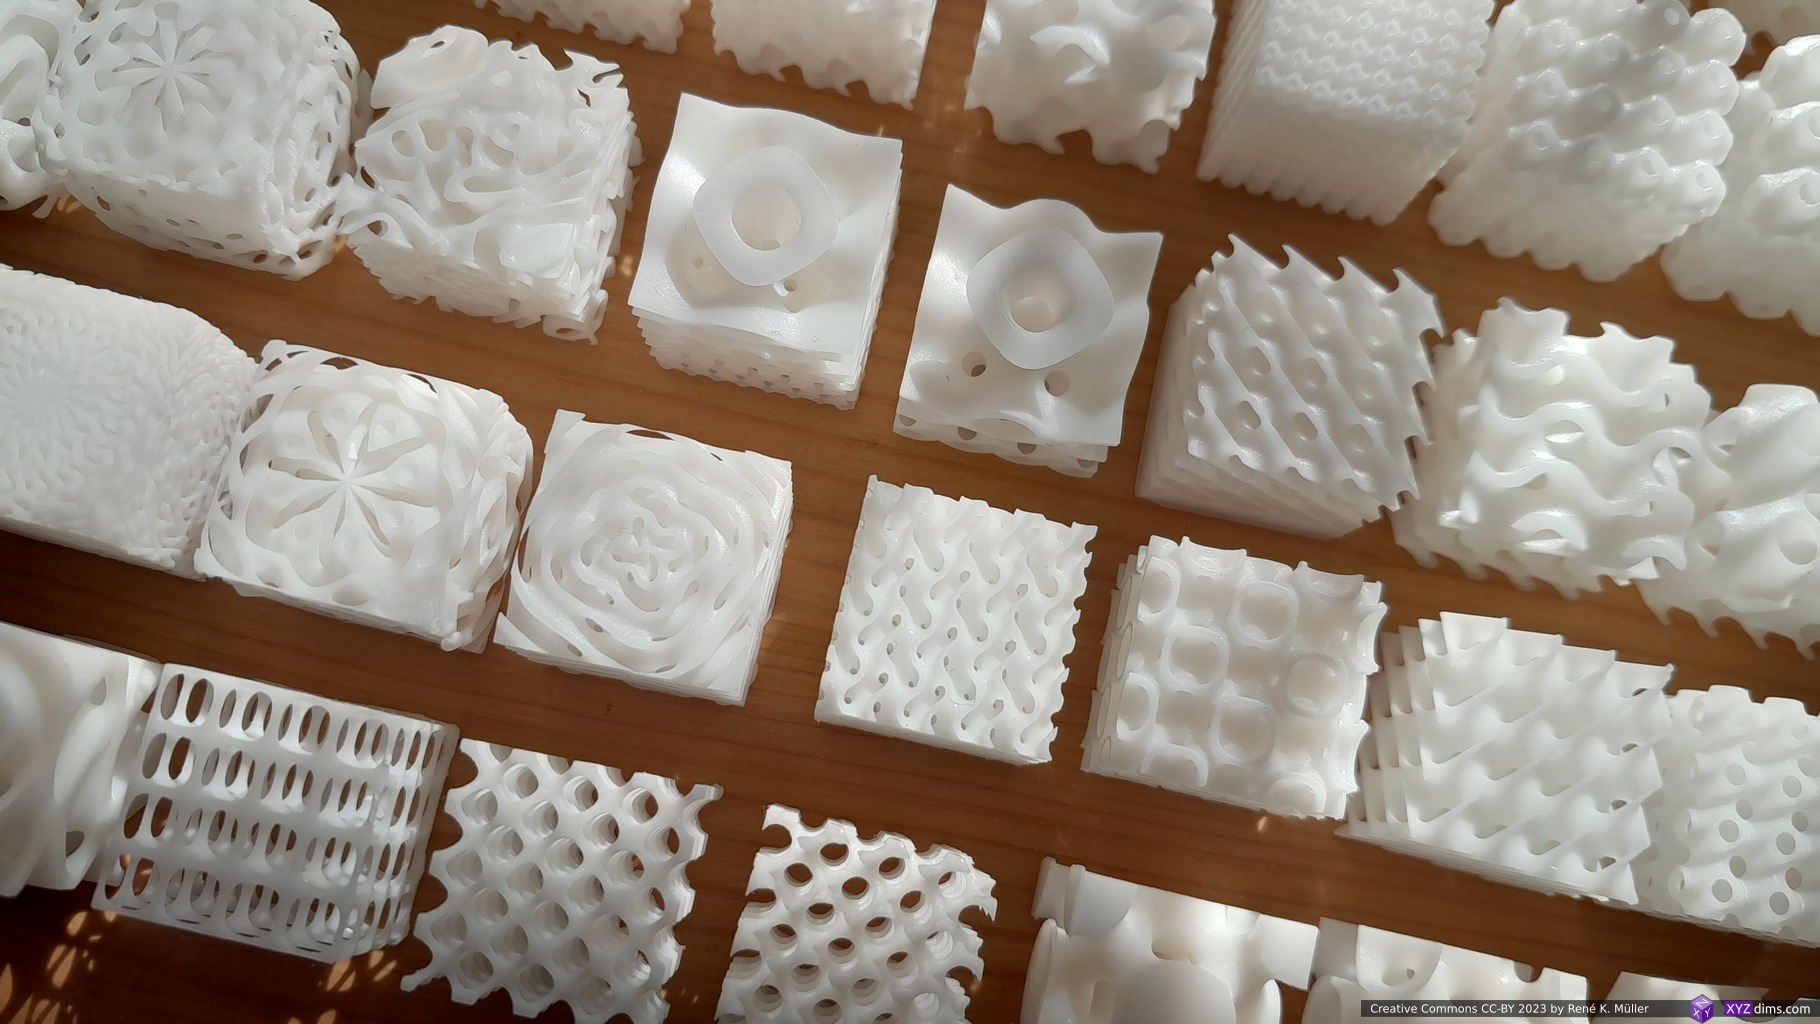
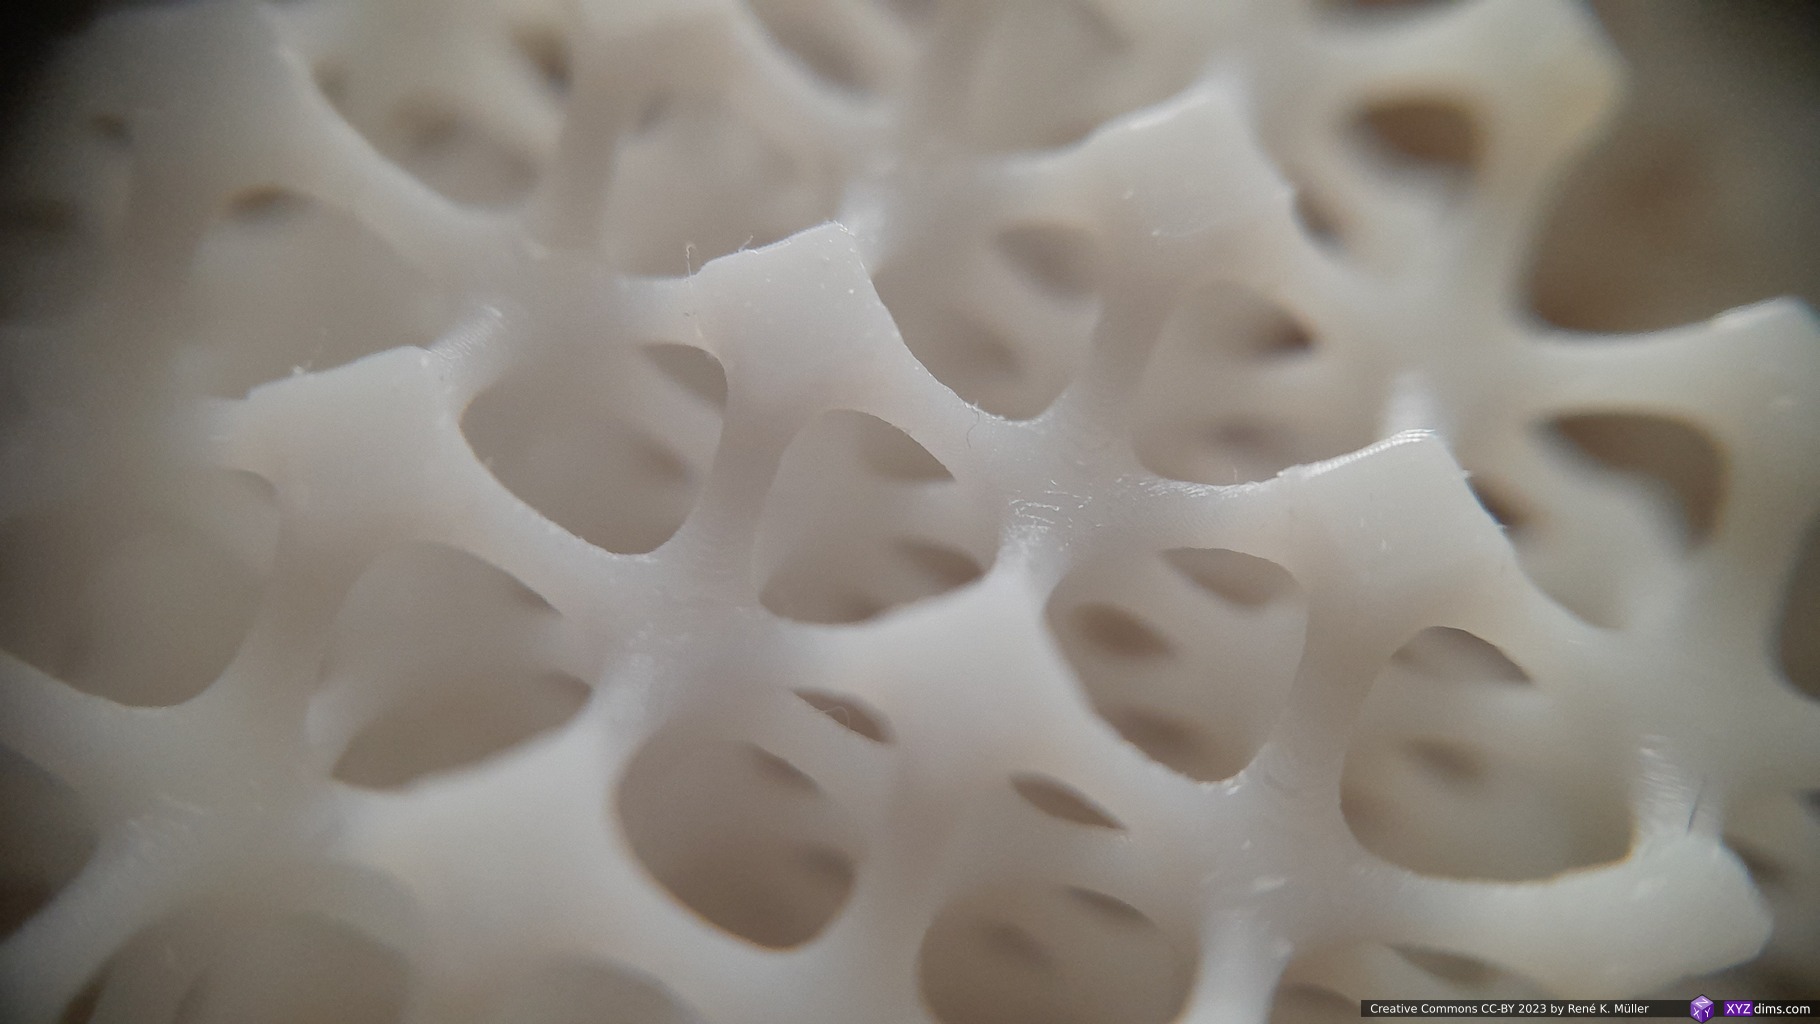
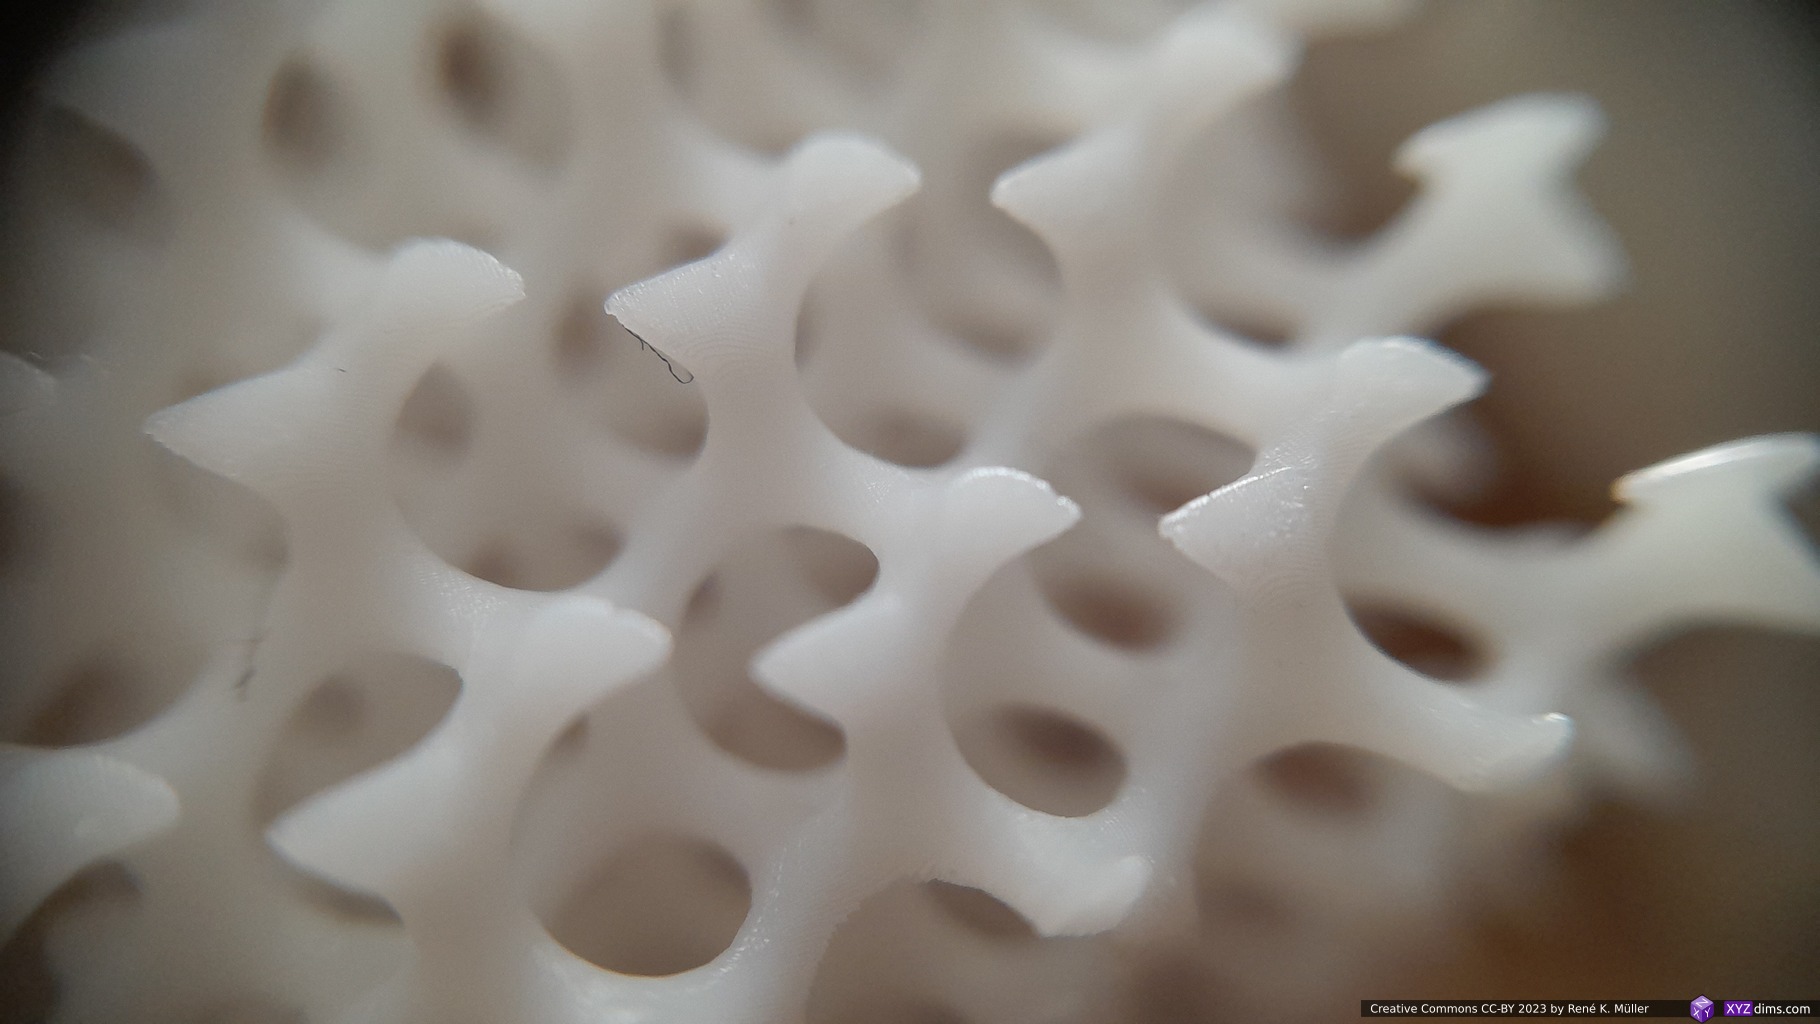
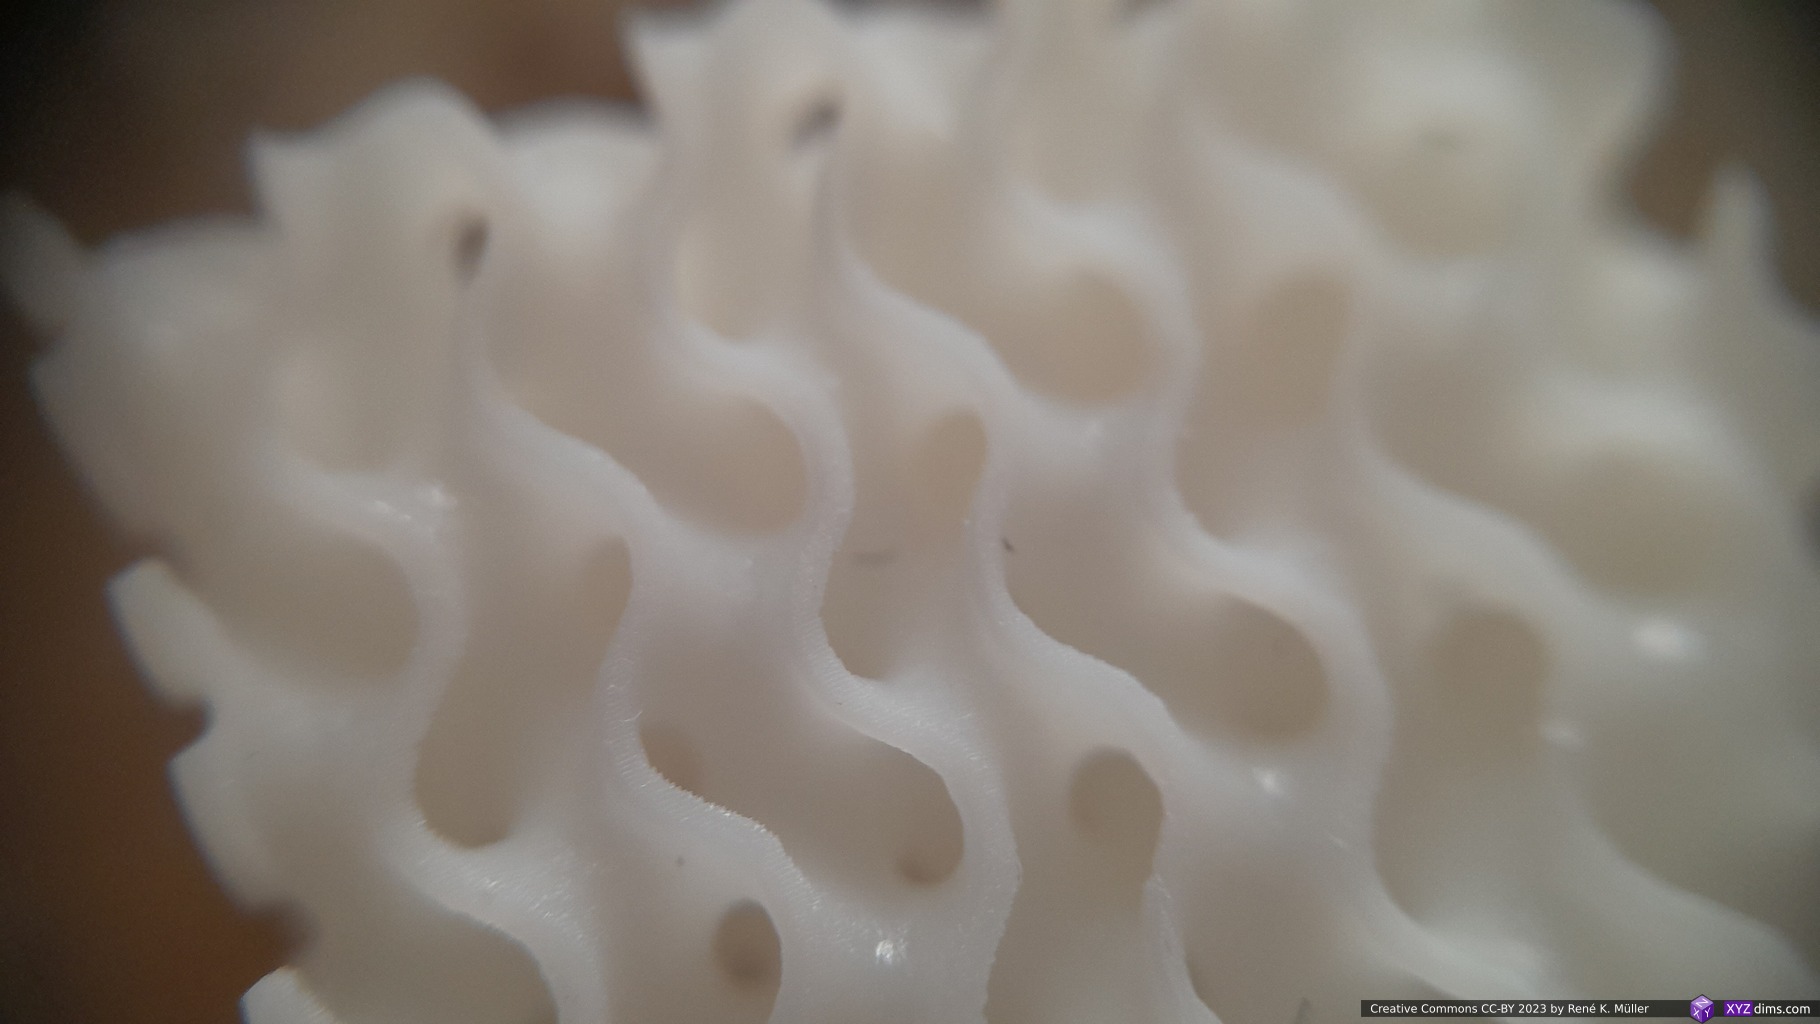
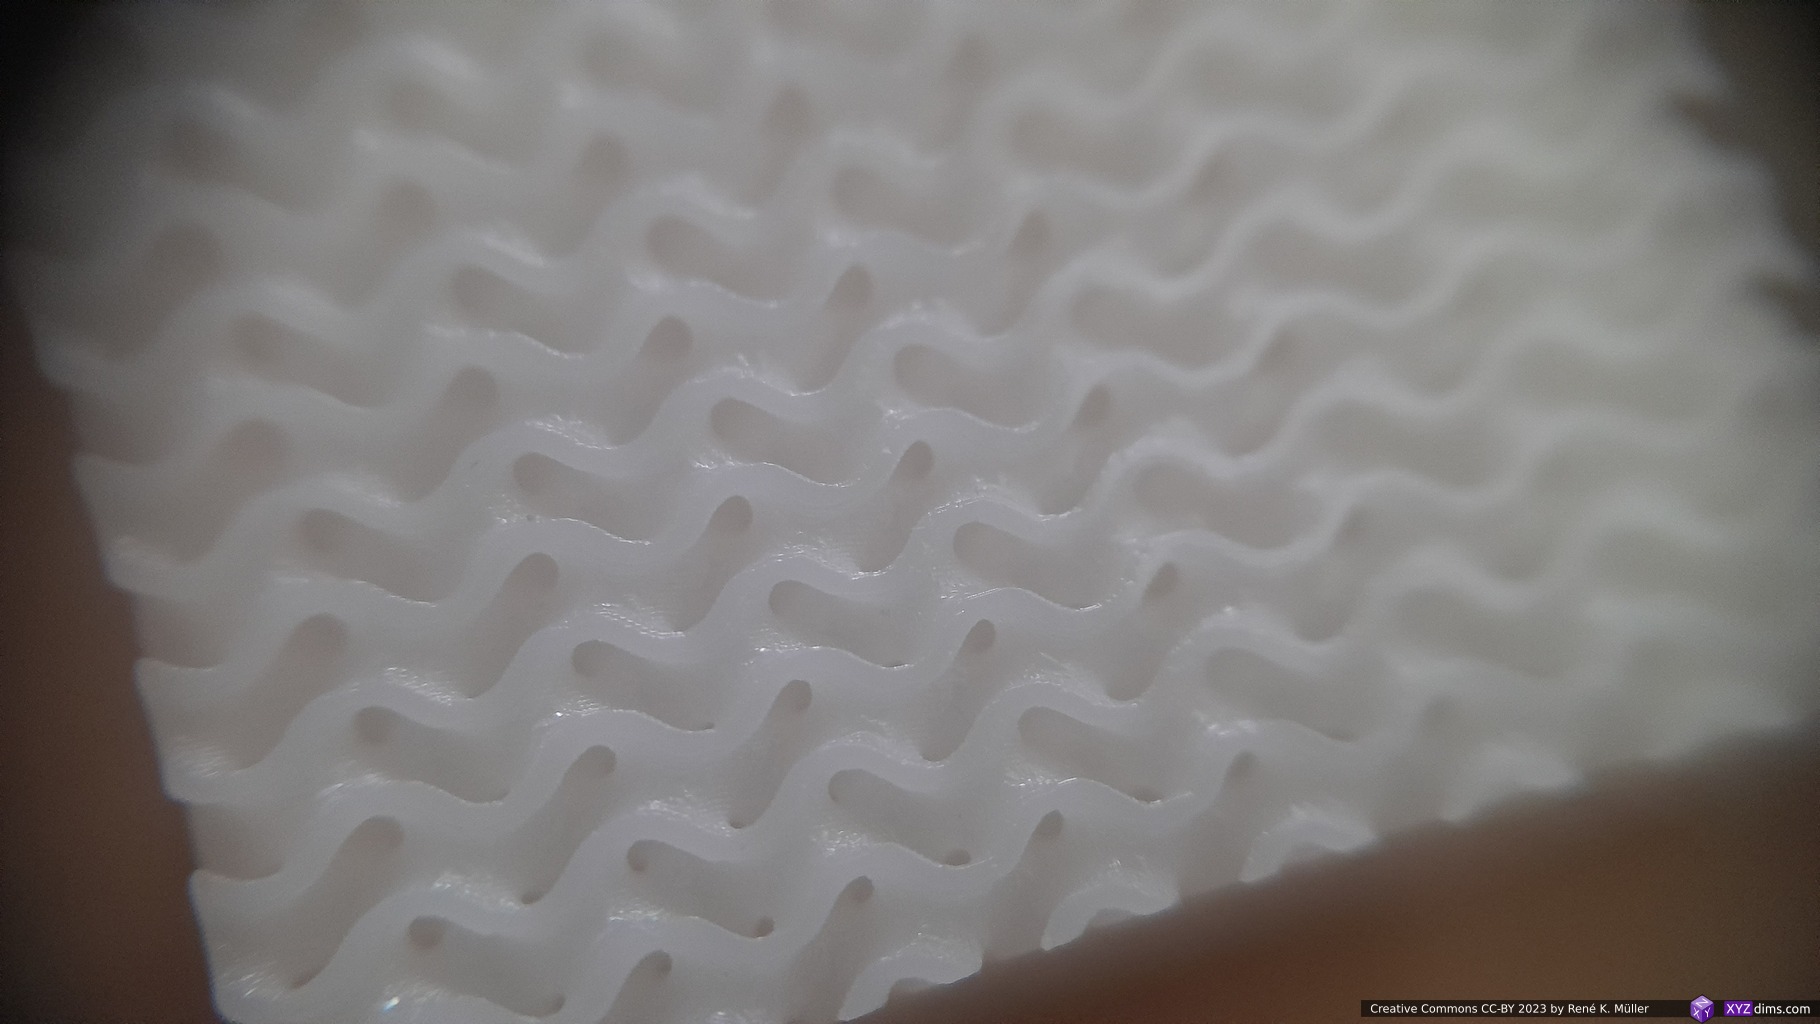
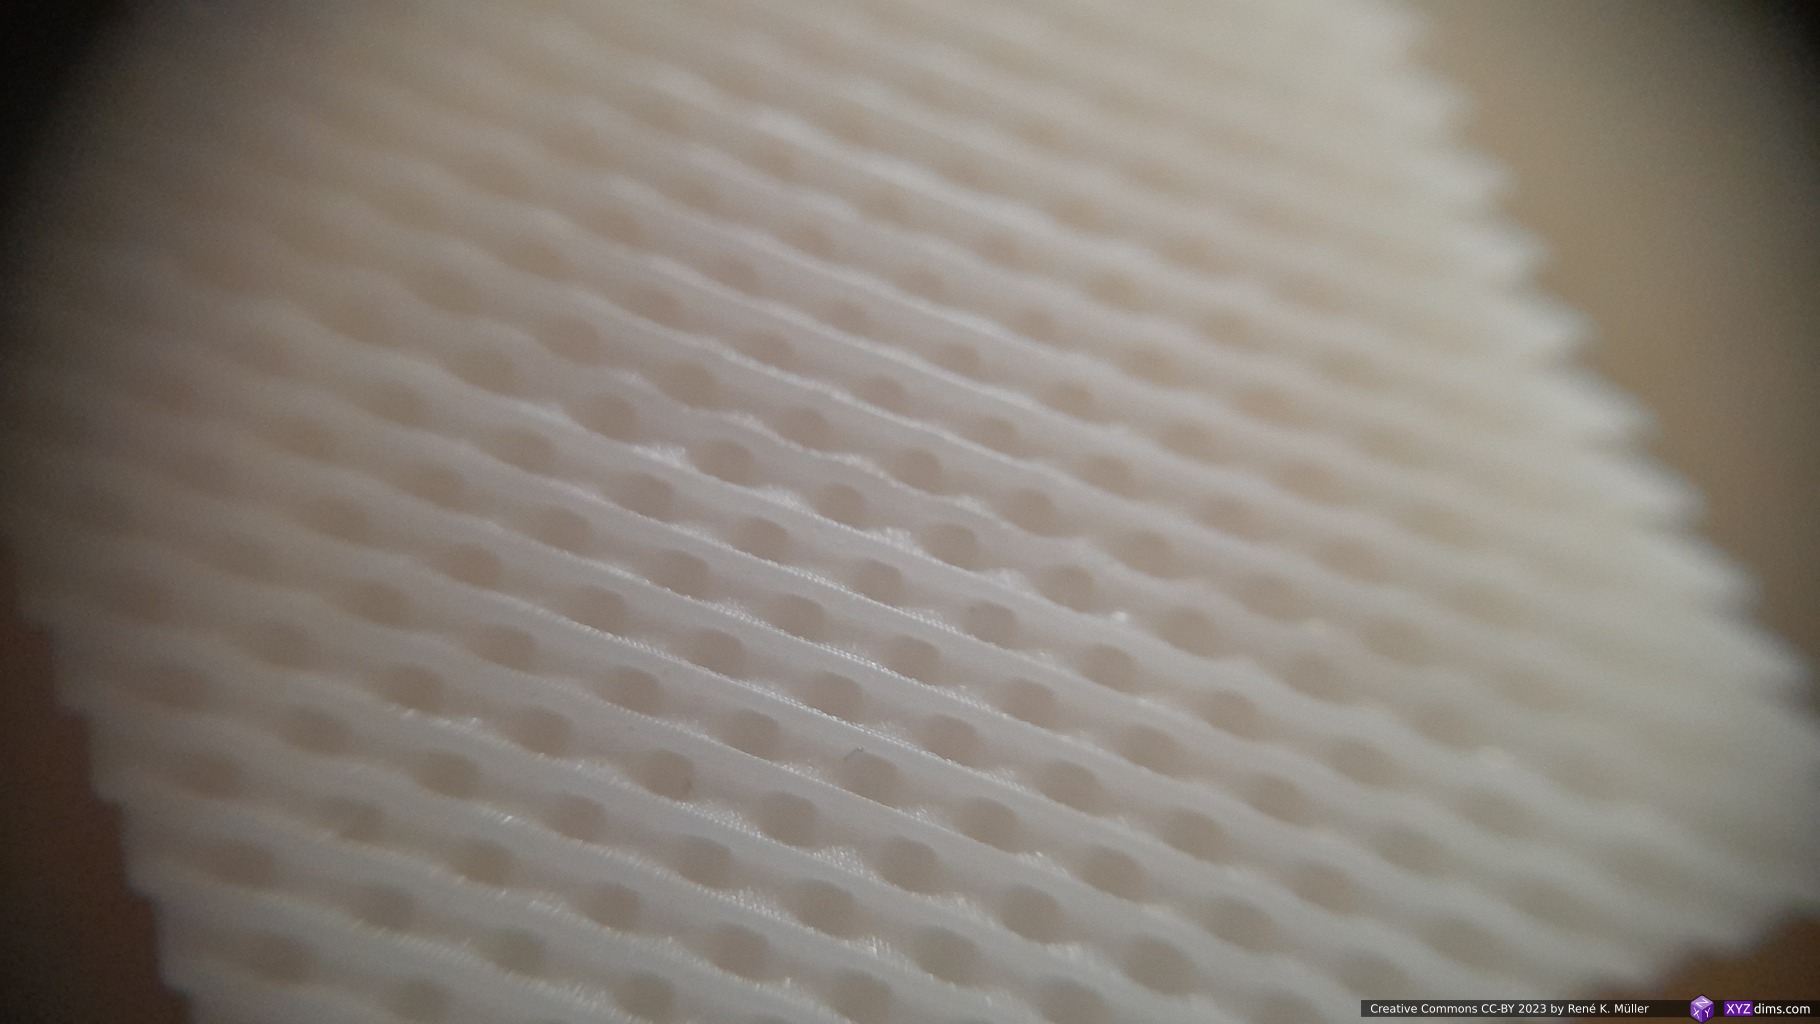
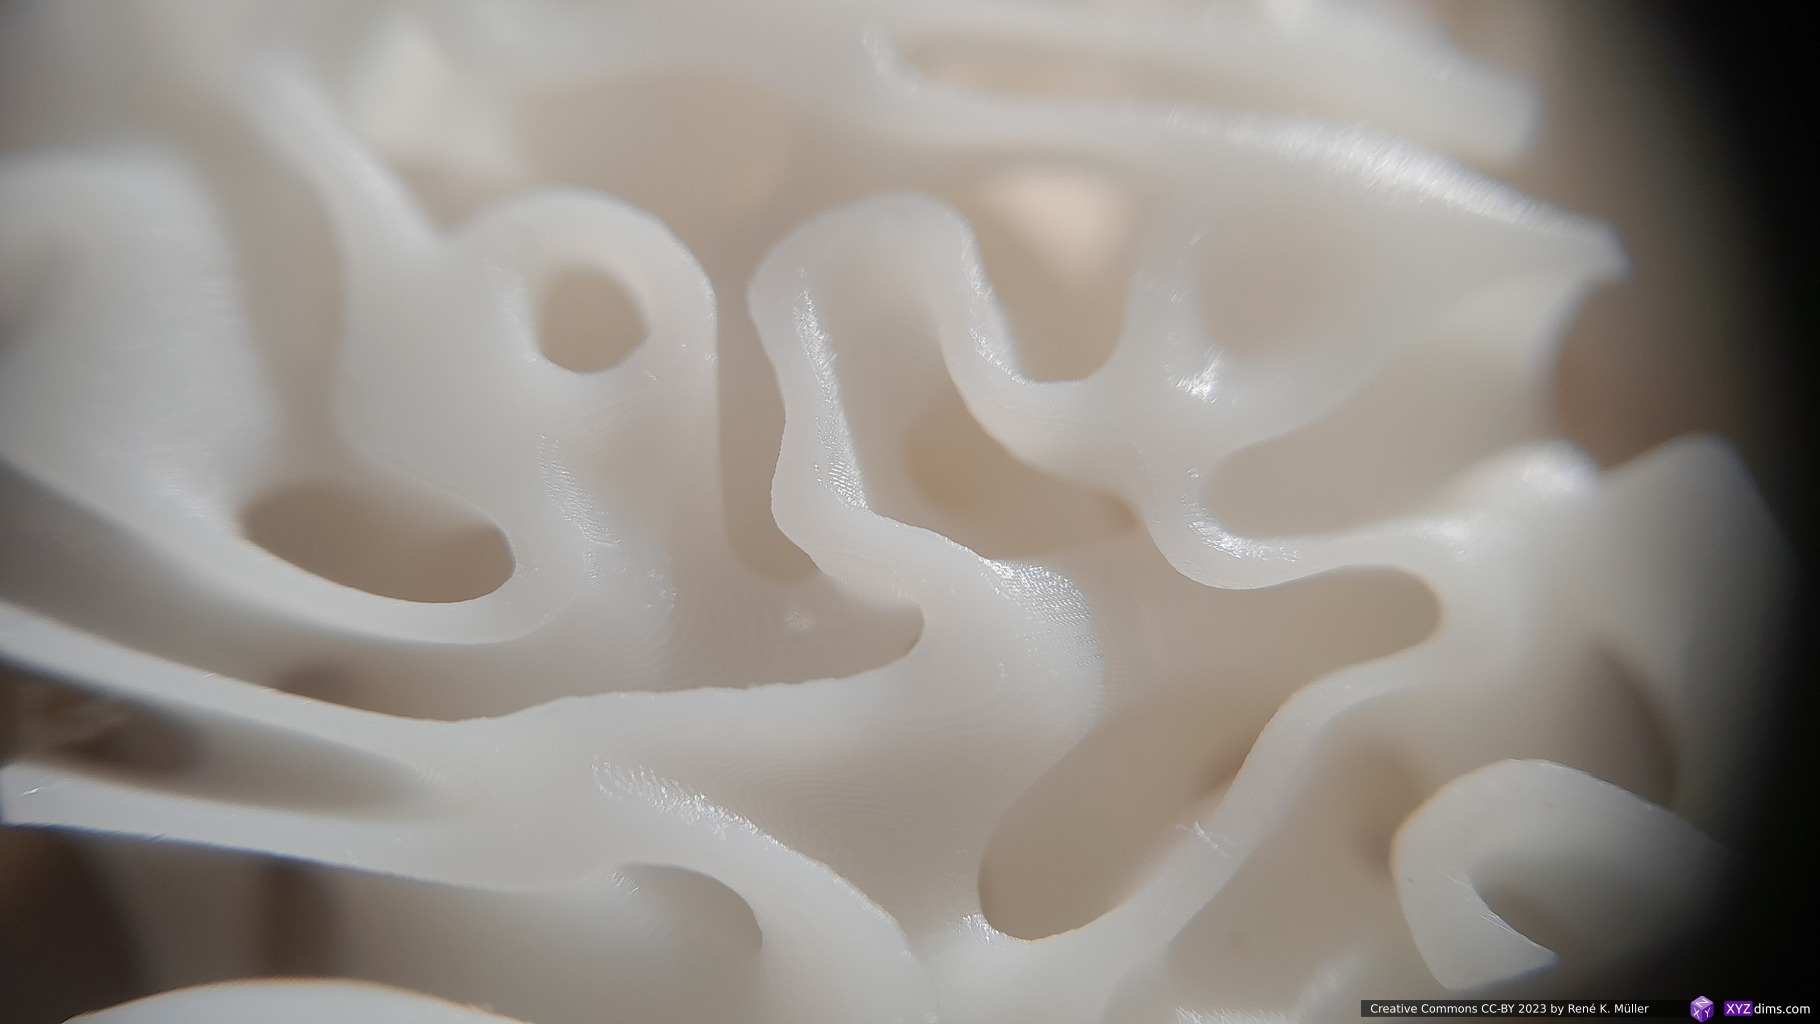
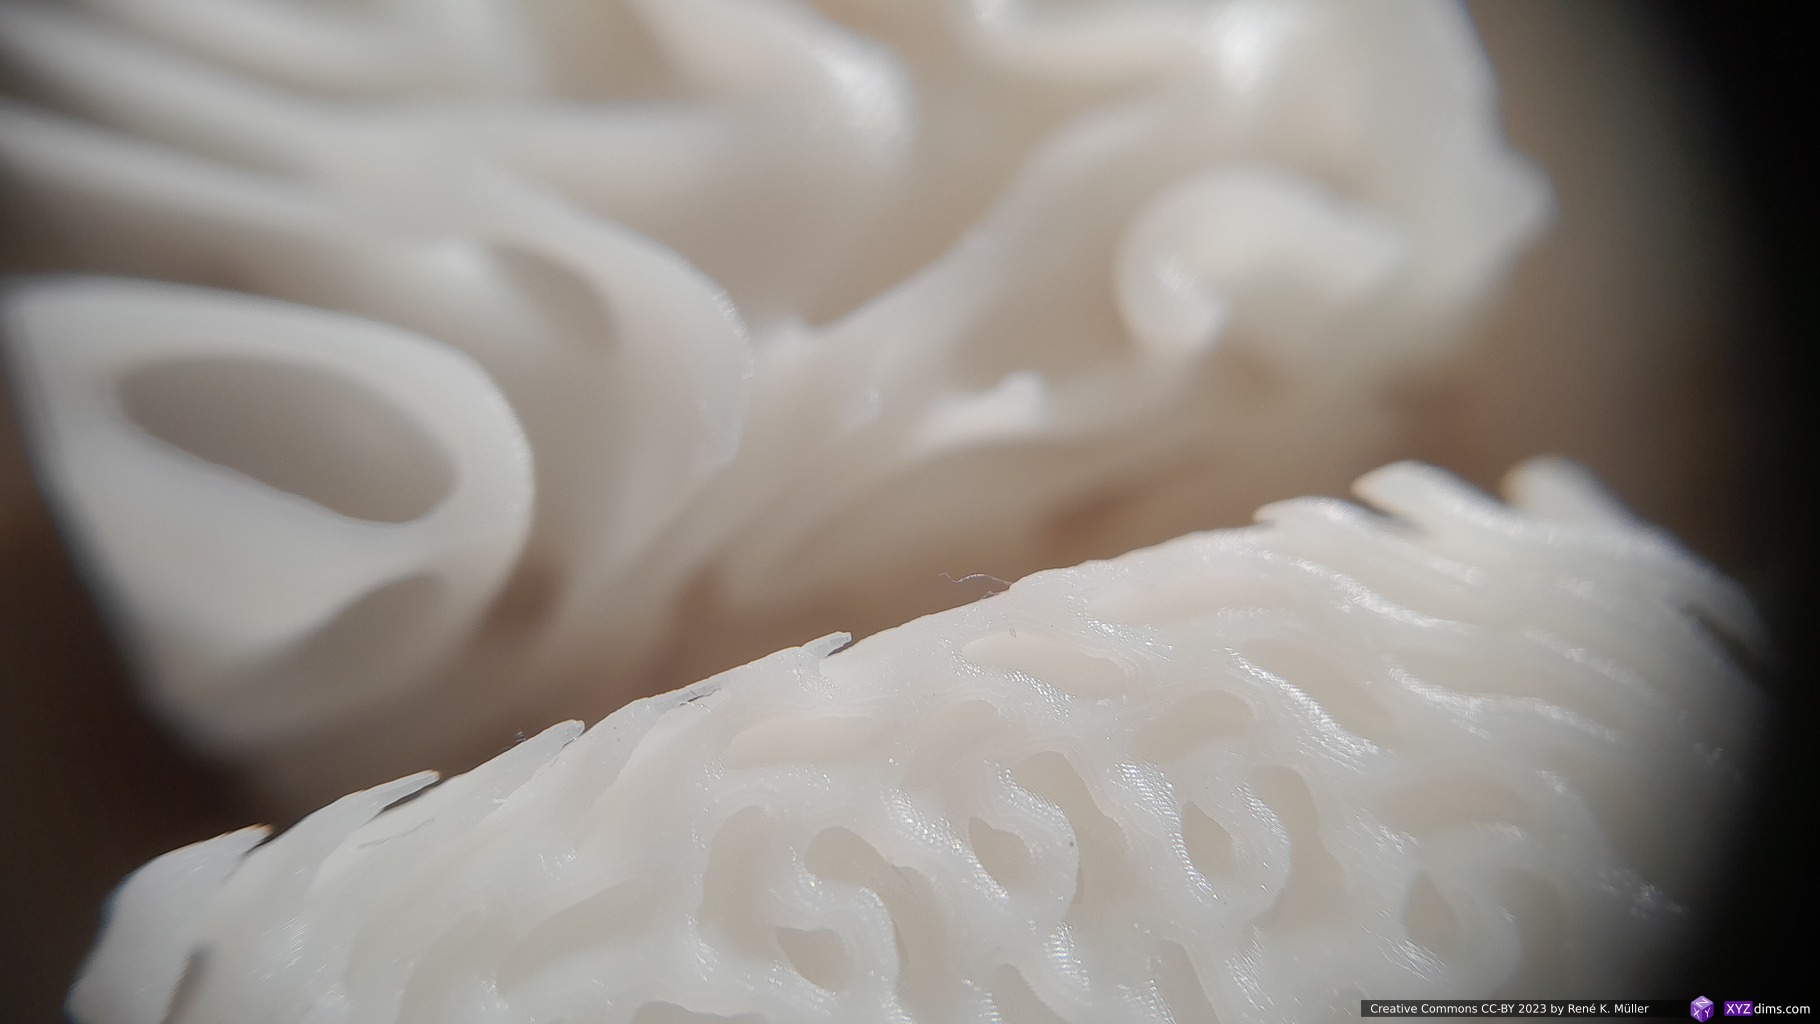
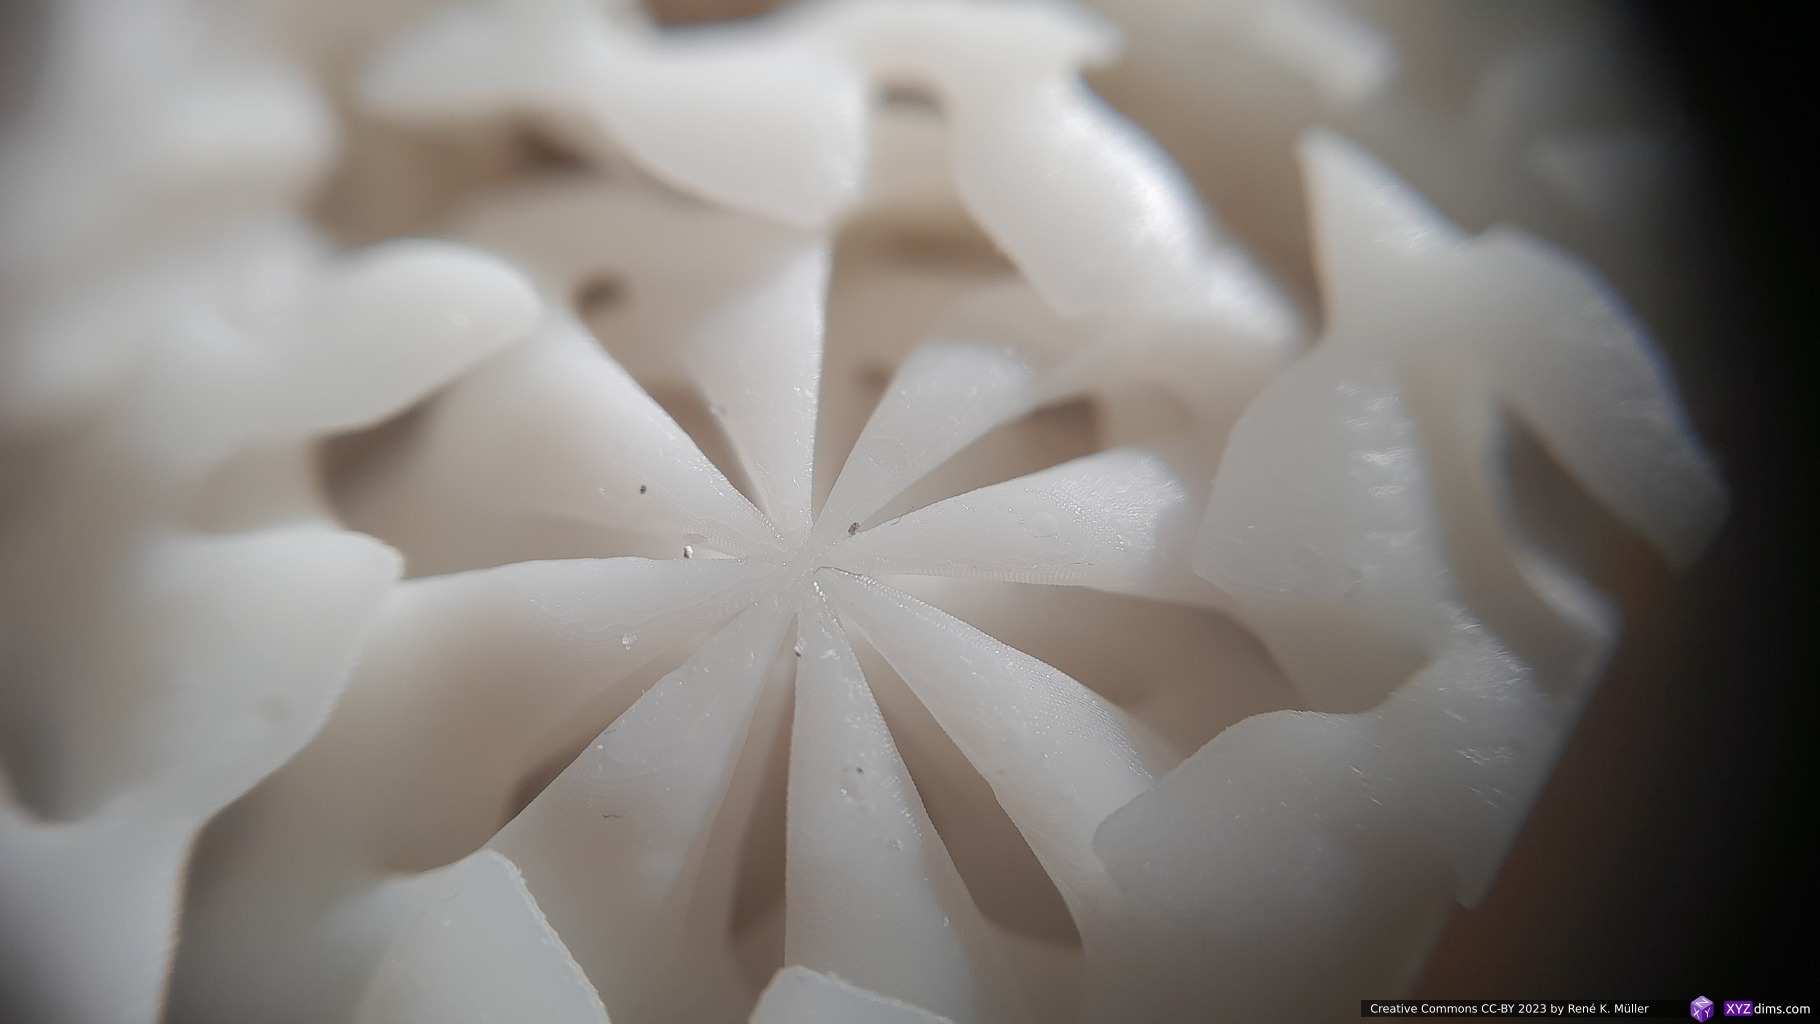
20mm cubes of several Triply Periodic Minimal Surfaces (TPMS) as explored at Generative Parametric Infill Geometries printed with MSLA (Anycubic Photon Mono 4K) at 35 μm XY, 50 μm Z:
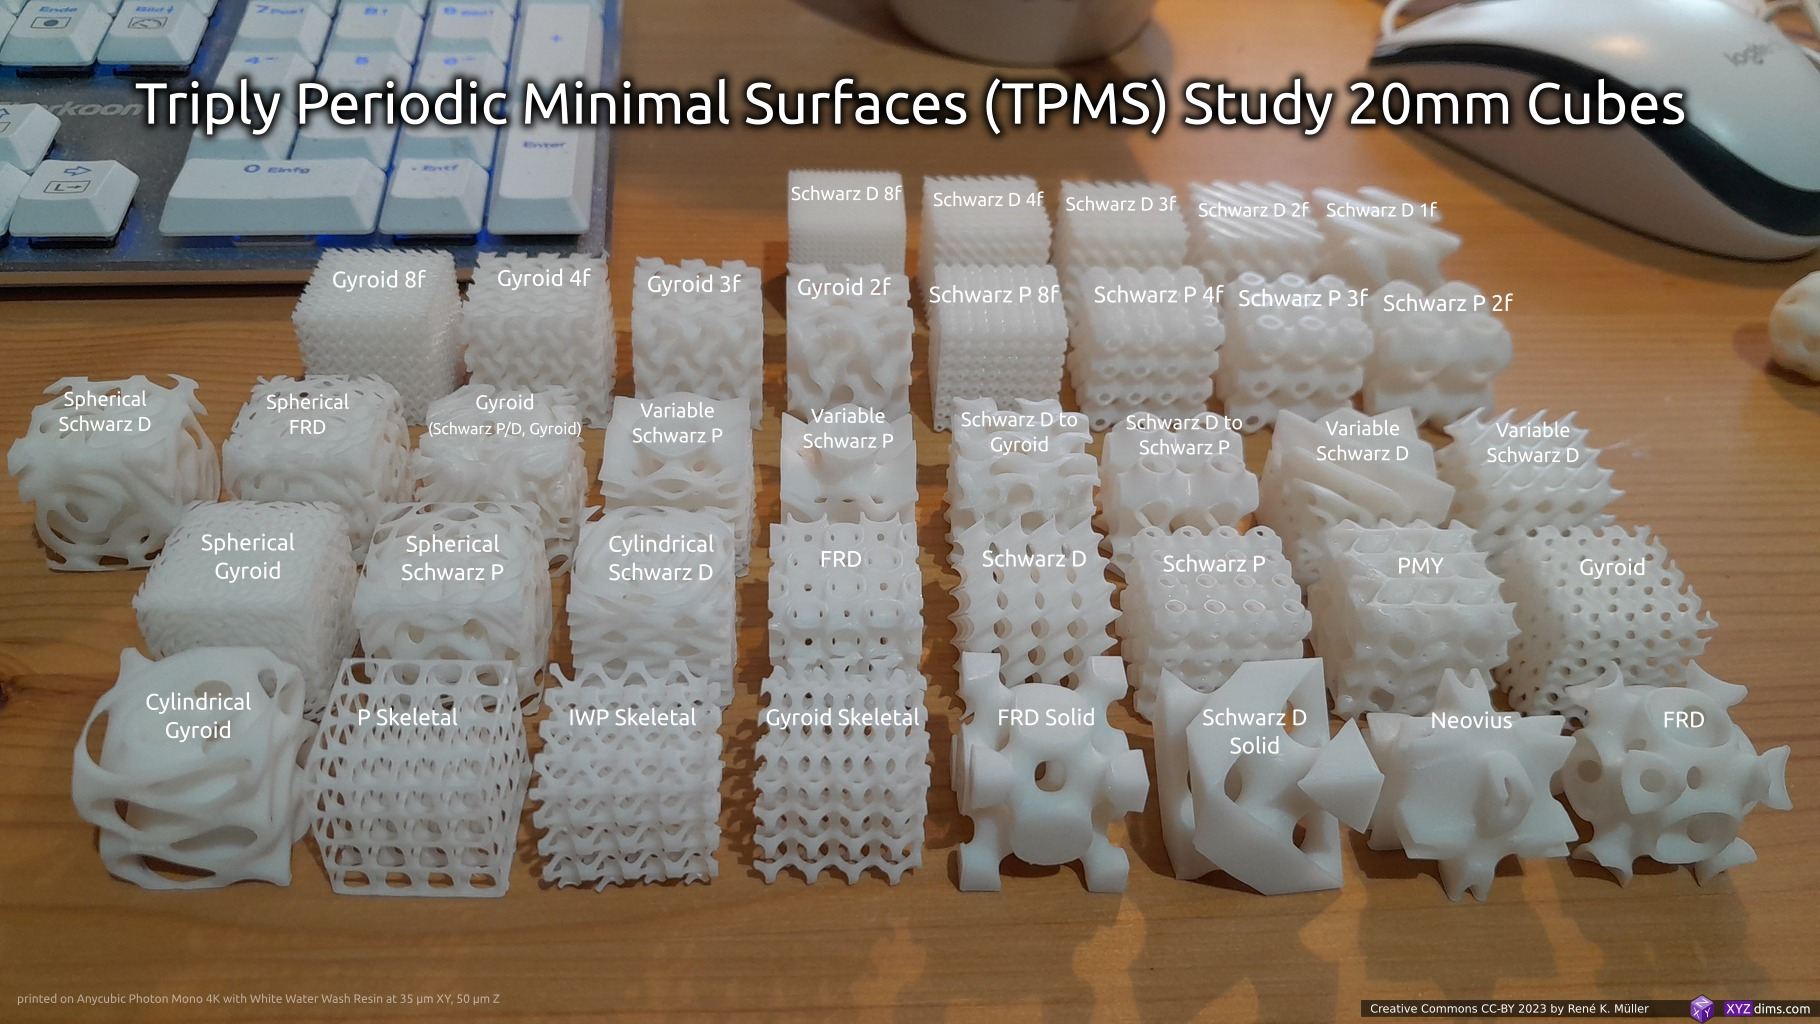
Most of the cubes were printed without support, the cylindrical and spherical projections required supports.
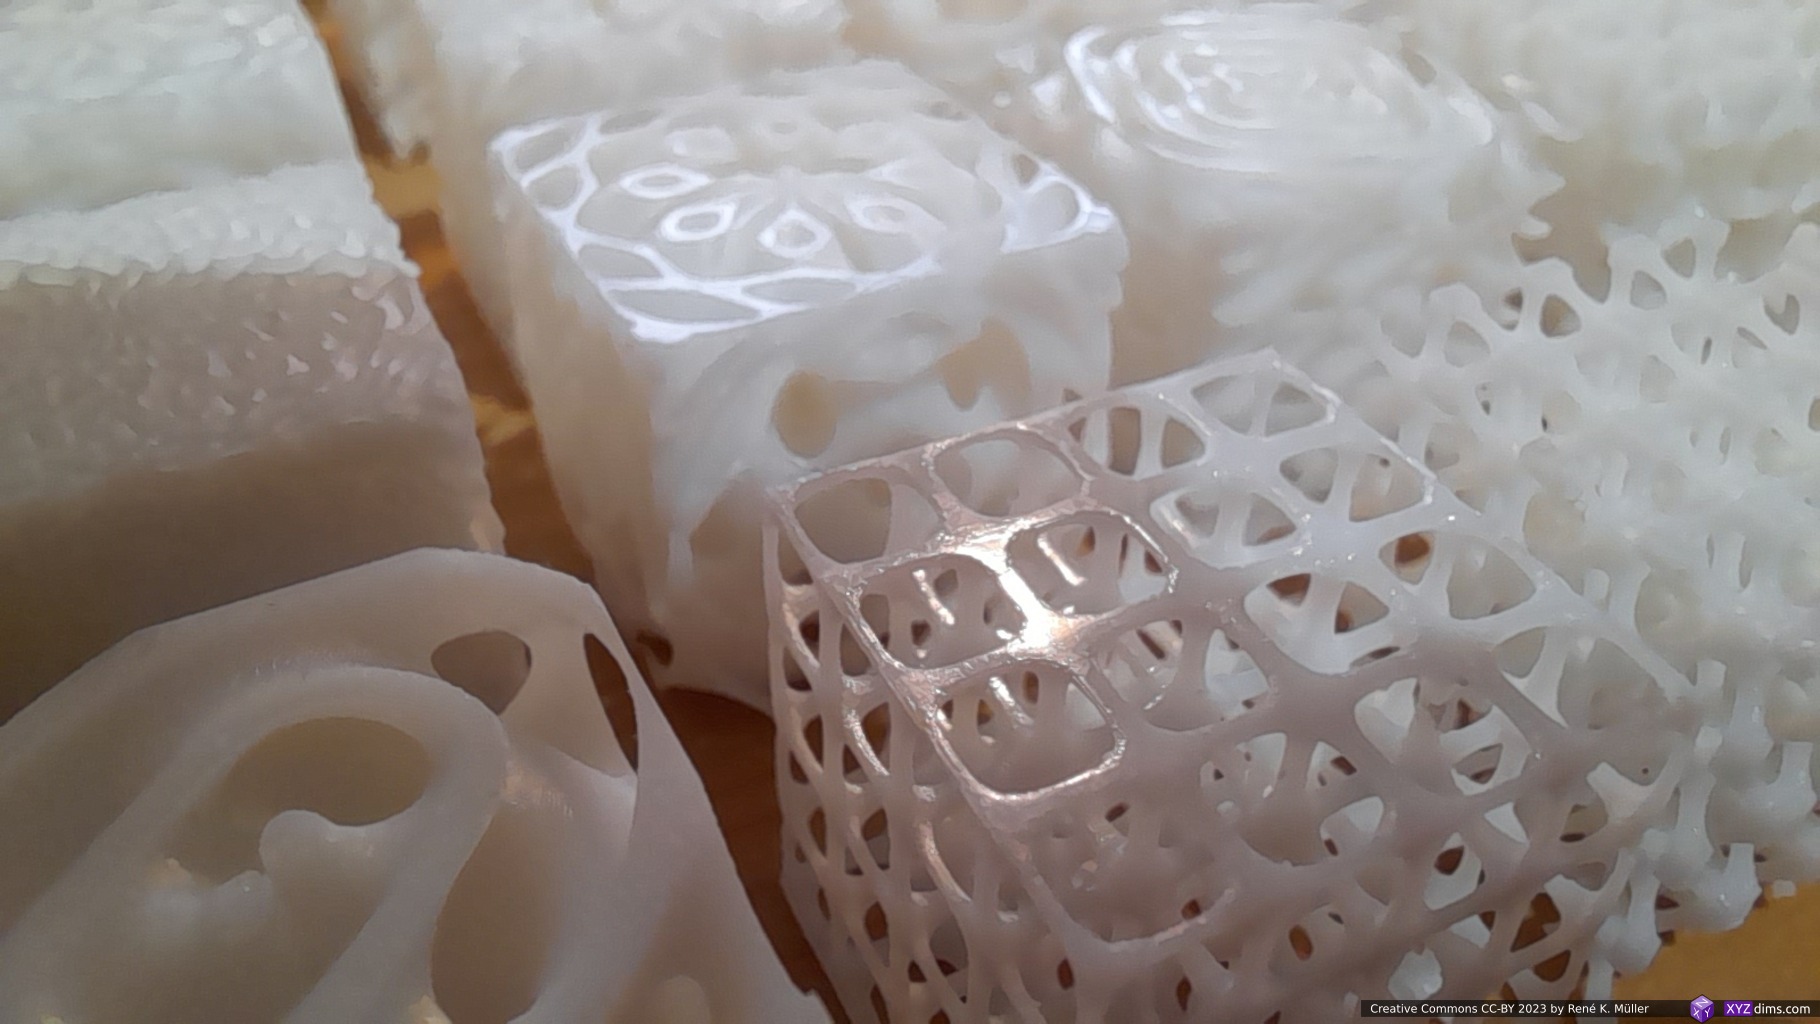
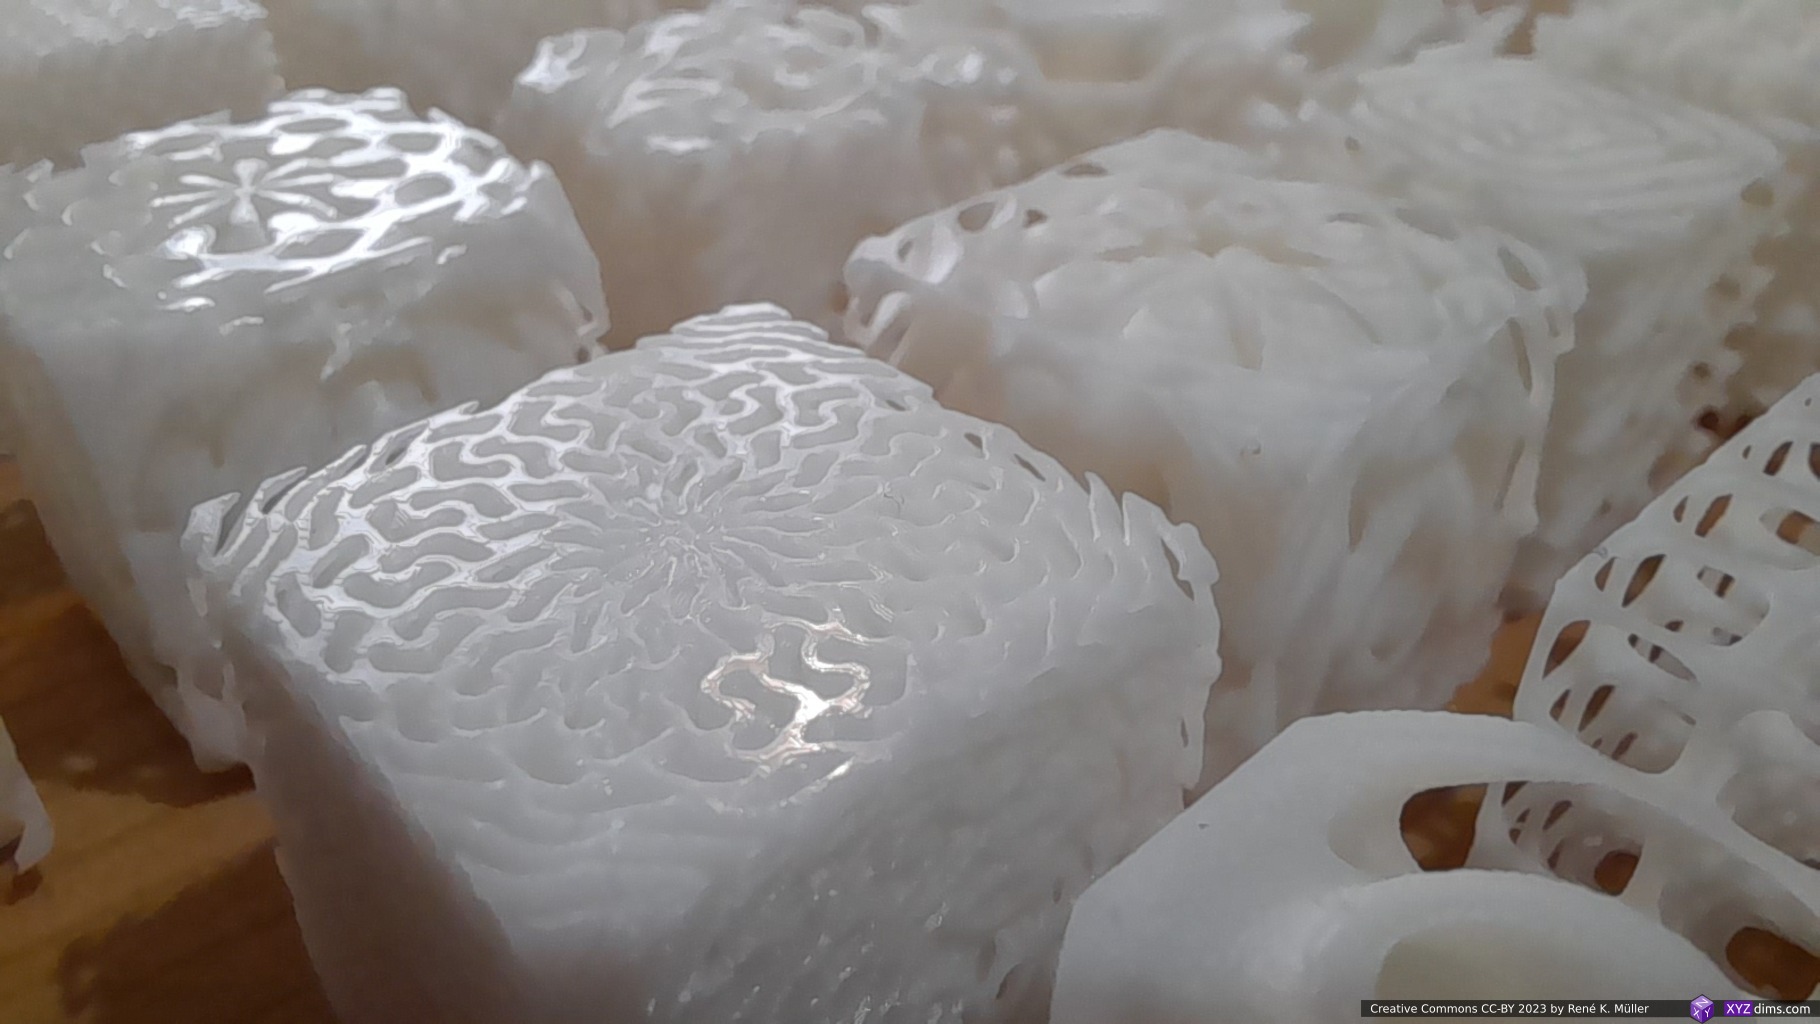
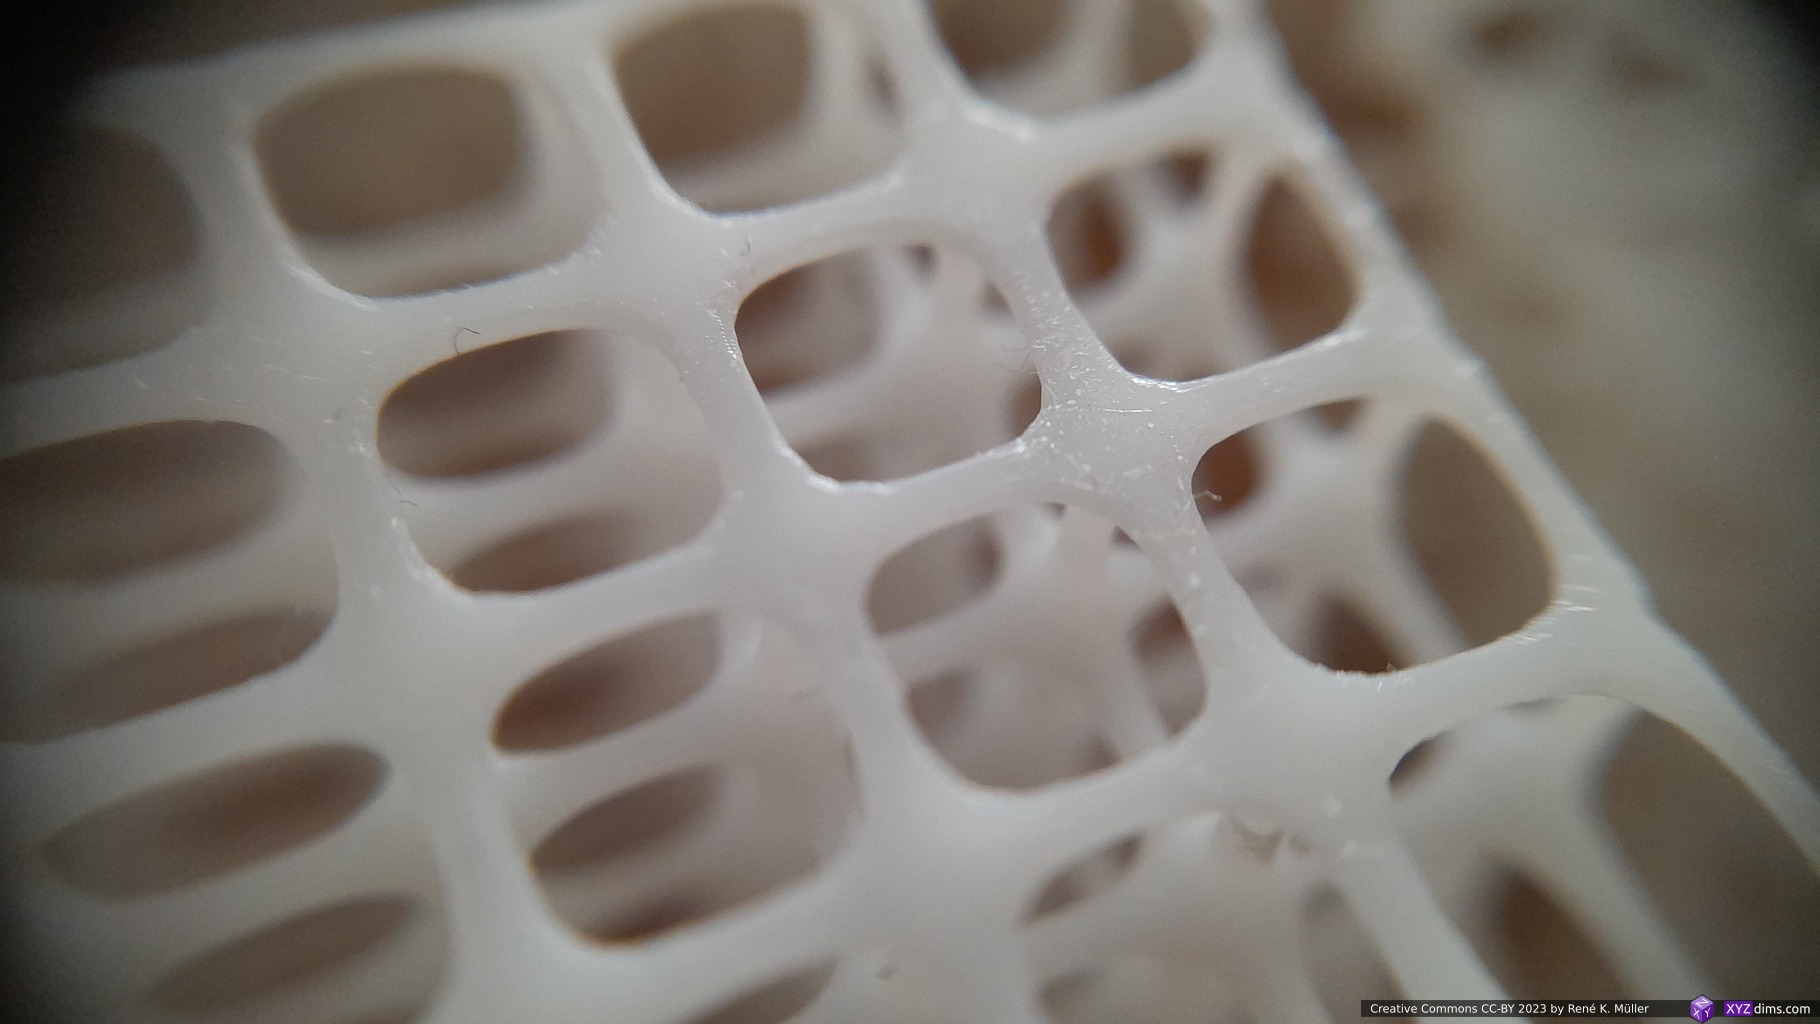
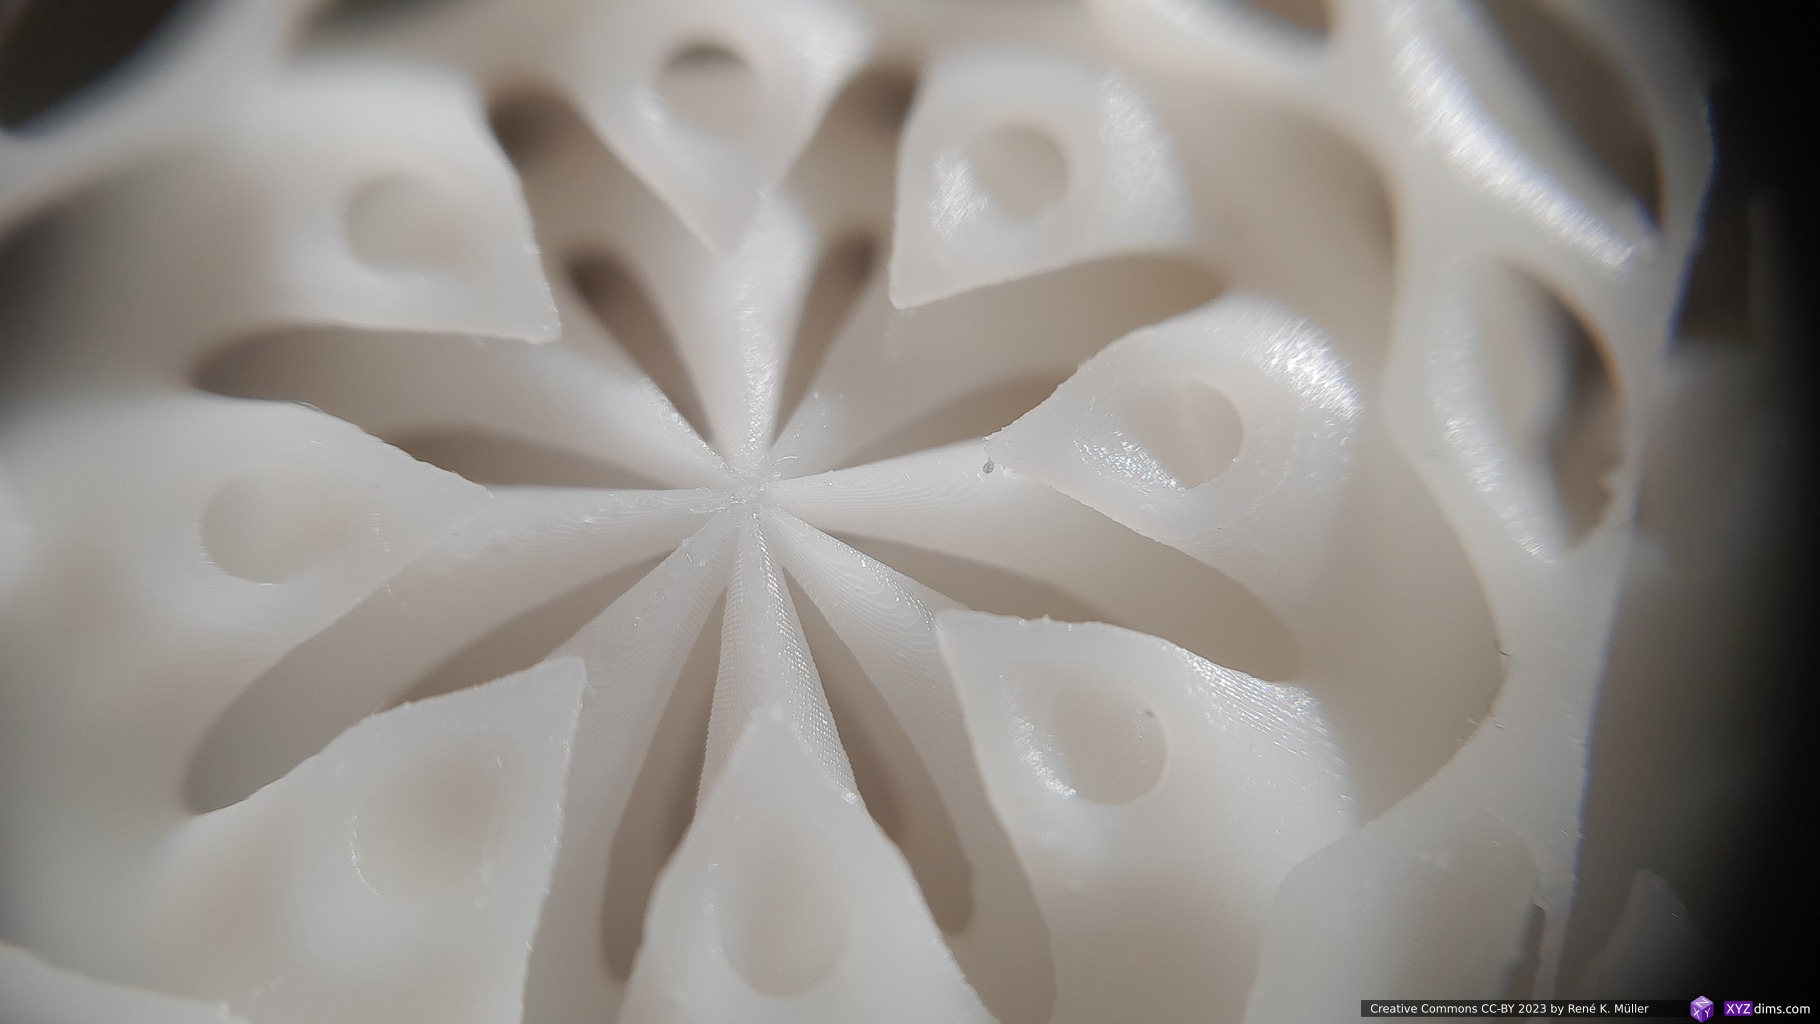
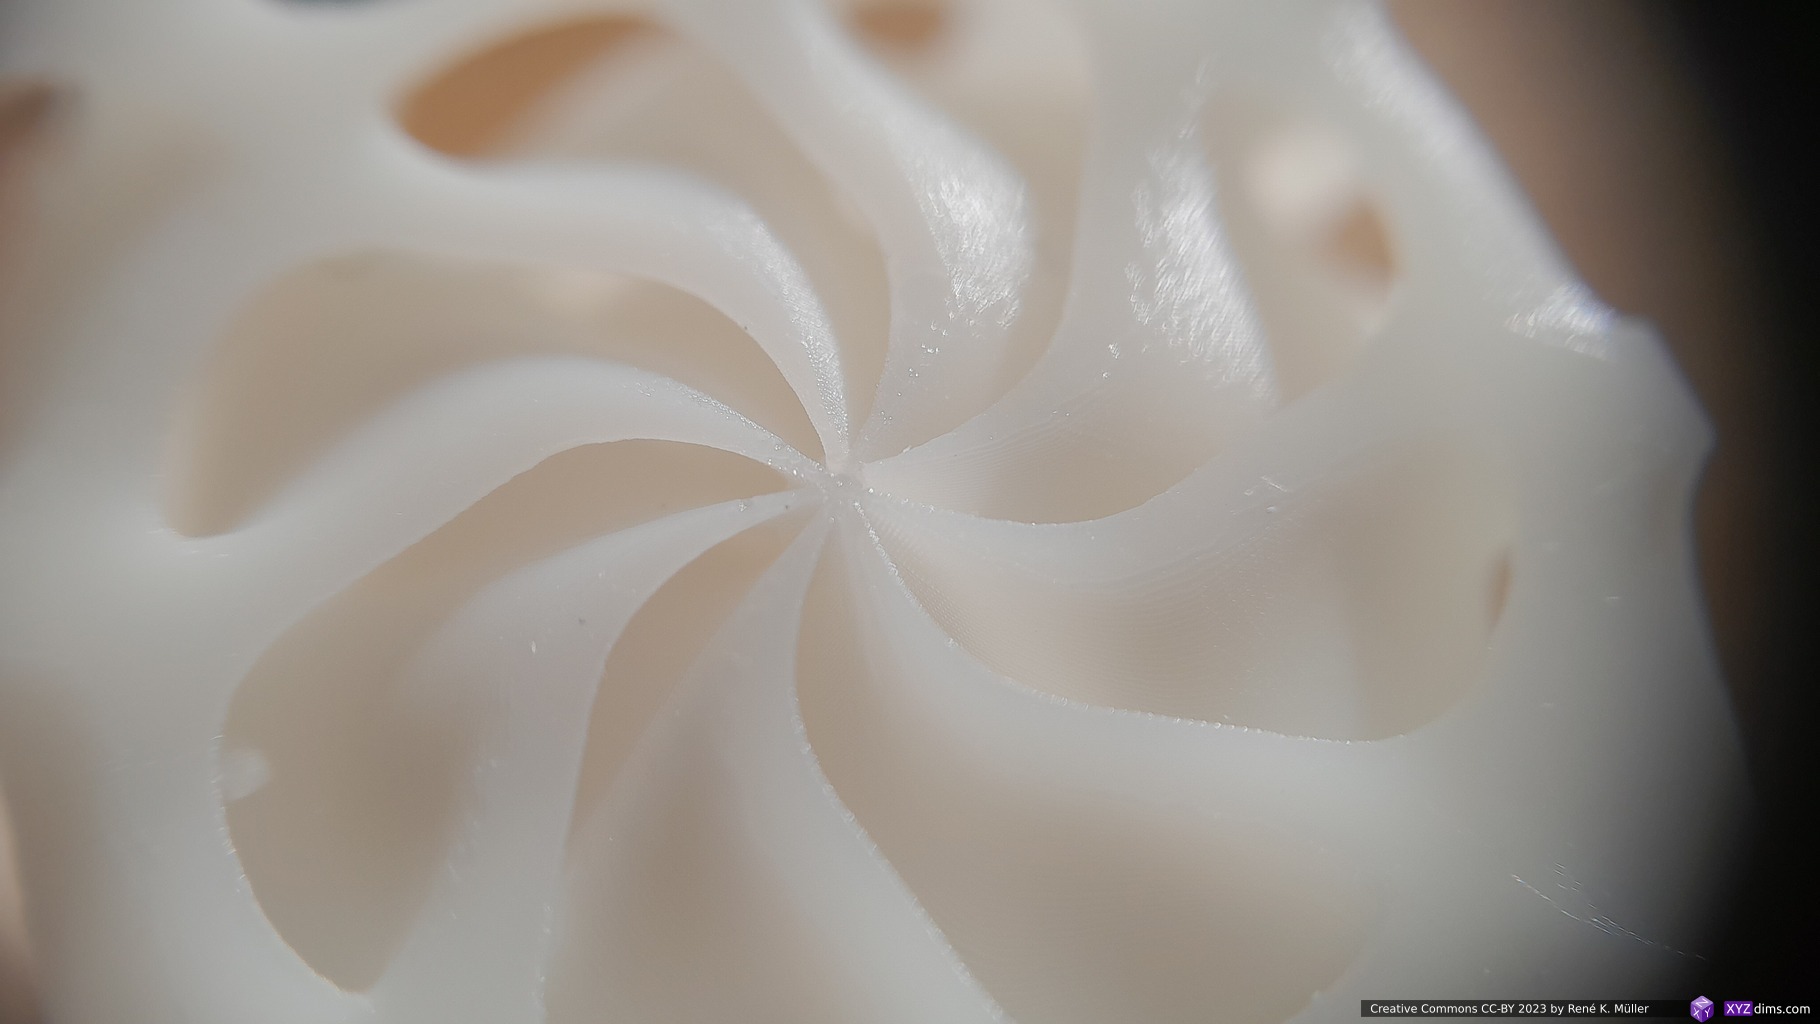
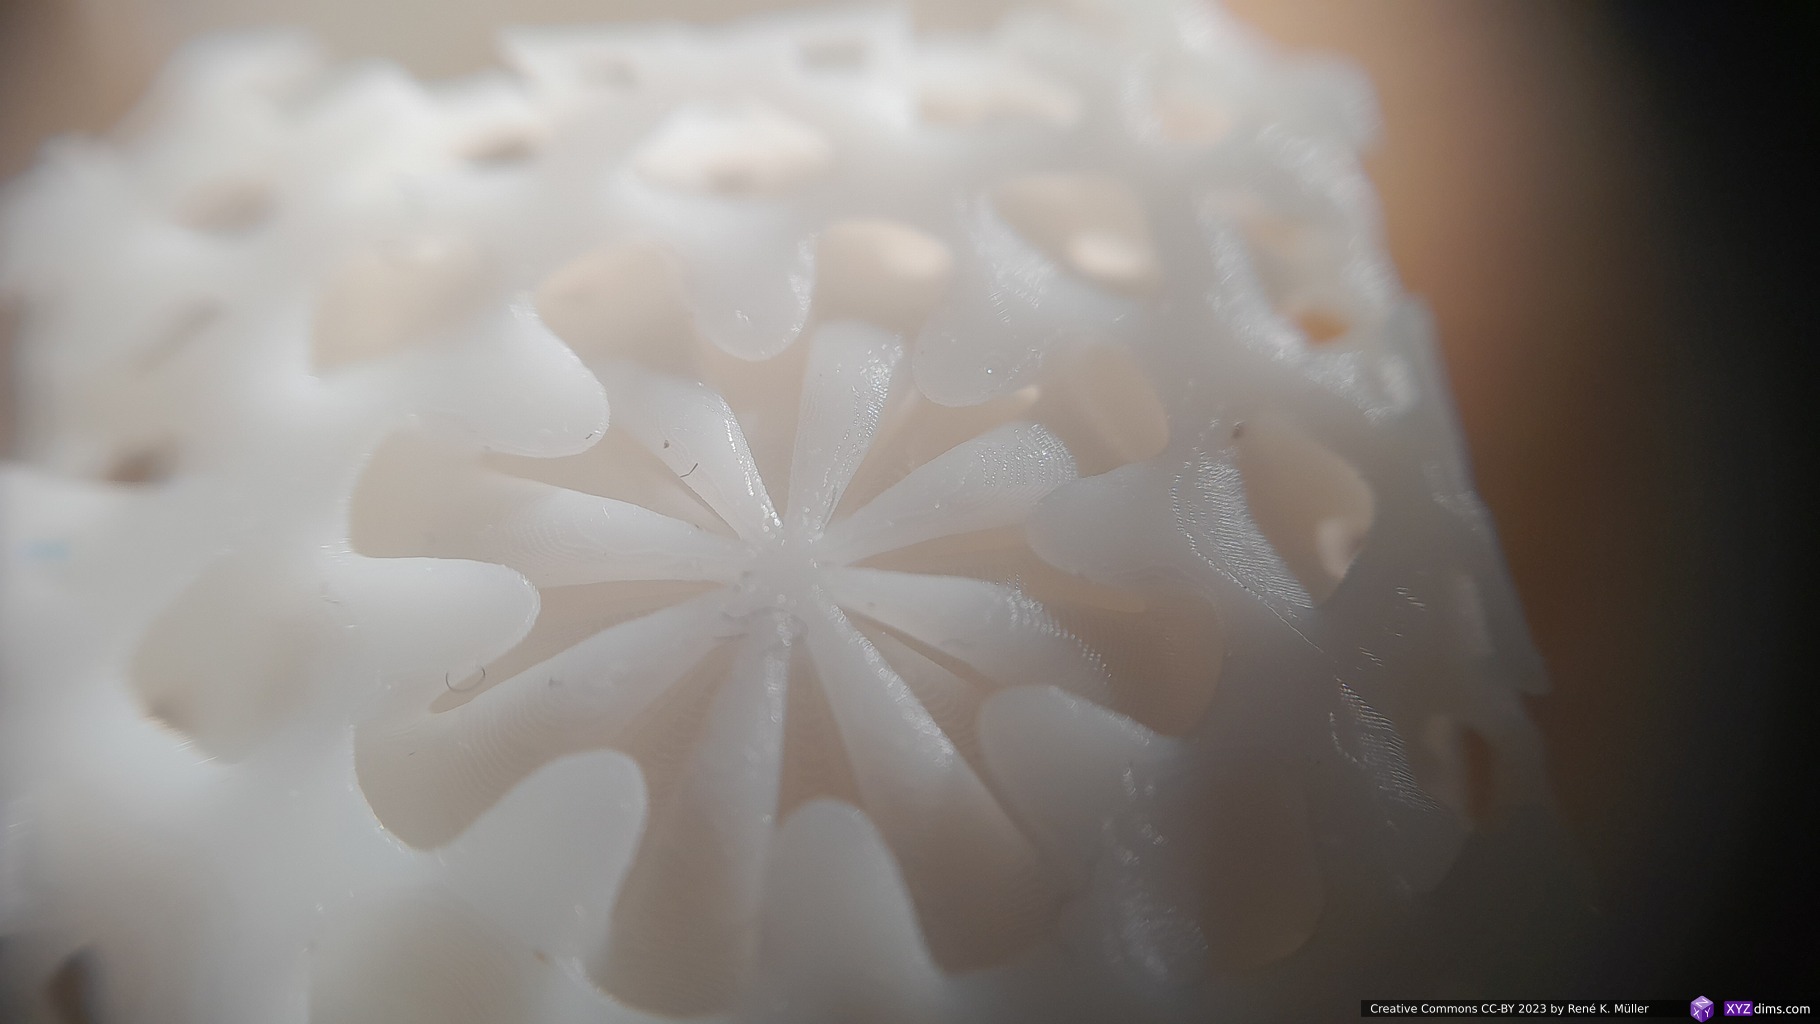
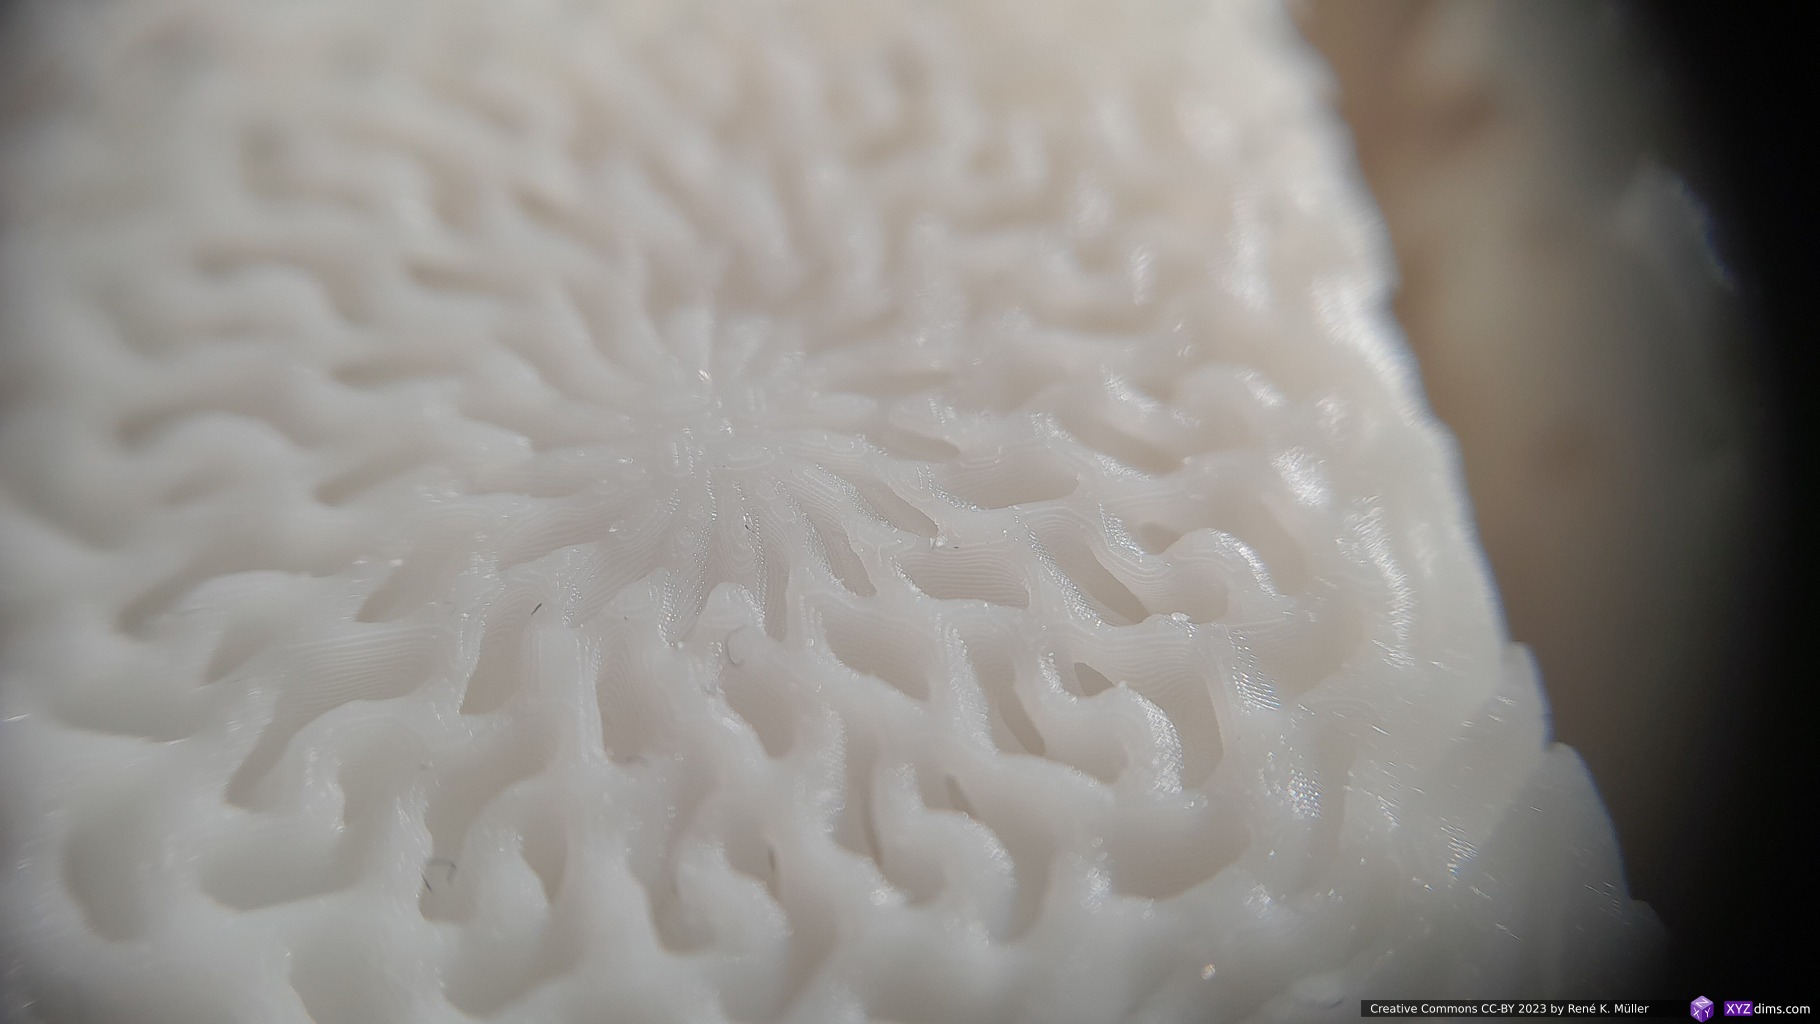
Closeups

20mm and 40mm cubes of TPMS mounted on canvases: