2024/12/04: completing first table on printheads & nozzles
2024/07/30: starting write up
Introduction
When depositing material through a nozzle, the variables to compose a workpiece depends on the amount of nozzles and their operational spaces – let’s lay out the different methods which gives us the foundation to tackle then parallel procedures in the next part in the series.
Printheads, Nozzles & Operational Space
Printheads
Nozzles per Printhead
Nozzle Size [mm]
Layer Height [mm]
Material
Operational Space
Single nozzle FDM/FFF
1
1
0.1-1.0
0.1-0.6
Polymer (PLA, PETG, ABS)
100%
Dual nozzle FDM/FFF aka IDEX
2
1
0.1-1.0
0.1-0.6
Polymer (PLA, PETG, ABS)
2x 50%; horizontally separated
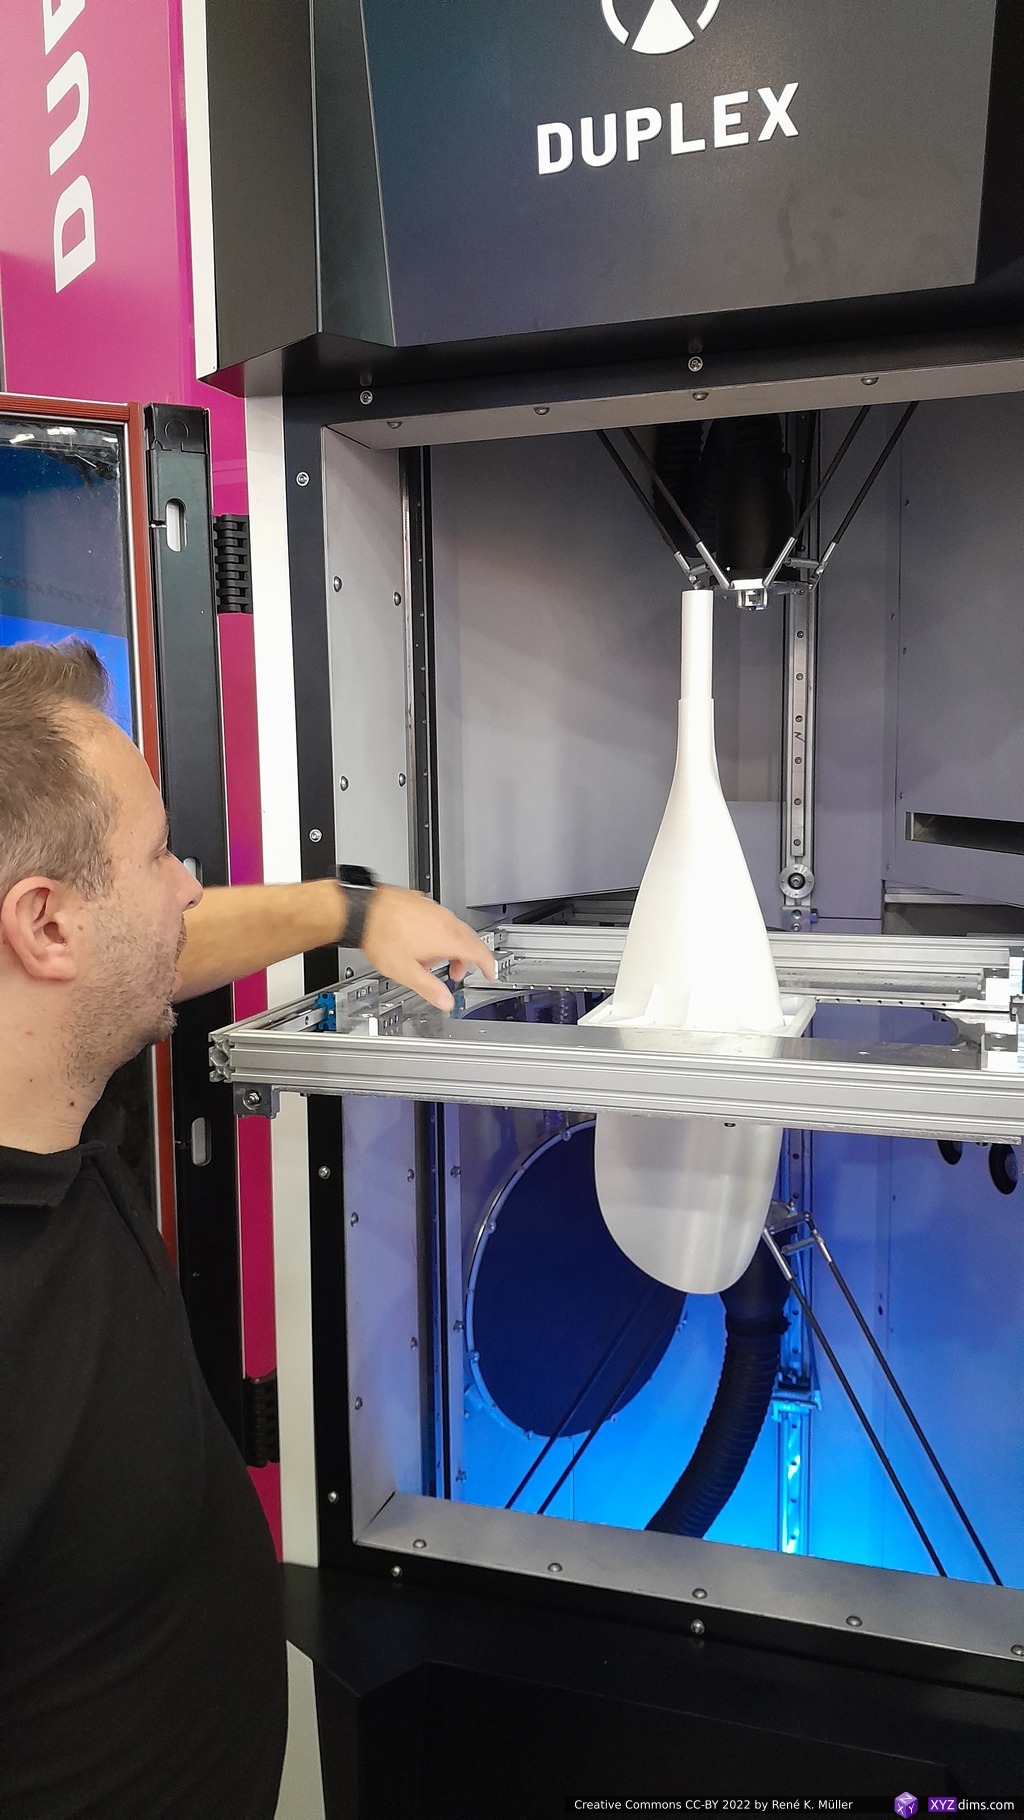
Duplex F2
2
1
0.1-1.0
0.1-0.6
Polymer (PLA, PETG, ABS)
2x 50%; vertical separated
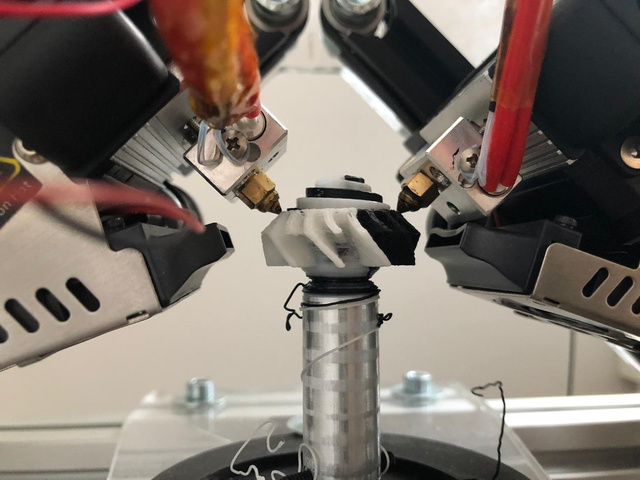
CM3P Dual Conical
2
1
0.1-1.0
0.1-0.6
Polymer (PLA, PETG, ABS)
2x 50% of negative cone
Resin SLA (UV Laser)
1
1
0.150
0.050-0.150
Resins
100%
Resin MSLA (UV & LCD)
1
50M-100M
0.020-0.040
0.050-0.150
Resins
100%
Quantica NovoJet
1
96
0.050
Resins
100%
Stratasys J55 PolyJet
1
192*)
0.2*)
0.18
Resins
100%
Selective Laser Sintering/Melting
1+
1
0.1
0.05-0.10
Polymer or Metal Powder
100%
Stratasys J55: nozzles & nozzle size based on J850 specs, J55 details specs seem not publicized (2024/12)
Print Base
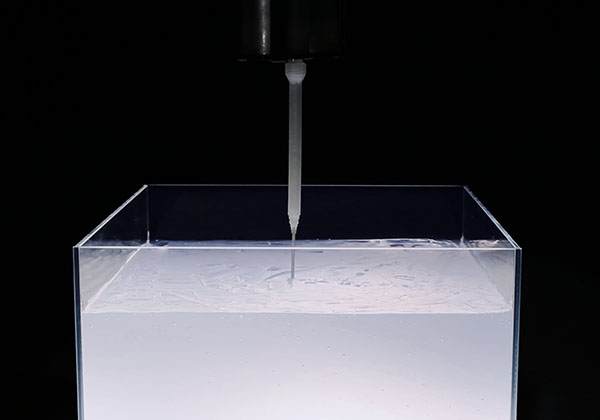
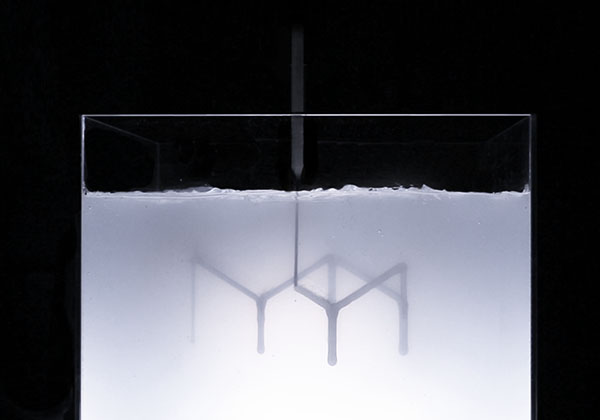
A print base is where the nozzle can extrude on. For the first layer, there is the print bed, after the first layer the workpiece or support structure can be build upon. One can alternatively use a stabilizing medium like silicon and extrude in such liquid medium which operates as bed or foundation like Rapid Liquid Printing (RLP) does:
Extruding into supporting materialExtruding into supporting material
The extruded material just has to stay where it was put, either a solid bed or a medium which prevents it to float out of position, or as traditionally printed on a print bed or base, very similar does Xolography where the solidified resin stays put as well.
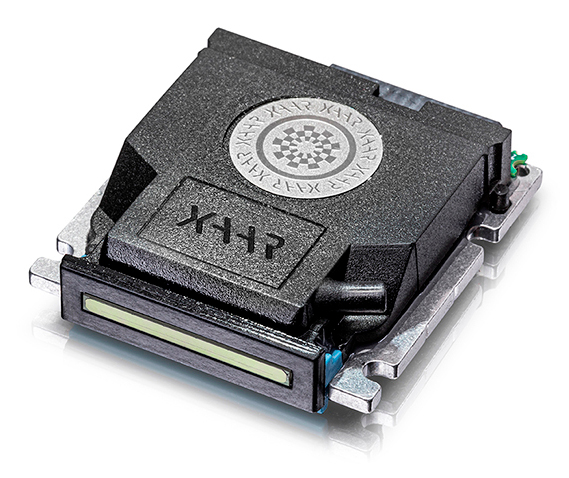
Massive Parallel Nozzles Printhead
Resin printing with a printhead may have hundreds or even thousands of nozzles, yet, they share the same operational space, but due the parallel setup the print speed multiplies direct with the amount of parallel nozzles on the same printhead.
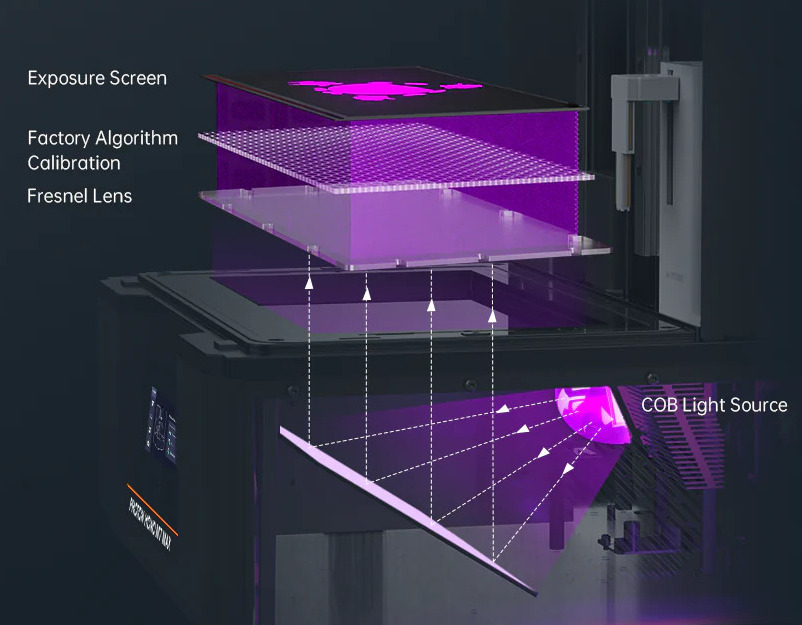
As mentioned above, we can also view Masked Stereolithography (MSLA) resin printing as a massive parallel nozzle setup, where each pixel is either an active or inactive nozzle depositing a voxel.
Anycubic Mono M7 Max MSLA Setup
Separated vs Shared Operational Space
Disclosure: I have been contracted to work on the Duplex F2 software stack (2022-2024).
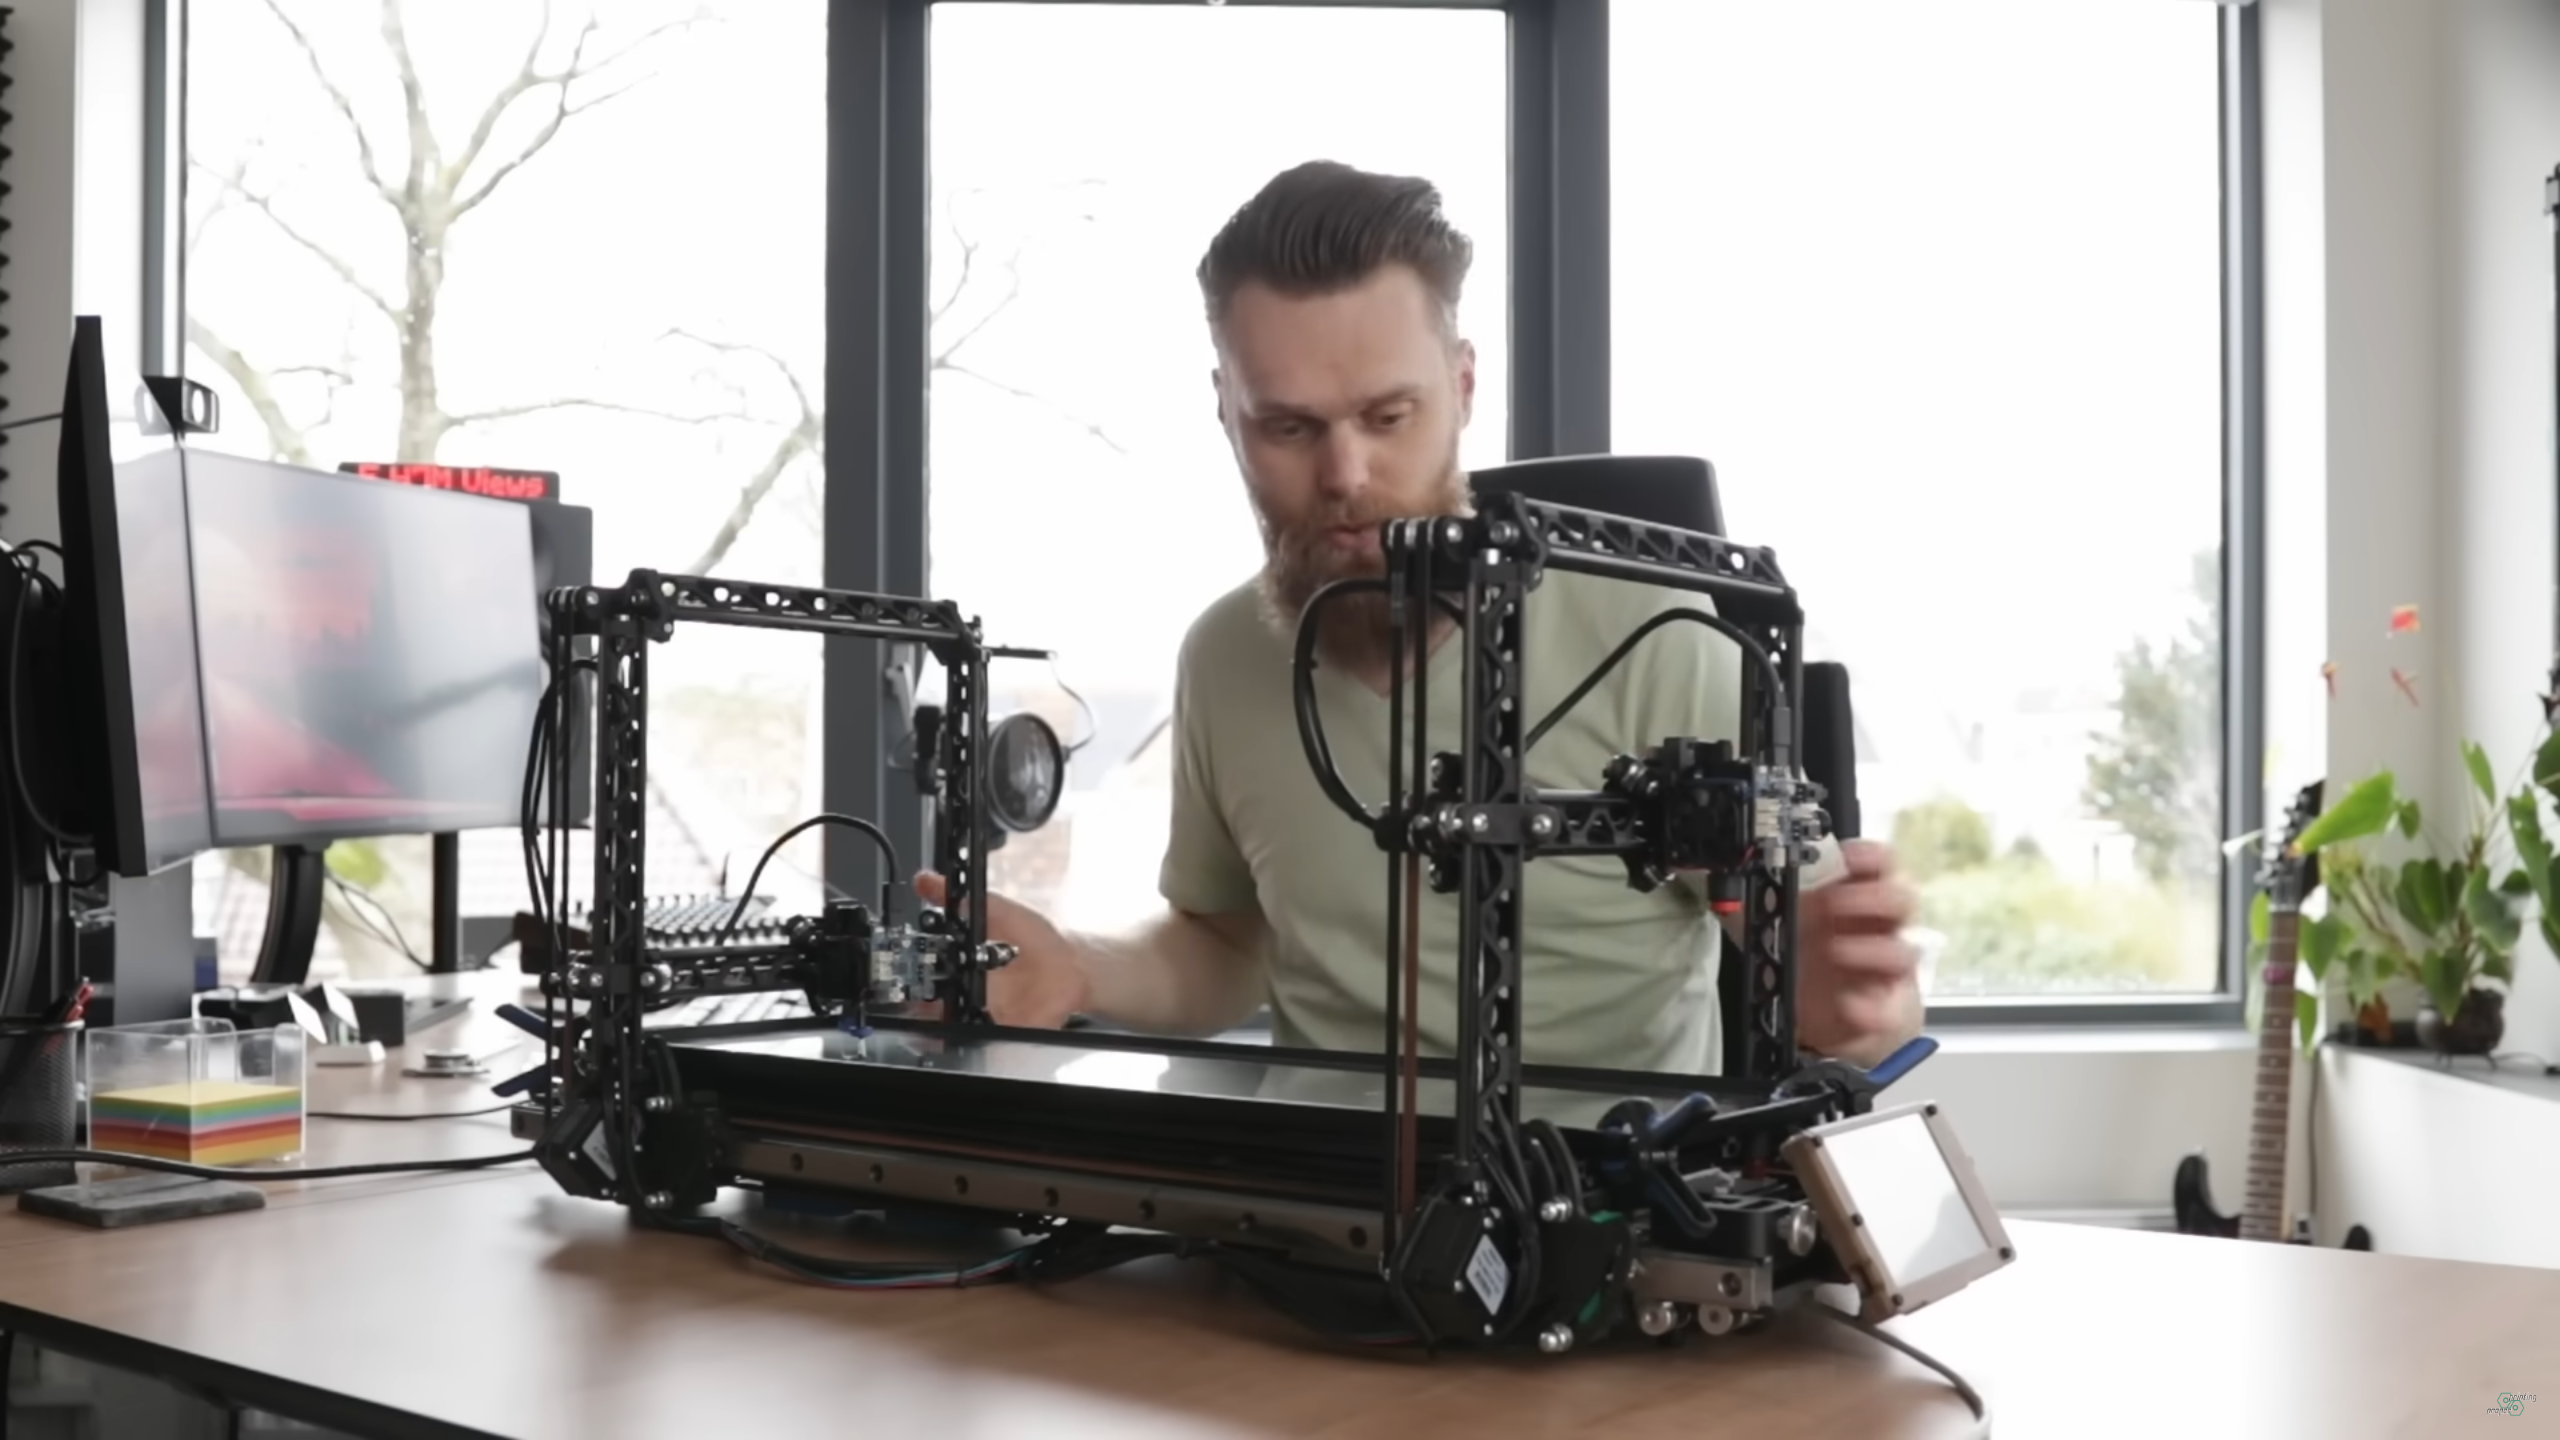
Let’s take a look at the Duplex F2 printer where space is separated vertically, or the CM3P dual conical printer where the cone space is separated horizontally, or the Multi Gantry 3D printer by Proper Printing (Jon Schone). We have two printheads which never collide due their separated operational space, the firmware is simple and path planning is simple, both heads pretty much can operate independently.
When using more than two printheads it is beneficial to share the operational space, yet assume 6 or 8 printheads, each printhead needs rods to keep the printhead and position and orient the nozzle(s), so overlapping operational space requires extreme well planned tool paths avoiding any collision of the printheads.
Regular Operation Space Separation
We can segment or separate the space evenly or according the reach of the printheads, and each separated space can be printed without colliding. Yet, in reality the printheads mounts limit that operational space into slightly smaller spaces, but ideally:
nvolumes = volumetotal / volumeprinthead
If the individual printhead volumes aren’t regular, then we end up with arbitrary amount of printheads to cover a given print volume:
volumetotal = sum( volume1..n )
In reality, we require (slightly) overlapping operation to get seamless operation, so the “regular operation space separation” is only theoretically, but not practically.
Overlapping Operational Spaces
When the printheads can reach each other operational space, they become overlapping and controlling tool path generation needs to take care no collision is occurring (same place at the same time).
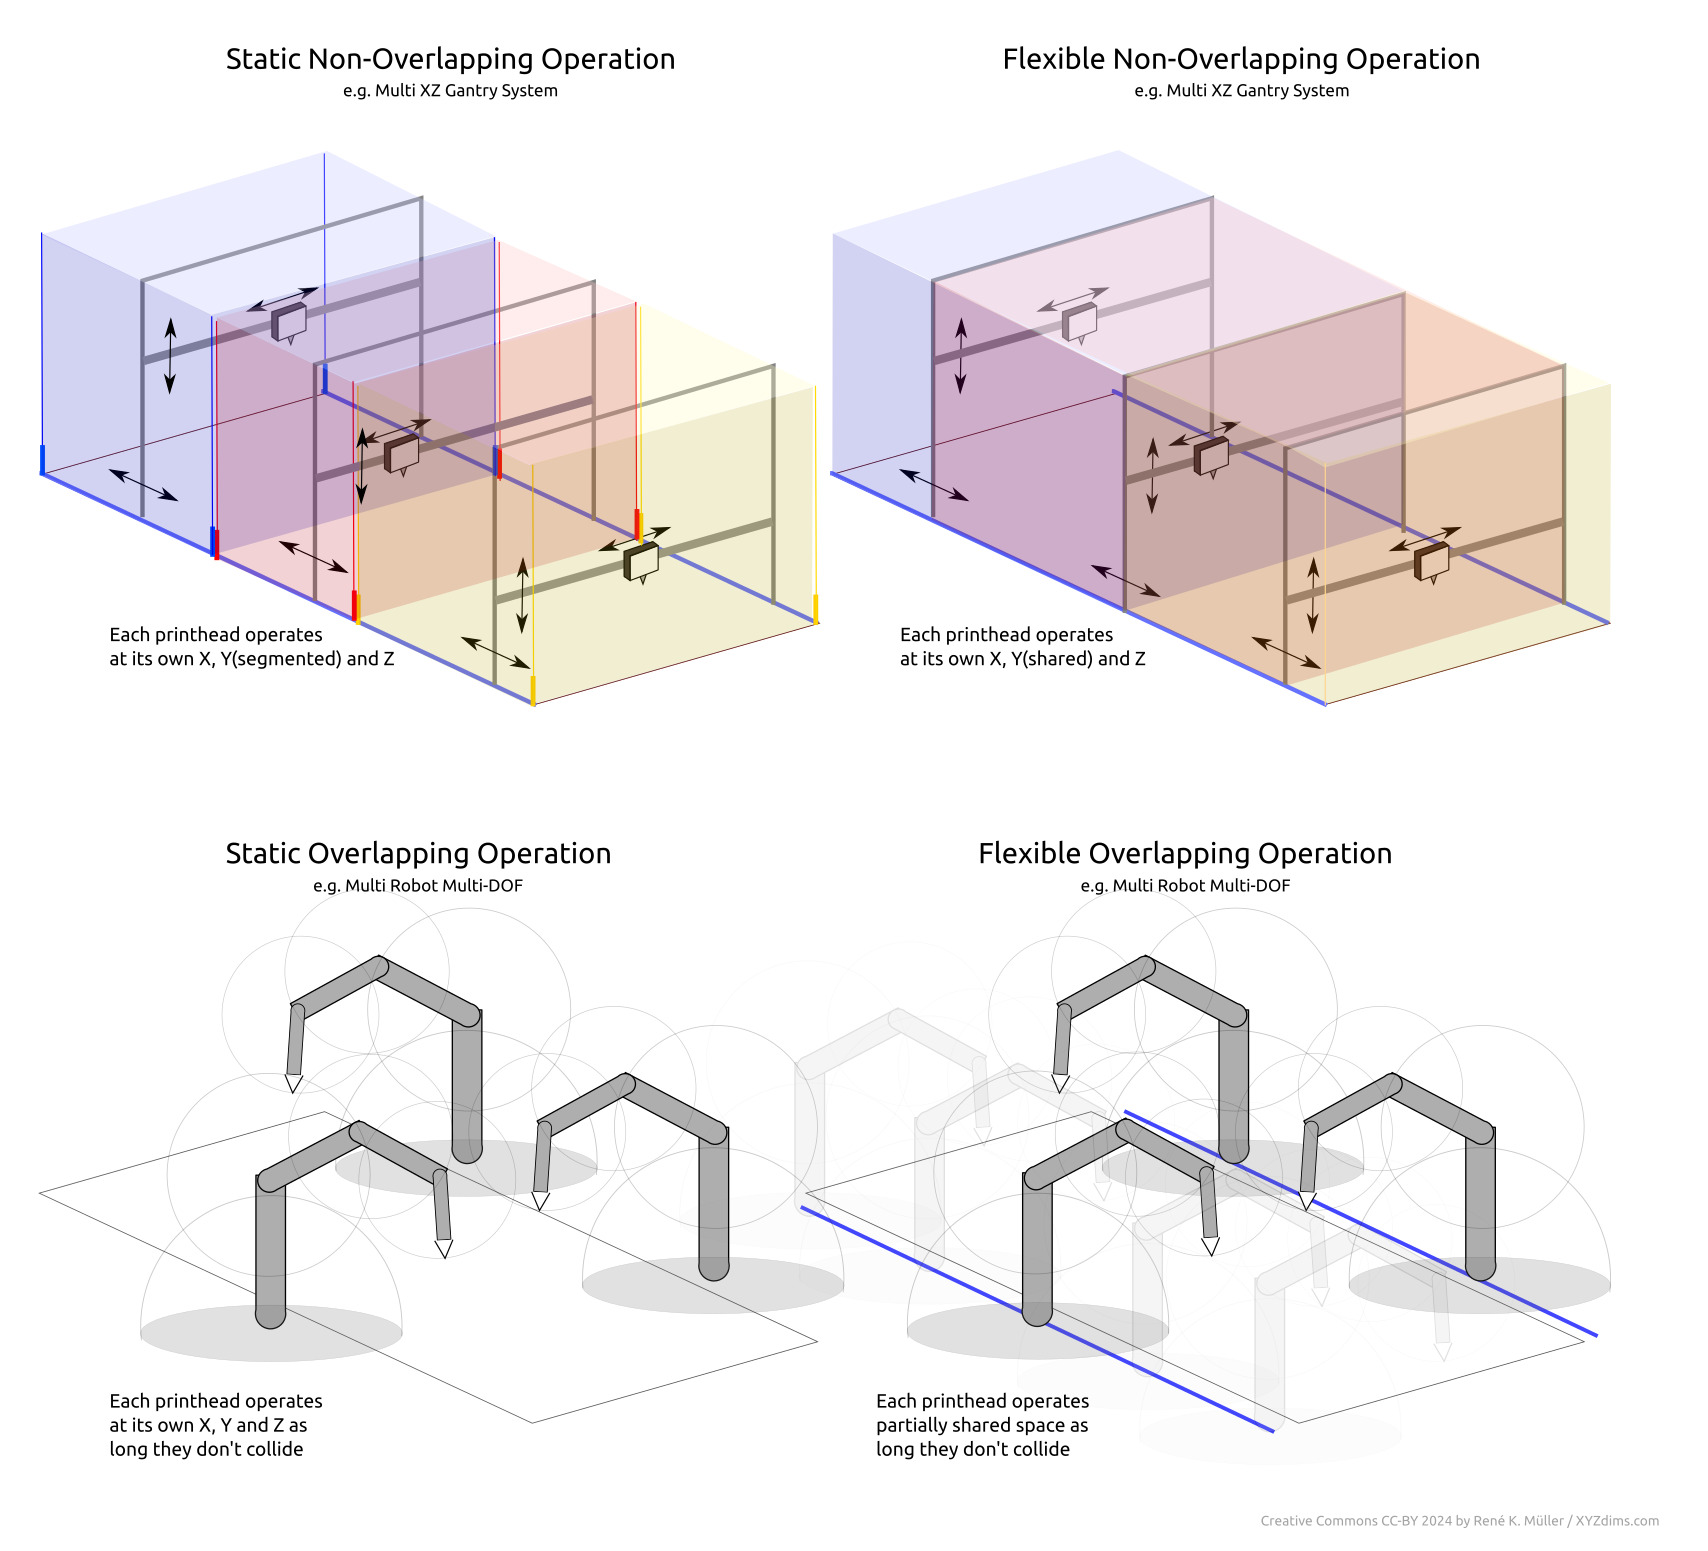
The Static Non-Overlapping Operation has static defined operational spaces where the operators can function – it’s quite obvious such solution is impractical, as in real life there would be space which cannot be reached, a kind of blind seam not reachable by either operator.
The Flexible Non-Overlapping Operation is flexible defined operational spaces, in the illustration above those spaces are co-dependent.
The Static Overlapping Operation is when those operational spaces are overlapping, yet, prefixed or static operational spaces.
The Flexible Overlapping Operation is flexible operational spaces, yet due the nature of the setup these operators cannot occupy the same space at the same time which would result in physical collisions.
Now, the last part of the last sentence may sound obvious to even mention, but bear in mind you can have two projectors shining light into a resin bath, and expose and solidify a 3D model, then these two lights acting as operators indeed occupy the same space at the same time as part of their function. So, the operators functioning with light can occupy the same space at the same time, whereas solid operators, such as robotic arms, cannot.
whereas parallelfactor is 1.0 if printheads can print parallel, or is less if the operational space is overlapping and preventing printheads to operate parallel thereby.
~ * ~
“Parallel 3D Printing / Additive Manufacturing” Part 2 follows later (will be linked when published)
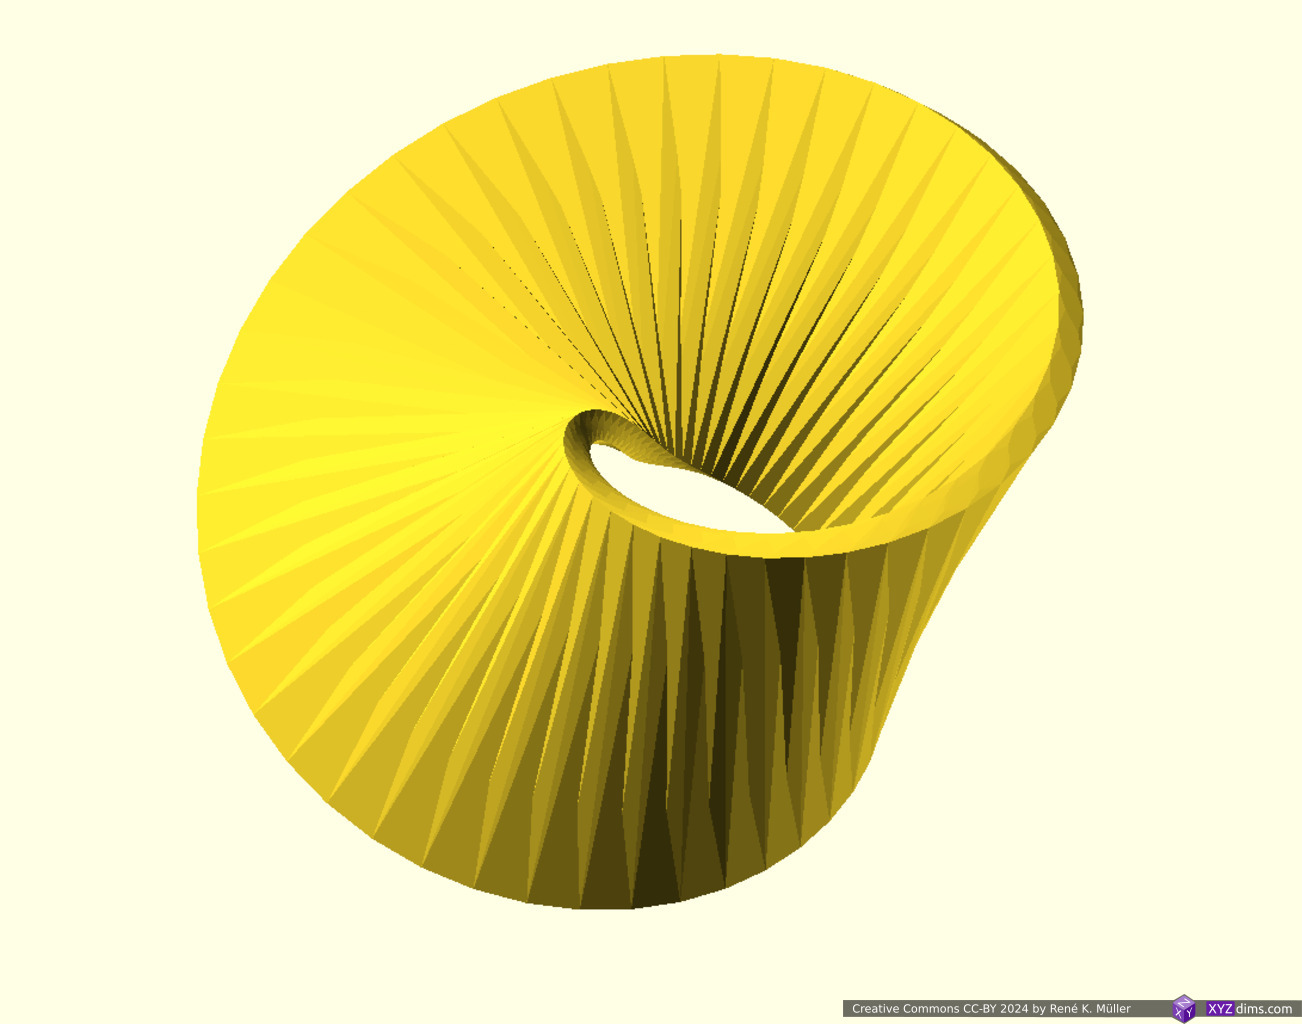
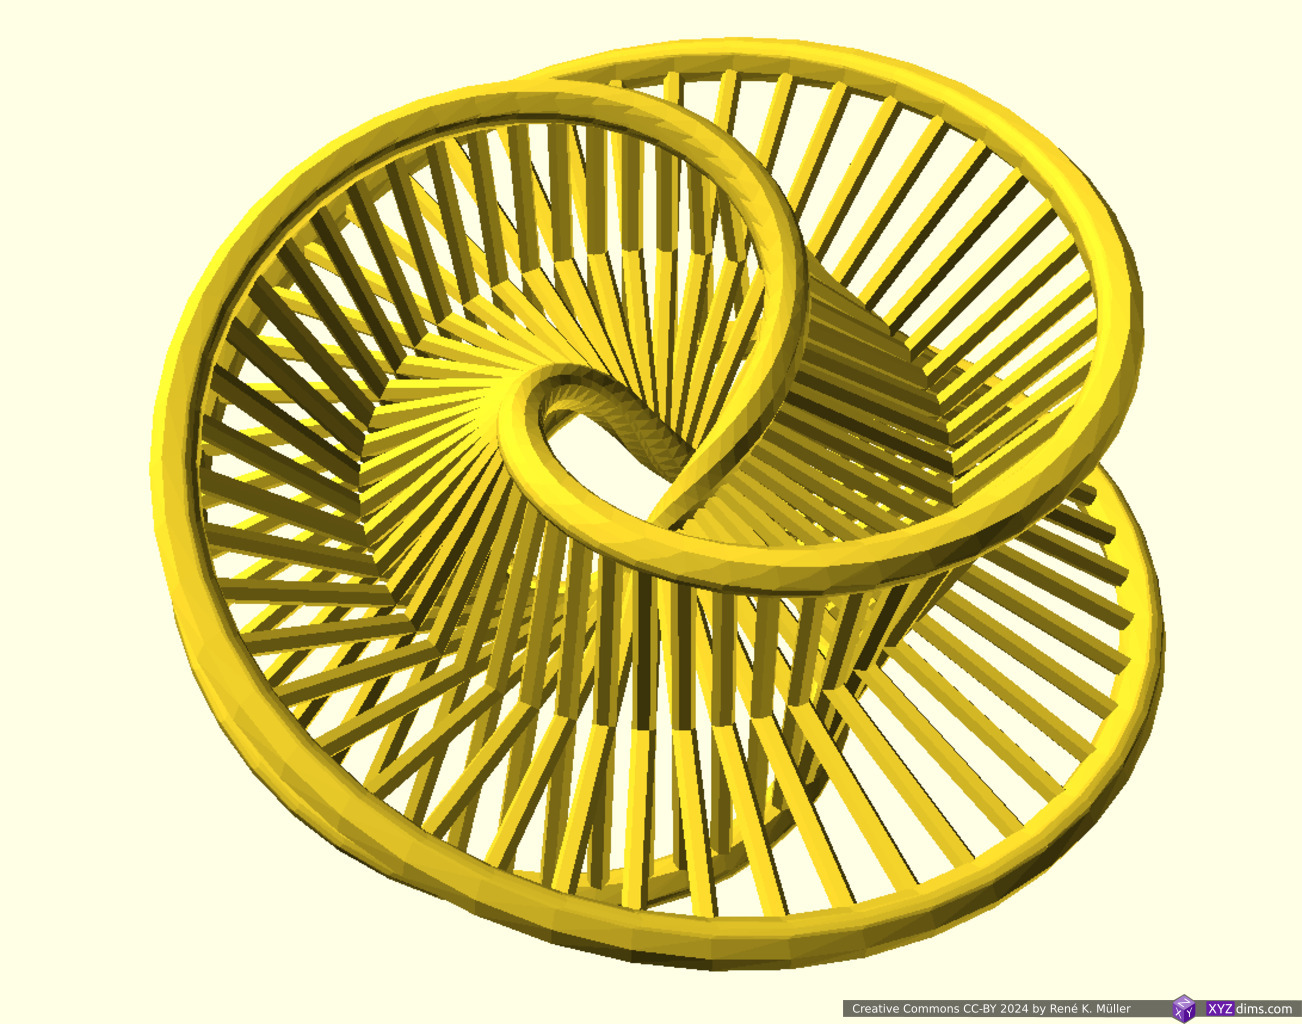
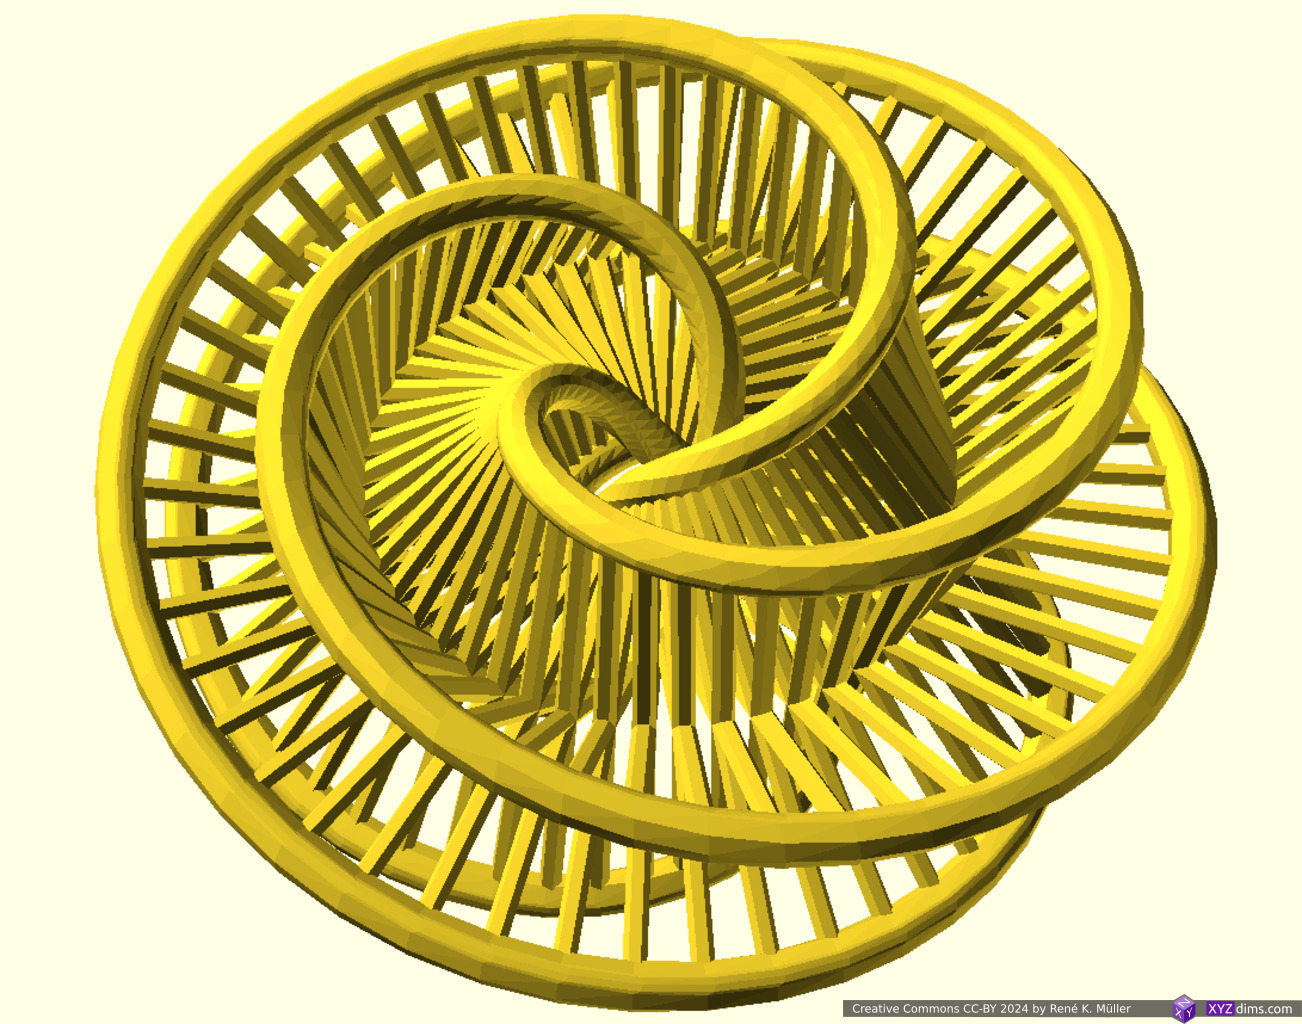
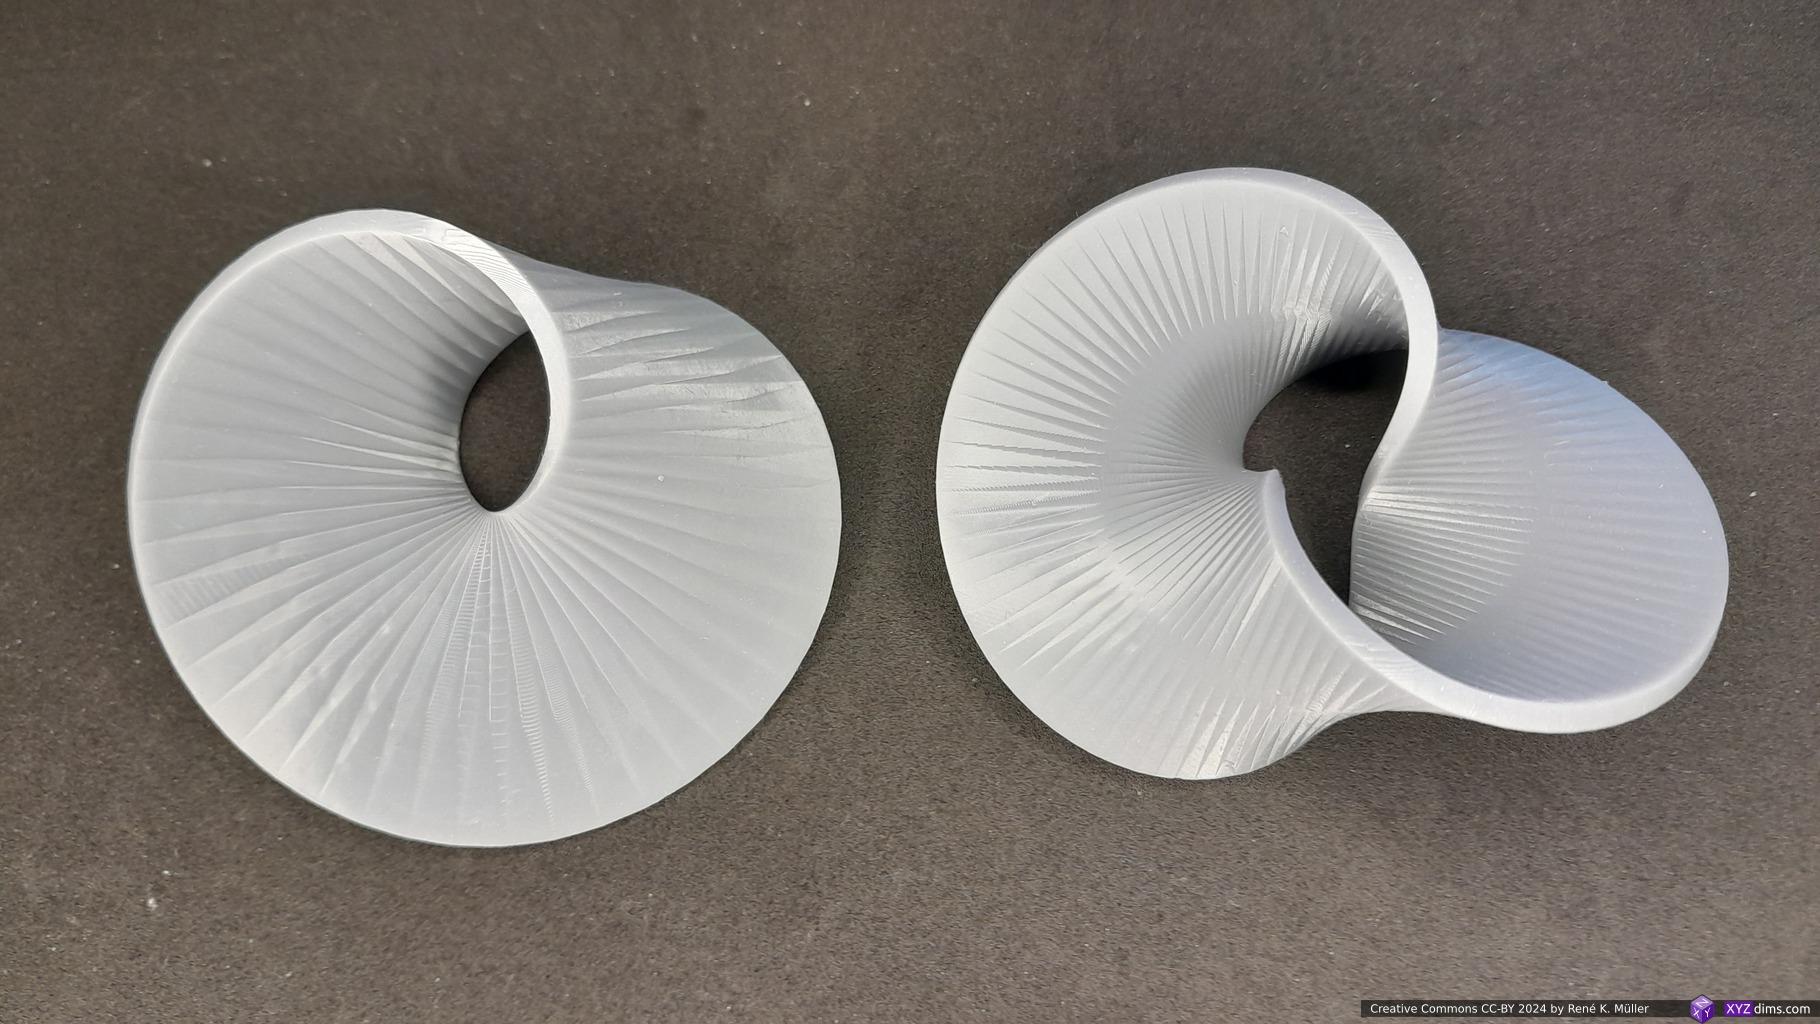
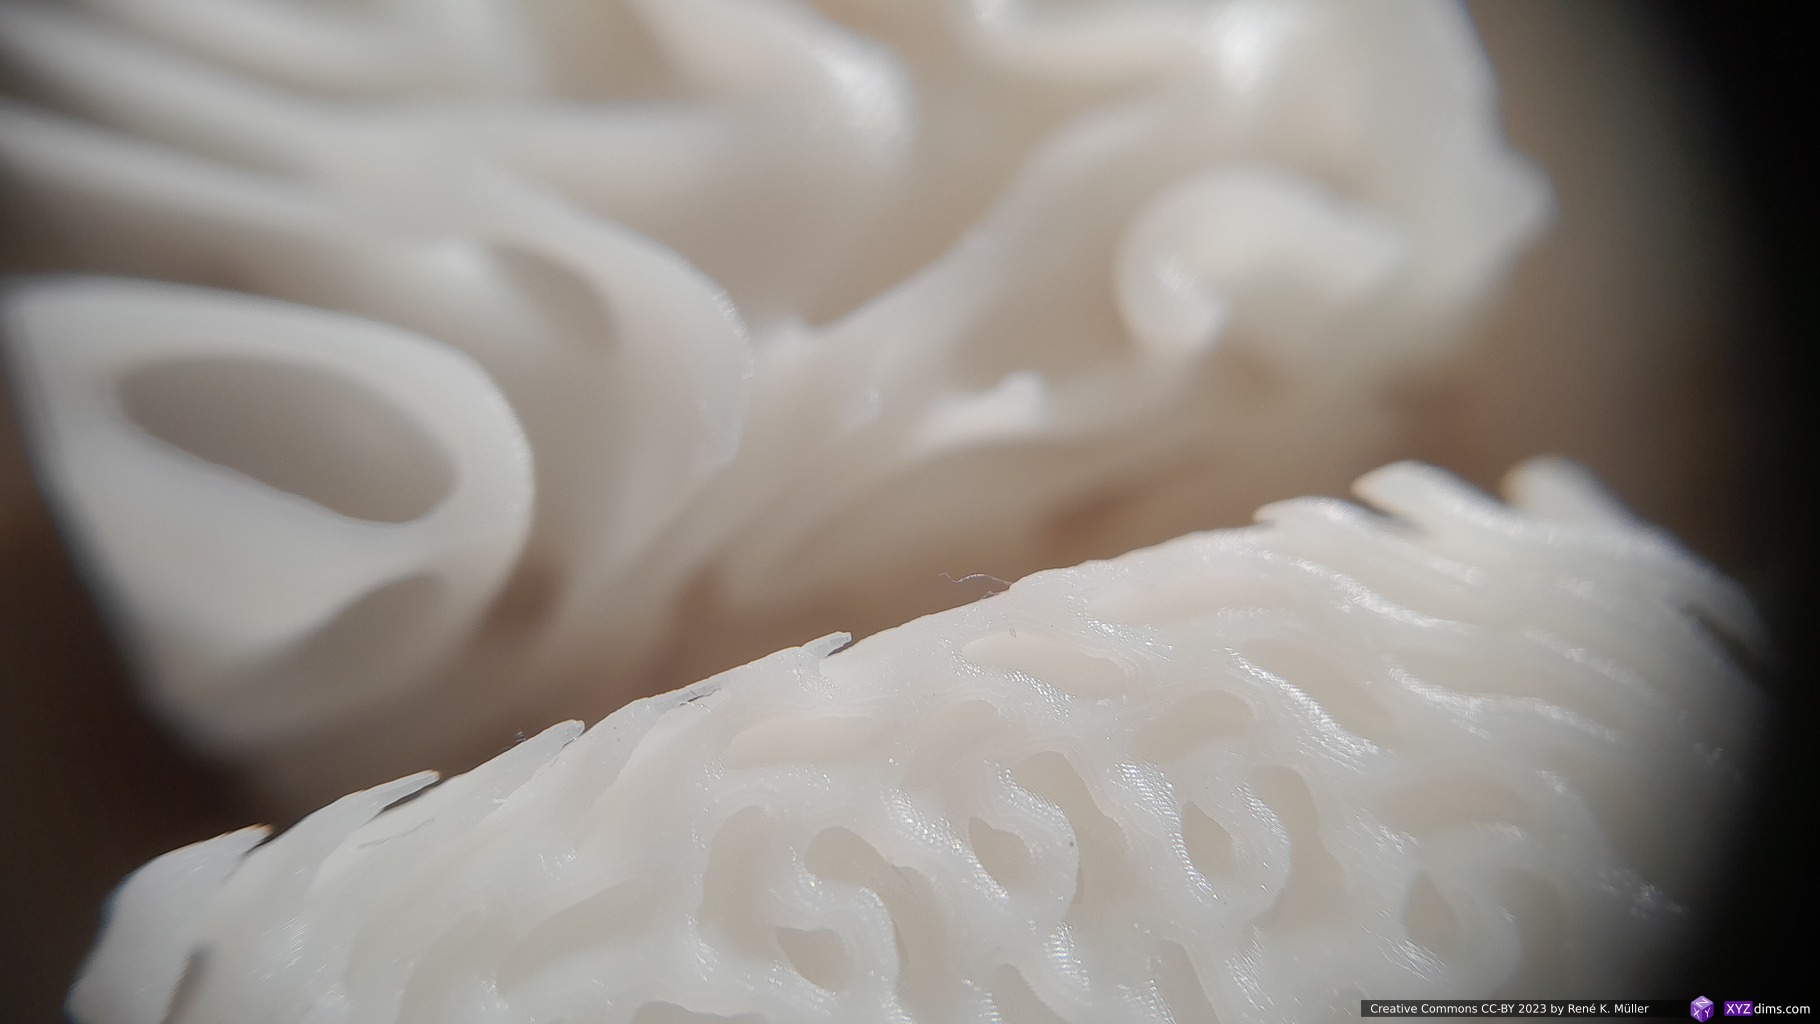
Mathematician August Ferdinand Möbius described in his paper 1858 a shape, which later became known as “Moebius Strip”: a surface with only one side or surface and one edge:
In the physical one can take a strip and twist it once and tape both ends – when creating a 3D representation, one rotates a strip by 180° to a closing circle.
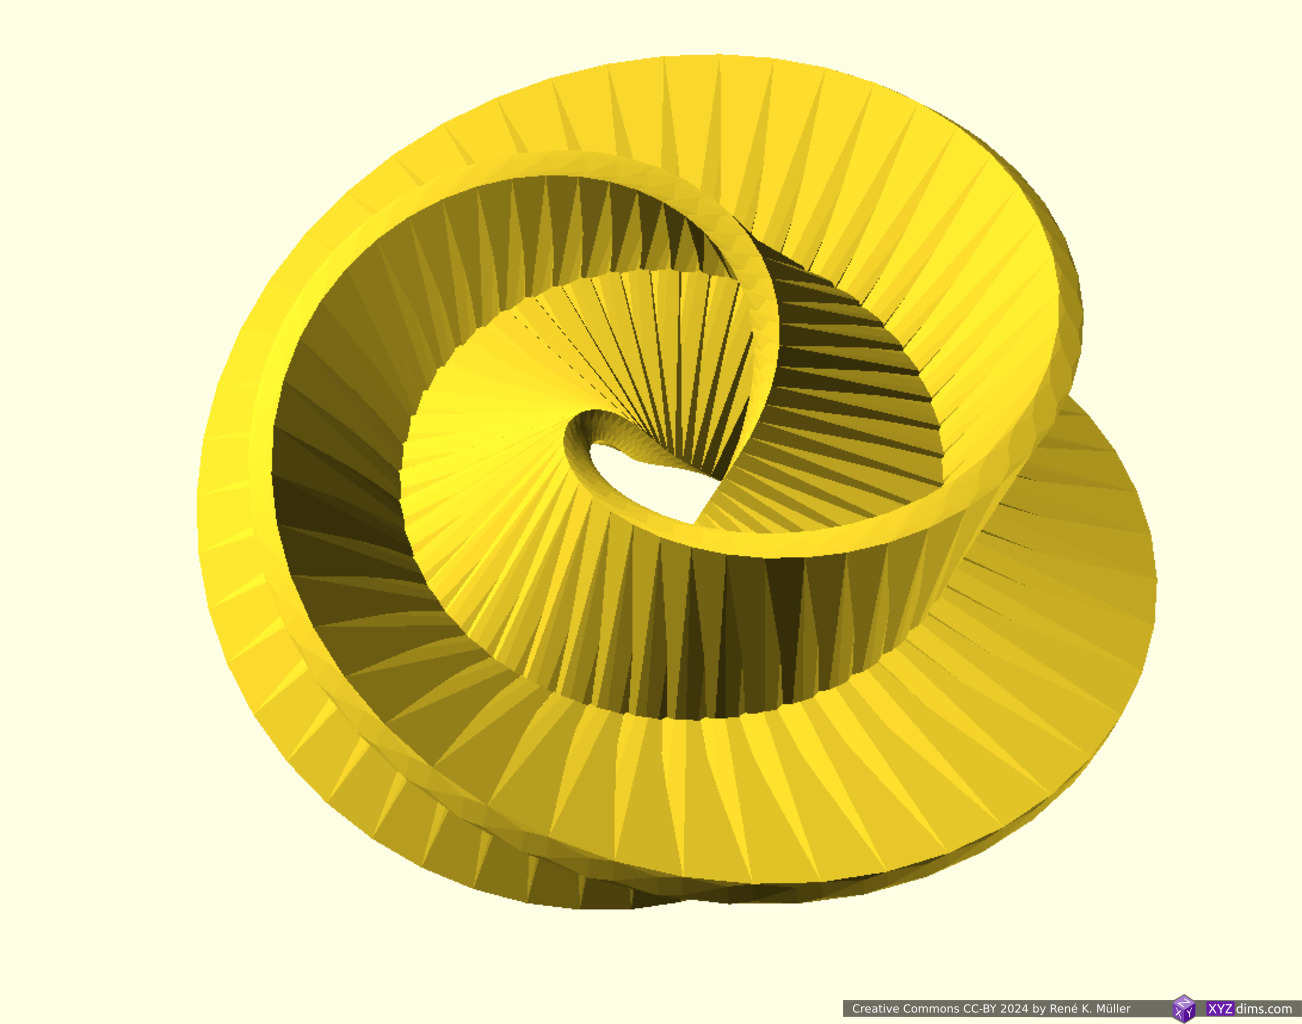
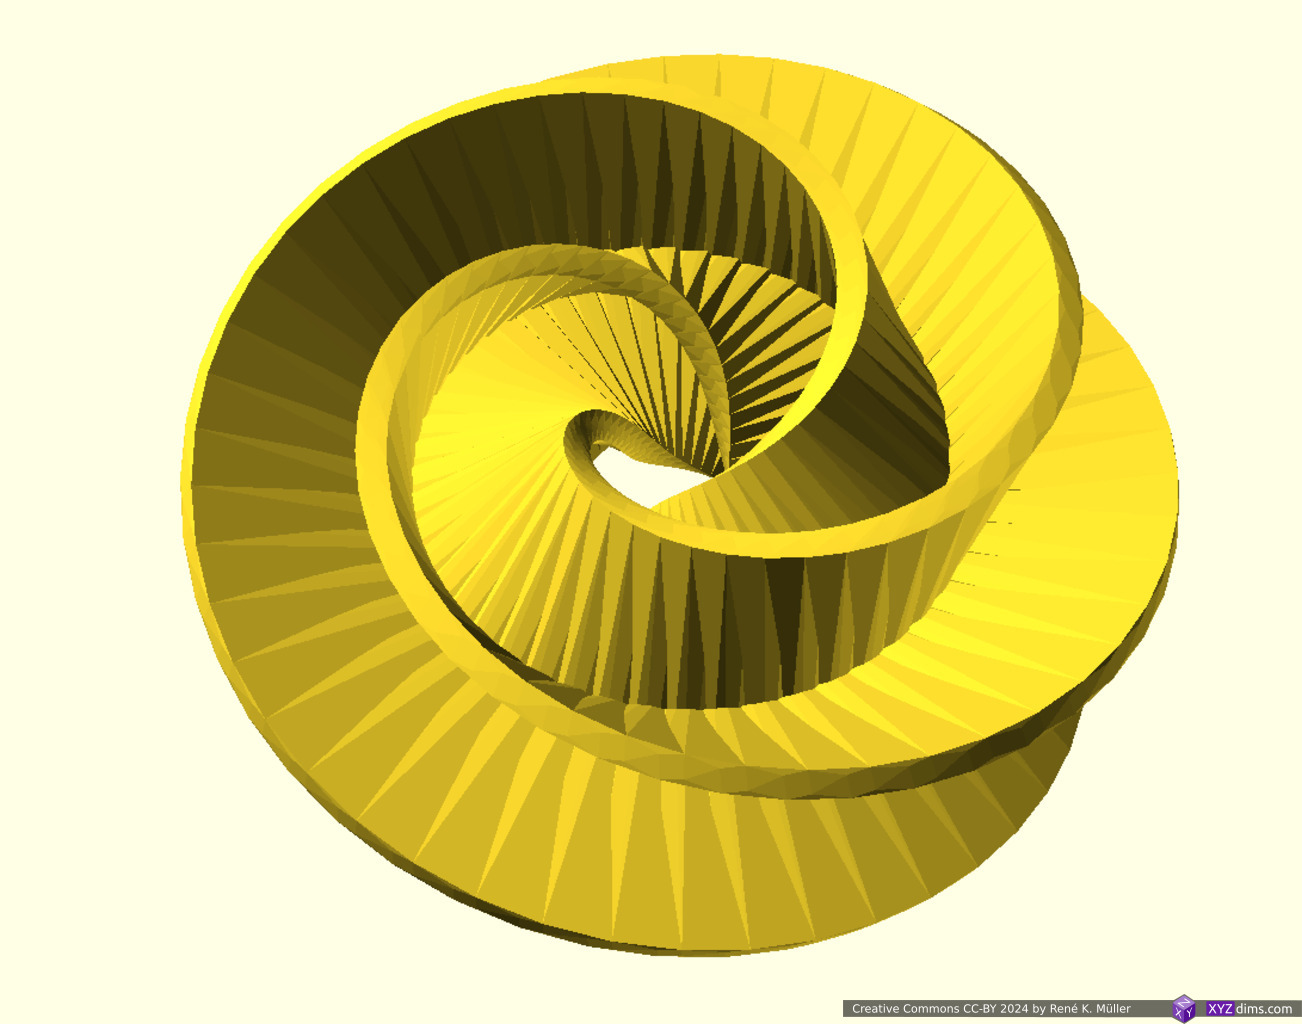
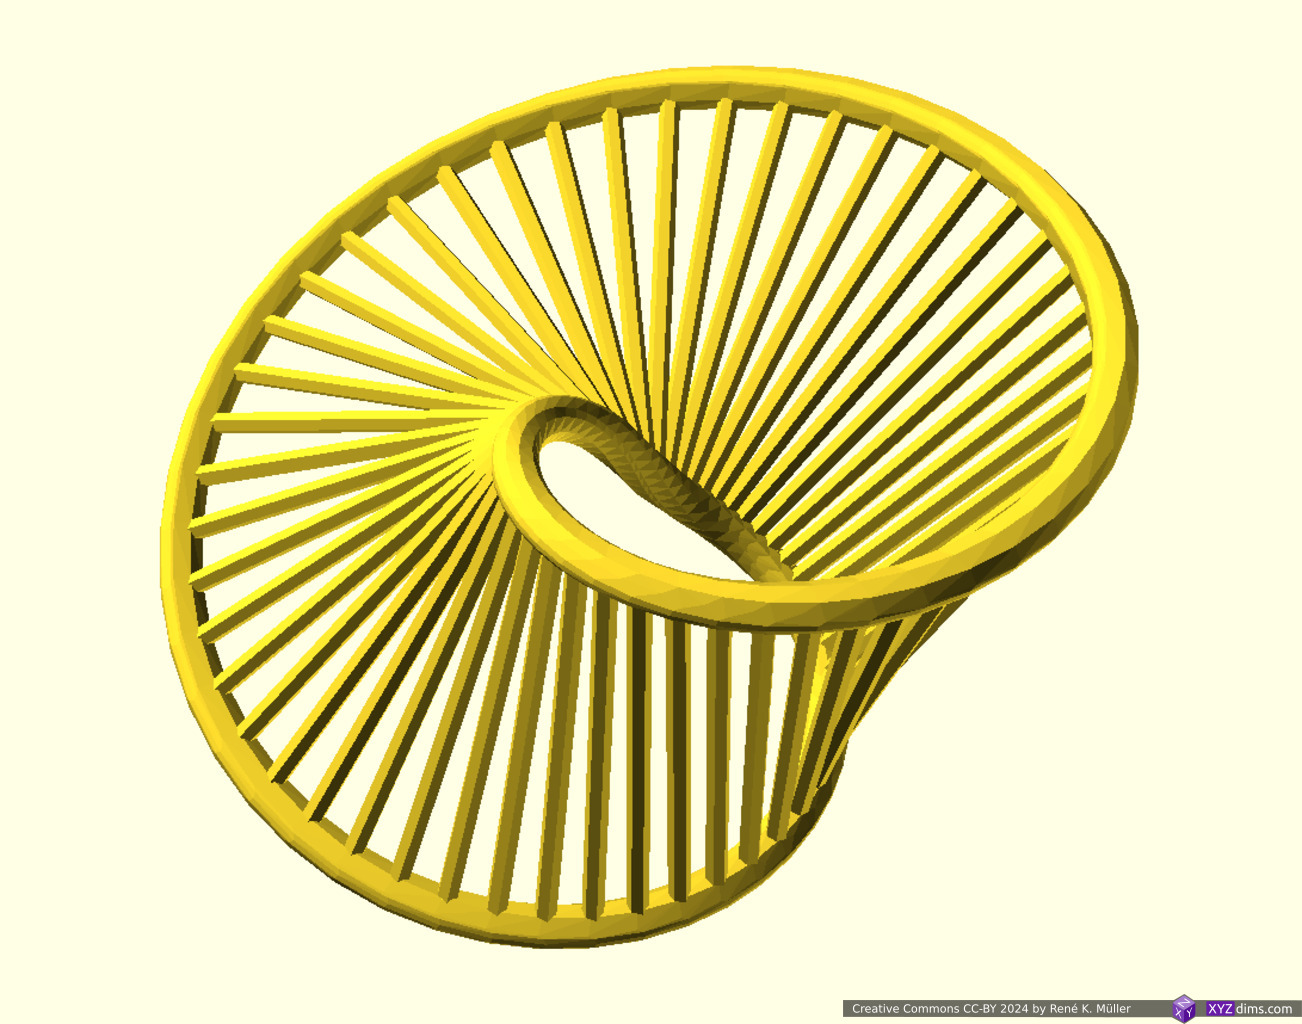
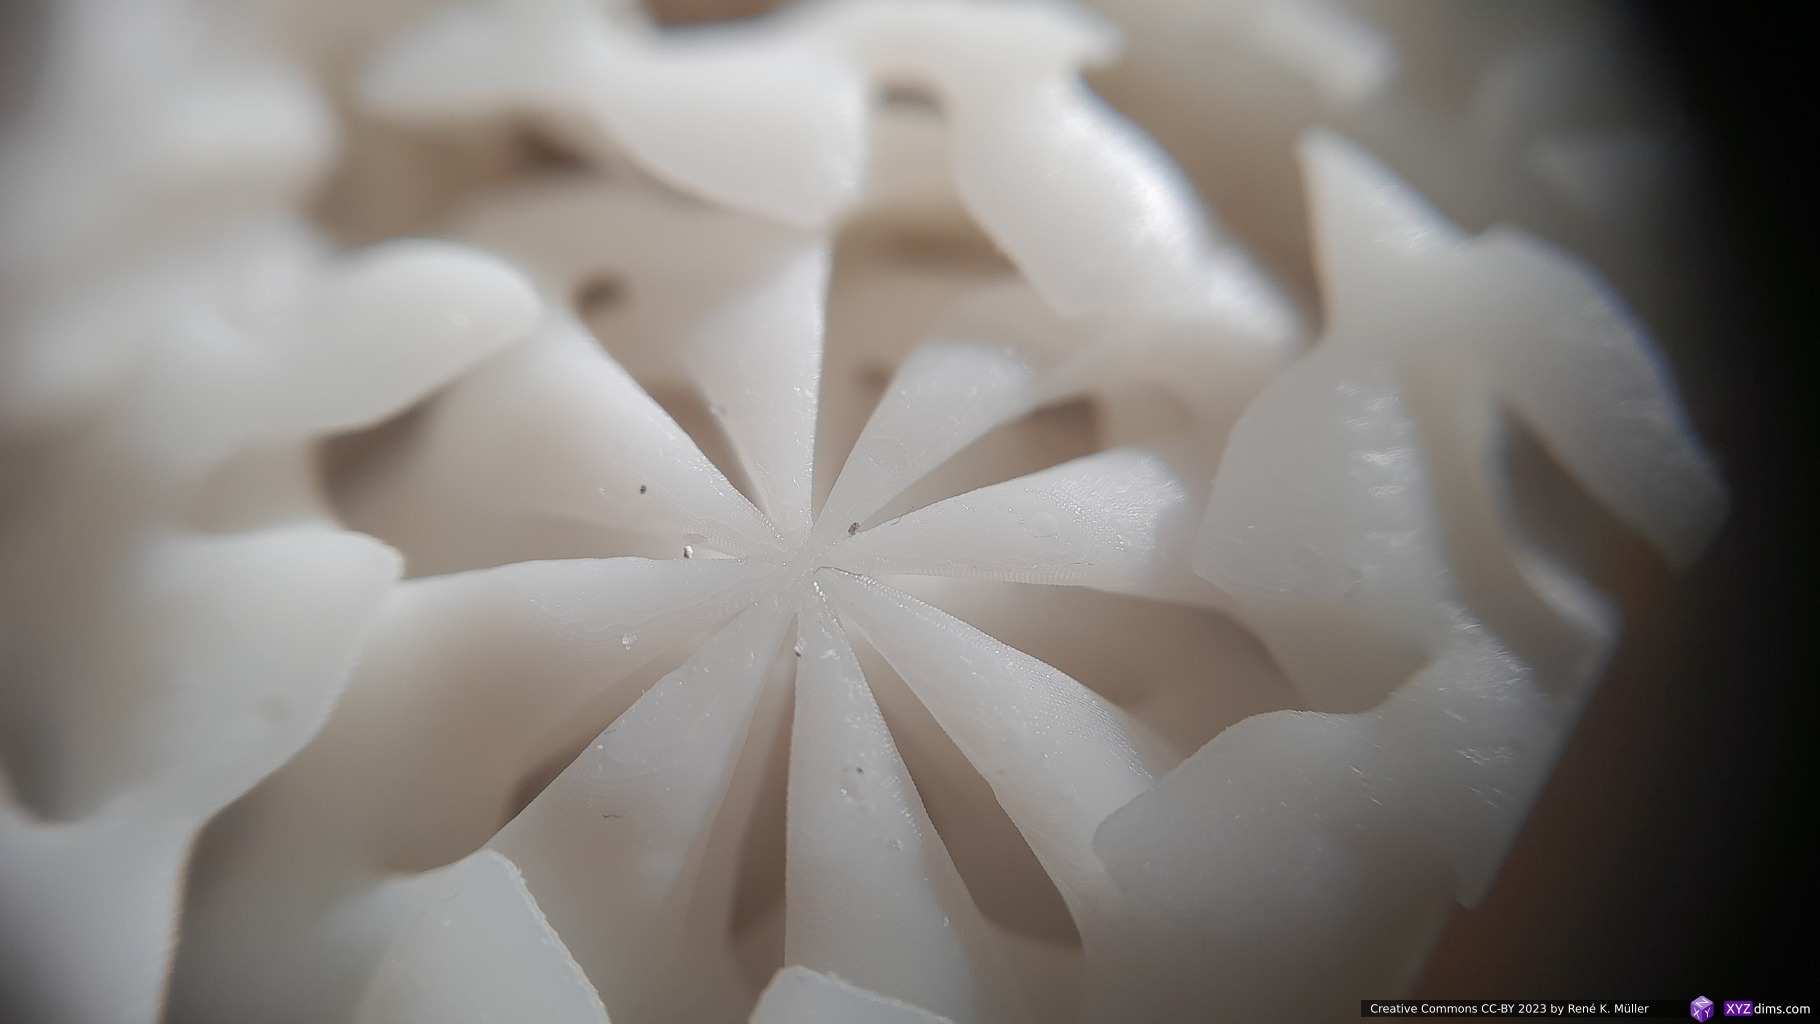
Examples
Original Moebius StripMoebius Strip with 2 stripsMoebius Strip with 3 stripsMoebius Strip with spokesMoebius Strip with 2 strips & spokesMoebius Strip with 3 stripts & spokes
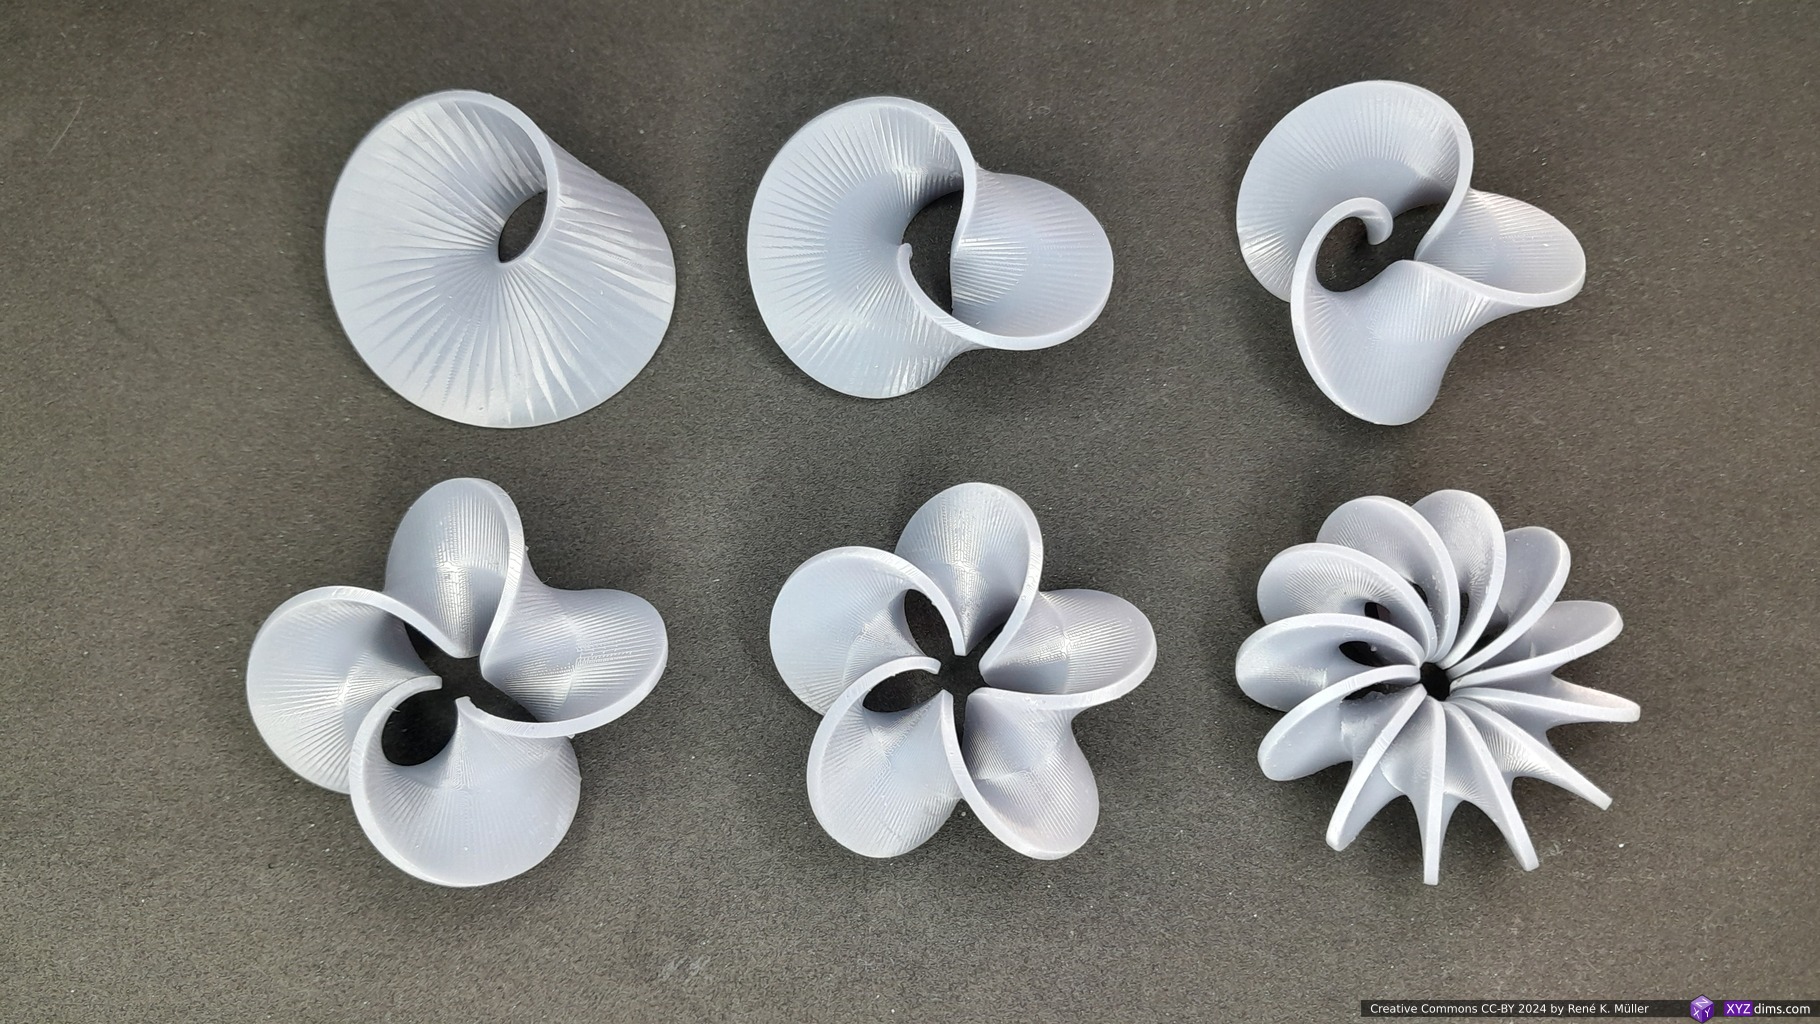
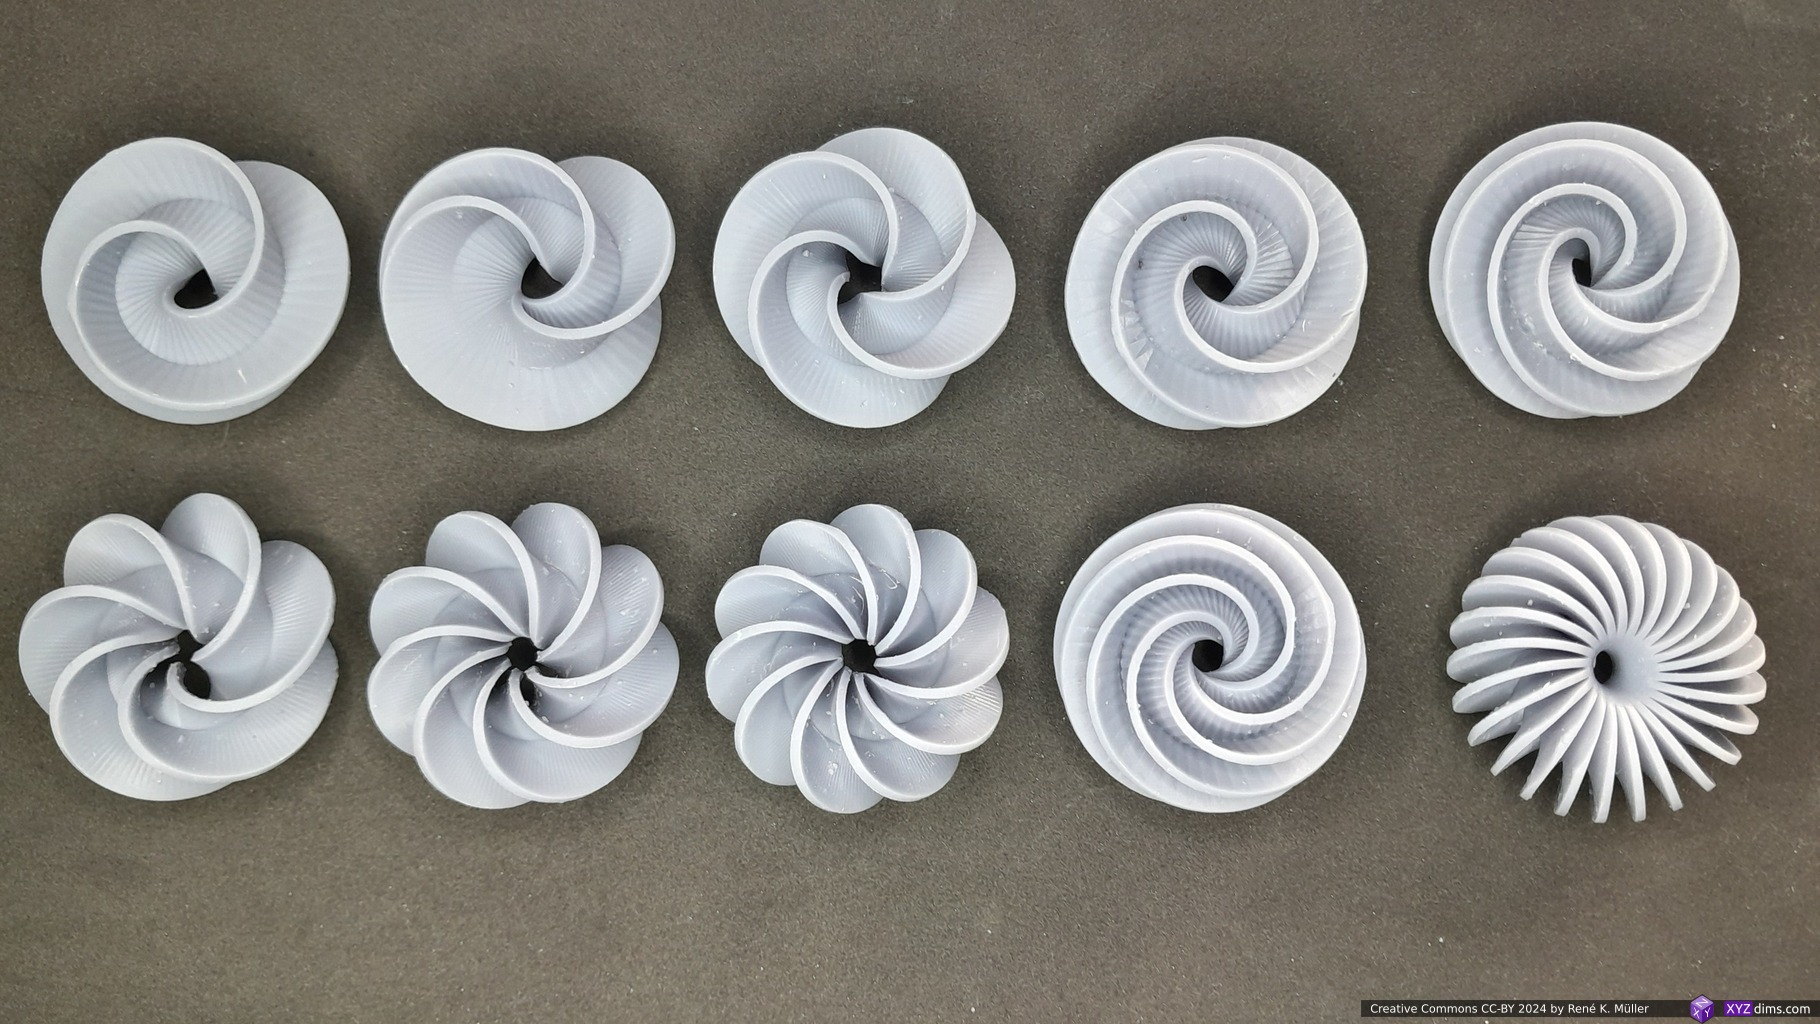
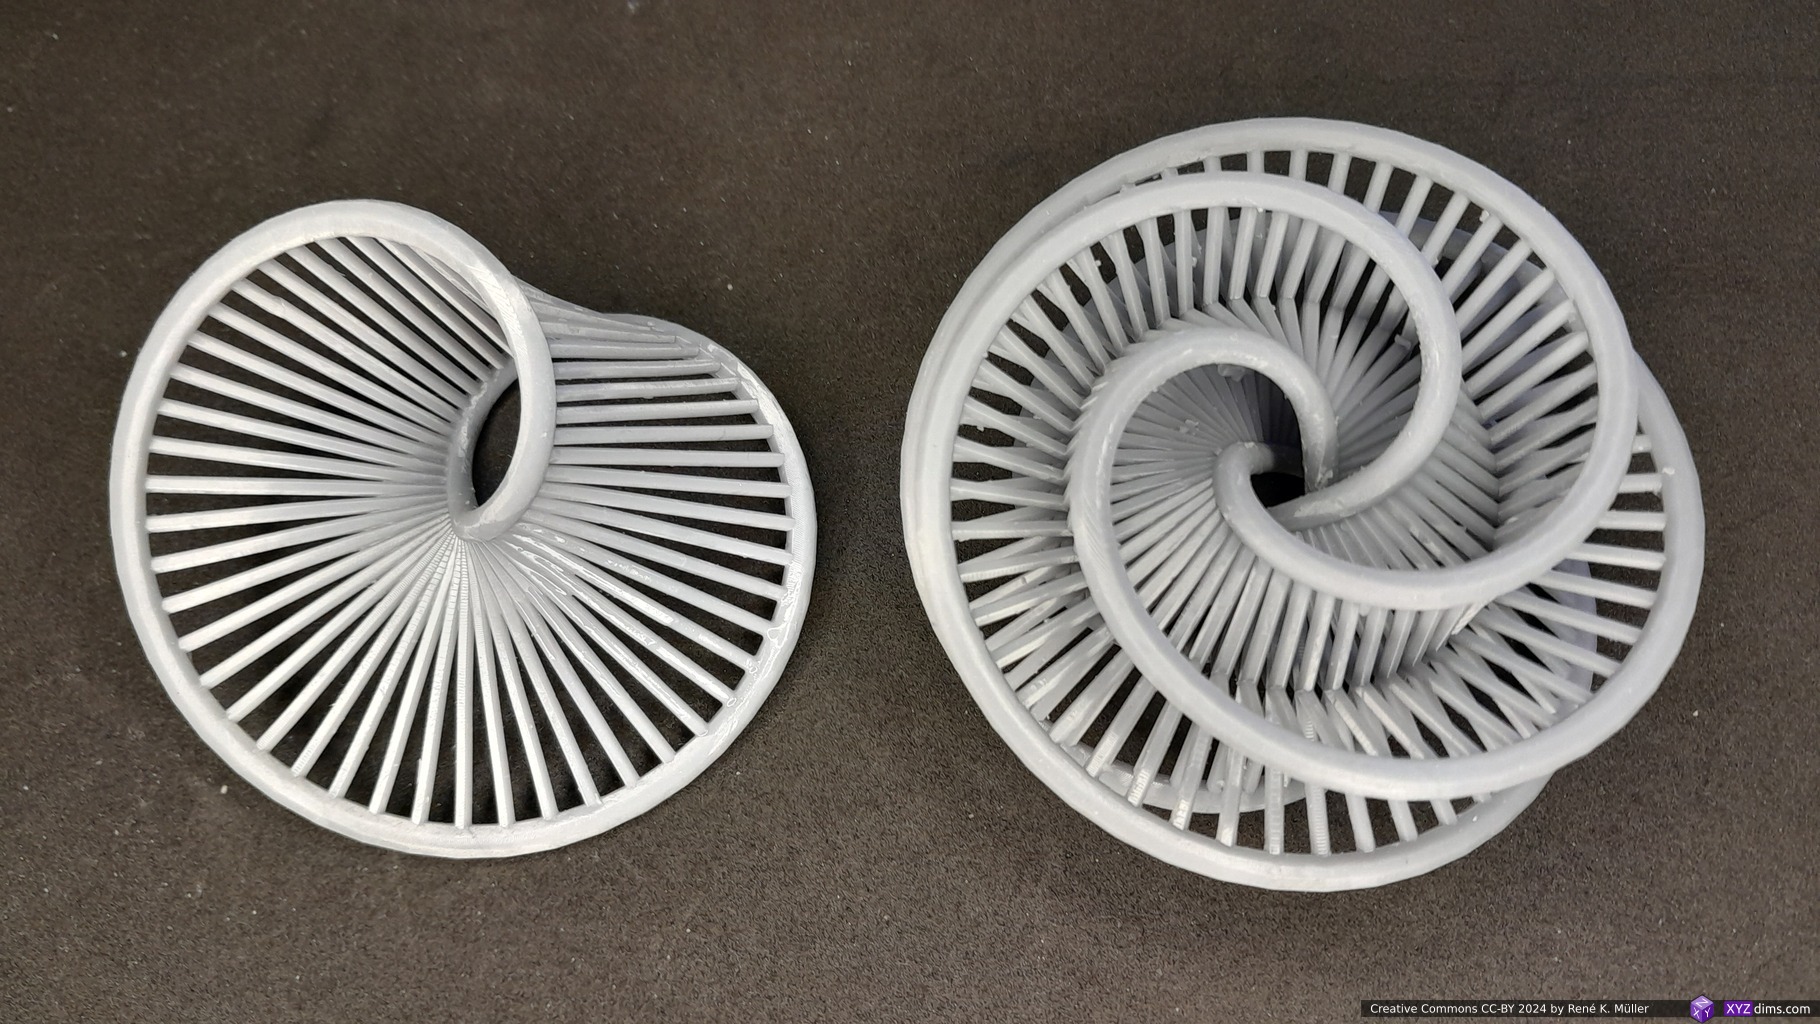
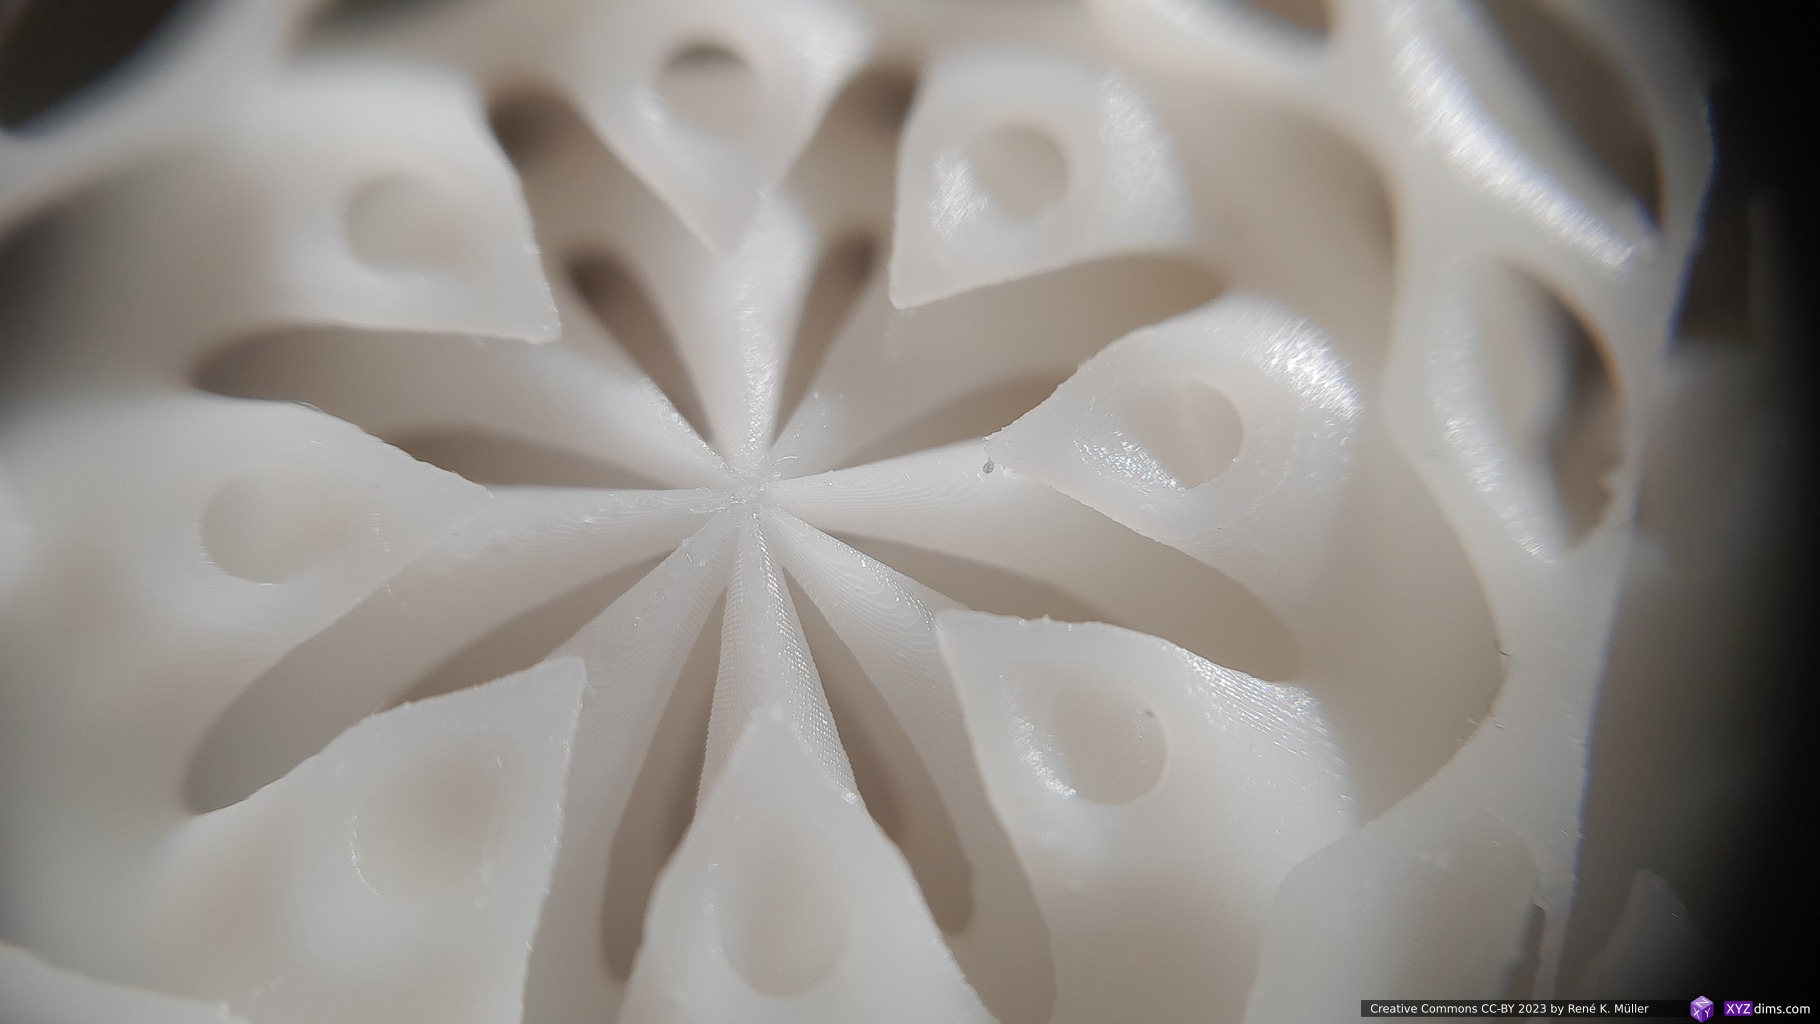
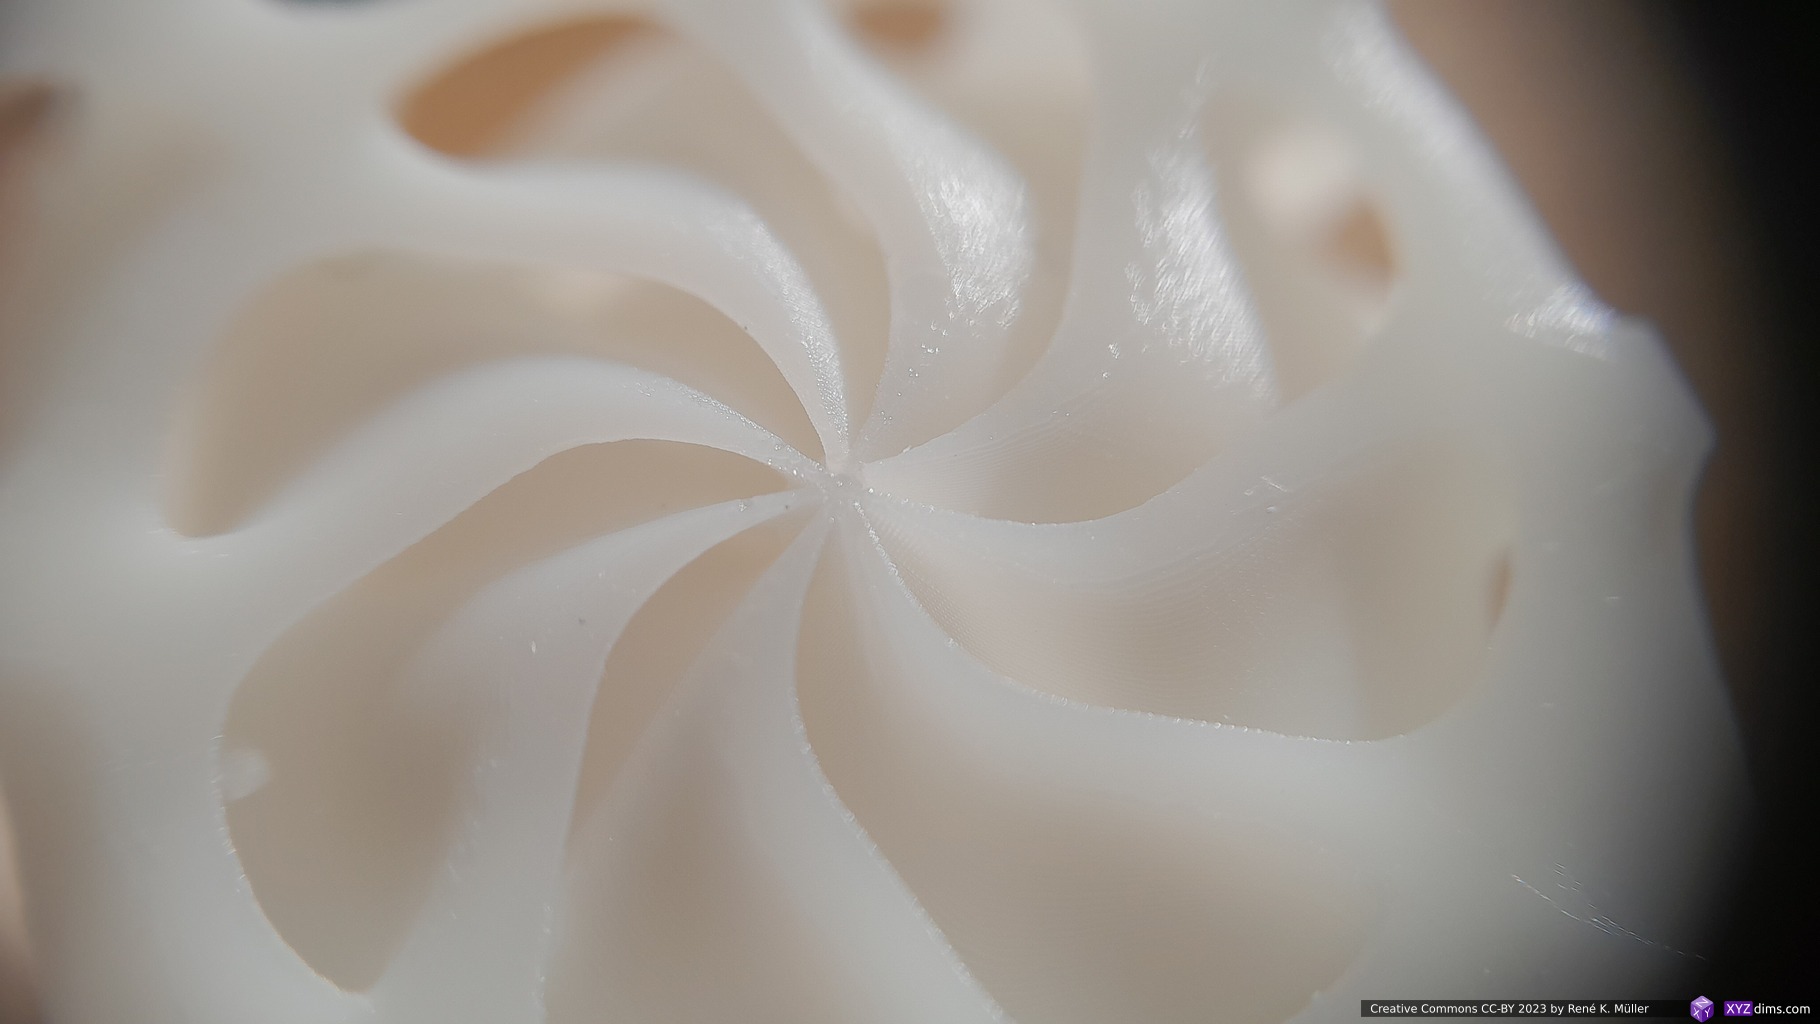
3D Prints
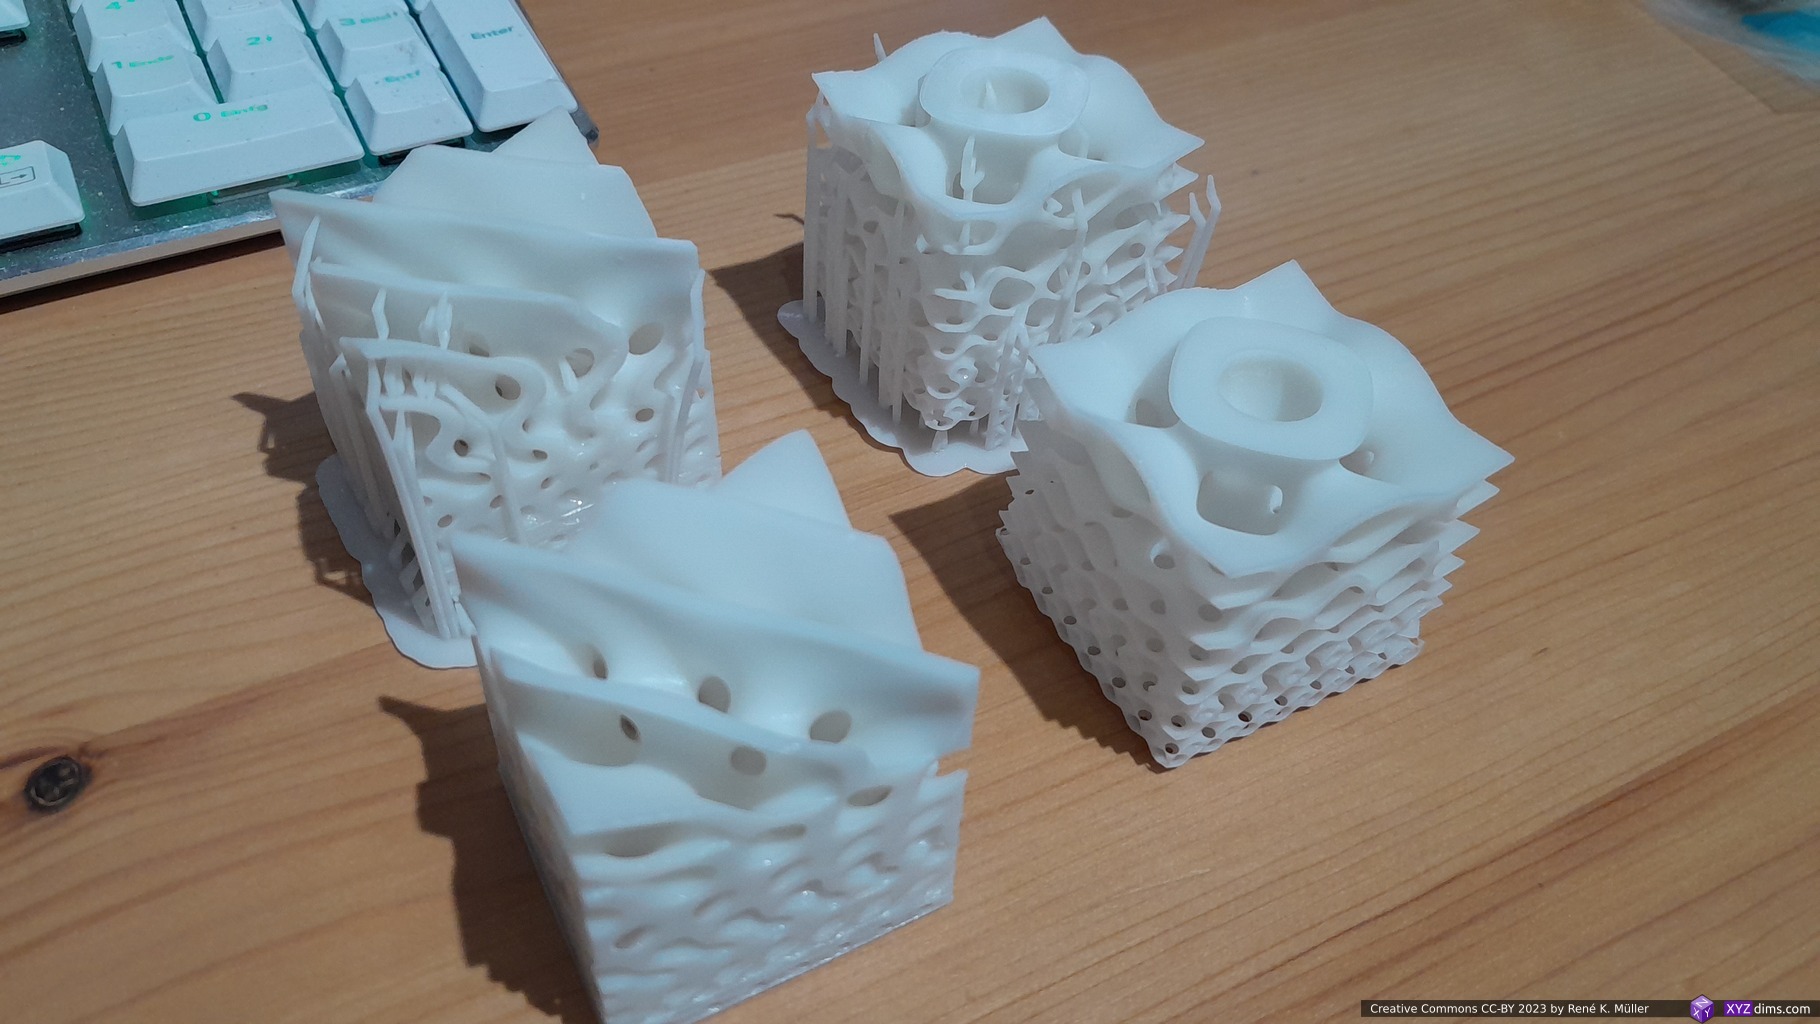
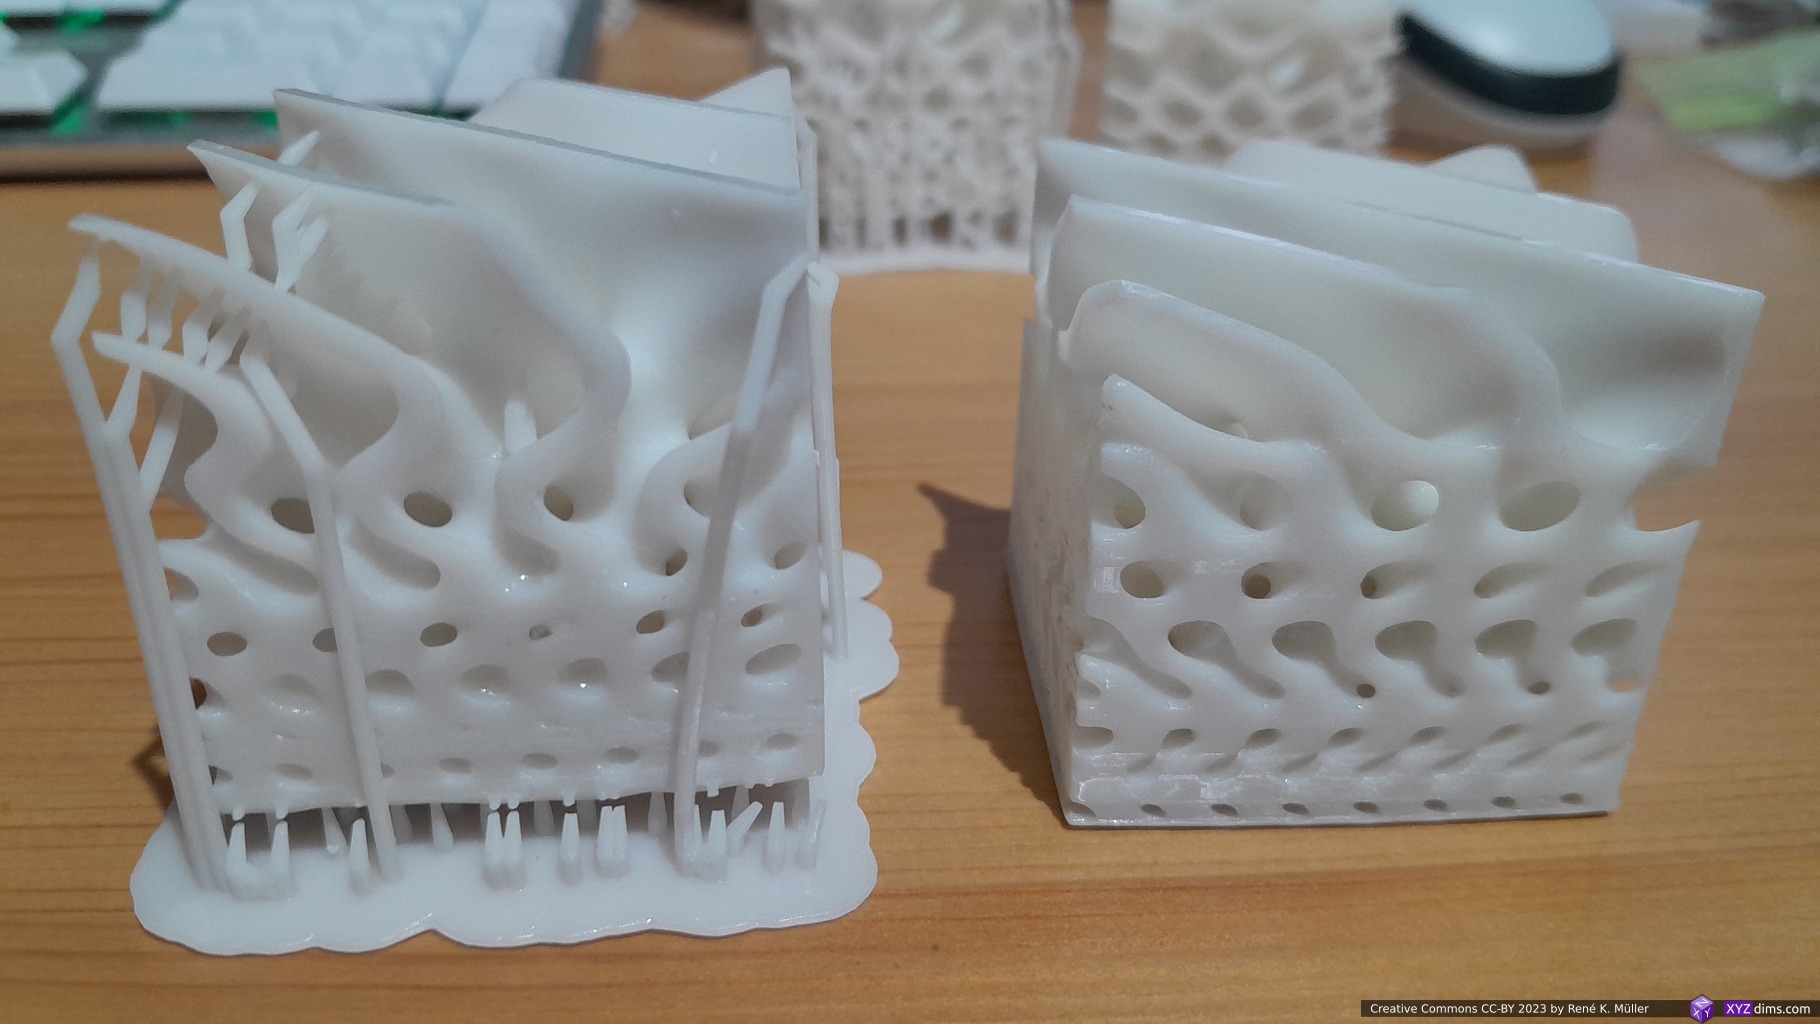
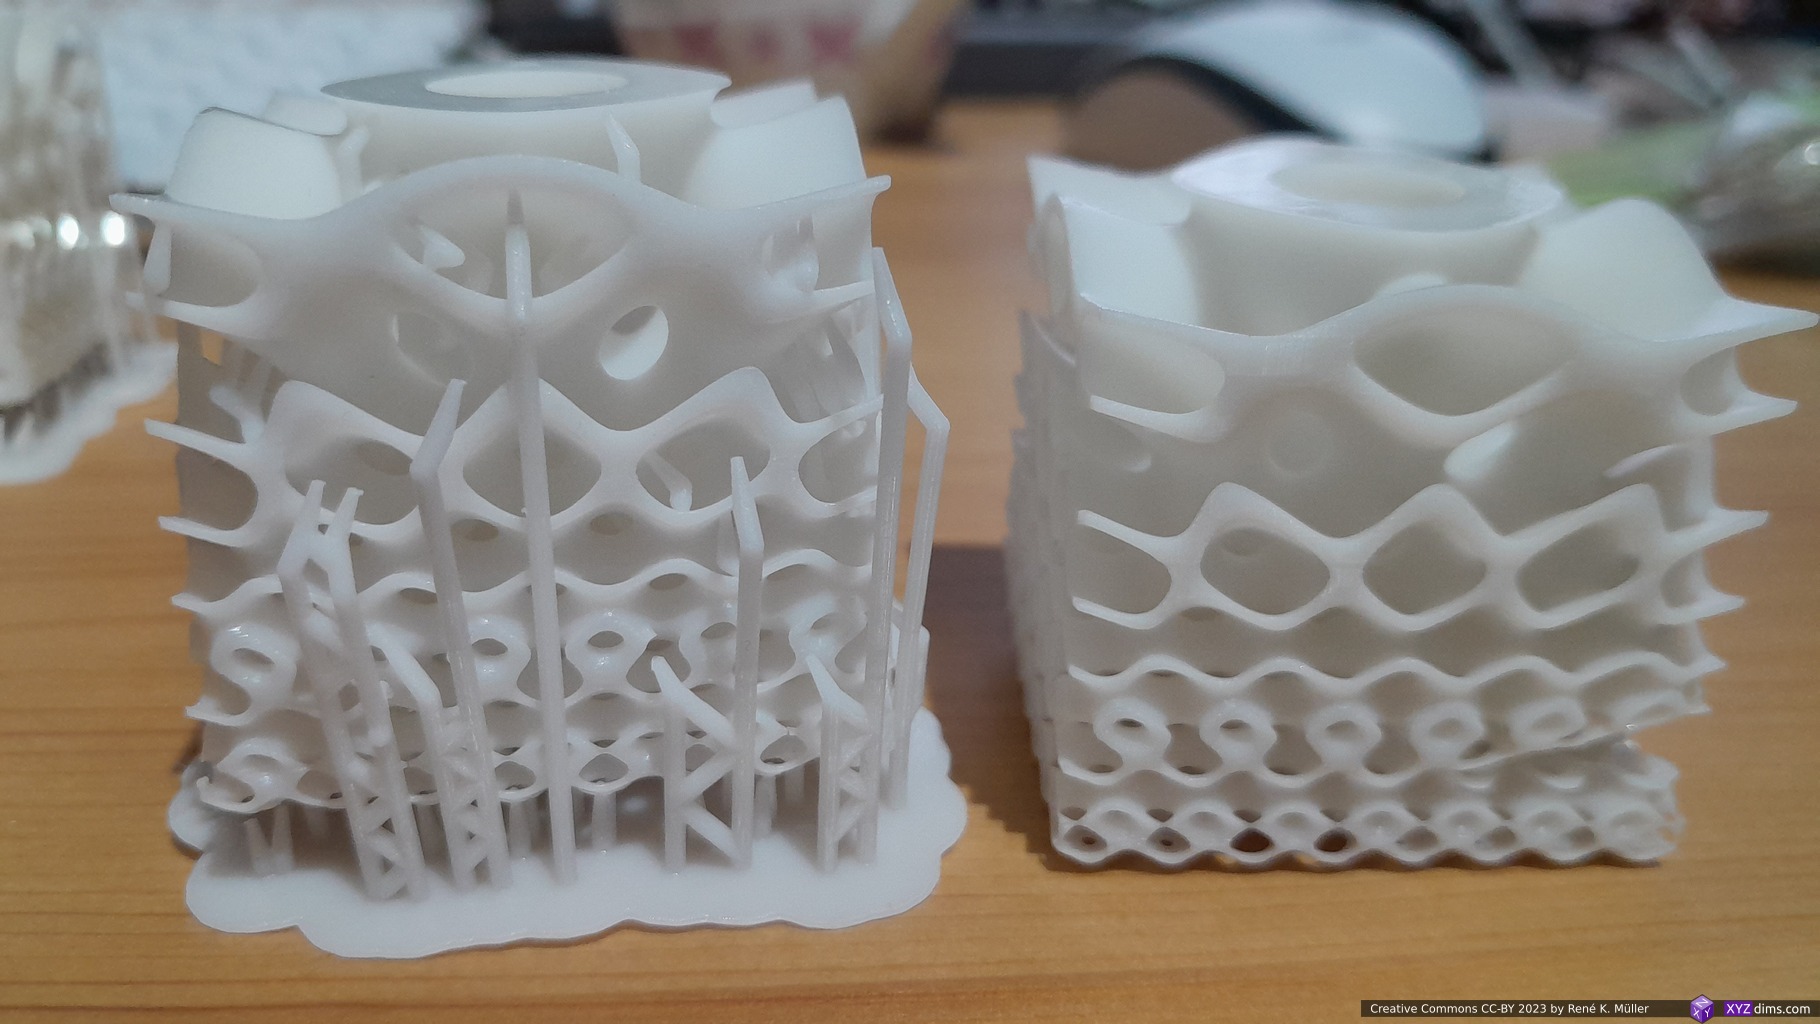
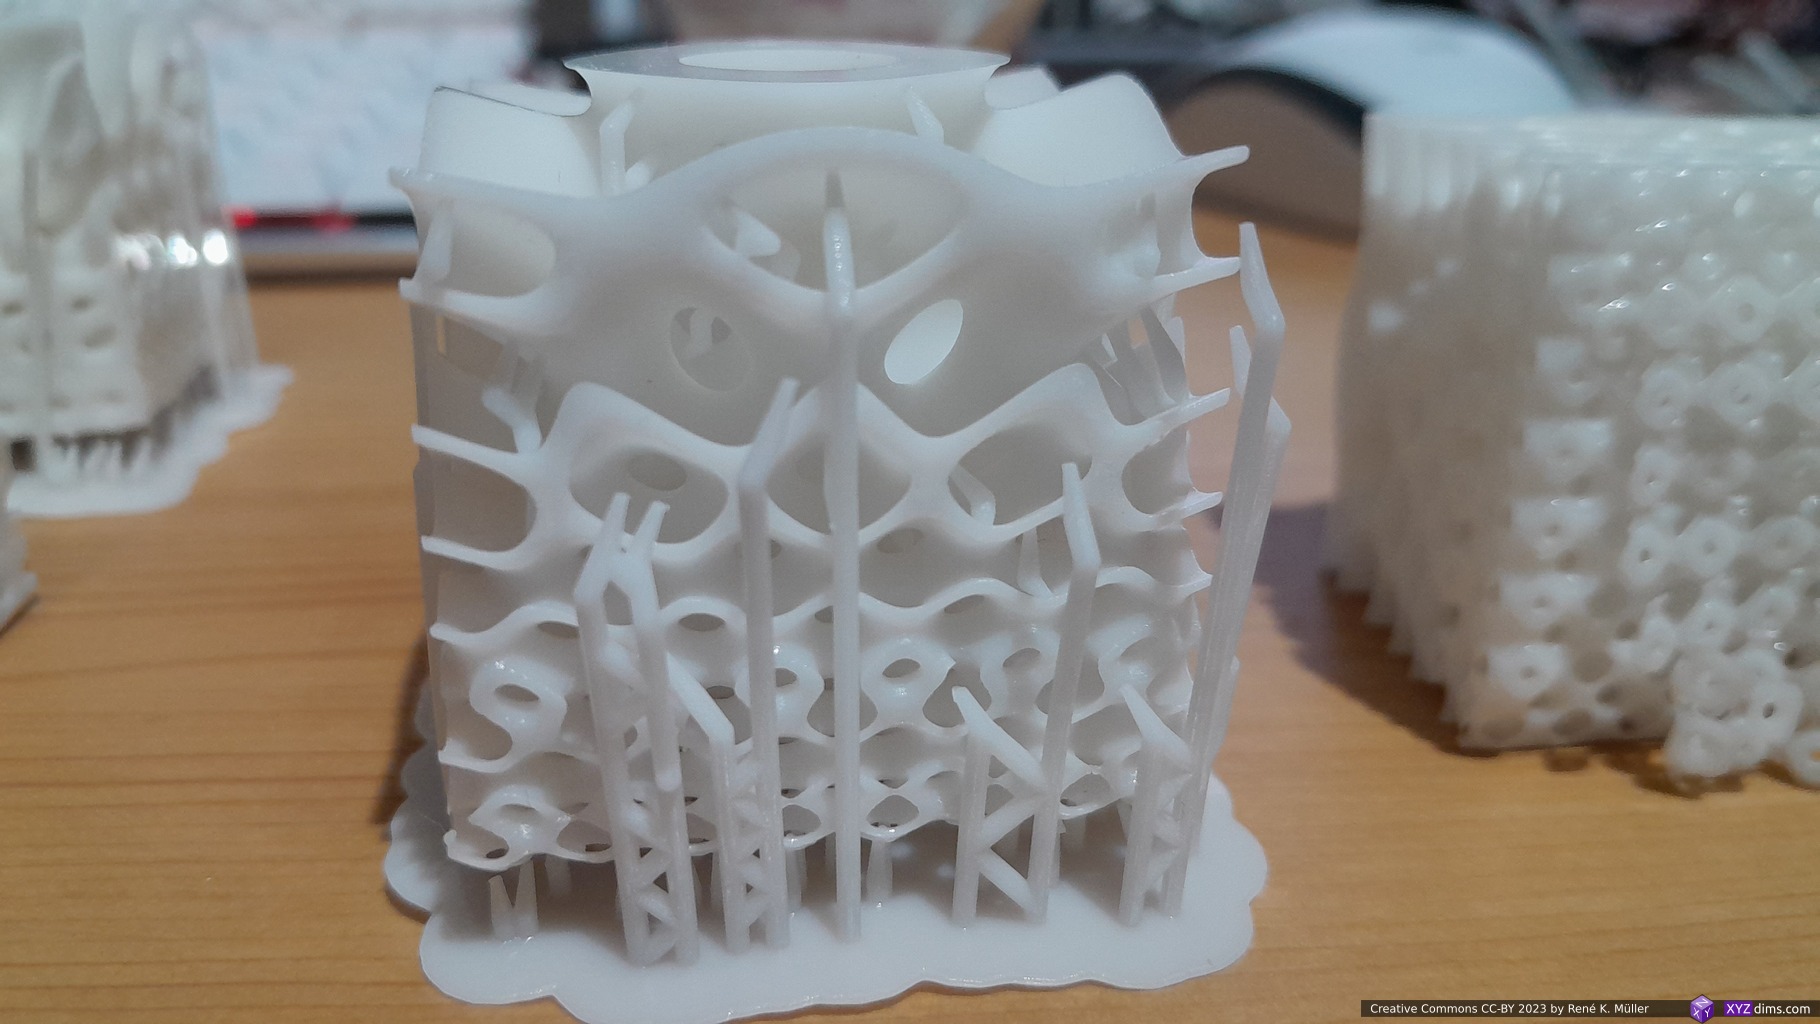
I printed some of the models on MSLA resin printers with plenty of supports, one more flat and another series more vertical oriented which required more support structure and harder to remove.
Moebius Strip Meditation: multiple turns: 1, 2, 3, 4, 5, 12Moebius Strip Meditation: multiple stripsMoebius Strip Meditation: single turn, double turnMoebius Strip Meditation: single turn, single turn with multiple strips, both with spokes
2024/11/04: update with long-term usage of flex-plate
2023/07/25: published
2023/06/13: adding my print settings to increase reliability
2023/03/31: first prints performed
2023/03/29: adding Formlabs 3/3L and Prusa SL1S as comparison
2023/03/23: starting write-up
Introduction
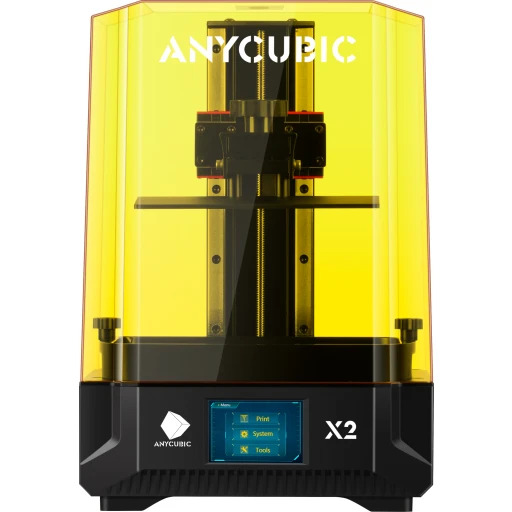
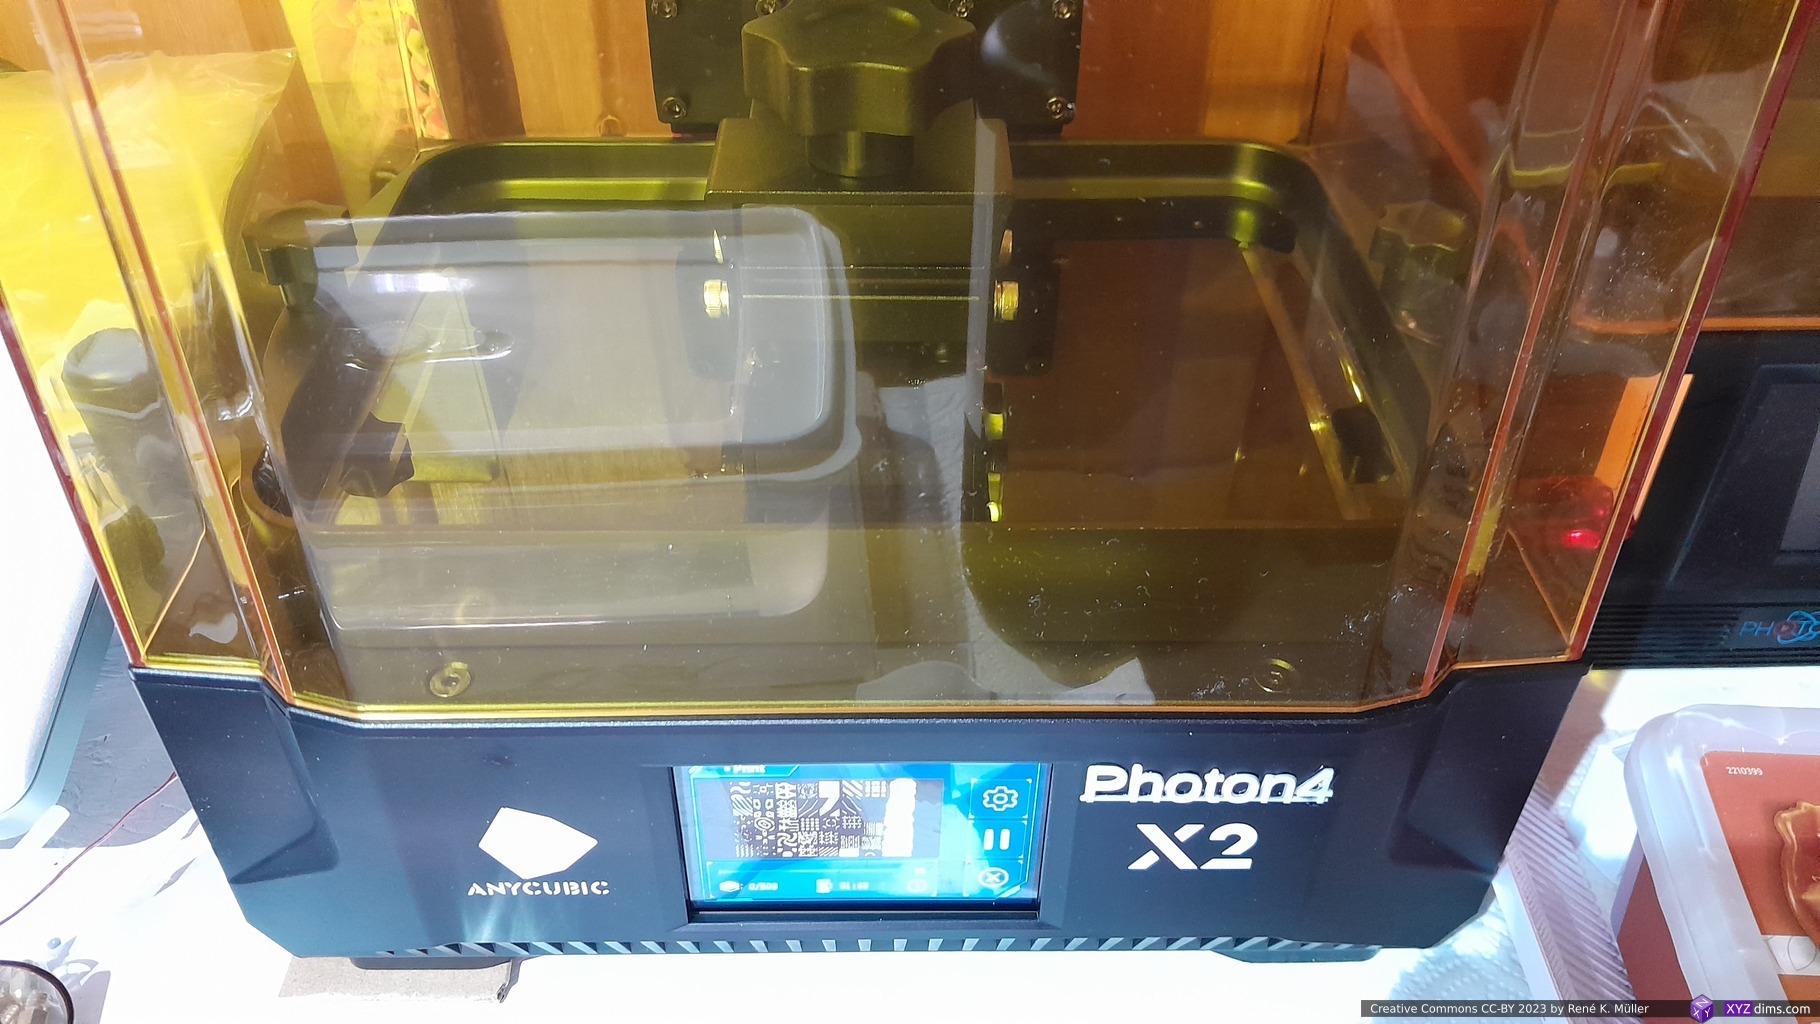
After my first steps with Anycubic Photon Mono 4K, an entry-level MSLA I also got a slightly larger Anycubic Photon Mono X2:
build volume: 196 x 122 x 200 mm (WxDxH)
resolution: XY 48μm, Z 50μm
9.1″ display with 4K+ resolution (4096×2560) display
monochromatic LCD (hence “Mono”), faster printer due shorter exposure
affordable with EUR 300-350 (2023/03)
no network, only USB drive printing
I ordered at Anycubic.com directly (EUR 350) 2023/03/24, and got it a week later.
Default Settings
Defaults Firmware V0.2.3
My Settings 2023/07
My Settings 2023/11
Bottom Layers
6
5
1 .. 62)
Exposure Off [s]
1.0
Bottom Exposure [s]
30.0
25.0
25.0
Normal Exposure [s]
2.0
2.5
2.5
Transition Layers
4
10
10
Bottom Region
Bottom Layer [0] Rising Height [mm]
3.0
4.0
Bottom Layer [0] Rising Speed [mm/s]
1.0
Bottom Layer [0] Retract Speed [mm/s]
1.0
Bottom Layer [1] Rising Height [mm]
4.0
4.0 1)
Bottom Layer [1] Rising Speed [mm/s]
3.0
1.5
1.5
Bottom Layer [1] Retract Speed [mm/s]
3.0
Normal Region
Normal Layer [0] Rising Height [mm]
3.0
4.0
Normal Layer [0] Rising Speed [mm/s]
1.0
Normal Layer [0] Retract Speed [mm/s]
1.0
Normal Layer [1] Rising Height [mm]
4.0
4.0 1)
Normal Layer [1] Rising Speed [mm/s]
3.0
1.5
1.5
Normal Layer [1] Retract Speed [mm/s]
3.0
UV Light (not available)
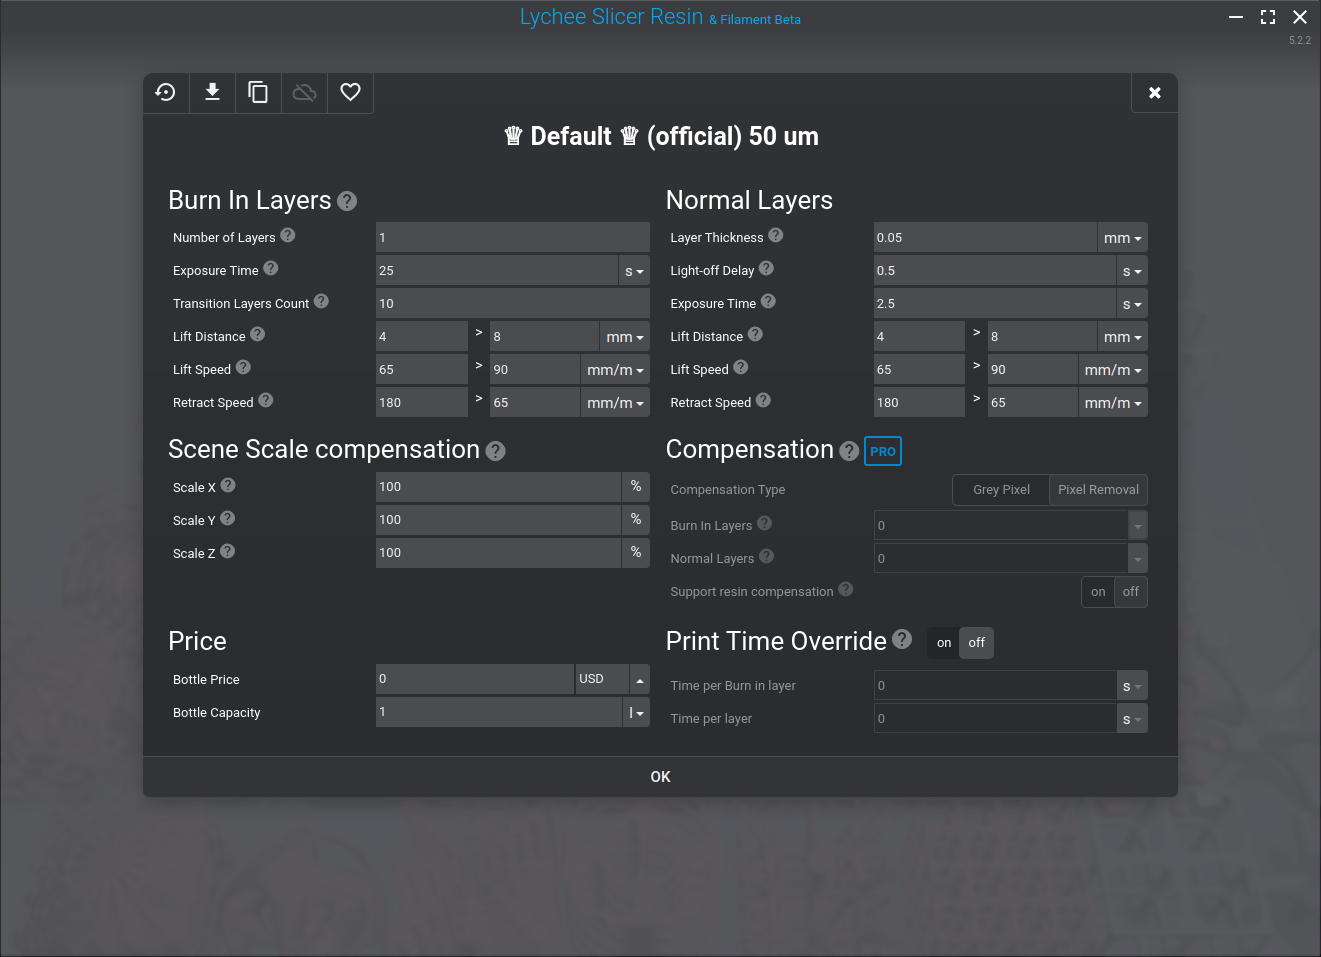
in Lychee Slicer the 2nd lift distance is the sum of [0] Rising Height 4.0mm + [1] Rising Height 4mm = “4.0mm > 8.0mm”:
depending on the size of the pieces, if they are small (e.g. 20x20mm foot print) then I use 1 bottom layer, for larger pieces I increase up to 6 bottom layers
After some prints I realized the 3mm/s or 180mm/min 2nd rising speed really decreased the reliability of prints I did, usually after bottom layers some models, especially fine structures, deliminated and I realized the transitioning needed to be longer and also reduce the 2nd rising speed, the retraction speed could stay as is. The slowed down the overall print time, but reliability is getting near to Mono 4K.
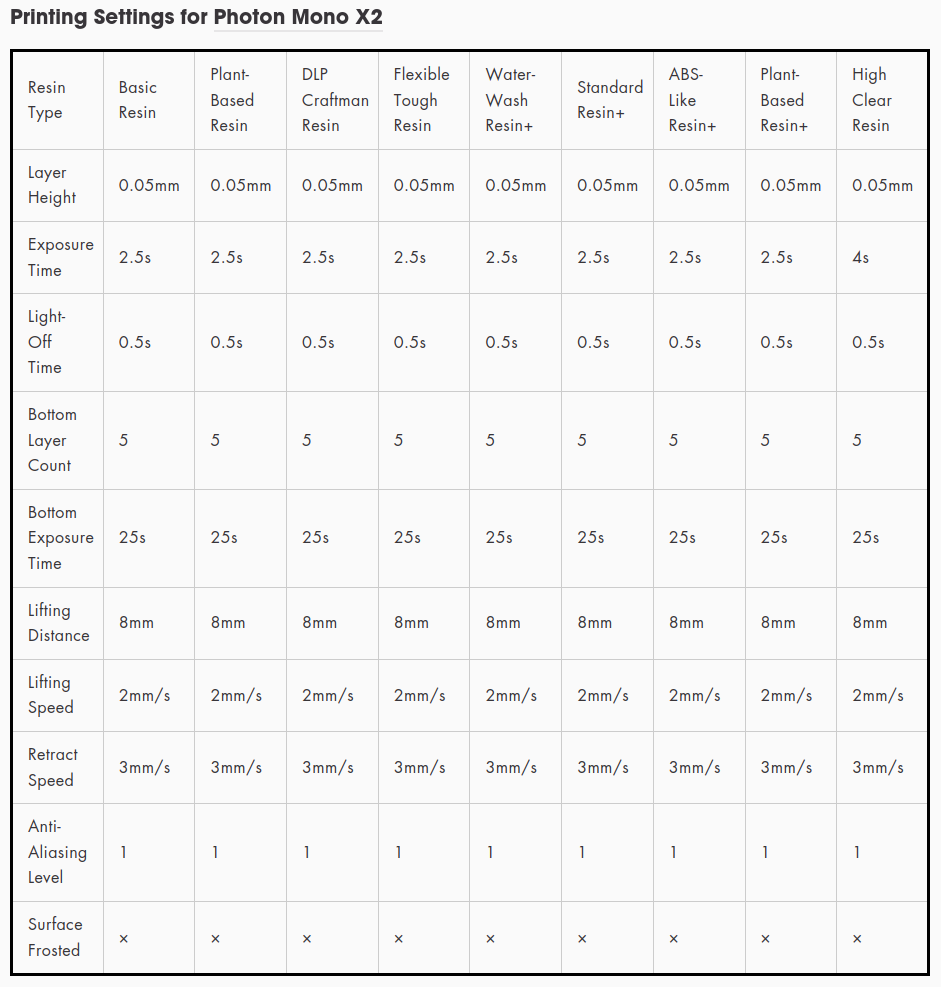
Various Resins
from Anycubic Web-Site (2023/04/02)
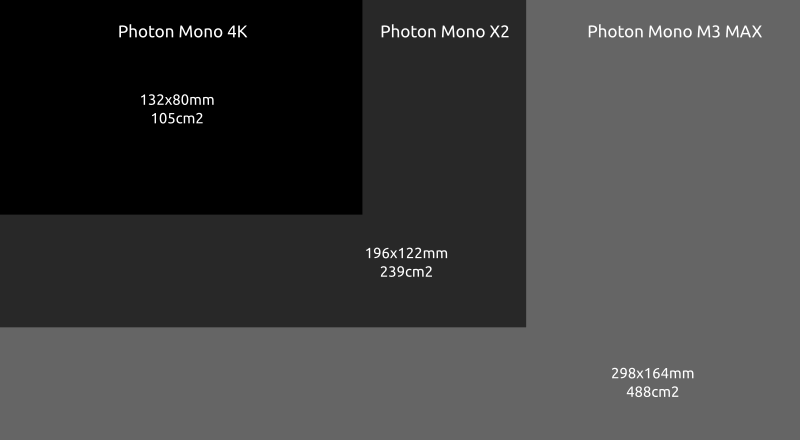
Mono 4K vs Mono X2 vs Mono M3 Max
The print area Mono 4K doubles nearly with Mono X2, and the Mono M3 Max (EUR 1000) additionally doubles the print area:
As pointed out previously, the print area with MSLA directly affects the print speed, the larger the build plate, the faster the print: more parts can be printed at the same time.
The Mono X2 is relatively new as of writing this blog-post, just released in late 2022, so the third party market has not yet taken off regarding spare vats, spring steel magnetic build plate, protective films and alike.
Update 2023/07: The Mono X2 already discontinued as M5 and M5S has been released.
Photon Mono X2 vs Creality LD-006: Details Matter
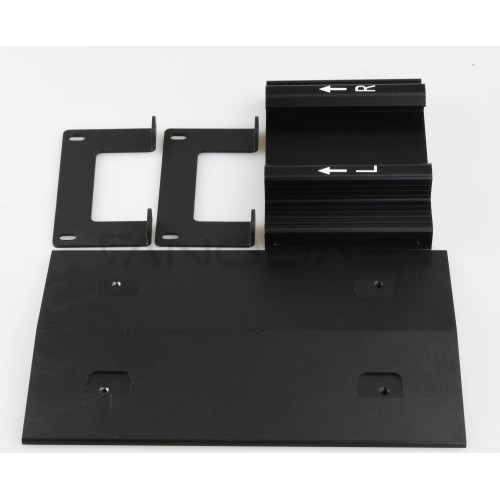
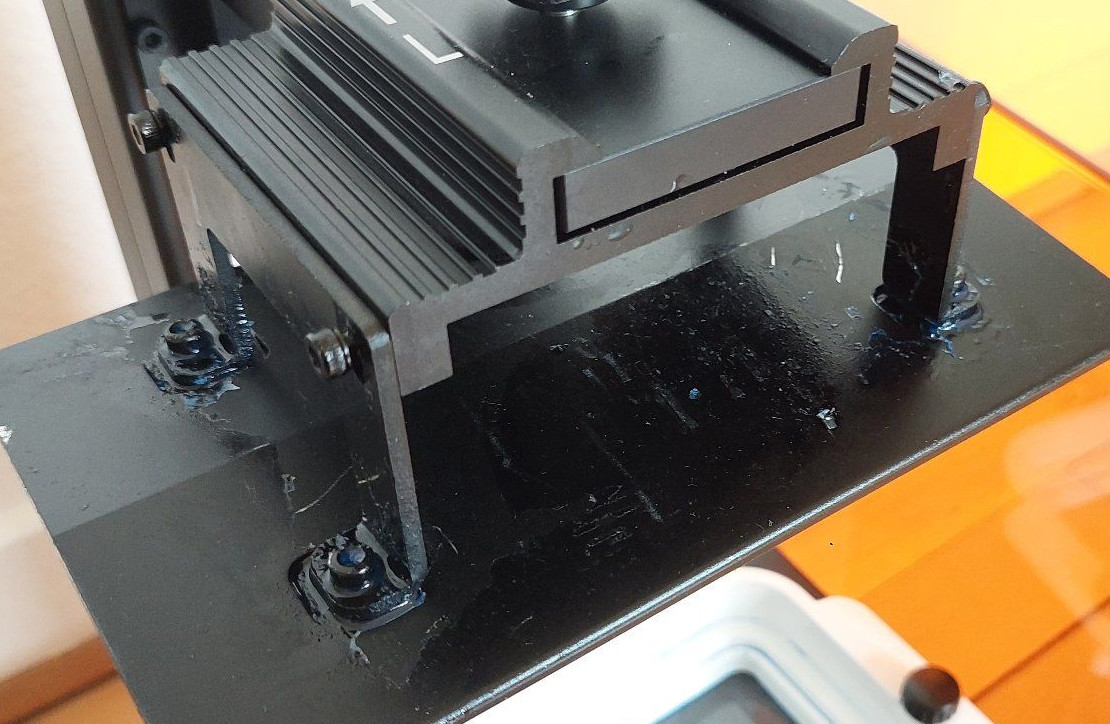
The main reason I prefered the Photon Mono X2 (EUR 350) over the Creality LD-006 (EUR 250) with the nearly same build-volume is that the LD-006 has a bad build-plate mount where resin is trapped near the screws – which makes cleaning and switching resins much harder:
Anycubic Photon Mono X2 build plate: all resins flows away from the build plate, good designCreality LD-006 build plate: mounting screws trap resin, bad designCreality LD-006 build plate: mounting screws trap resin, bad design
Eventually either cured, dried or semi liquid resin trapped in there will contaminate your next prints – so a bad build plate design can ruin your prints eventually.
Slicer Support
Lychee Slicer 5.x and upward also supports the Mono X2 out of the box, whereas Prusa Slicer SLA slicer, as of 2.x series, does not slice to any but .sl1, and so requires a custom setting to add support for it indirectly then requires a tool like UVtools to convert to .pmx2 (Note: as of 2023/03 the output format is not working properly).
The native Photon Workshop slicer coming with the printer has no Linux support and only works via Wine “Windows” emulator, and is barely usable.
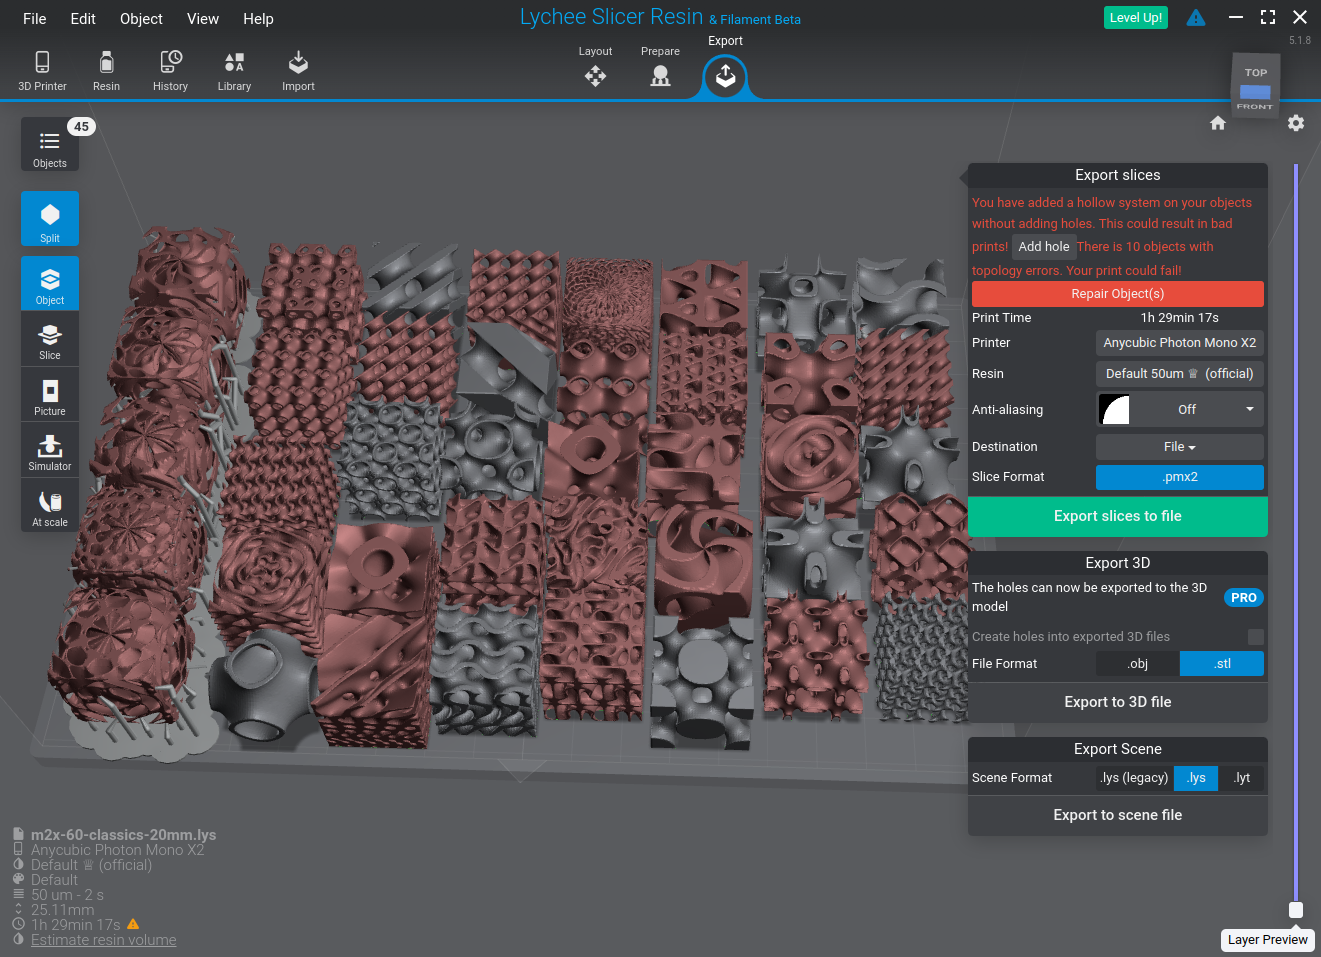
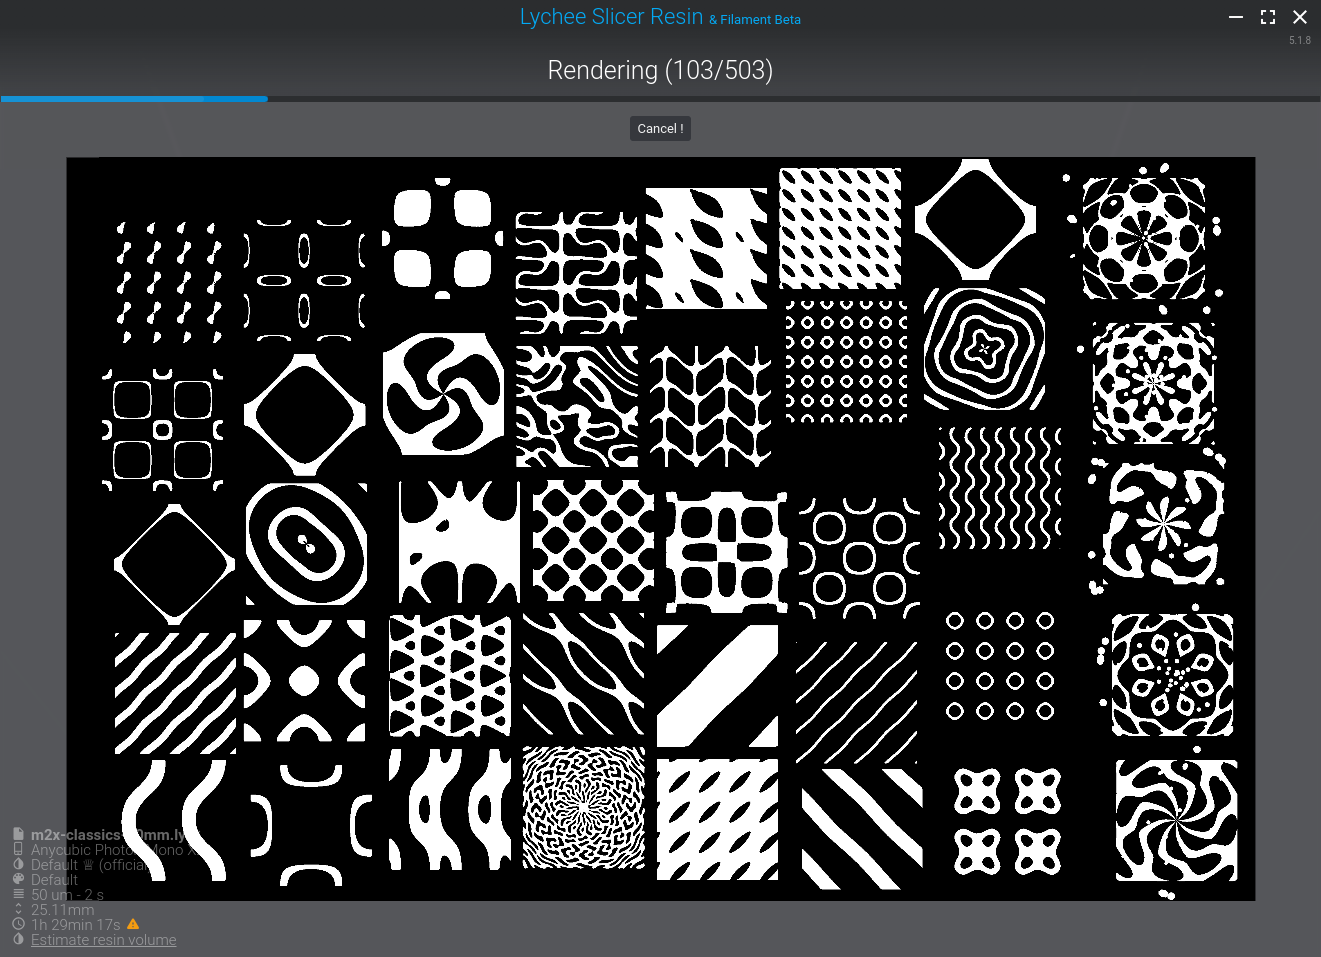
Lychee Slicer, positioning 40x cubes, left column requires support, all others directly on the bedLychee Slicer slicing 40x cubes
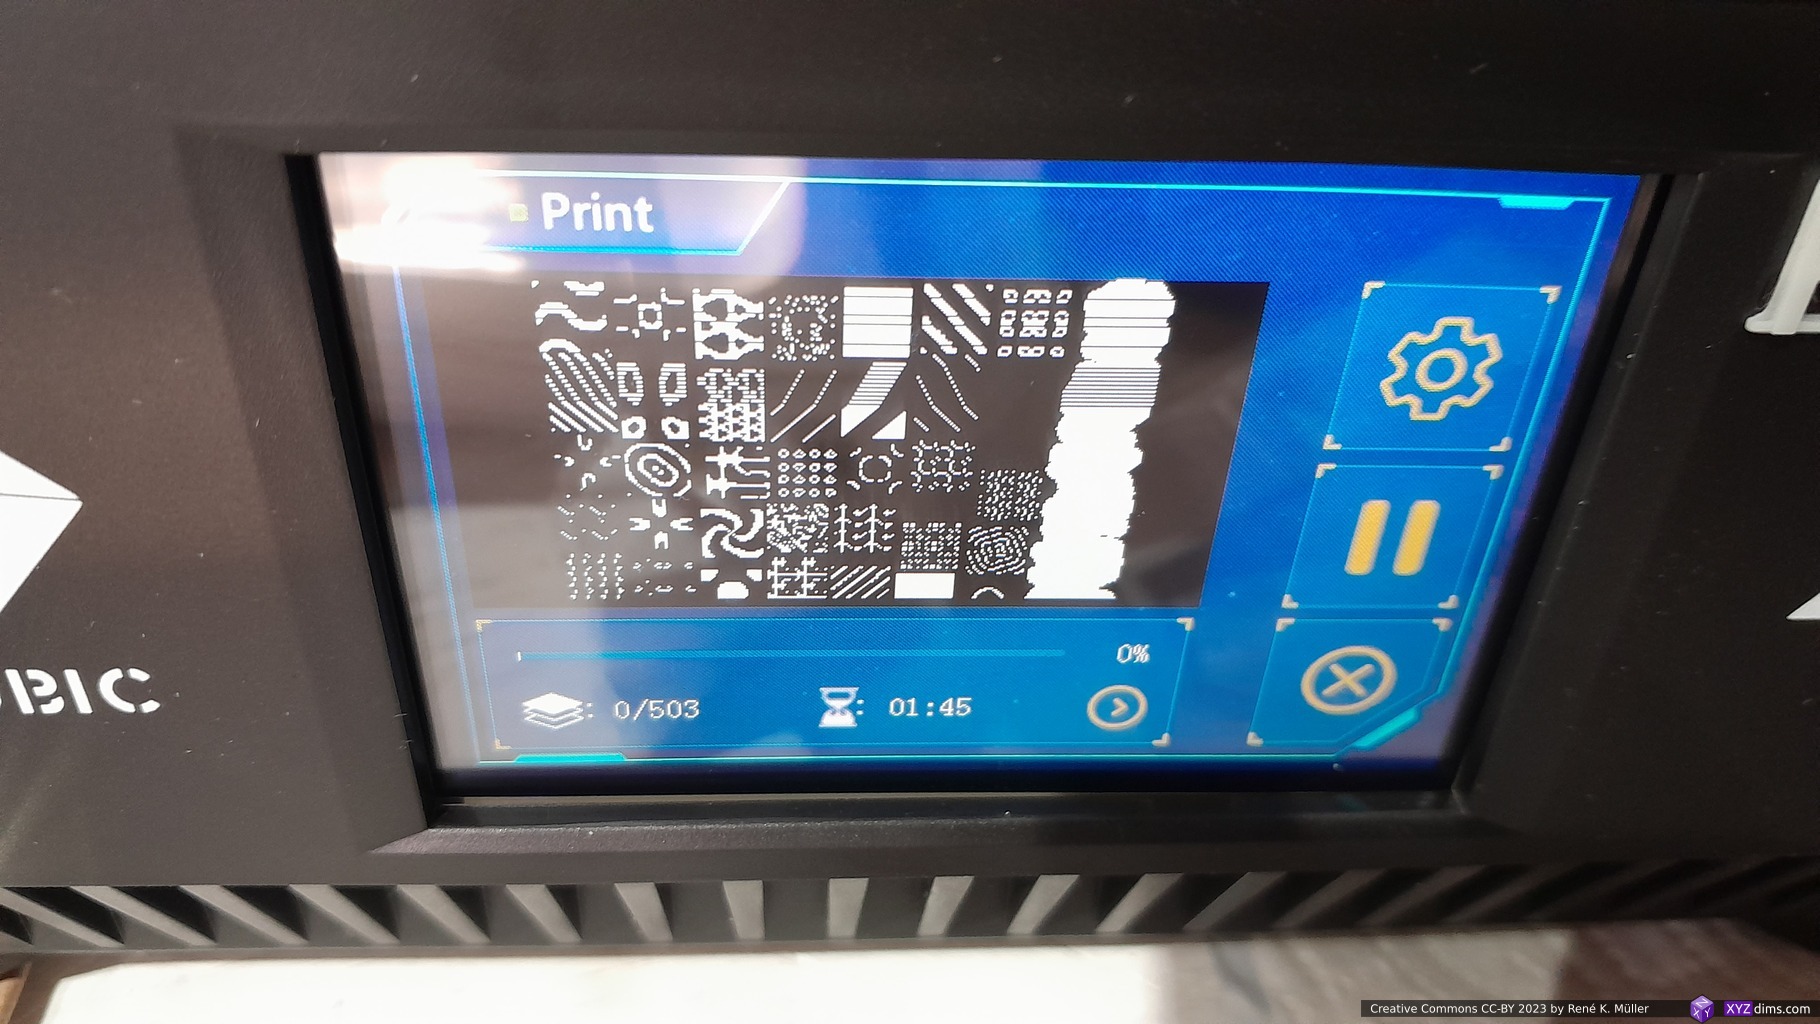
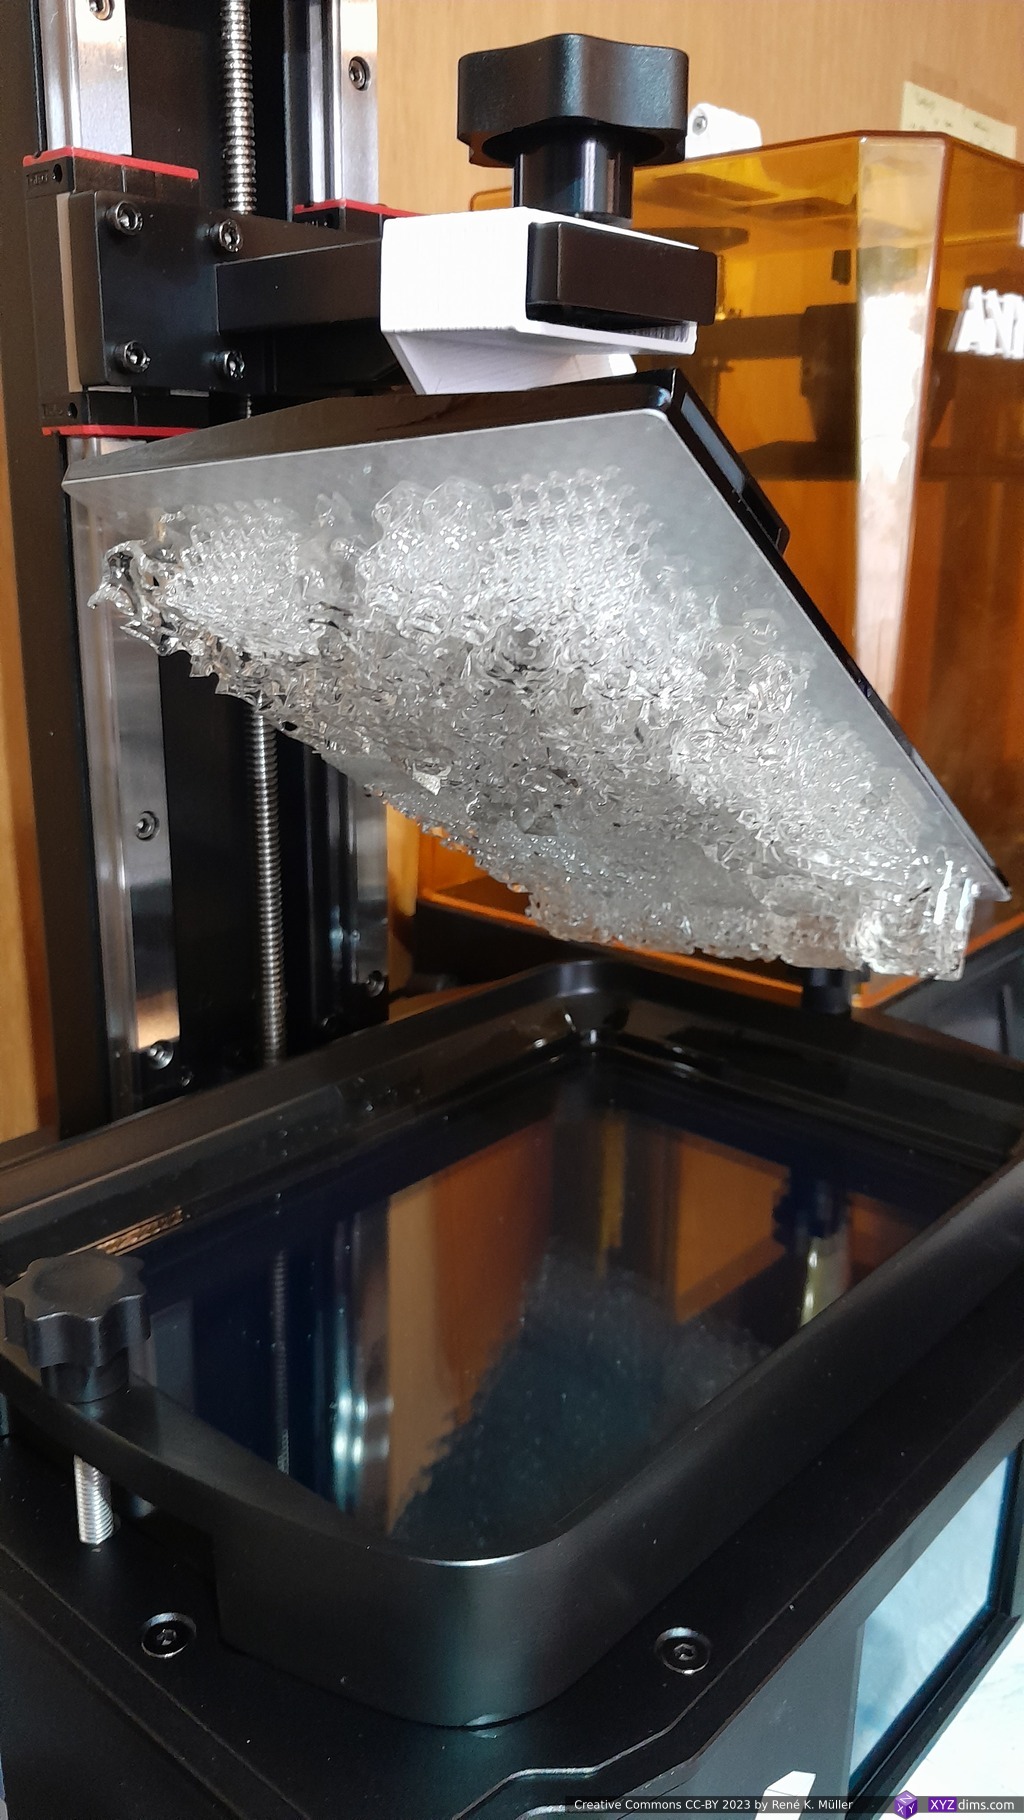
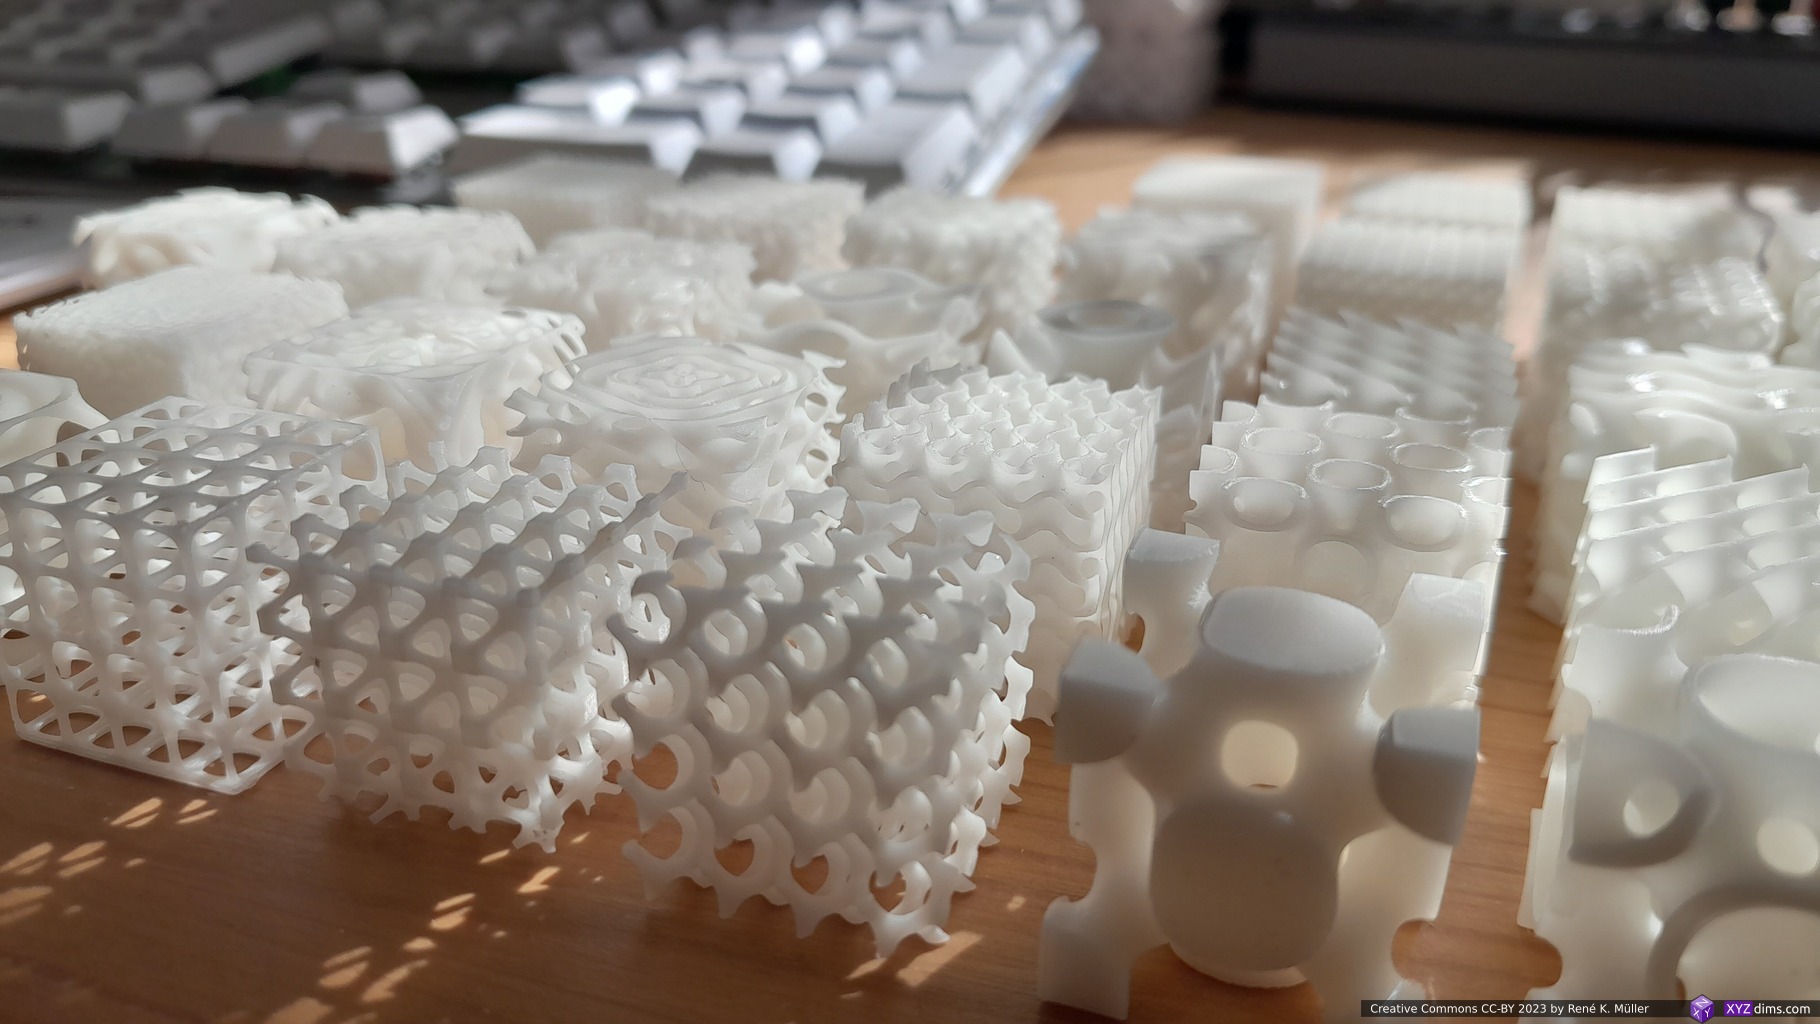
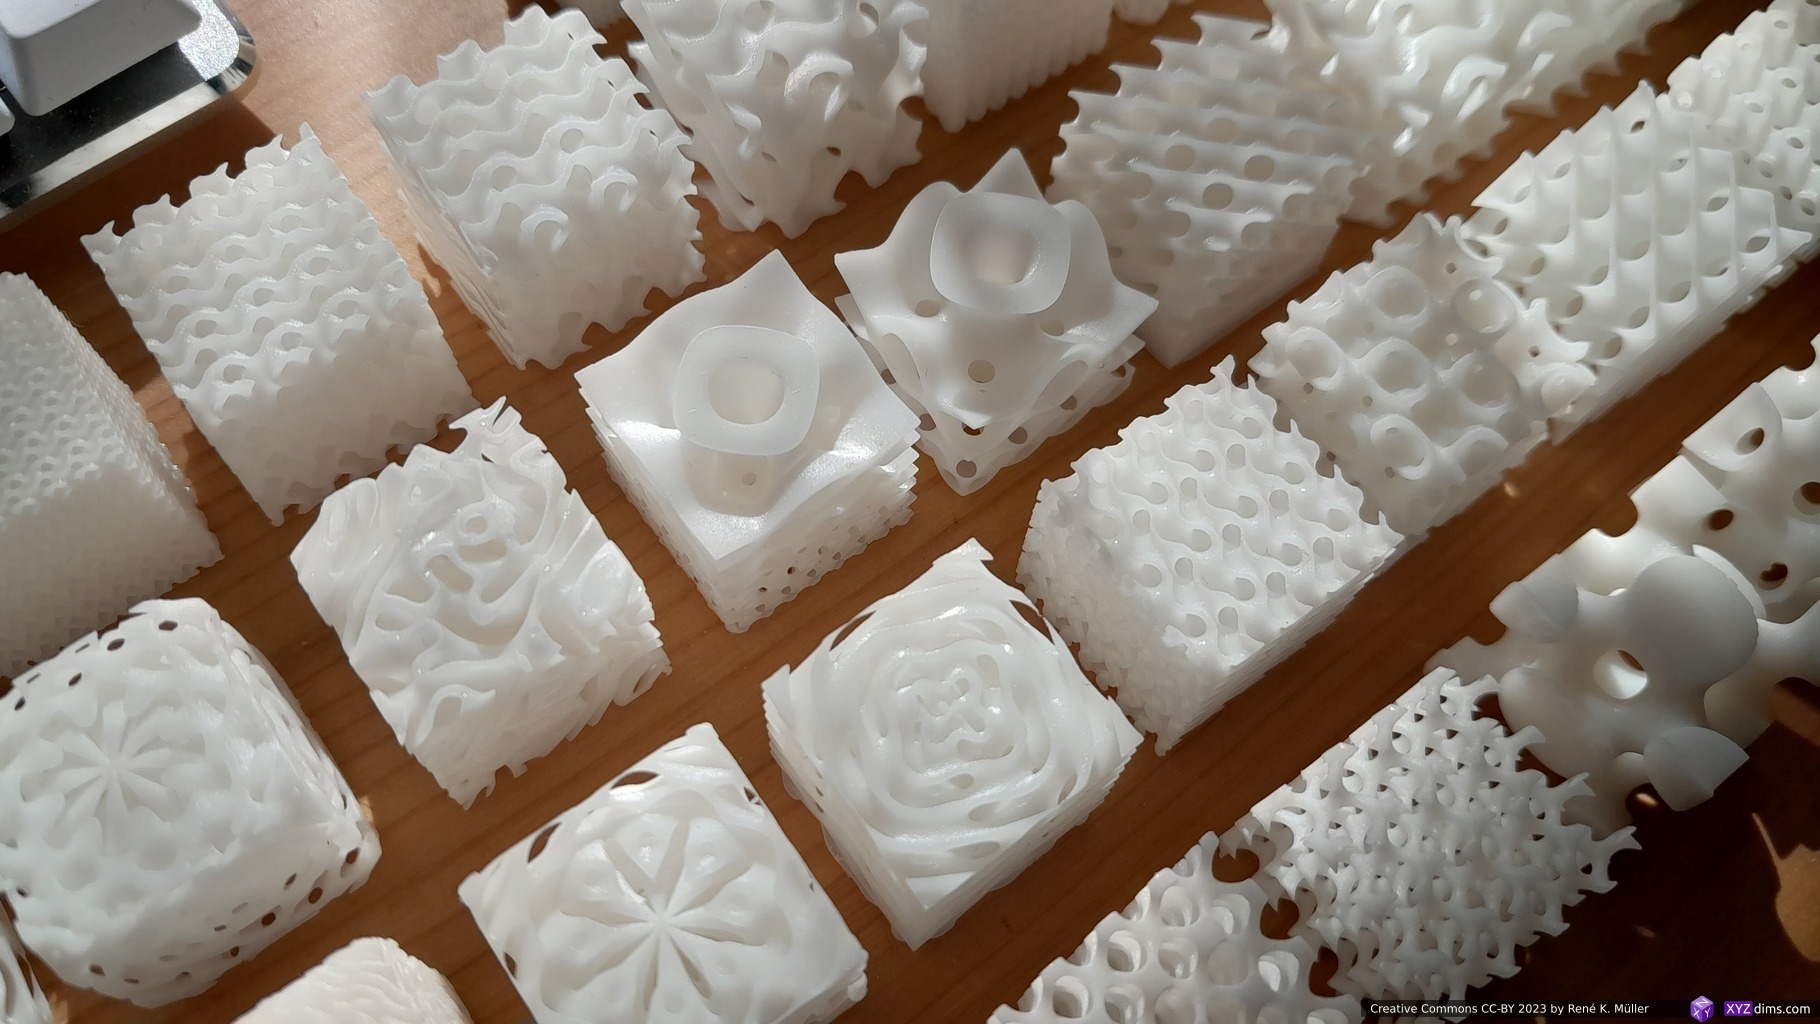
Printing 40x Triply Periodic Minimal Surfaces 20mm cubes samples at once, and it took 1h45m (with default settings) with apprx. 30mm height, as some required support.
Mono X2 printing 40x Triply Periodic Minimal Surface 20mm cubesdisplay shows current layer exposureafter 1h45m the print was finished, using drip hook to tilt platform
The pieces were overexposed, the bottom layers were significantly overexposed, the clear resin as well the white resin which came as 2nd batch – the defaults as recommended by Anycubic and consequently by Lychee Slicer 5.1.8 were not as good as Photon Mono 4K.
The default settings with 3mm/s or 180mm/min for 2nd lift speed caused multiple failed prints for me such as delimination, and I reduced it to 1.5mm/s or 90mm/min and increased transitioning layers from 4 to 10 – after that fine structures like those 40mm cube lattice prints came out quite well.
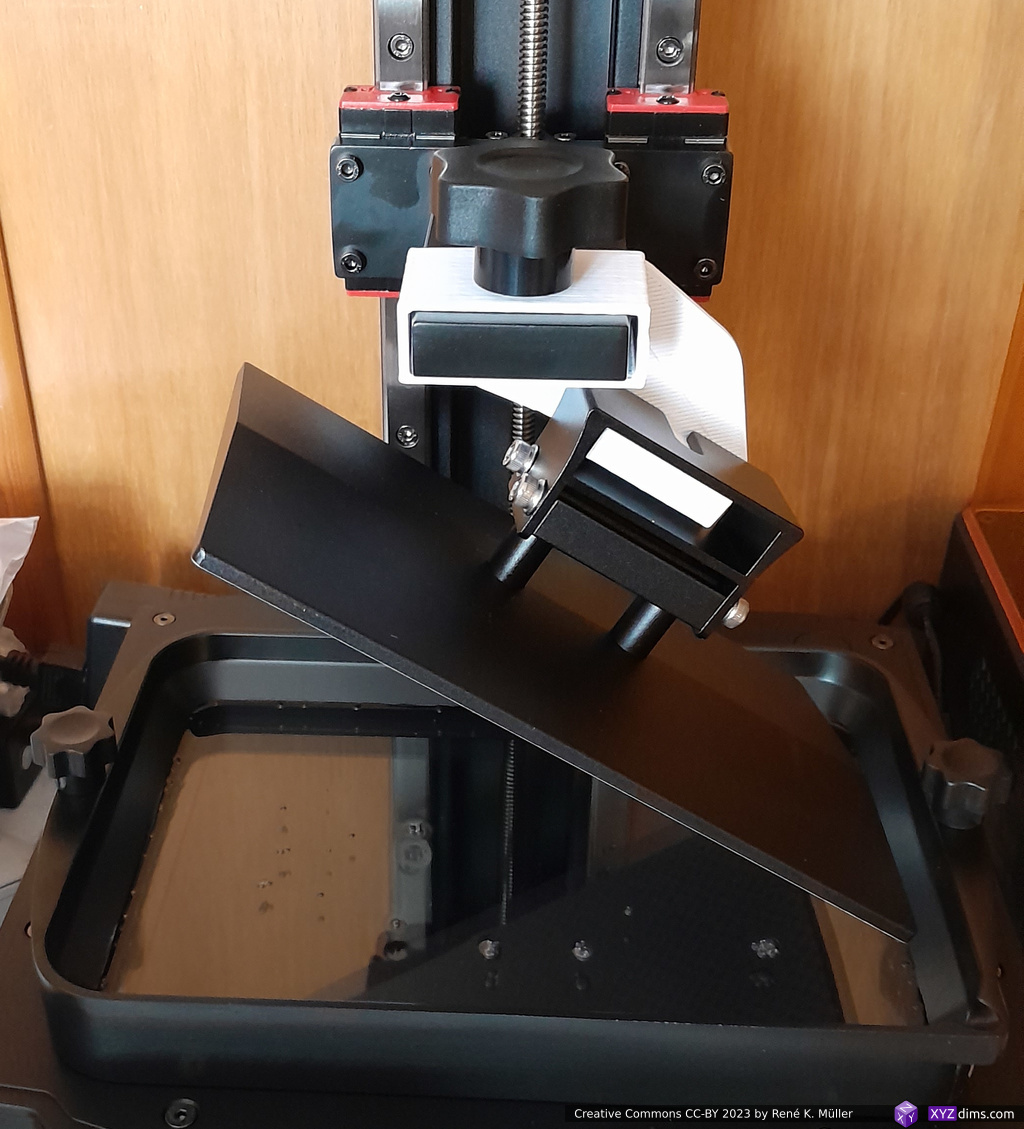
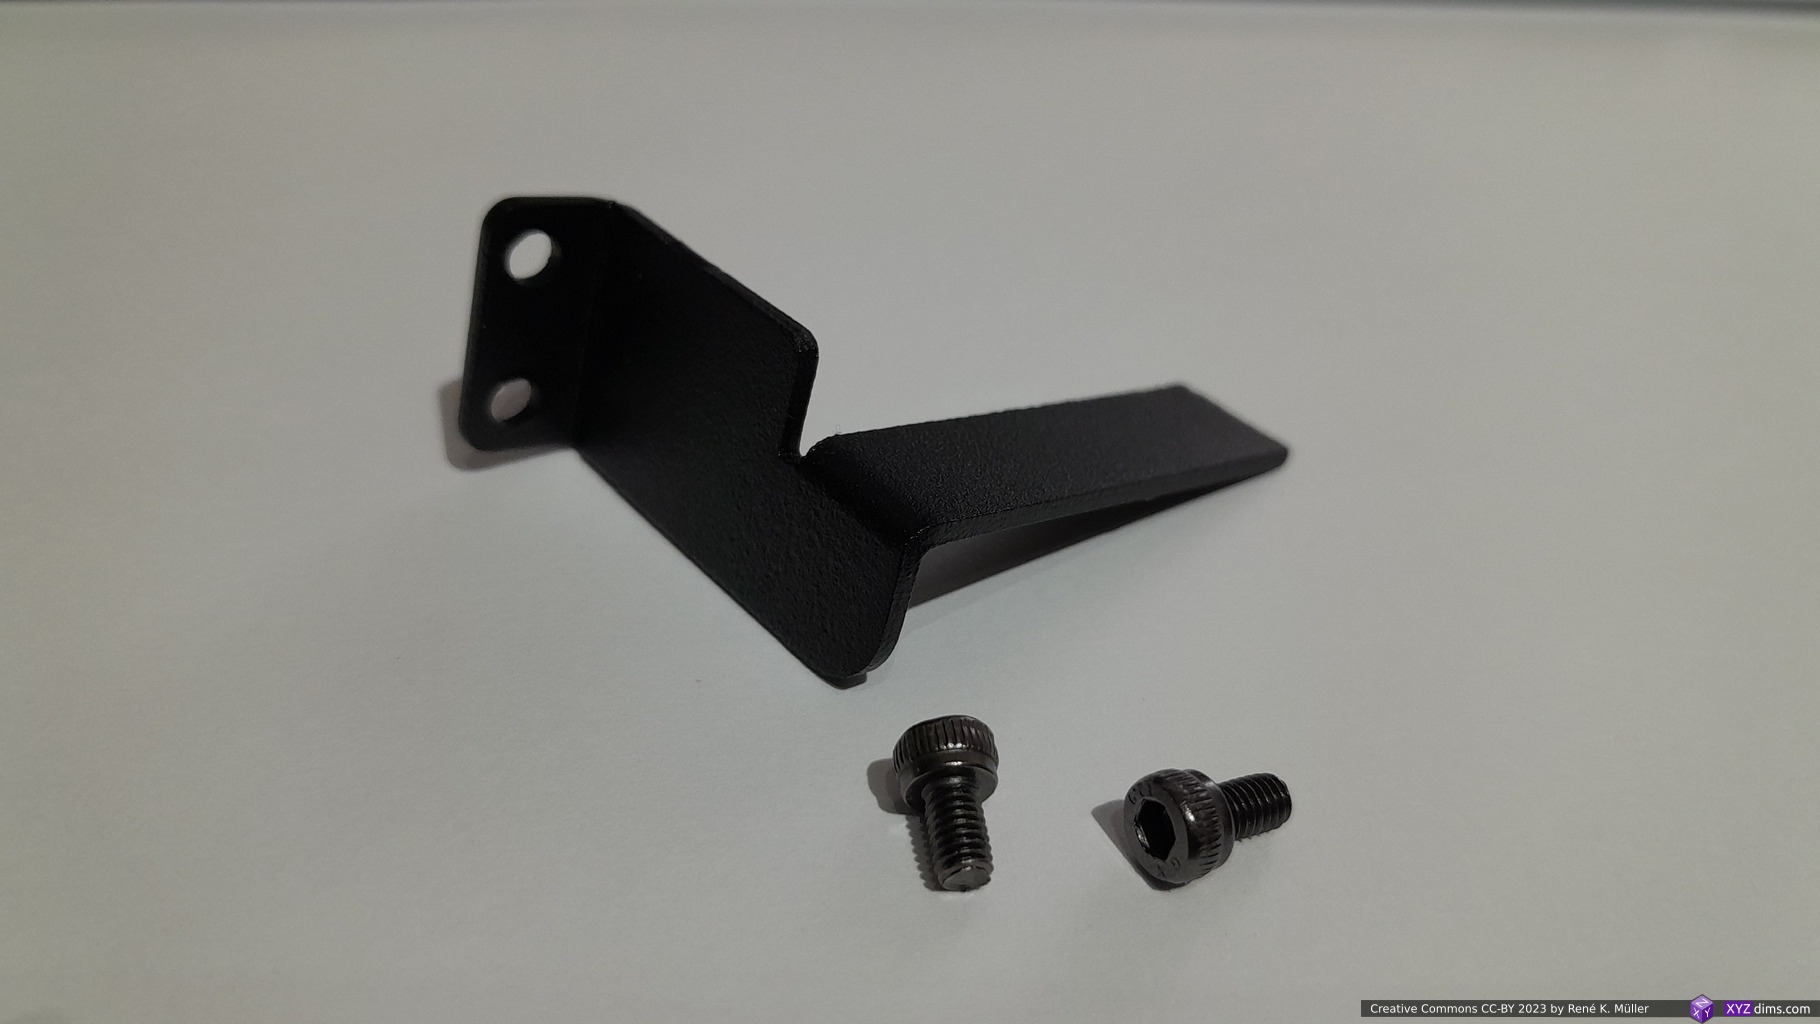
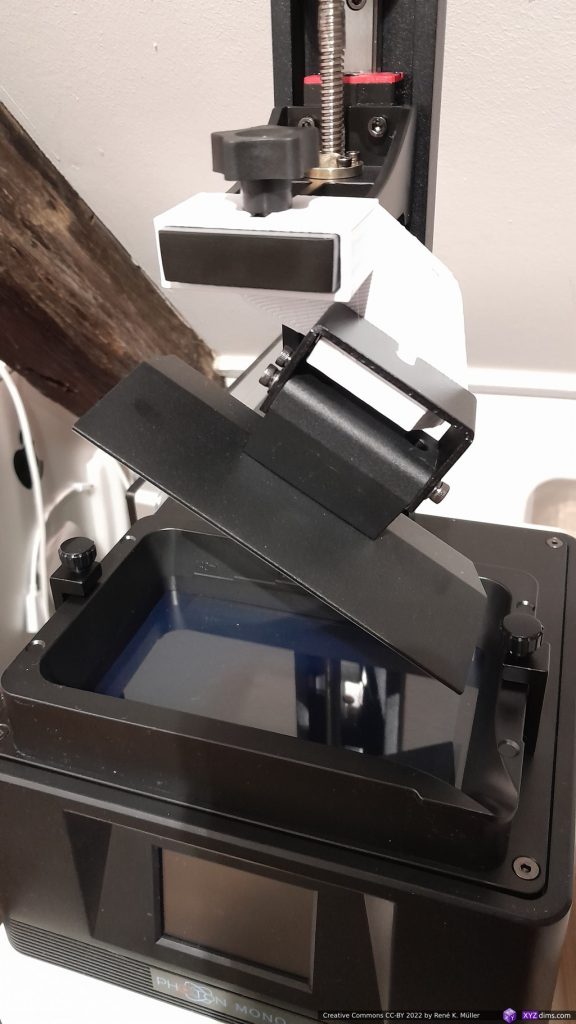
Photon Mono X2 Drip Hook
I highly recommend a drip hook, you want uncured resin easily drip over a period of 5-10min back into the vat, before you wash it off in water (when using water wash resin) or isopropyl alcohol (IPA).
263 x 169 x 30 mm (outside max) 238 x 162 mm (inside)
steel build plate
Elegoo Saturn S (same LCD size)
202 x 129 mm (min. 196 x 122mm)
Spring Steel Plate
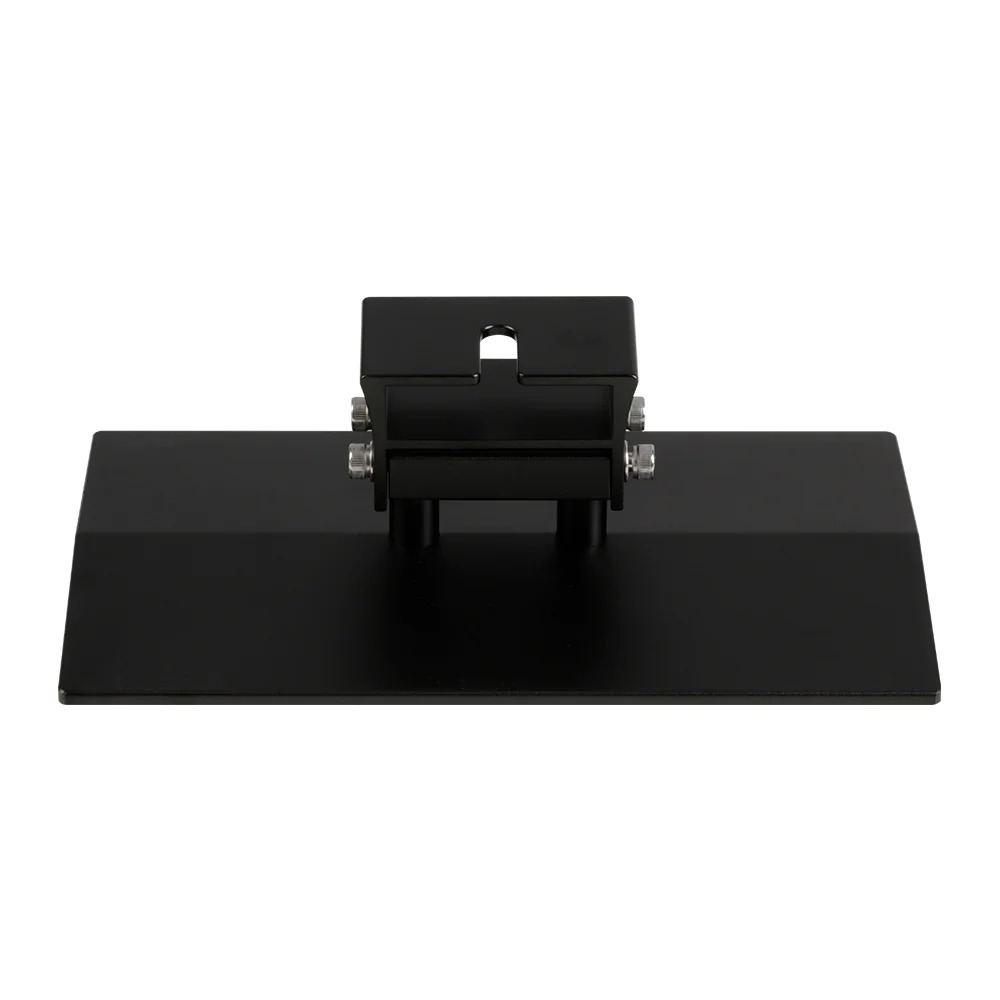
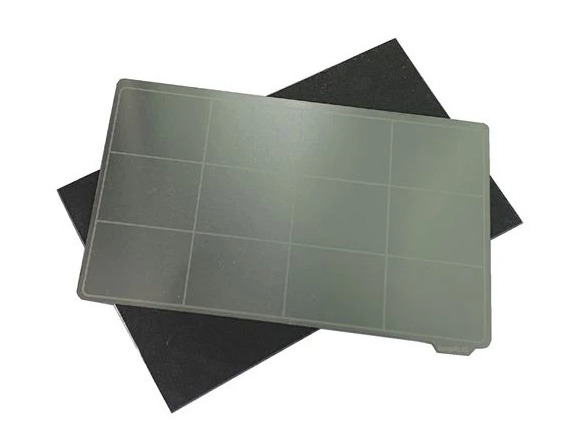
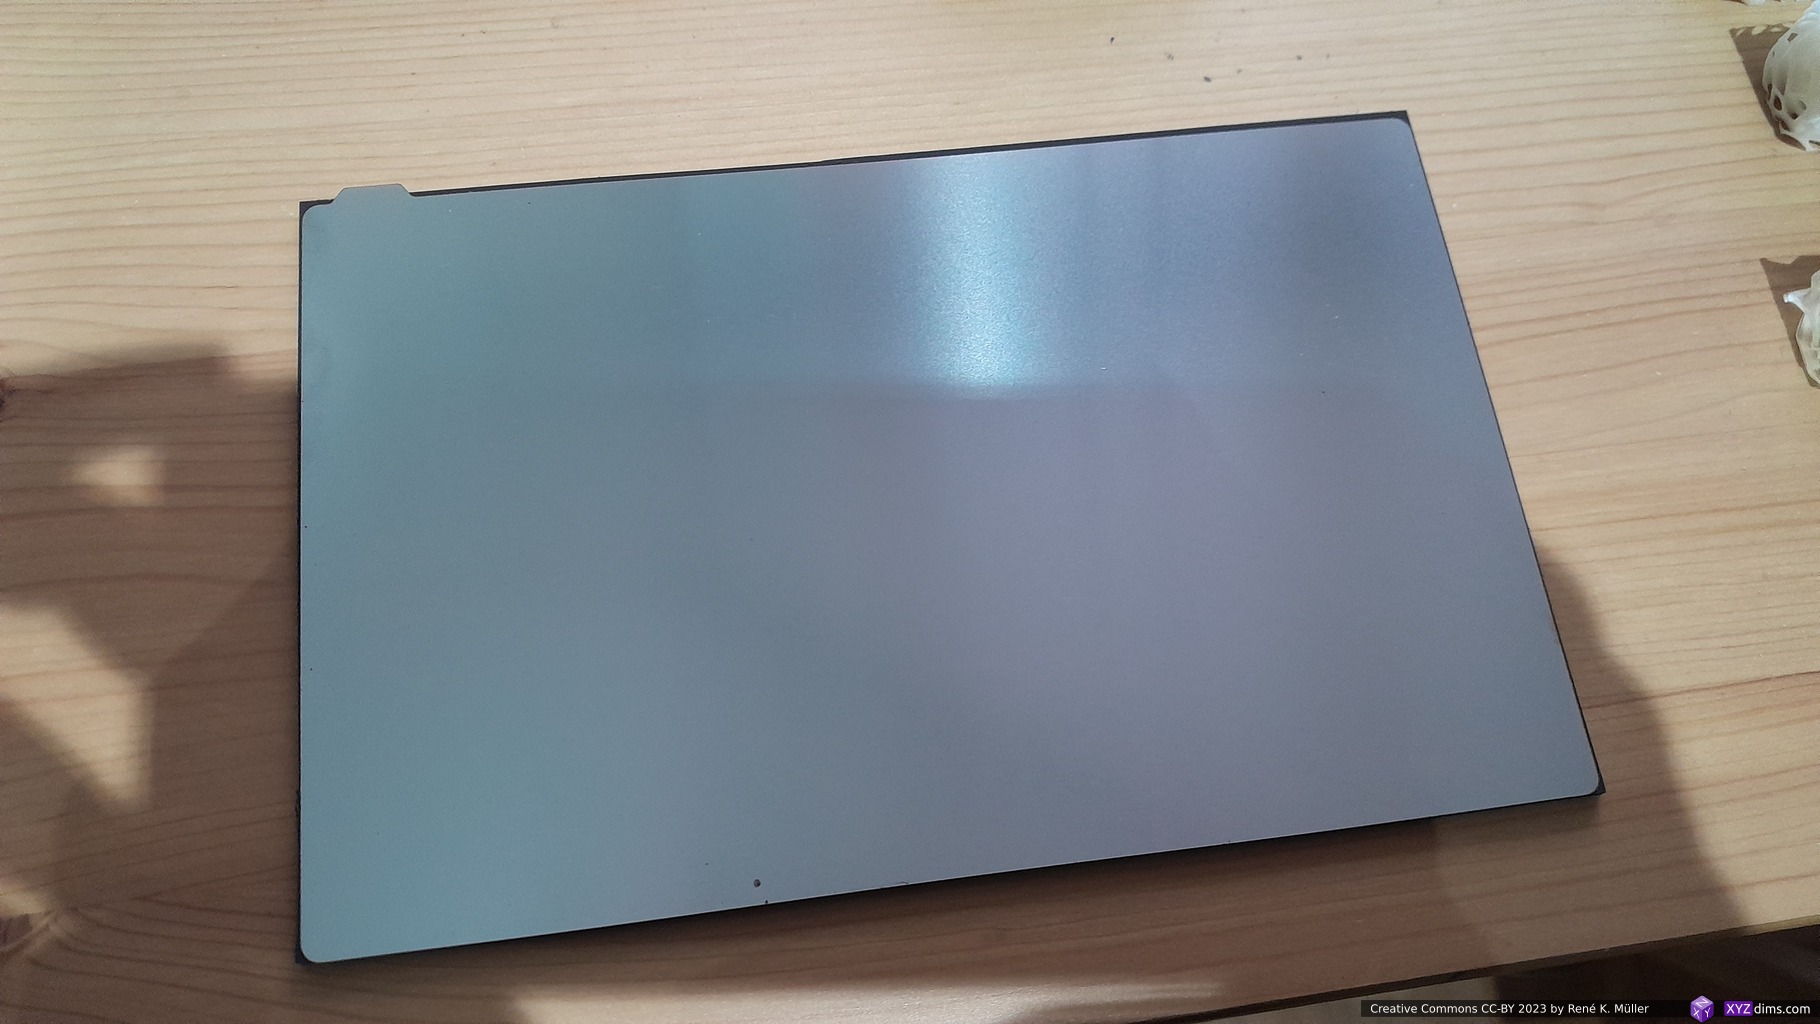
I made two prints with the original build plate, and it was difficult to remove the prints without flexing and scratched the plate right away – the adhesion is good, too good actually. So it became clear, I also want a spring steel plate for it.
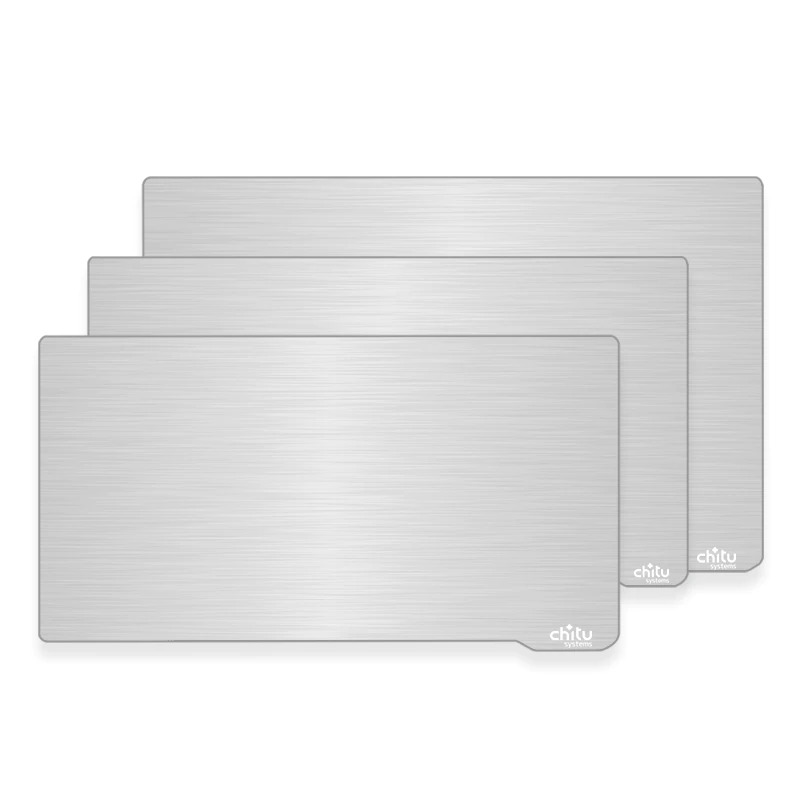
Magnetic spring steel plate: 202x128mm for Photon Mono X2Photon Mono X2 202x128mm spring steel plate
magnetic base: 2.2mm thick, slightly extends, 203x129mm
steel plate: 0.5mm thick, exact 202x128mm
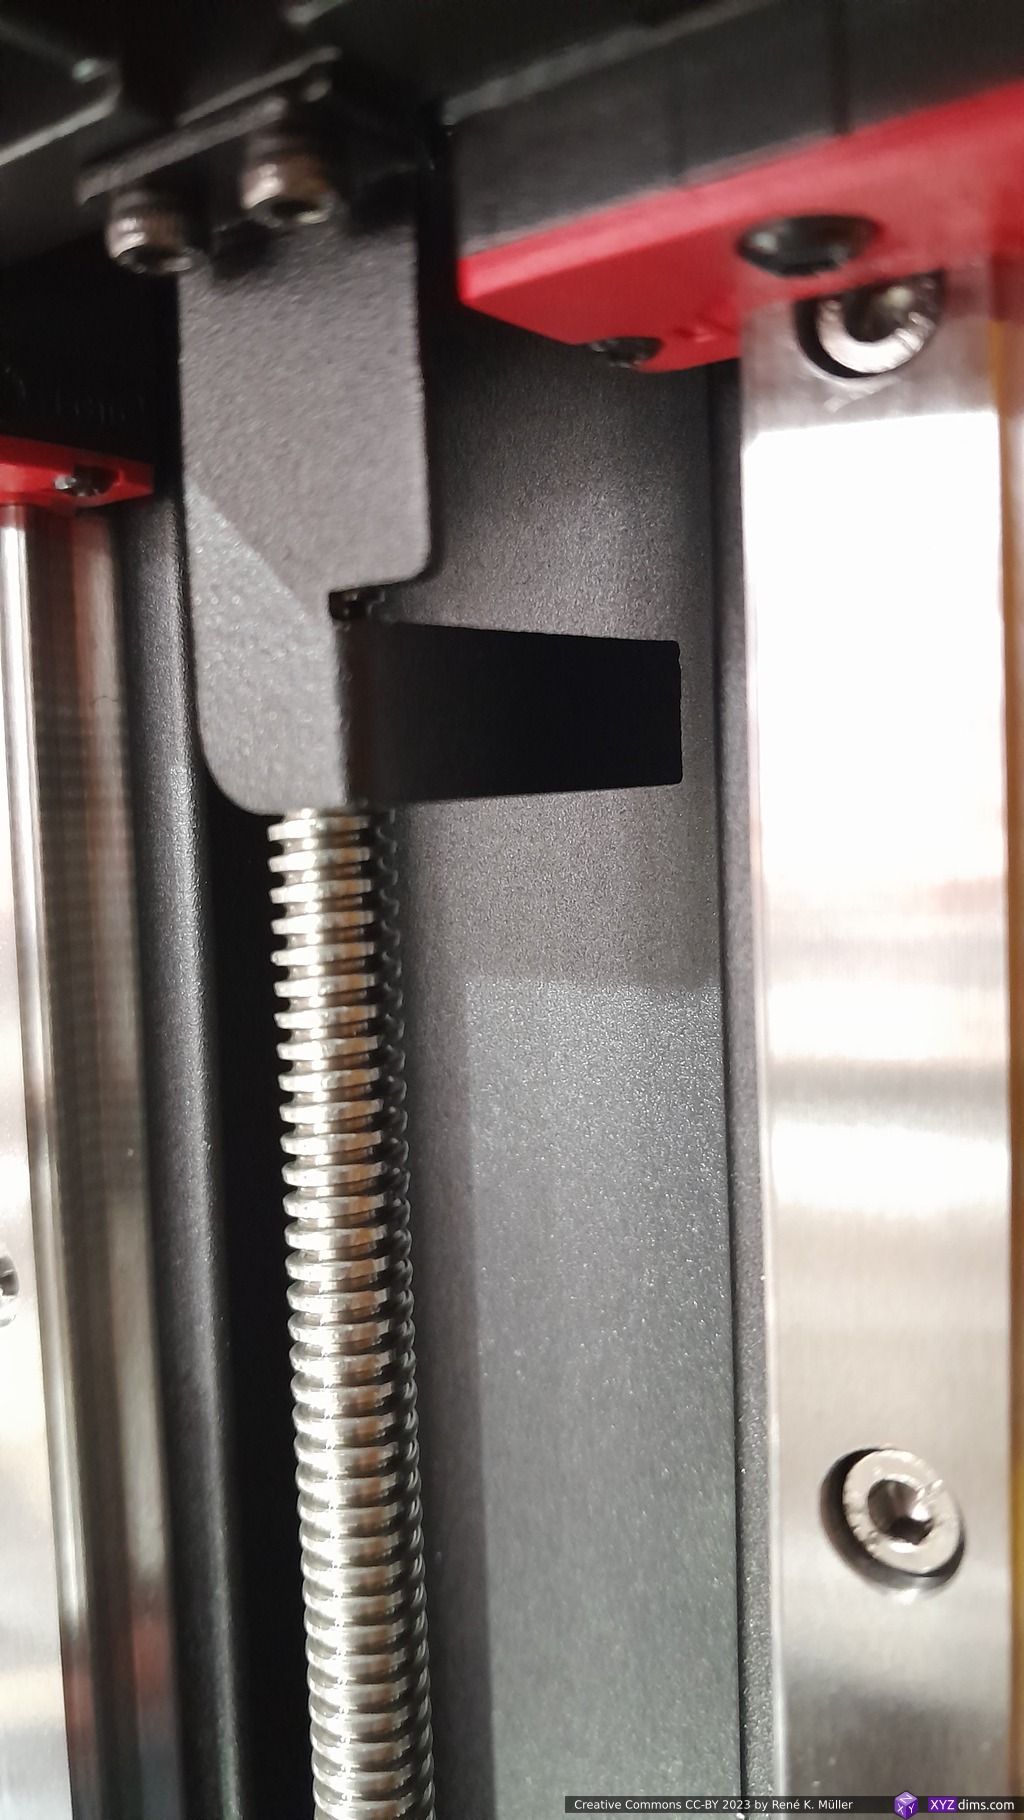
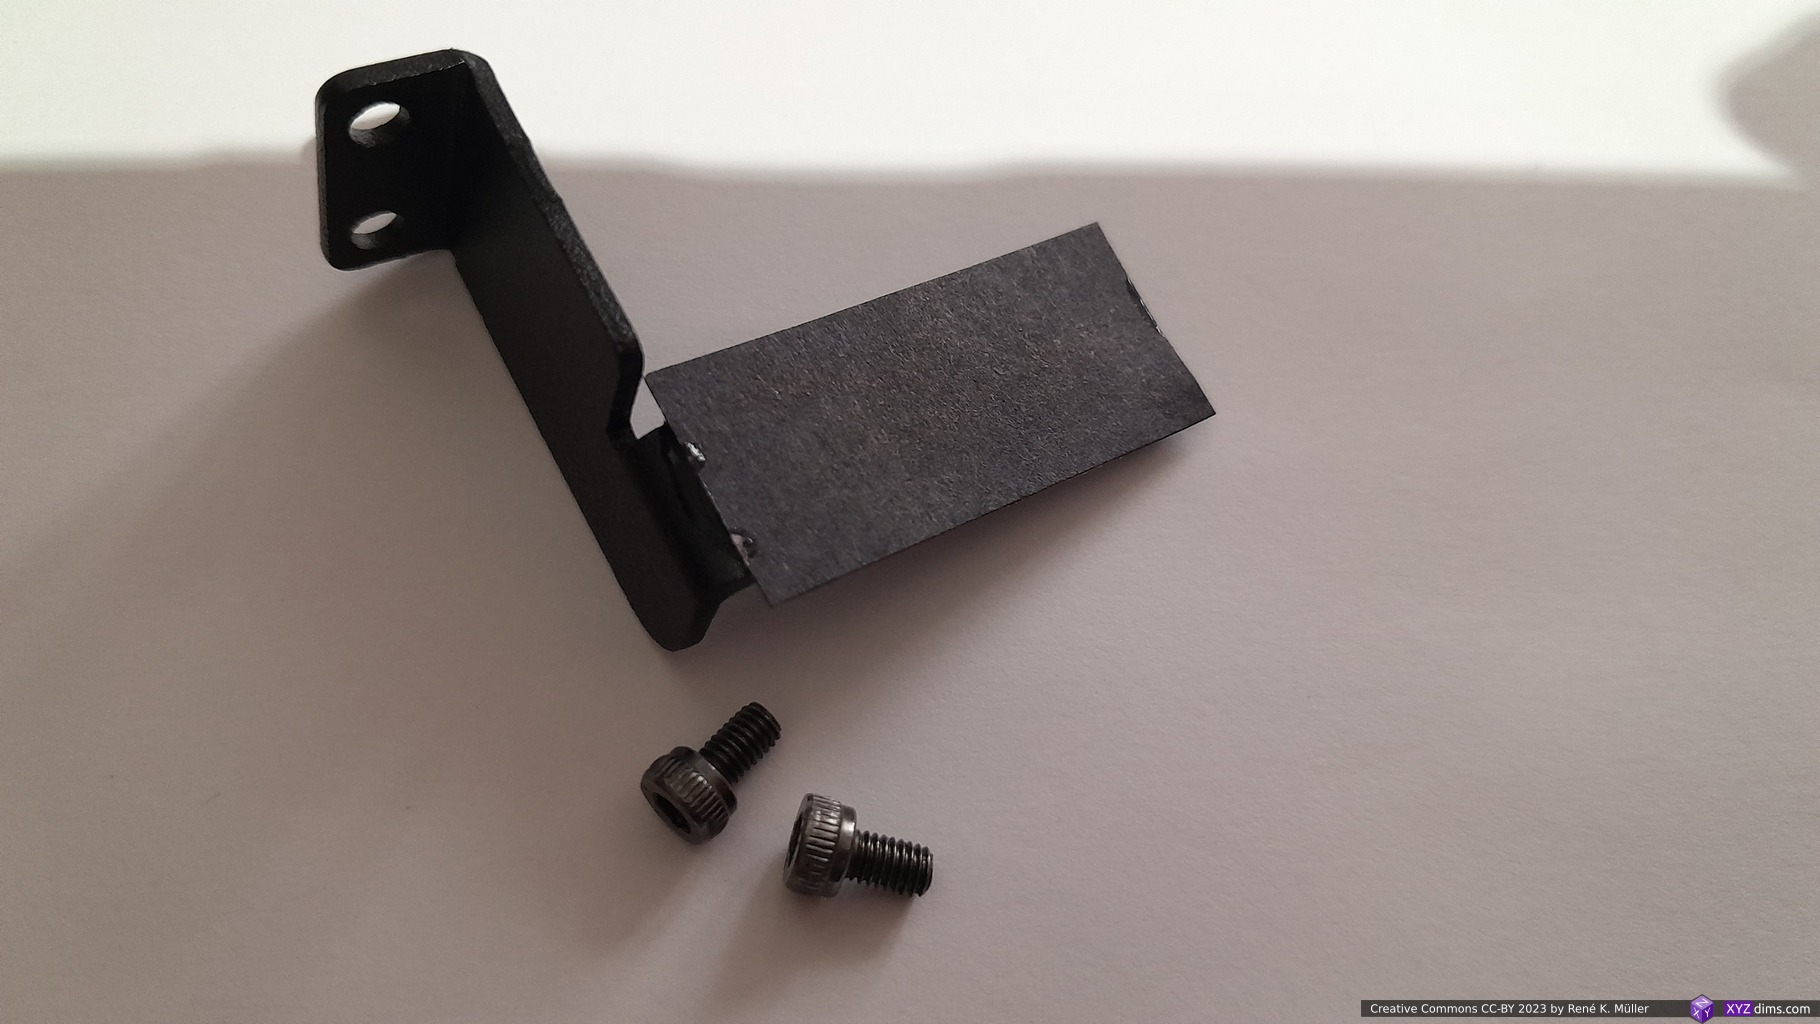
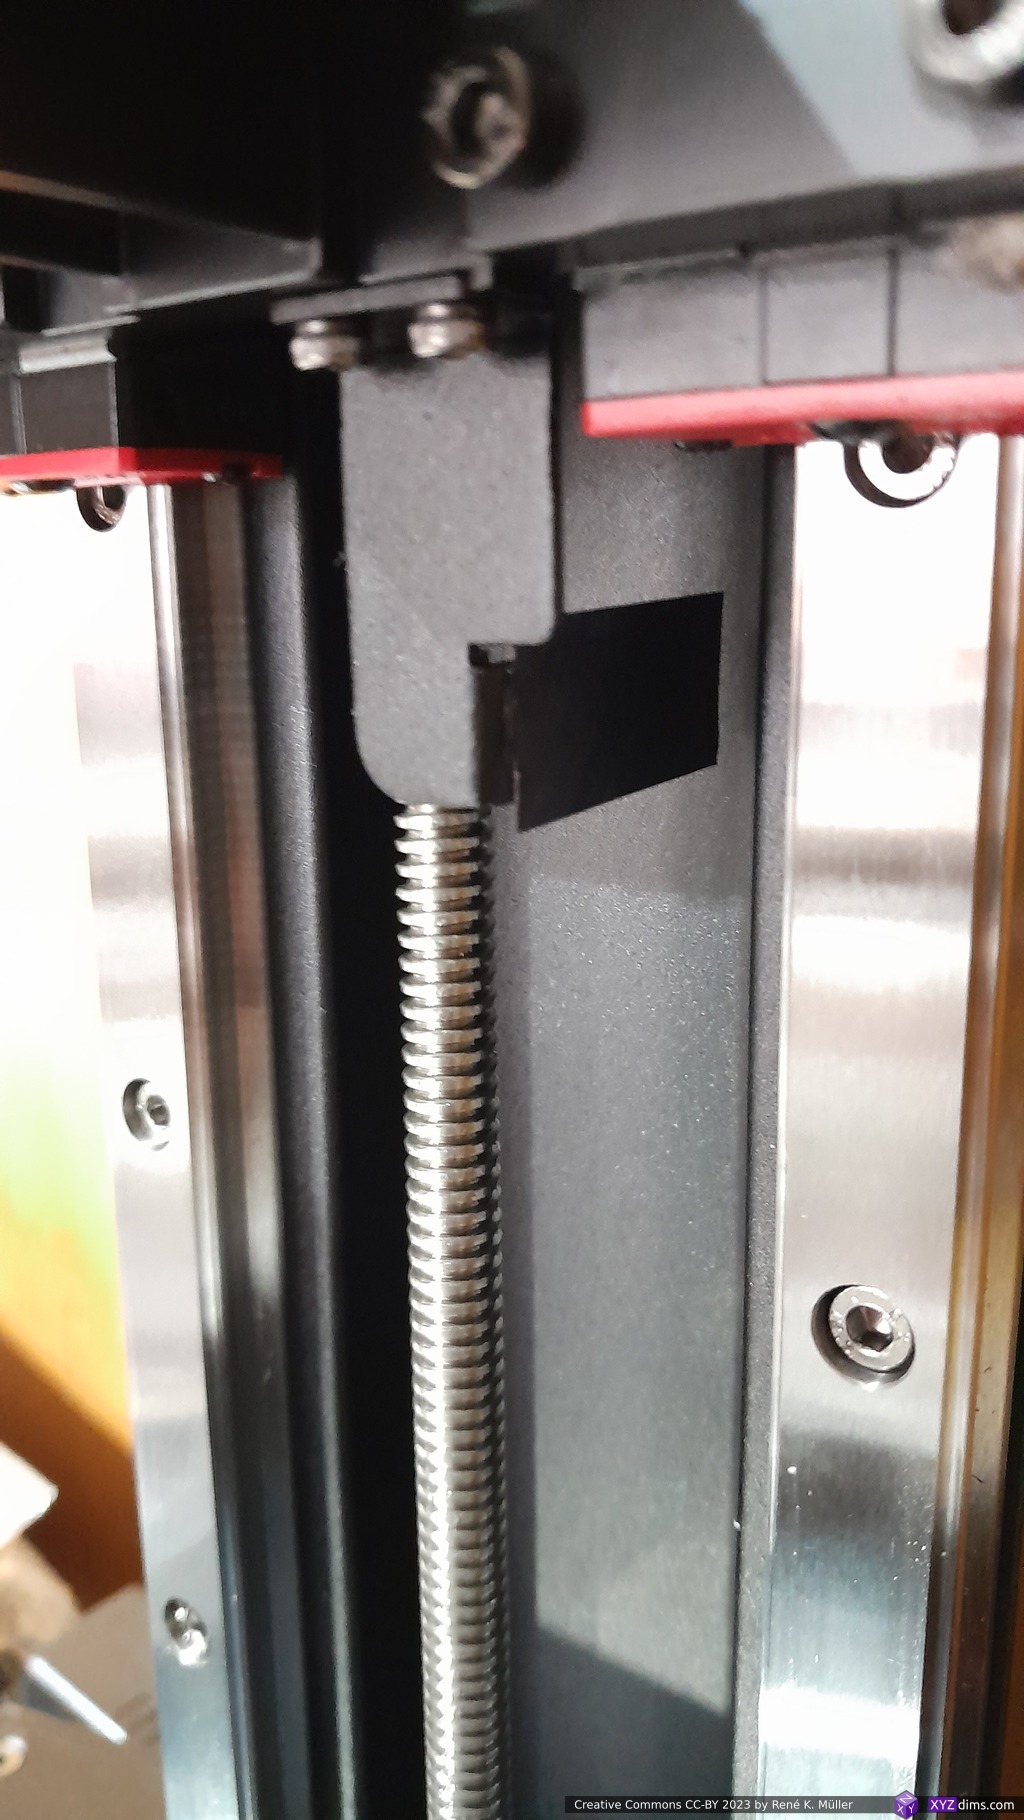
so one has to compensate 2.5 – 3mm in Z height and adjust, speak extend, the Z-level probe. I just glued a black strip of paper, and then of course re-level the bed again afterwards.
Mono X2 Z probeZ probe removedZ probe extended with strip of black paper (or any opaque tape), apprx. 3mm to the bottomZ probe with extension mounted back
Update 2024/11: well, let me add here after 20 months usage, where the built-plate rested for apprx. 5 months without use, the steel plate fused with the magnetic rubber counter part, and while trying to separate, the rubber base tore a hole, but as it turned out, also the adhesive of the rubber base detaching from the actual build-plate:
While detaching steel from rubber base, the rubber base tore multiple tears and even a holeAdditionally rubber base detached from the actual build plate as wellManually detached rubber base, revealing adhesive no longer attaching, and also thin transparent layer also detaching
This is bad . . . I’m not sure if it came to be of the long stand-still / resting without detaching the steel plate, or a rather short lifetime of the flex-plate, I suspect a combination of both. I clean(ed) the steel plate and rubber counter part after every print session (one or multiple consecutive prints), but still some resin residue could have remained, sufficient to fuse the flex steel plate with the rubber counter part.
Either way, I gonna replace it and keep using the flex steel plate as it makes it easier to detach smaller or delicate pieces. I can conclude this flex steel plate likely will last 15-20 months only, and if I won’t use the printer for longer then I detach the flex steel plate from the rubber magnetic base.
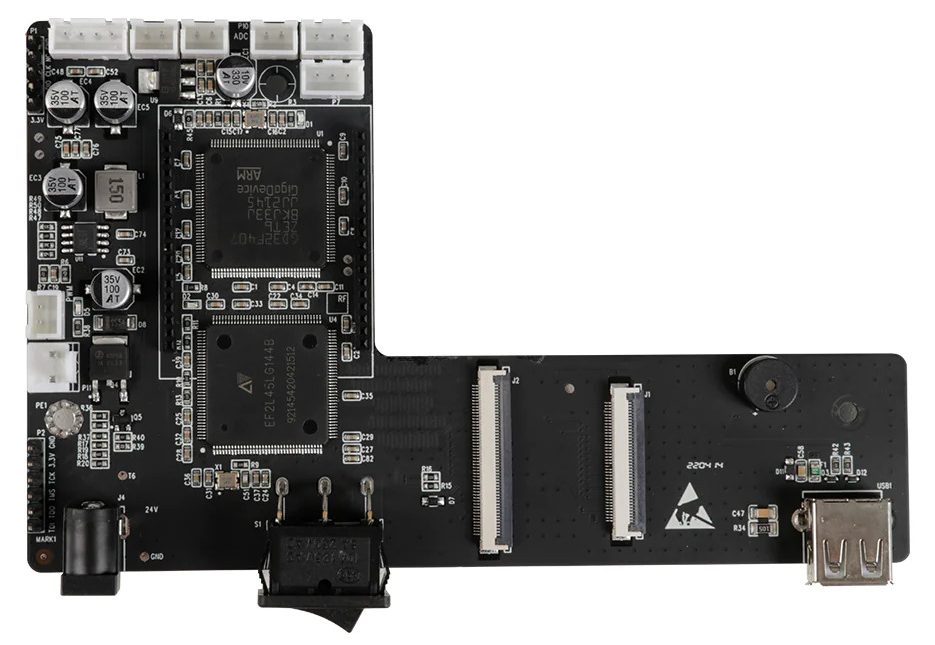
Motherboard
The motherboard has two main chips:
ARM GD32F407
driving Z stepper motor with endstop (Z=0)
driving USB port
driving both LCDs via ASIC
EF2L 45L G1444B (ASIC)
driving monochrome LCD via MIPI DSI (not sure where the image buffer resides)
driving UI color LCD with touchscreen
Mono X2 motherboard
Preliminary Review Mono X2
Pros:
good value for build size, but not features
mid-size build volume with 196 x 122 x 200 mm (WxDxH)
no cover sensor (can be on or off and still prints)
available replacement of parts (LCD, vat, build-plate)
Cons:
no Wi-Fi (only USB Stick)
surprisingly noisy with fans while printing
firmware doesn’t allow to change UV light intensity
default settings are not giving reliable prints1)
very simple firmware & UI
no flex build plate
no upper endstop (you can ramm the build-plate into the plate on top)
no sensor for running plate against cured remains in vat2), that would require more advanced firmware
cheap USB memory stick (breaks after a few days, data corruption)
using original Anycubic Water Washable Resin +
newer printers (2023) have load cell to measure counter force, and prevent build-plate to run with force against vat and LCD underneath. Update 2023/05: Anycubic released Mono M5S (2023/05) which has a load-cell sensor, but reviews are mixed.
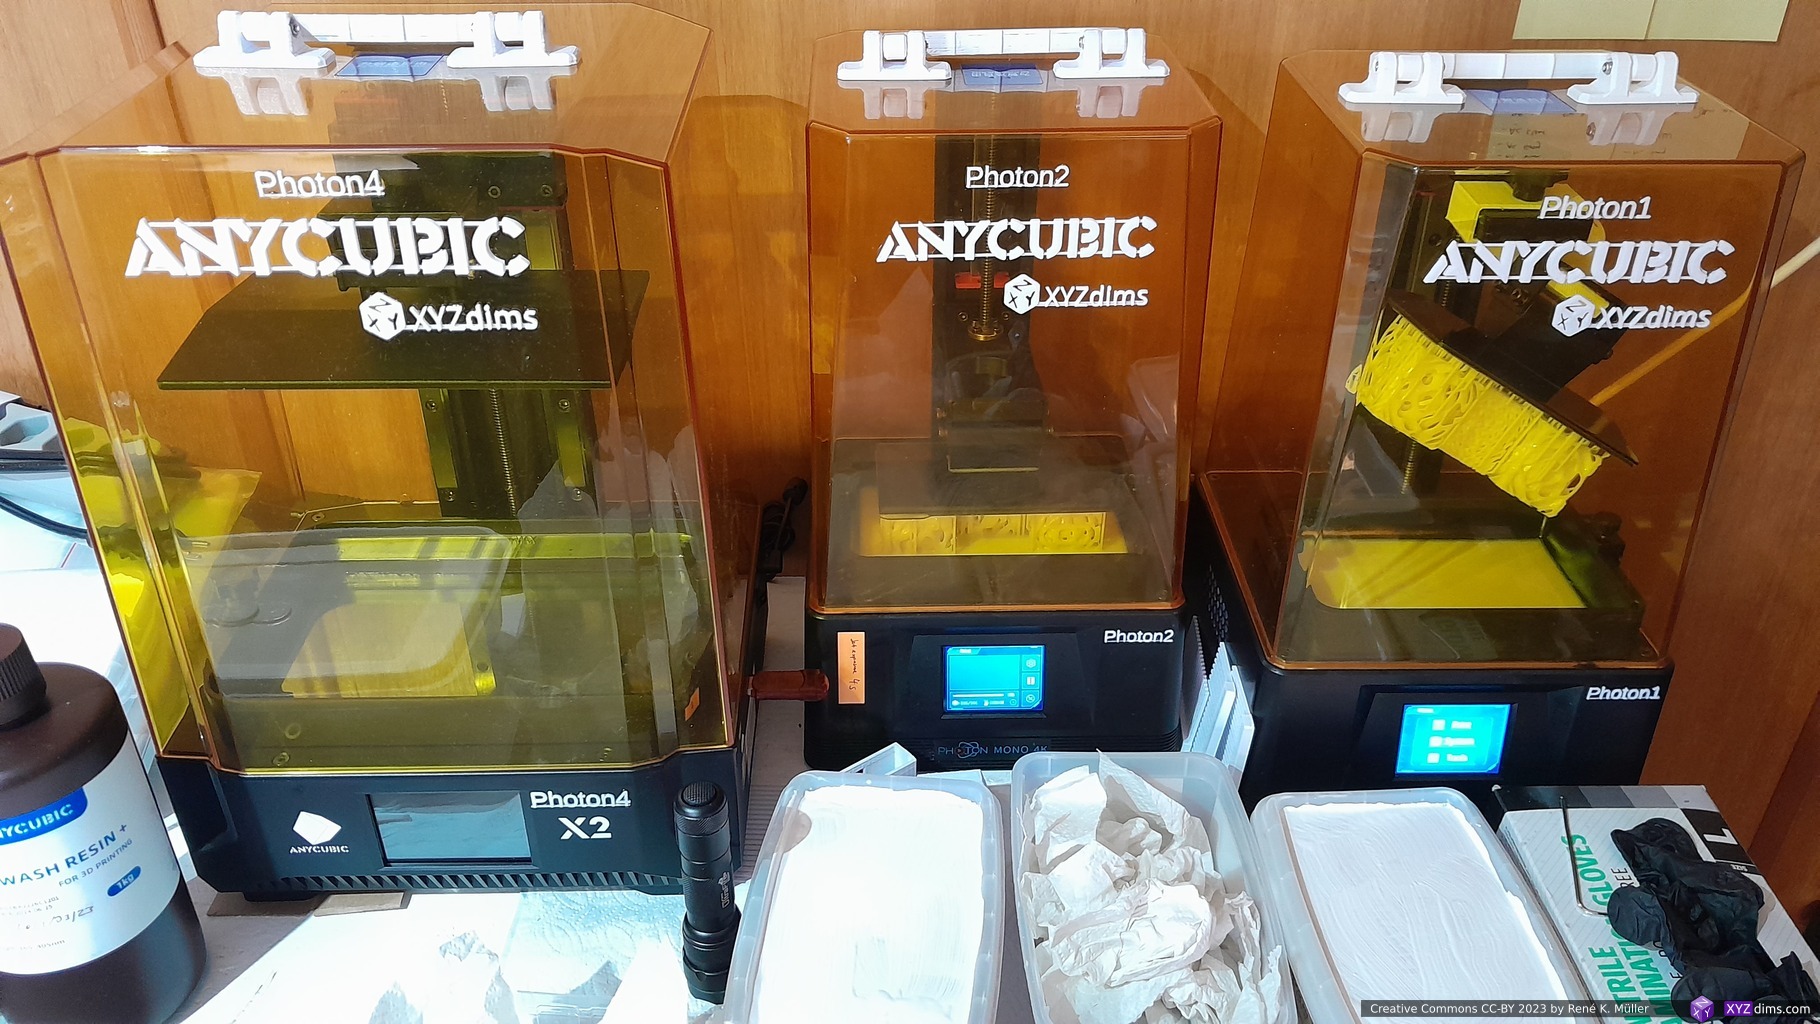
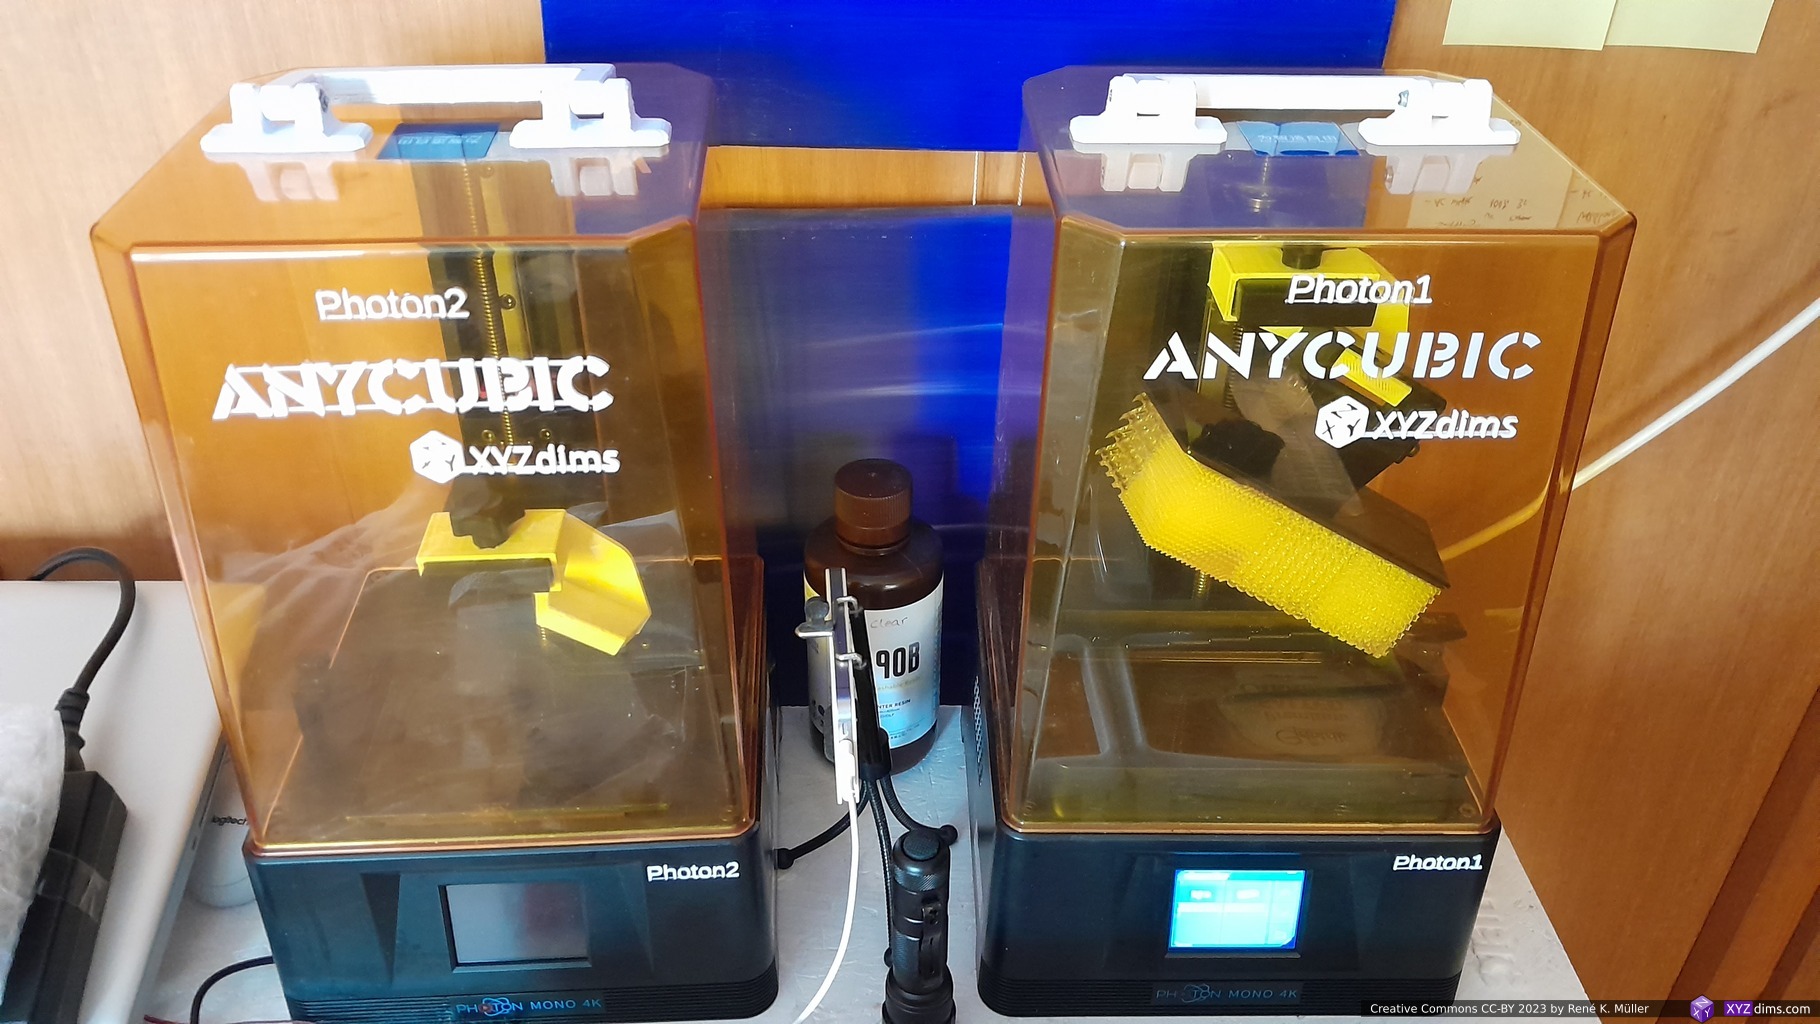
Photon #4 (Mono X2) & Photon #1 & #2 (Mono 4K): additional handle on top, and labels on cover and body
Addendum
Printing Procedure
Let me take the chance to describe my MSLA resin printing procedure – if you are newcomer you might like to read it in a concise way.
resin printing (as in 2023) is still a messyprocedure at the consumer and prosumer level as well
the moment the print is finished, you need to remove the build-plate or flex steel plate, no matter which, the piece(s) still have resin on it, which likely will drip on the printer and especially around the vat is the most critical area:
by any means prevent any resin to come under the vat
don’t touch the underside of the vat with hands or gloves, unless you have a fresh piece of sheet of paper towel or equivalent
if you must clean the underside of the vat – and if you do you already screwed up when this happens – clean it first thoroughly, and after that the side of the vat and other part of the printer
prevent any resin to get on the LCD or protective layers on the LCD, wipe it away right away
cured resin is difficult to remove, especially from softer surfaces like plastic – so I have the habit to remove all resin outside of the vat right away
clean your gloves with pieces of paper towel, to prevent to further spoil your equipment you grab as next:
clean gloves when handling the build plate
I keep the same gloves for multiply prints or a 1-2 weeks as I clean them with paper towels right away (2-3 times per print: whenever I touch the 3d printer, the gloves are clean)
when removing the pieces from the build plate, things will become messy, no matter what
washing the piece(s) off in a water container as I use only water wash resin
1st wash container: I dip the pieces with the build plate into the container, my gloves don’t get wet or touch resin
2nd wash container: I remove the flex build plate, and dip it with the pieces still on the plate into the 2nd container – dipping in and out several times
then I remove the pieces from the flex build plate, by flexing the build plate or use a metal scrapper, and they drop into a small container with layers of paper towels where they dry a bit (10-30min) – I don’t touch the pieces with my gloves, I only touch the build plate
cleaning the build plate with paper towels dry, mount it back on the printer
cleaning the flex build plate with paper towels and attach it to the build plate
no cured remains in vat: using the plastic scrapper to push on the vat’s bottom softly, and move through the vat slowly to see if there are remains attached to the vat bottom, those needs to be removed otherwise at next print the build plate will push it unto the LCD and potentially damage it – high risk to damage the MSLA printer severely, such as puncture FEP of the vat and leak resin all over
if there are cured remains on the bottom FEP which I can’t remove with the plastic scrapper (large enough to pick out), then
either I expose the entire plate for 10-20s, and remove then a full cured layer of the entire area, this removes all small remains
if there are small floating pieces, then I empty the vat off the resin by pouring through a metal or paper filter (keeps back remove all cured remains) back into the bottle – this is time consuming and messy as you need to clean funnel and metal filter again
if I have printed pieces with small holes where water might still be captured, I take a piece of paper towel and wrap it and shake it fast in my hands – I have seen people blowing compressed air on the cured pieces, this makes sense if you produce many pieces in series frequently
2nd stage curing of the pieces in UV chamber:
white/black/grey resin 1-3 mins
clear resin 2 mins max
further resting the piece(s) for 1-2 hours to dry further
And I leave the resin in the vat, and let the vat stay on the printer for weeks and even months – no refilling back and forth to and from bottles, unless I know I have cured fragments in the vat, then I empty the vat with metal or paper filter back into the bottle and clean it with paper towels thoroughly as mentioned above already.
Keep everything around resin printer as clean as possible.
Consumer MSLA vs Professional SLA/MSLA
When trying to compare consumer MSLA and professional SLA & MSLA like from Formlabs, notable they switched from SLA 2024/04 to MSLA with their Form 4 series as well, one might just look at the print size or build volume (state 2024/11):
★★☆☆☆ depends on layer cross section & print height
★★★★☆ depends only on print height
Hardware Maintainability
★★★☆☆
★★★☆☆
★★★★☆
★★★☆☆
★★★☆☆
Original Online Resources
★☆☆☆☆
★☆☆☆☆
★★★★★
★★★★★
★★★★☆
Community Resources
★★★★☆
★★★☆☆
★★★★☆
★★★☆☆
★★★☆☆
After Sales Support
★★☆☆☆
★★☆☆☆
★★★★☆
★★★★☆
★★★★☆
Third Party Market
★★★☆☆
★★☆☆☆
★★☆☆☆
★☆☆☆☆
★☆☆☆☆
Reliability
★★☆☆☆1)
★★★★☆
★★★☆☆
Value
★★★☆☆2)
★★★★☆2)
★★★☆☆2)
★★★☆☆2)
★★★☆☆2)
based on overall build and firmware, which can’t even properly calculate remaining print time while printing, I have a low expectation
value for most are nearly the same, because the low price for Anycubic Photon Mono series also give you moderately good solution, whereas Formlabs printers are very pricey but also giving you good value, and Prusa SL1S rather high priced for the gaining reliability and print speed, Elegoo Mars & Saturn Ultra value is higher due lower price
Form Wash station for Form 3, Form Wash L for Form 3L, you move the build plate direct into the washing station, and before curing remove them from the build plate
Prusa SL1S & Elegoo Mars/Saturn Ultra prints a layer in 2 seconds in total, whereas traditional MSLA takes 7-10s (exposure time + lifting/retraction)
Impressive selection of resins, incl. bio compatible, strong and durable options
As a follow-up, while reviewing another resin printer, I realized the “value” for me I could actually determined by the XY area which translate into parallel printing capability, which is more relevant than the height (Z), combined with the precision or voxel size – as of 2023 Anycubic doesn’t even mention the XY resolution anymore – a bad marketing move.
Resin Printer Value Comparison
A numeric value summarization for features I care about, the rough & simple formula:
XY Area [mm2] / Price [EUR] / XY Resolution [μm]
The bigger the XY area, the smaller the price and the smaller the resolution, the higher the value:
Formlabs 3’s & EMake SLA printers use a laser beam which has 100μm in diameter, but it can be positioned 25μm exact, the latter was used to calculate the value
The UV pixels are non-square, the longer side was used to calculate the value
Elegoo Jupiter 2 advertised the Z build volume as 300mm, it can print but you can’t remove it afterward, so it’s rather 275mm.
The XY area in SLA scales not as good as with MSLA, as the laser beam takes longer the more XY area (e.g. more pieces) need to be rendered per layer – so, MSLA is recommended for aiming fast parallel printing. Interestingly Formlabs 4 is now a MSLA as well (2024/04), they seem to have abandoned the SLA laser-based approach.
2023/07/25: moved content from blog into regular pages
2023/03/15: adding more Settings for different resins, different default for different firmware version, added preliminary Review
2023/03/09: finally published
2023/03/05: first prints made, more info on Lychee Slicer, Prusa Slicer SLA, more on magnetic steel plate use, prints with or without support, closeup photos added
2022/11/29: added Drip Hook, still preparing the utilities to make first print
2022/11/26: Mono 4K arrived, preparing software pipeline (slicer, converters) and working place
2022/11/07: starting write-up
Introduction
The past years I focused on Filament Deposition Manufacturing (FDM) / extrusion based 3D printing, and the time came to focus on MSLA resin based process as well.
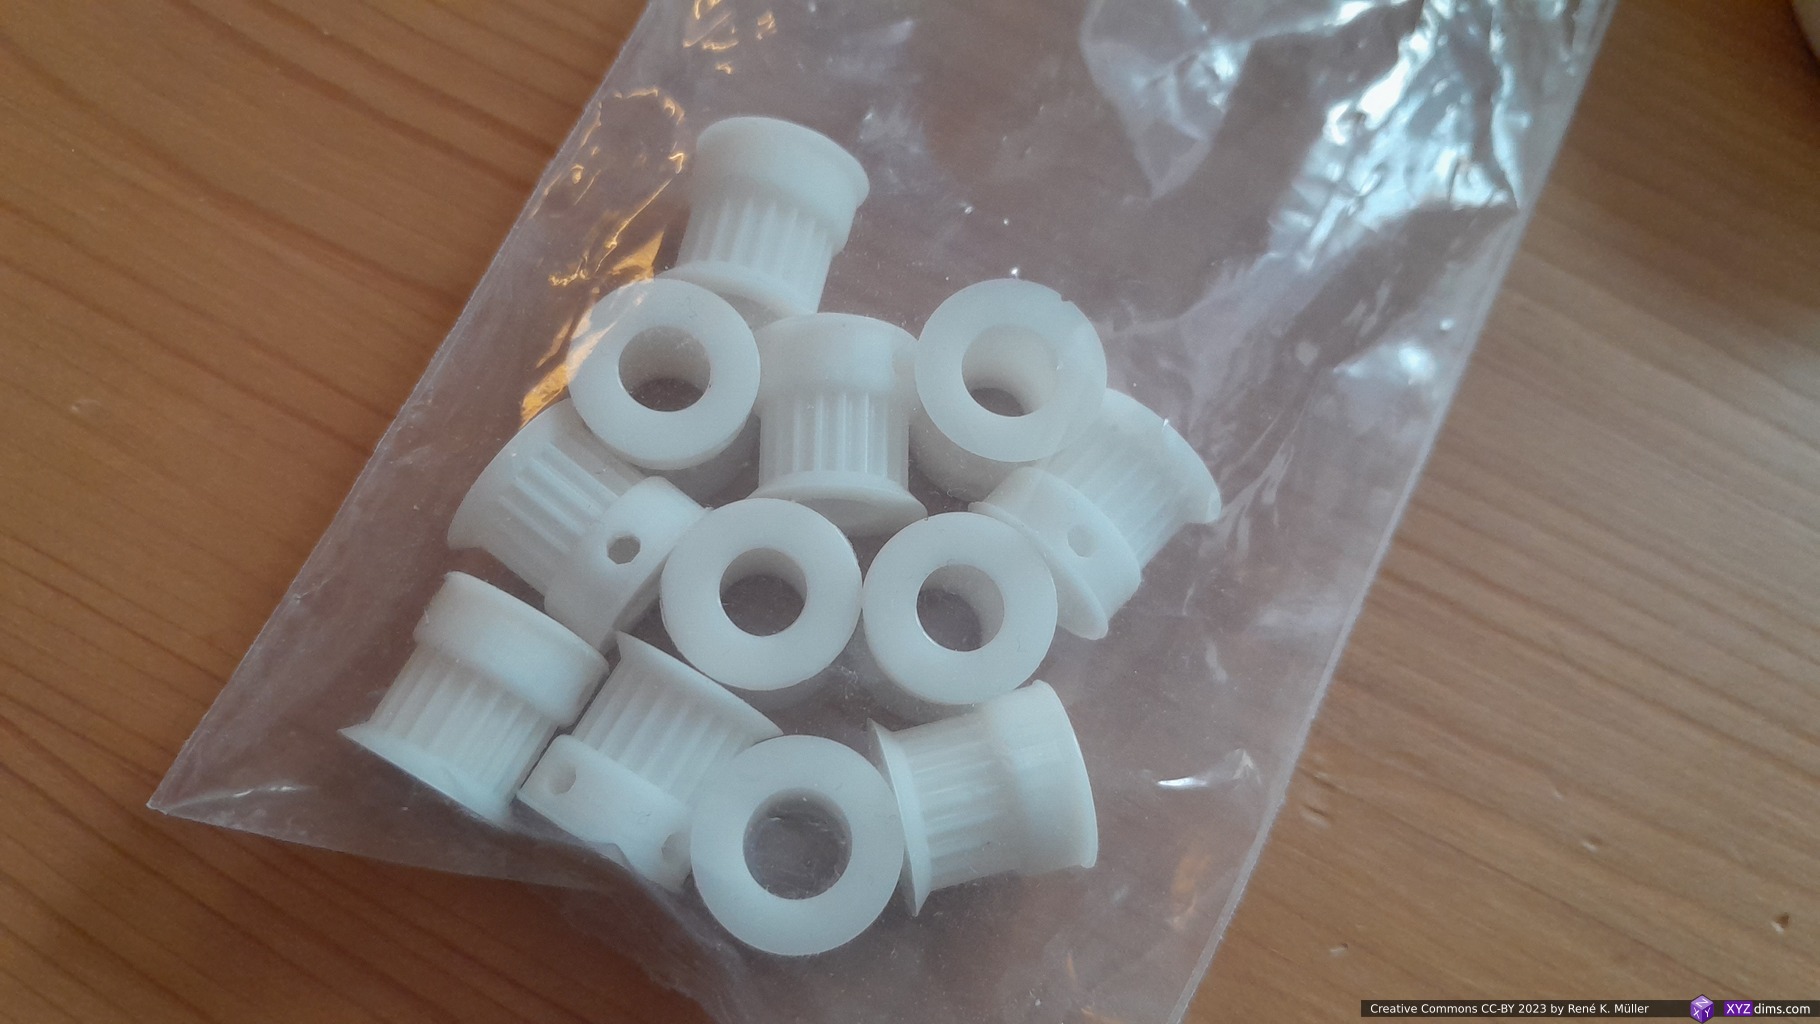
My main use case a small pieces, like custom pulleys and idlers – precise parts, such as:
Custom pulley ID8 20T: MSLA @35μm XY, 50μm Z vs FFF @400μm nozzle, 100μm ZCustom pulley ID8 20T: MSLA @35μm XY, 50μm Z vs FFF @400μm nozzle, 100μm Z
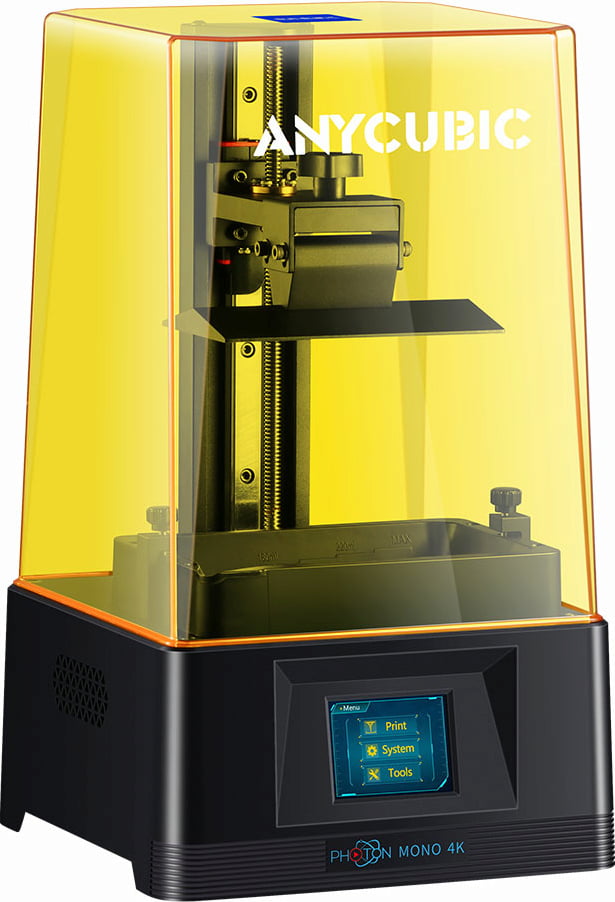
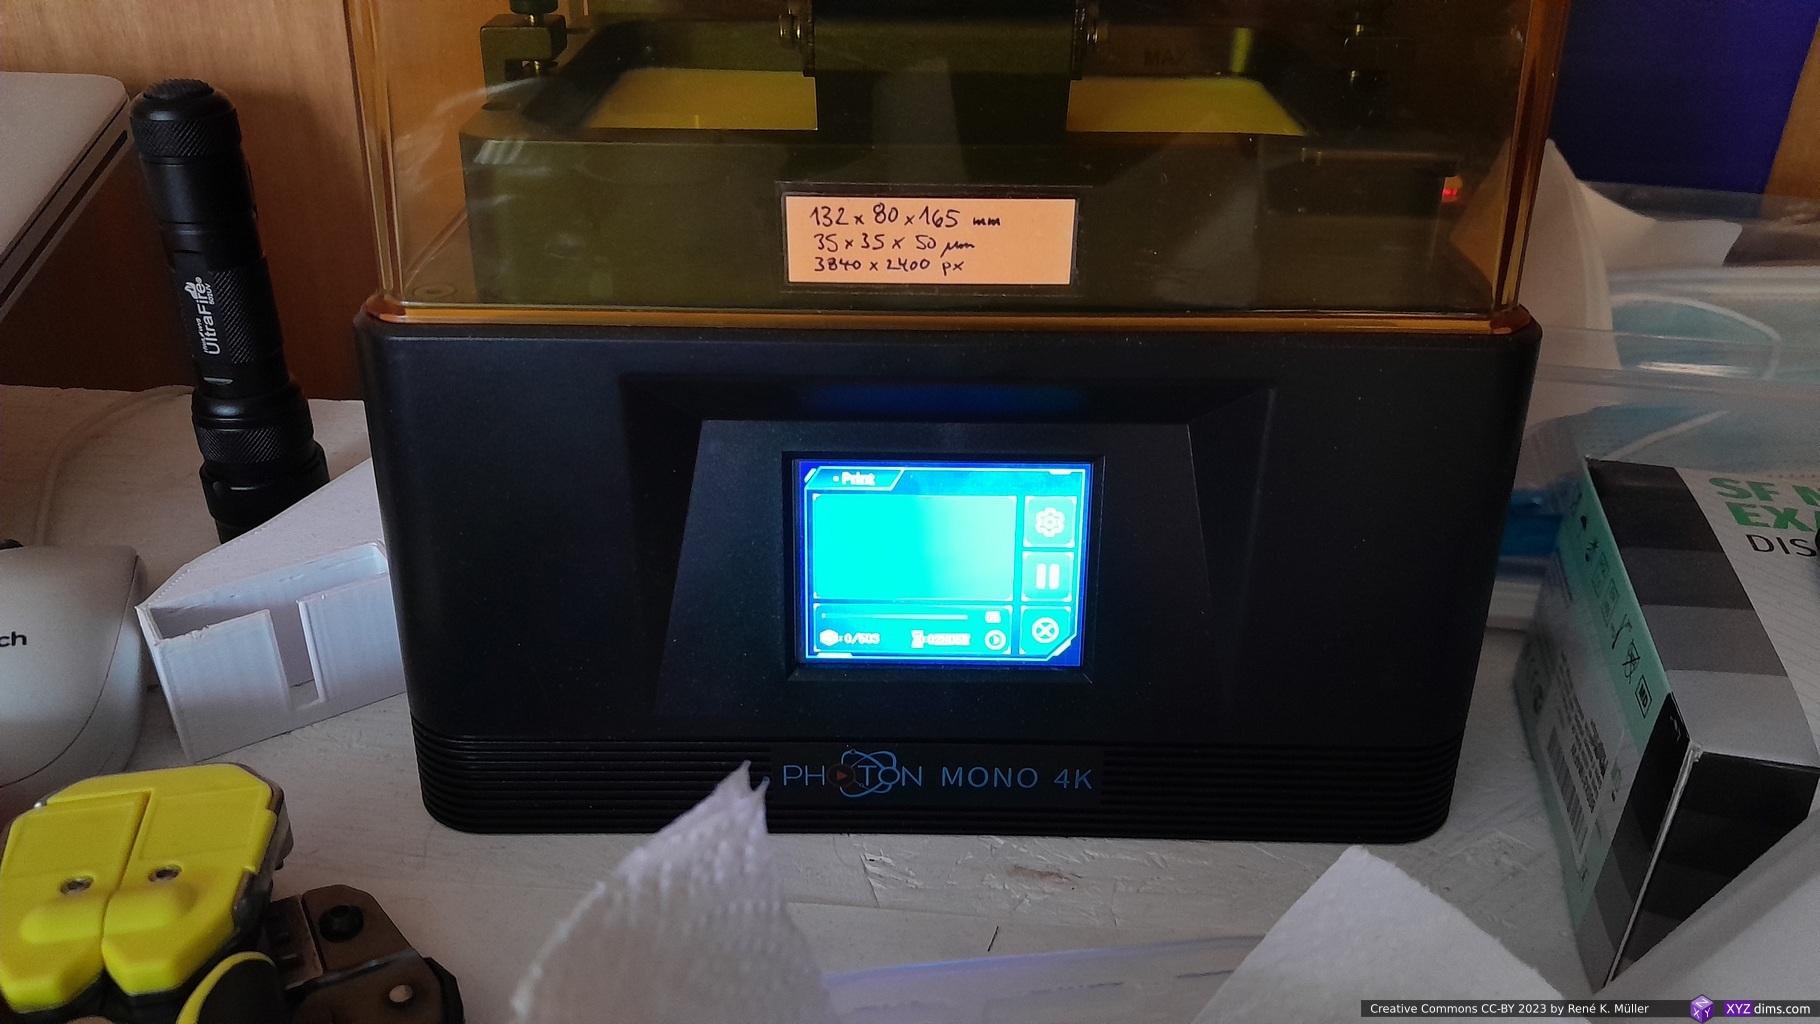
Anycubic Photon Mono 4K
The Anycubic Photon Mono 4K seemed like a good choice to start with:
build volume: 132 x 80 x 165 mm (WxDxH)
resolution: XY 35μm, Z 50μm
6.1″ display with 4K resolution (3840×2400) display
monochromatic LCD (hence “Mono”), faster printer due shorter exposure
affordable with EUR 170-220 (2022/11)
no network, only USB drive printing
SLA Stereolithography Apparatus – one beam/point light source
MSLA Mask Stereolithography Apparatus – one light source, masking what does not need to be printed
DLP Digital Light Processing – one image, each pixel controlled by micro mirror
I ordered 2022/11/22 for EUR 170 and received it 4 days later via Anycubic Store within Amazon, along with a few utilities like water wash resins, gloves, etc – ready to MSLA print.
Update 2023/05: the Mono 4K has been discontinued, and replaced with Mono 2 with slightly larger print volume of 143 (+11mm) x 89 (+9mm) x 165 (+33mm).
FDM/FFF vs Resin
FDM/FFF
Resin MSLA
X, Y precision: 100μm Z precision: 50μm minimal structure: 200-600μm1) minimal post-processing minimal toxicity of filament print duration based on printed volume large scale prints affordable 1kg filament EUR 15-30 mixed materials2)
X, Y precision: 35-75μm Z precision: 30-50μm minimal structure: 30-50μm extensive post-processing severe toxicity of resin print duration based on print Z height only large scale prints require expensive printers 1kg resin EUR 30-803) single material
depends on nozzle diameter
multiple printheads/hotends required, e.g. IDEX, tool changer, material changer
Anycubic sold water wash resins at 22-27 EUR/kg 2023/03 (black, white, clear, grey and waterblue)
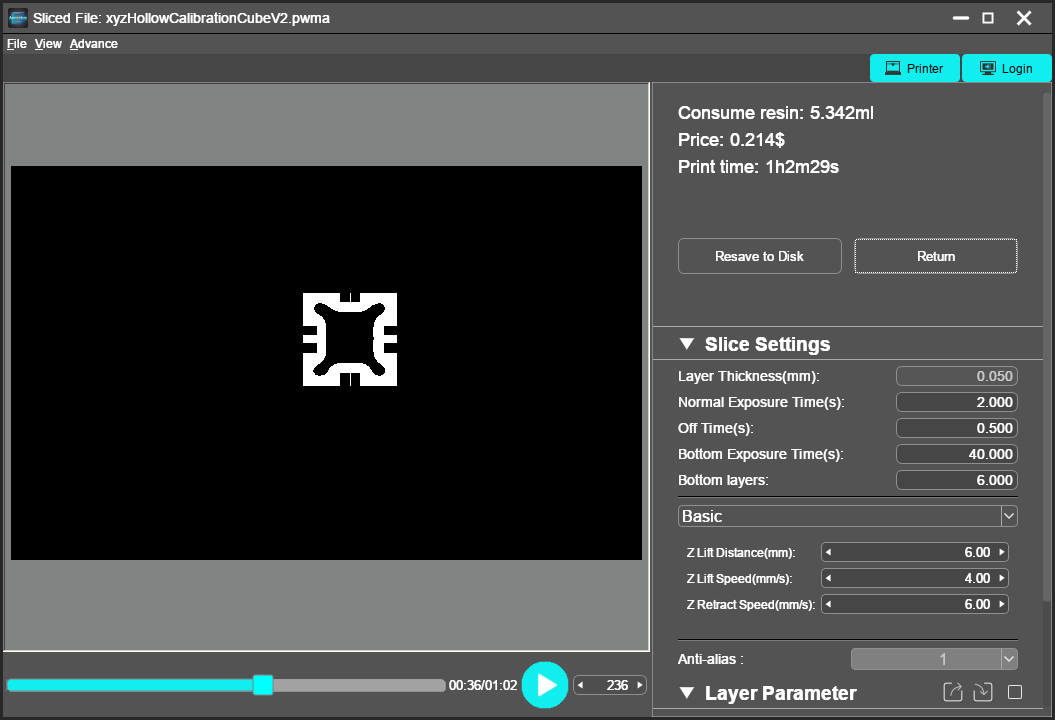
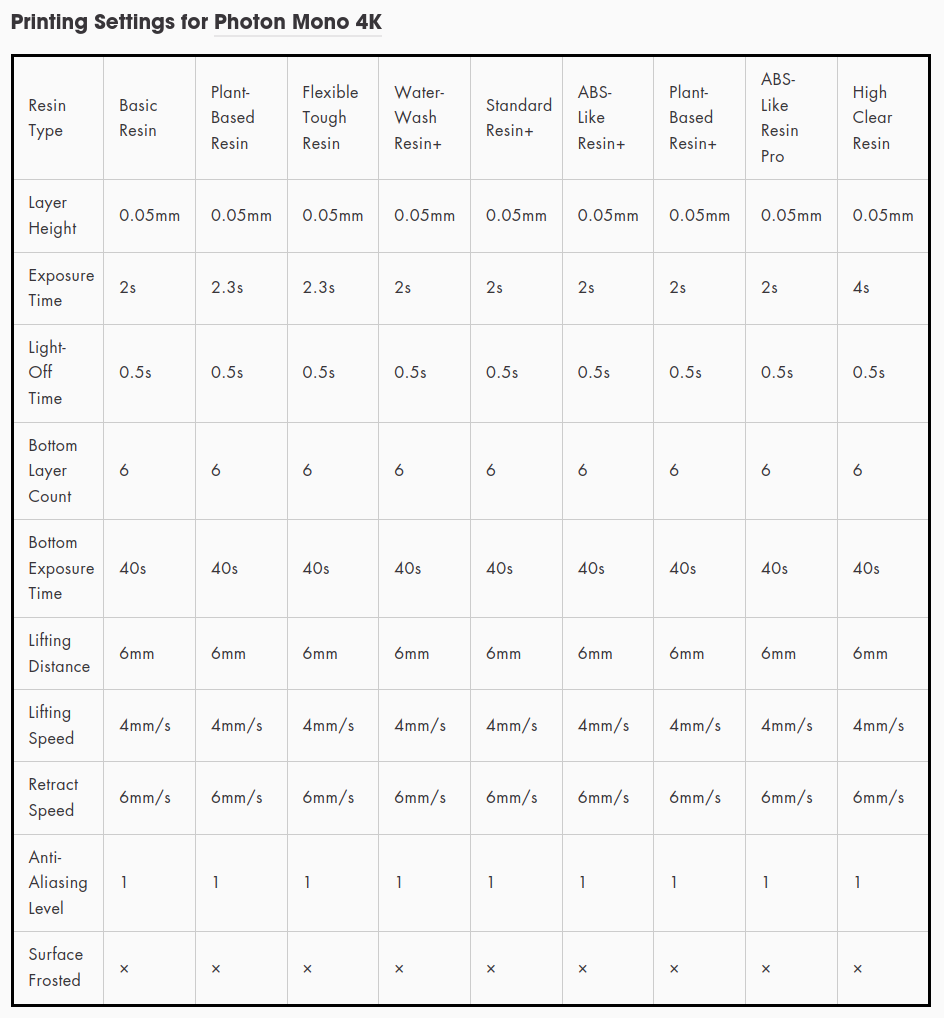
Print Settings
layer height: 0.05mm / 50μm
exposure time: 2s
light-off time: 0.5s
bottom layer count: 6
bottom exposure time: 40s
lifting distance: 6mm
lifting speed: 4mm/s
retract speed: 6mm/s
anti-aliasing level: 1
file formats: pwma (proprietary)
Photon Workshop on Linux
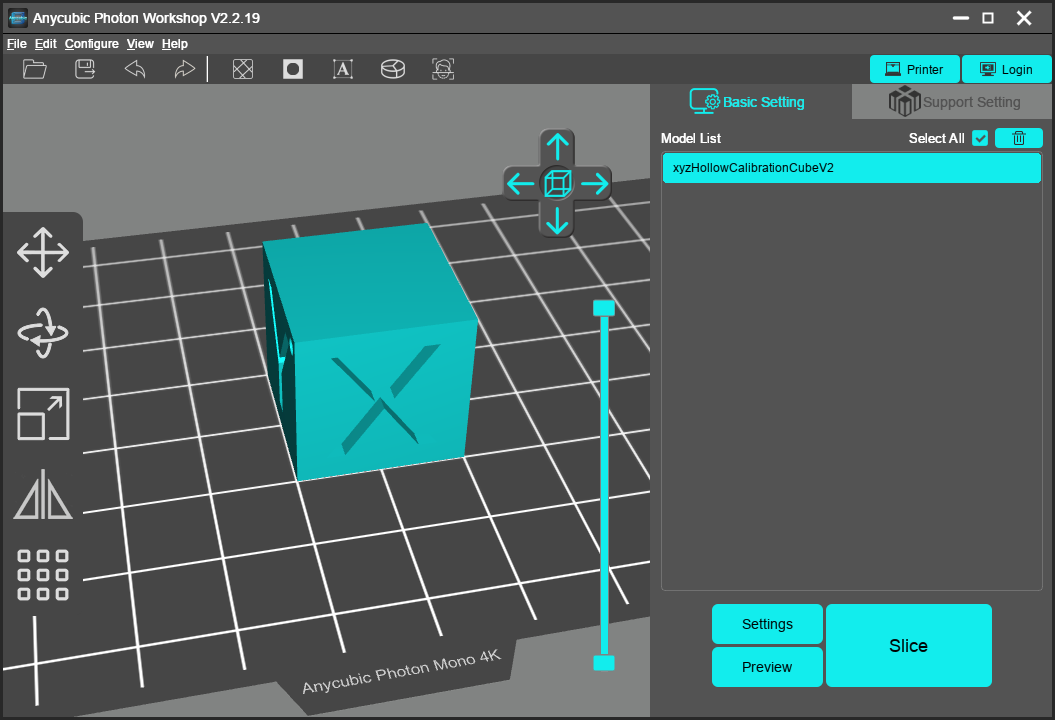
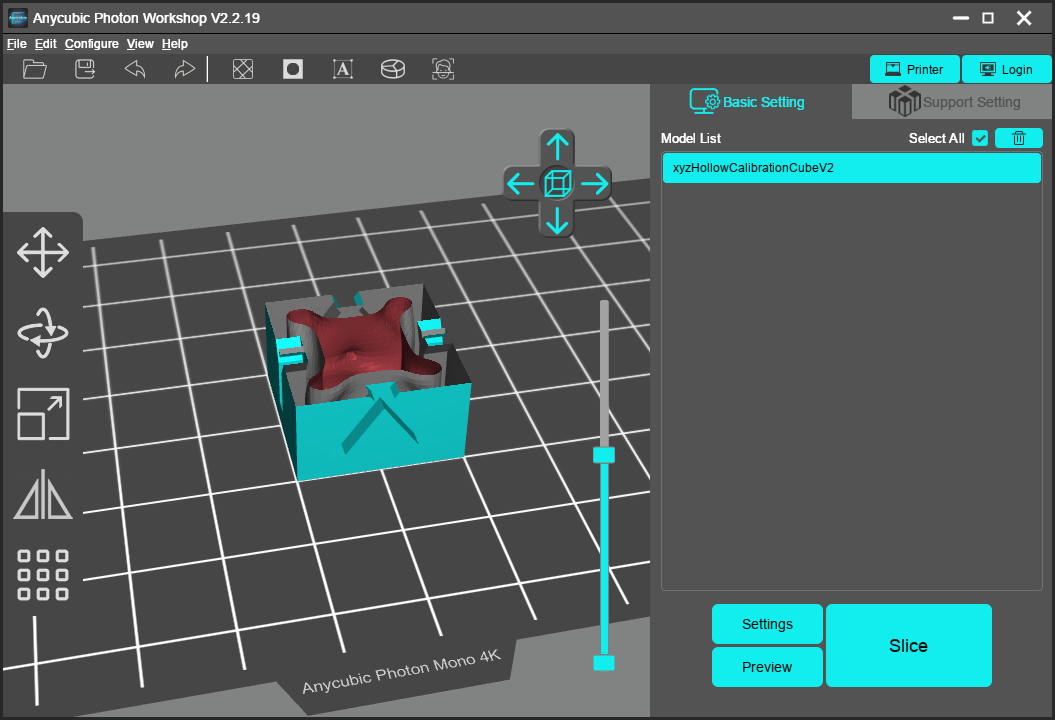
My development environment is Linux, and as of 2022/11 there is no Linux Photon Workshop, the name of the slicer needed to slice for Mono 4K; but you can run it via Wine (a Windows compatibility wrapper):
I tried my xyzHollowCalibrationCubeV2 and used auto hollow feature which defaults to 2mm thickness:
This seems to work but is not ideal. The Photon Workshop reveals that Photon Mono 4K supports only .pmwa format, which as it turns out, is PWS format just with the extension .pmwa to avoid mixing up different PWS files for different machines, as the pixel-based slices are hardware dependent now as resolution of the display is set.
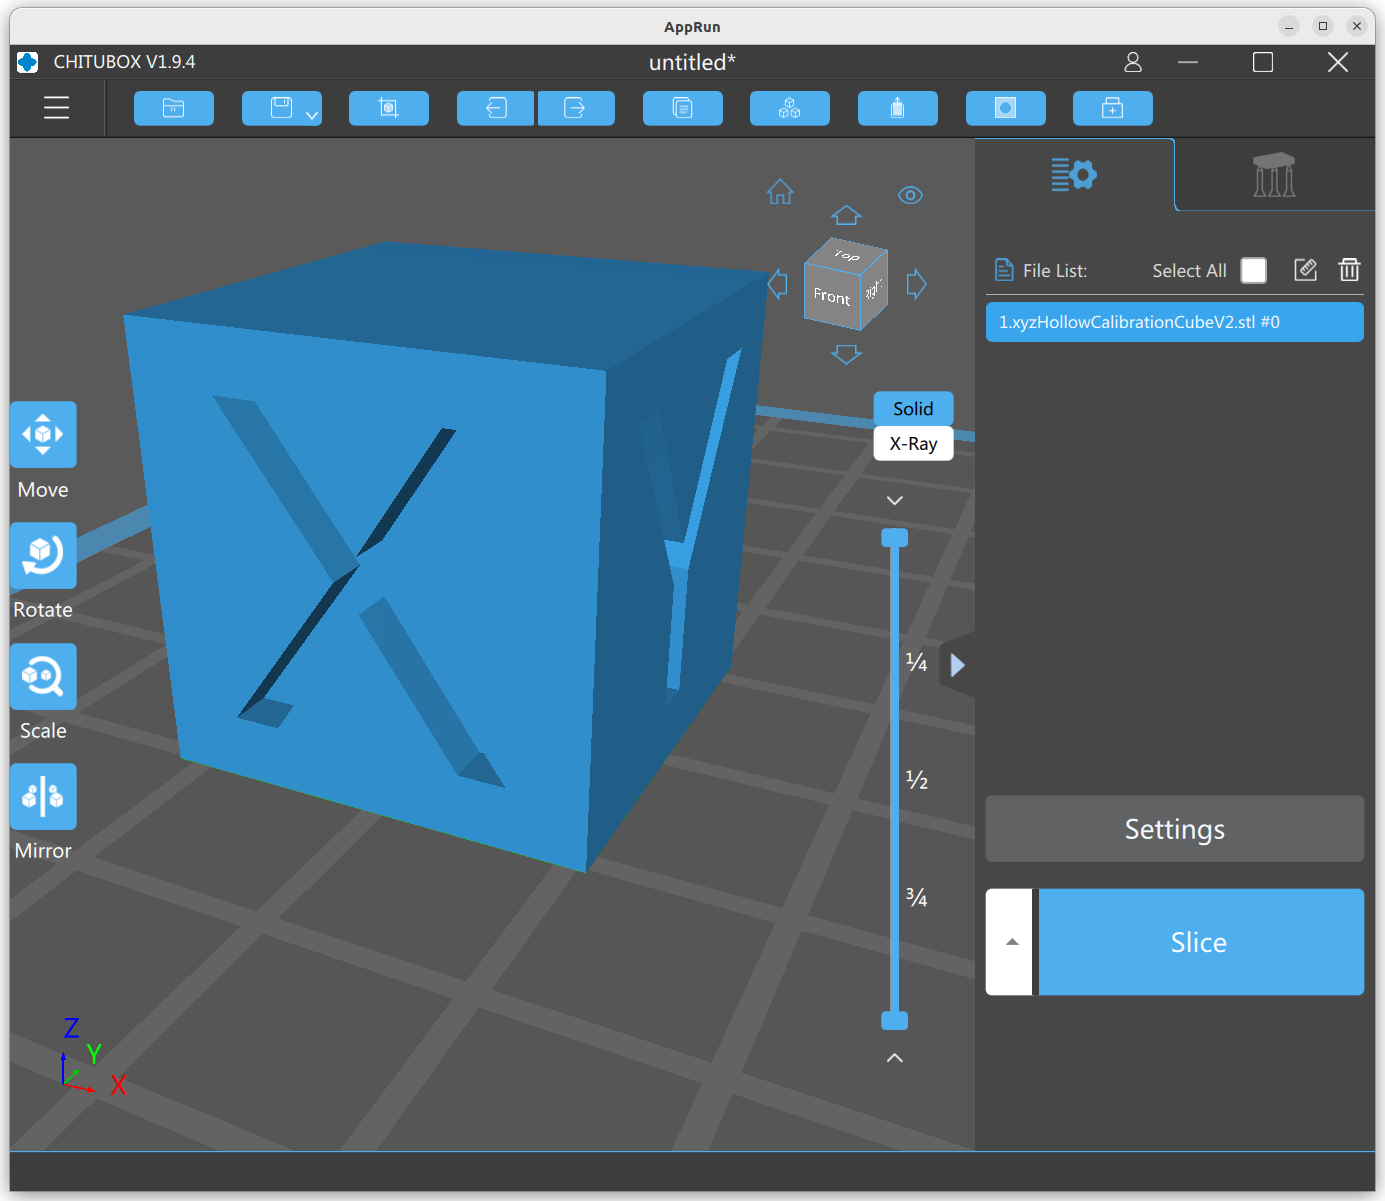
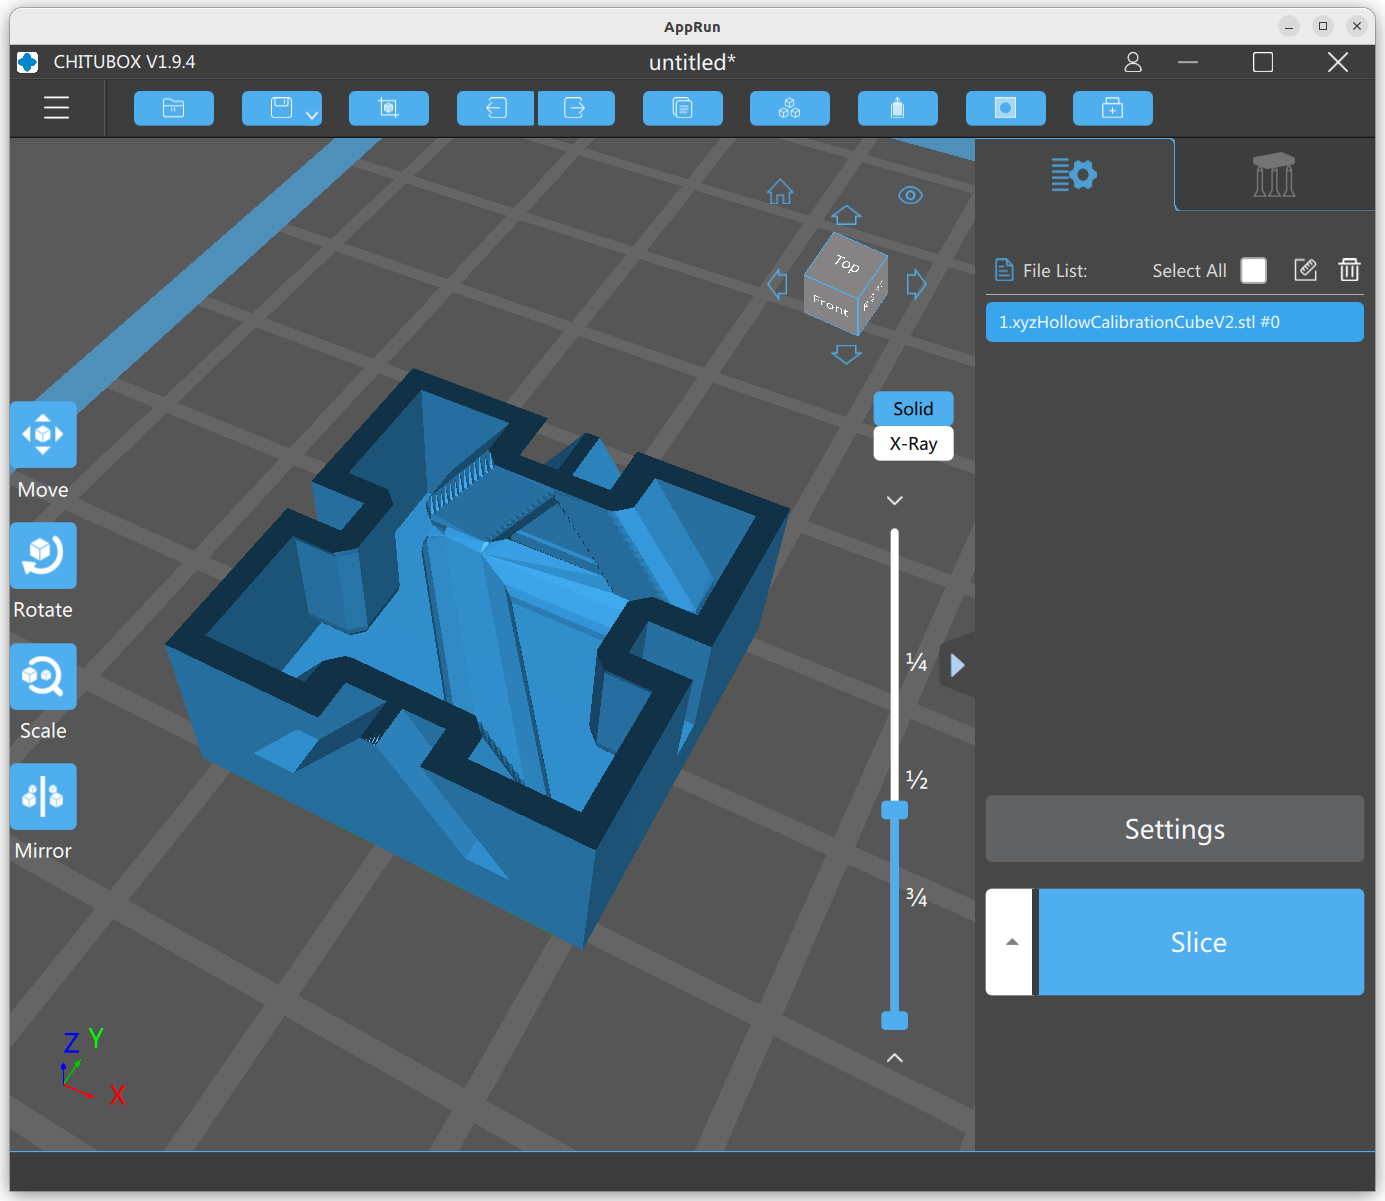
Chitubox for Linux
Chitubox Slicer is available for Linux natively and supports a variety of SLA printers, also the Mono 4K:
I also used the auto hollow feature, which defaulted to 1.2mm wall thickness.
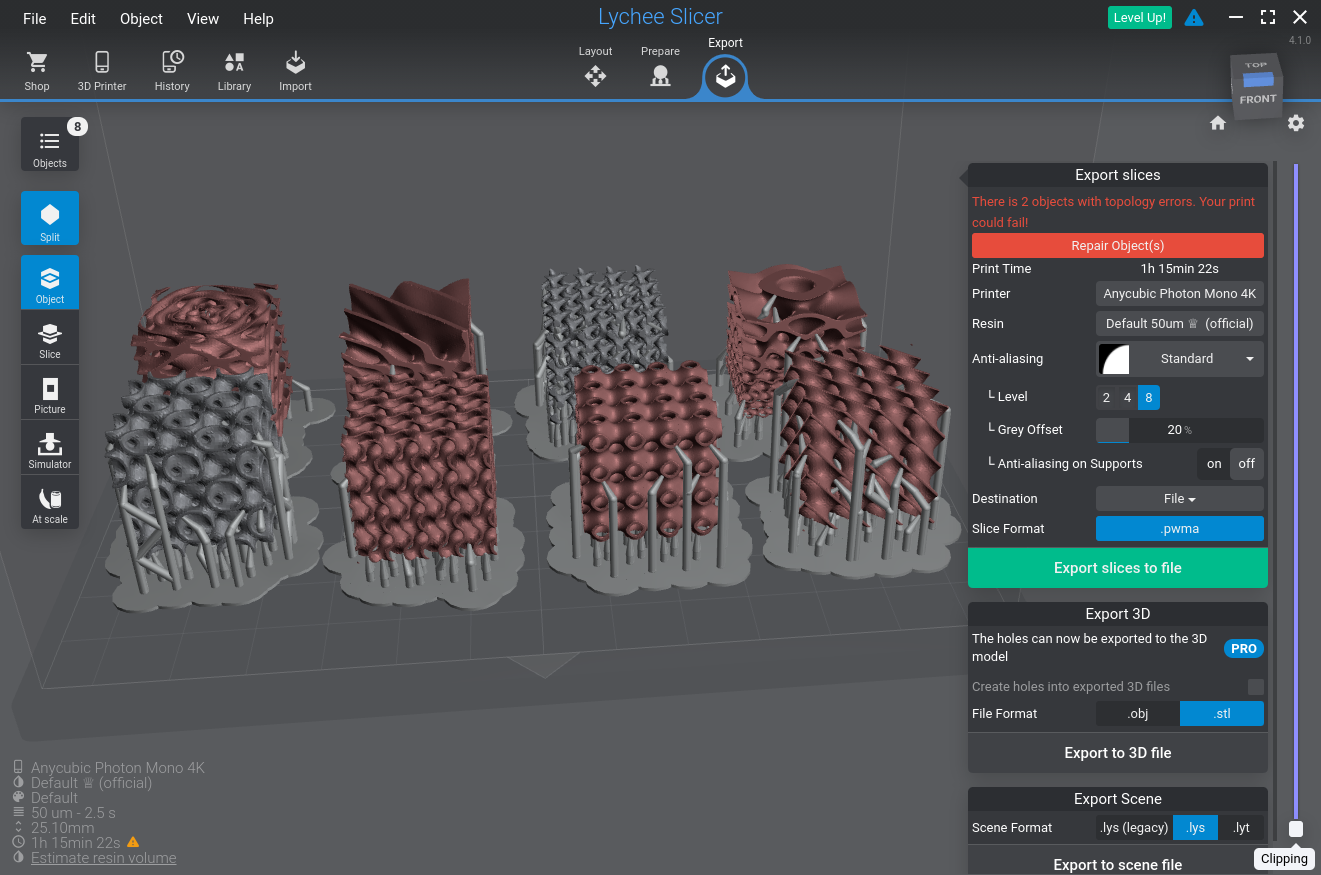
Lychee Slicer for Linux
I ended up with the Lychee Slicer which is available for Linux as well, which contains some annoying advertising to wait for when slicing or exporting various formats, but functionality-wise it it is more intuitive than Chitubox Slicer.
Lychee Slicer 4.1.0 for Linux (AppImage)
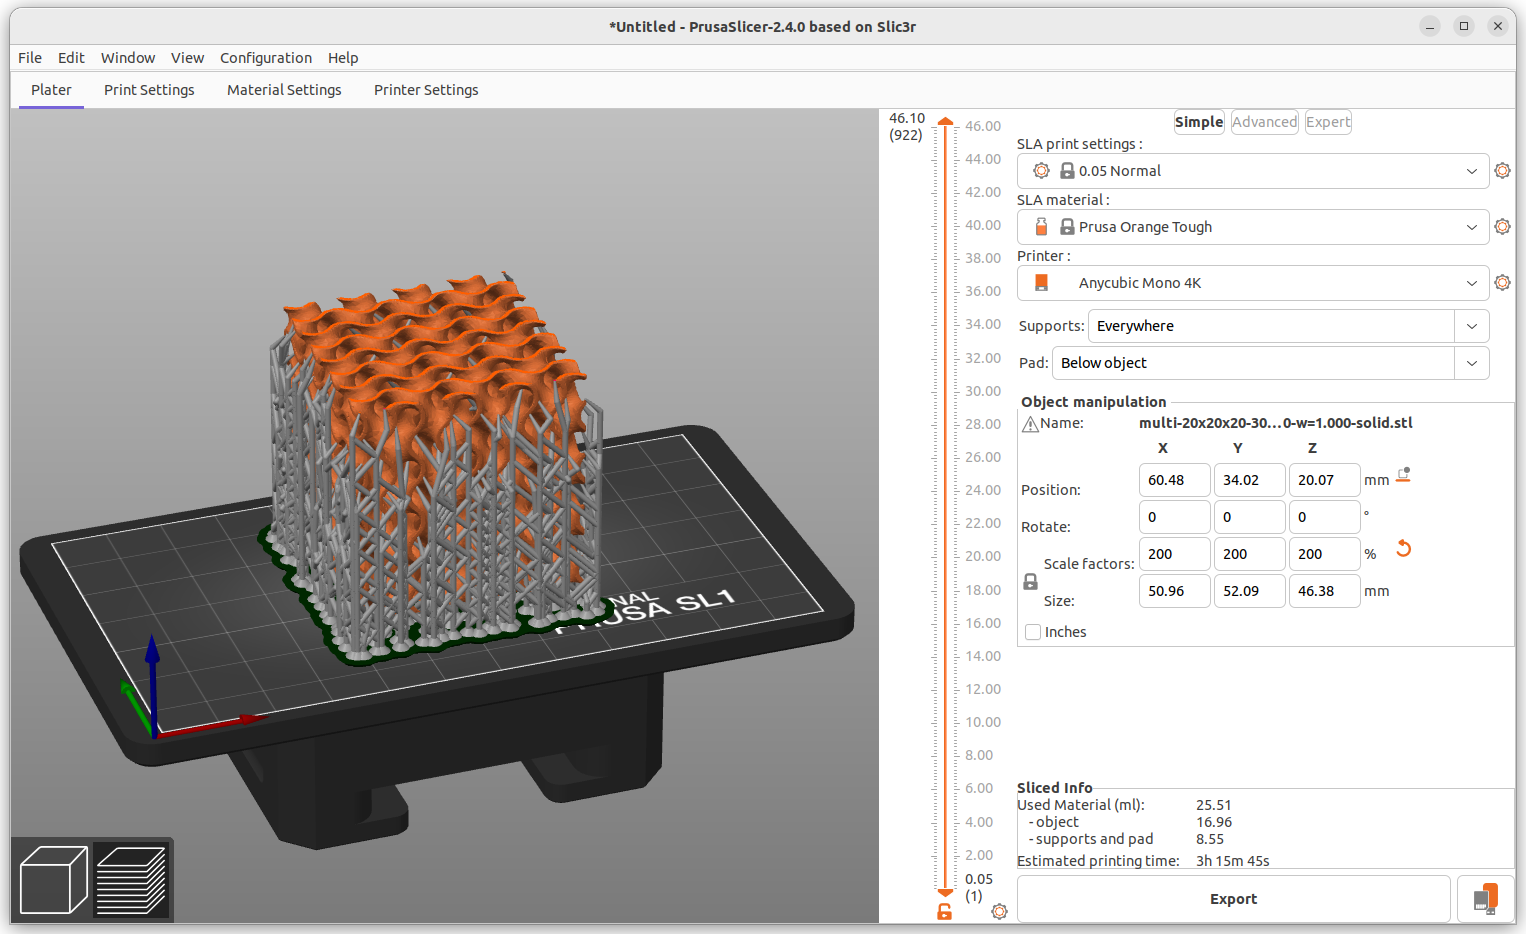
Prusa SLA Slicer
Prusa Slicer 2.4.0 using SLA subsystem and custom build-volumeRedefining Printer Settings to fit Anycubic Photon Mono 4K: 132x80mm / 3840×2400 px
As mentioned, the Photon Mono 4K has its own proprietary file-format PWS file to print with, with a particular file extension to indicate which Anycubic MSLA device it is sliced for:
Machine
File Extension
Layer Image Encoding
Mono
PWNO
PWS
Mono SE
PWMS
PWS
Mono X
PWMX
PWS
Mono X2
PMX2
PWS
Mono 4K
PWMA
PWS
S
PWS
PWS
Zero
PW0
PW0
X
PWX
PWS
Ultra
DLP
PWS
D2
DLP2
PWS
Prusa Slicer slices also for MSLA, it’s own .sl1 format, just a ZIP file with a list of PNG files per slice, in order to convert .sl1 to PWS/.pwma another tool is required:
UVtools, it can read and write many SLA image formats, incl. PhotonWorkshop (.pw*) file-formats
another approach could be (as of 2022/12 not yet) to just convert sl1 to .photon with SL1toPhoton command line tool, and extend functionality to support PWS/.pwma as well
alternatively uv3dp supports pw0 and pws files, but struggles with new(er) PWS files like .pwma
.photon/ctb/cbddlp vs .pw*
.photon (and ctb/cbddlp) is an older file format, whereas newer Photon Workshop (PW) has PWS and PW0 encoded images as layers – so far the format seems reverse engineered and somewhat documented via UVTools: PhotonWorkshopFormat.cs
does not report layer counts, but be determined from the amount of enclosed .png files
does not support multi-exposure printing
PWS
SL1
x_resolution [px]
display_pixels_x [px]
y_resolution [px]
display_pixels_y [px]
xy_pixel [μm]
display_pixels_x / bedshape[x] * 1000 [μm]
layers_count
len(<*.png>)
Replacing Firmware
MSLA resin printers are quite closed systems without much information of the hardware, firmware, and additional having their own proprietary file formats which contain the layer images.
For the Anycubic Photon Mono 4K is an open source firmware available, Turbo Resin – which gave me a good reason to get this 3D printer (2023/07: the firmware isn’t complete yet). Along with it, the hardware has been pretty much reversed engineered.
Anycubic Firmware
Turbo Resin (2022/12)
– PW0/PWMA format
– PW0/PWMA & CTB format
Custom MSLA Slicer
Pondering on a custom MSLA slicer:
automatic hollowing of solids at certain wall thickness
automatic support generation, outside and inside (after hollowing)
drain hole generation
command line interface (CLI)
external preview of sliced part
supporting sl1 and pws/pw0 as a start
Feature
Prusa Slicer
Lychee Slicer
ChituBox Slicer
command line interface (CLI)
Y
–
–
automatic hollowing
Y
Y
Y
drain holes
Y
Y
Y
automatic support
Y
Y
Y
Linux support
Y
–
–
PWS support
–
Y
Y
Open MSLA Format
Unfortunately there is no open (M)SLA format, each manufacturer kind of does its own, whereas G-code .gcode has some conformity, although G-code in general is also machine specific has it has absolute positioning, which differ from machine to machine, but at least G-code is easy to compose unlike proprietary (M)SLA file formats.
SL1 format by Prusa Engineering is a simple ZIP file which contains:
config.ini: irrelevant info
prusaslicer.ini: info about printer (bed size), pixel density, and many slicer settings
*.png: enumerated image files per slice in PNG format
and thereby is open enough for my taste.
Requirements of Open MSLA Format
simple format for controller to decode
simple pixel data1)
simple preview image format1)
this is why PWS/PW0 or CTB fileformat use some simple RLE algorithm to compress pixel data
First Print
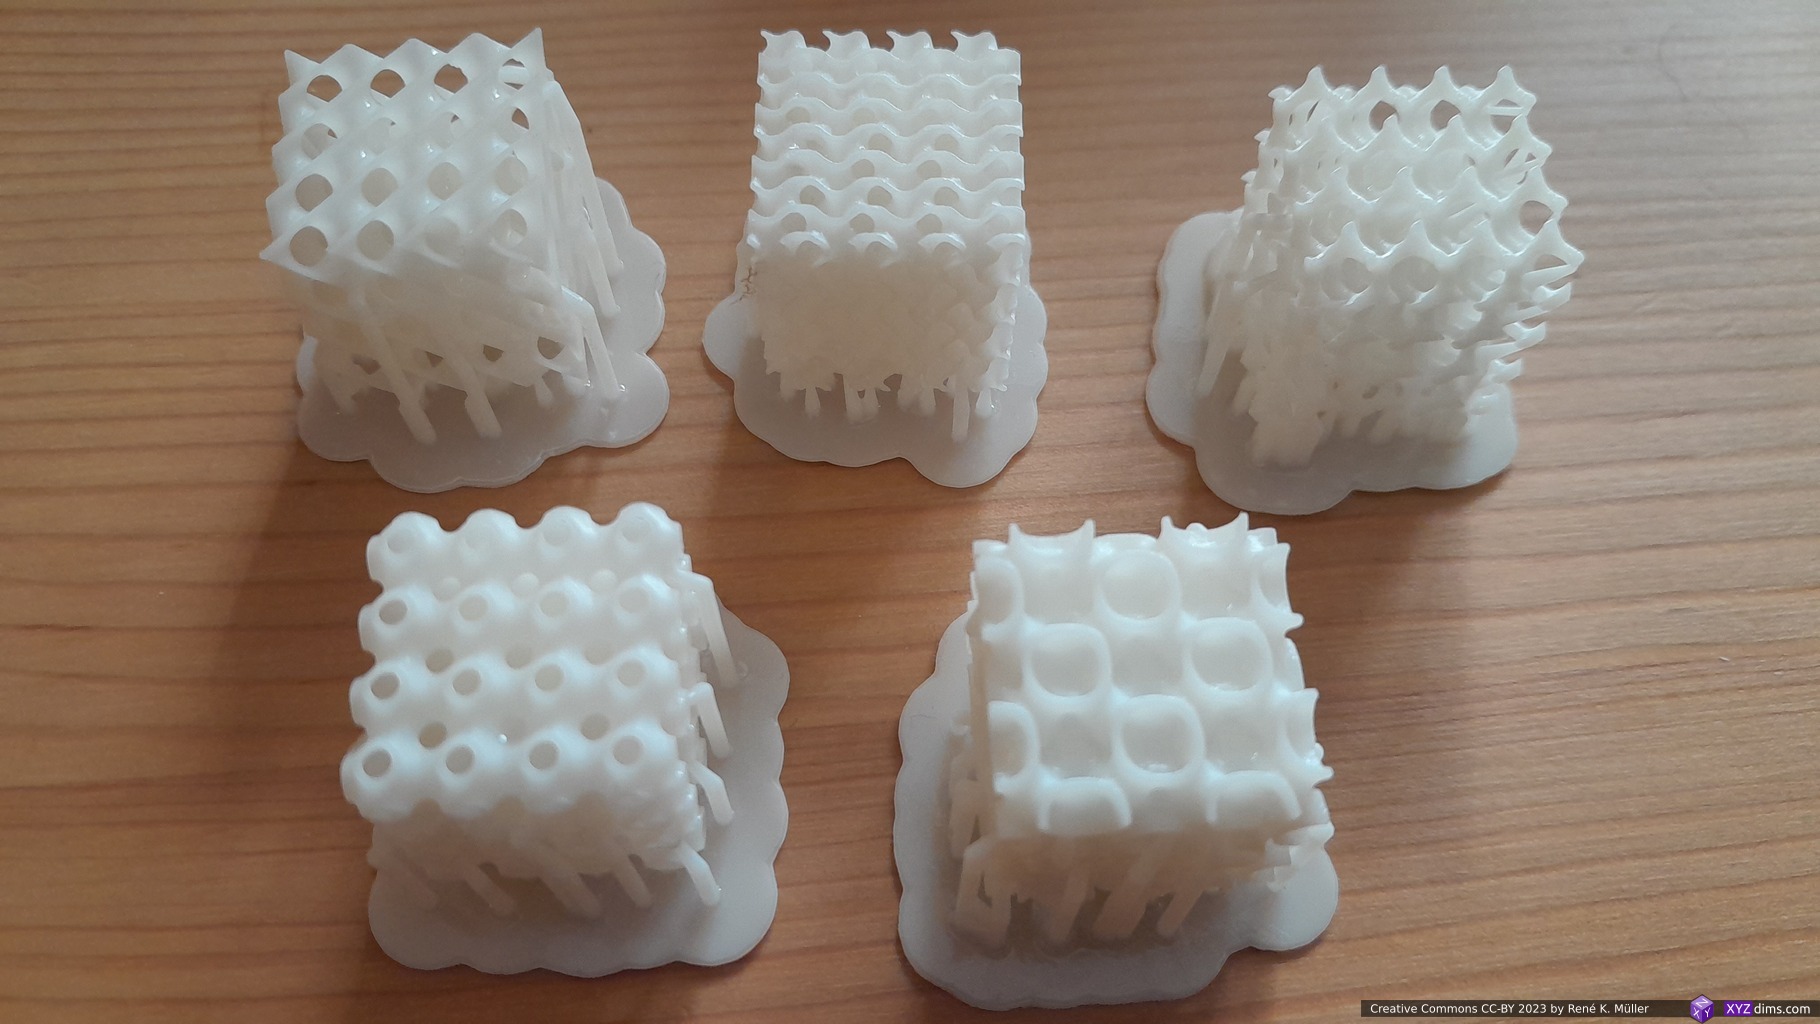
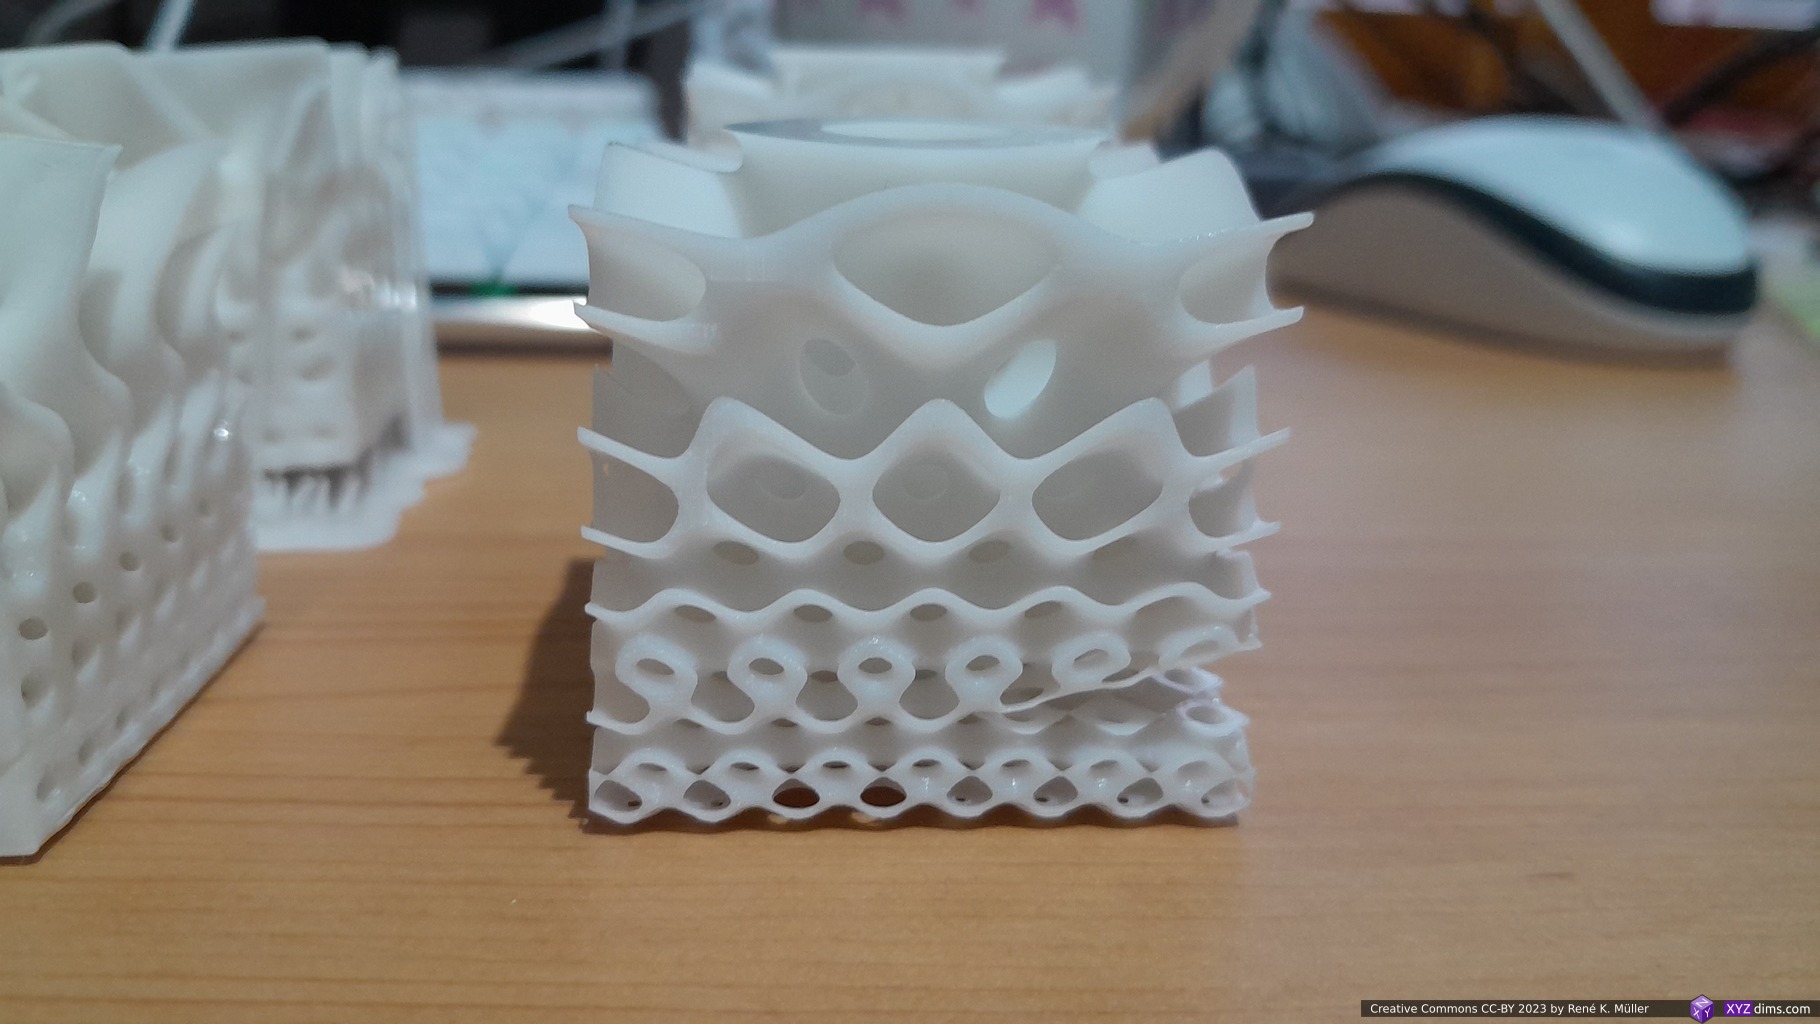
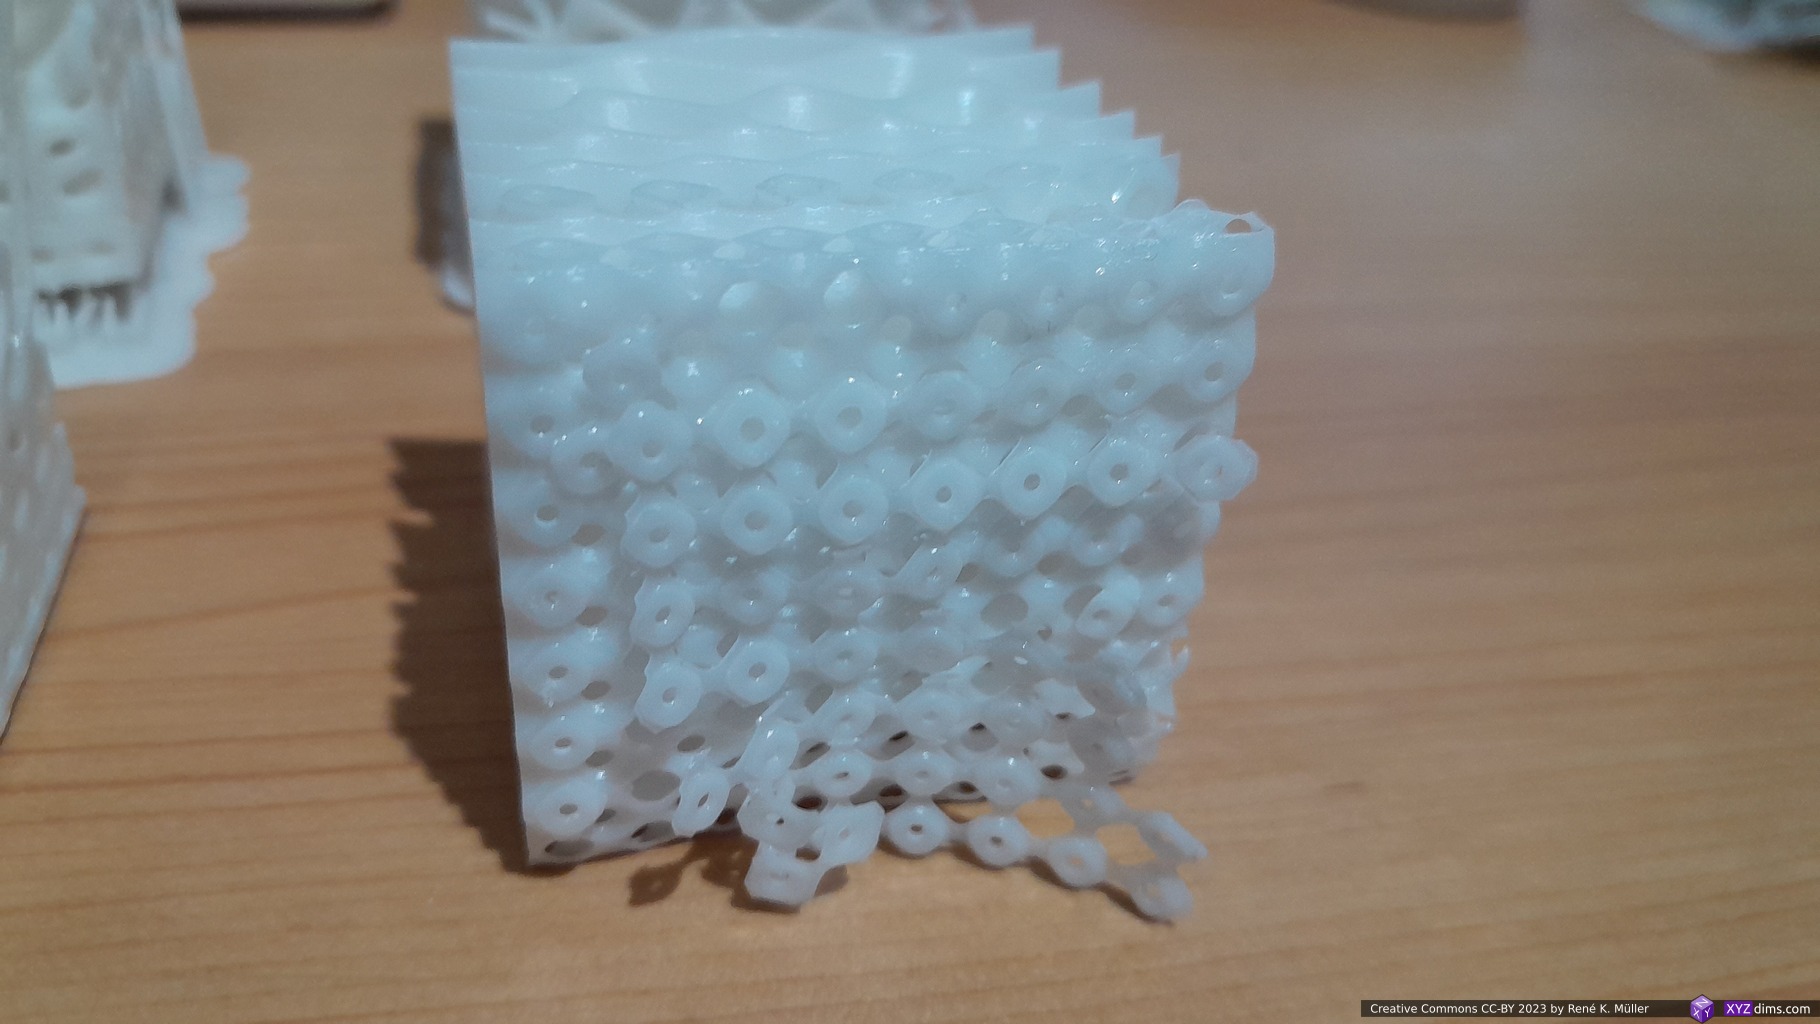
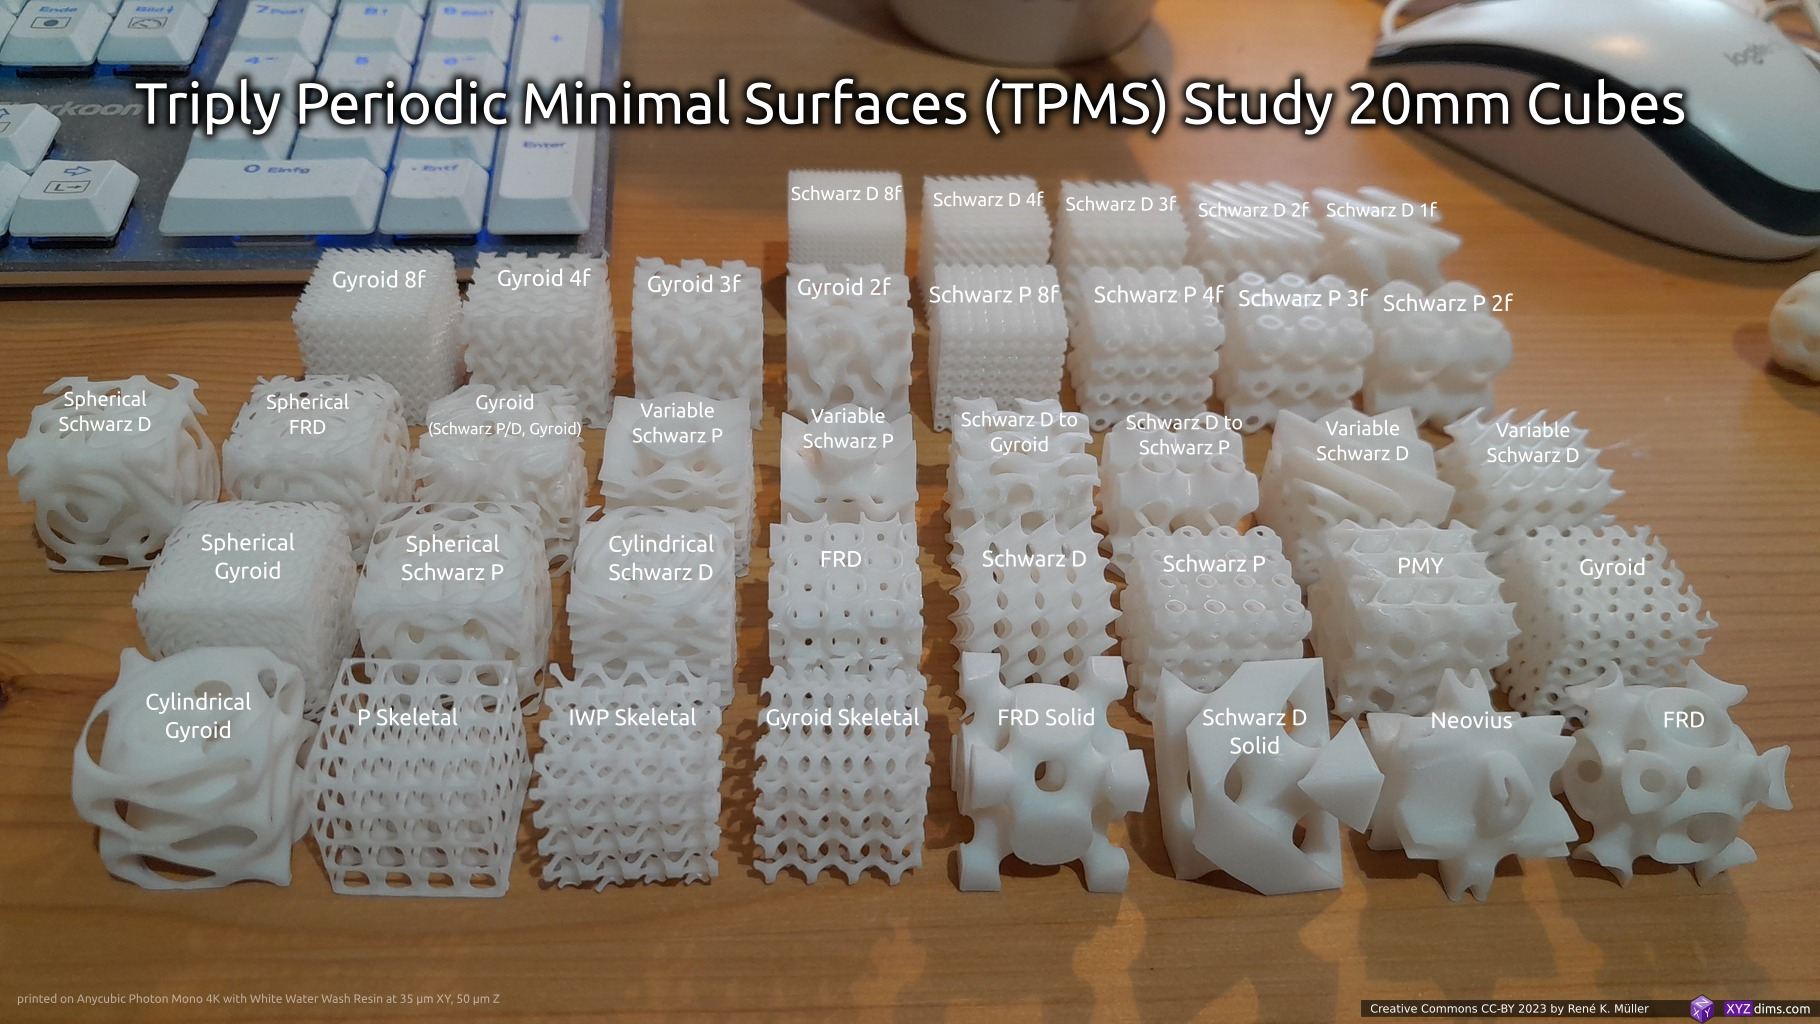
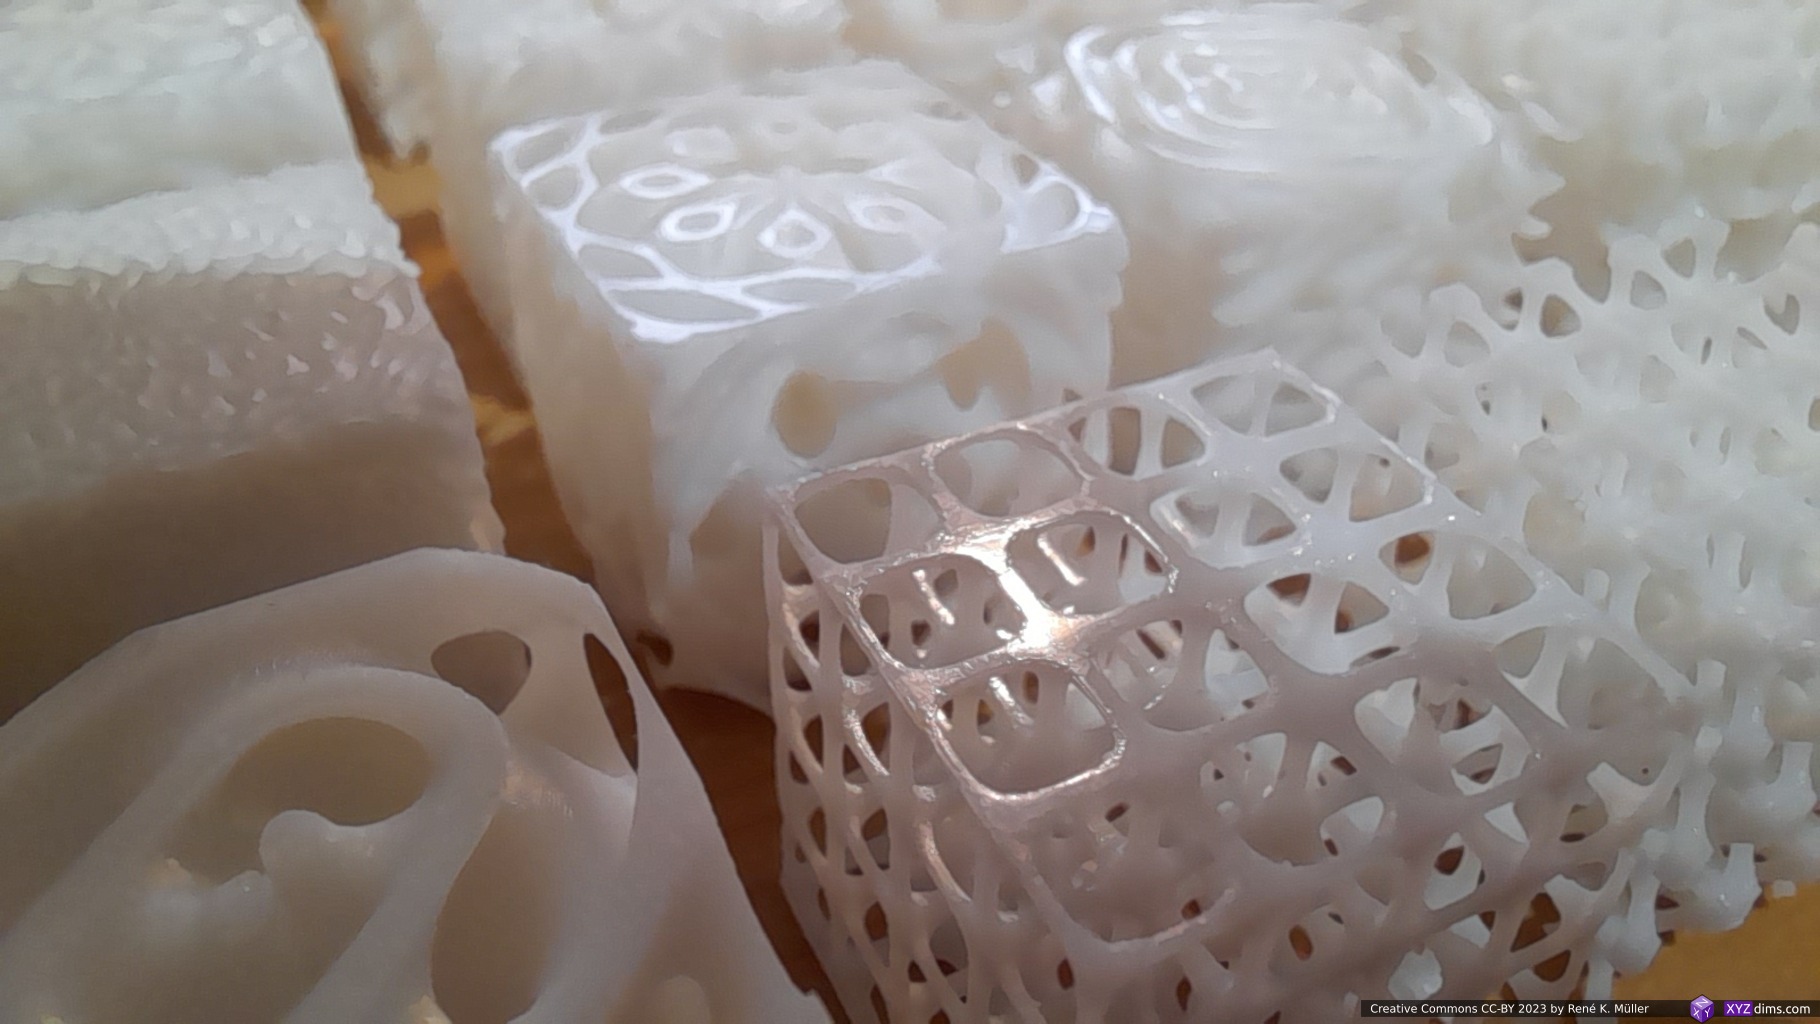
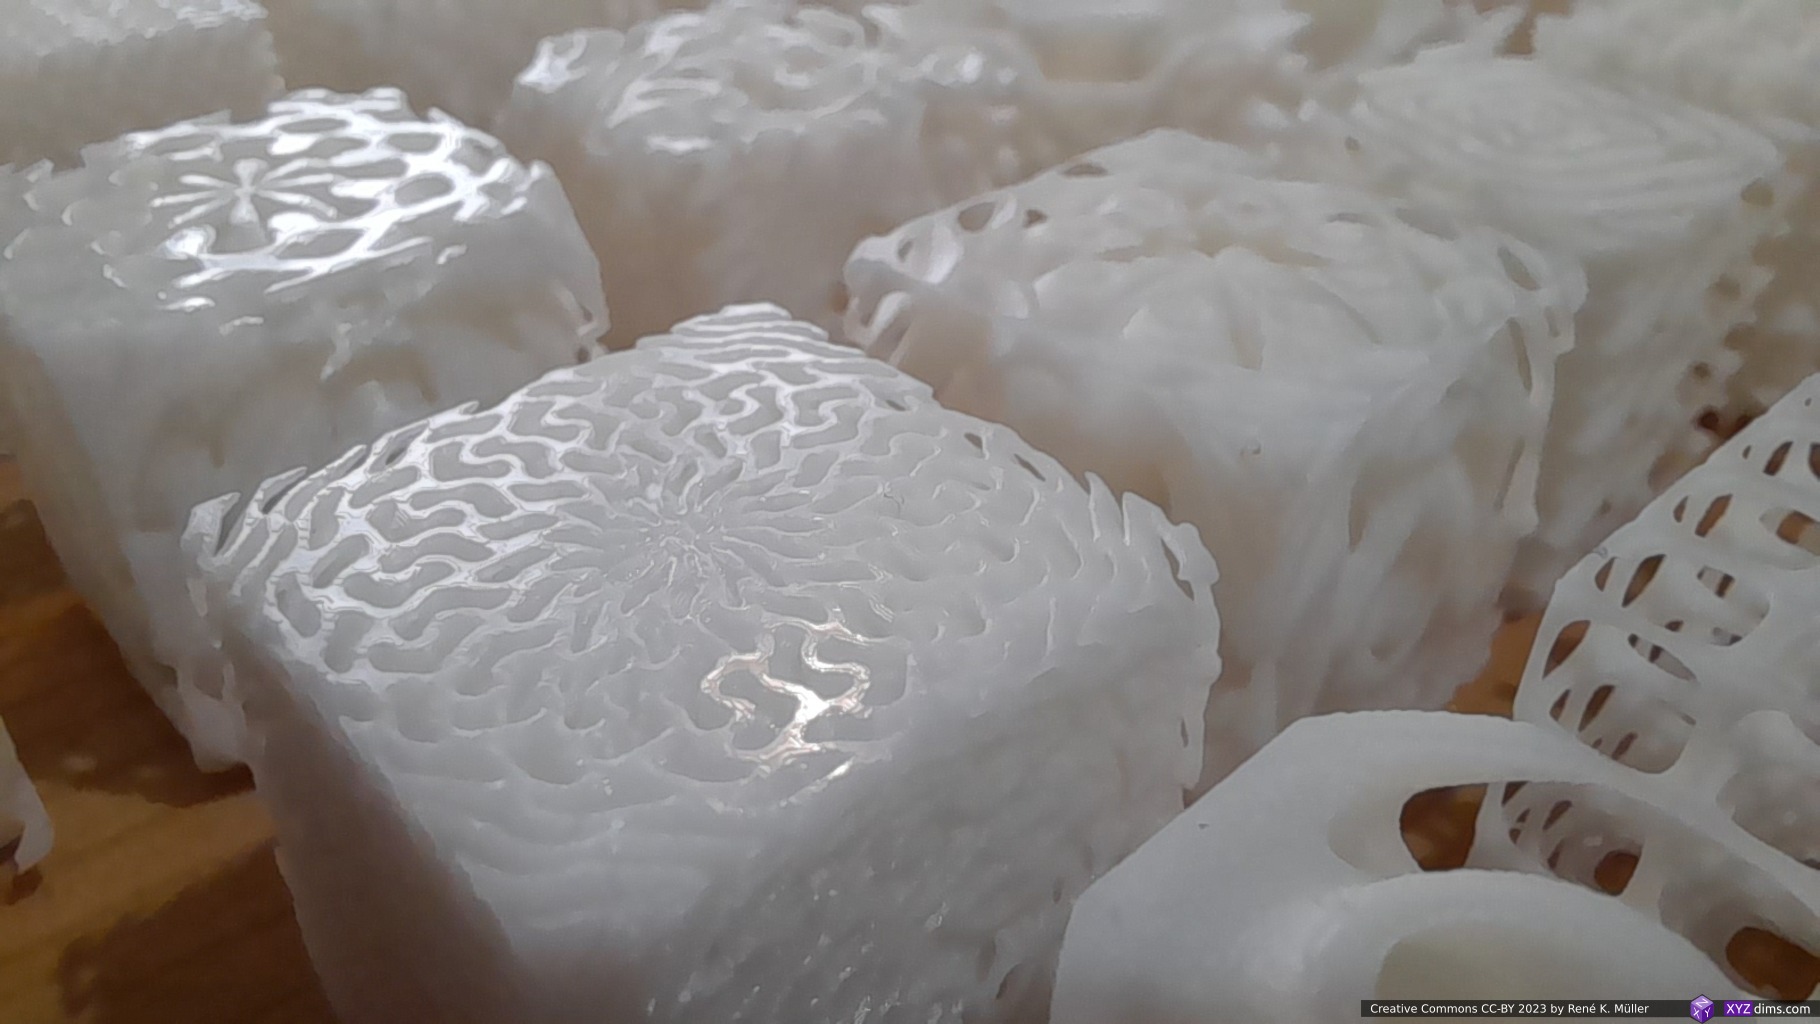
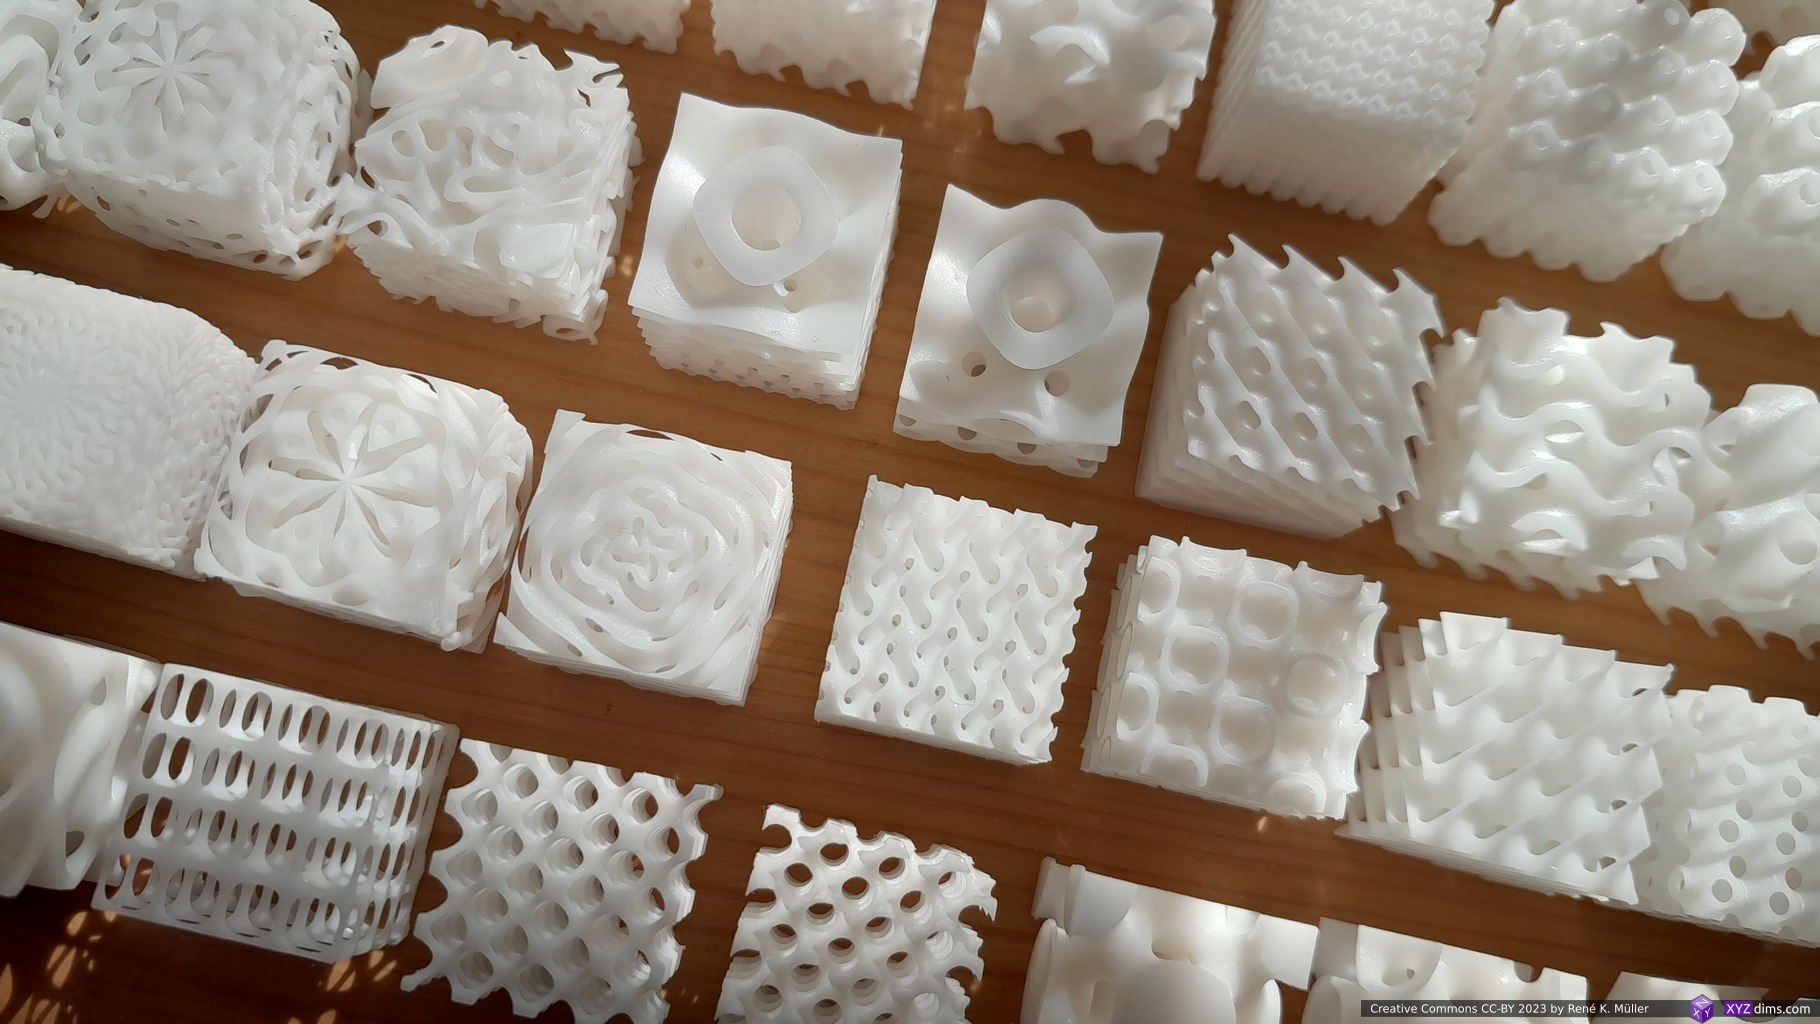
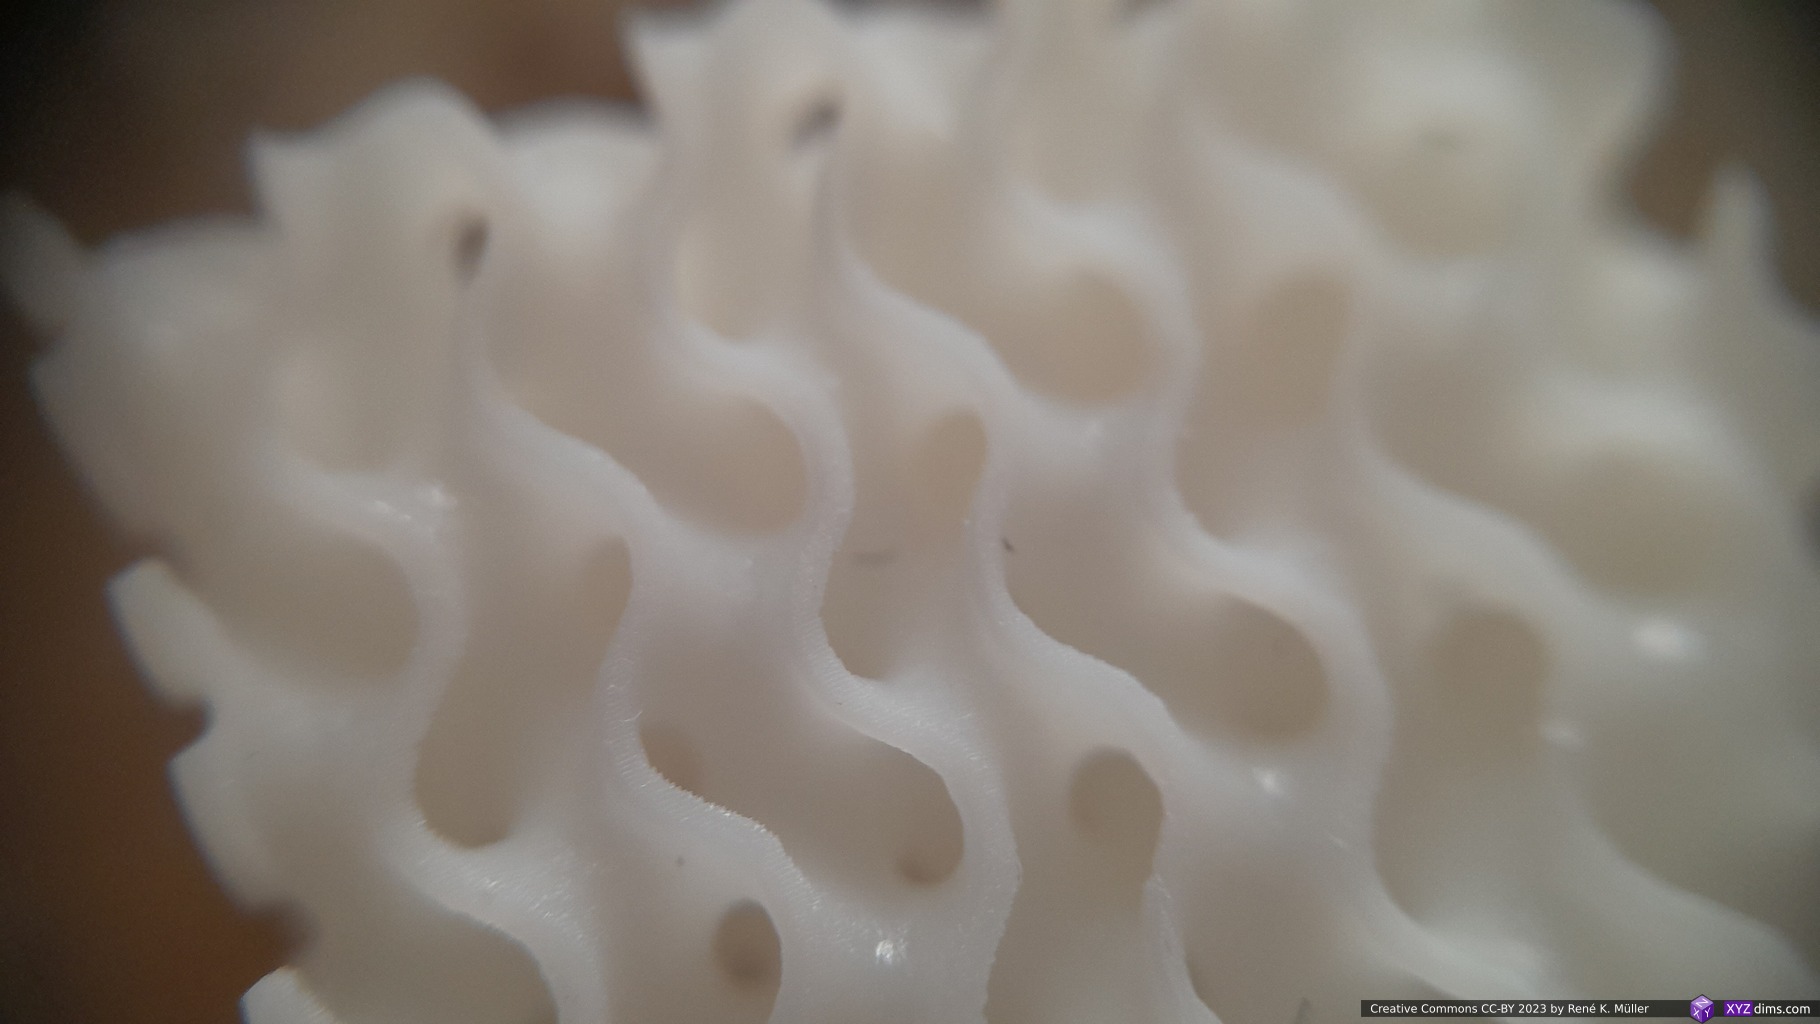
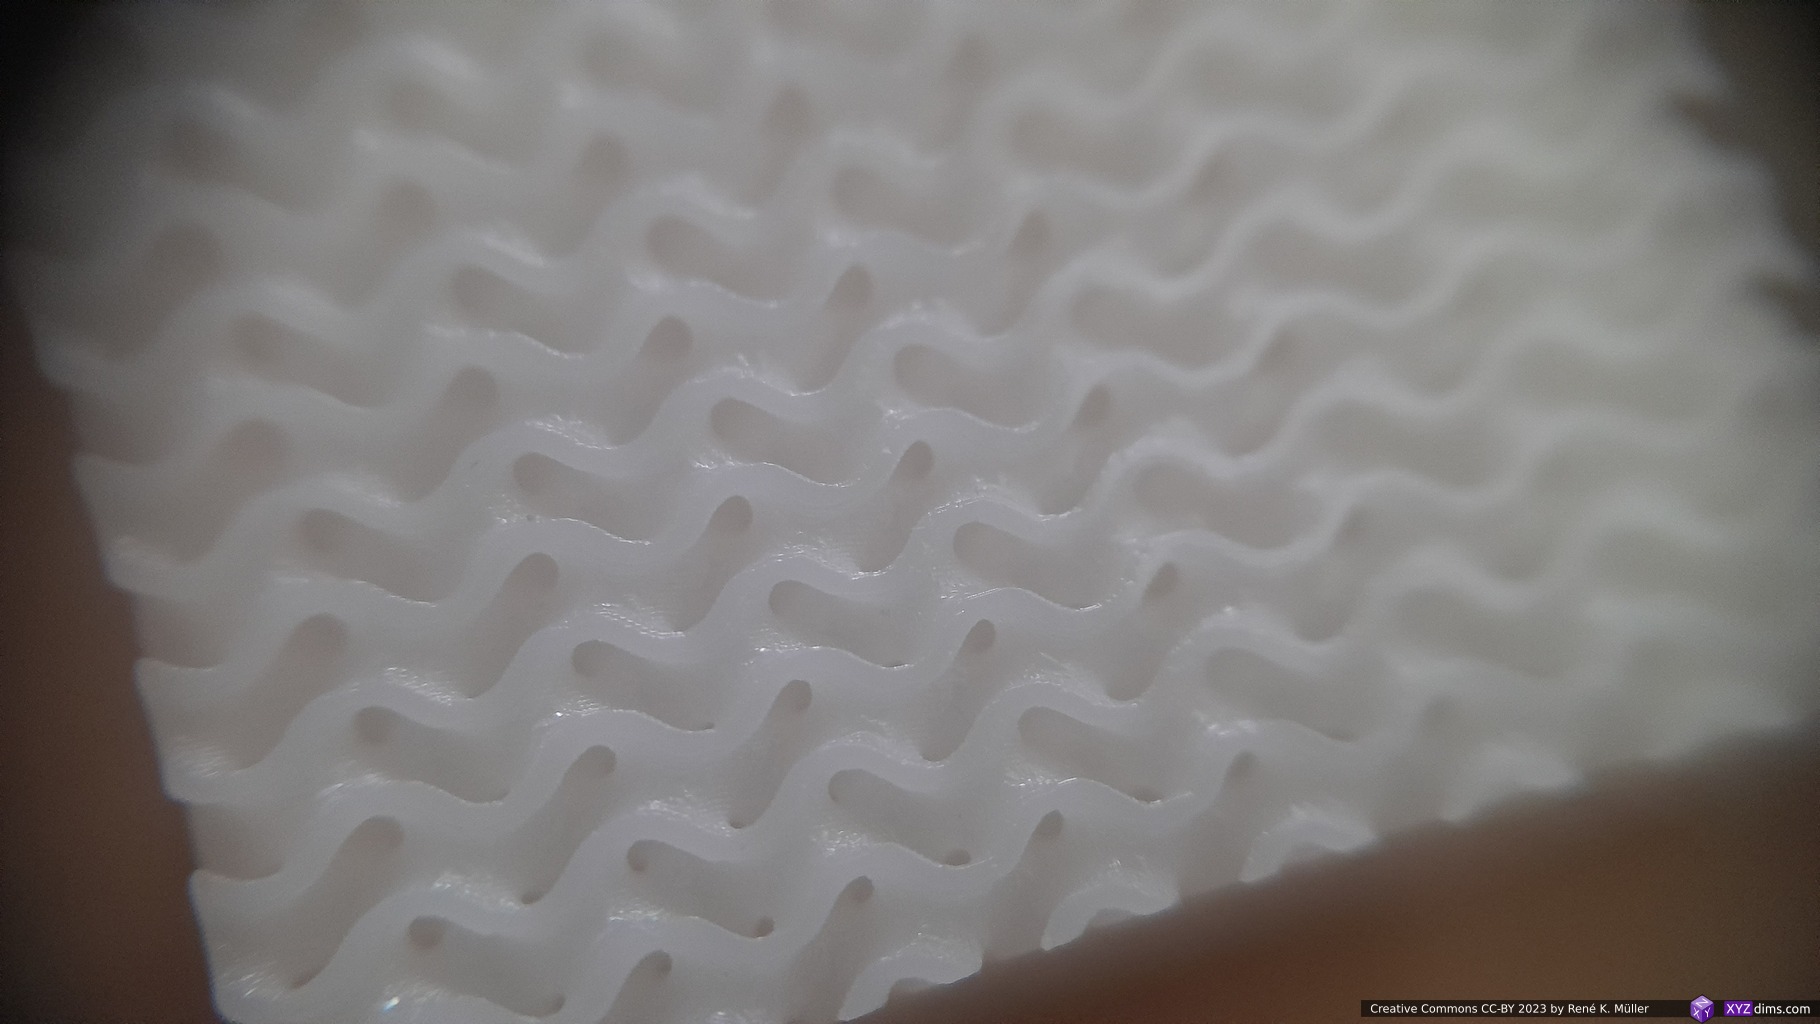
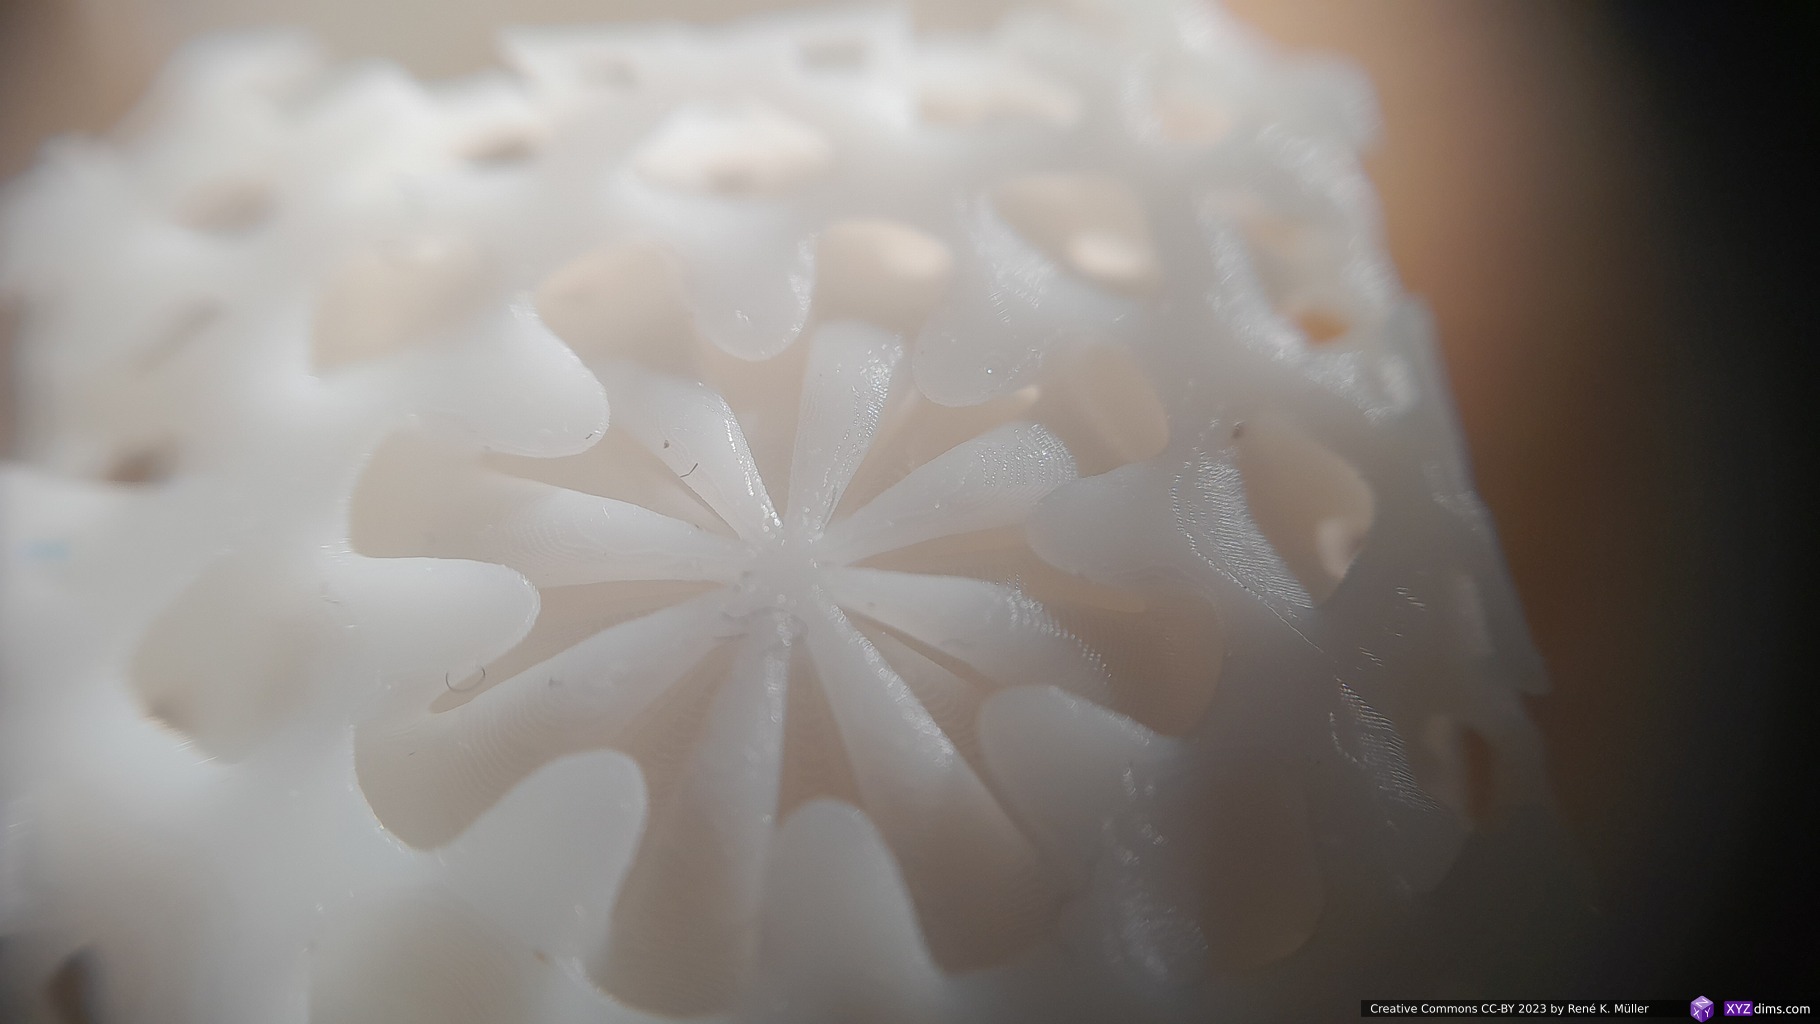
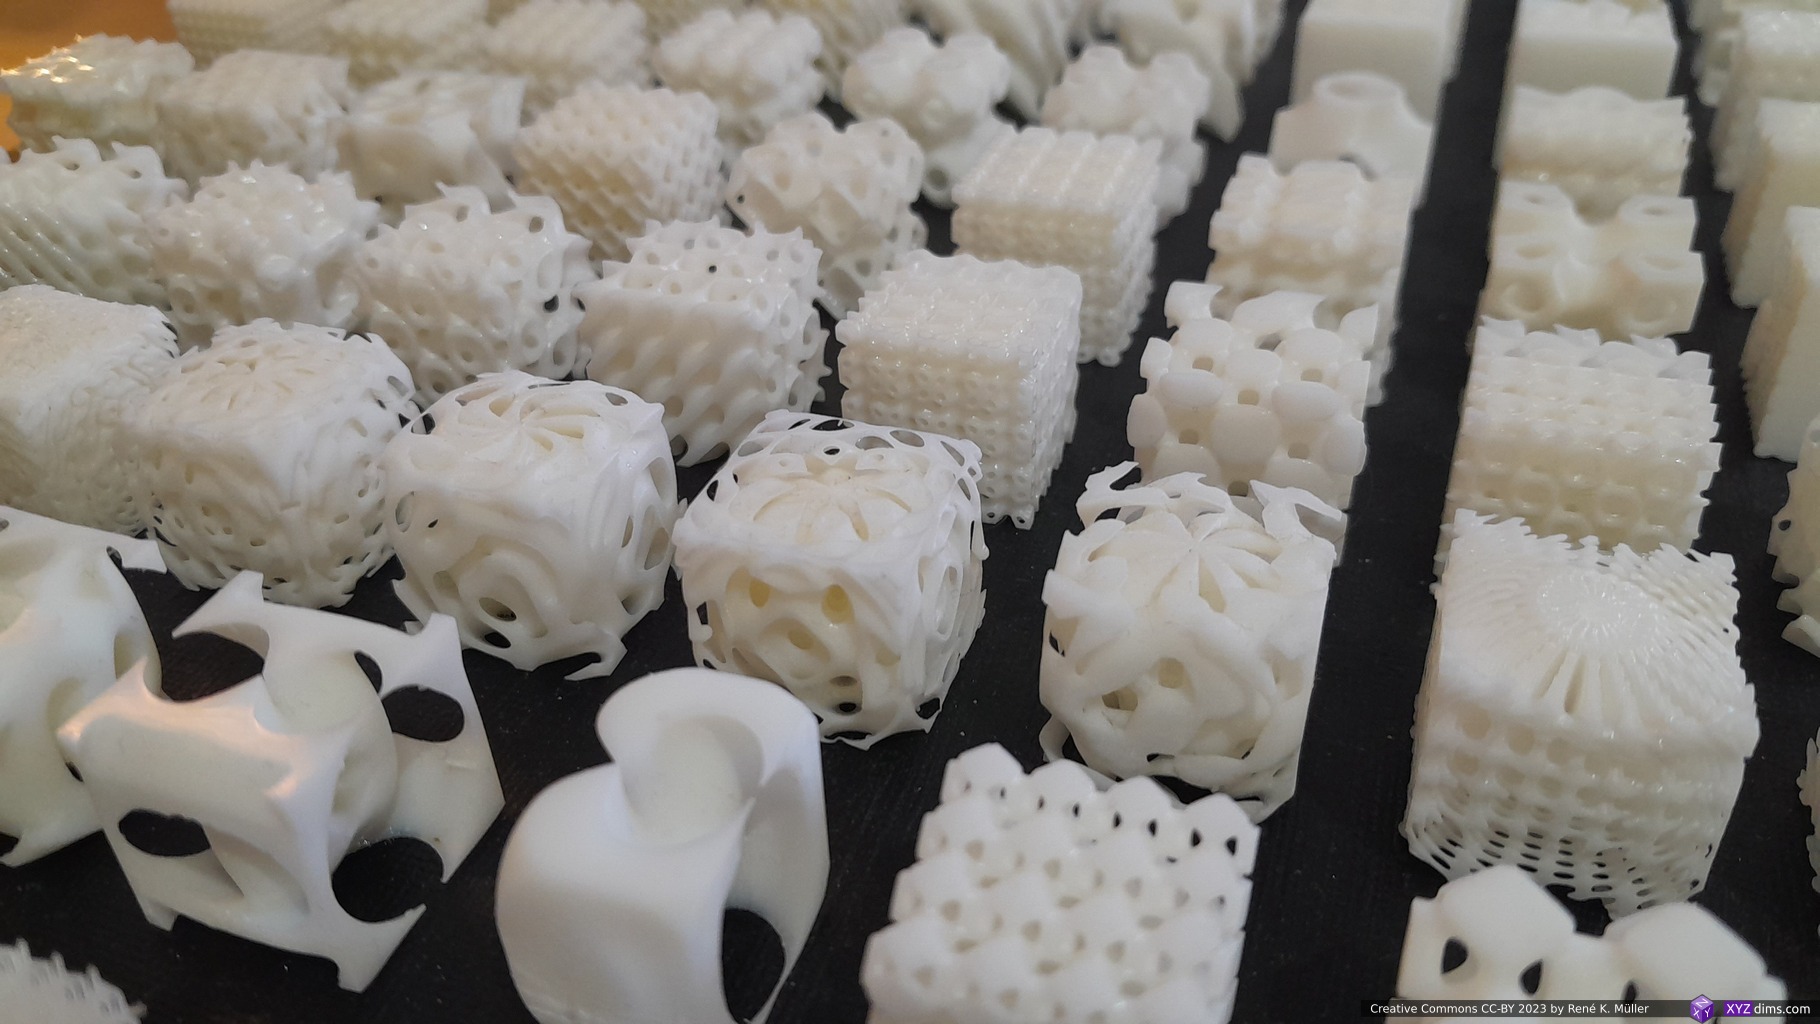
After many weeks postponing, as I wasn’t eager deal with the inherent messiness of resin printing, I gave it a shot with some of the Triply Periodic Minimal Surfaces (TPMS) (2023/03/05):
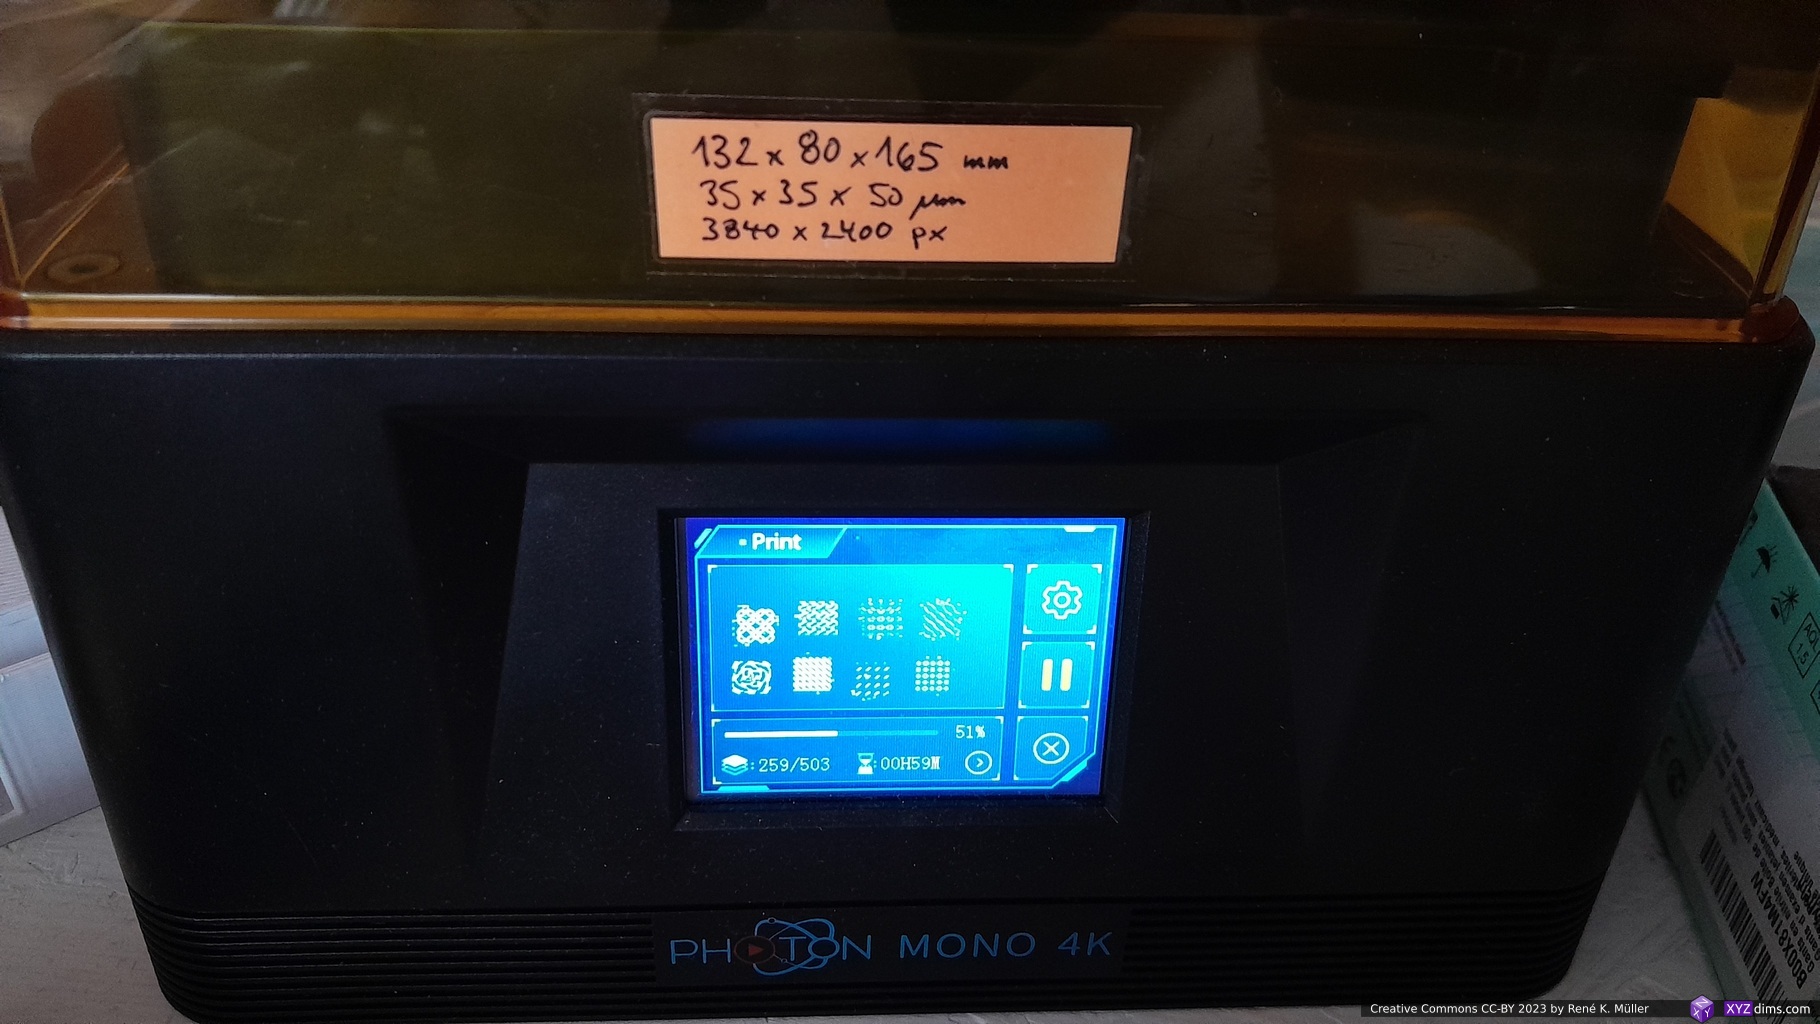
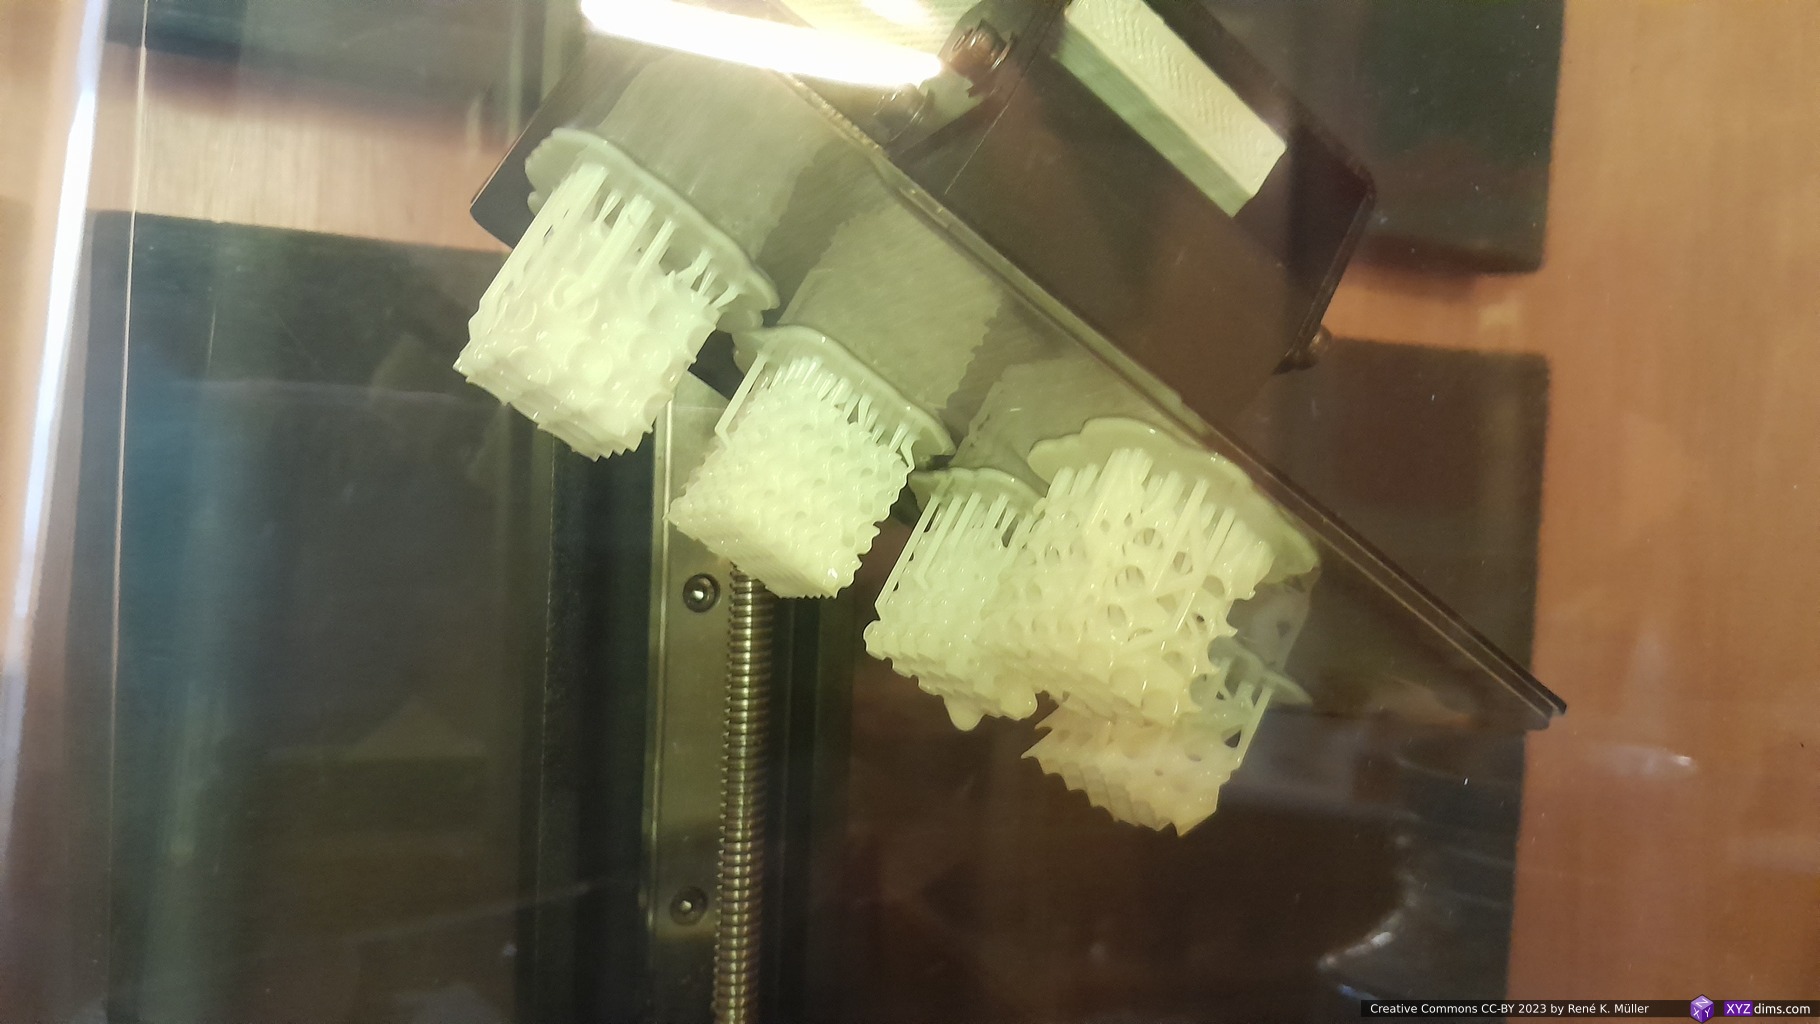
Lychee Slicer: 8 TPMSScene exported as STL with supportAnycubic Mono 4K: starting print 2h 15mAnycubic Mono 4K: mid print
The Lychee Slicer gave 1h 15m print time, the printer itself showed 2h 15m; I used Anycubic White Water Wash Resin. I used automatic supports, and it printed 5 pieces successful, 3 pieces failed and only apprx. 4mm Z height were printed, interestingly all 3 failed pieces failed at the same Z height and broke off and stuck at the print plate.
Batch 1: 5 pieces printed successful, 3 failedWashed & cured: 5 TPMS 20mm: (front) Schwarz P, FRD, (background): Schwarz D, Gyroid, Gyroid Skeletal Washed & cured: 5 TPMS 20mm: (front) Schwarz P, FRD, (background): Schwarz D, Gyroid, Gyroid SkeletalBatch 2: reprinting previously 3 failed prints again, this time successful at the same position, same settings
I reprinted the 3 failed pieces at the same place, and this time they succeeded – which is strange as I suspected perhaps uneven light or some other positional inconsistency, but obviously the position did not matter, which is bad as I don’t know what caused the first failed print.
The curved bottoms (not directly printed but with diverse support pipes) already showing severe distortion while printing.
Update: It seems my office rooms aren’t warm enough, so the bed adhesion isn’t optimal as I read up in some forum posts. I tried to print a few other pieces, all failed the next day in the room with 15-19C° – the prints detached after 2-3mm height from the build plate. I moved it to another warmer room, warmed the resin on the radiator which helped.
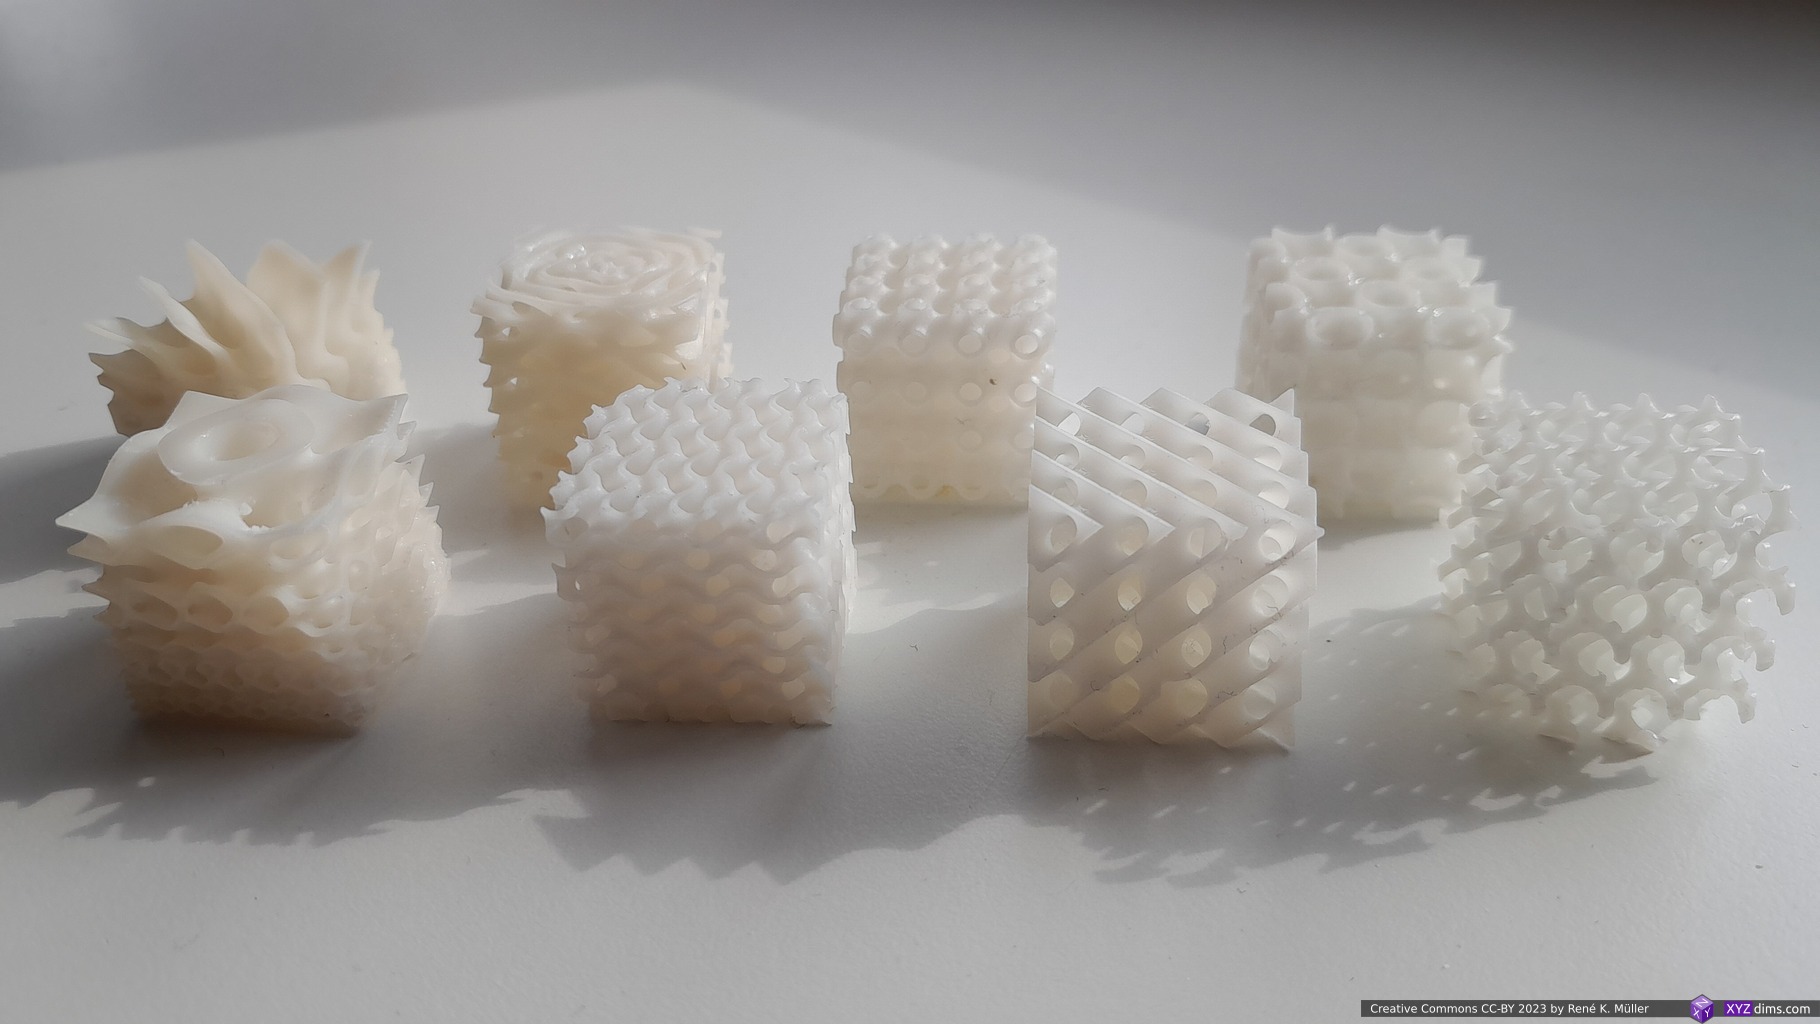
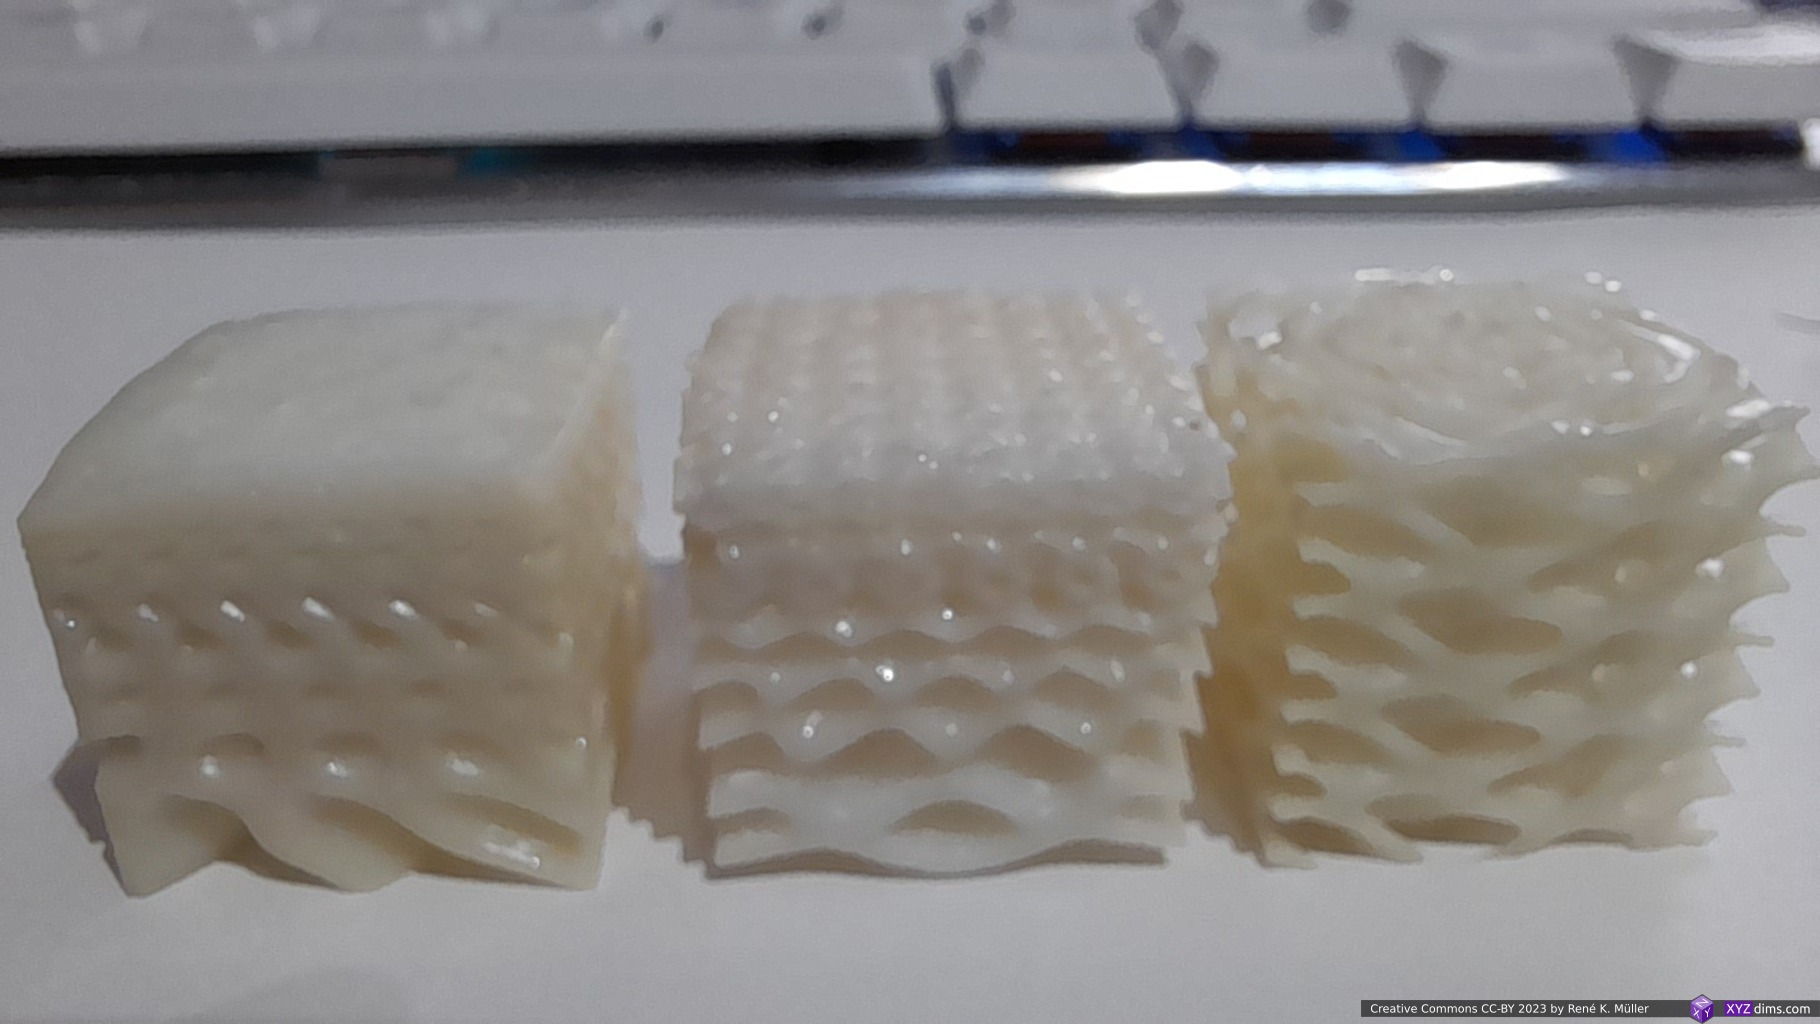
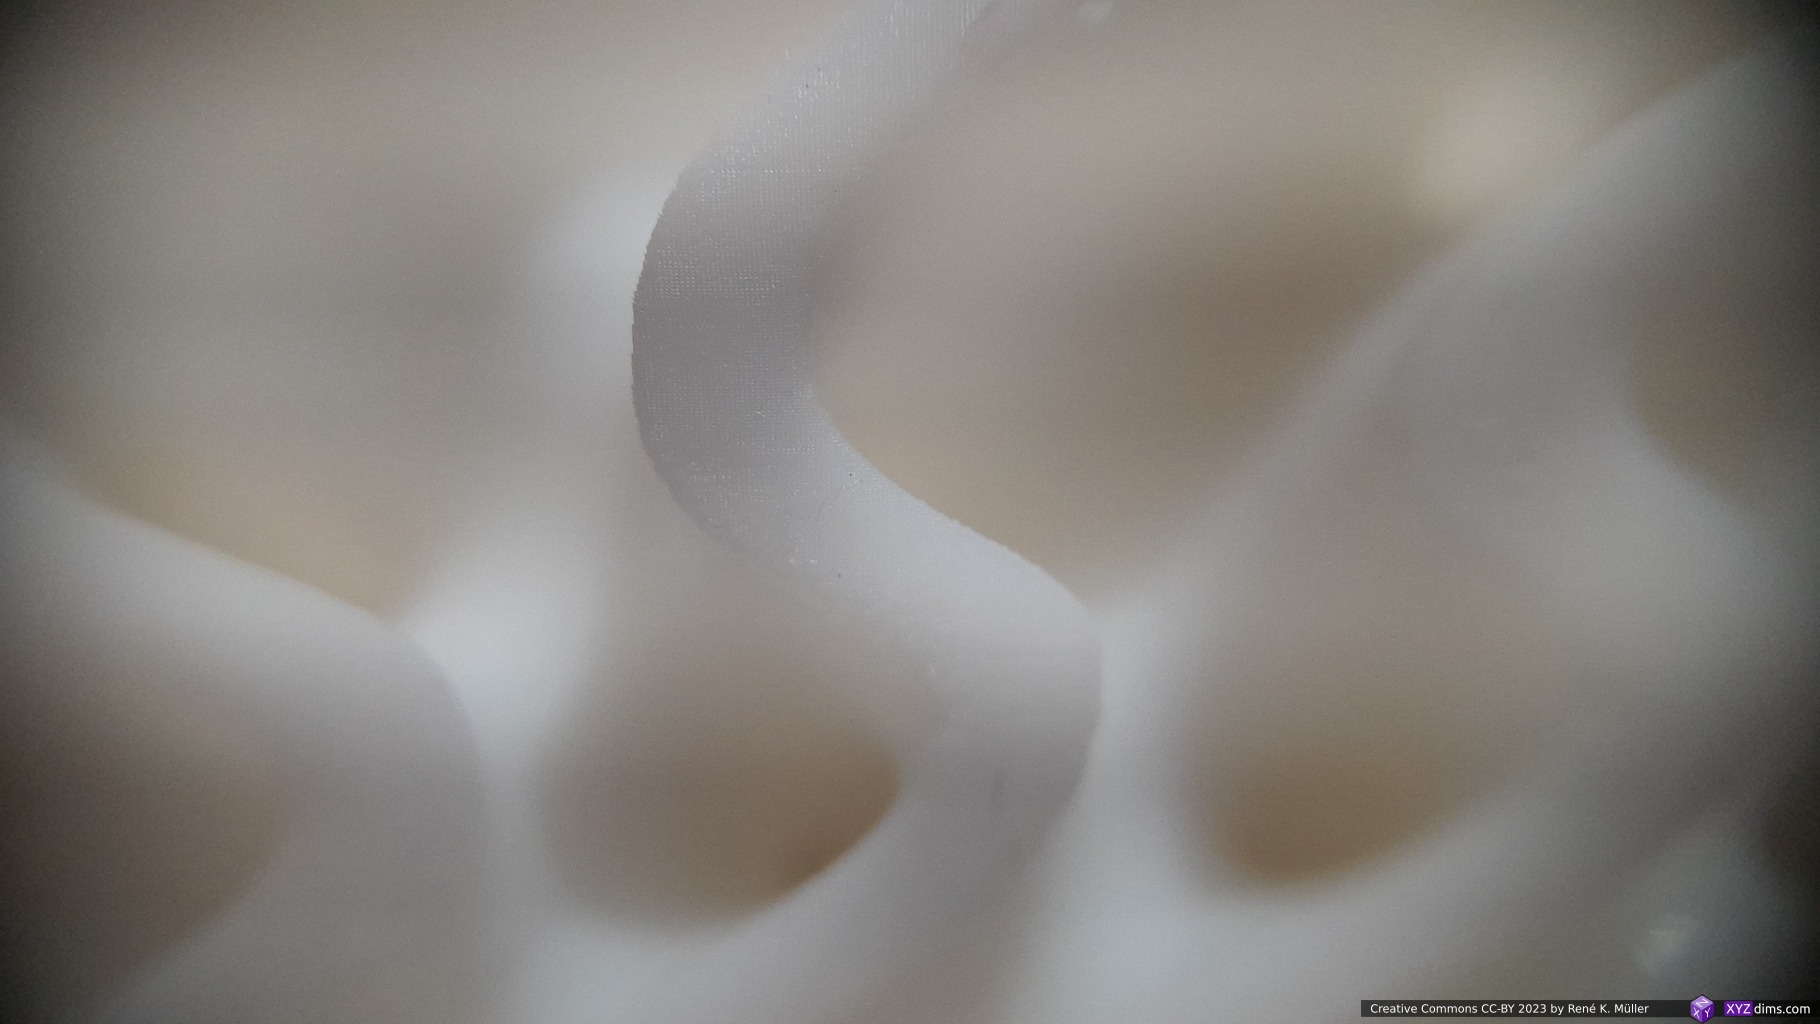
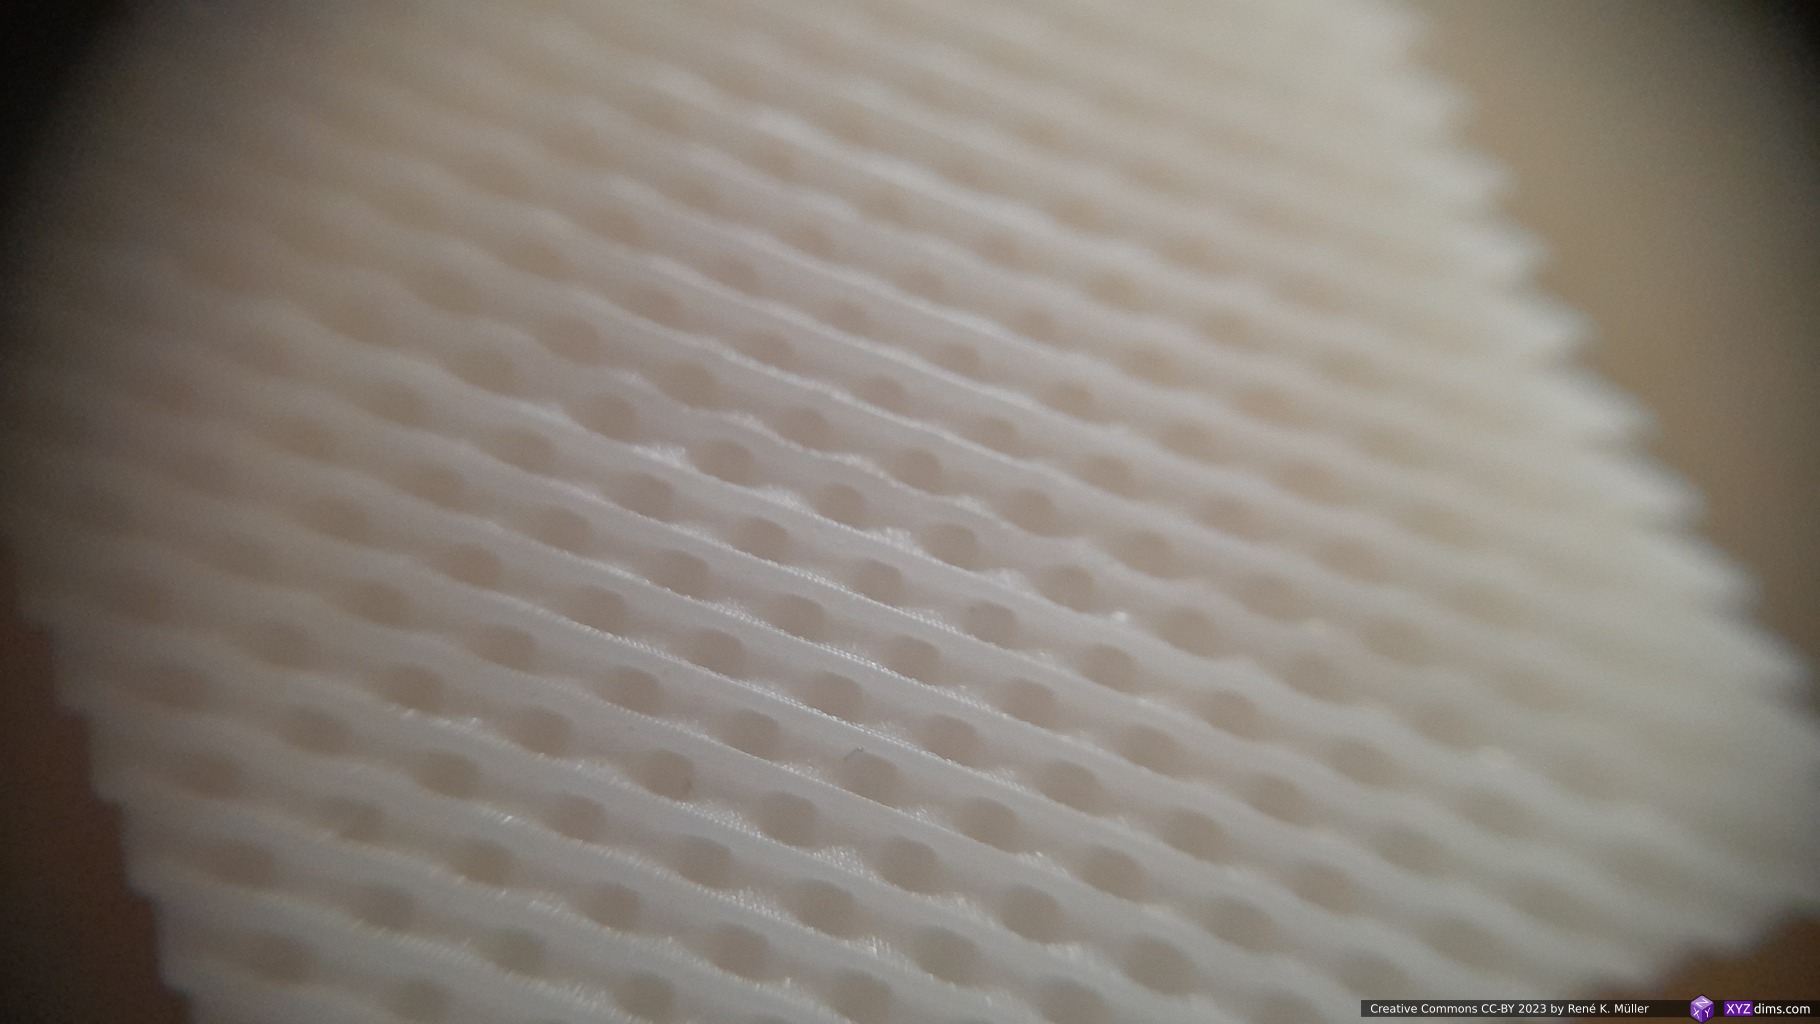
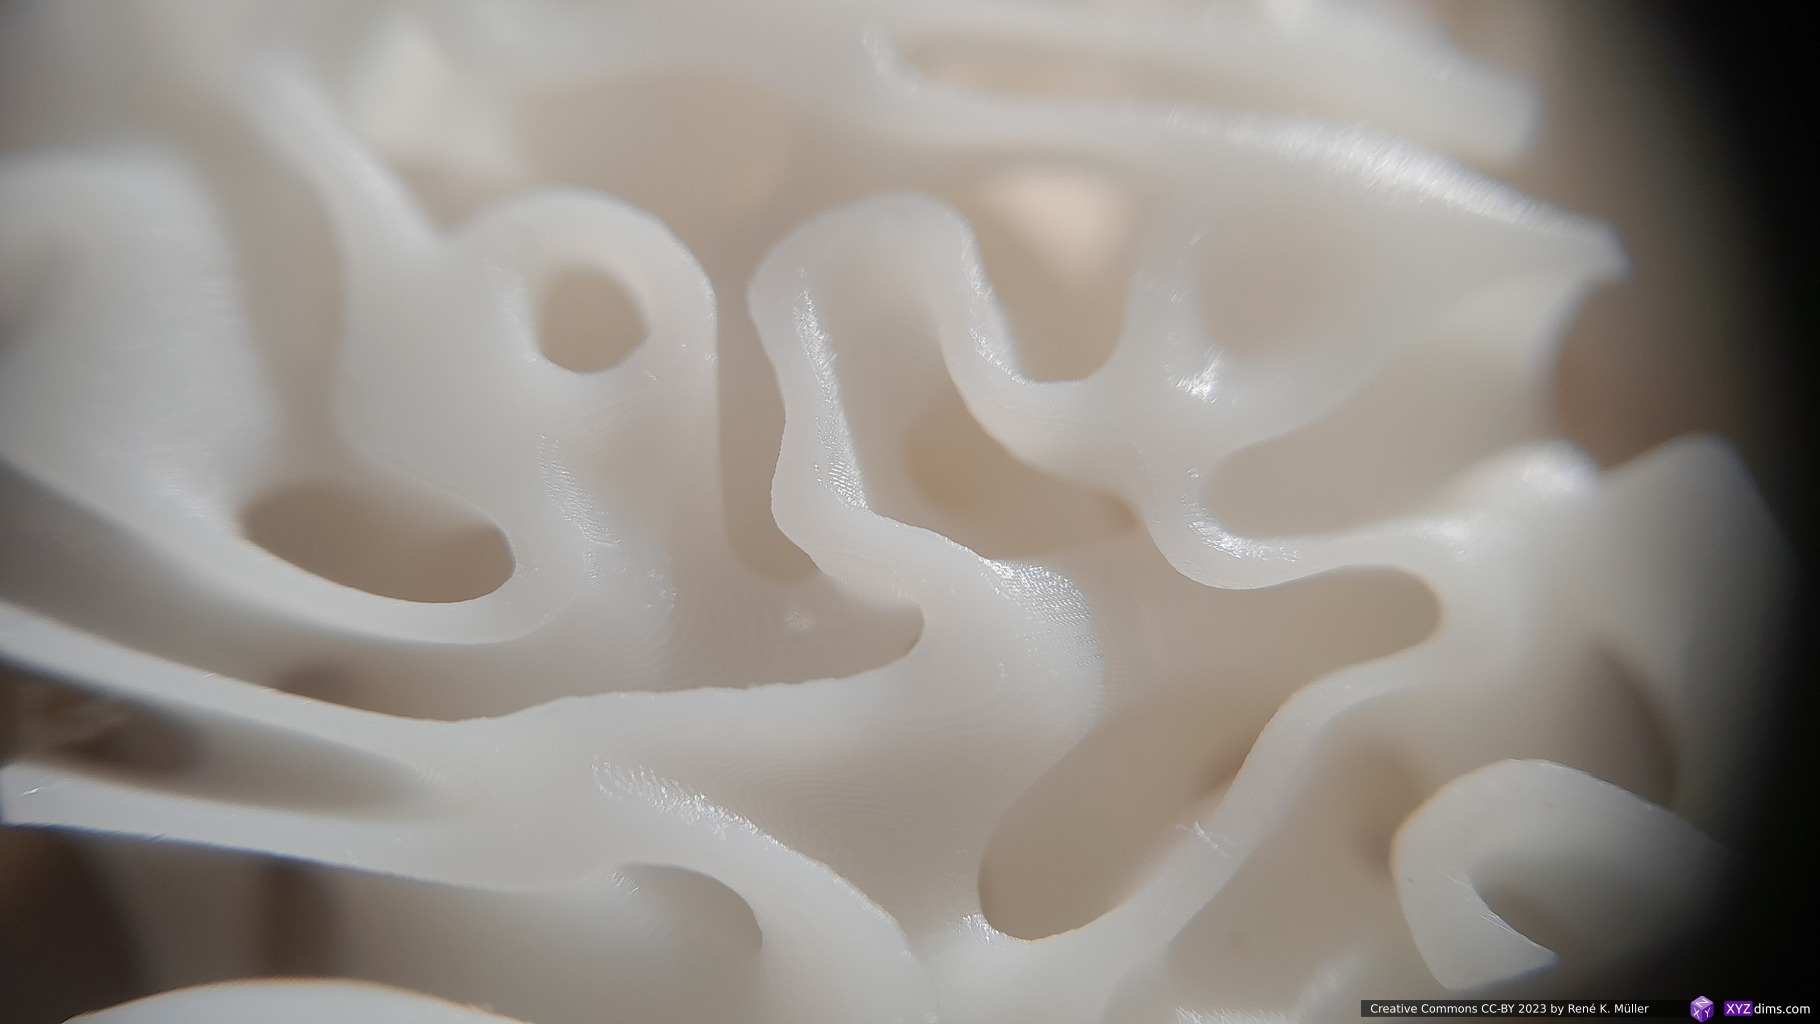
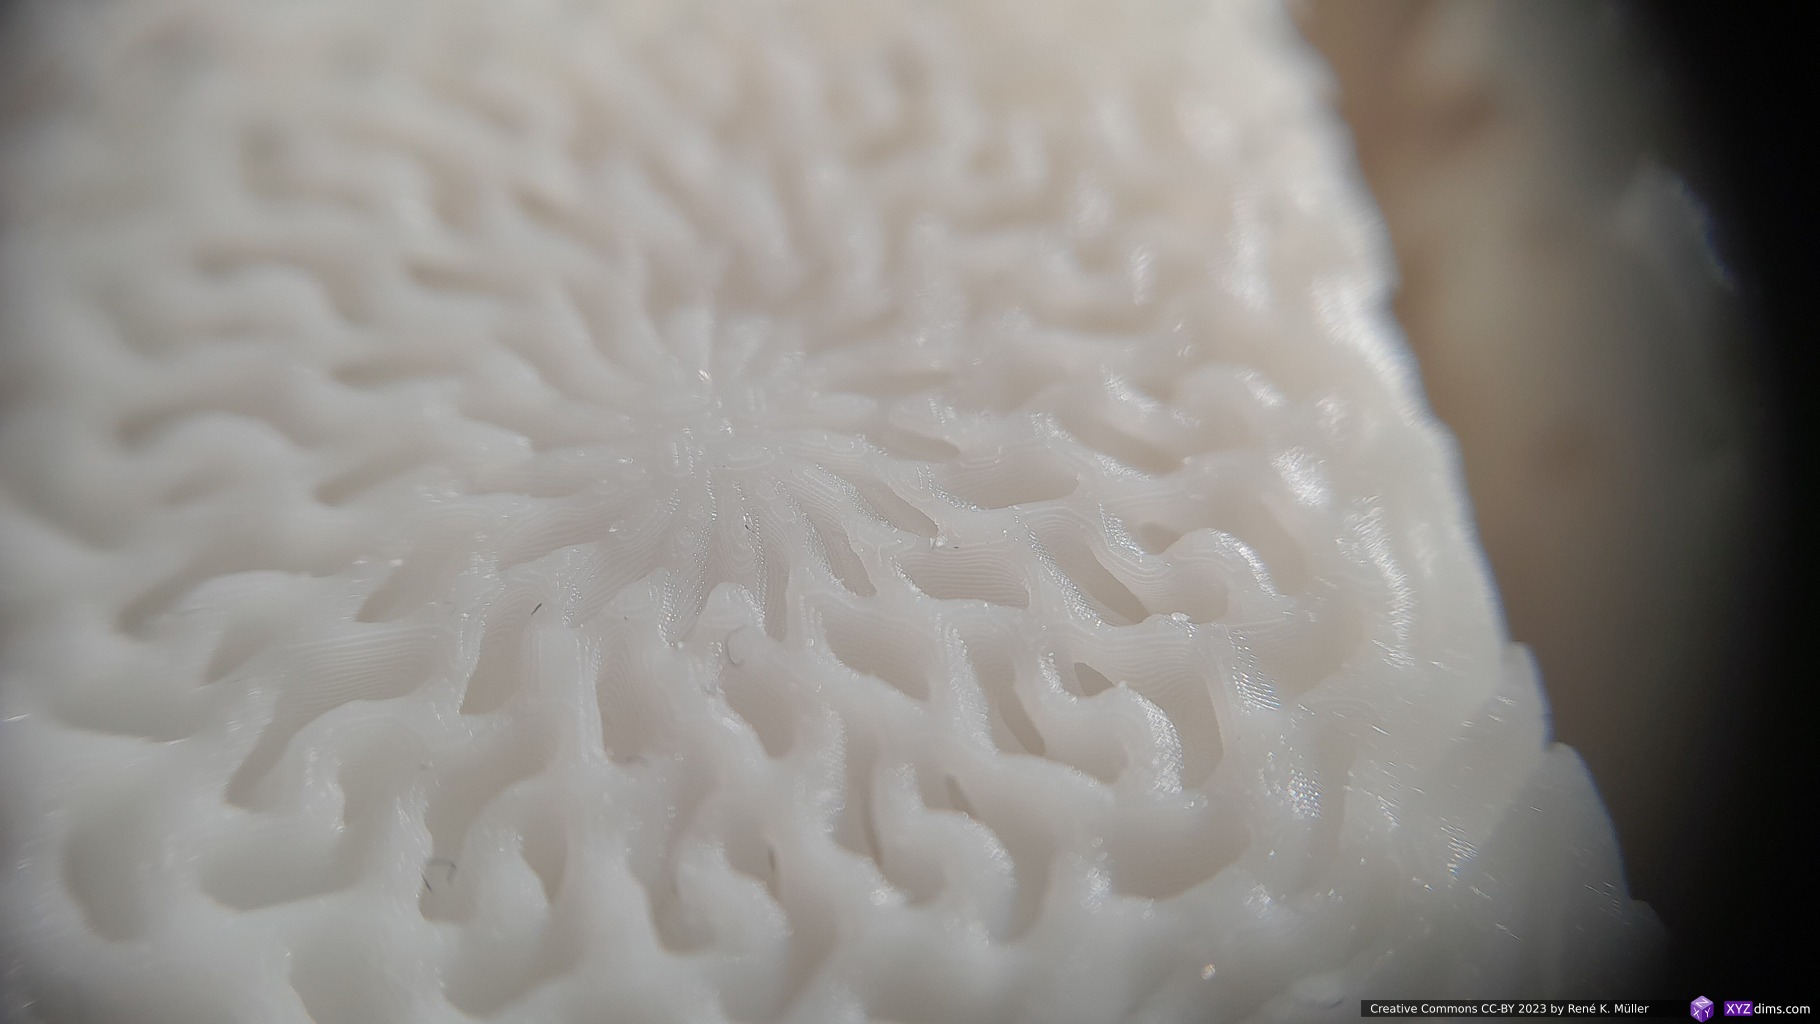
The overall quality of the pieces is astonishing, no visible voxels or layers are seen, incredible quality for those prints which didn’t fail.
Yet the failure rate is still significant for my taste, so I need to pay close attention to room temperature, and other aspects:
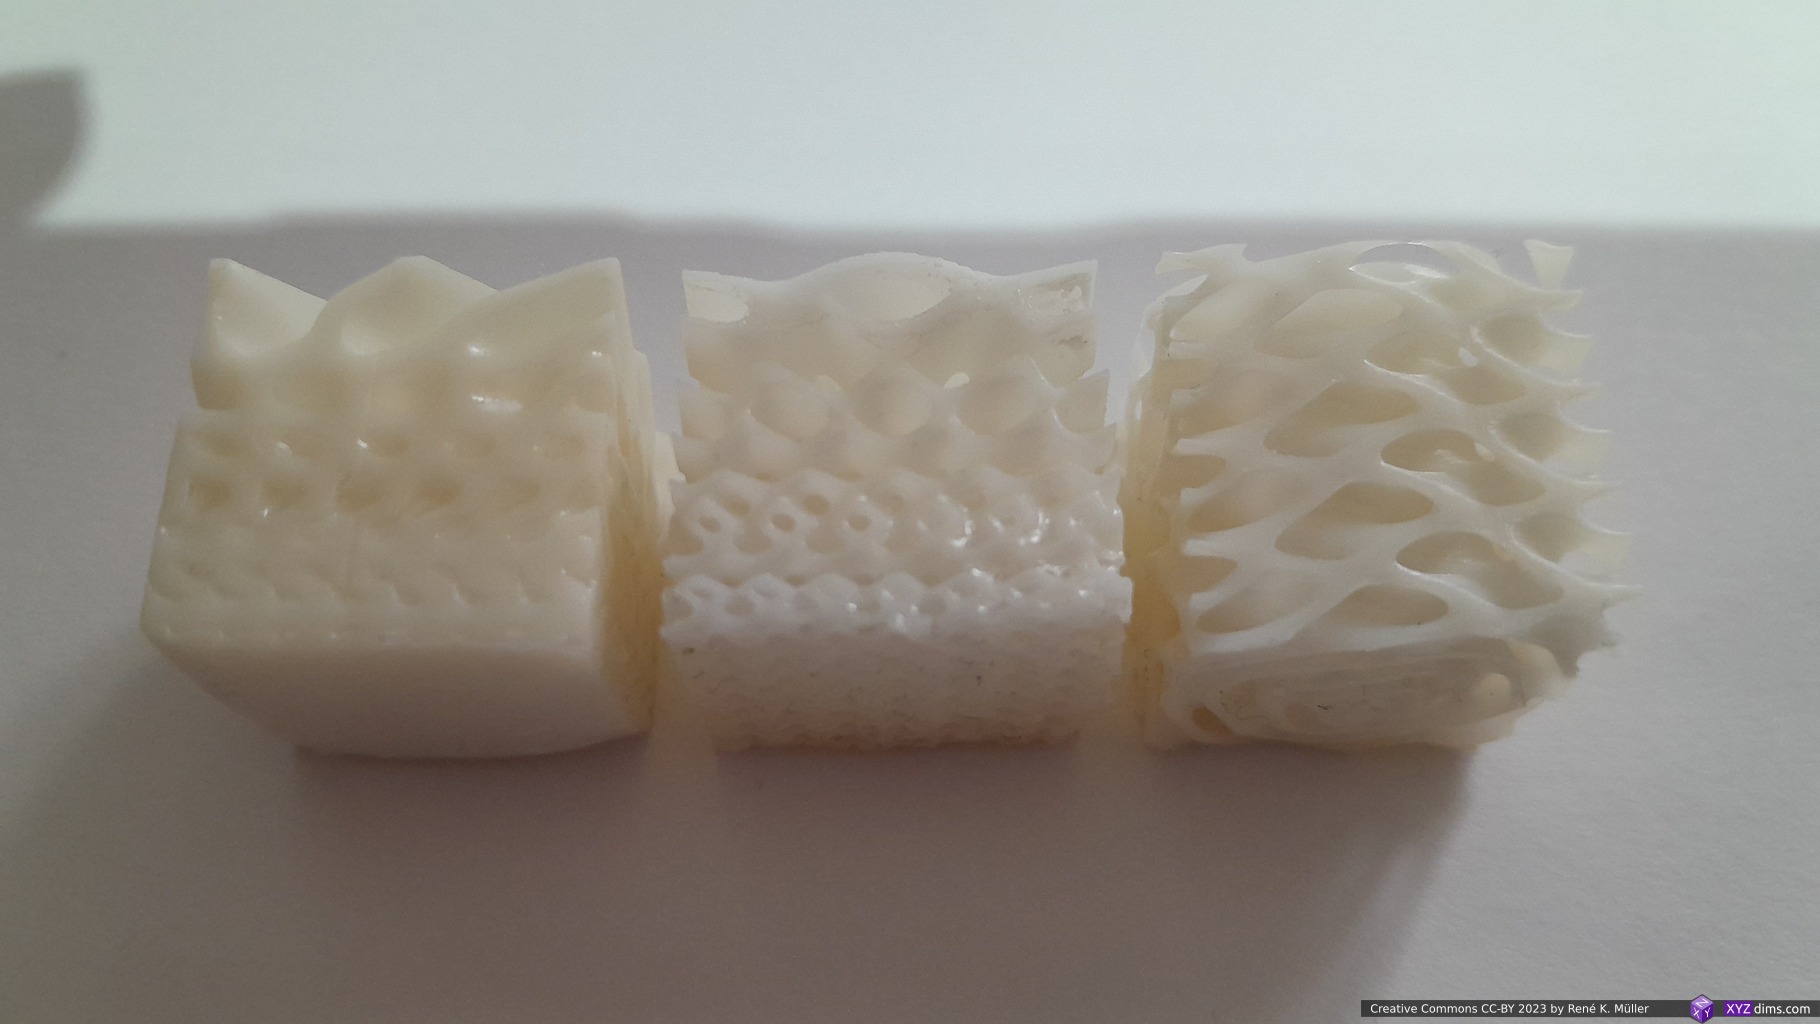
Variable frequency of Schwarz P & D TPMS (40mm cube): with support and withoutSchwarz D variable frequency TPMS: with and without support (both successful prints)Schwarz P variable frequency TPMS: with and without support (mixed success)Schwarz P variable frequency TPMS with support (successful print)Schwarz P variable frequency TPMS without support: deliminated near bottom (failed print)Schwarz P variable frequency TPMS without support: deliminated near bottom (failed print)Schwarz D: 35μm XY, 50μm Z, seeing the voxels in the closeup
The cause of the “delimination” isn’t clear yet to me, it seems the prints with proper support and elevated bottom printed better, but I need to confirm with more prints.
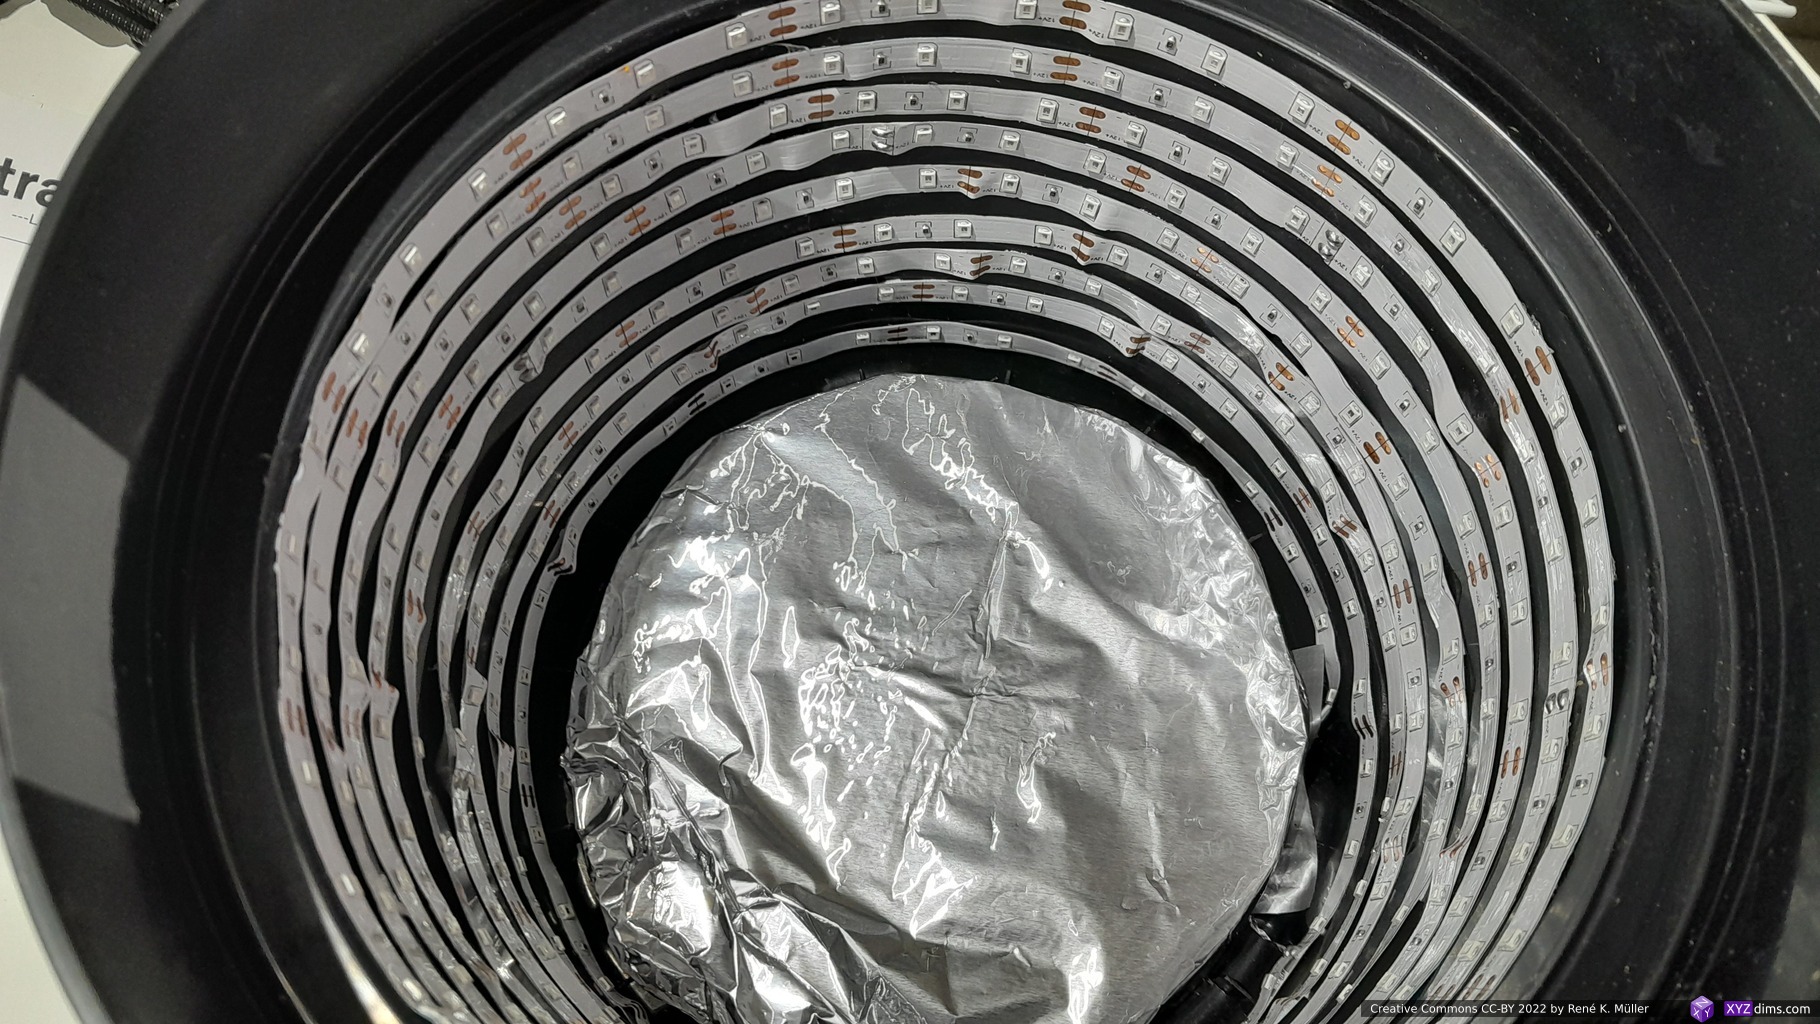
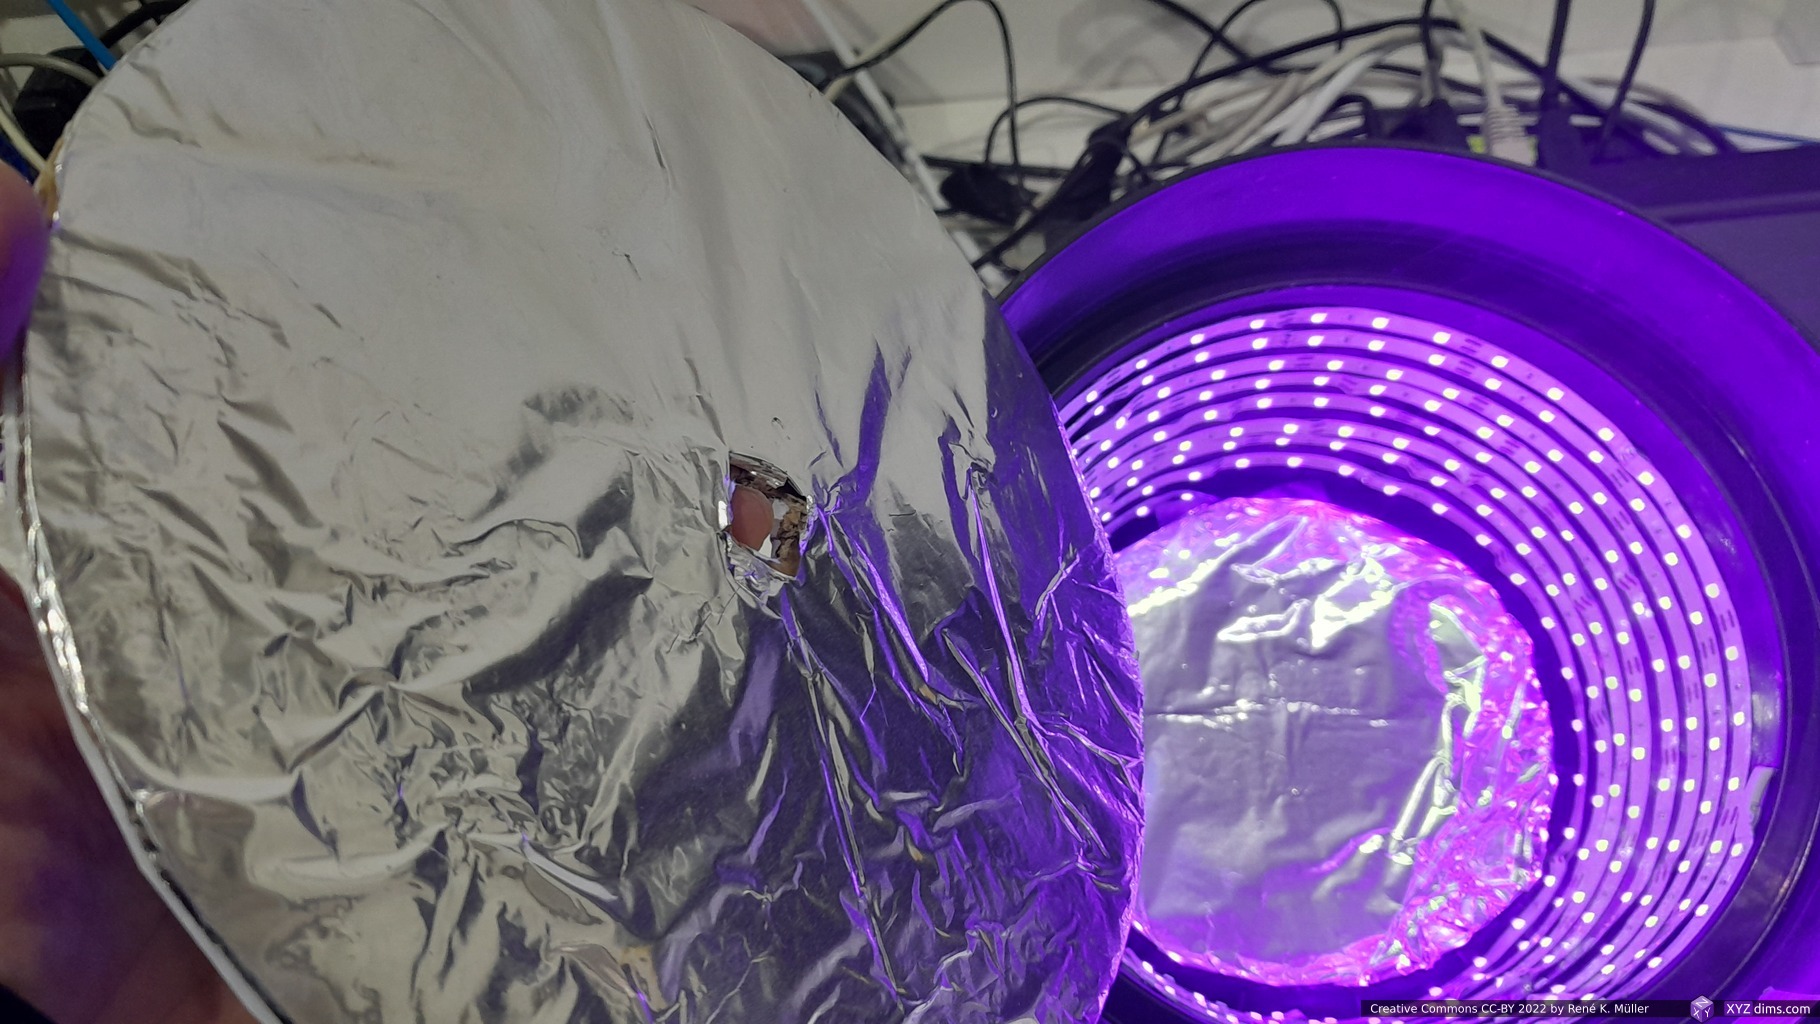
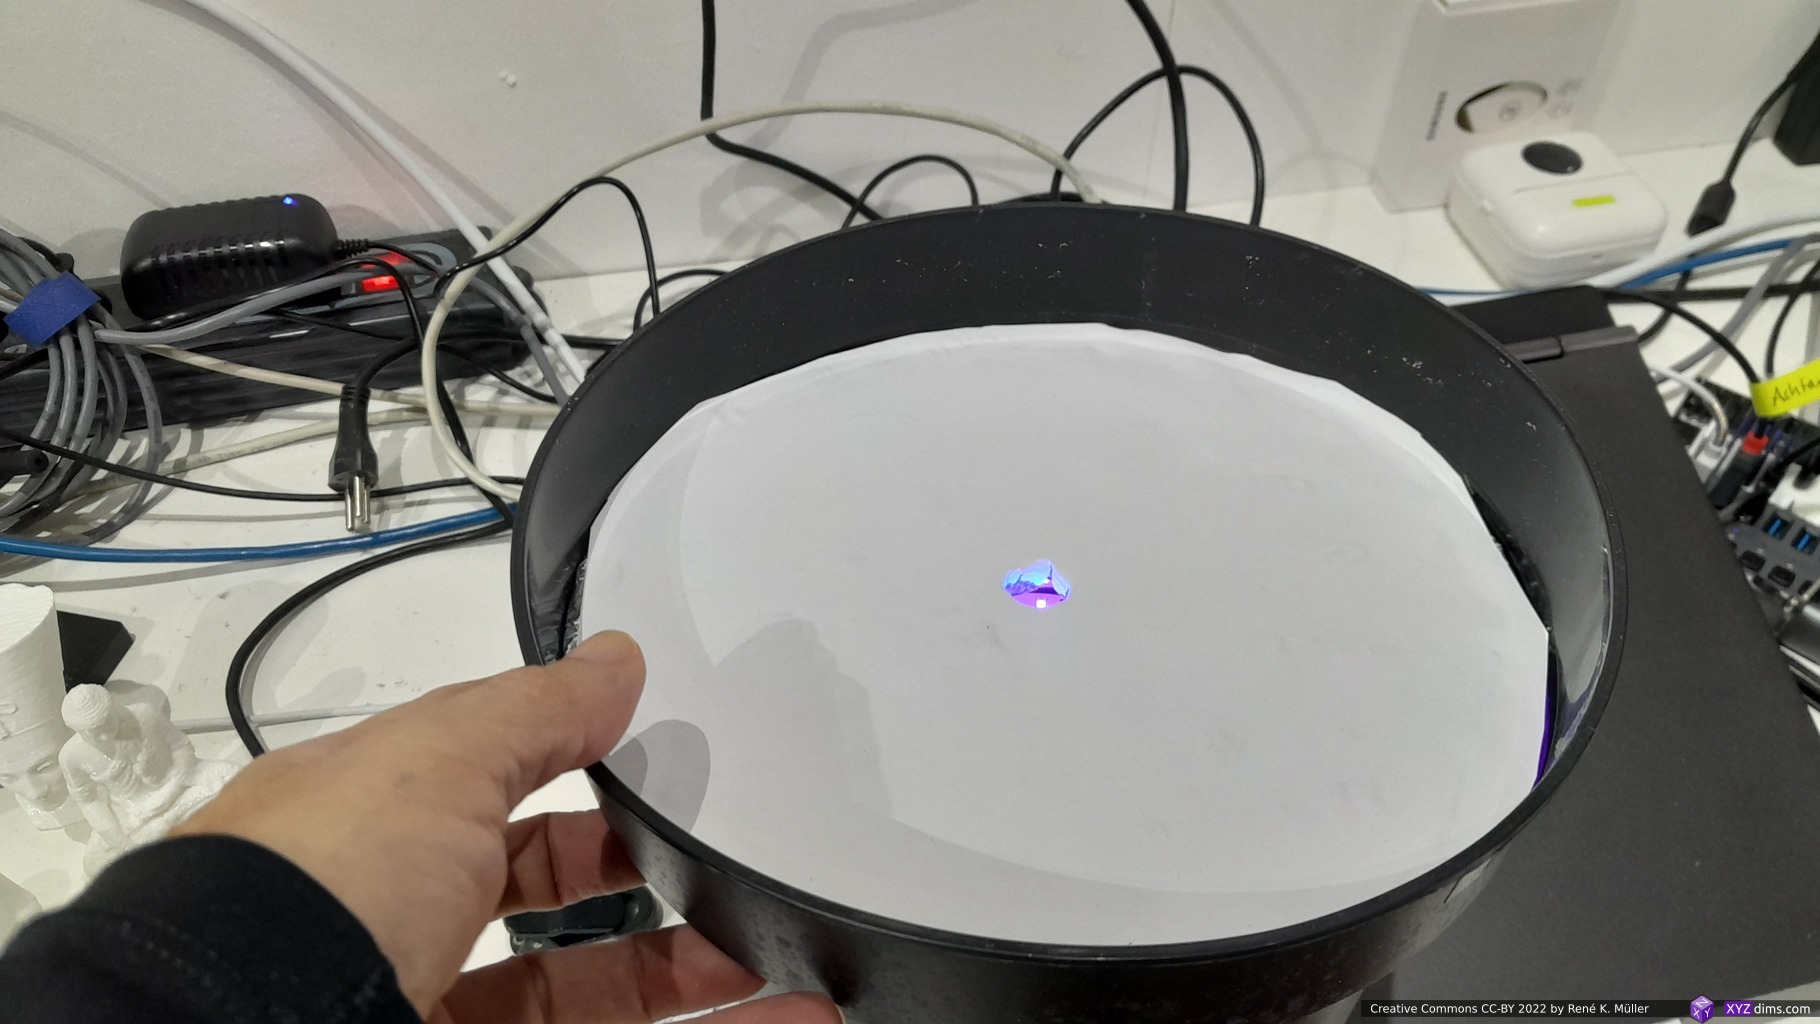
As a start I assembled a simple DIY curing station with a 5m UV LED strip and placed it inside a plastic cup, with some aluminium foil at the bottom and top lid:
I only cure for 4-5mins, longer exposure changes the white resin into yellowish tint, and indicates over curing.
Keeping Resin in the Vat
After a print, the resins needs to be filtered for impurities, such as partial cured pieces not attached to the part, with a funnel and filter into a cup or bottle, and then it can be poured back into the vat ready to print again.
One can leave the resin in the vat for weeks, if you stir the resin short before you print again – stirring the resin within the vat is not ideal, as one has to avoid to scratch or FEP film; yet there is no need to pour resin back into the bottle unless one changes the resin, like the brand or color.
Drip Hook
I remixed an existing drip hook for Photon Mono to fit Photon Mono 4K, and make it easier to slide the bed on and off.
Additionally I’ve got a spring steel build plate 135x80mm with a magnetic base for EUR 10 (2022/12).
This turned out to be a good choice, the removal of the pieces is easy without additional tool.
Caution:
the thickness of the adhesive magnet holding the plate required the optical Z endswitch to recalibrate, instead to move the sensor, I extended the light breaking piece with just a small piece of paper with a drop of glue – it was easier than 3d printing an extender for the entire sensor.
in my case the small handle of the plate scratches on the original vat at the last 3-4mm height, therefore the entire plate needs to be slightly misaligned (just pushing one side while fastening the build plate) so the handle doesn’t touch the vat.
third party Anycubic Mono 4K vat like from Mega/Kingroon have a larger space, and don’t need any fiddling around therefore
the spring steel is sharp, it happened several times the single-use gloves being torn/cut while handling the plate
(One of) My Use Case
After a few days I aimed for the main use case of mine: printing custom pulleys.
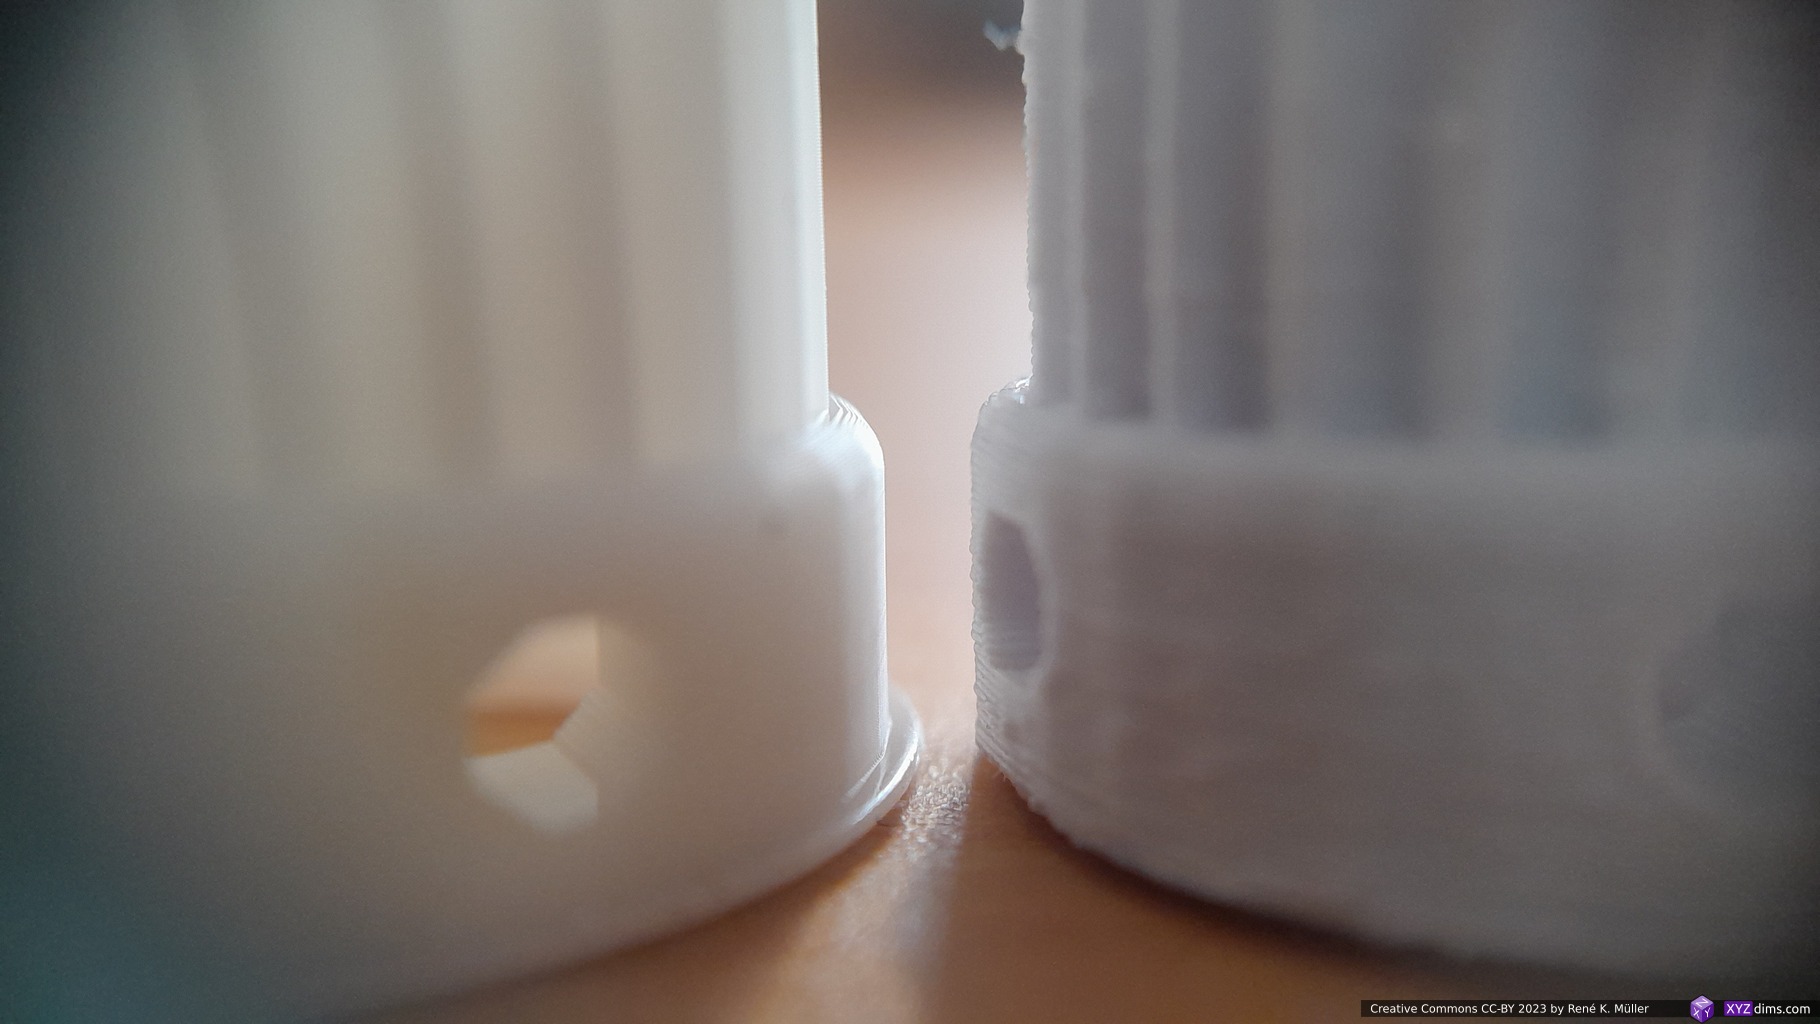
MSLA @ 35μm XY, 50μm Z vs FFF @ 400μm nozzle, 100μm Z
As I printed them with Anycubic Water Wash White Resin without support, the “elephant foot” comes from the first 6 layers being cured for 40s as in my case, and the UV light refracting and curing more than meant to be, but I can neglect this.
16 custom pulleys ID8 20T printed with Anycubic Photon Mono 4K in 1h 30m or 5m30s per piece
MSLA
FDM/FFF
geometrical accuracy
★★★★☆1)
★★★☆☆
surface quality
★★★★☆
★★☆☆☆
mechanical sturdiness
(not yet tested)
★★★☆☆ (PLA)
print time per piece
5m 30s2)
15m
print time for 1 piece
1h 30m
15m
print time for 16 pieces
1h 30m
4h
due the “elephant foot” the Z accuracy was off by 0.8mm, instead of 15.0mm it’s 14.2mm
when printing 16 pieces, it took 1h 30m for printing 15mm in Z, I could have printed ~28 pulleys on 132 x 80mm build plate, bringing print time for a piece down to 3m 10s
Settings
from Anycubic Web-Site (2023/03/12)
My own experience with different resins (to be extended):
Defaults V0.0.11 Firmware V0.11
Defaults V2.0.2 Firmware V0.16
White WATER WASH RESIN (Anycubic)
Clear Water Wash Resin (Resione)
Layer Thickness [μm]
50
50
50
50
Exposure Time [s]
3
2.5
3
2 .. 3
Exposure Off Time [s]
2.5
1
0.5
0.5
Bottom Exposure [s]
50
30
40
40
Bottom Layers
6
6
6
6
Anti-alias
1
1
1
1
Z Lift Distance [mm]
3.0
4.0
6.0
6.0
Z Lift Speed [mm/s]
1.0
1.0
2.0
1.0
Z Retract Speed [mm/s]
1.0
1.0
4.0
1.0
UV Power [%]
100
100
100
50 .. 100
Notes
Distance, Speed & Retract Speed for – [BL] Bottom Layers – [NL] Normal Layers individually definable
– geometrical precise
– soft with 3s exposure – stiffer & brittle with 5s exposure – geometrical not precise (+0.2 .. 0.8mm in XYZ)
Preliminary Review
Pros:
good prints for the price
cost effective
power loss recovery actually works
lot’s of third party replacements (vat, FEP, etc)1)
alternatively Open Source firmware
nearly full reverse engineered hardware
this actually is quite important: popular machine raise a secondary market for replacements: future replacement of parts even when Anycubic ends support
Cons:
newly bought machine had outdated firmware
updated firmware calculates wrong total print time, this is just sloppy
touchscreen unreliable (wrong position) ‘print’ vs ‘delete’, use a soft pencil
slow prints with default settings (1mm/s Z motion), not nearly at 50mm/h height as advertised
Confusing:
slicer print settings are ignored, only settings on the machine matter
advantage: once sliced the .pwma can be printed with different resins and settings changed on the machine only
disadvantage: one has to memorize or document settings for different resins, as it not stored in the .pwma file
Verdict
It’s a low-cost entry level MSLA machine, Anycubic seems to care little about the software (2023/03) as the slicer as well the firmware are Minimal Viable Product (MVP) level, but aren’t mature or reliable at all. Given they sell 500K+ machines per year at least, investing to improve in the firmware would help 500,000 users.
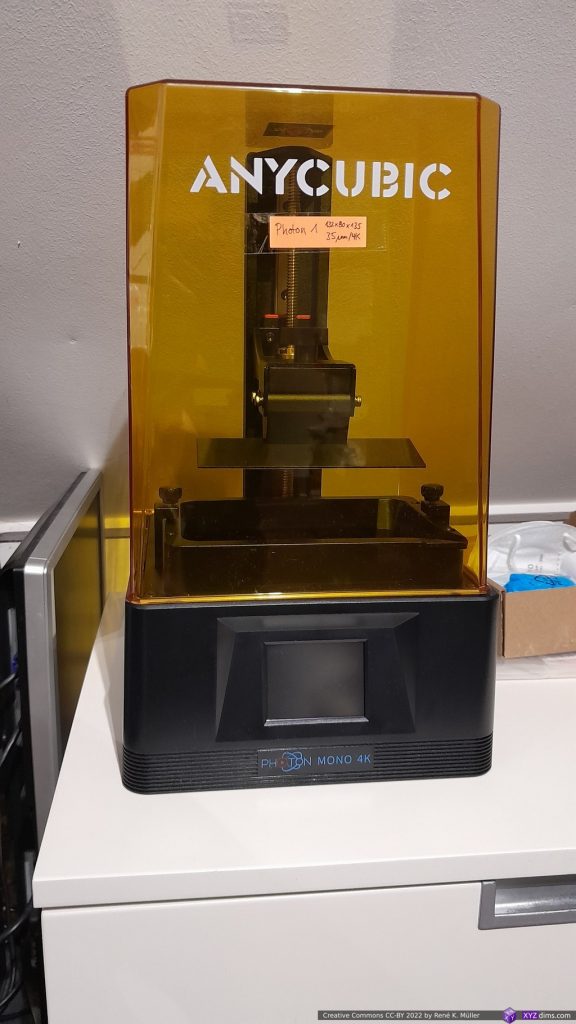
Small anecdote: I bought a pre-owned Mono 4K, becoming “Photon 2”, from official Anycubic store at Ebay directly – the listing said the machine likely would miss some parts – but I felt to get some more in-depth experience, and I’ve got what I asked for: the machine came dirty with resin all over, no power-supply, no build-plate, no vat, and cured resin between LCD and underlying (acryl-)glass, spent EUR 120+ for replacement parts, and 10+ hrs cleaning it to get it in working condition again. From a cost saving point of view not worth it, but experience wise it was good to get to know the machine more thoroughly.
Resin Printer Value Comparison
A numeric value summarization for features I care about, the rough & simple formula:
XY Area [mm2] / Price [EUR] / XY Resolution [μm]
The bigger the XY area, the smaller the price and the smaller the resolution, the higher the value:
Formlabs 3’s & EMake SLA printers use a laser beam which has 100μm in diameter, but it can be positioned 25μm exact, the latter was used to calculate the value
The UV pixels are non-square, the longer side was used to calculate the value
Elegoo Jupiter 2 advertised the Z build volume as 300mm, it can print but you can’t remove it afterward, so it’s rather 275mm.
The XY area in SLA scales not as good as with MSLA, as the laser beam takes longer the more XY area (e.g. more pieces) need to be rendered per layer – so, MSLA is recommended for aiming fast parallel printing. Interestingly Formlabs 4 is now a MSLA as well (2024/04), they seem to have abandoned the SLA laser-based approach.