Updates:
- 2021/05/01: 0.0.7: support legacy Cura and
--binary=..to change binary name - 2021/03/24: 0.0.5: public release
Introduction
I’m a great admirer of the Ultimaker Cura slicer since years, yet I predominantly have been using CuraEngine on the command-line via Print3r, which hides all the tedious configuration. But it came the point (2021/03) when I needed to have a simpler interface than CuraEngine – hence I wrote Cura CLI Wrapper, the executable cura-slicer looks like prusa-slicer or slic3r and has similar usage.
Speciality is to query all the settings from cura-slicer directly:
% cura-slicer --help
acceleration_enabled = 0 (default)
acceleration_infill = 3000 [mm/s²] (default)
acceleration_ironing = 3000 [mm/s²] (default)
acceleration_layer_0 = 3000 [mm/s²] (default)
acceleration_prime_tower = 3000 [mm/s²] (default)
acceleration_print = 3000 [mm/s²] (default)
acceleration_print_layer_0 = 3000 [mm/s²] (default)
acceleration_roofing = 3000 [mm/s²] (default)
acceleration_skirt_brim = 3000 [mm/s²] (default)
acceleration_support = 3000 [mm/s²] (default)
acceleration_support_bottom = 3000 [mm/s²] (default)
acceleration_support_infill = 3000 [mm/s²] (default)
acceleration_support_interface = 3000 [mm/s²] (default)
acceleration_support_roof = 3000 [mm/s²] (default)
...
which lists ~570 settings as of CuraEngine 4.4.1 and its defaults and from where the defaults come from (definition defaults, config or cli), and you can query also a term e.g. like ‘brim’:
% cura-slicer --help brim
acceleration_skirt_brim = 3000 [mm/s²] (default)
brim_gap = 0 [mm] (default)
brim_line_count = 0 (config)
brim_outside_only = 1 (default)
brim_replaces_support = 1 (default)
brim_width = 8 [mm] (default)
jerk_skirt_brim = 20 [mm/s] (default)
prime_tower_brim_enable = 0 (default)
skirt_brim_line_width = 0.4 [mm] (default)
skirt_brim_material_flow = 100 [%] (default)
skirt_brim_minimal_length = 250 [mm] (default)
skirt_brim_speed = 30 [mm/s] (default)
support_brim_enable = 0 (default)
support_brim_line_count = 20 (default)
support_brim_width = 8 [mm] (default)
and with -v switch you even get a more descriptive output:
% cura-slicer --help brim -v
== acceleration_skirt_brim (Skirt/Brim Acceleration) ==
   The acceleration with which the skirt and brim are printed. Normally this is done with the initial layer acceleration, but sometimes you might want to print the skirt or brim at a different acceleration.
   acceleration_skirt_brim = 3000 [mm/s²] (default)

== brim_gap (Brim Distance) ==
   The horizontal distance between the first brim line and the outline of the first layer of the print. A small gap can make the brim easier to remove while still providing the thermal benefits.
   brim_gap = 0 [mm] (default)

== brim_line_count (Brim Line Count) ==
   The number of lines used for a brim. More brim lines enhance adhesion to the build plate, but also reduces the effective print area.
   brim_line_count = 0 (config)

== brim_outside_only (Brim Only on Outside) ==
   Only print the brim on the outside of the model. This reduces the amount of brim you need to remove afterwards, while it doesn't reduce the bed adhesion that much.
   brim_outside_only = 1 (default)
....
Essentially it makes Cura and CuraEngine easy to use on the command-line and provides a way to learn of the hundreds of settings available.
Usage
USAGE Cura-Slicer 0.0.7 aka Cura-CLI-Wrapper (CuraEngine 4.4.1): [<opts>] <file.stl> ...
   options:
      -v or --verbose         increase verbosity
      -vv or --verbose=2          "       "
      --version               display version of this program and exit
      --load=<config>         load config file
      --load <config>           "         "
      --output=<fn>           set output filename
      --output <fn>             "         "
      -o <fn>                   "         "
      --binary=<exe>          set executable of CuraEngine (default: CuraEngine)
      --version=<v>           set version of CuraEngine (default: 4)
      --<k>=<v>               set CuraEngine settings (keys with '-' will be converted to '_')
      -h or --help            display all settings
      -h or --help <term> ..  display settings matching term

   examples:
      cura-slicer --help
      cura-slicer --help retract
      cura-slicer -hv retract
      cura-slicer sphere.stl
      cura-slicer overhang.stl --output=sample.gcode
      cura-slicer overhang.stl --layer-height=0.1 --support-enable=true -o sample.gcode
Settings
The user settings reside in ~/.config/cura-slicer/base.ini and will not be overwritten when upgrading Cura-CLI-Wrapper, make your changes there.
The system-wide settings reside in /usr/share/cura-slicer/base.ini and should not be be changed as it will be overwritten when upgrading Cura-CLI-Wrapper.
Download
https://github.com/Spiritdude/Cura-CLI-Wrapper
Examples
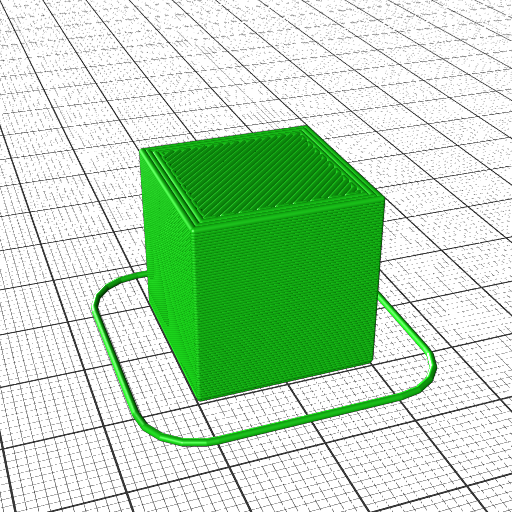
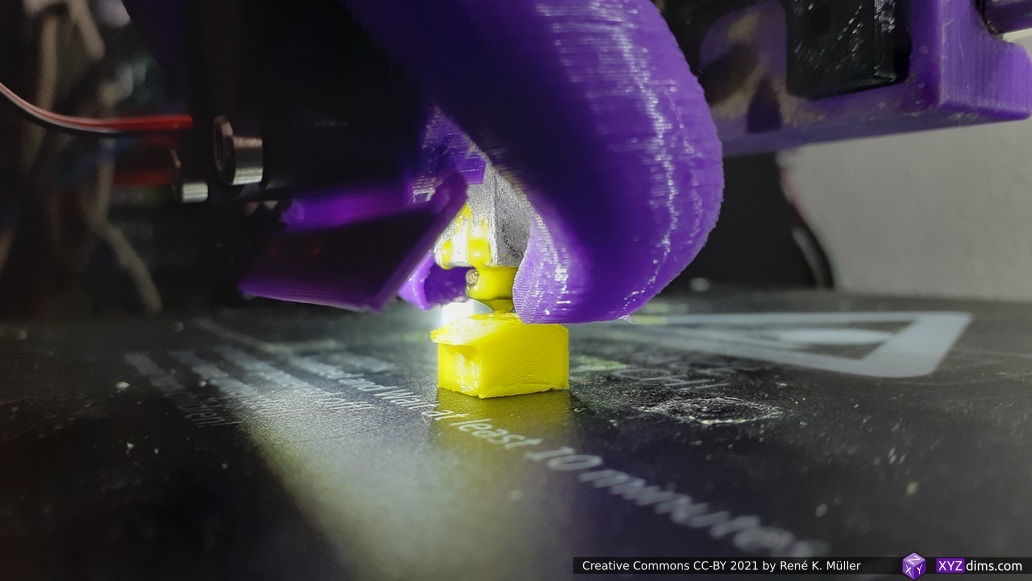
% cura-slicer cube.stl
== Cura-Slicer 0.0.3 aka Cura-CLI-Wrapper (CuraEngine 4.4.1) ==
processing cube.stl, slicing to cube.gcode
took 0.62 secs total, done.
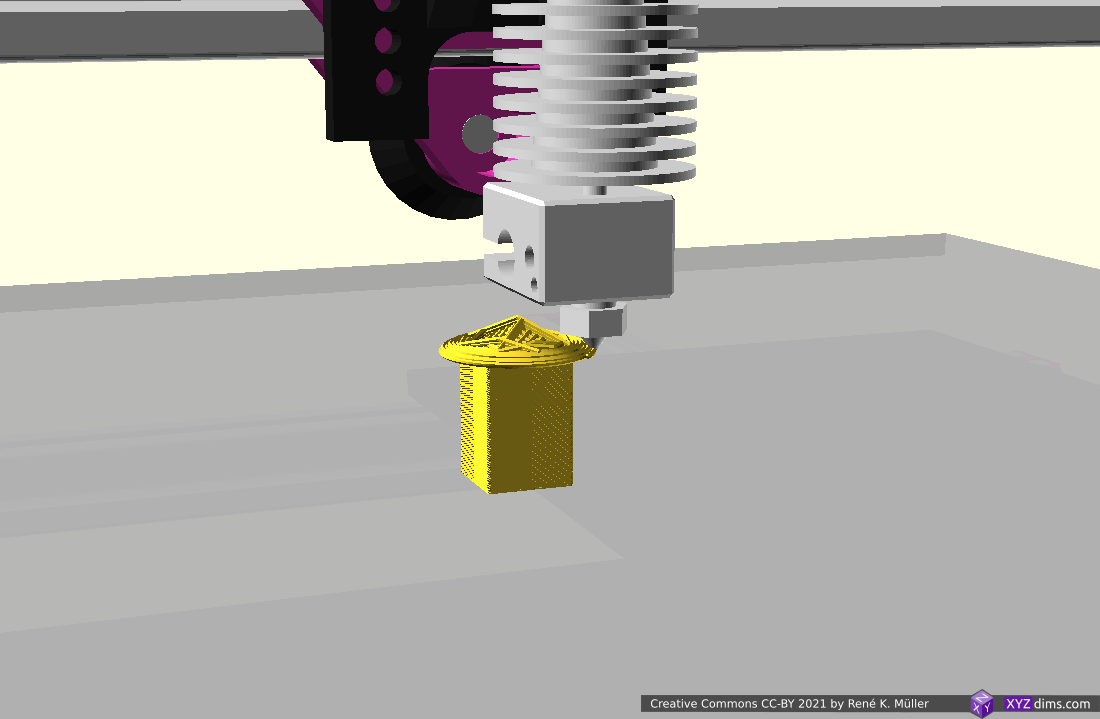
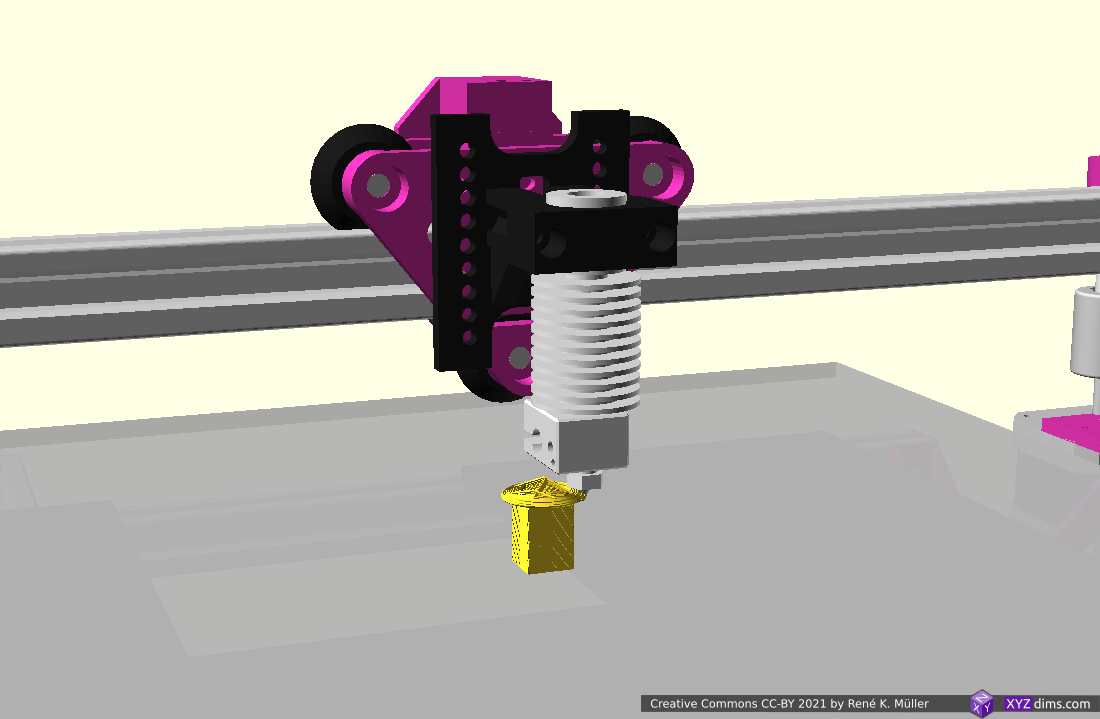
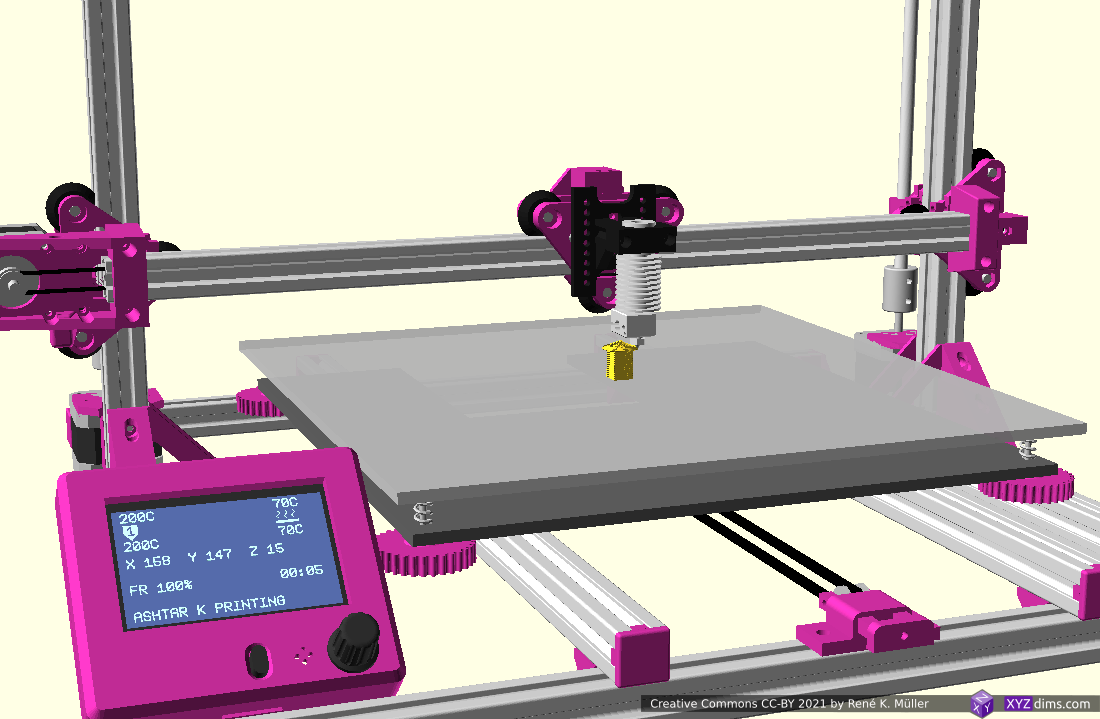
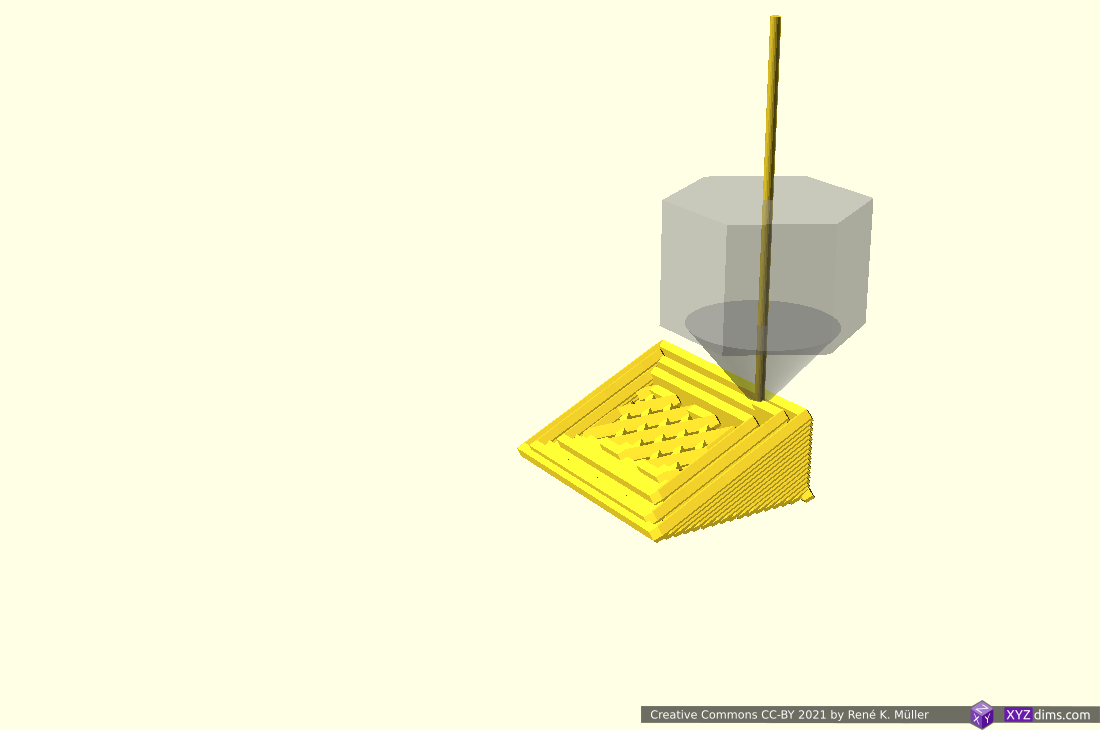
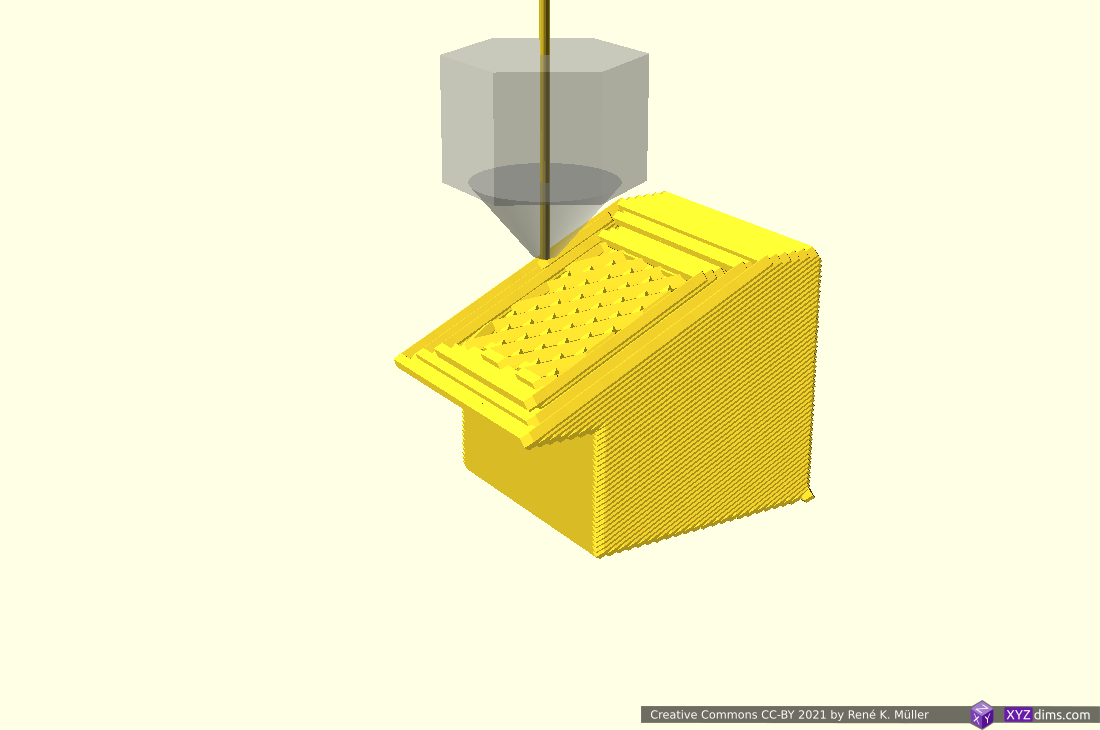
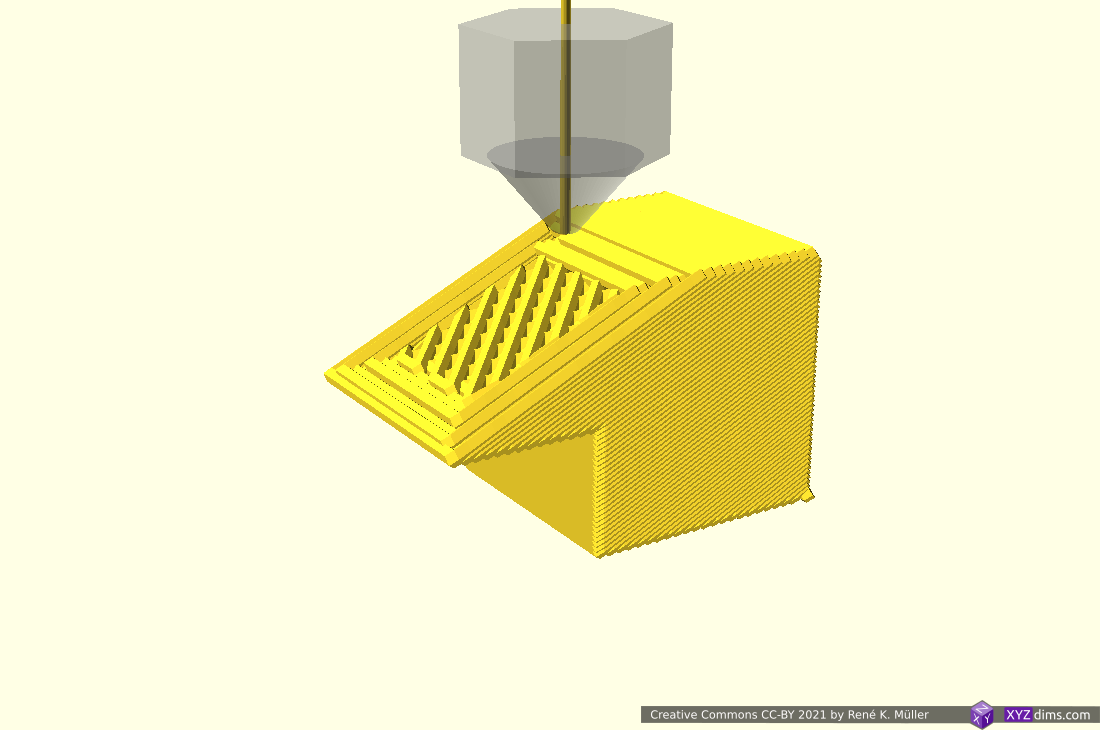
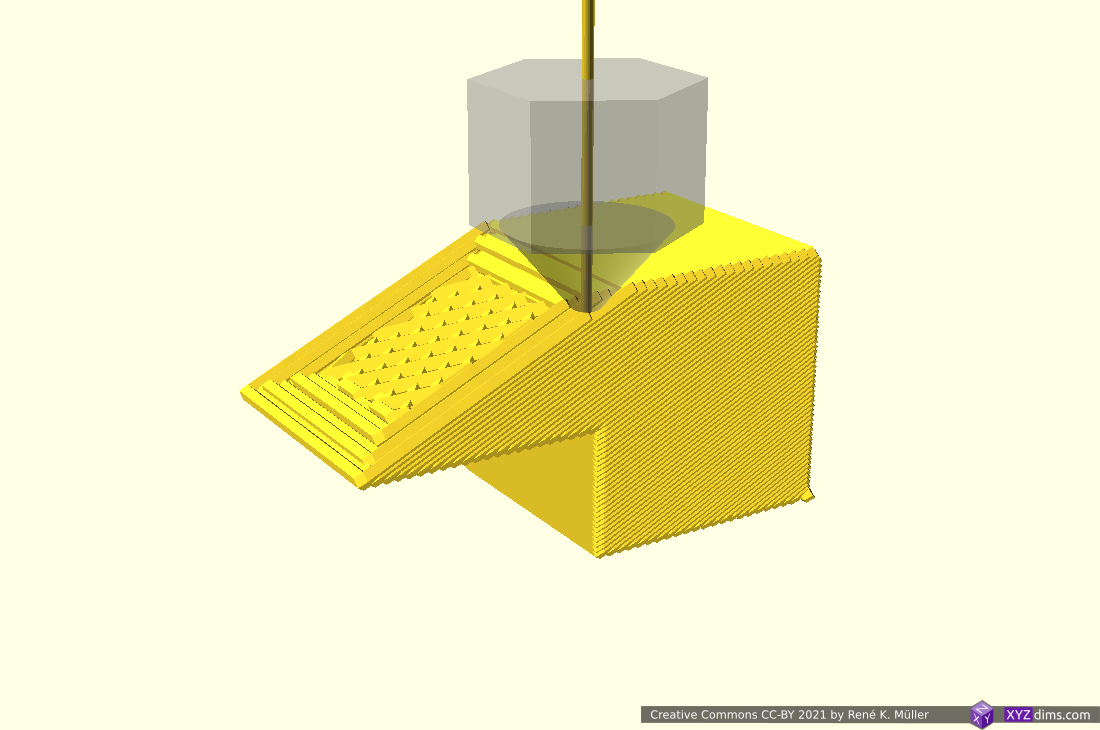
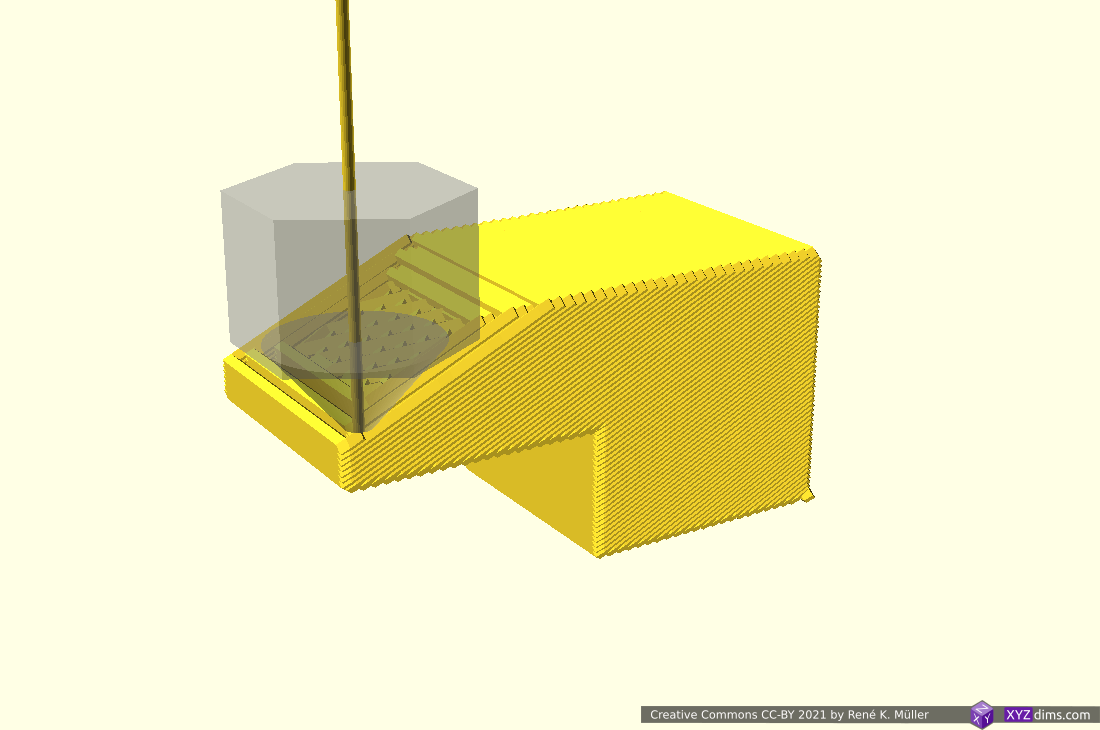
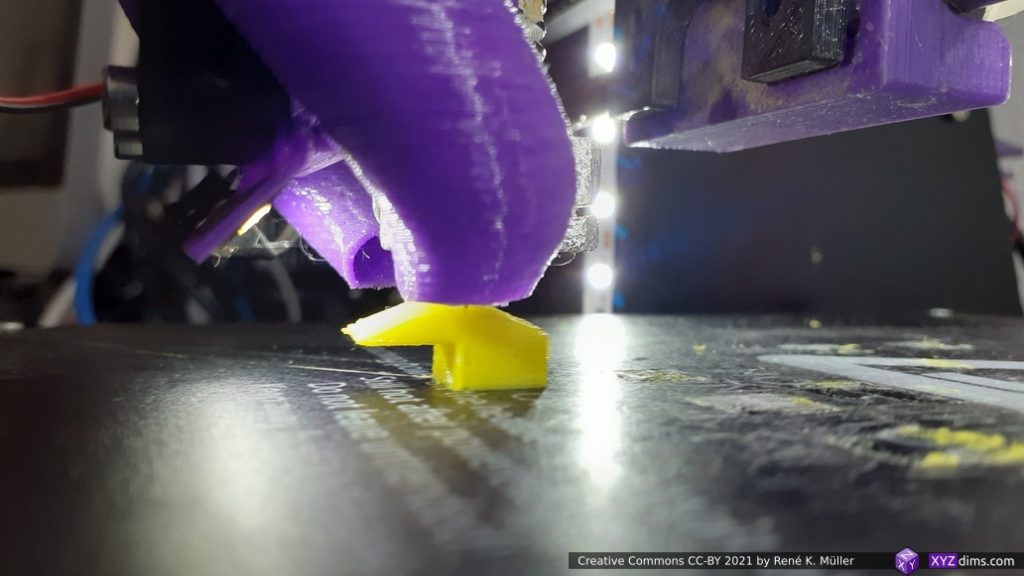
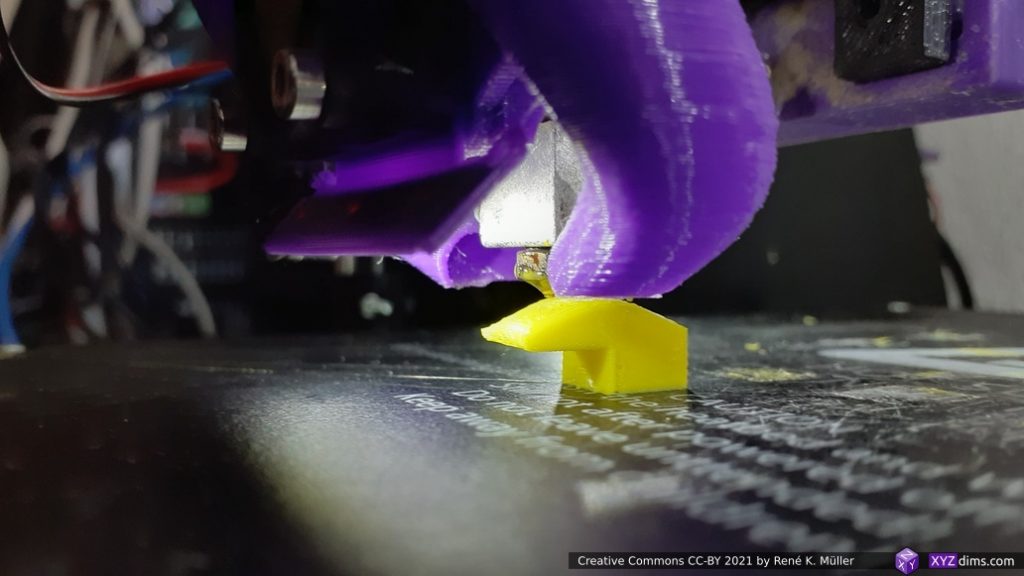
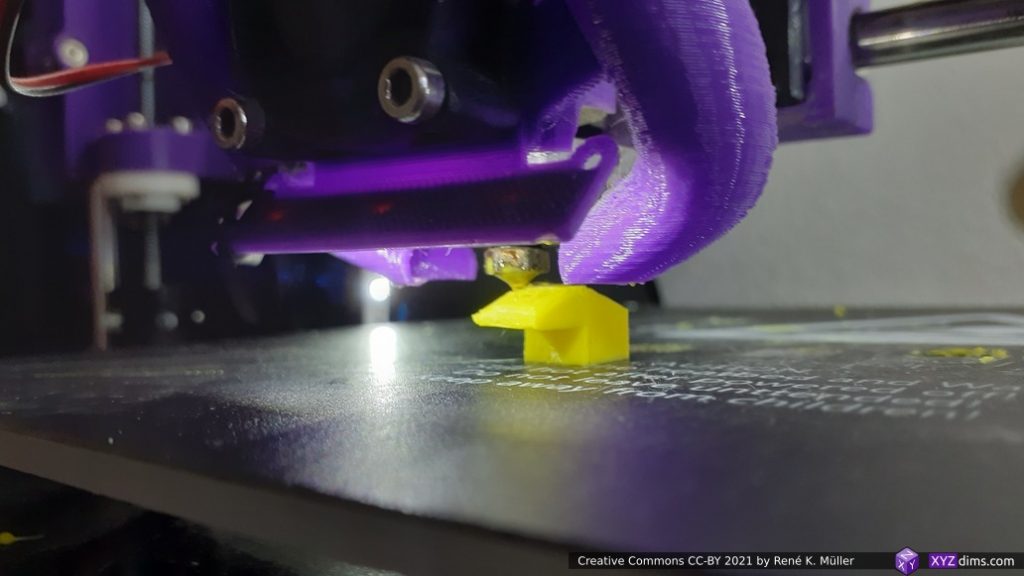
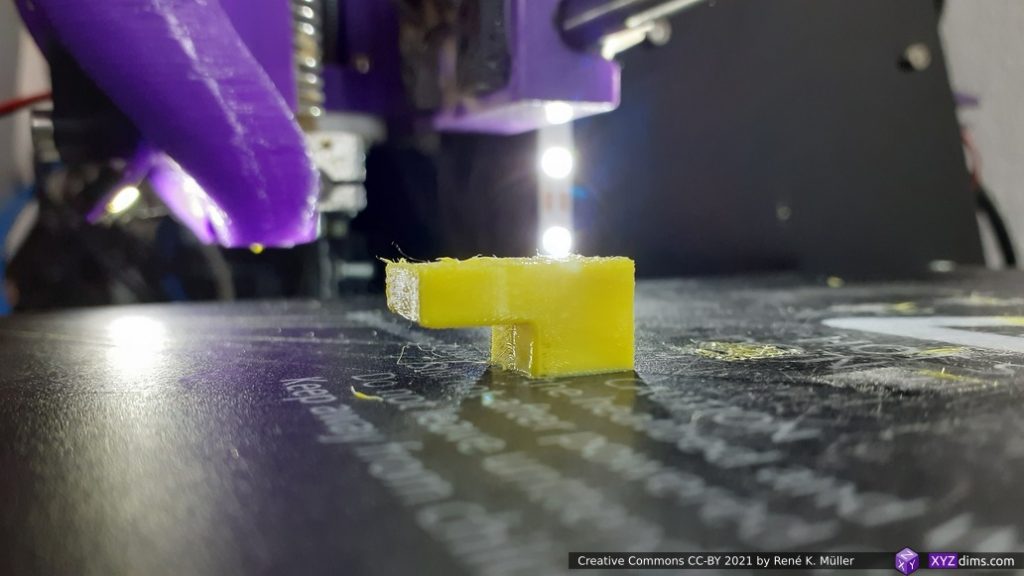
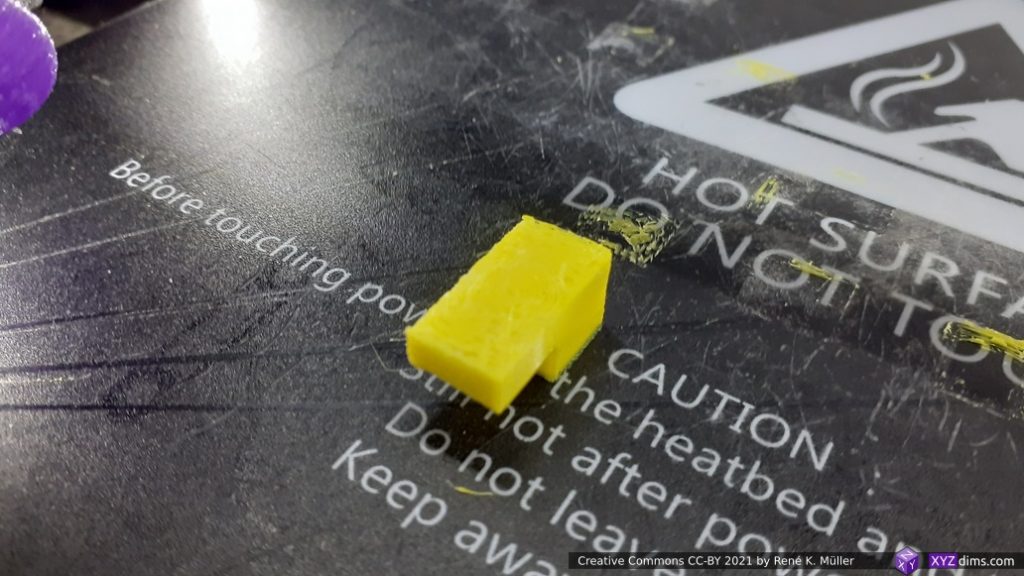
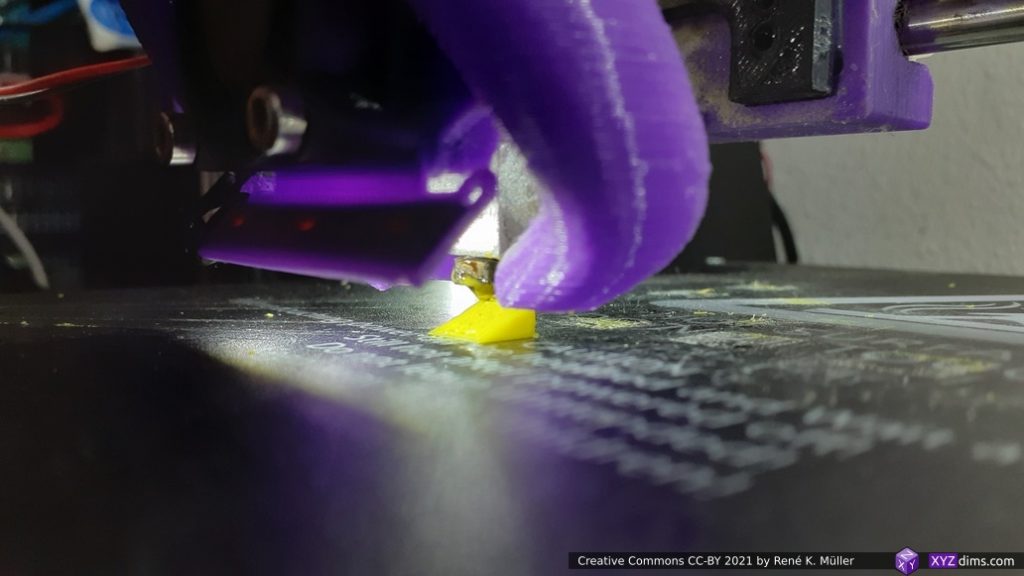
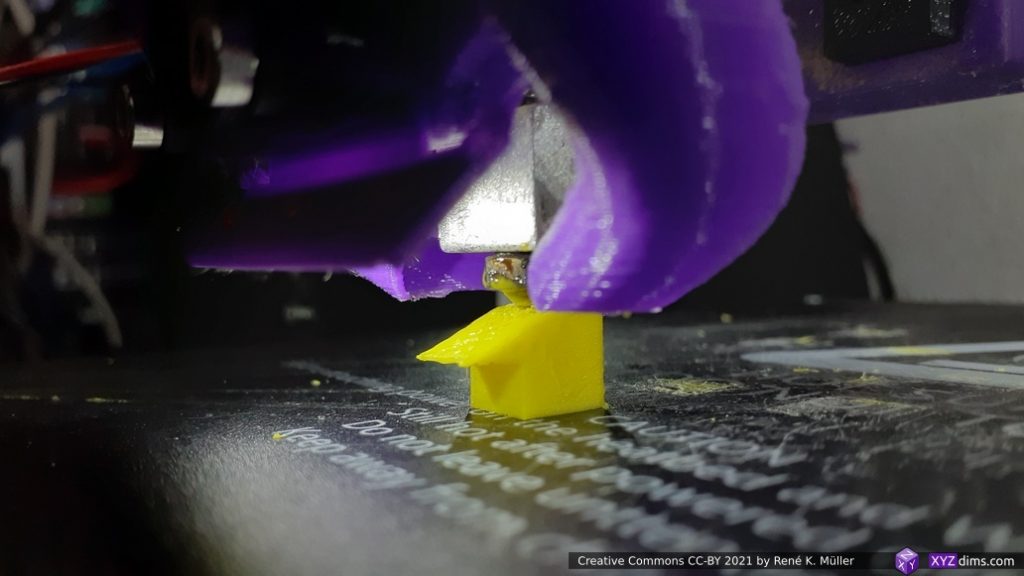
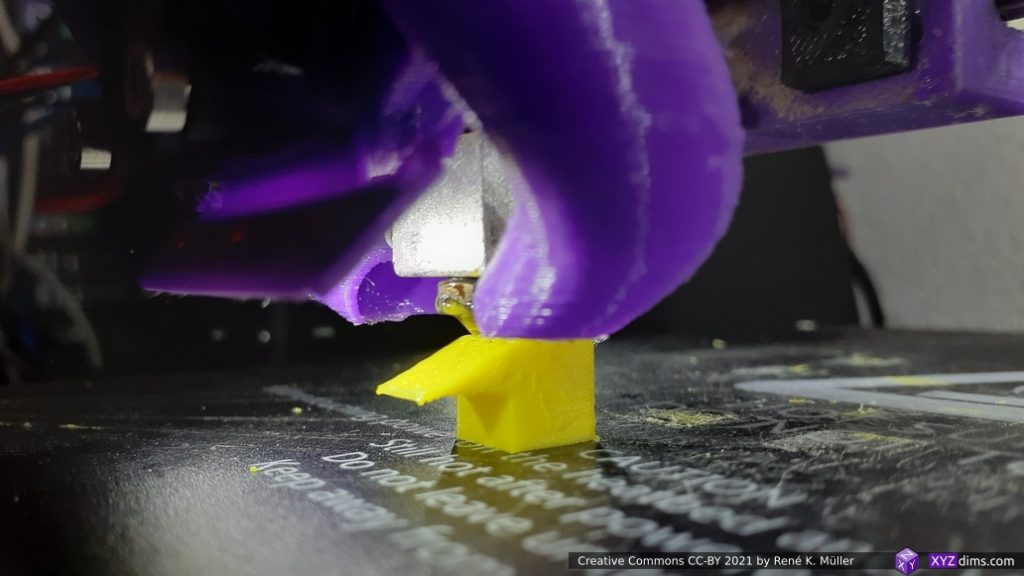
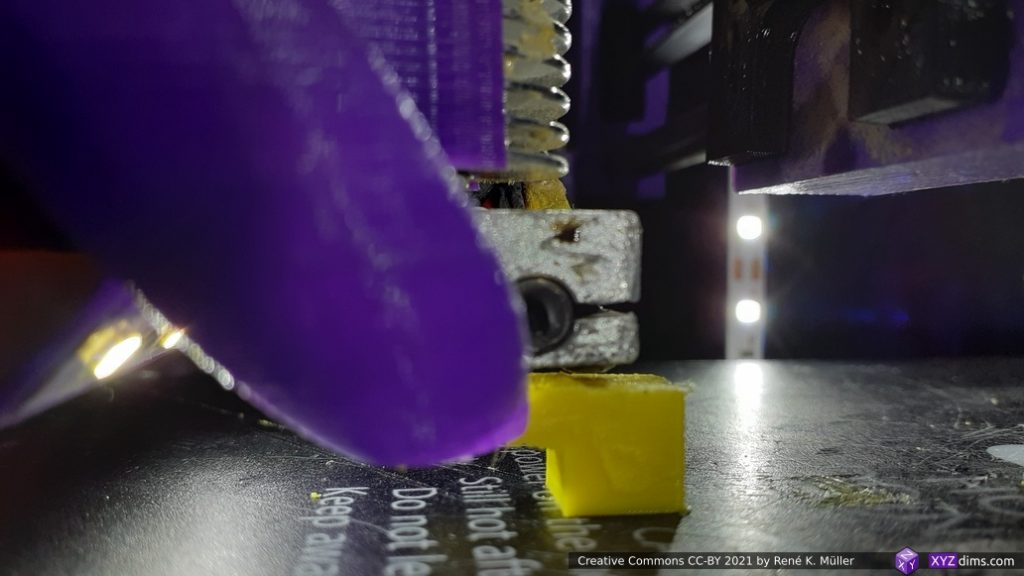
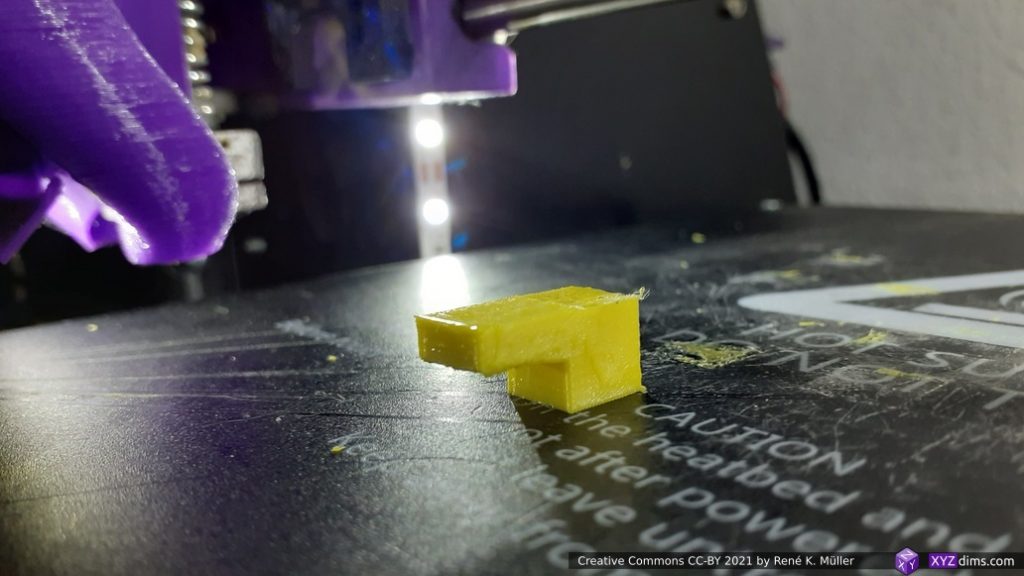
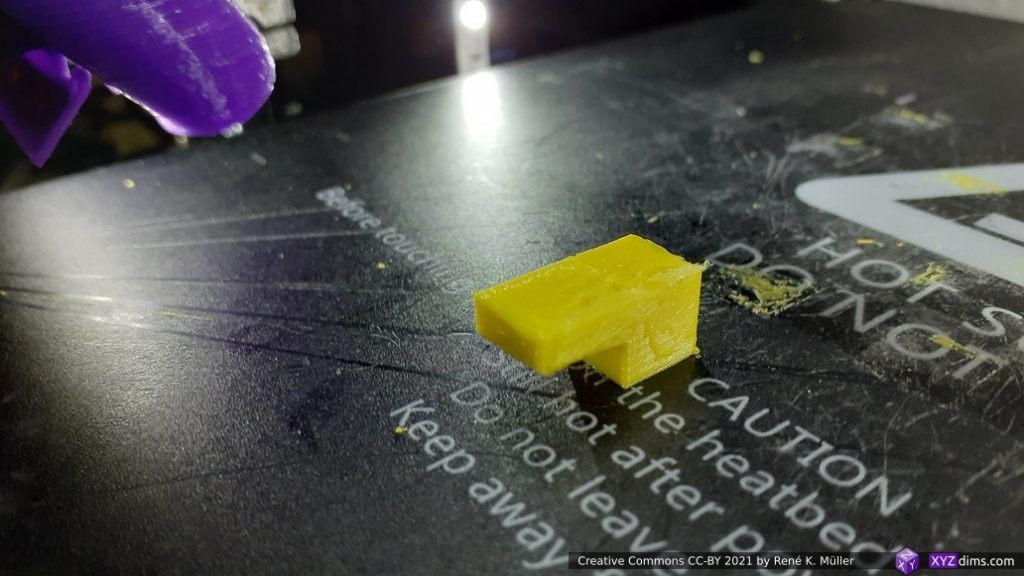
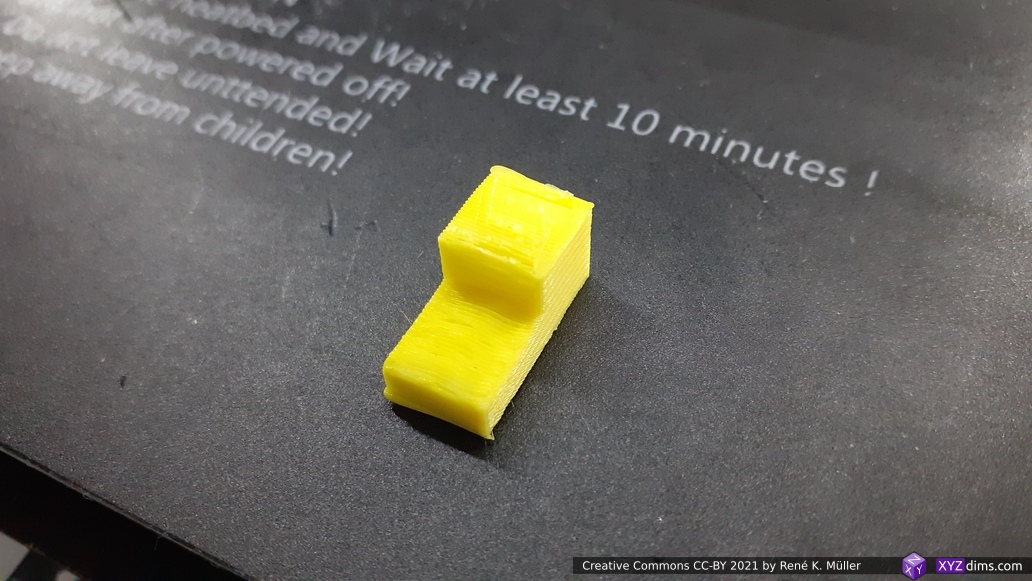
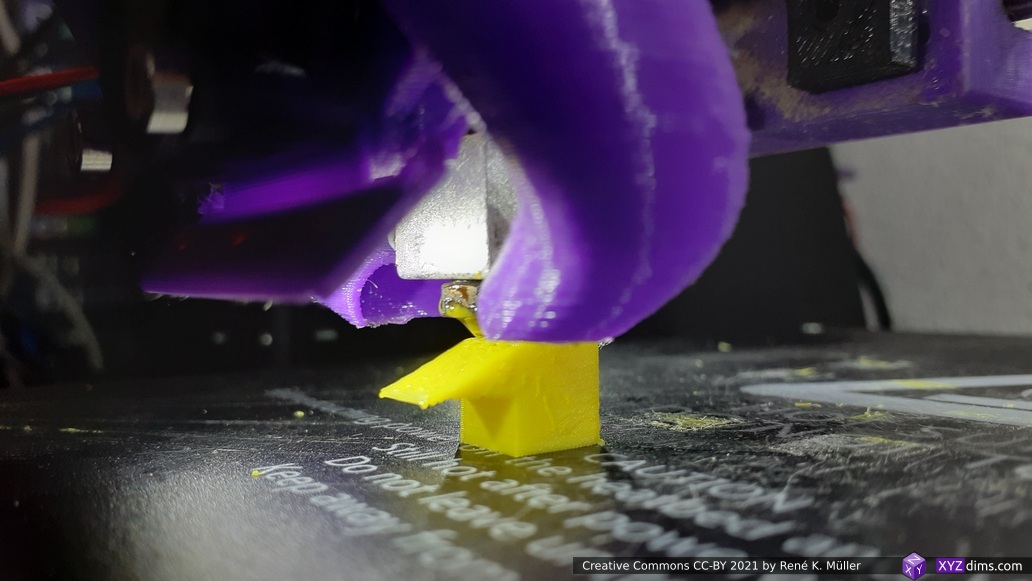
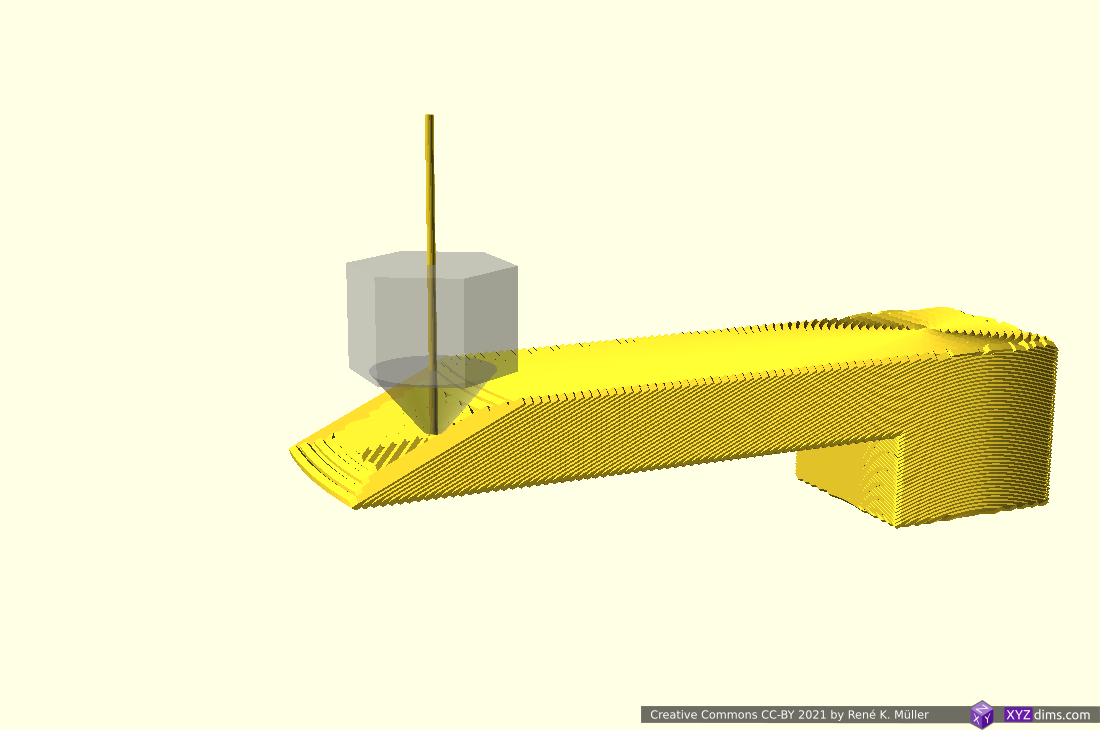
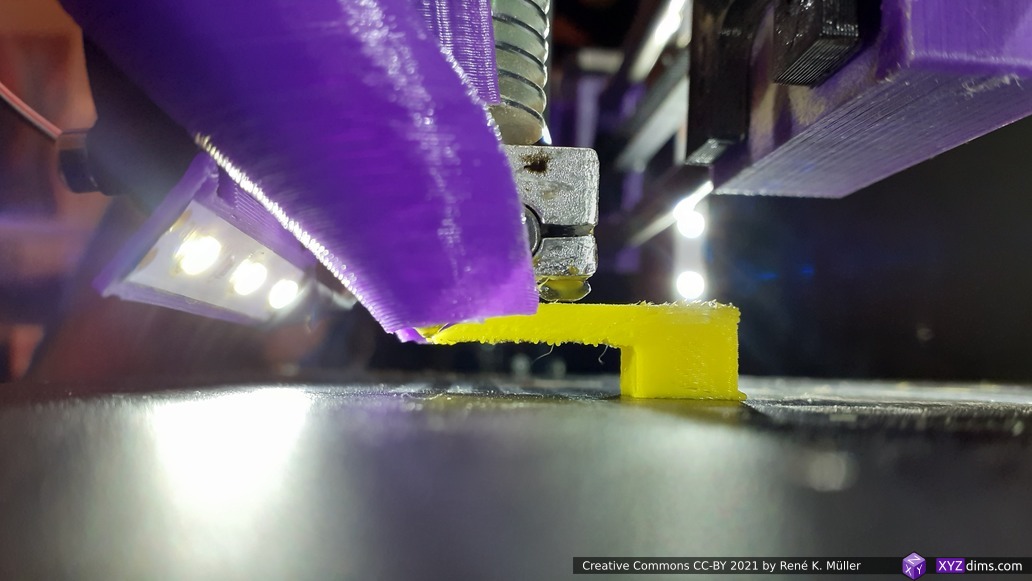
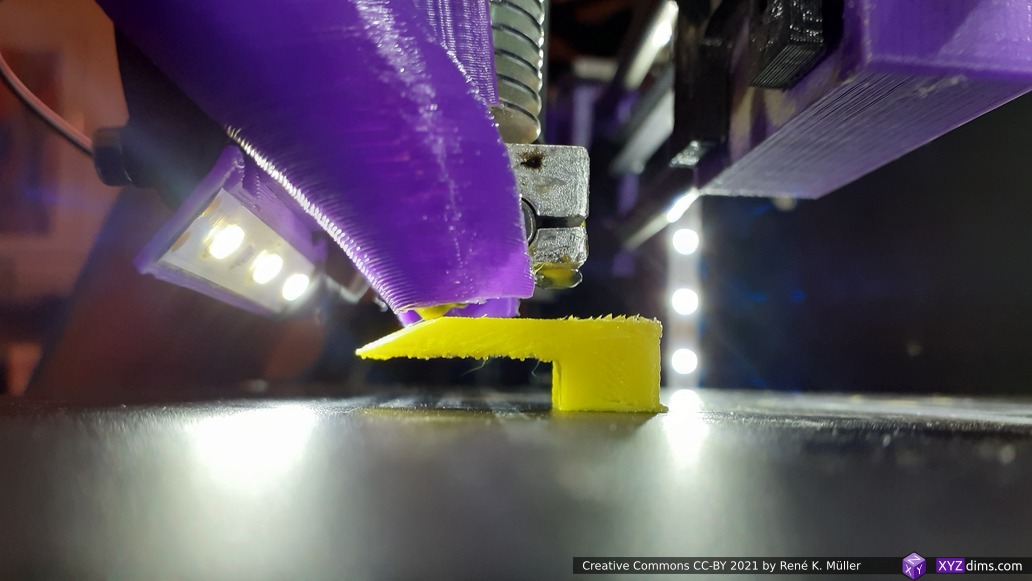
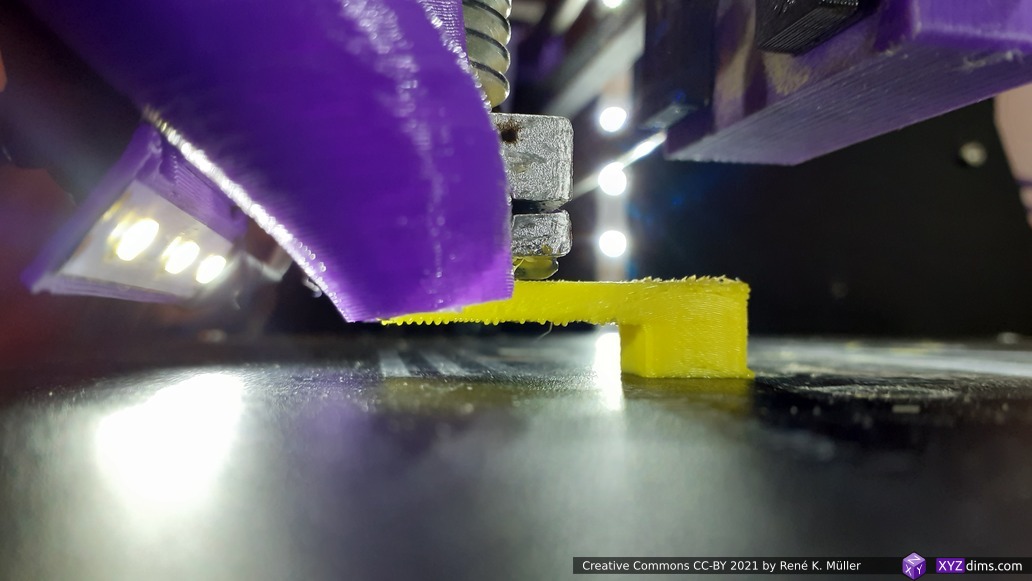
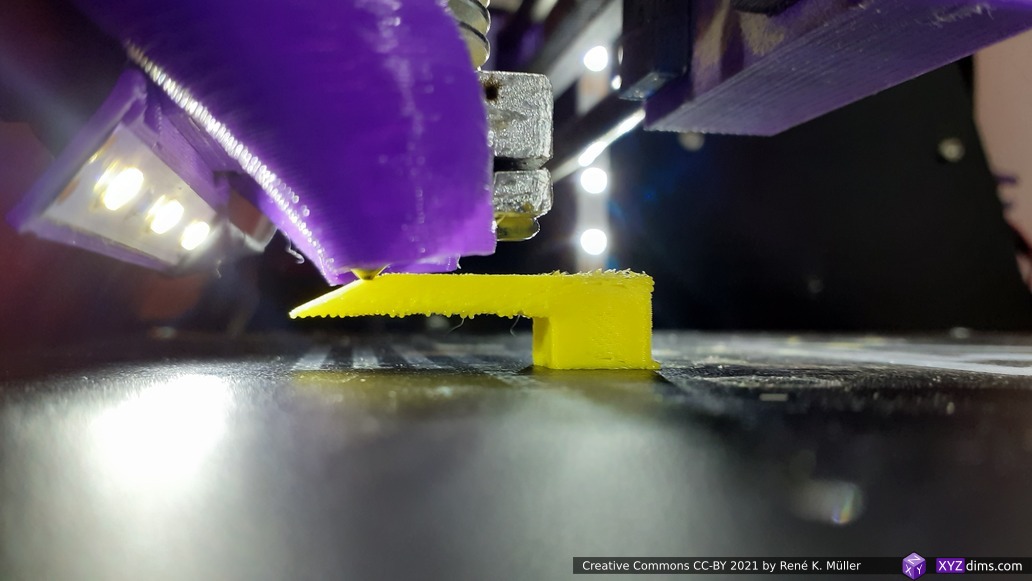
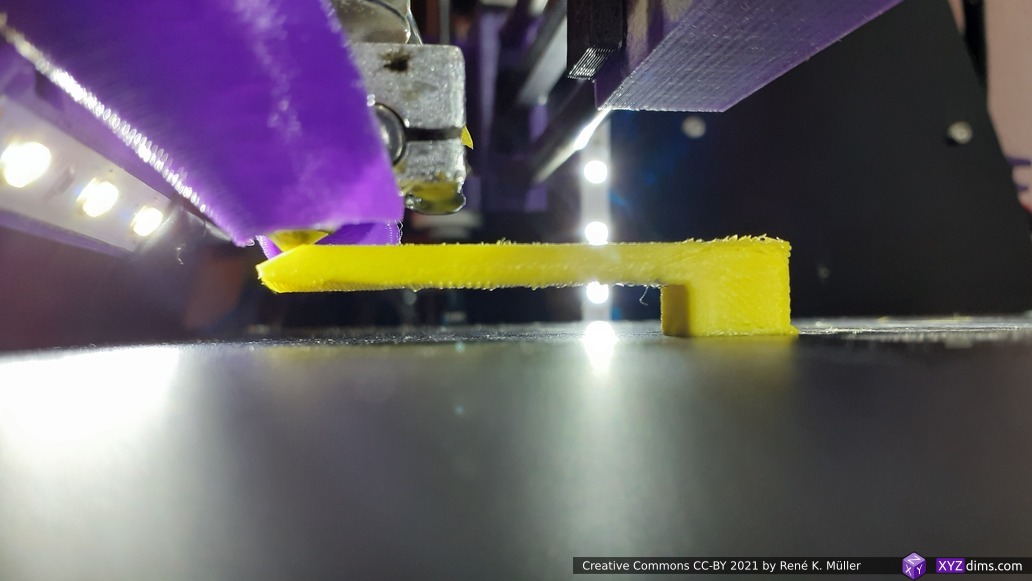
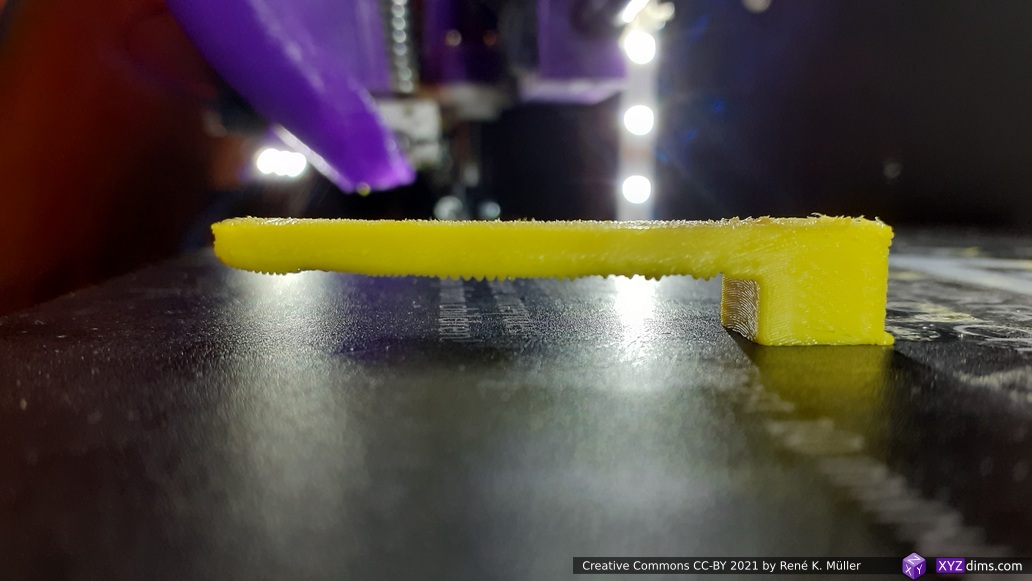
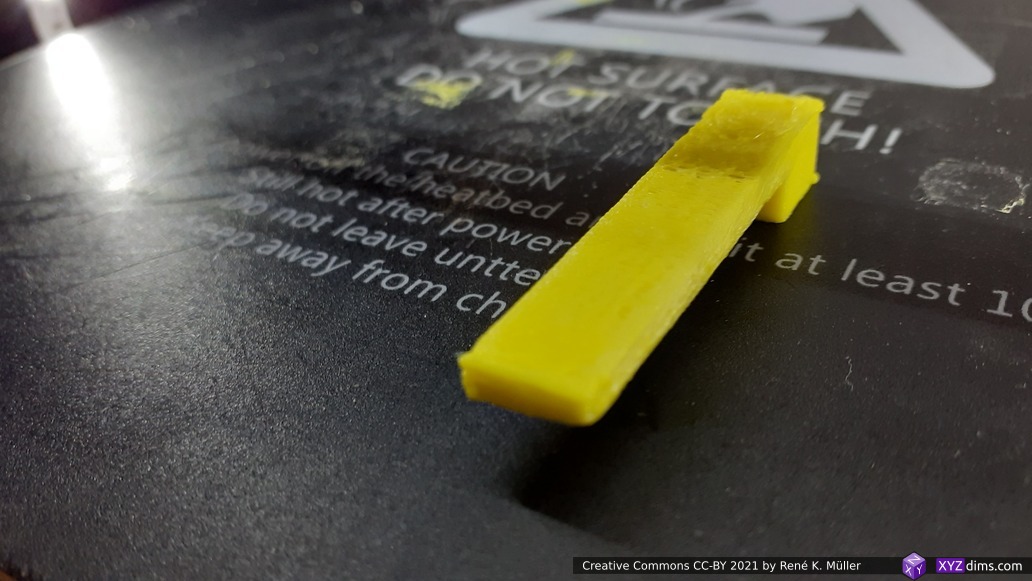
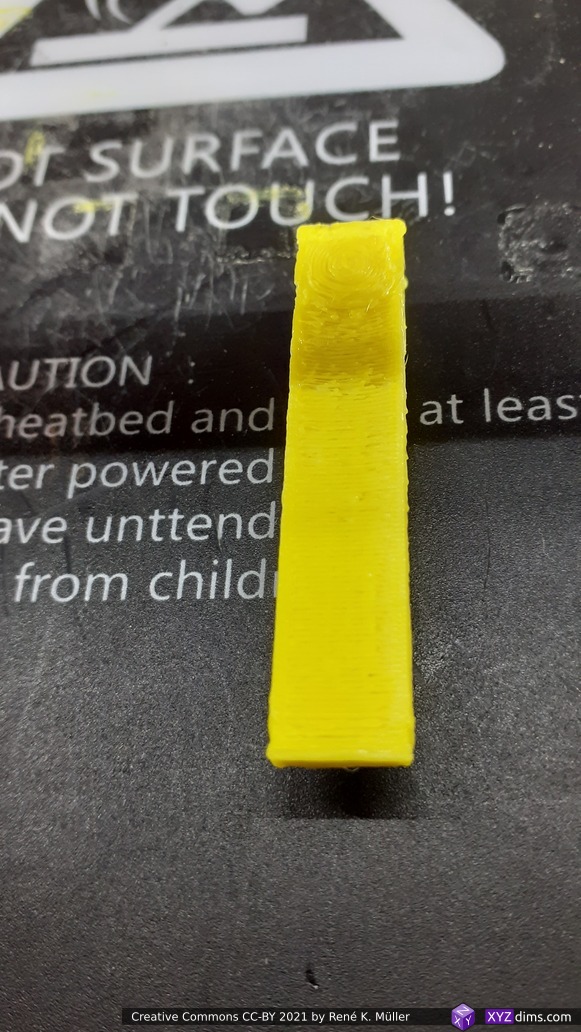
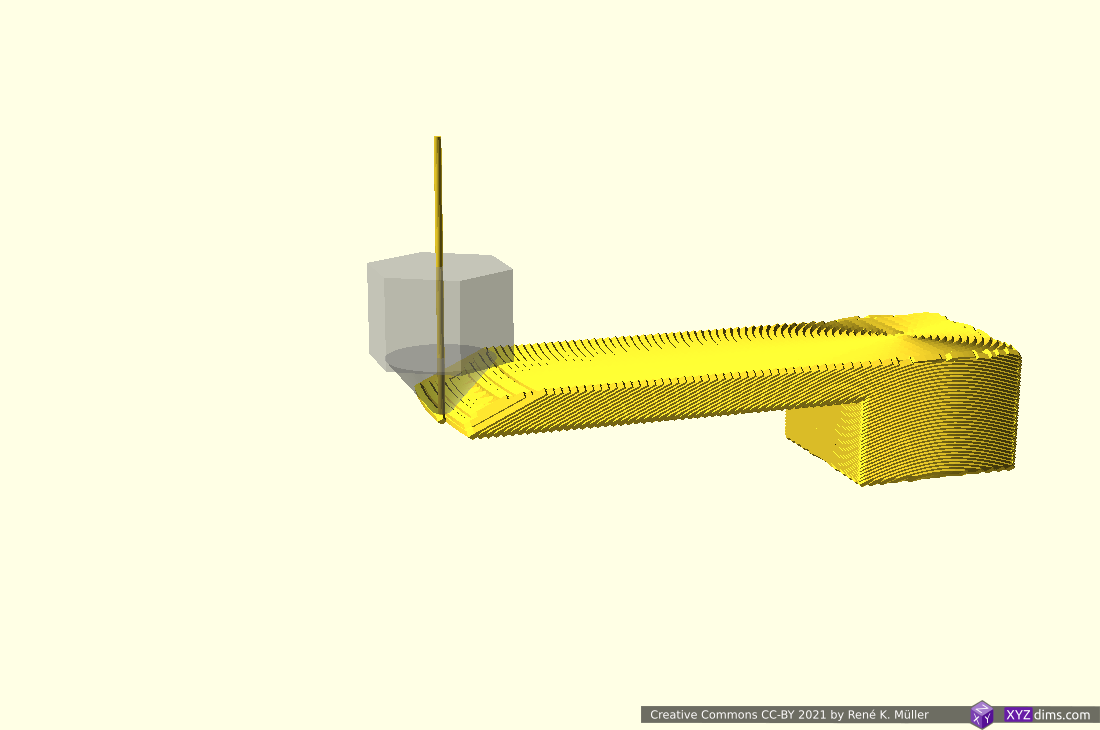
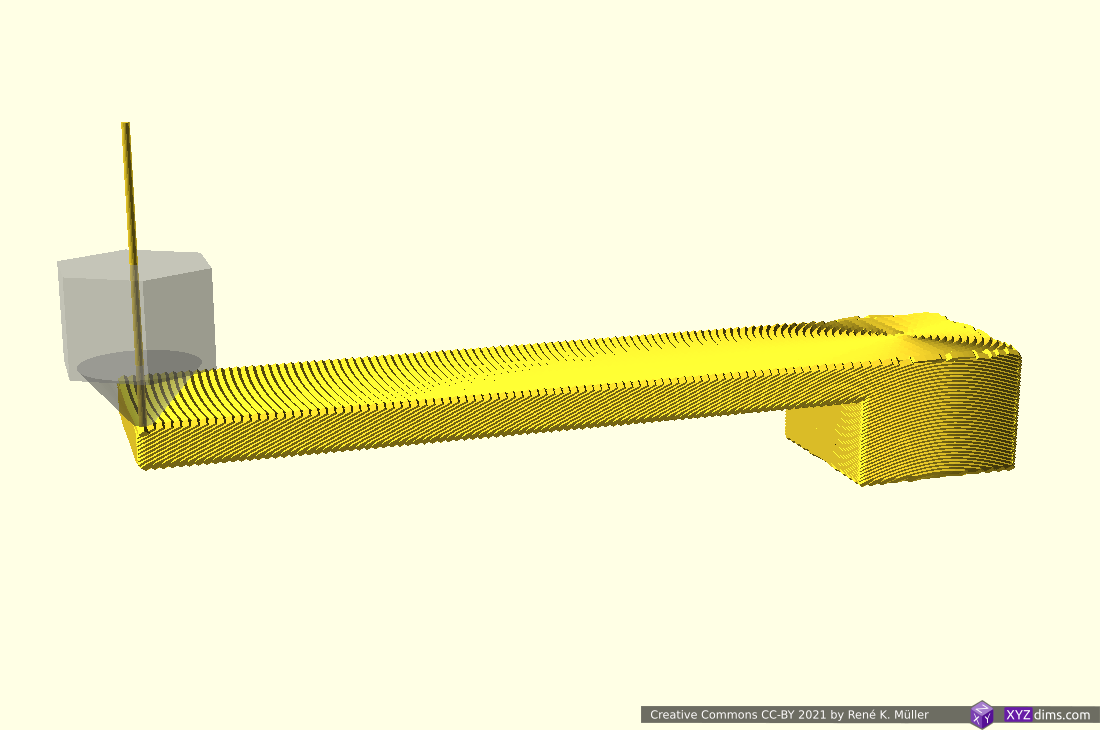
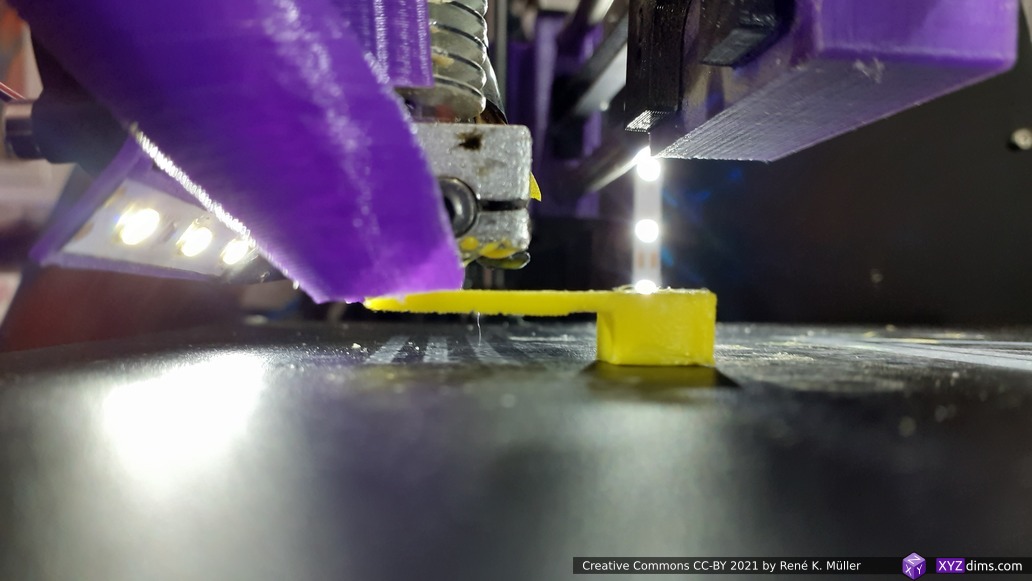
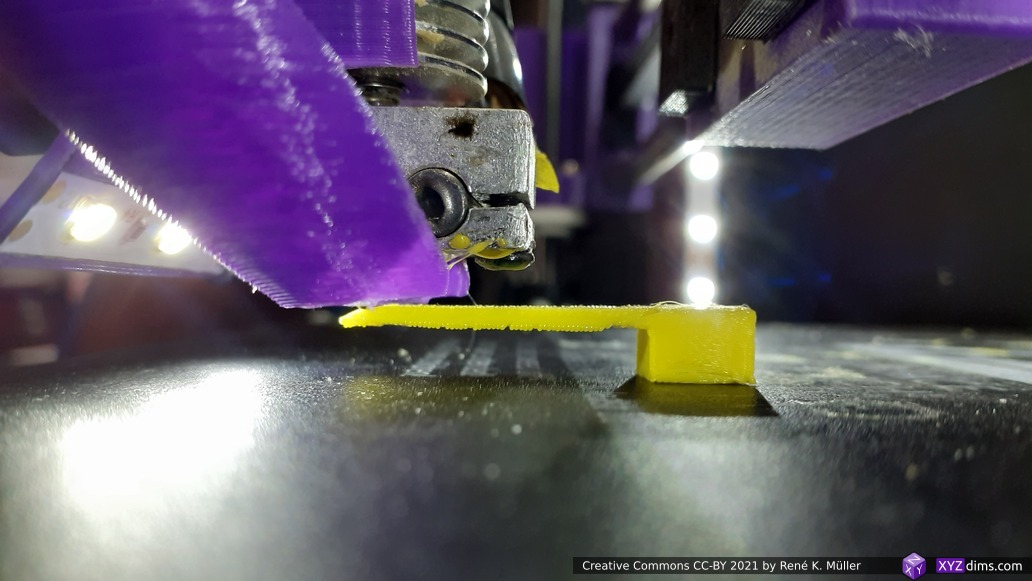
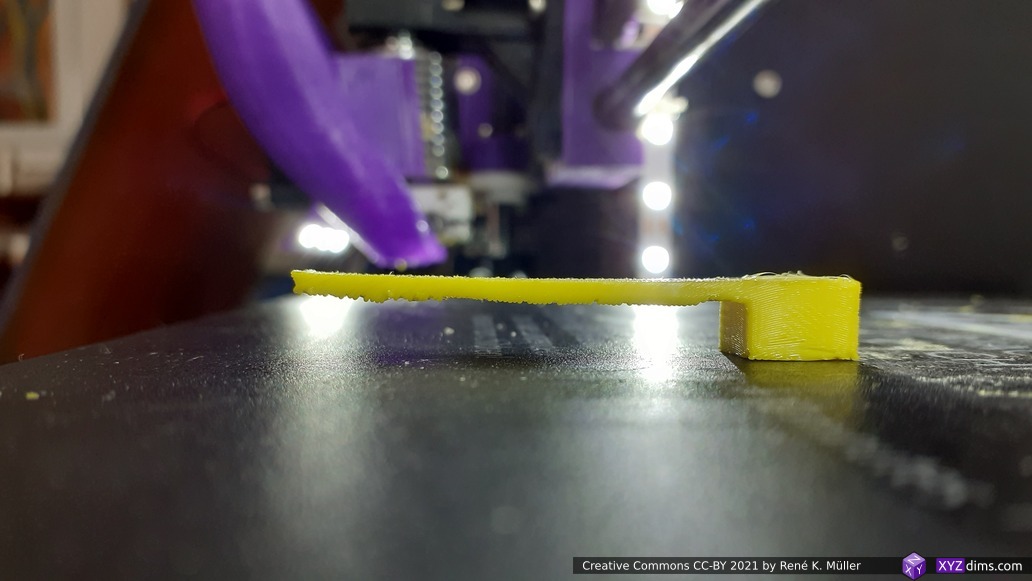
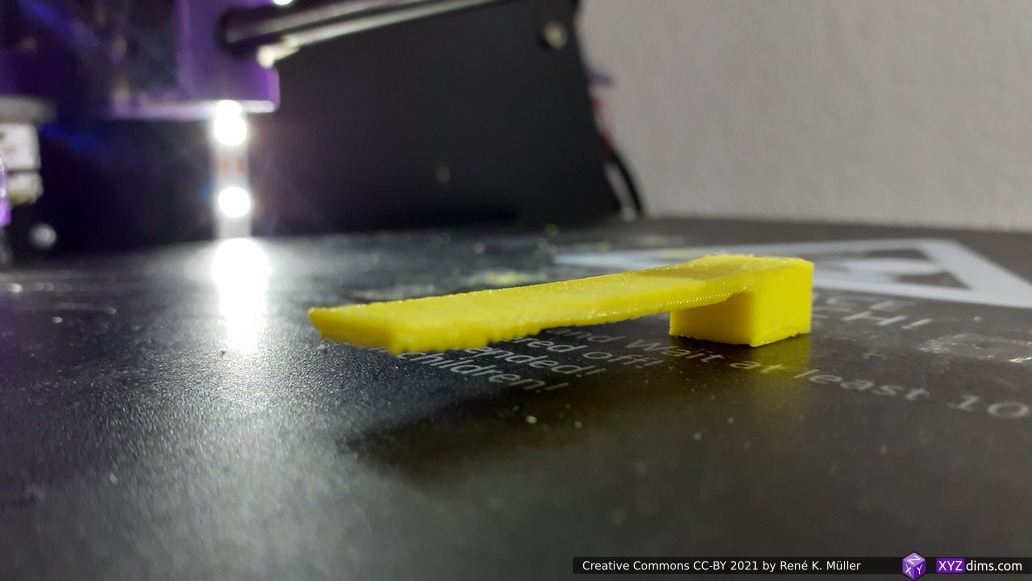
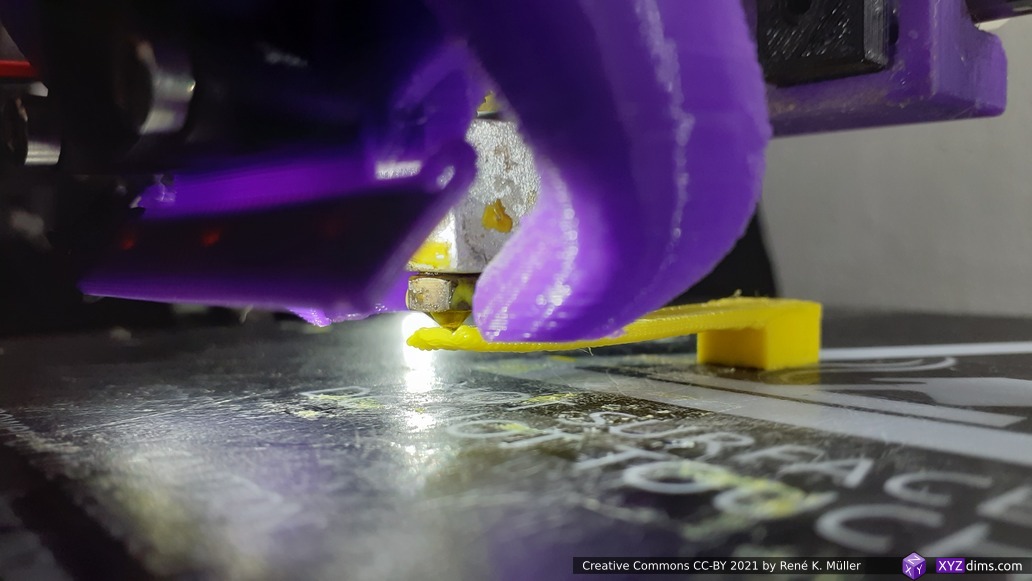
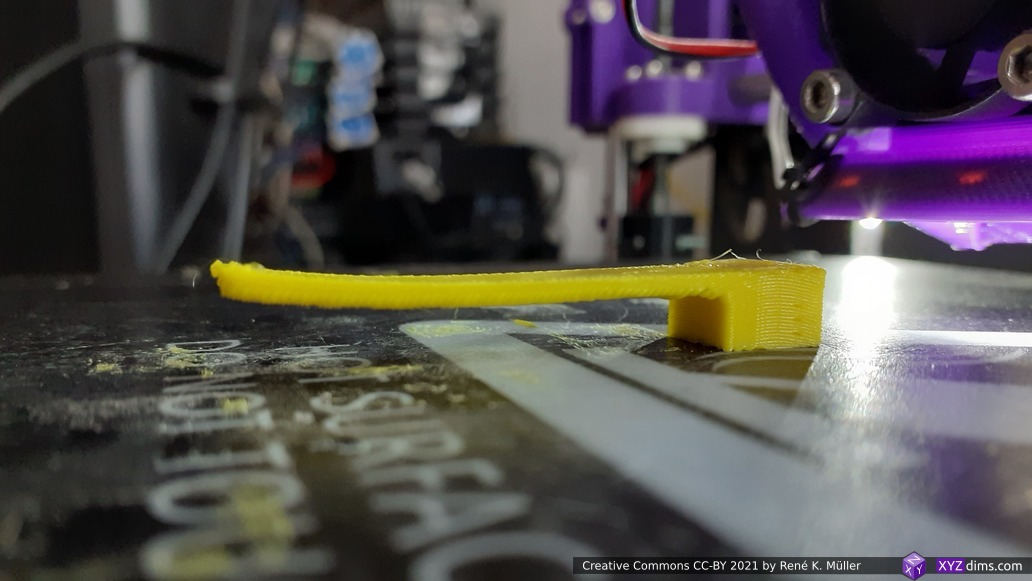
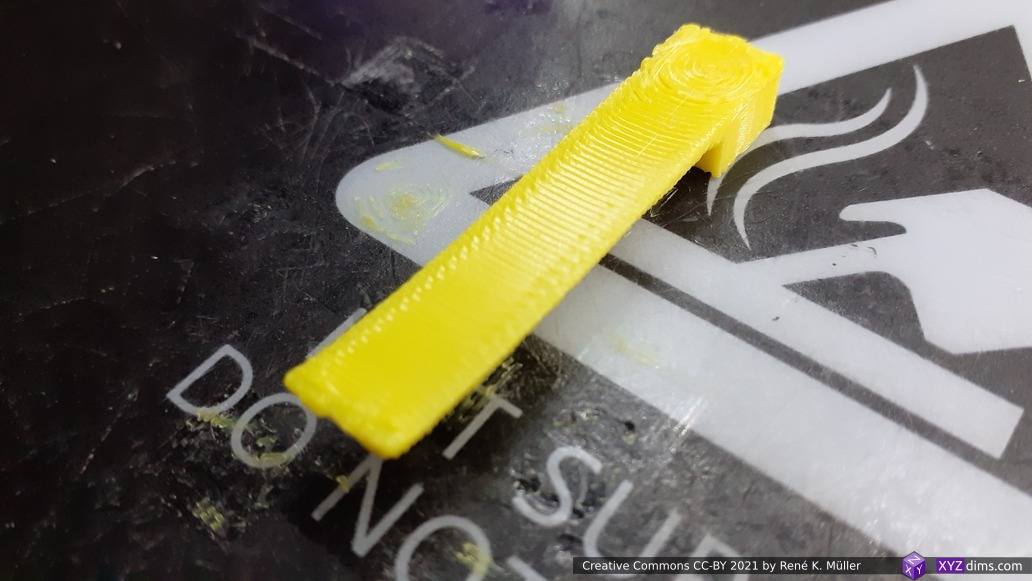
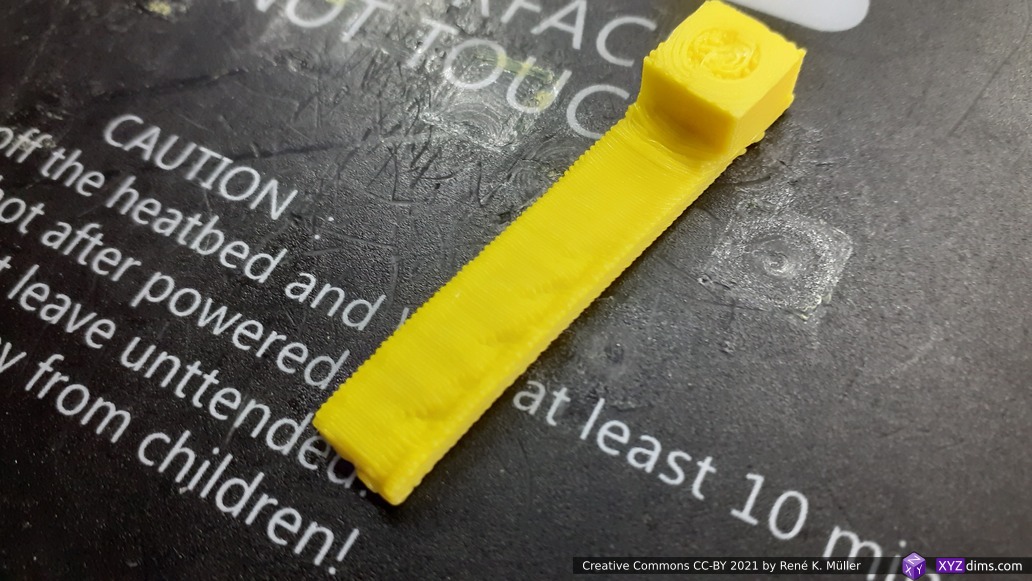
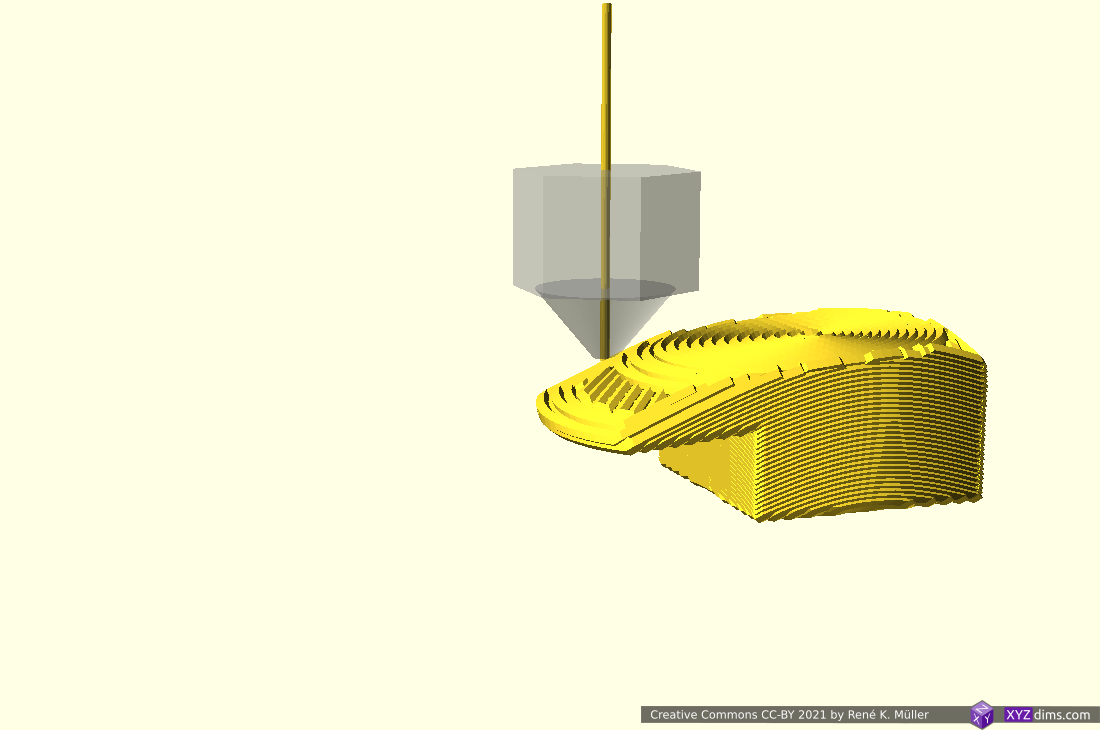
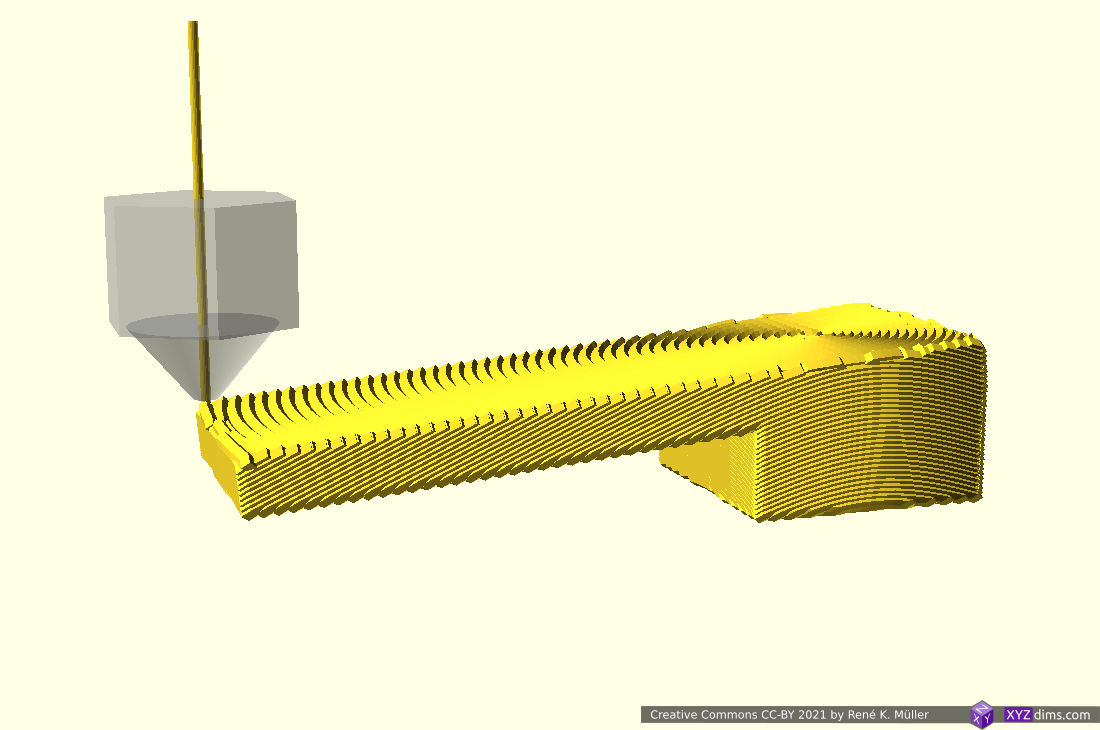
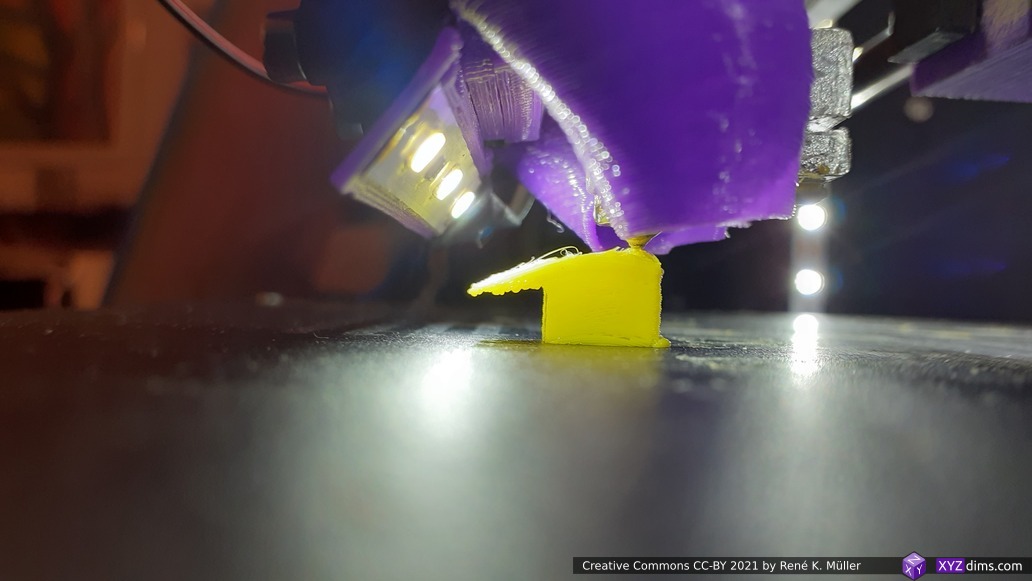
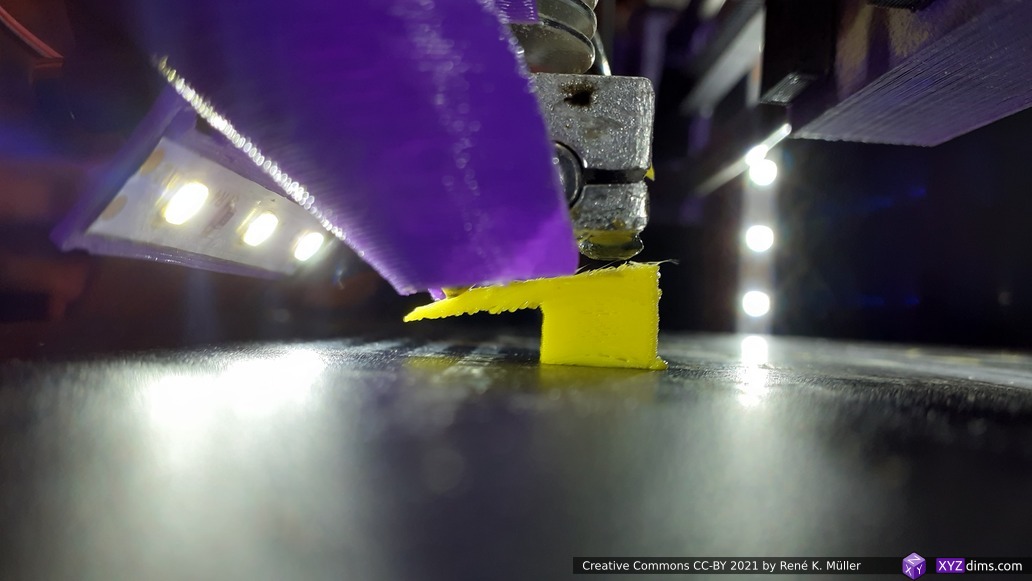
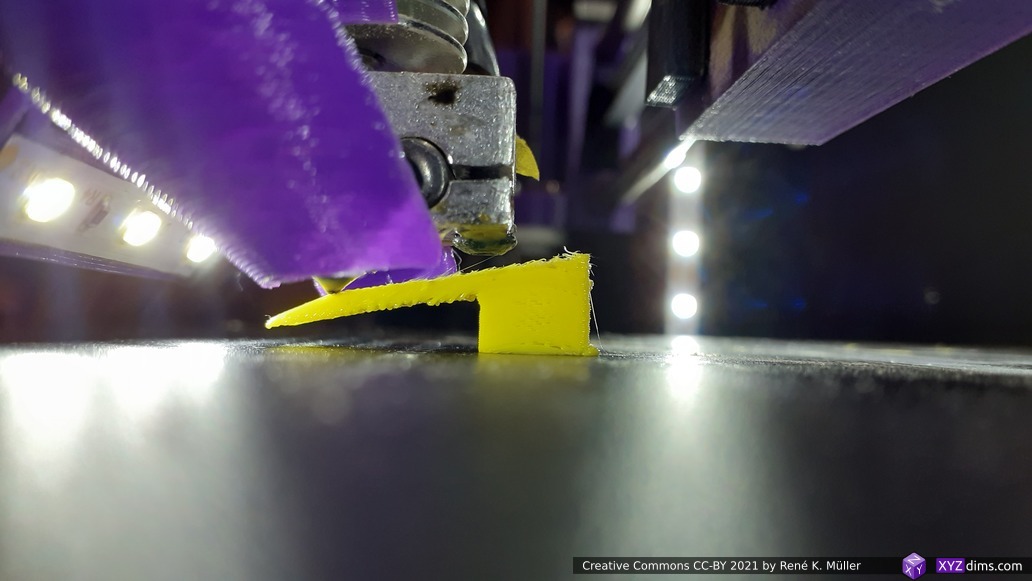
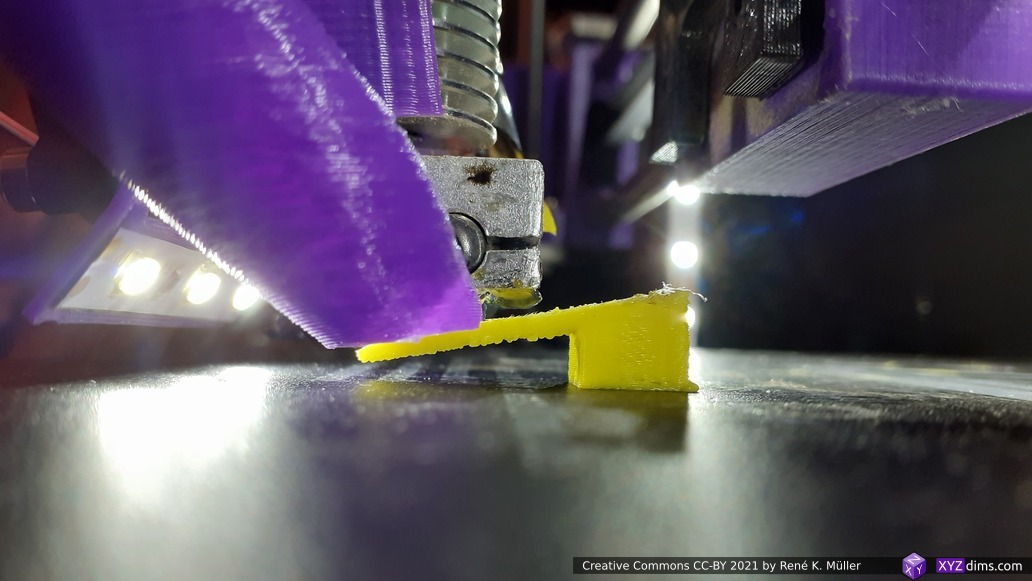
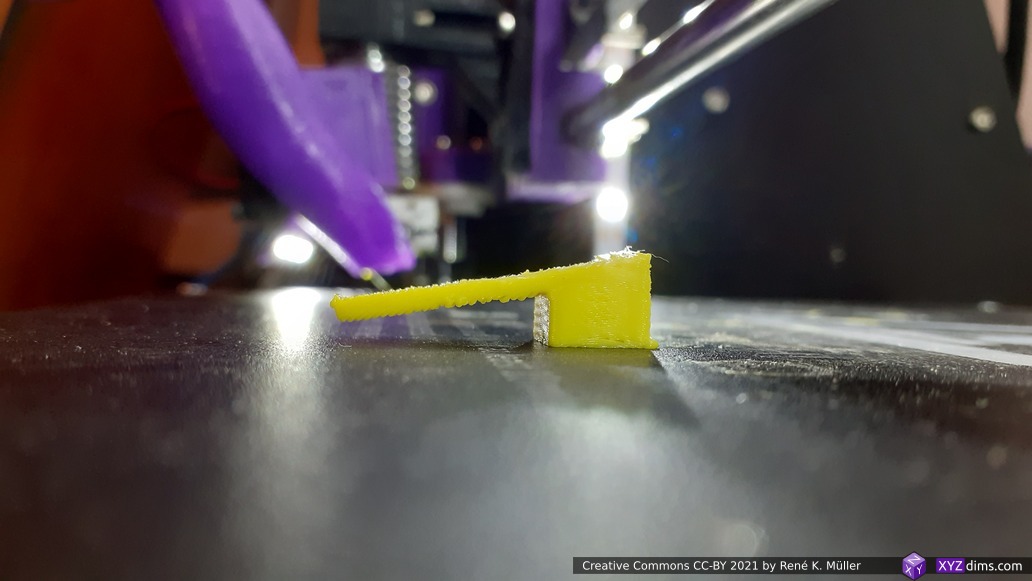
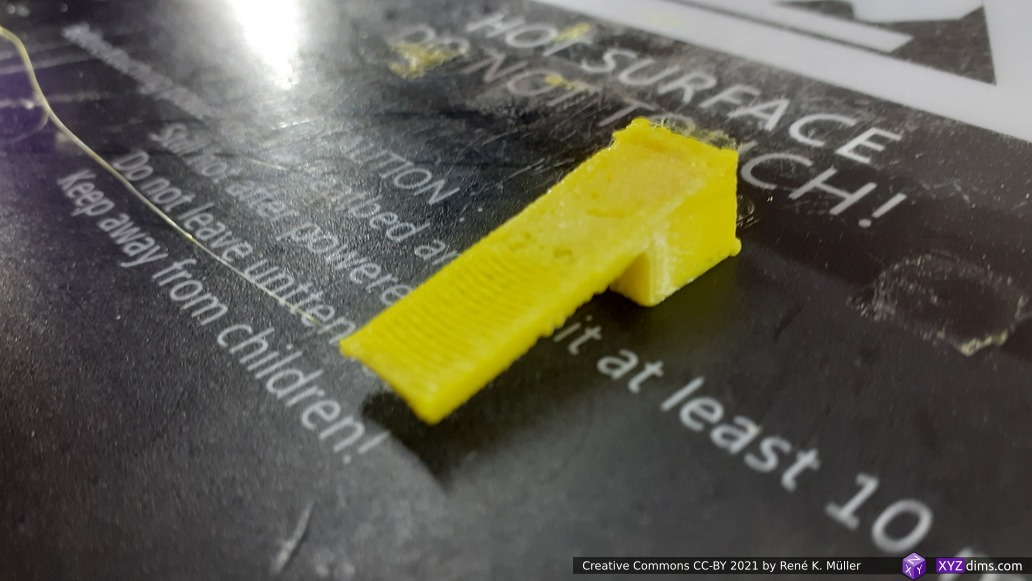
% cura-slicer --support-enable=true overhang-inout.stl
== Cura-Slicer 0.0.3 aka Cura-CLI-Wrapper (CuraEngine 4.4.1) ==
processing overhang-inout.stl, slicing to overhang-inout.gcode
took 0.99 secs total, done.

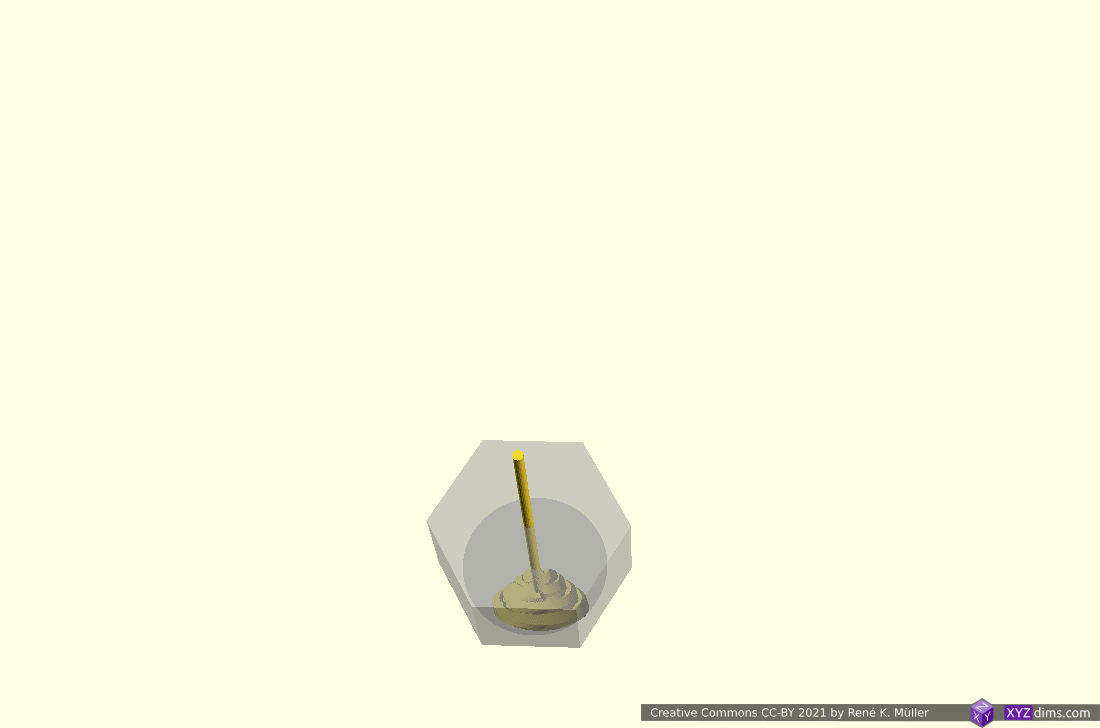
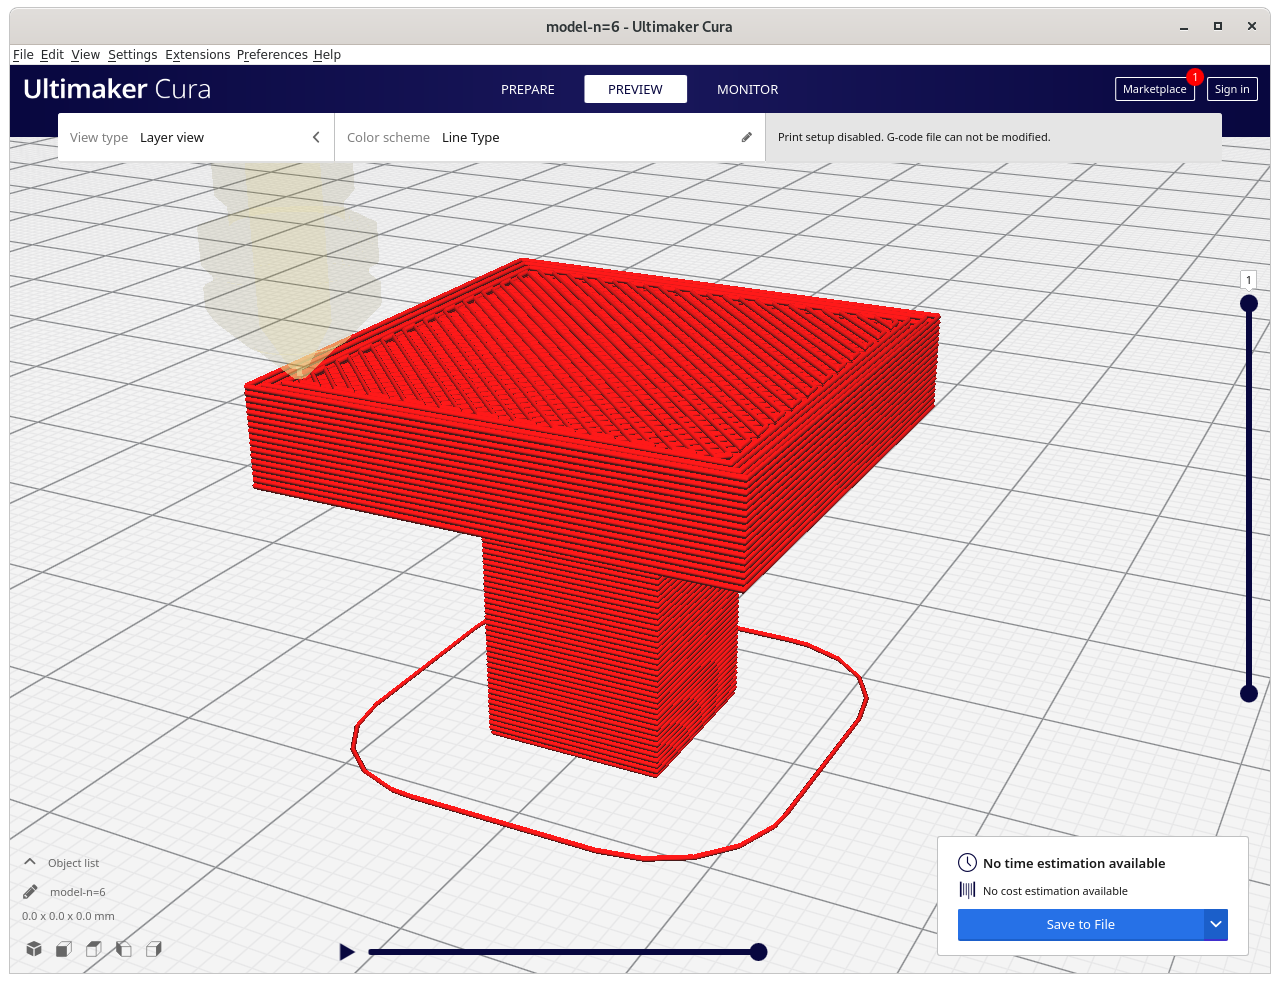
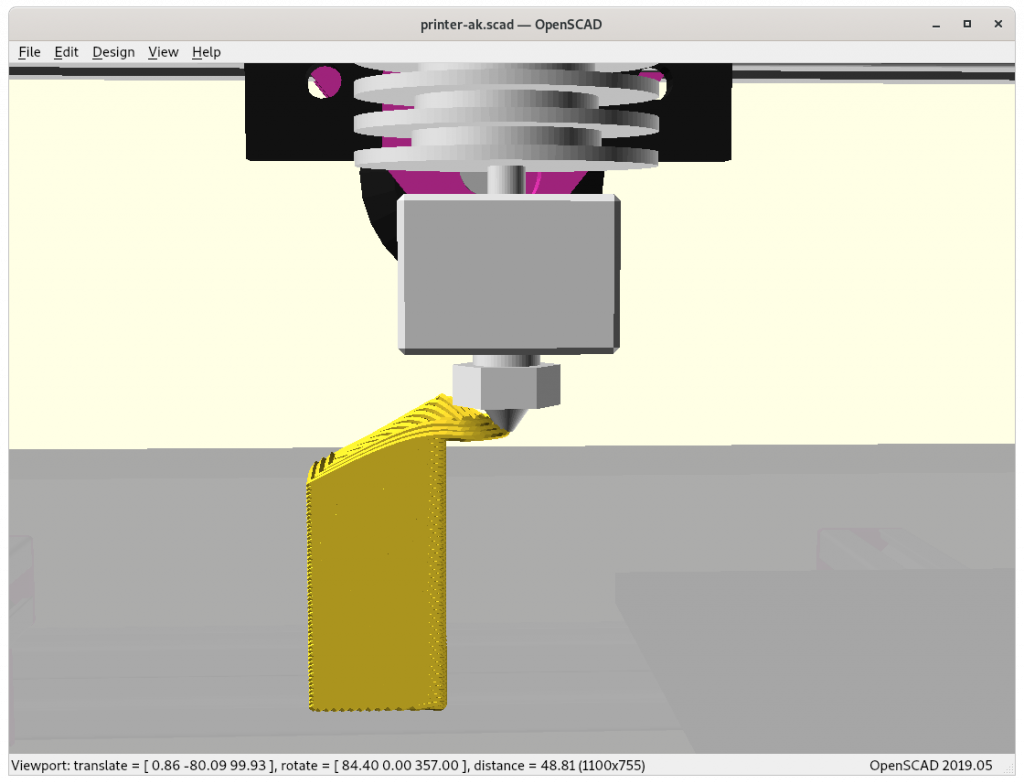
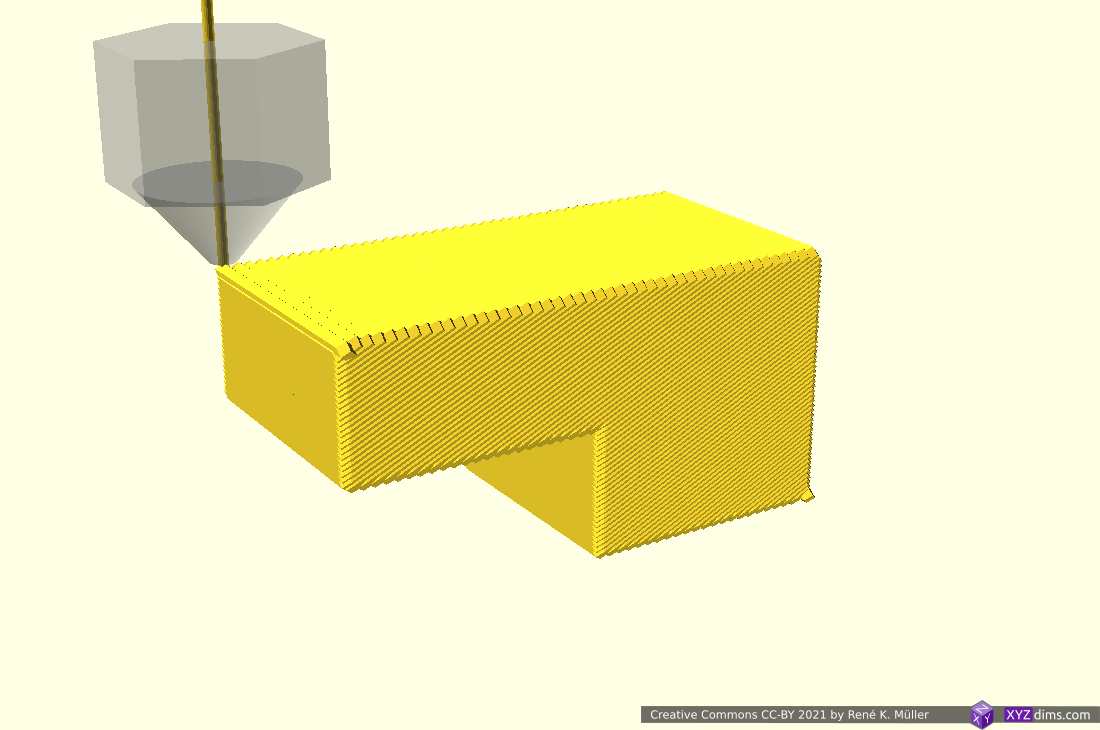
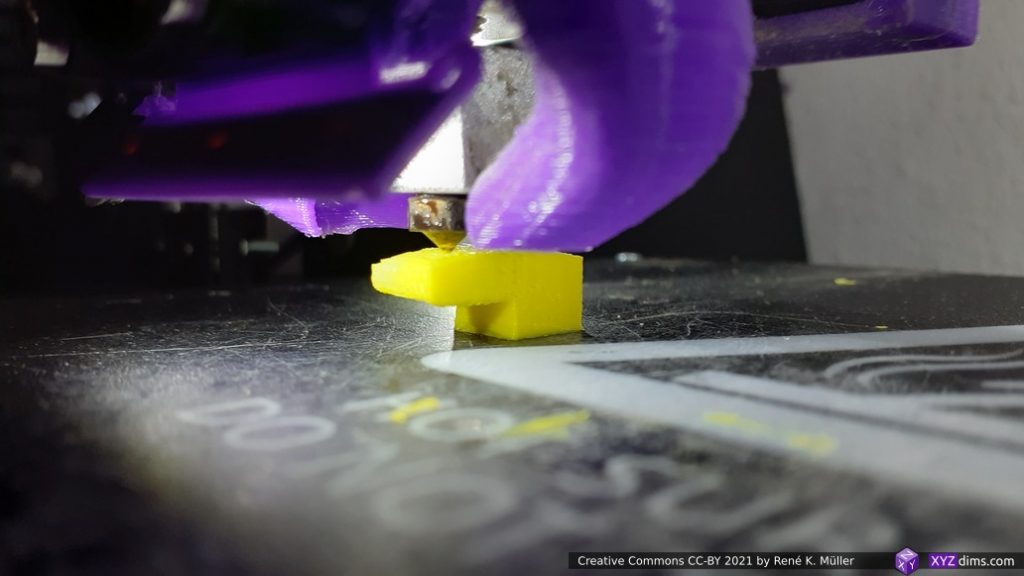
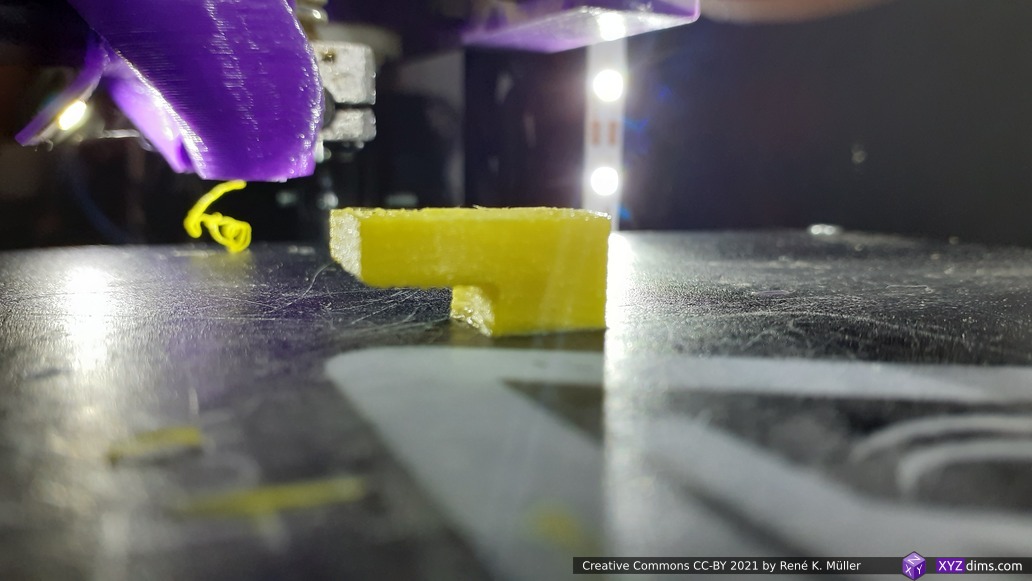
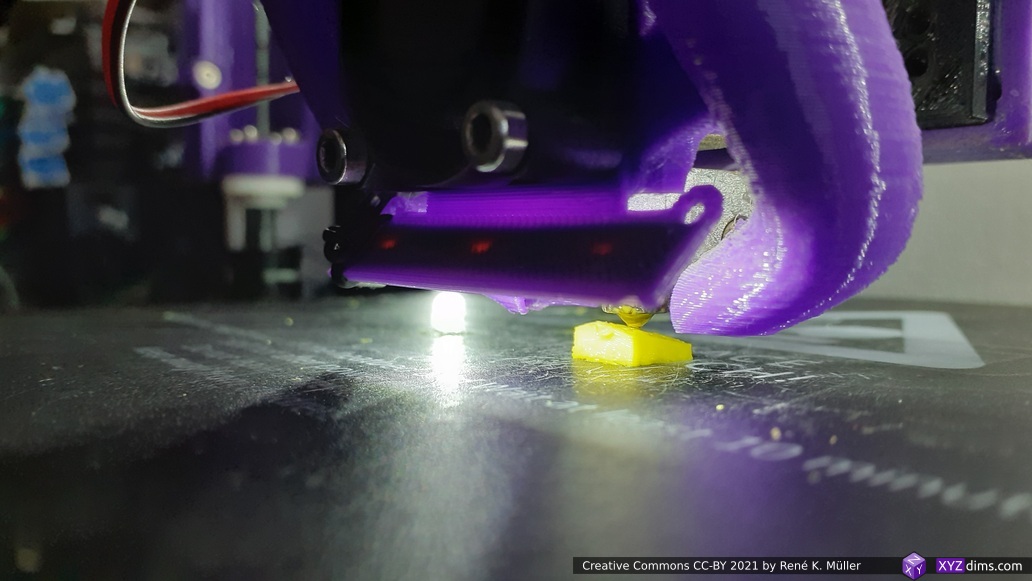
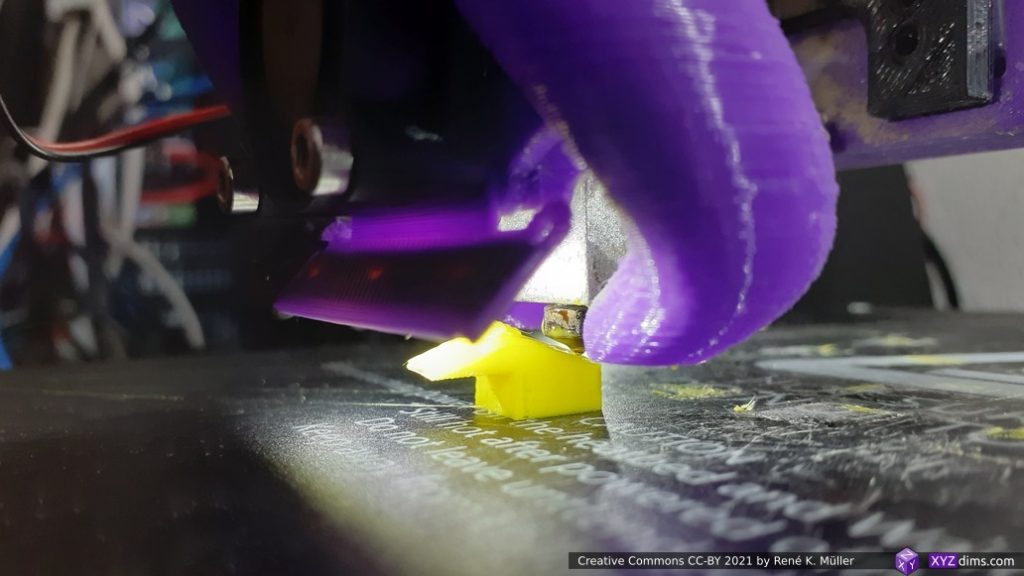
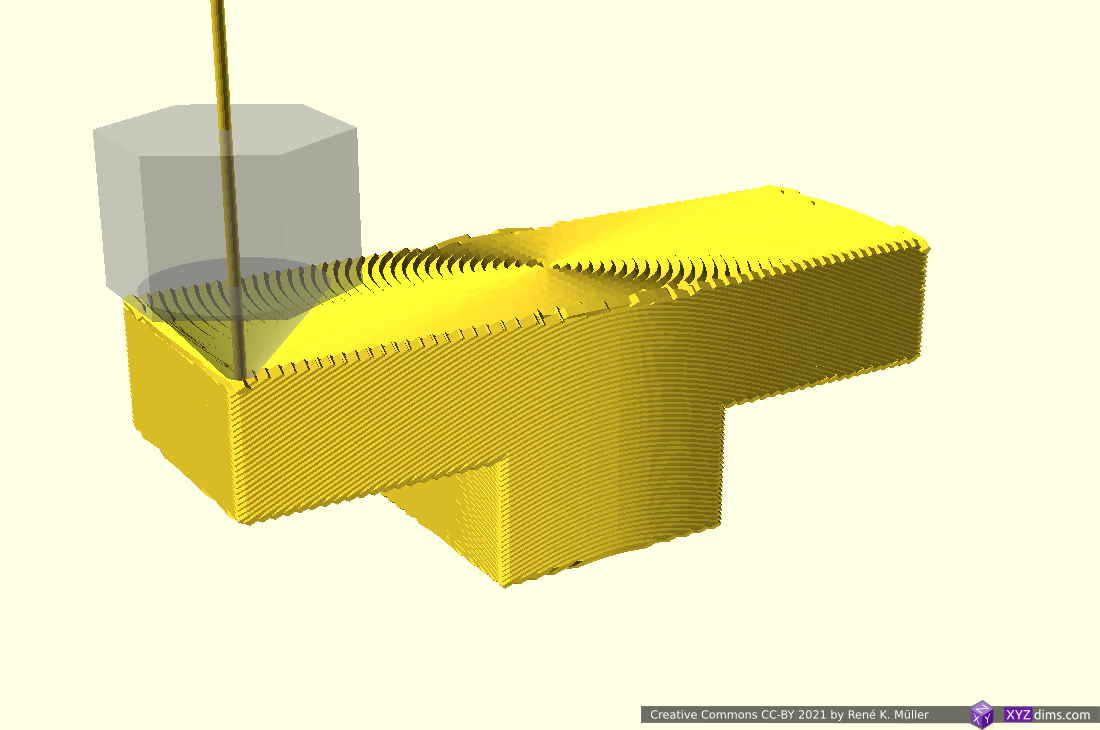
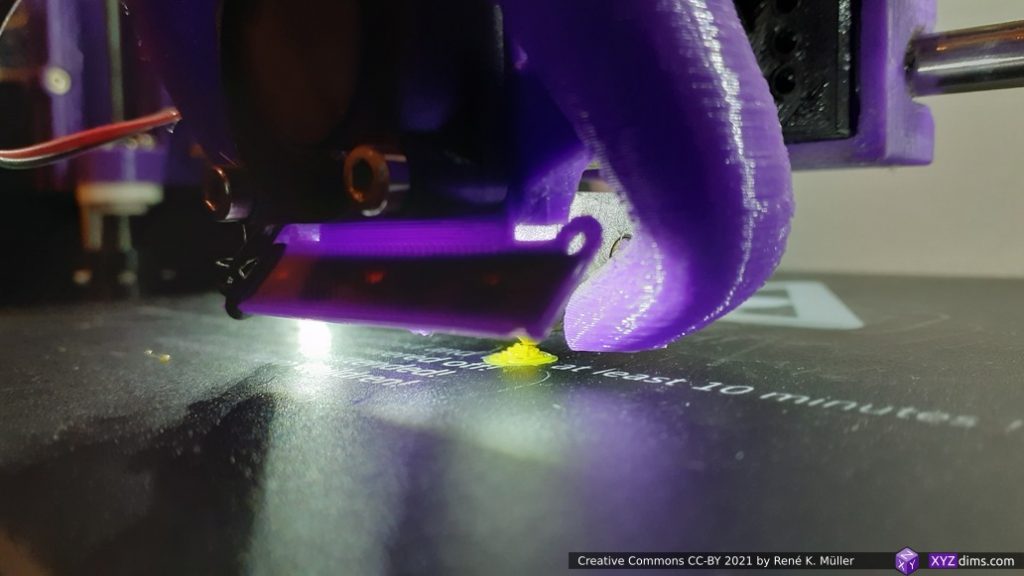
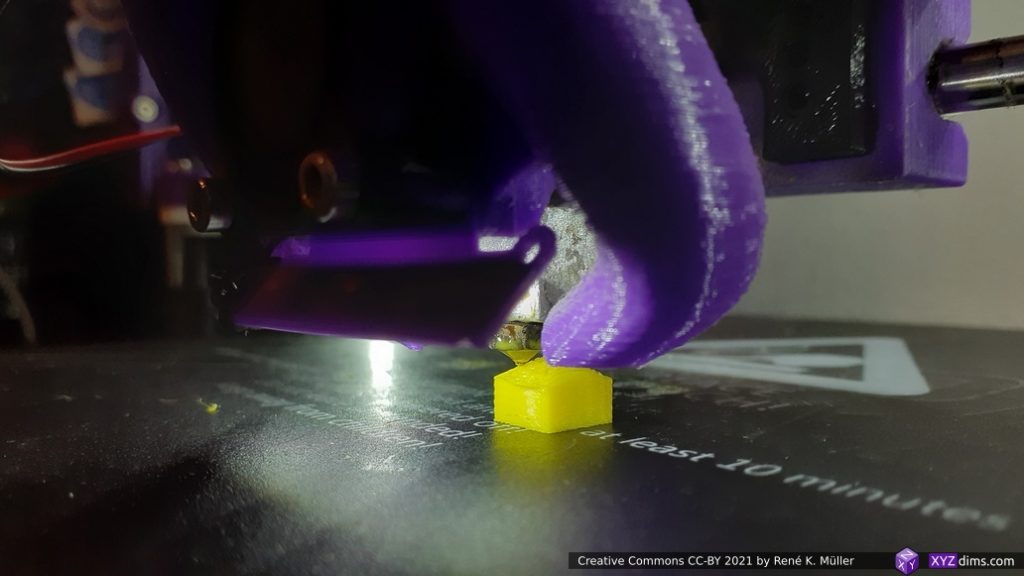
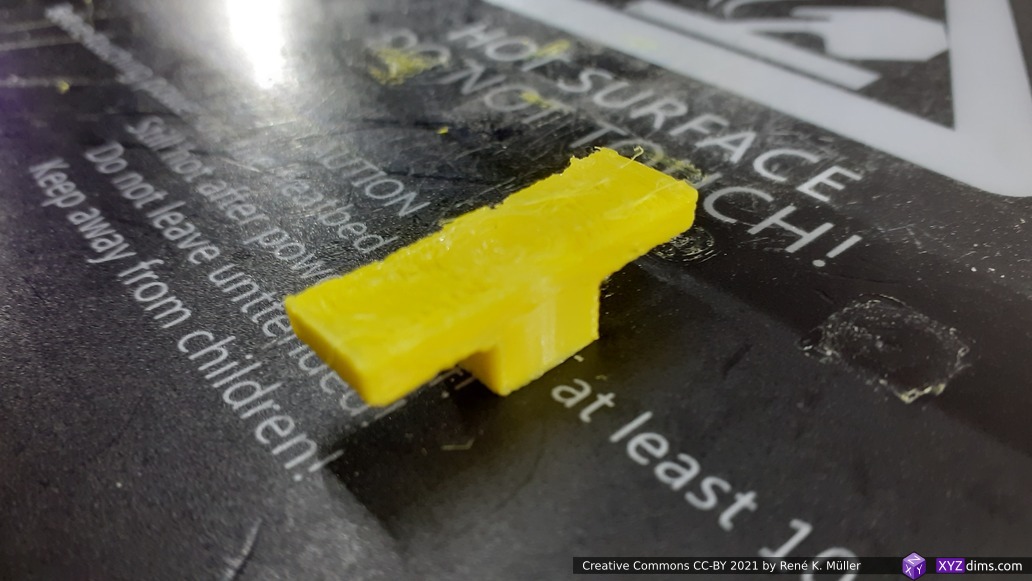
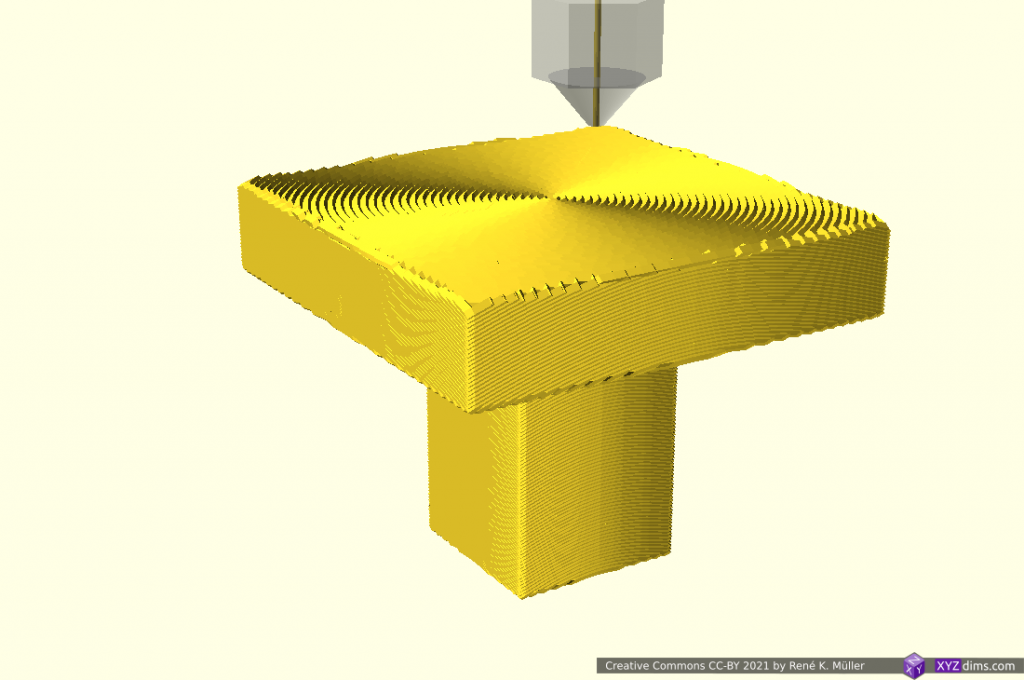
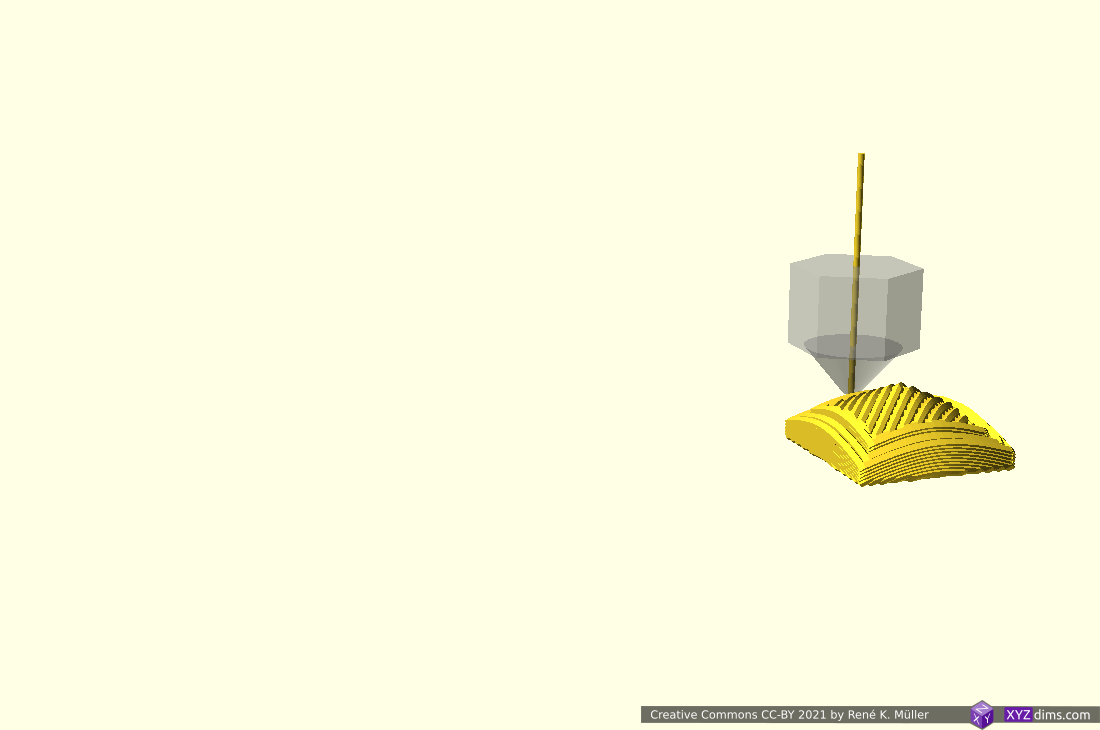
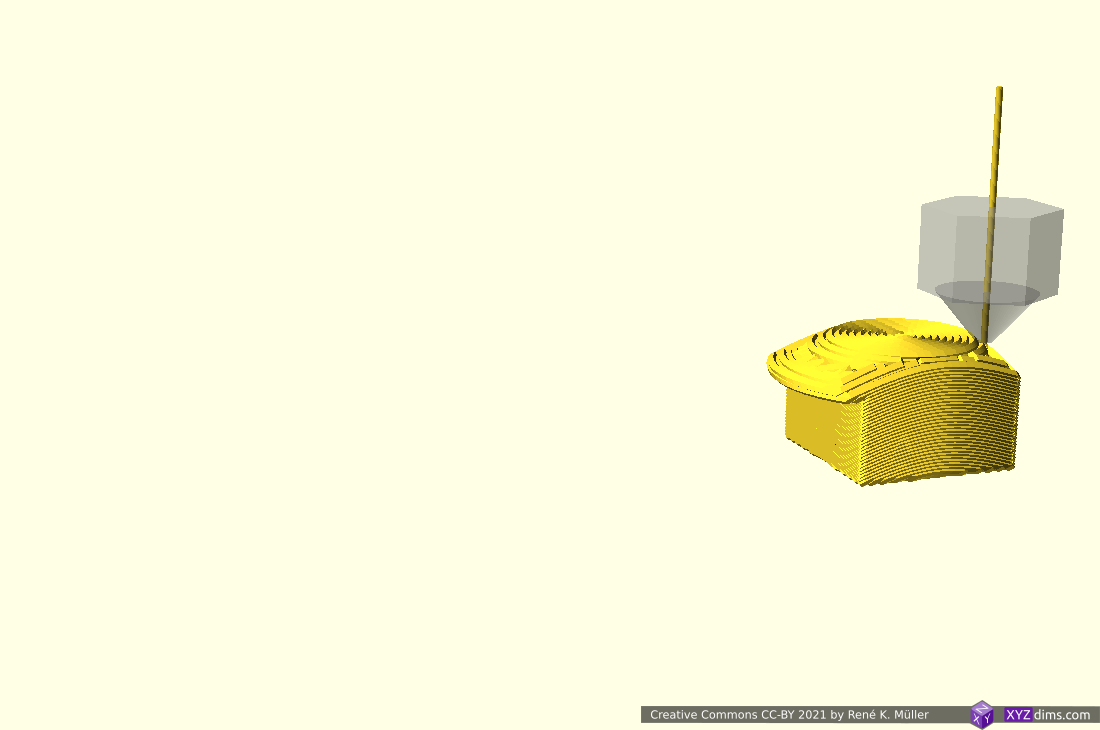
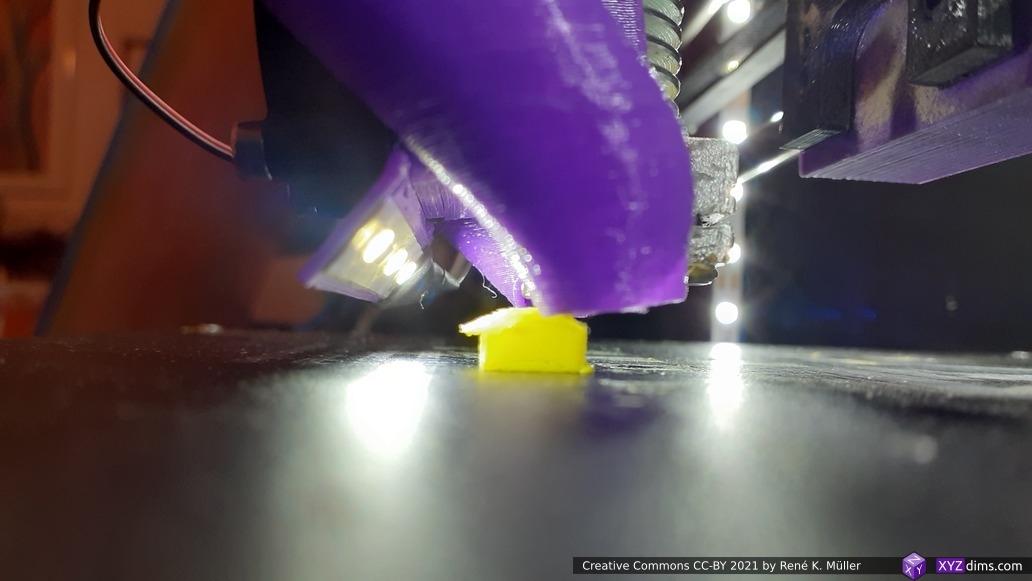
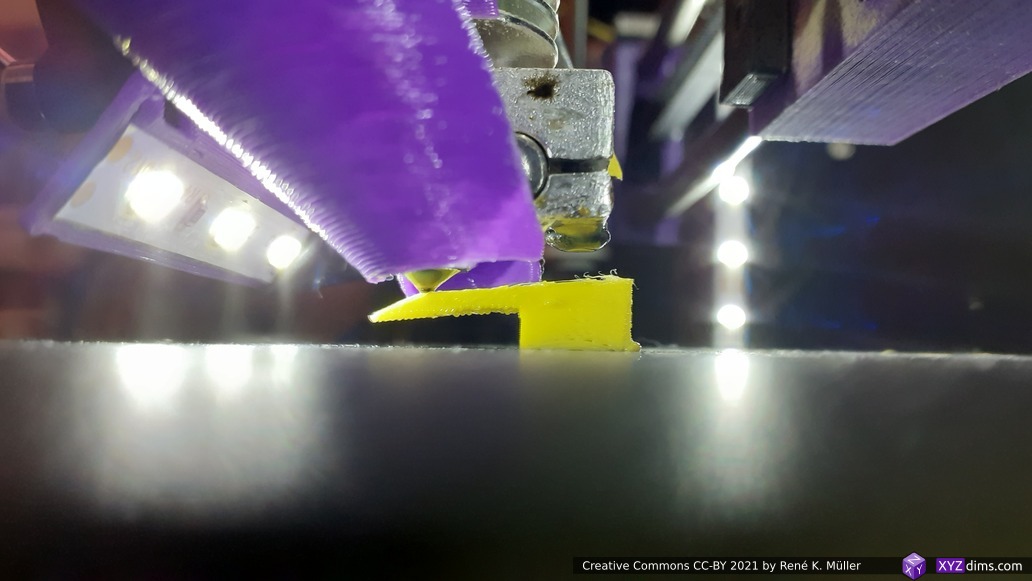
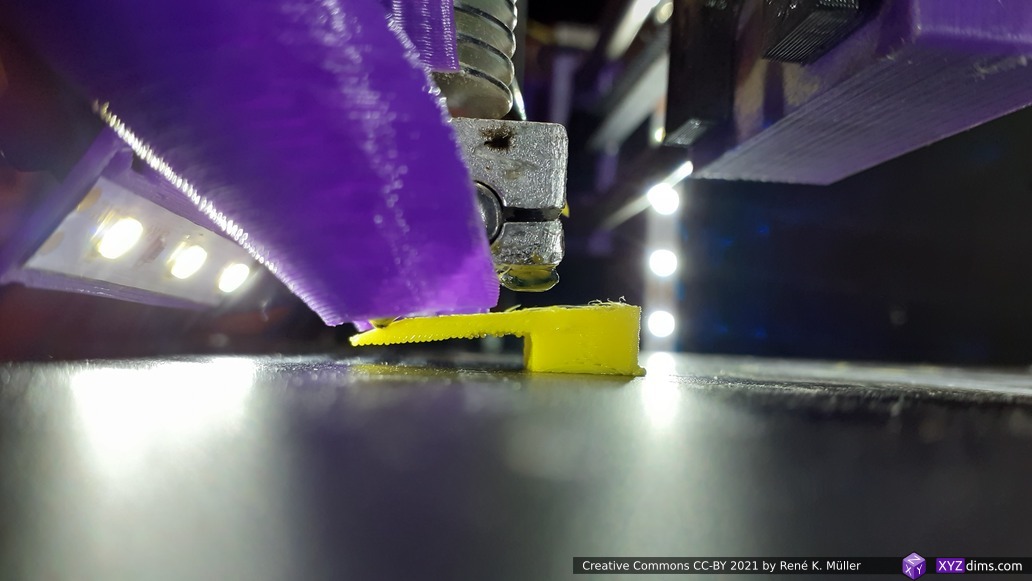
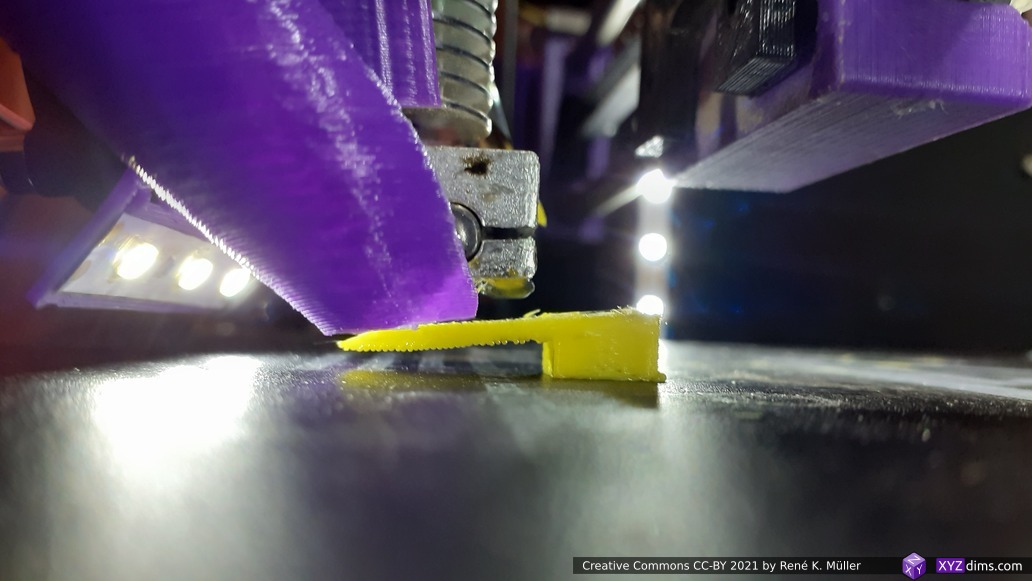
cube.stl 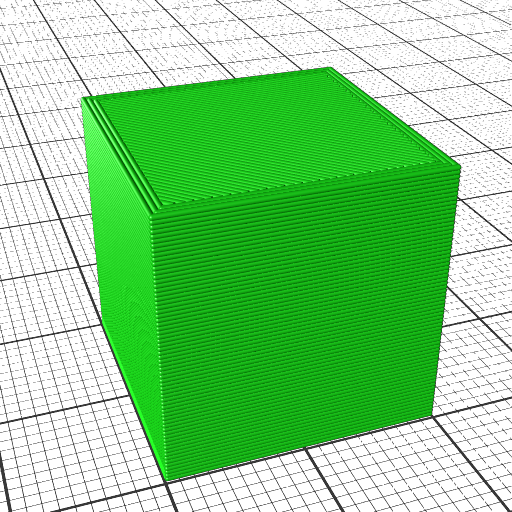

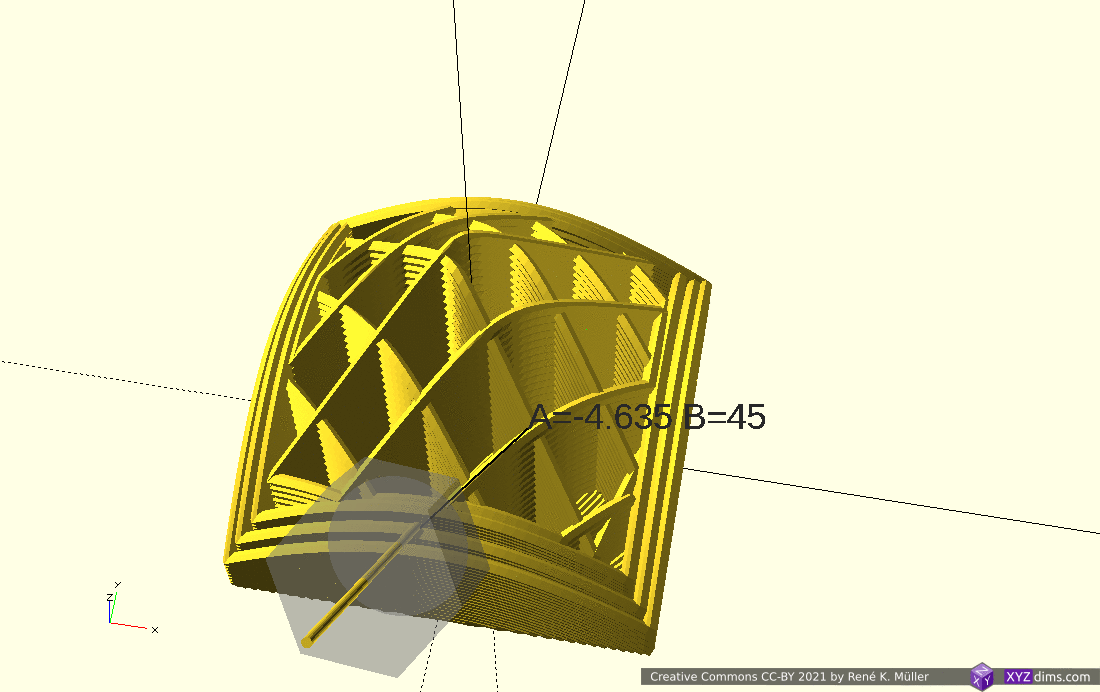
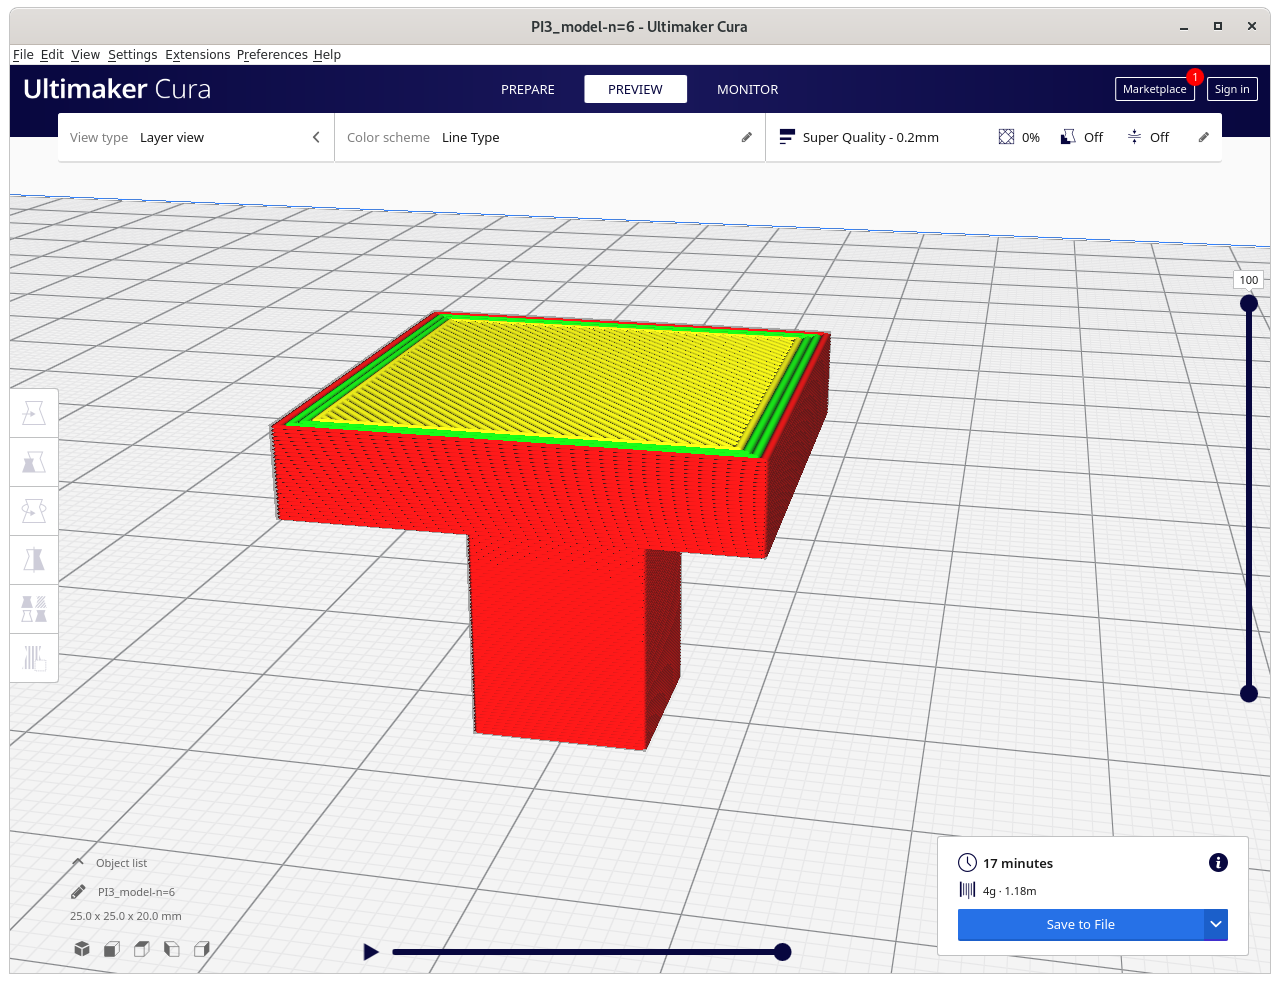
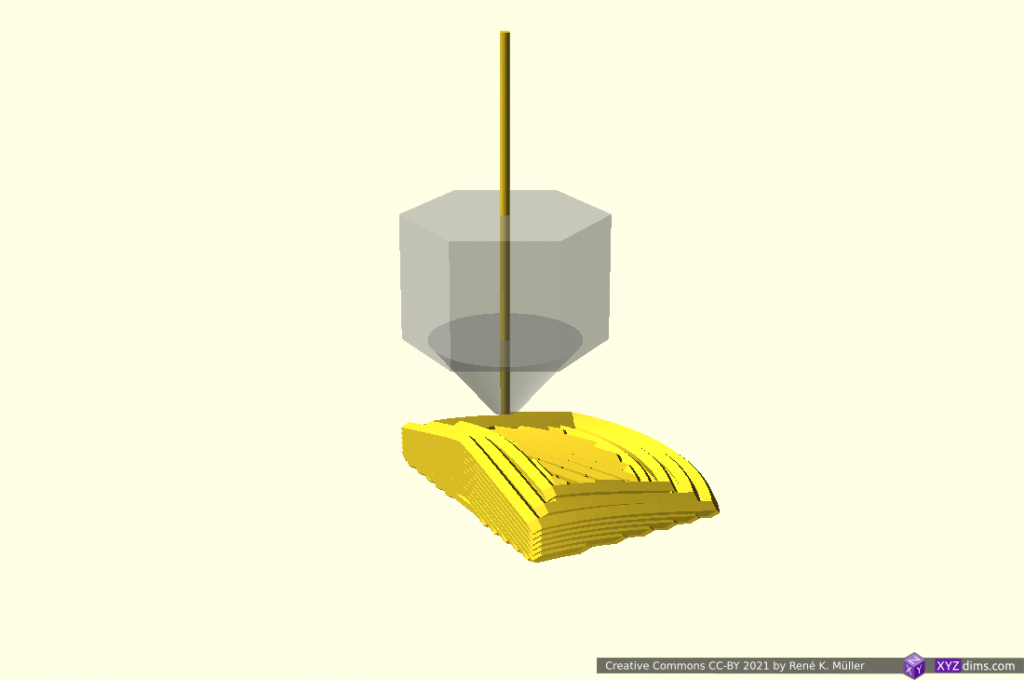
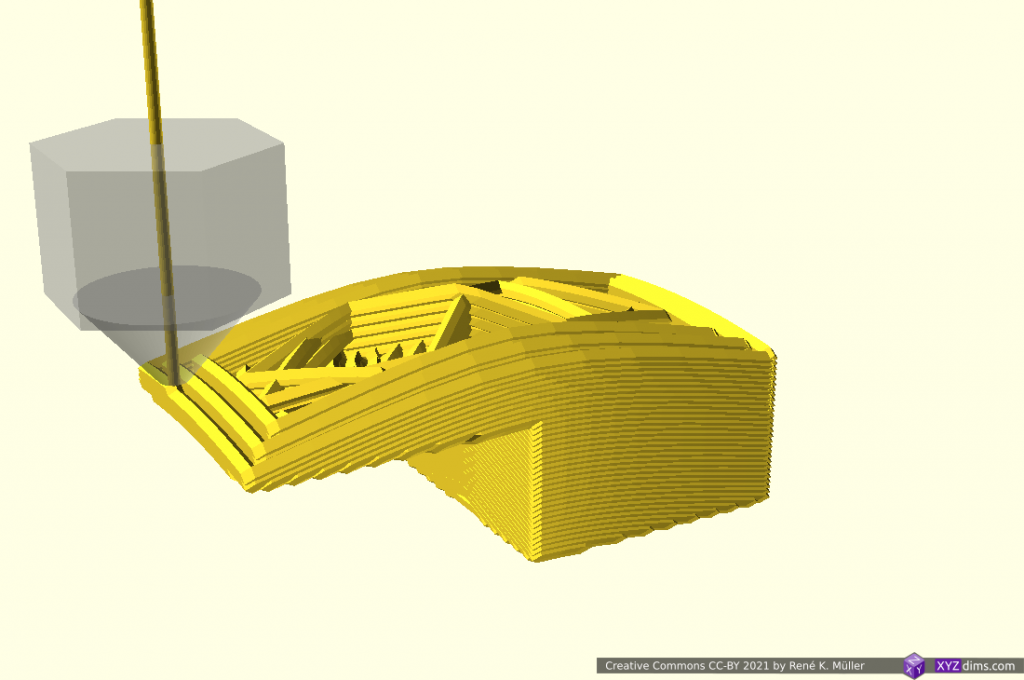
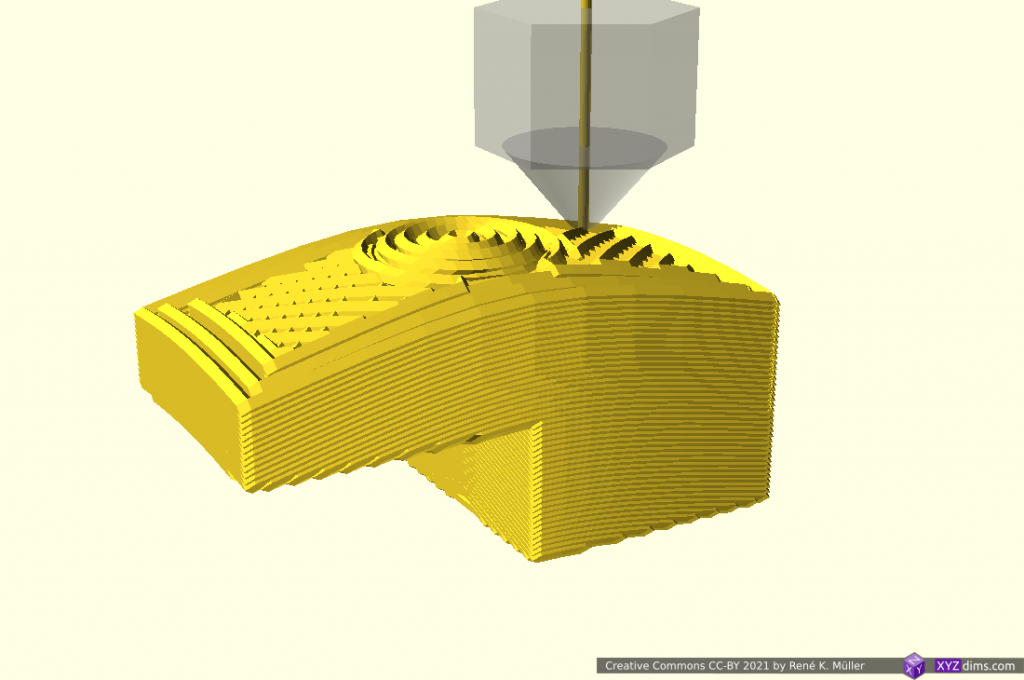
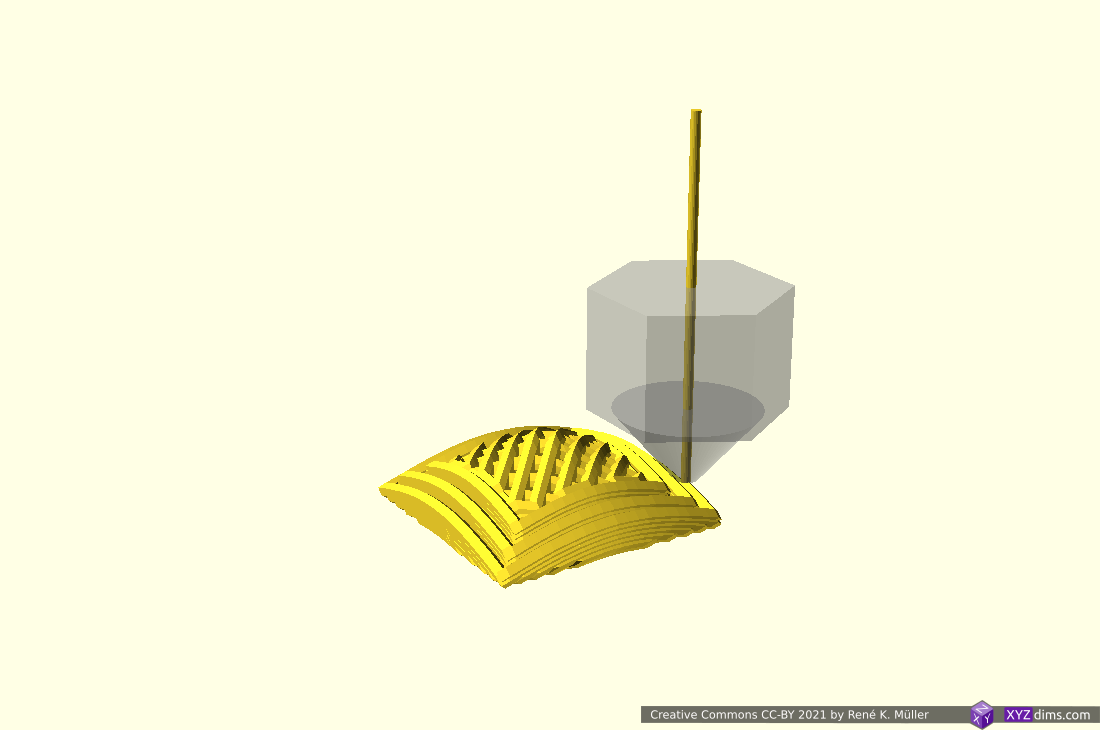
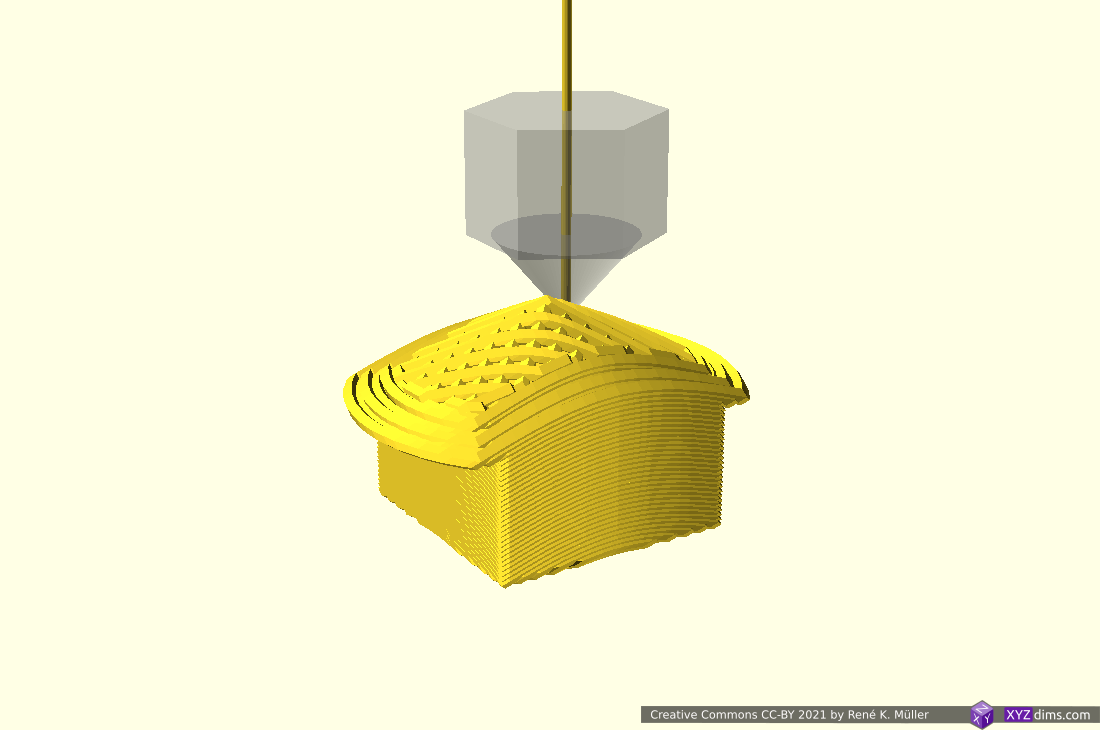
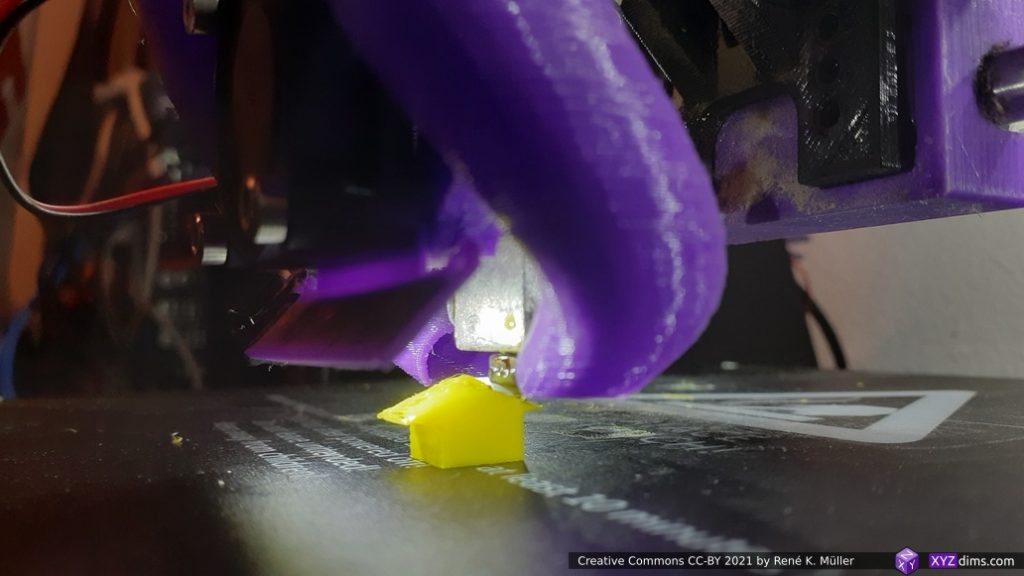
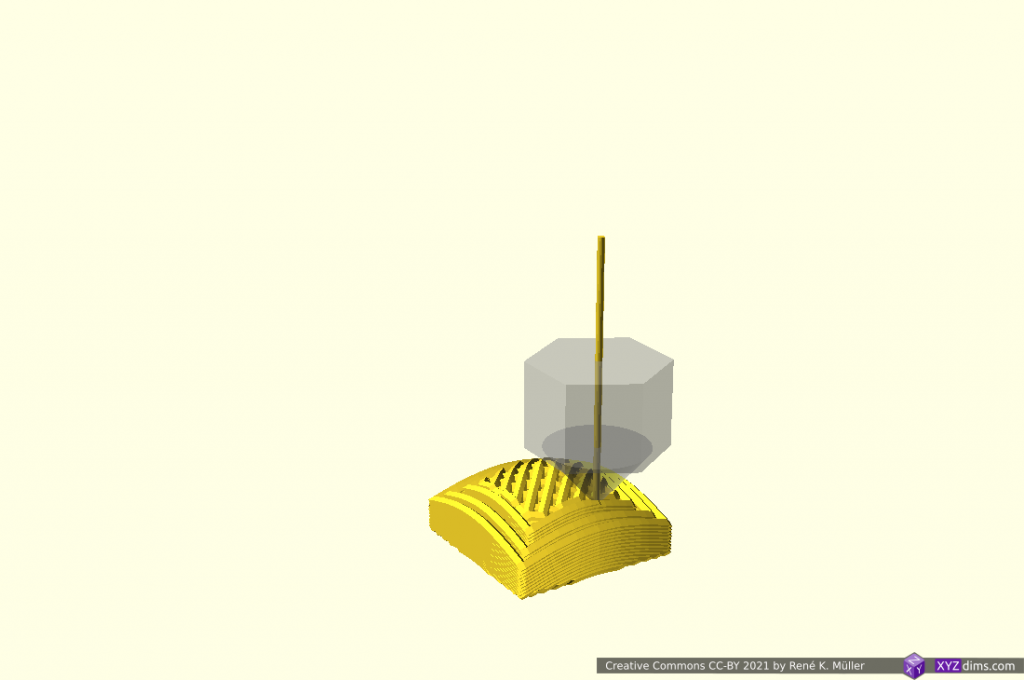
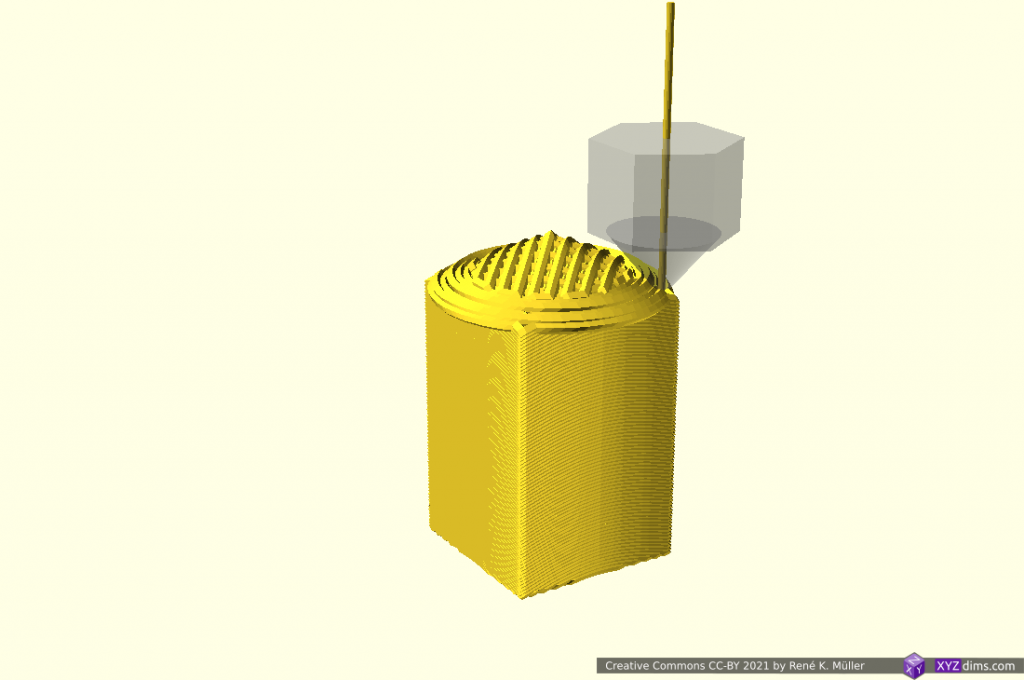
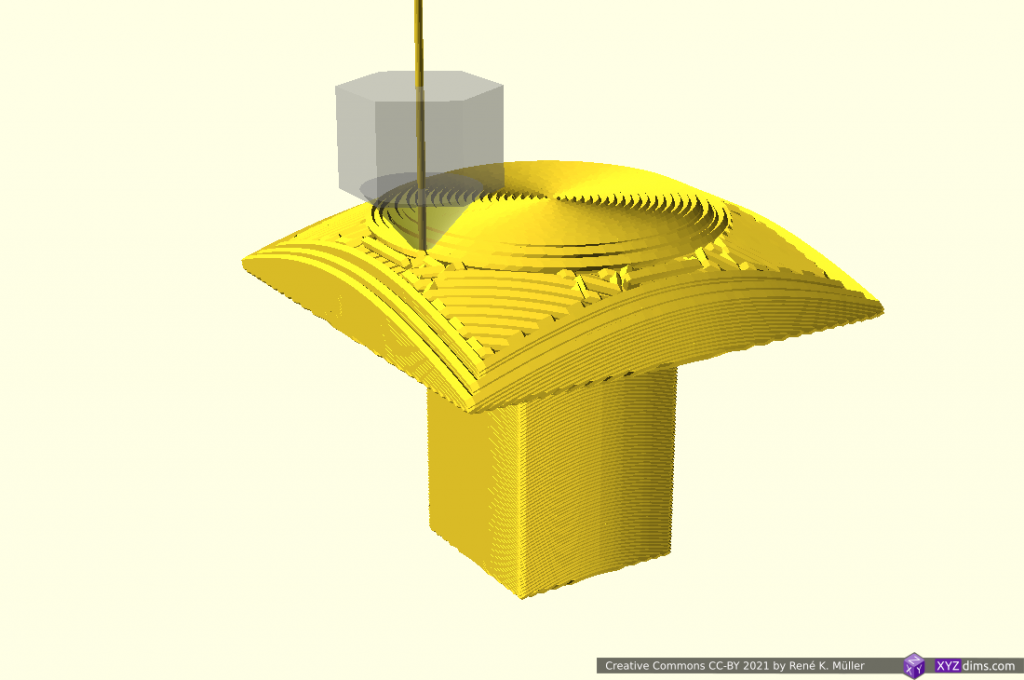
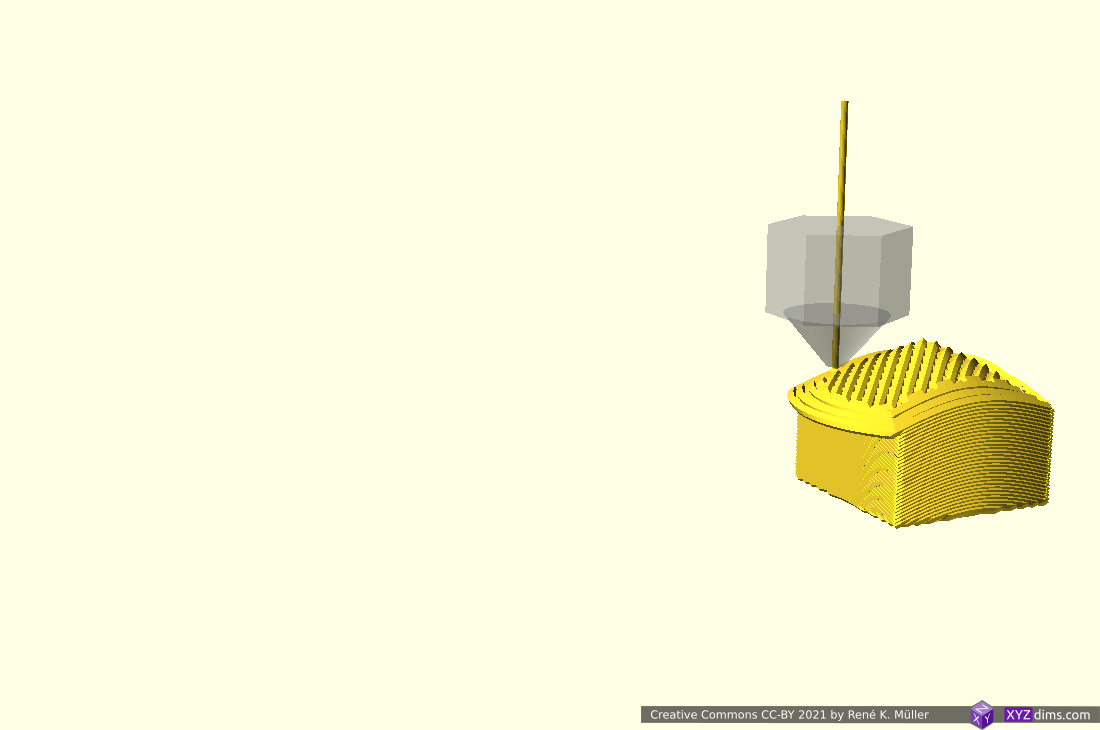
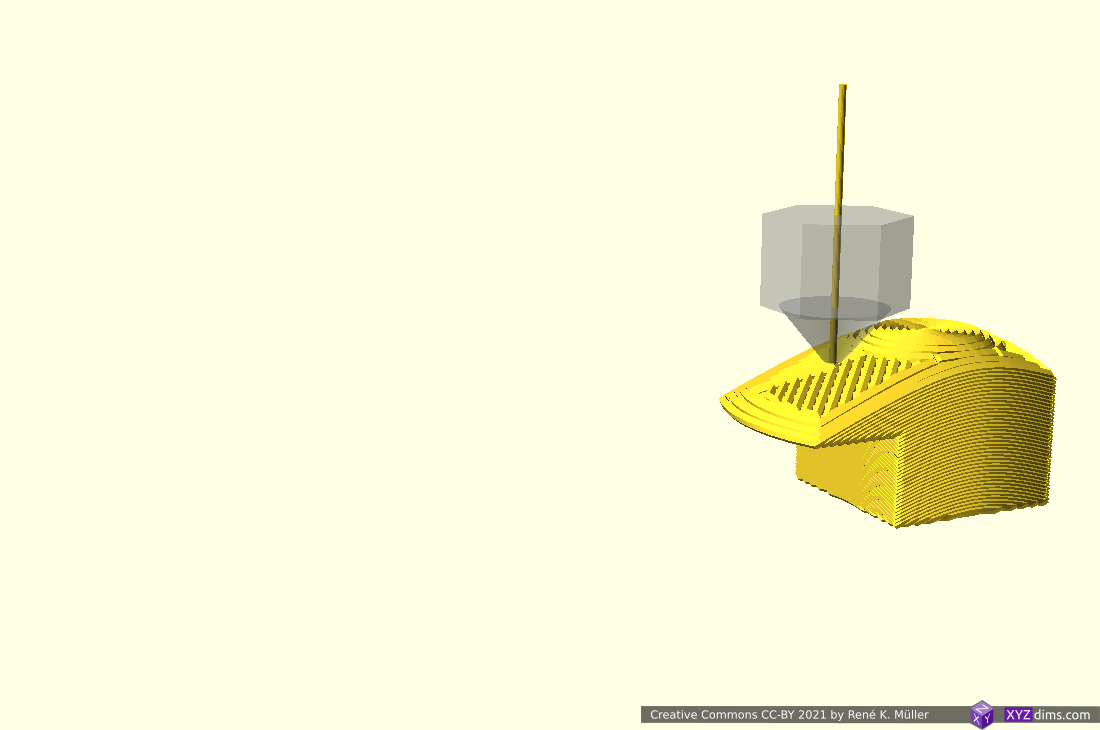
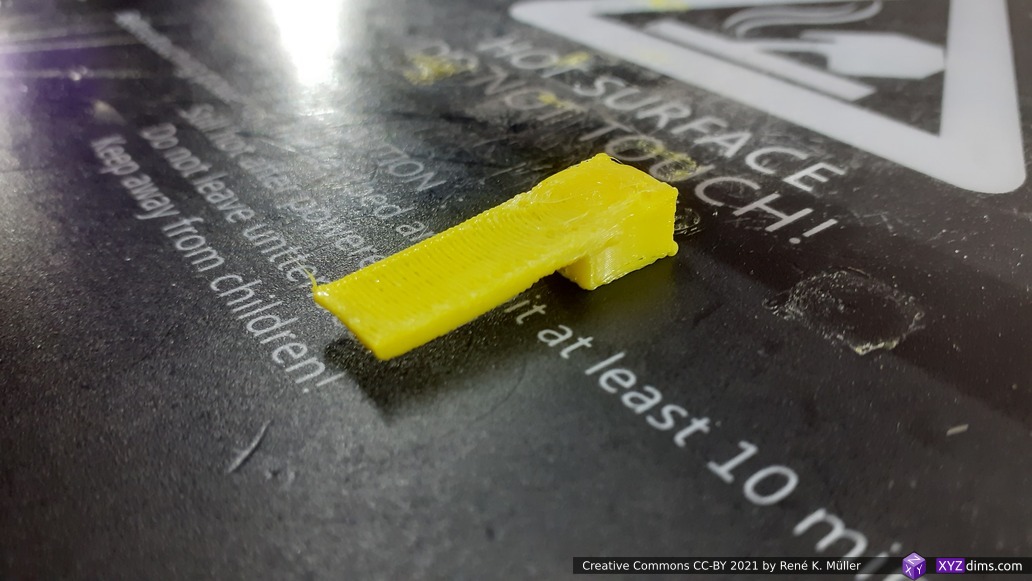
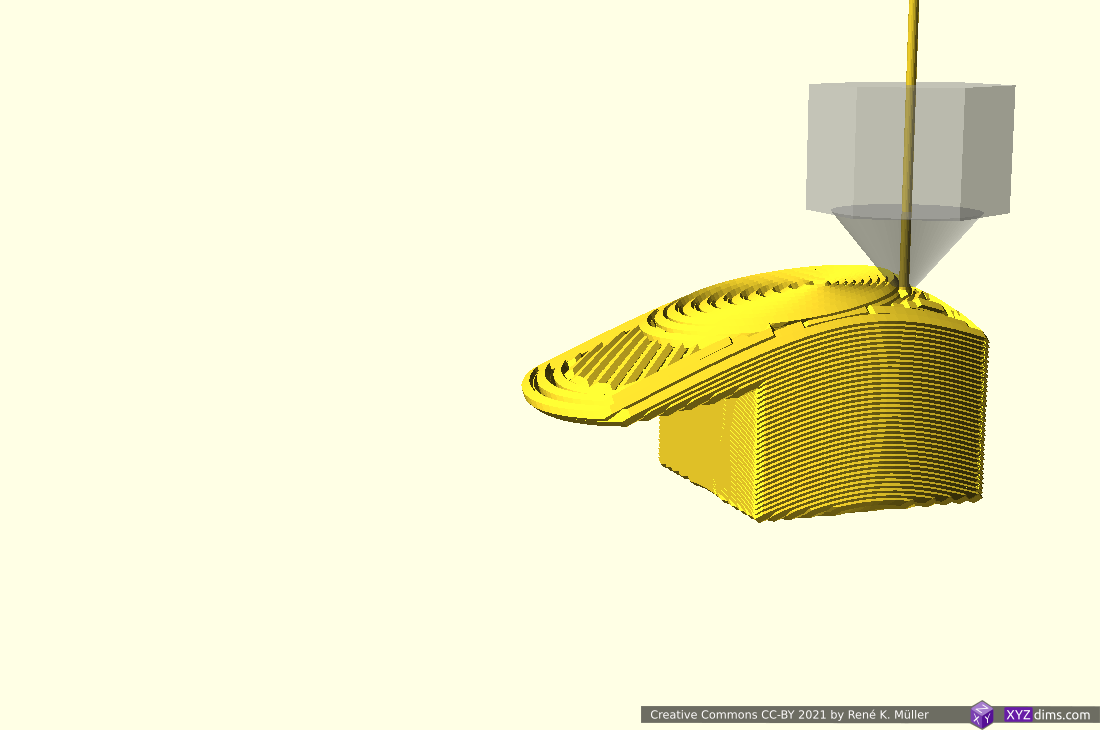
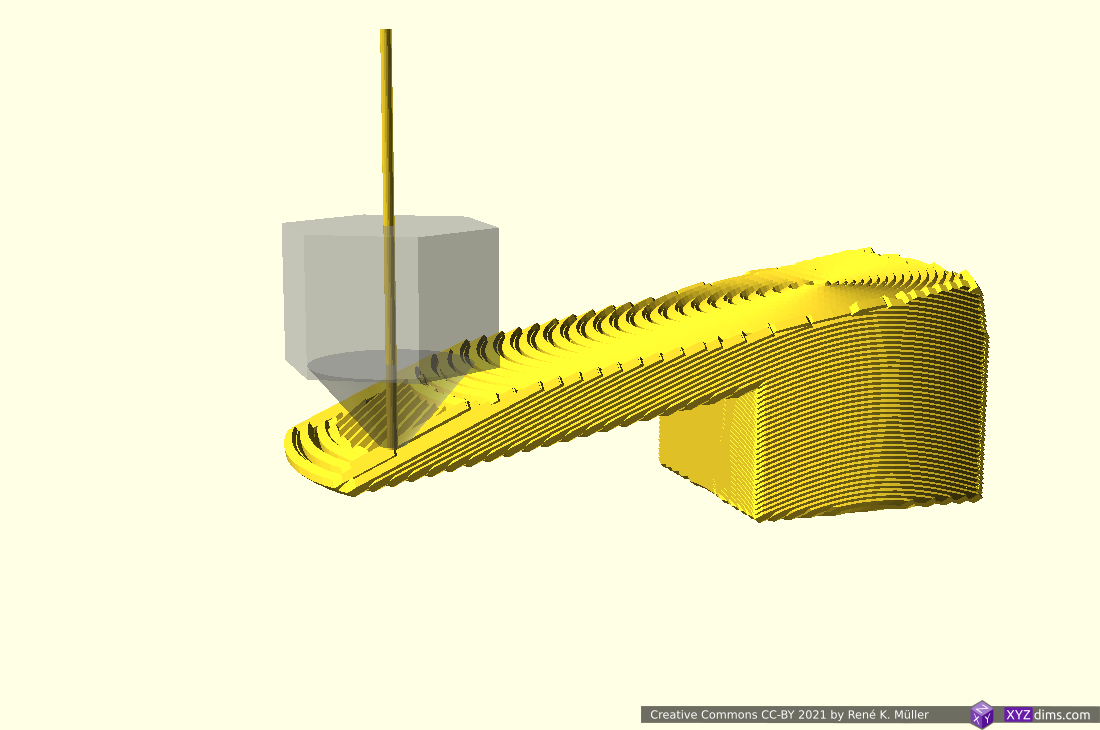
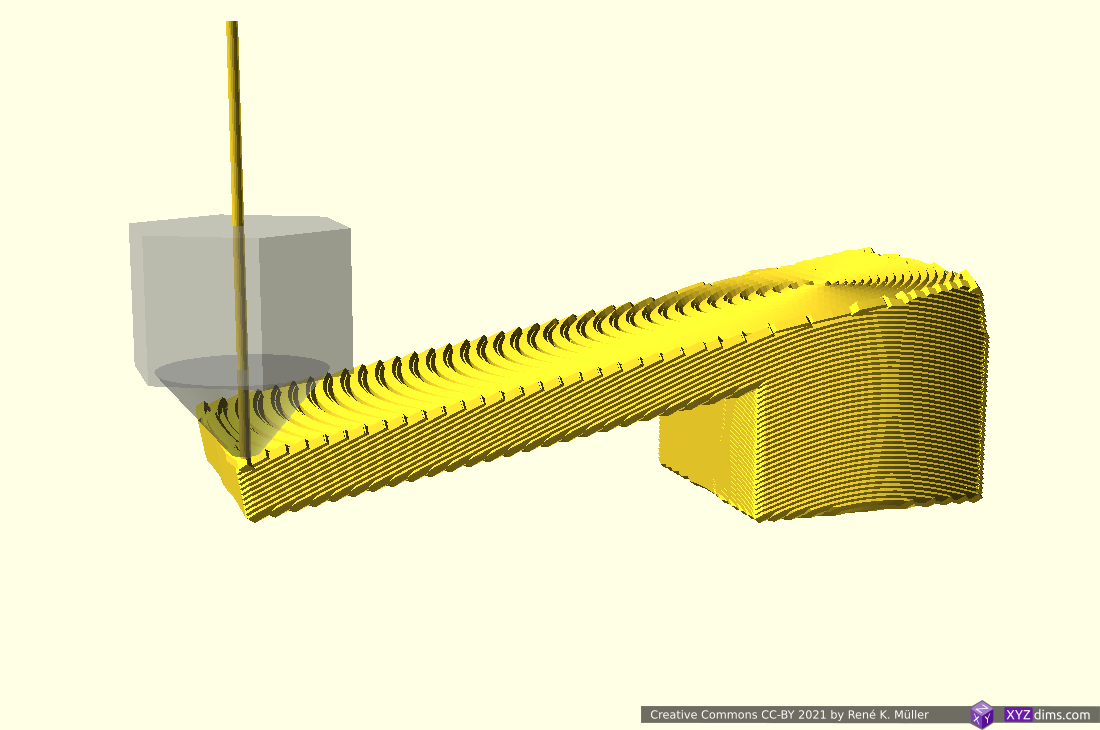
overhang-inout.stl 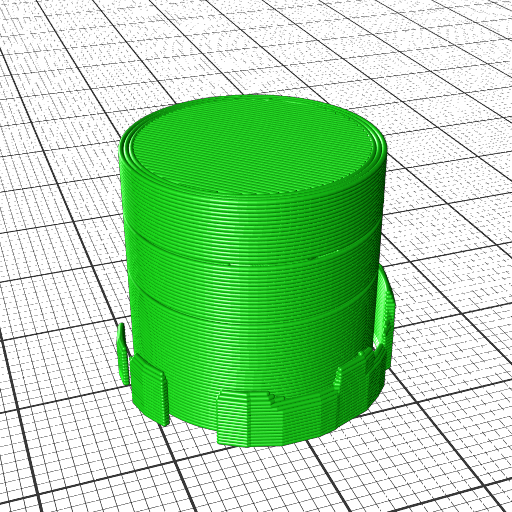
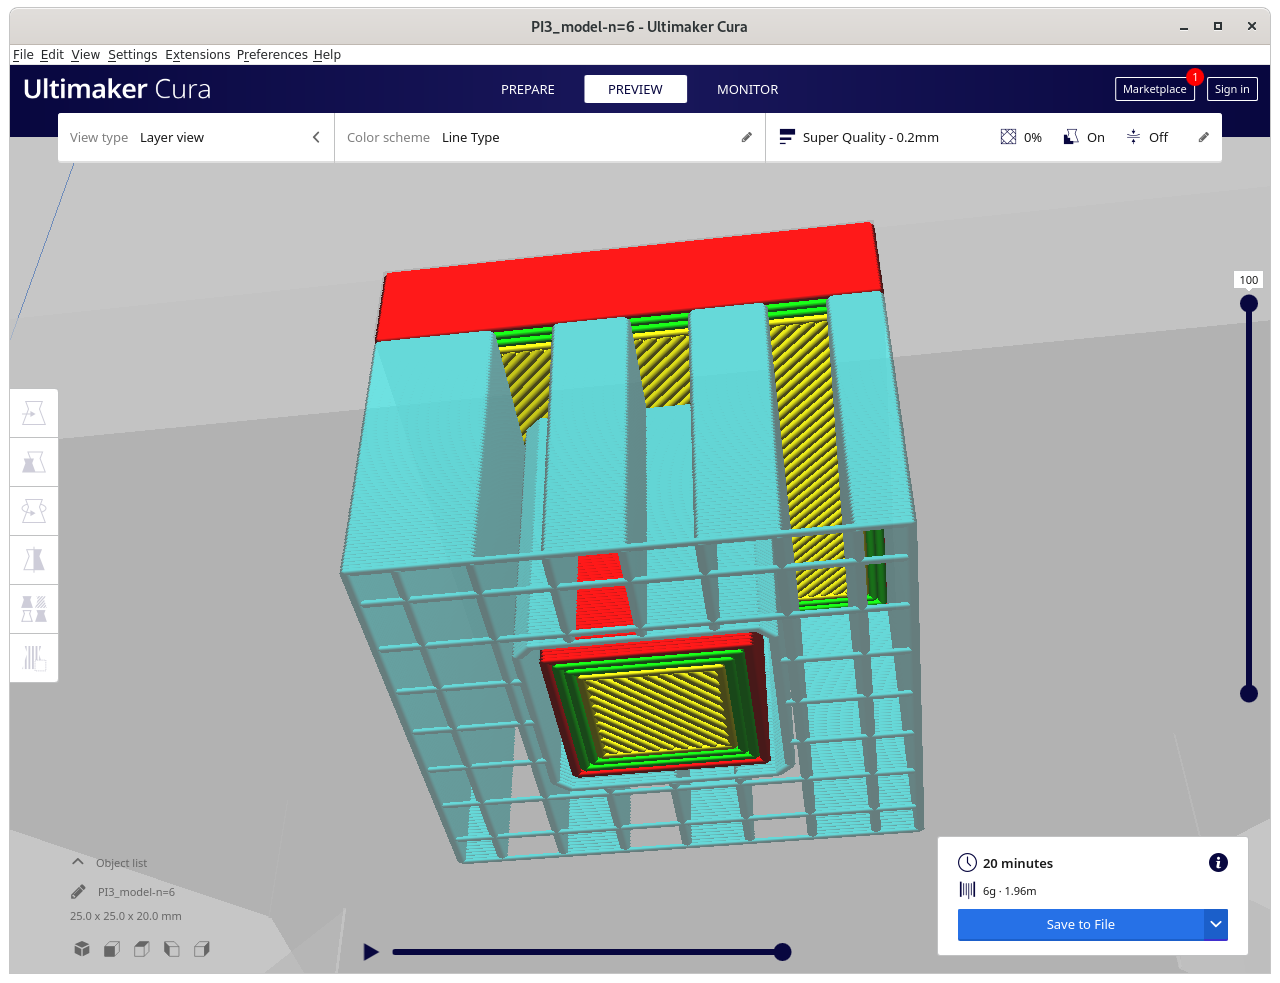
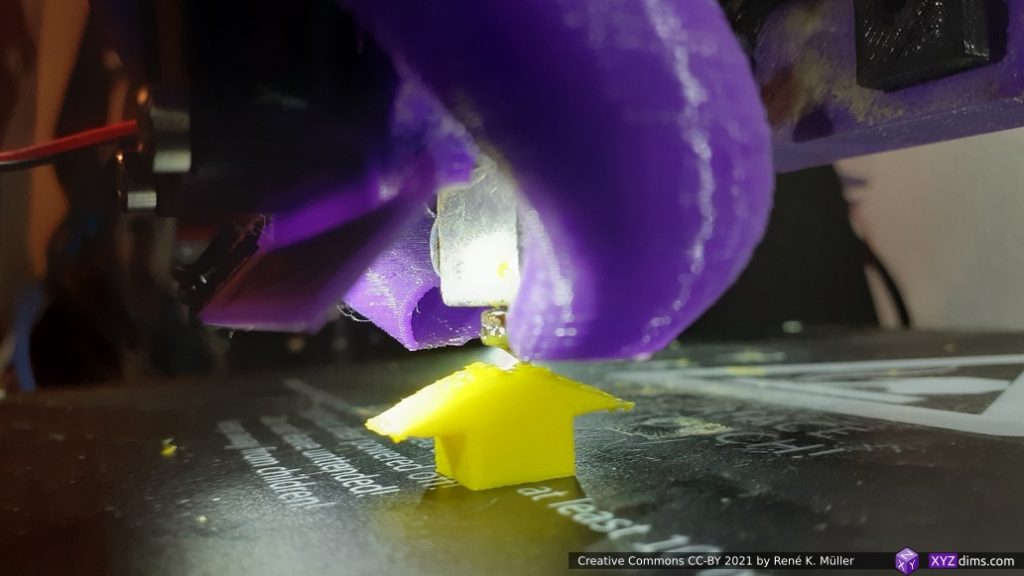
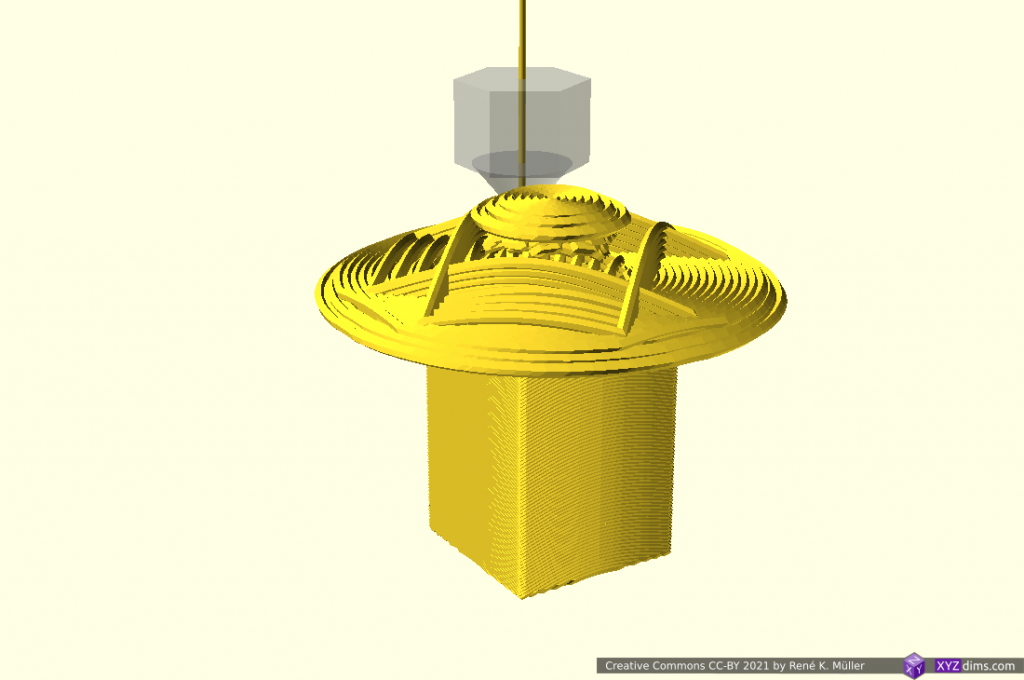
with support
References
- Slicer4RTN also supports
cura-slicer - G-code to PNG
Whereever I used CuraEngine before in my existing software packages I will switch to Cura-CLI-Wrapper with cura-slicer.