Tag Archives: Gcode

Virtual G-code Controller vgcodectl

Status: experimental, not yet released

Updates:

  • 2022/11/29: covers 0.1.6 API
  • 2022/10/31: published
  • 2022/10/28: starting write up

Introduction

As I was developing the 5-axis PAX printhead, and implement Inverse Kinematic (IK) for it in RepRapFirmware (RRF) for Duet3 board, the development speed was slow due the overhead to get to know the RRF written in C++, hence very verbose code, and the “recompiling, uploading, and reboot of the board” cycle to iterate the development – which turned out to be very slow and tedious.

My first remedy was to do a pre- or post-processor which takes tool coordinates and converts into motor positions applying IK, and Print3r supports it via declaring a post-processor like --post_something=something %i %o and then use with --post=something, but would only be a Print3r-centric solution.

So I thought, why not do a virtual serial device, and have a framework where the controller behaves like a physical one, but is pure software and thereby shorten development cycle to convert G-code coming out of a slicer or some software and then being processed and then sent to the 3D printer or robot – so the Virtual G-code Controller (vgcodectl) was born.

It’s main feature is that it operates bidirectional:

  • it takes input and optionally changes it, and outputs it to a file or a device
  • it takes output from a device, and forwards it back to the virtual serial to so it can read back transparently

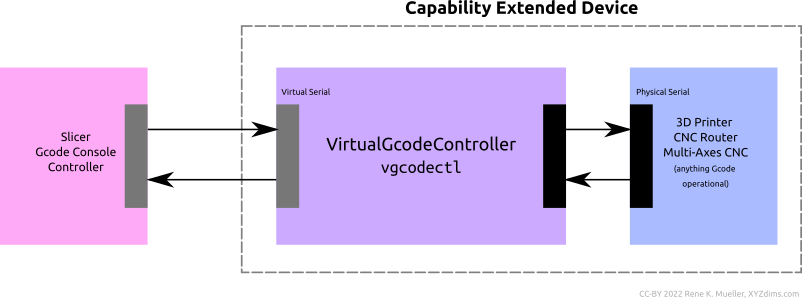
in essence it operates as in bidirectional intermediary looking like a serial port and thereby can be integrated into existing G-code-based machine park.

slicer/console/controller ⇆ physical device

slicer/console/controller ⇆ vgcodectl ⇆ physical device

as a result the setup looks like a capability extended device:

Features

  • simple to write G-code extensions with Python:
    • execute macros and calculate additional values
    • code execution from G-code
    • synchronize G-code with external devices, e.g. webcam
  • extend drivers/controller, like Inverse Kinematics (IK) which otherwise would run on the controller
  • live reloading of controller code: change printer/robot behavior while it’s processing G-code
    • fast iteration of code due scripting (no compiling, uploading or reboot)
  • supported platforms: Linux

Limitations

  • line-based processing: one line comes in, one line or multiple lines comes out (future version might lift this constraint)

Usage

% vgcodectl -h
VirtualGcodeController 0.1.4 USAGE: [<opts>]
   options:
      --help or -h               this help
      --version                  display version & exit

      --verbose=<n>              increase verbosity
         -v or -vvv
      --quiet or -q              don't output to device or console anything unless an error

      --output=<device/file>     set output, e.g. /dev/ttyUSB0 or file or another device (default: /dev/stdout)
         -o <device/file>
      --controller=<ctl>         set controller (default: conf['output'])
         -c <ctl>
         
      --keep-orig or -O          enable to keep original g-code line as comment (default: off)
      --keep-comment or -C       enable to keep original comment (default: off)
                                    hint: --keep-orig/-O includes comment as well
      --serial-speed=<s>         set serial speed [baudrate] (default: 115200)
      --serial-timeout=<s>       set serial timeout [s] (default: 0.1)
      --check-code-timeout=<s>   set code checking timeout [s] (default: 1)
      --output-value-format=<fmt>  set output value format (default: .4f)
      
   examples:
      vgcodectl --output=/dev/ttyUSB0 &
      cat test01.gcode > pass0.pty
      print3r --device=pass0.pty print tests/test01.gcode
      print3r --device=pass0.pty print --scad 'cube(20)'
      
      vgcodectl -o /dev/ttyACM0 -c gcode+ -Ov

Let’s try pass2 controller, which doubles X, Y and Z coordinates.

As first we start the controller:

% vgcodectl -c pass2 -O
== VirtualGcodeController 0.0.3 == https://github.com/Spiritdude/VirtualGcodeController
; VirtualGcodeController 0.0.3, created 2022-10-28T13:23:23.513285
;   verbose = 0
;   output = "/dev/stdout
;   serial_speed = 115200
;   controller = "pass2"

In another terminal we take a sample G-code and send it into pass20.pty serial port (“pass2” plus the “0” indicates the first instance of pass2 controller):

% cat tests/test01.gcode > pass20.pty

and the vgcodectl outputs to stdout as it is the default:

G28 X0 Y0 ; G28 X Y
G92 ; G92   ; reset
G90 ; G90   ; abs coords
G0 X200 Y200 ; G0 X100 Y100
G1 X200 Y220 E1.2000 ; G1 X100 Y110 E1
M84 ; M84

As you notice, the new G-code is altered, e.g. X, Y and Z is doubled, the E is multiplied by 1.2 in this case, and the original G-code is appended as comment due the -O switch used (--keep_orig or -O).

If we did call vgcodectl with --output=/dev/ttyACM0 the end point would be a real 3D printer for example at /dev/ttyACM0.

Print3r

% print3r --printer=ashtar-k-3 --device=pass20.pty print tests/test01.gcode
== Print3r 0.3.18 == https://github.com/Spiritdude/Print3r
print3r: conf: device pass20.pty, Ashtar K #3 E3 38x30x33, build/v 300x300x330mm, nozzle/d 0.4mm, layer/h 0.25mm, filament/d 1.75mm
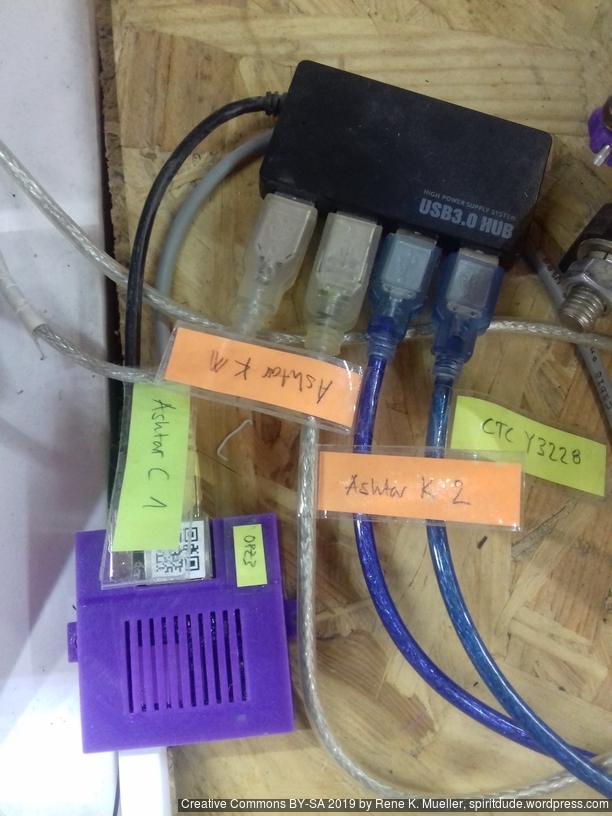
print3r: authenticated "Ashtar K #3 E3 38x30x33" (8a09209a-1b93-11ed-861d-0242ac120002) at pass20.pty
print3r: print: 0h 00m elapsed, eta 0h 00m, 100.0% complete, z=0.00mm, layer #0, filament 0.00m  

as indicated, the pass20.pty operates bidirectional, reports back the proper UUID as requested by print3r and then sends G-code forward and does proper synchronous messaging back and forth.

print3rpass2*.pty:vgcodectl/dev/ttyACM0

Controllers

Following controllers are available:

  • pass: it’s a simple pass-through changing no code, for debugging purposes
  • pass2: double X, Y and Z, and multiply E by 1.2
    • don’t use with actual 3D printer, only for debugging purposes
  • scale: scaling X, Y, Z and E, rather experimental / for debugging purposes
    • CLI argument: use --scale=<s> to set scale in , e.g. 0.8 (default: 1.0)
    • actually produces some working G-code
  • gcode+: writing low-level G-code and replace E automatically based on distance
    • use G0 X100 Y100 and then G1 Y110 E and the G1‘s extrusion will be calculated
    • actually produces some working G-code
    • CLI arguments:
      • --layer-height=<lh> [mm] (default: 0.2)
      • --line-width=<lw> [mm] (default: 0.4)
      • --filament-diameter=<d> [mm] (default: 1.75)
  • delta: implementing cartesian XYZ -> T1,T2,T2 motor angles, using Delta printer inverse kinematics
  • pax: implementing 5-axis inverse kinematics for PAX printhead
  • 5axis: generalized 5-axis driver, define forward kinematics, automatic inverse kinematics calculated:
    • open5x: Open5x
    • pax: PAX Printhead, same as pax controller, but defined within 5axis controller
  • macros: implementing RepRapFirmware’s M98 functionality

Download

Writing A Controller

Note: vgcodectl is currently under heavy development, API subject to change a lot – check back this page frequently.

This covers vgtcodectl 0.1.6 API:

  • controllers/<controller> /:
    • main.py
      • must contain def _map(self,c=None) function, in there you can recalculate any existing G-code, the c contains a dictionary with all the G-code values, the function returns
        • a dict of the remapped variables, e.g. { "G": 0, "X": 100.0 } – note: order matters, make sure ‘G’ or ‘M’ key comes first for G or M commands
        • a string, e.g. "G0 X100.0" or G0 X100.0\nG1 X110 E1.2"
        • a tuple or list of
          • strings, e.g. [ "G0 X100.0", "G0 X110.0" ], each element is a line
          • dictionaries, e.g. [ { "G": 0, "X": 100 }, { "G": 0, "X": 110 } ], each element is a line
        • if None is returned, no change of G-code is made and the original data is passed on
        • if "" (empty string) is returned, nothing is passed on (mute)
      • optionally def __init__(self,conf=None) function be composed, where persistent state can be stored, and referenced in _map() then; the conf is the configuration of vgcodectl:
        • command line arguments vgcodectl --test="ABC" ... becomes conf['test'] available within __init__(), the controller profile profile.json is loaded and available as conf['profile']
        and if you store conf as self.conf then _map() has access to it as well with self.conf['test'] or self.conf['profile']['name']
    • profile.json (optional):
      • basic JSON file with follow keys:
        • name (string): full name of the controller
        • version (string): version of the controller, e.g. “0.1.0”
        • and any other key value default relevant for the controller

e.g. controllers/mine/main.py:

def __init__(self,conf=None):
   pass

def _map(self,c=None):
   if 'X' in c:
       c['X'] *= 2
   return c

then the controller can be referenced as such:

% vgcodectl -c mine -v
== VirtualGcodeController 0.0.7 == https://github.com/Spiritdude/VirtualGcodeController
vgcodectl: 2022-10-31T06:48:14.026650: loading <mine> profile
vgcodectl: 2022-10-31T06:48:14.026705: loading <mine> code
vgcodectl: 2022-10-31T06:48:14.027444: created mine0.pty (/dev/ptmx,/dev/pts/7)
vgcodectl: 2022-10-31T06:48:14.027473: opening /dev/ptmx
; VirtualGcodeController 0.0.7,  2022-10-31T06:48:14.027622
;   verbose = 1
;   quiet = 0
;   output = "/dev/stdout"
;   keep_orig = 0
;   keep_comment = 0
;   serial_speed = 115200
;   serial_timeout = 0.1
;   check_code_timeout = 1
;   output_value_format = ".4f"
;   ignore_codes = ["M117"]
;   controller = "mine"

Scale Controller

The scale controller is just an experiment, to scale G-code with a factor:

% vgcodectl -c scale --scale=0.8 -o /dev/ttyACM0 &
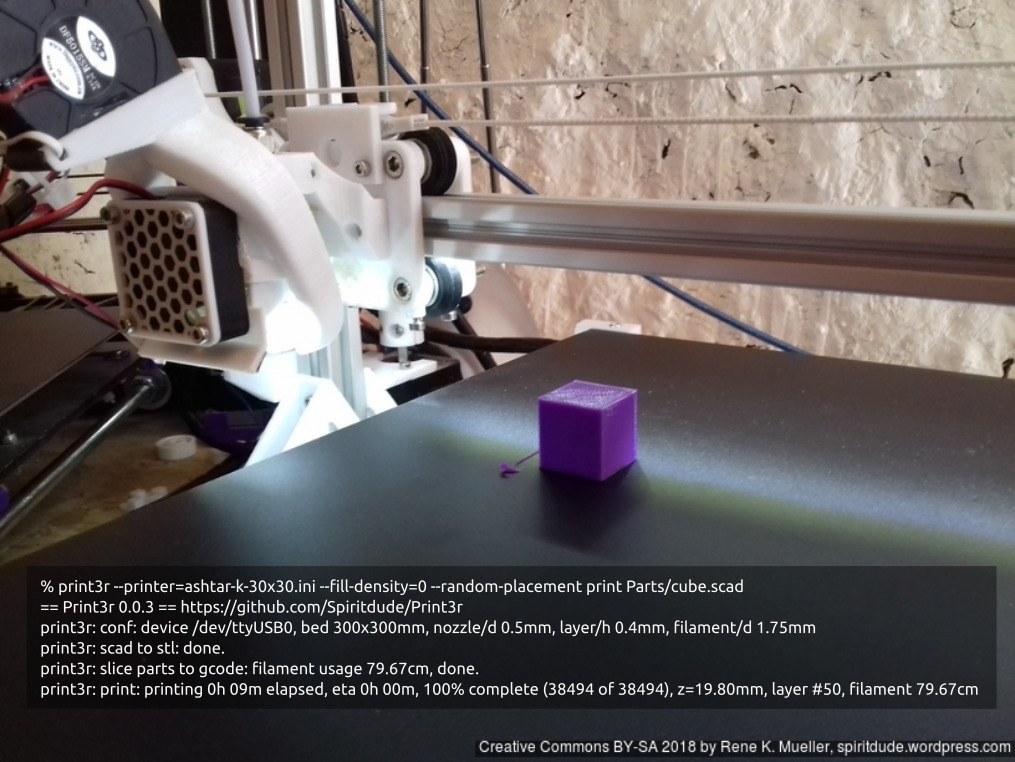
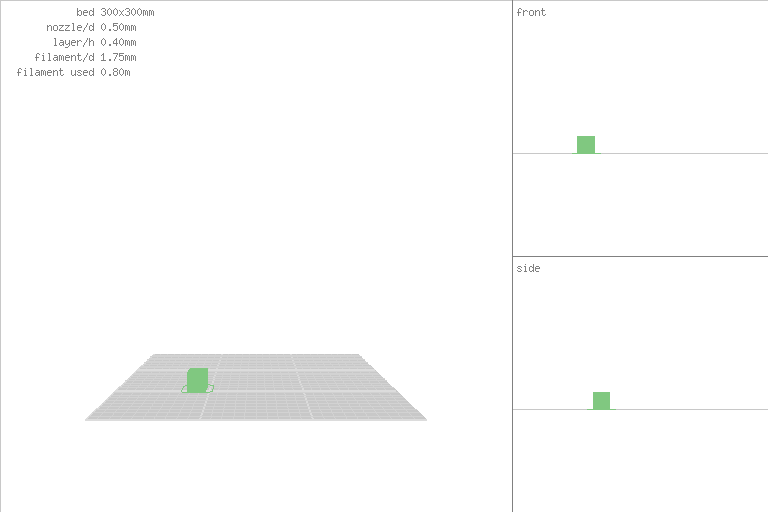
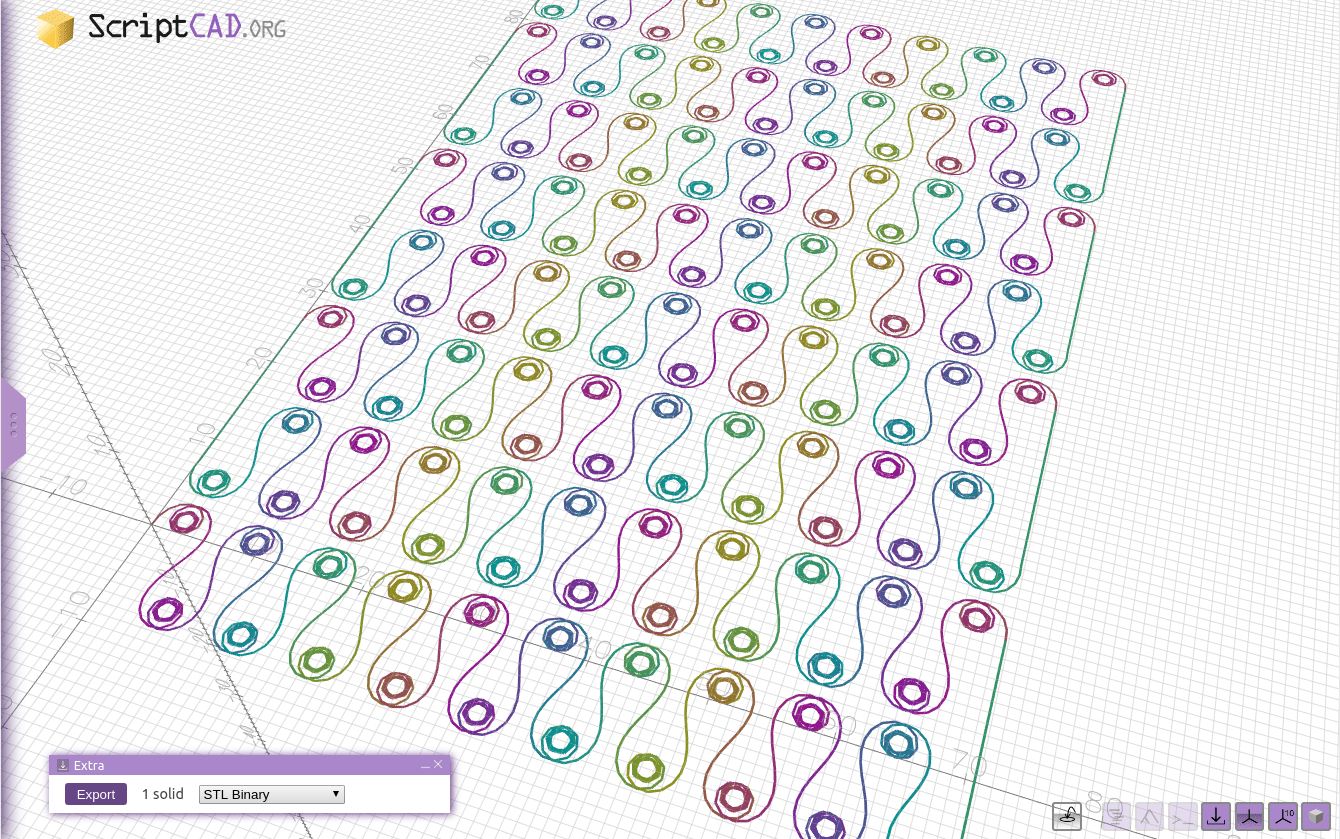
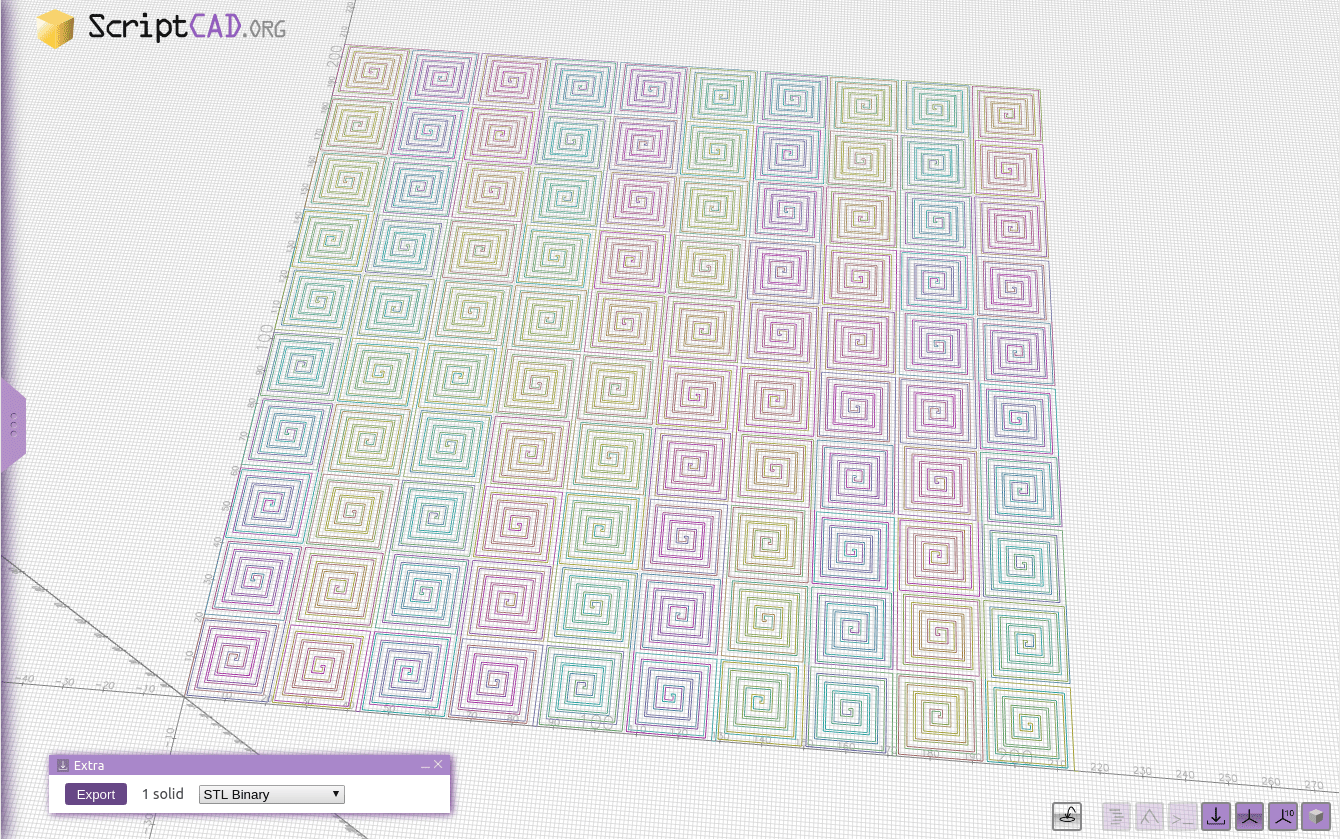
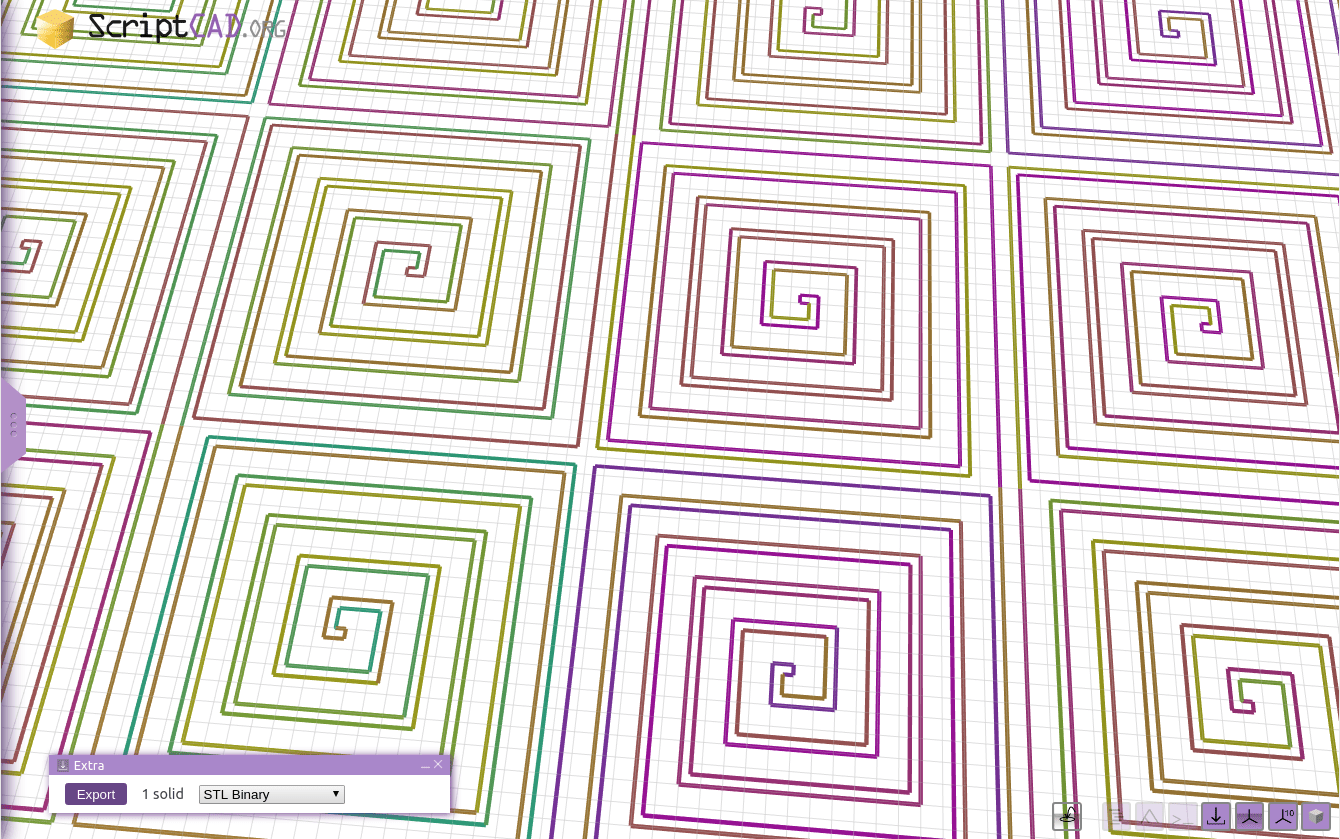
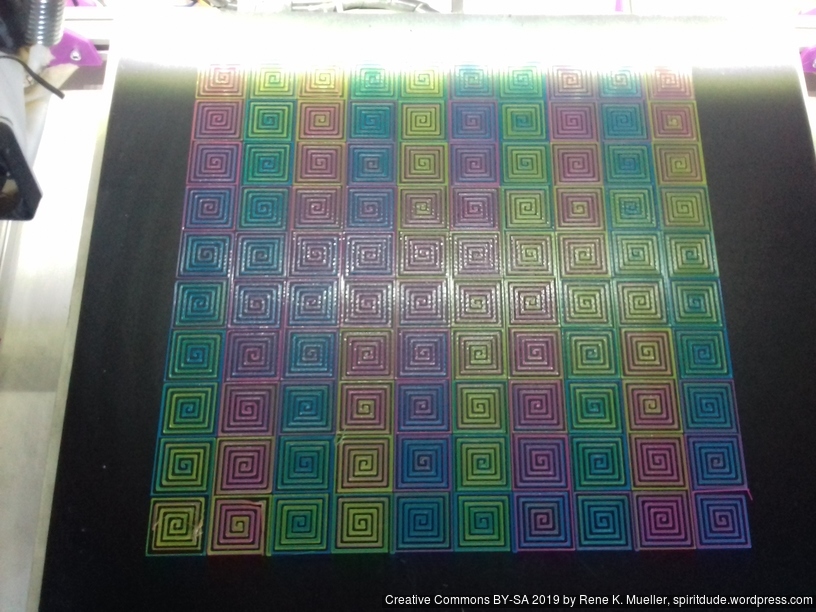
% print3r --printer=ashtar-k-3 print --scad 'cube(20)' --fill-density=0 --device=scale0.pty
cube(20) in –-scale=.8, --scale=1, --scale=1.2 processed with scale controller

References

3D Printing: YAGV: Yet Another G-code Viewer Fork

One of the oldest standalone G-code viewers yagv (Yet Another G-code Viewer) I forked and added following features:

  • ported to Python3
  • new color scheme (white background)
  • parsing G-code comments, determining wall, infill, support structure and render with different colors
  • support for Slic3r, PrusaSlicer, Cura/cura-slicer, Mandoline and Slicer4RTN (non-planar)
  • panning implemented (properly works with zoom and rotation)
    • same mouse button layout as OpenSCAD
  • more test G-code included in tests/

Example of non-planar G-code:

Download

https://github.com/Spiritdude/yagv

Note: I opened a Pull Request (PR) but not sure if it’s accepted.

See Also

3D Printing: GCode File Preview in GNOME

When dealing with a lot of G-code it comes handy to have a small thumbnail preview in the file browser under GNOME, hence I coded this package.

It supports Slic3r, Prusa Slicer and Cura.

Download

https://github.com/Spiritdude/Nautilus_Thumbnailer_GCode

gcode2png

The package includes gcode2png which can be used standalone as well.

20mm cube sliced with Slic3r and converted with gcode2png to PNG
USAGE gcode2png 0.0.7: [<opts>] <file.gcode> ... 
   options:
      --version               print version and exit
      --autolevel             level Z minimum to 0 (default: off)
      --output=<fn>           override .gcode -> .png conversion
      --size=<w>x<h>          set size of image (default: 512x512)
      --rotate=<x>,<y>,<z>    rotate model (default: 30,0,-20)
      --dist=<d>              set distance multiplier (default: 1)
      --color=<r>,<g>,<b>     set color (default: .1,.8,.1)
      --grid=0 or 1           set grid (default: 1)
      --grid_size=<s>         set grid size (default: 10)
      --nozzle=<d>            set nozzle diameter (default: 0.4)
      --complete=<i>          set completeness: 0..1 or 0%..100%
      
   examples:
      gcode2png gcube.gcode
      gcode2png --output=cube-normal.png cube.gcode
      gcode2png --color=1,0,0 3DBenchy.gcode
      gcode2png --complete=50% 3DBenchy.gcode

That’s it.

CAD: ScriptCAD.org Prototype (2019/12)

Around February 2019 I bootstrapped a scripted CAD environment named “ScriptCAD”, and resembles closely to OpenSCAD.org and OpenJSCAD.org (which I co-developed for a couple of years) with a new take, developed from scratch:

ScriptCAD.org: ScriptCAD Logo 2019/11
  • Scripting capability using JavaScript
  • Separate internal representation from display representation
    • Triangulation or Implicit representation
    • only triangulate at late stage at display or export
ScriptCAD.org Internal Stages
  • Intuitive Graphical User Interface (GUI)
    • Simple export various formats
    • Select top-level solids
    • Source <-> TreeView <-> 3D Model selection
Select Source <-> TreeView Item <-> 3D Model

The transparent Source vs Object Tree vs 3D Space has been in the back of my mind for a long time as I keep the connection of each stage intact and transparent.

  • Ease of use
    • hiding JS module complexity and notions
    • Browser use (either use built-in editor or drag-n-drop source with autoreload)
    • Command Line Interface (CLI) use

Screenshots & Examples

SpiritCAD.org Online as Preview

As of November 2019, ScriptCAD.org is reachable as an early preview (alpha stage), most examples work, some do not yet or display wrong output.

Note: there is only limited documentation yet (2019/11), and the API is subject of changes.

I still tune it to my use-cases and therefore API and overall design of the API might change, even drastically; once the API becomes more stable I will release the source code as well.

Some of use-cases (as seen in the gallery above):

  • coding low-level Gcode and use ScriptCAD to preview (render) Gcode including colors, scriptcad (CLI) outputs .gcode to actually print
    • testing single layer color mixed 3D Printing: forms, color mixing
  • ScriptCAD uses ThreeCSG/csg.js at its core to perform CSG operations, which can be very slow – hence, designing complex pieces can be slow as every change recomputes all again (I like to avoid this in future developments) yet as of 0.3.2 basic caching is implemented so only deltas are recomputed.

Introduction Video

The on-going development I document also. That’s it.

3D Printing: Print3r 0.2.x: Networked Printing

A brief post of my local network for 3d printing with several 3d printers, using print3r CLI (Command Line Interface) tool.

20190218_105541

Physical Setup

20190302_164919Orange Pi Zero (single board ARM-based computer) named printhub running Armbian (Debian-like).

  • Ethernet Port connecting to Ethernet/Wifi Hub with its own subnet (192.168.4.x)
  • External USB 4x Hub connecting 3d printers via USB:
    • Ashtar K 1 (Prusa i3-like, 400 x 300 build plate, 330mm height), 0.5mm nozzle (/dev/ttyUSB2)
    • Ashtar K 2 (300 x 300 build plate, 330mm height), 0.4mm nozzle (/dev/ttyUSB1)
    • Ashtar C 1 (CoreXY, 400 x 400 build plate, 380mm height), 0.4mm nozzle (/dev/ttyUSB0)
    • CTC DIY I3 Pro (Y3228), 0.4mm nozzle (/dev/ttyUSB3)

The workstation from which I print from (design and slice) is also connected via Ethernet. The printed violet PLA case I published a while ago on Thingiverse: Orange Pi Zero Case.

Preparation

On printhub (Orange Pi Zero) starting all the network clients processes:

% print3r /dev/ttyUSB0 client &
% print3r /dev/ttyUSB1 client &
% print3r /dev/ttyUSB2 client &
% print3r /dev/ttyUSB3 client &

Usage

On my workstation (a laptop), referencing printer profiles and devices:

% print3r --device=tcp:printhub:0 --printer=ashtar-c-1 print cube.stl
% print3r --device=tcp:printhub:1 --printer=ashtar-k-2 print cube.stl
% print3r --device=tcp:printhub:2 --printer=ashtar-k-1 print cube.stl
% print3r --device=tcp:printhub:3 --printer=y3228 print cube.stl

See Print3r Wiki: Remote Printing for more details.

The CTC I3 Pro B Y3228 low cost printer still runs Marlin 1.0 and 250,000 baudrate which won’t work with ser2net which print3r uses internally to print in network environment, so it needs to be flashed first with newer firmware, so it can be networked as well with common baudrate like 230,400. I upgraded the ~1 year old “CTC DIY I3 Pro B” 3d printer to Marlin 1.1.8 finally, first burning a bootloader with an Arduino Uno, and then properly configured Marlin, and now runs with 115,000 baudrate as well, so it can be networked as well.

Otherwise I stopped using Cura GUI or Slic3r GUI completely, and solely use print3r to first preview the Gcode, sliced with CuraEngine or Slic3r, and then print the parts, and because it runs on the command line, all the previous calls in the terminal are stored as history therefore I can scroll back (cursor-up/down) and repeat a job with slightly changed settings by editing the command line – something which GUI doesn’t offer, unless you save a printjob as .3mf and reload it and click around and change settings and save again as .3mf etc.

Command Inline OpenSCAD

Further, I often code OpenSCAD code directly with print3r for simple parts, e.g. caps for M6 threaded rods, something like:

20190225_090931

% print3r --device=tcp:printhub:0 --printer=ashtar-c-1 --random-placement --scad print 
"difference(){cylinder(d=8.4,h=10);translate([0,0,2])cylinder(d=6.4,h=10);}"

and if the print came out well, I add --multiply-part=3 or so.

Download & Install Print3r

github.com/Spiritdude/Print3r


That’s it for now.


3D Printing: Print3r 0.1.6 Release

Following major changes of 0.0.9 to 0.1.6 regarding Print3r (command line tool for 3d printing):

Multiple Slicers Support

Now print3r natively supports 4 different Open Source slicers:

  • Slic3r (slic3r)
  • Slic3r PE (Prusa Edition) (slic3r-pe)
  • CuraEngine Legacy (15.04) (cura-legacy)
  • CuraEngine (3.5.x) (cura)

which can be set with --slicer=<slicer> on the command line.

Slicer Independent Settings

Starting with 0.1.0 print3r provides a slicer-independent layer with a growing list of settings:

  • temperature
  • nozzle-diameter
  • filament-diameter
  • bed-temperature
  • etc.

Full list of settings you find at Print3r Github Wiki.

Slicer Specific Settings

Yet, if you must, you can still use slicer-specific settings to fine-tune settings according your print needs and printer capabilities.

Macros (other Profiles)

For often used settings like print quality, or filament settings, you can gather those settings and reference them in the command line like:

% print3r @filament/prusament @thin @hollow cube.scad

Quality Presets:

  • @coarse
  • @medium
  • @fine

Infill/Wall/Perimeter Presets:

  • @heavy
  • @light
  • @feather

OpenSCAD Integration

print3r already supported to print or slice .scad files,

% print3r print cube.scad

and now since 0.1.6 also following command line code integration is possible:

% print3r --scad print "cube(20)"
% print3r --scadlib=washer.scad --scad print "washer(5)"
% print3r --scadlib=parts.scad --scad "c_2020()" "edge_idler()"

Arbitrary Baudrate

Since 0.1.0 also arbitrary baudrate like 250000 (default of Marlin) is supported (Linux only, other platforms not yet), aside the common 115200.

Preview

As external Gcode viewer for preview command yagv is used, a very basic viewer – at a later time it might be replaced.

% print3r preview cube.scad

which converts, slices and preview the Gcode.

Extensive Documentation

Since the functionality of print3r is growing steadily, the requirement for proper documenation demanded its own Print3r Wiki where you find up-to-date information.

Download

https://github.com/Spiritdude/Print3r

3D Printing: Print3r (CLI)

example

Command Line Interface (CLI)

Although 3d parts need to be seen and visually so much is communicated, but Cura’s user interface feels conceptually skewed (“Prepare” vs “Monitor” tab) – and with the time I thought I want an ordinary command line interface to print parts quickly, easily multiply and random placement so the bed surface is more evenly used and not just the center – I have grown tired to move parts on the virtual bed.

So, I wrote print3r, a command line interface which utilizes Slic3r as backend. Its main features (Version 0.0.6):

  • command line interface, no GUI
  • UNIX platform (Linux, *BSD, macOS should work too)
  • print .scad (OpenSCAD), .stl, .obj, .amf and .3mf directly
    • it converts and slices depending on file format as needed
    • takes Slic3r command line arguments
    • multiply part
    • random placement
    • scale, rotate, translate or mirror (.scad or .stl only for now)
  • slice .stl, .obj, .amf and .3mf to .gcode
  • print gcode files
  • send gcode lines direct from command line arguments
  • send interactively gcode commands from the console
  • render .scad, .stl and .gcode to PNG for documentation purposes

Example

% print3r --printer=ashtar-k-30x30.ini --fill-density=0 --random-placement print Parts/cube.scad
== Print3r 0.0.3 == https://github.com/Spiritdude/Print3r
print3r: conf: device /dev/ttyUSB0, bed 300x300mm, nozzle/d 0.5mm, layer/h 0.4mm, filament/d 1.75mm
print3r: scad to stl: done.
print3r: slice parts to gcode: filament usage 79.67cm, done.
print3r: print: printing 0h 09m elapsed, eta 0h 00m, 100% complete (38494 of 38494), z=19.80mm, layer #50, filament 79.67cm

More information on the printer display: progress [%], eta and layer#:

20181005_170351

Result:

20180927_152946

and if you replace ‘print‘ with ‘render‘, like

print3r [...] --output=sample.png render Parts/cube.scad

cube-example

Download

Github.com: Spiritdude/Print3r