
Updates:
- 2021/05/02: adding overhang-inout with 5 segments, with conic inside- and outside-cone mode
- 2021/05/01: adding tilt sliced overhang segment variant as comparison
- 2021/04/29: video uploaded and blog-post published
- 2021/04/27: first successful tests with vertical nozzle (3-axis FDM printer)
Table of Contents
Introduction
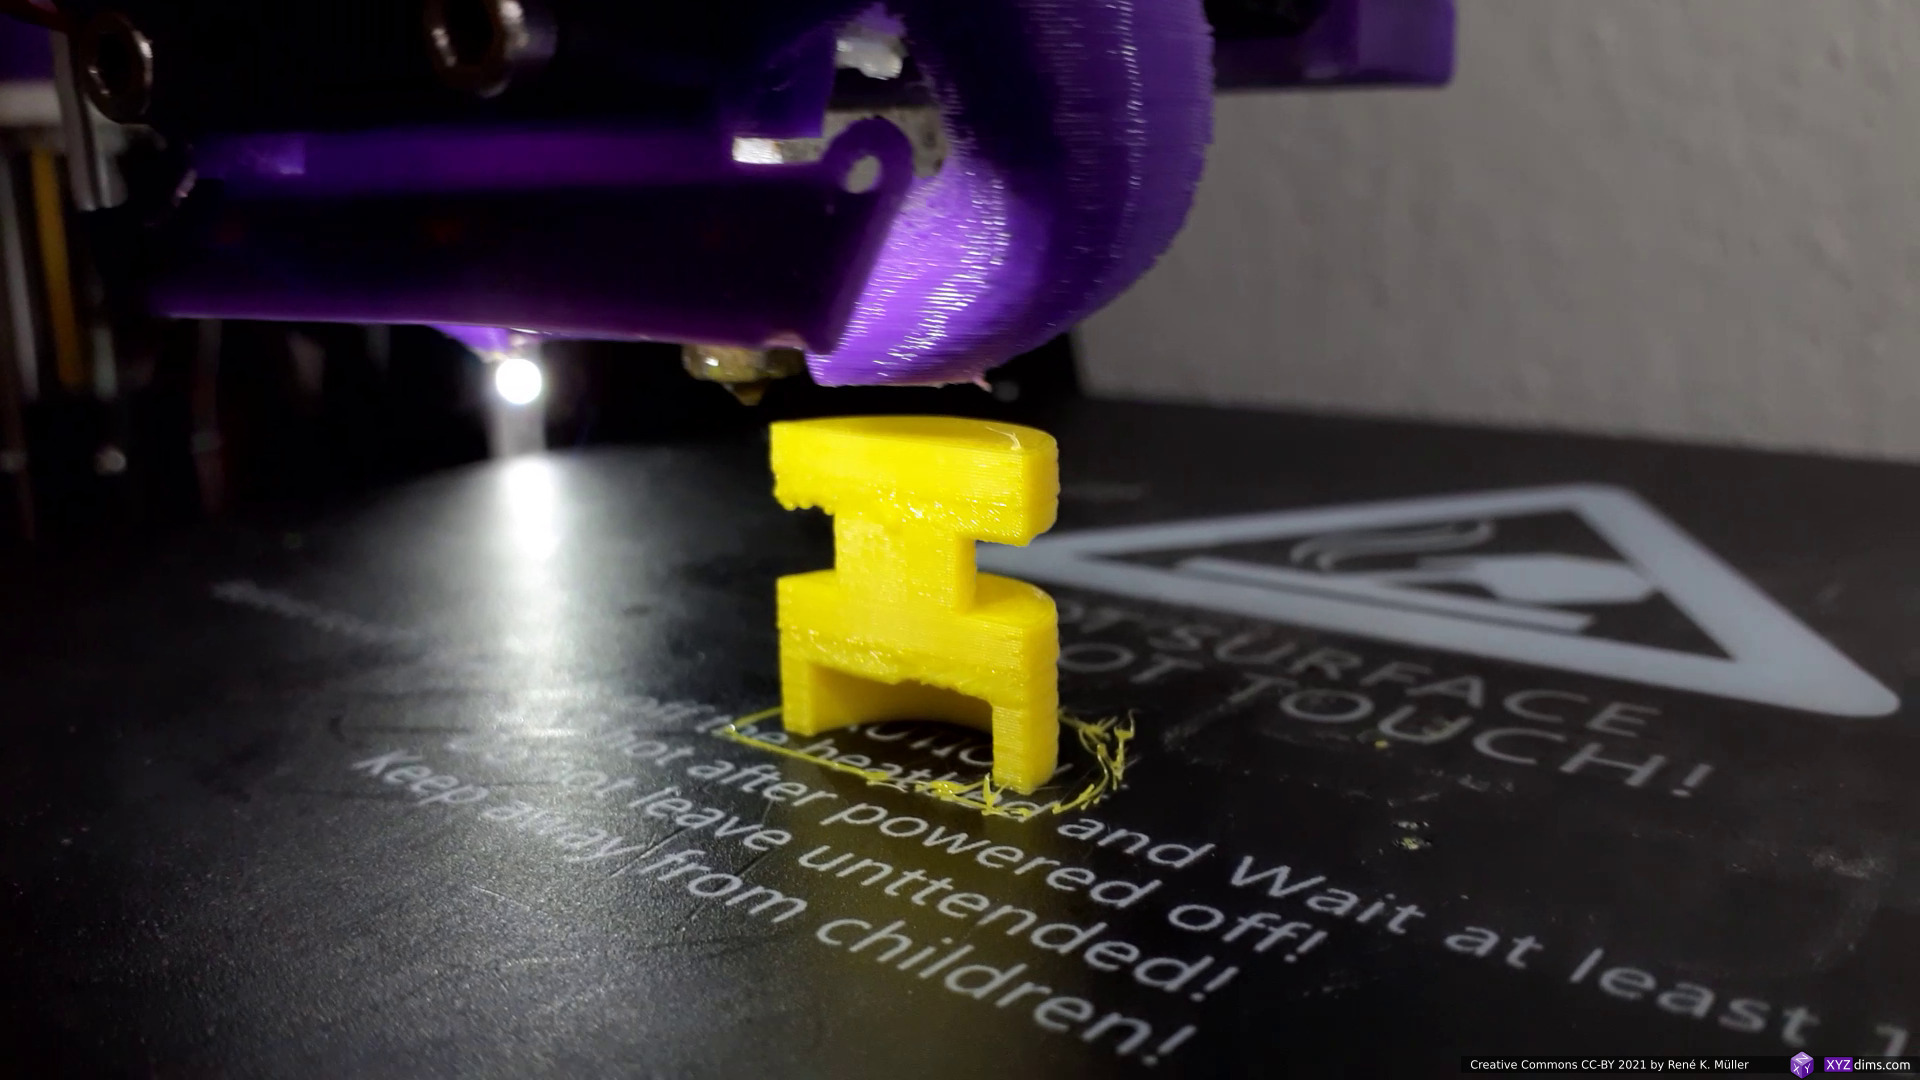
The past few months and weeks I focused on the non-planar slicing, and the first tests with sub-volume segmenting and thereby mixing planar and non-planar sliced G-code worked as simulation, and now in actual prints.
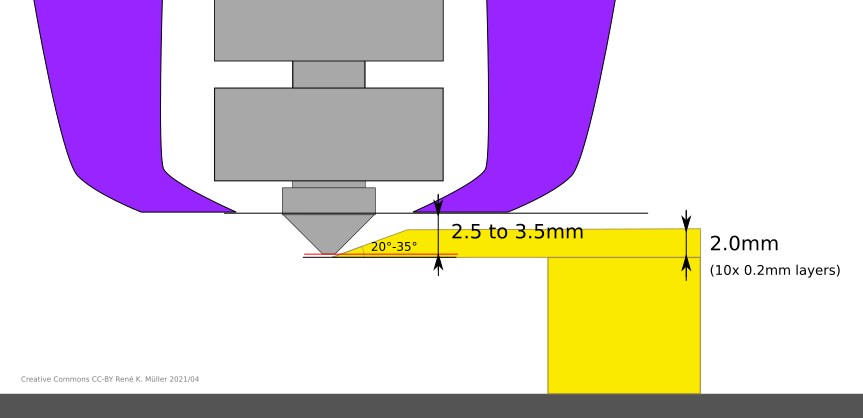
One of the benchmarks are 90° overhangs in different directions, and I printed with vertical nozzle on an ordinary 3-axis FDM printer, therefore I prepared the G-code with a new tool (in-development) which coordinates segmenting and planar/non-planar slicing of sub-volumes, and the conic sliced segment was sliced with 25° conic angle so it remains printable with the vertical nozzle unlike the simulation where a 4- or 5-axis FDM printer is required:
Gallery
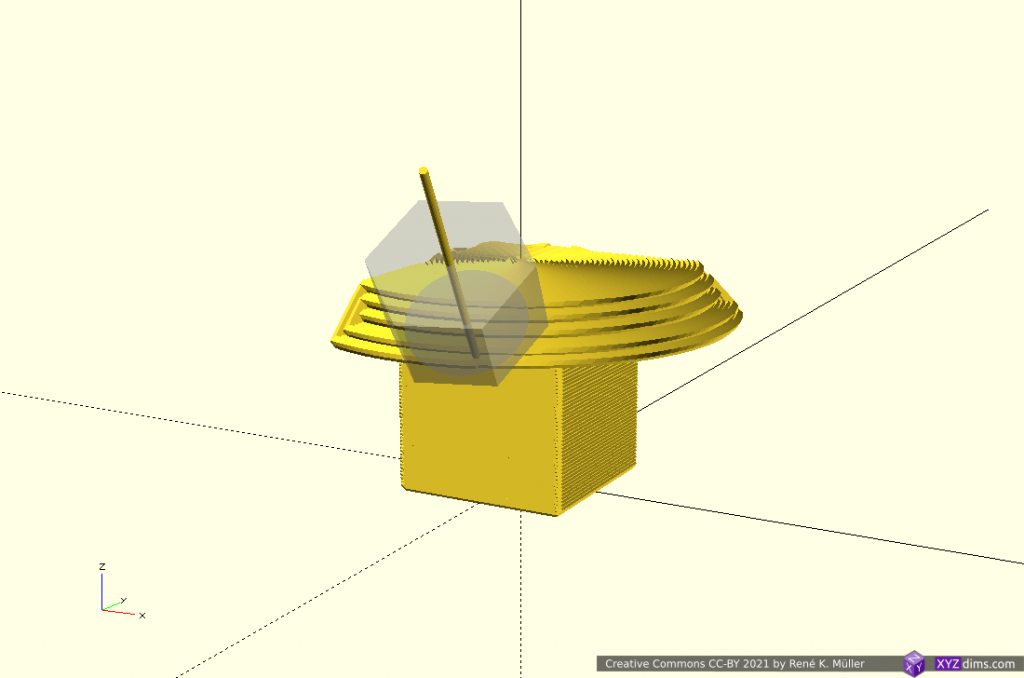
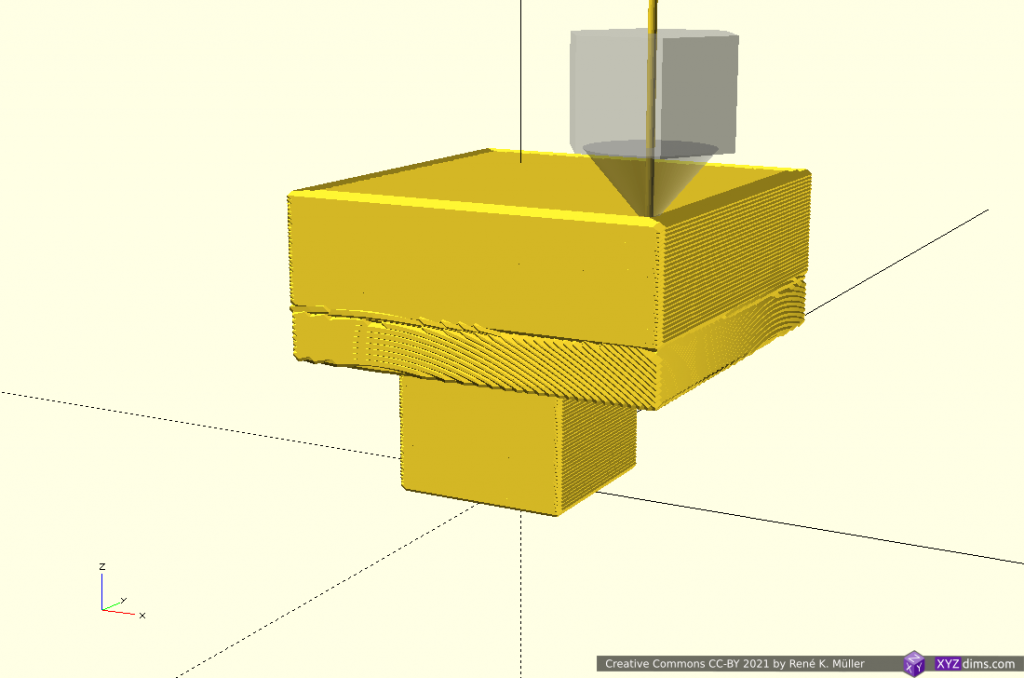
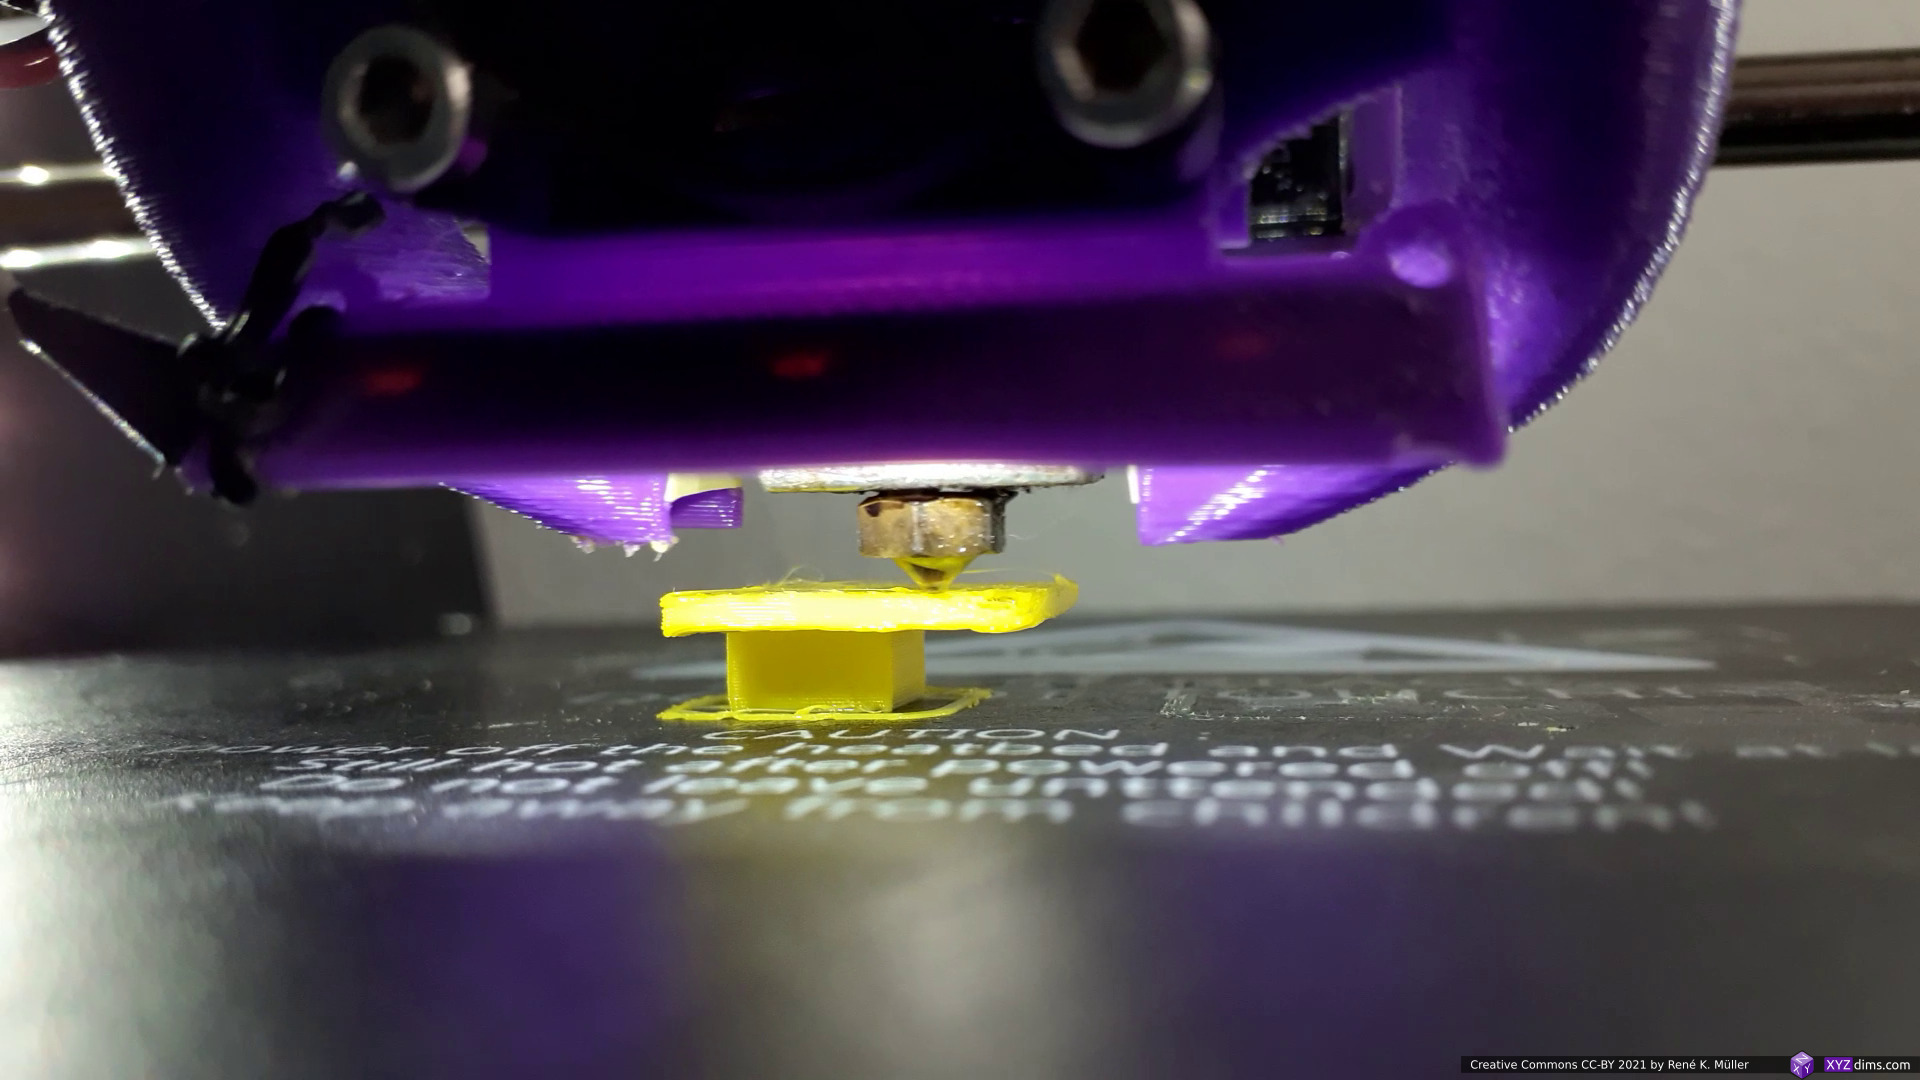
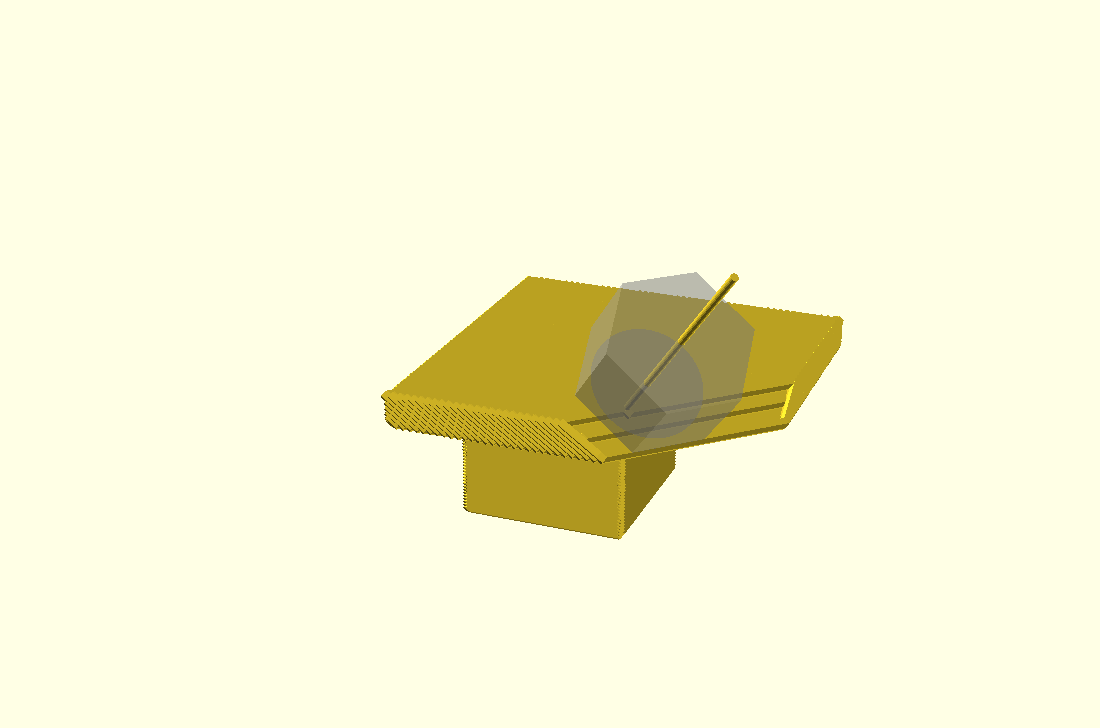
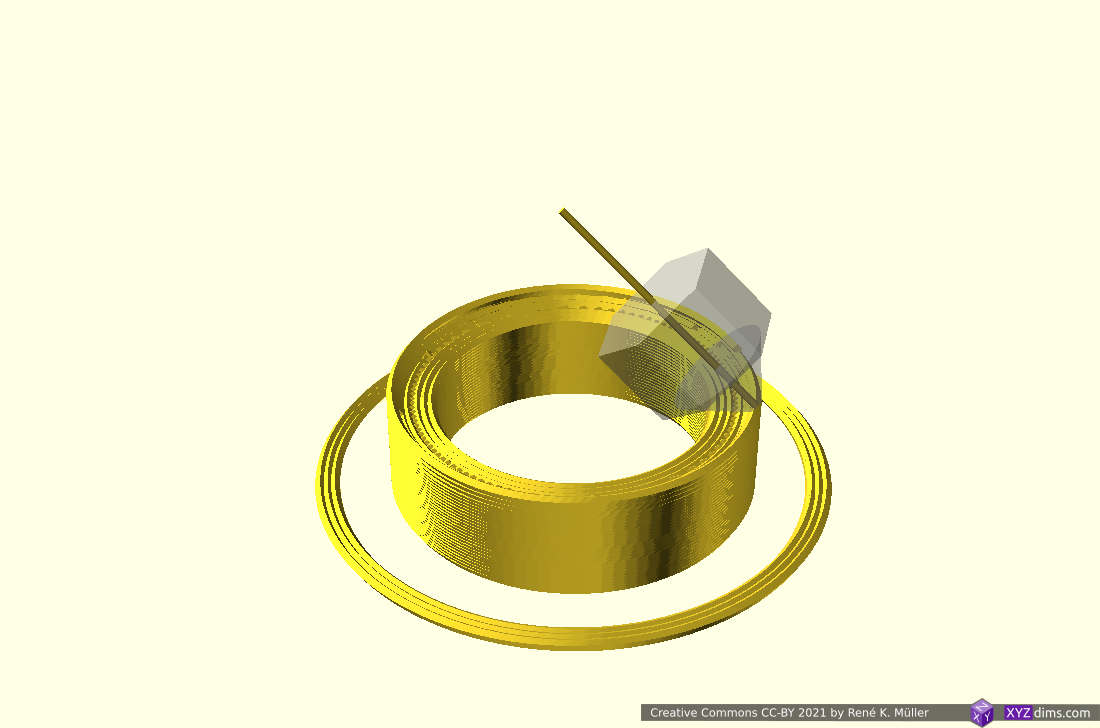
Conic Sliced Overhang Segment
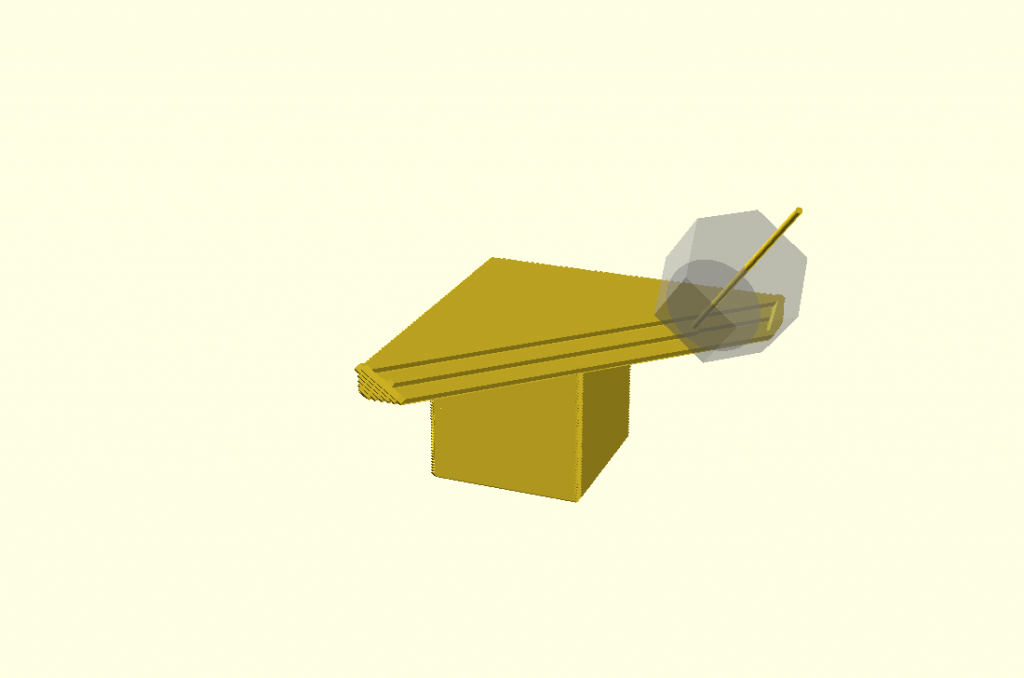
The simulation as reference:
3 segments: z-planar, conic and z-planar on top 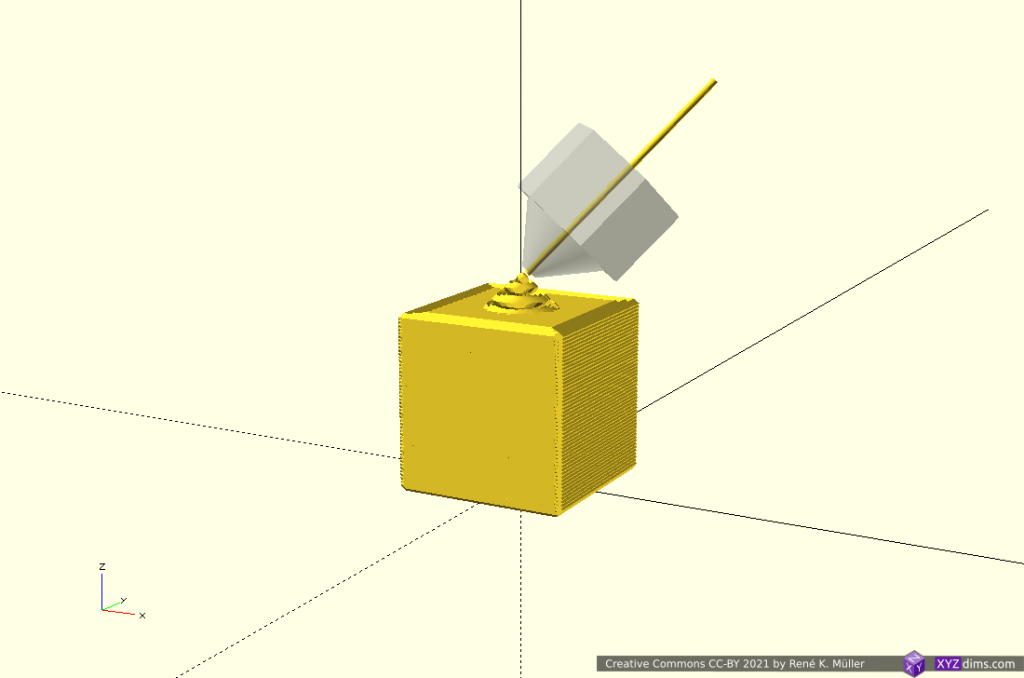


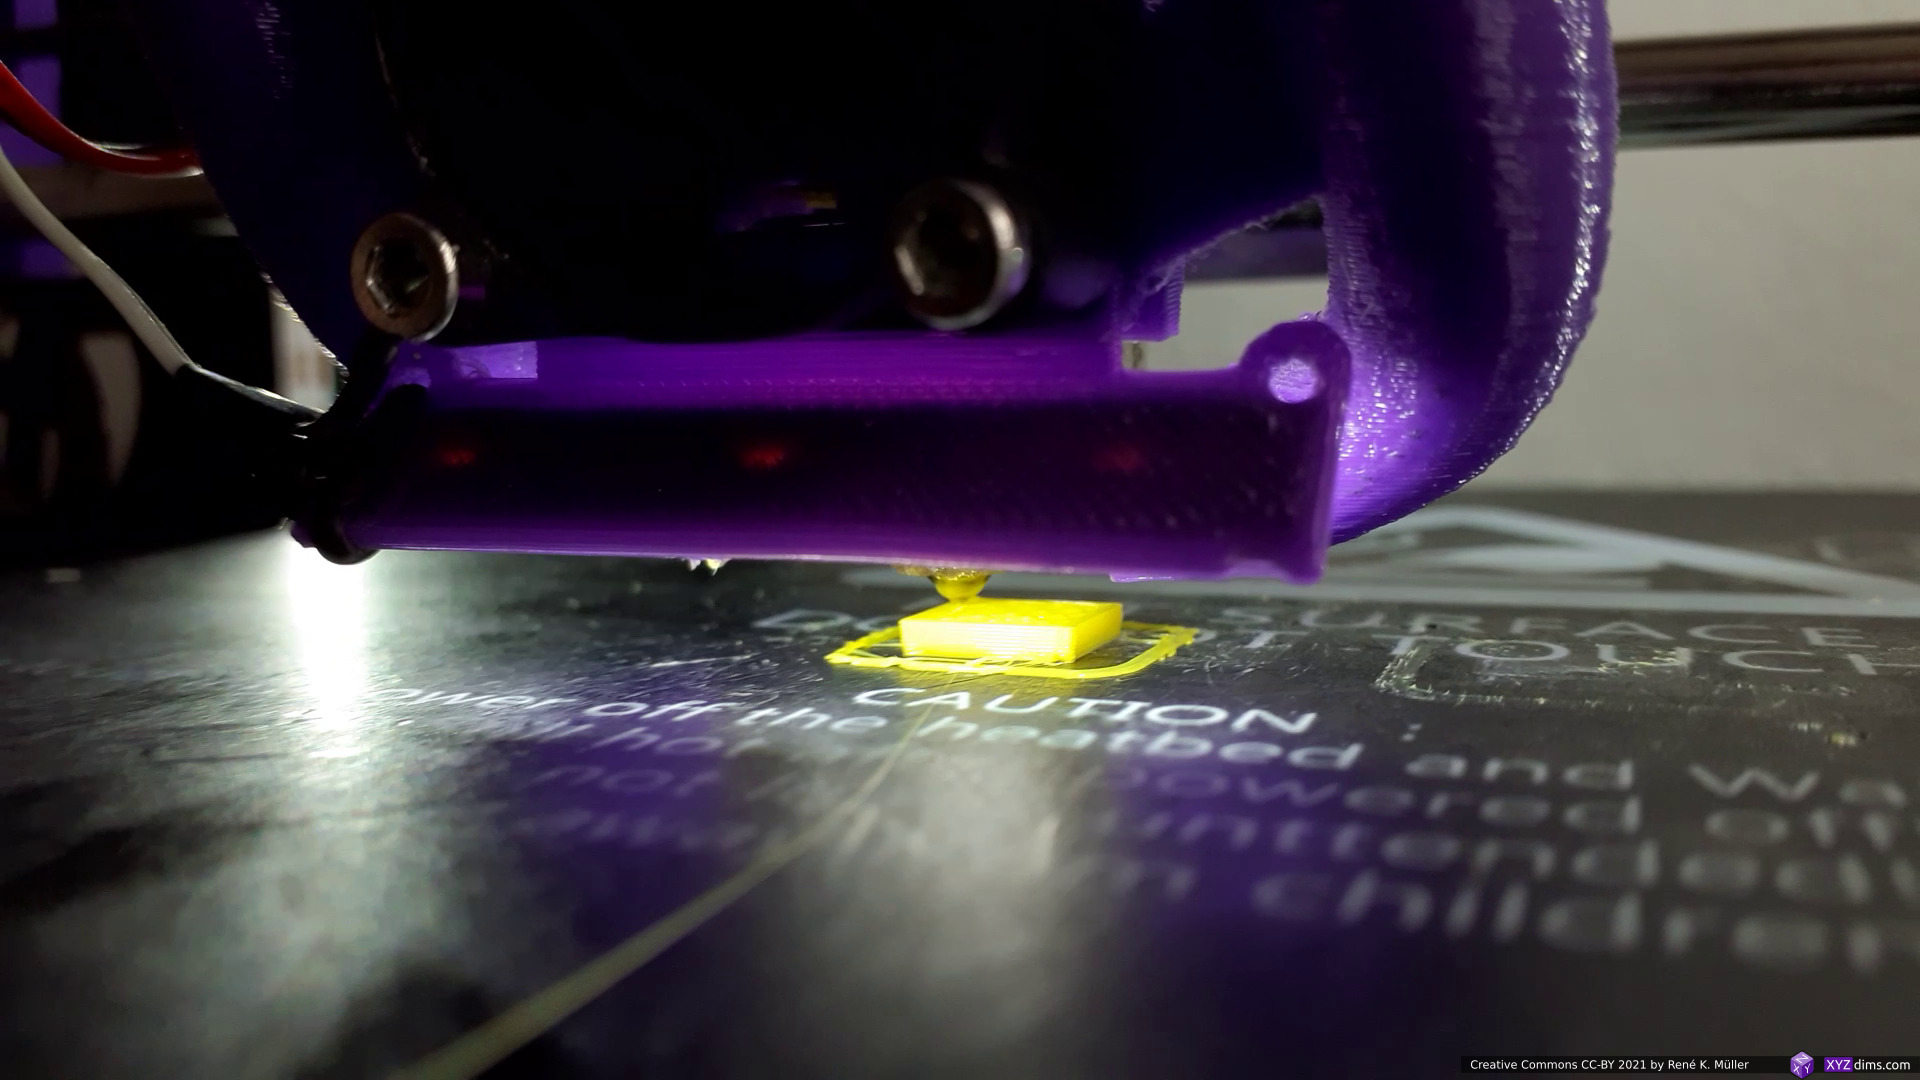
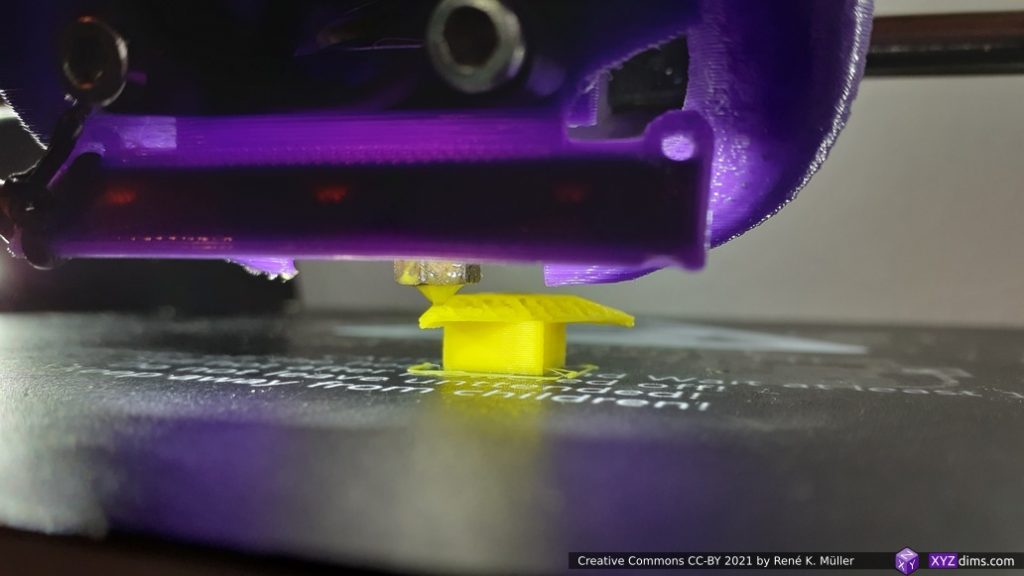
and the actual print process with vertical nozzle on a low-cost 3-axis FDM printer:

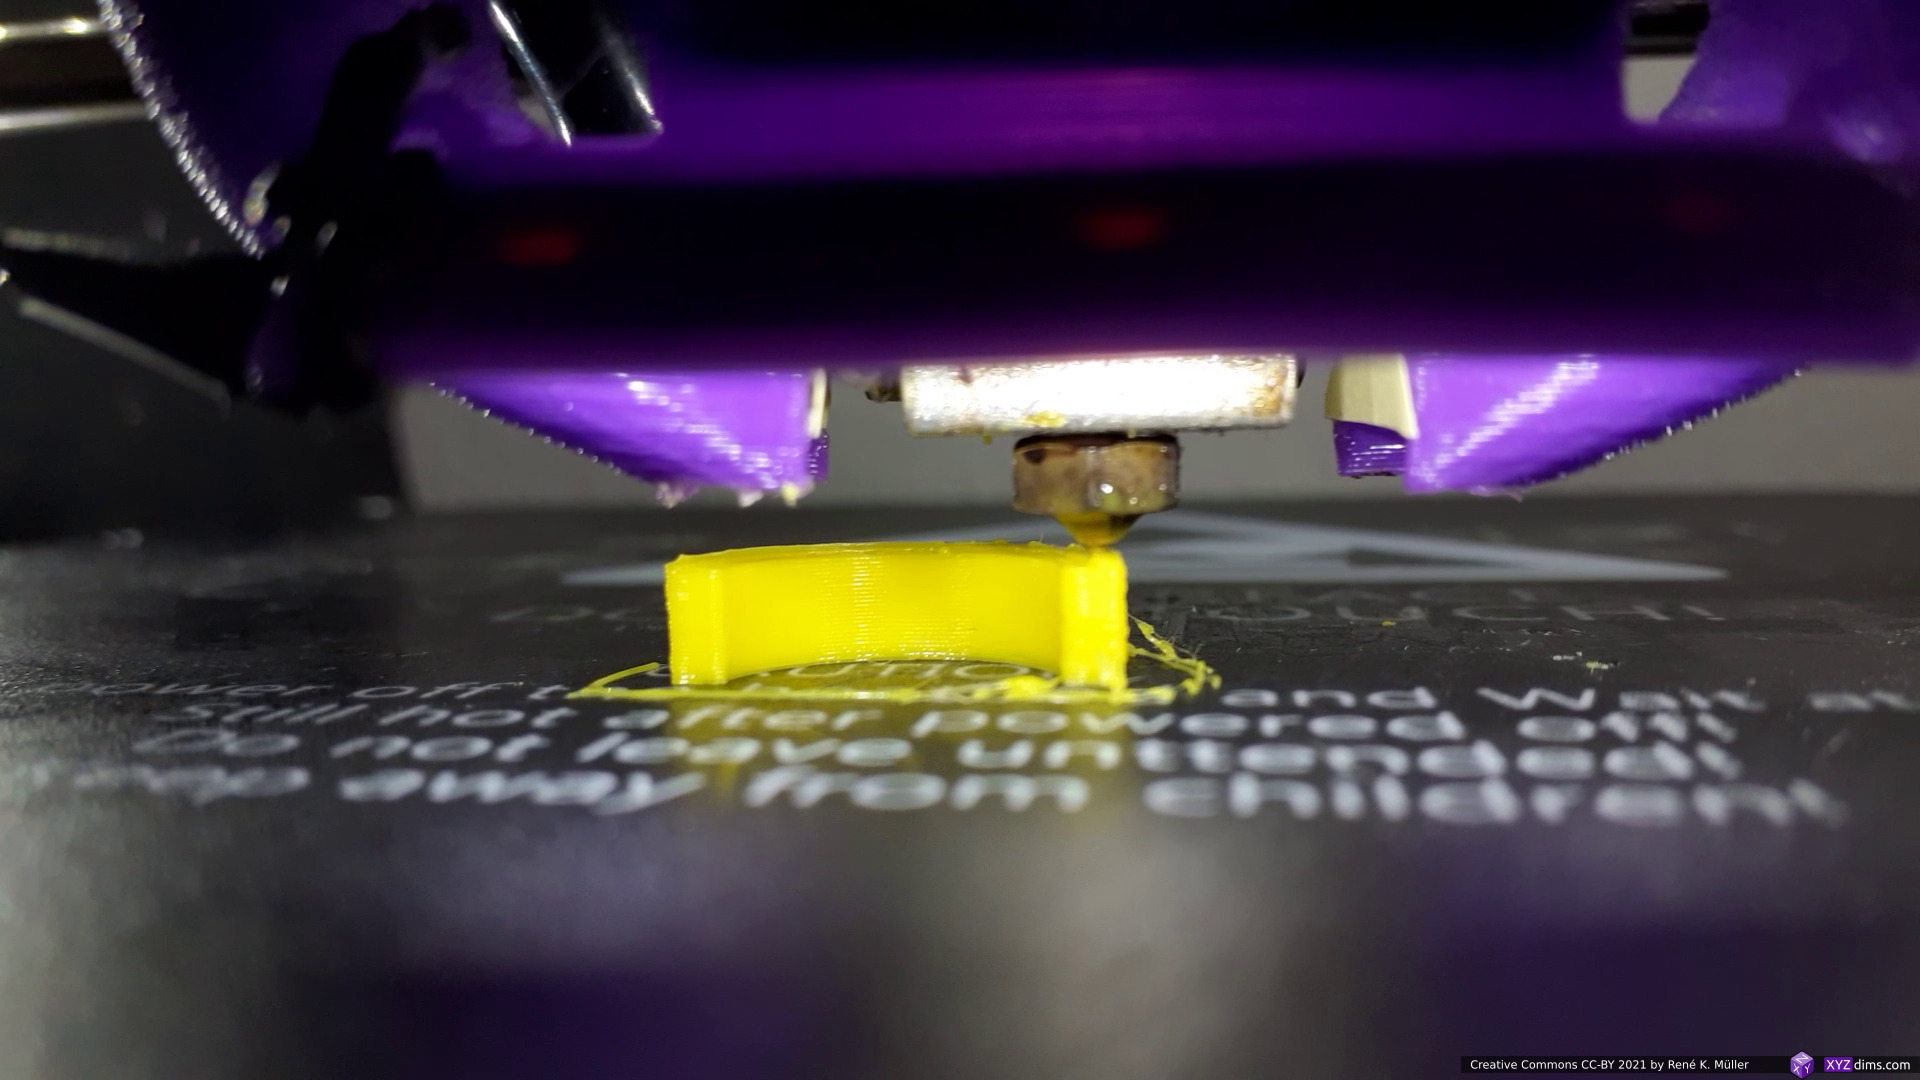
starting z-planar 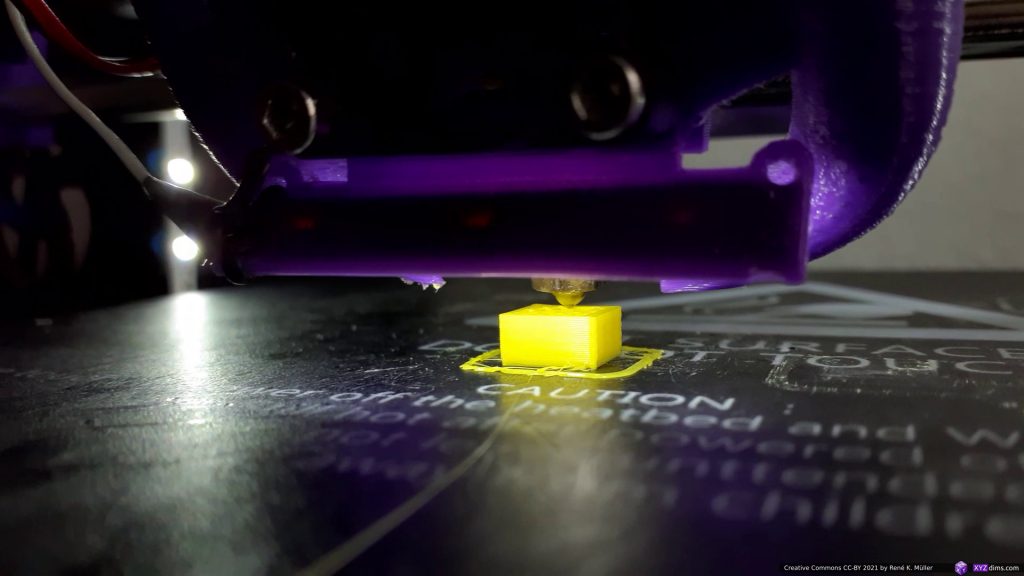
building up fast z-planar 
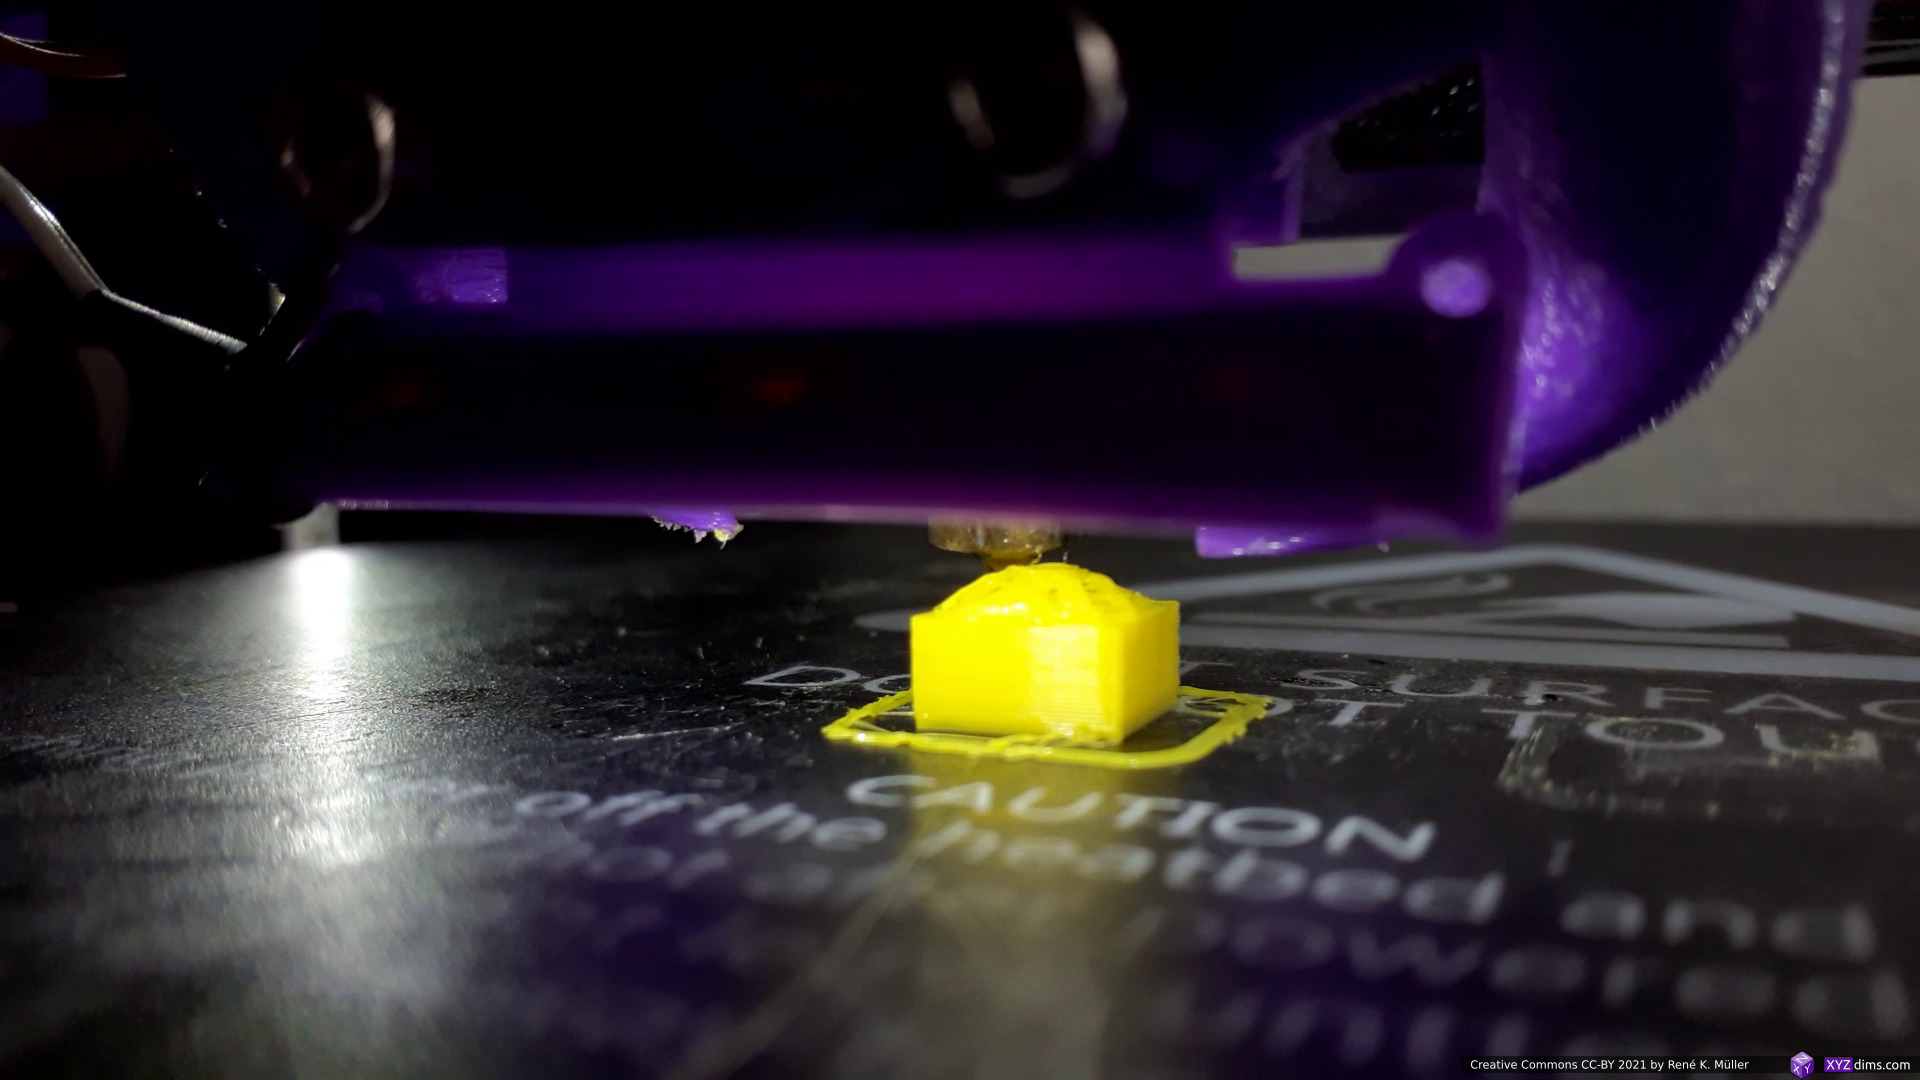
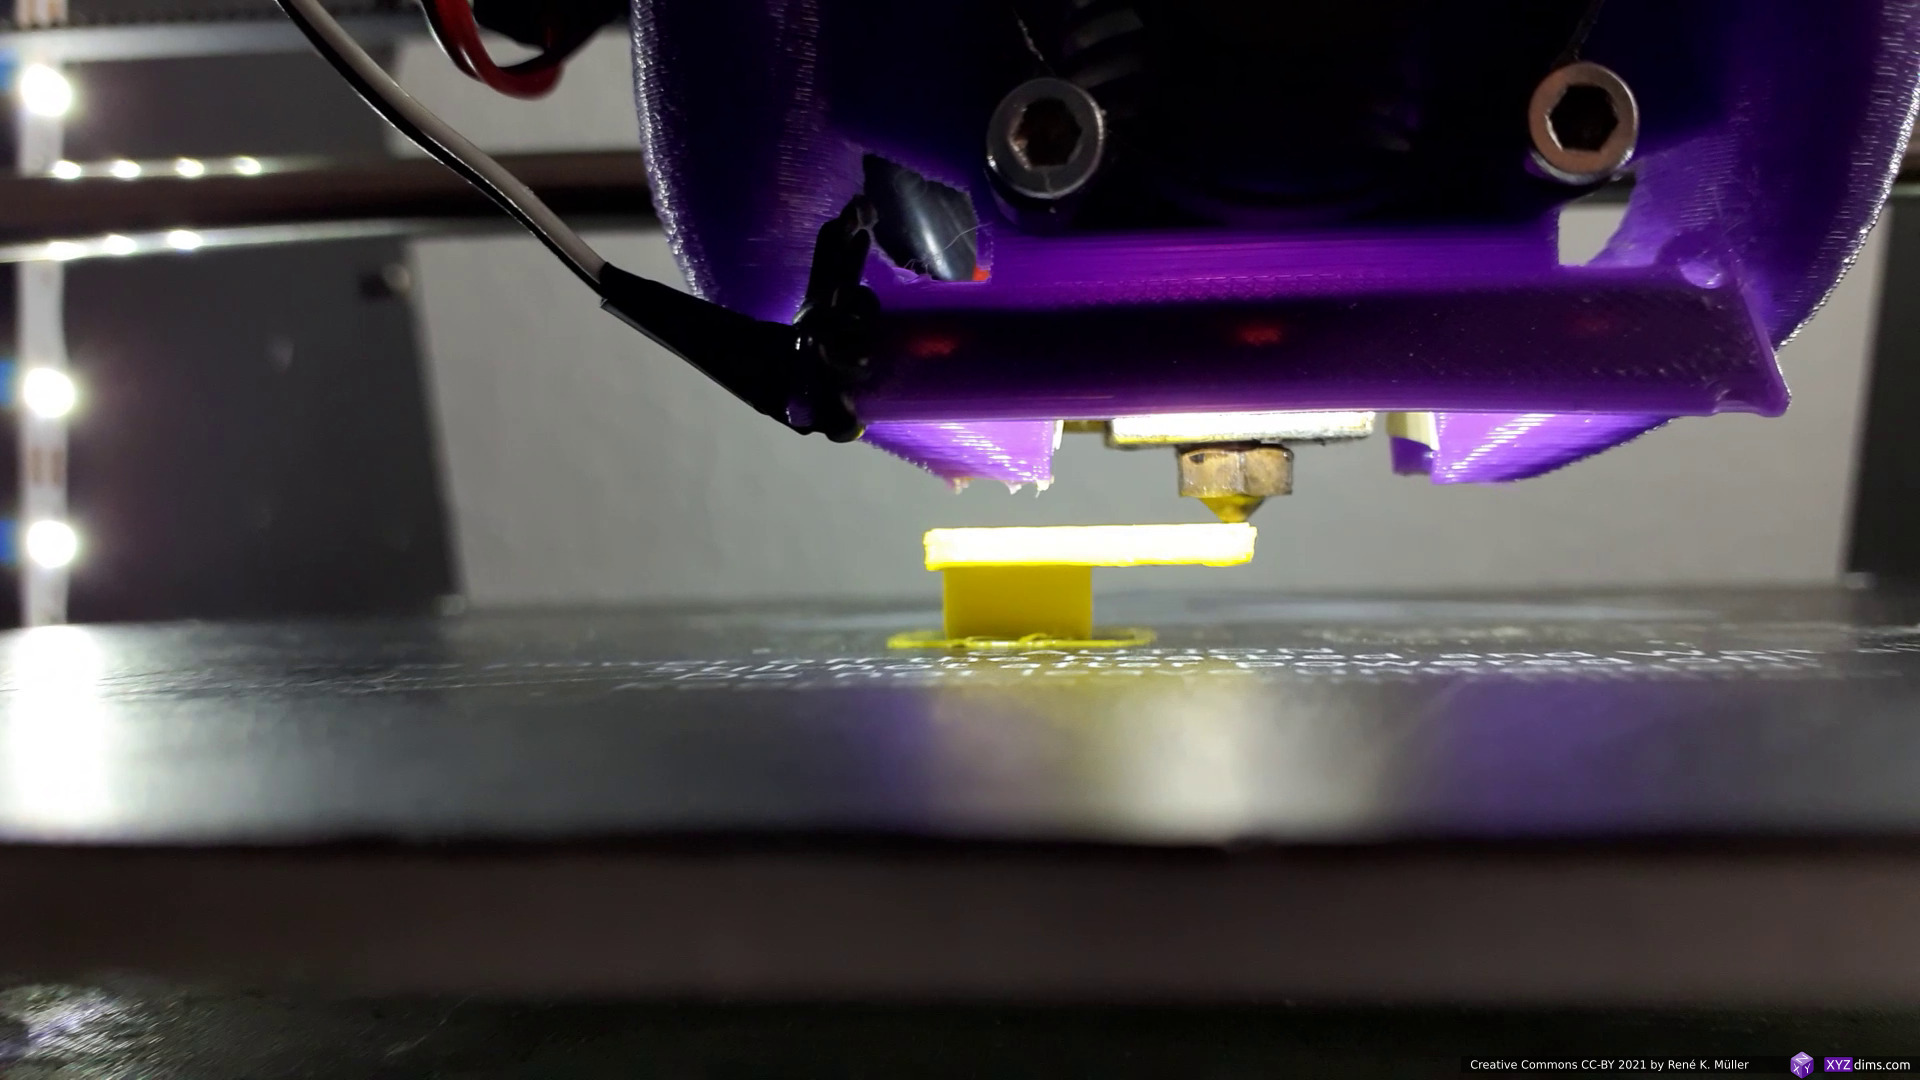
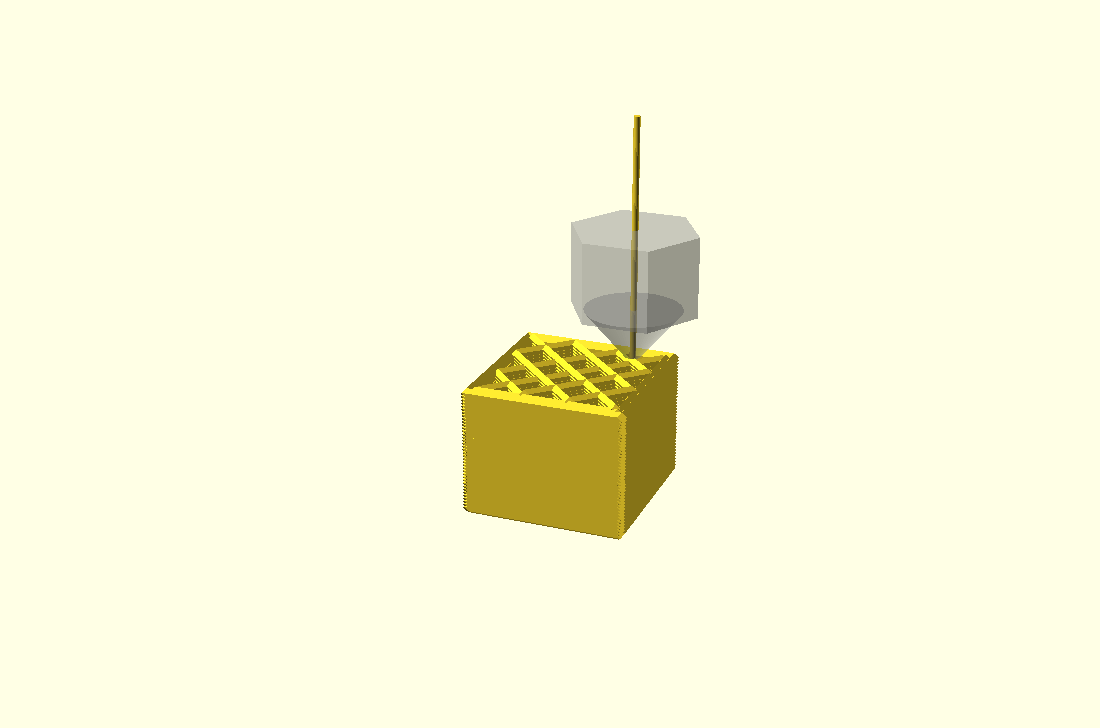
switching to conic sliced “balcony” 2mm thick 
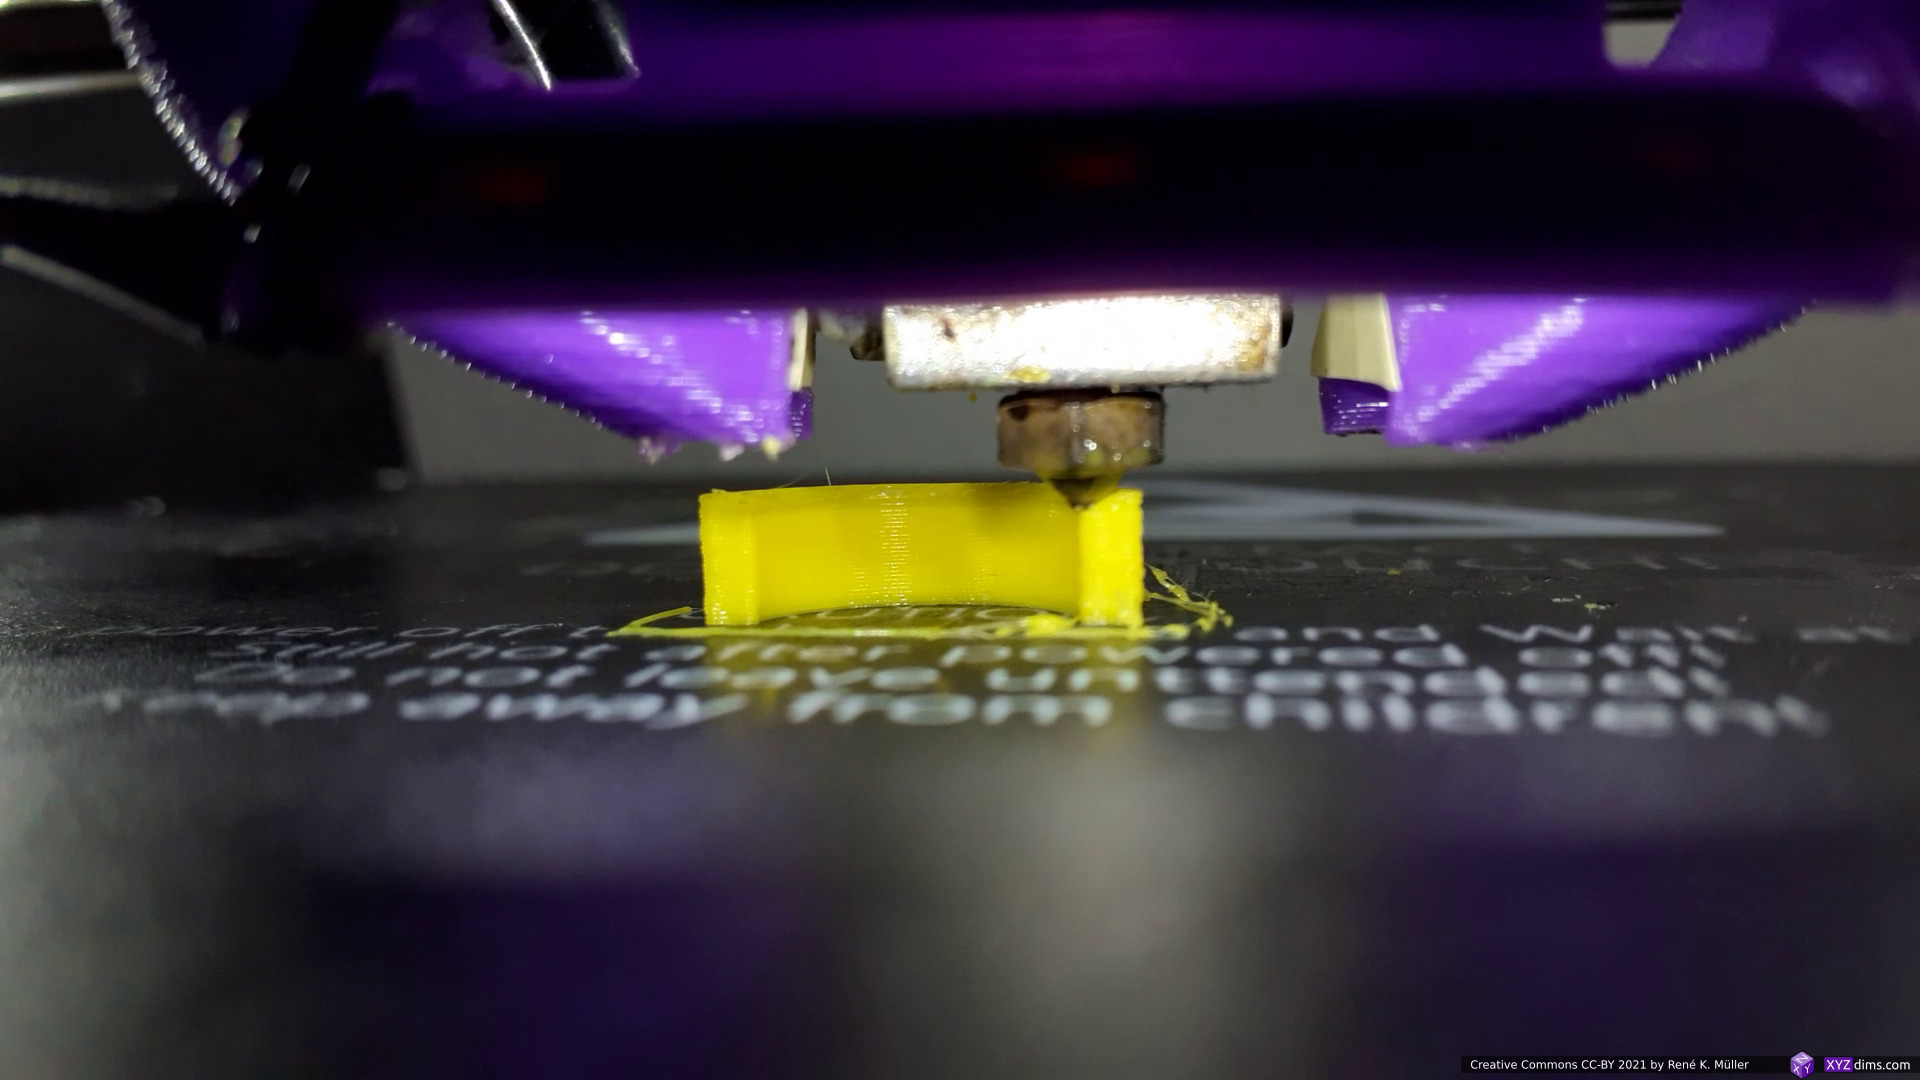
building the “balcony” 2mm thick 
extending further the “balcony” 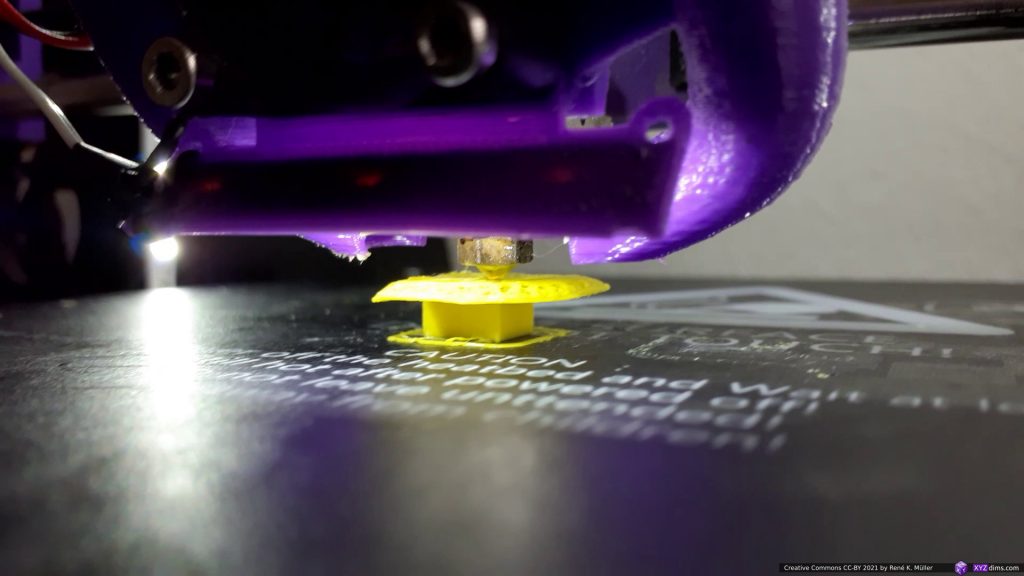
extending further the “balcony” 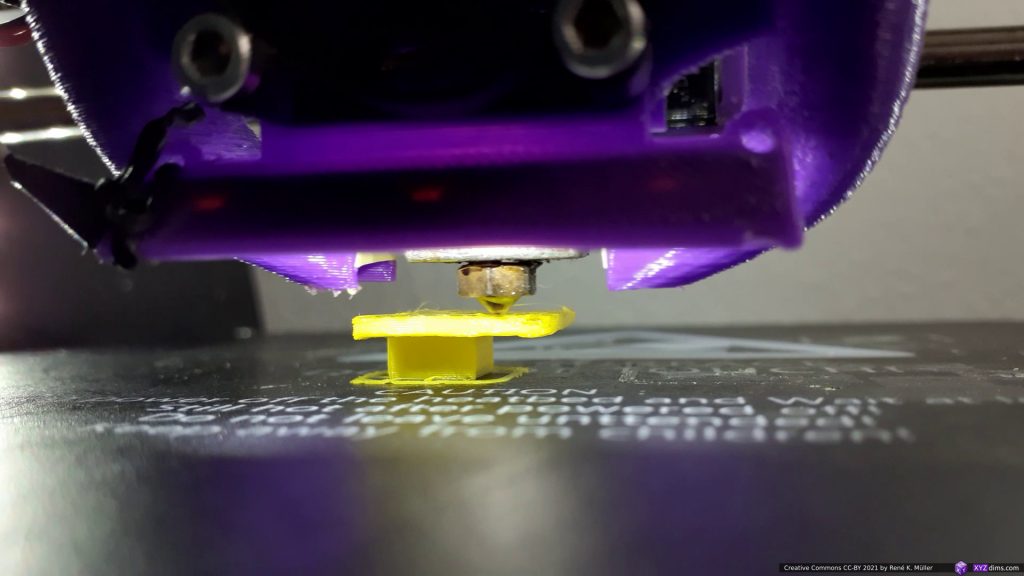
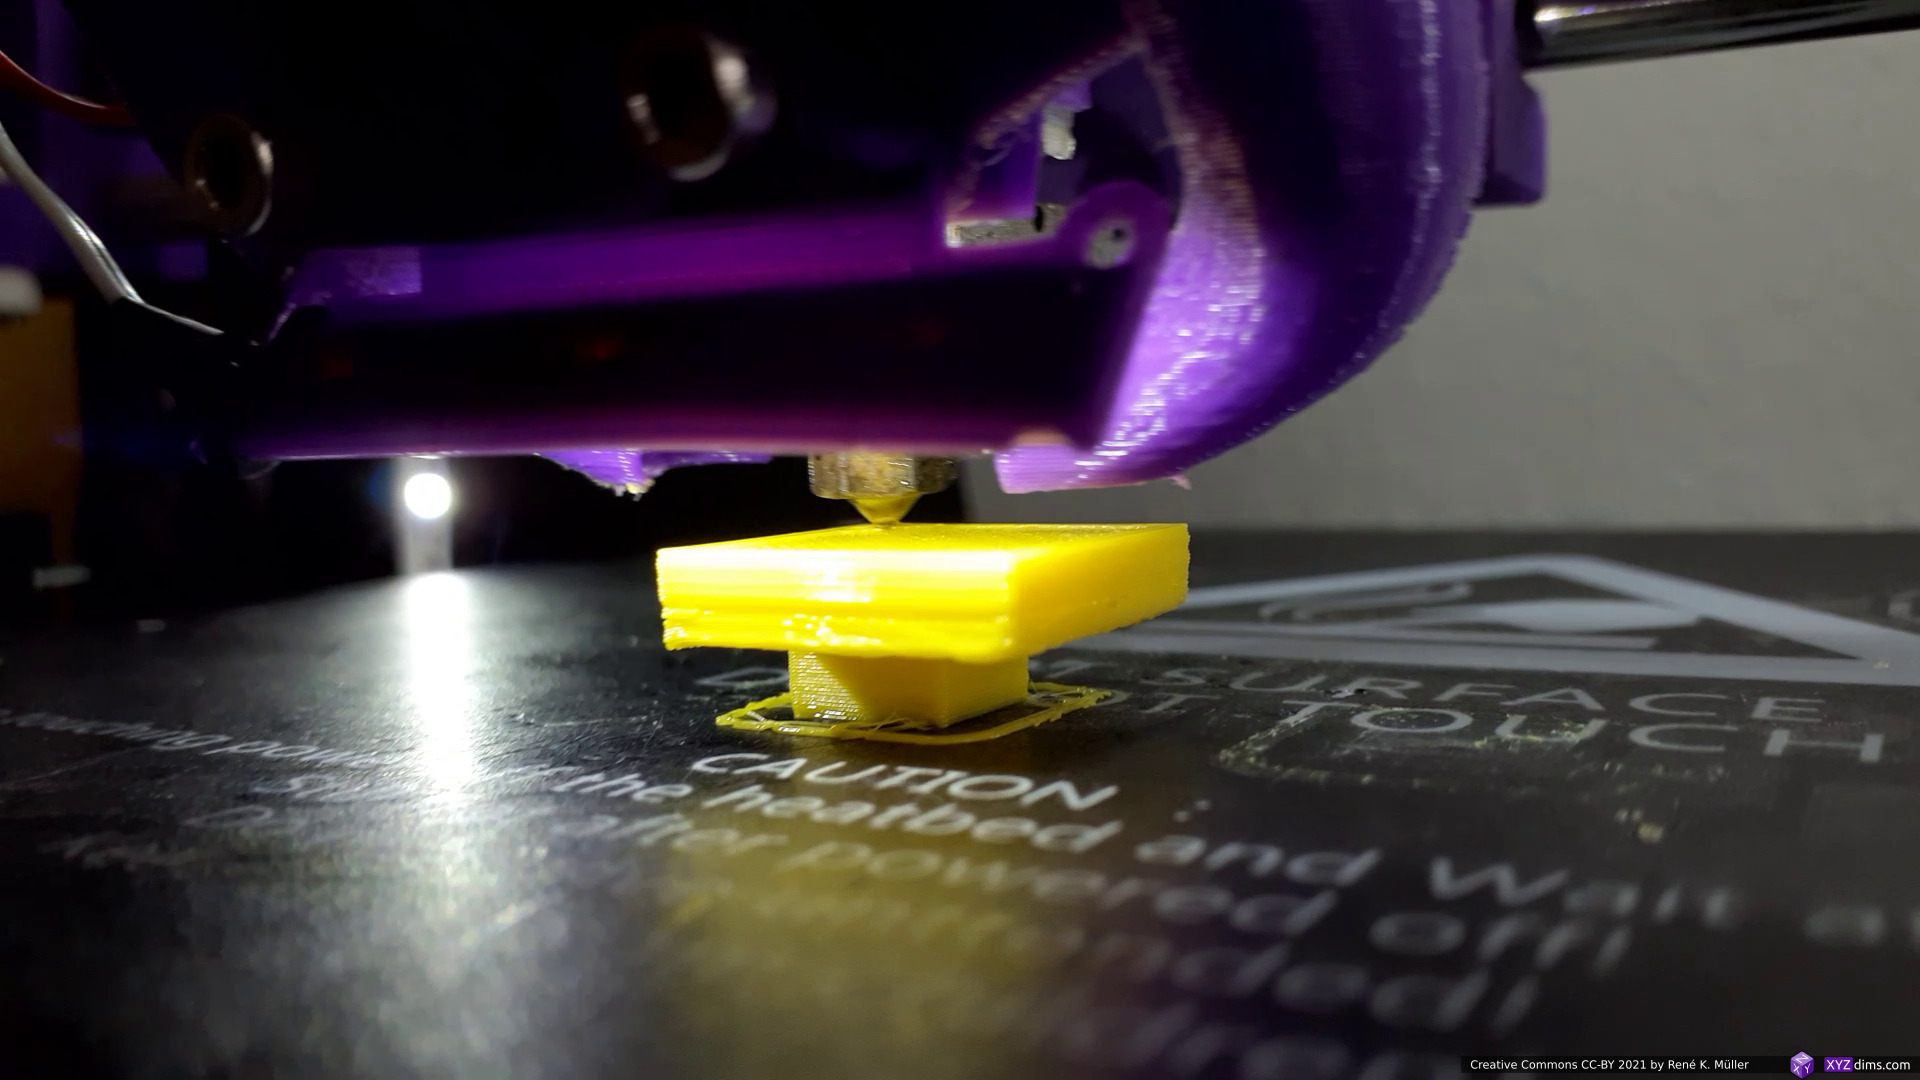
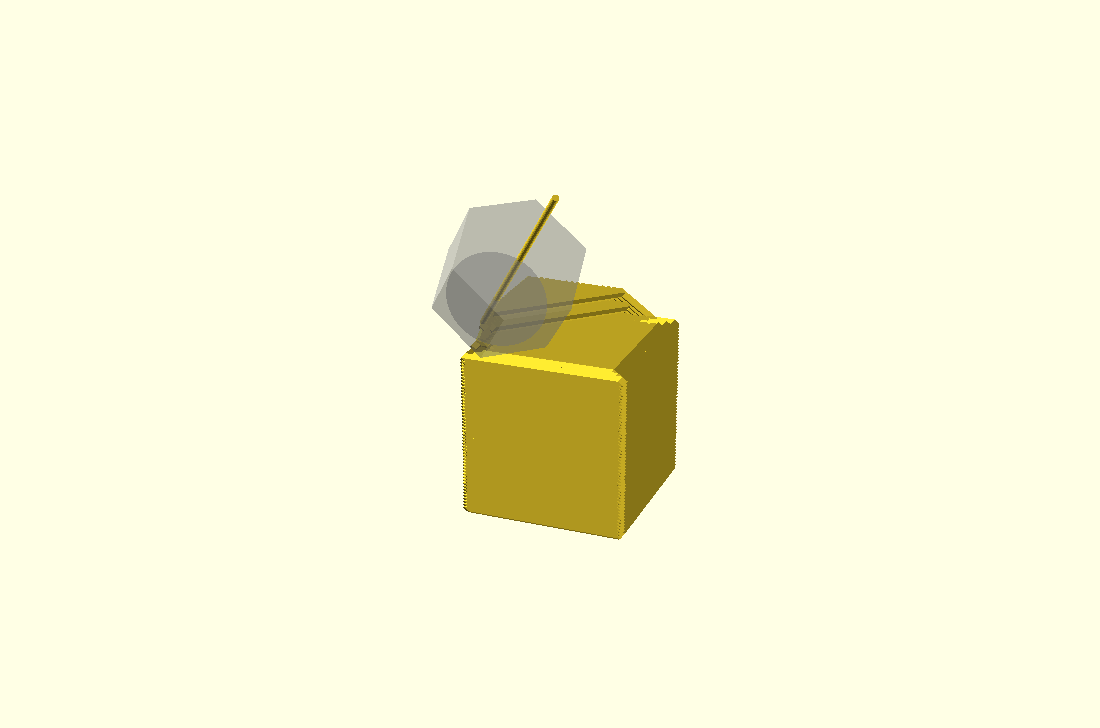
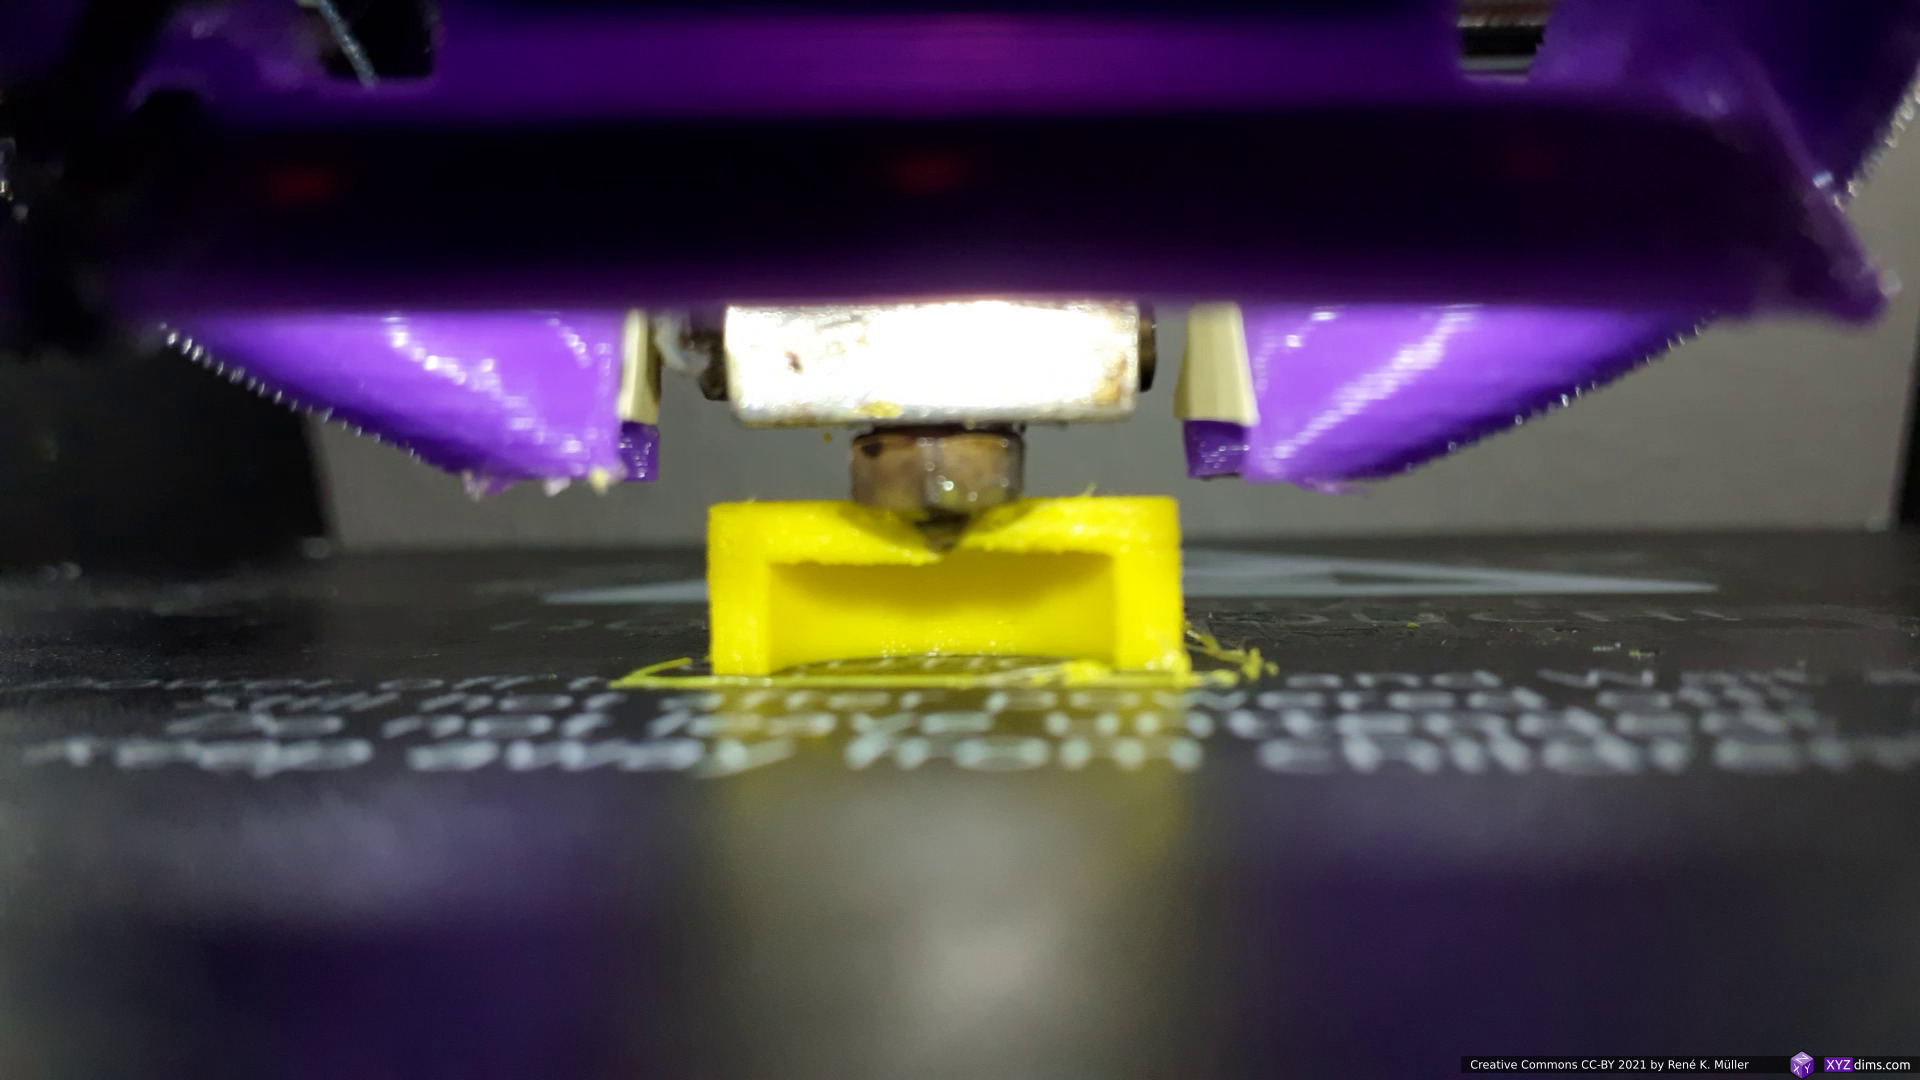
finishing the “balcony” 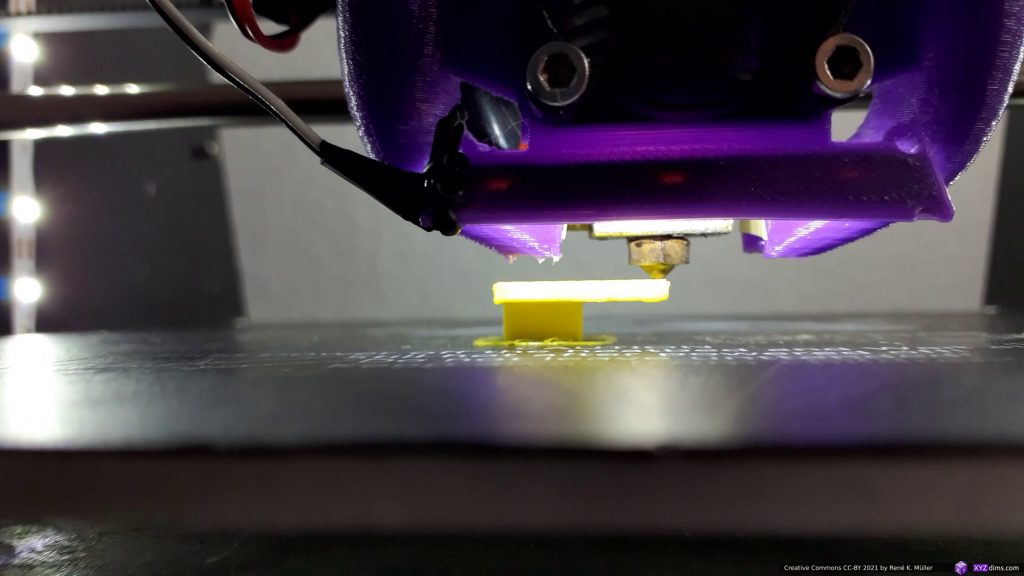
and switching to z-planar printing again 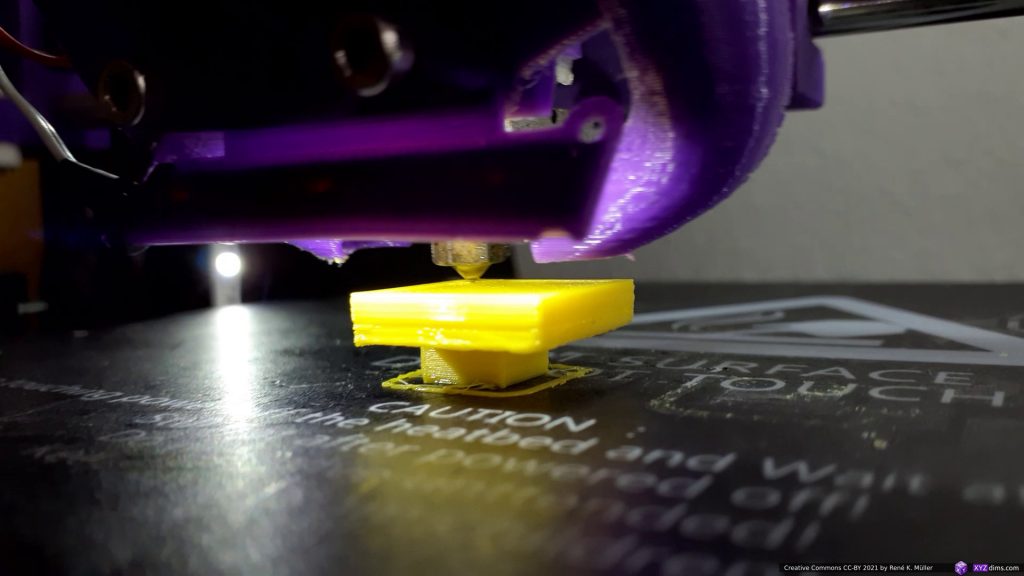
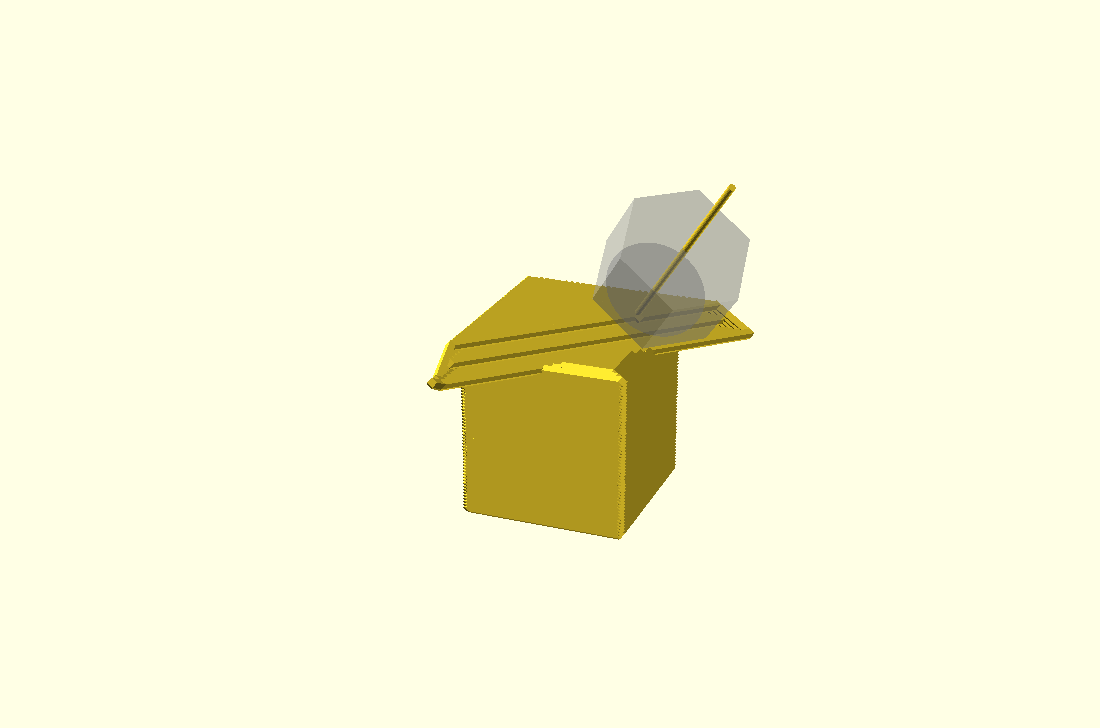
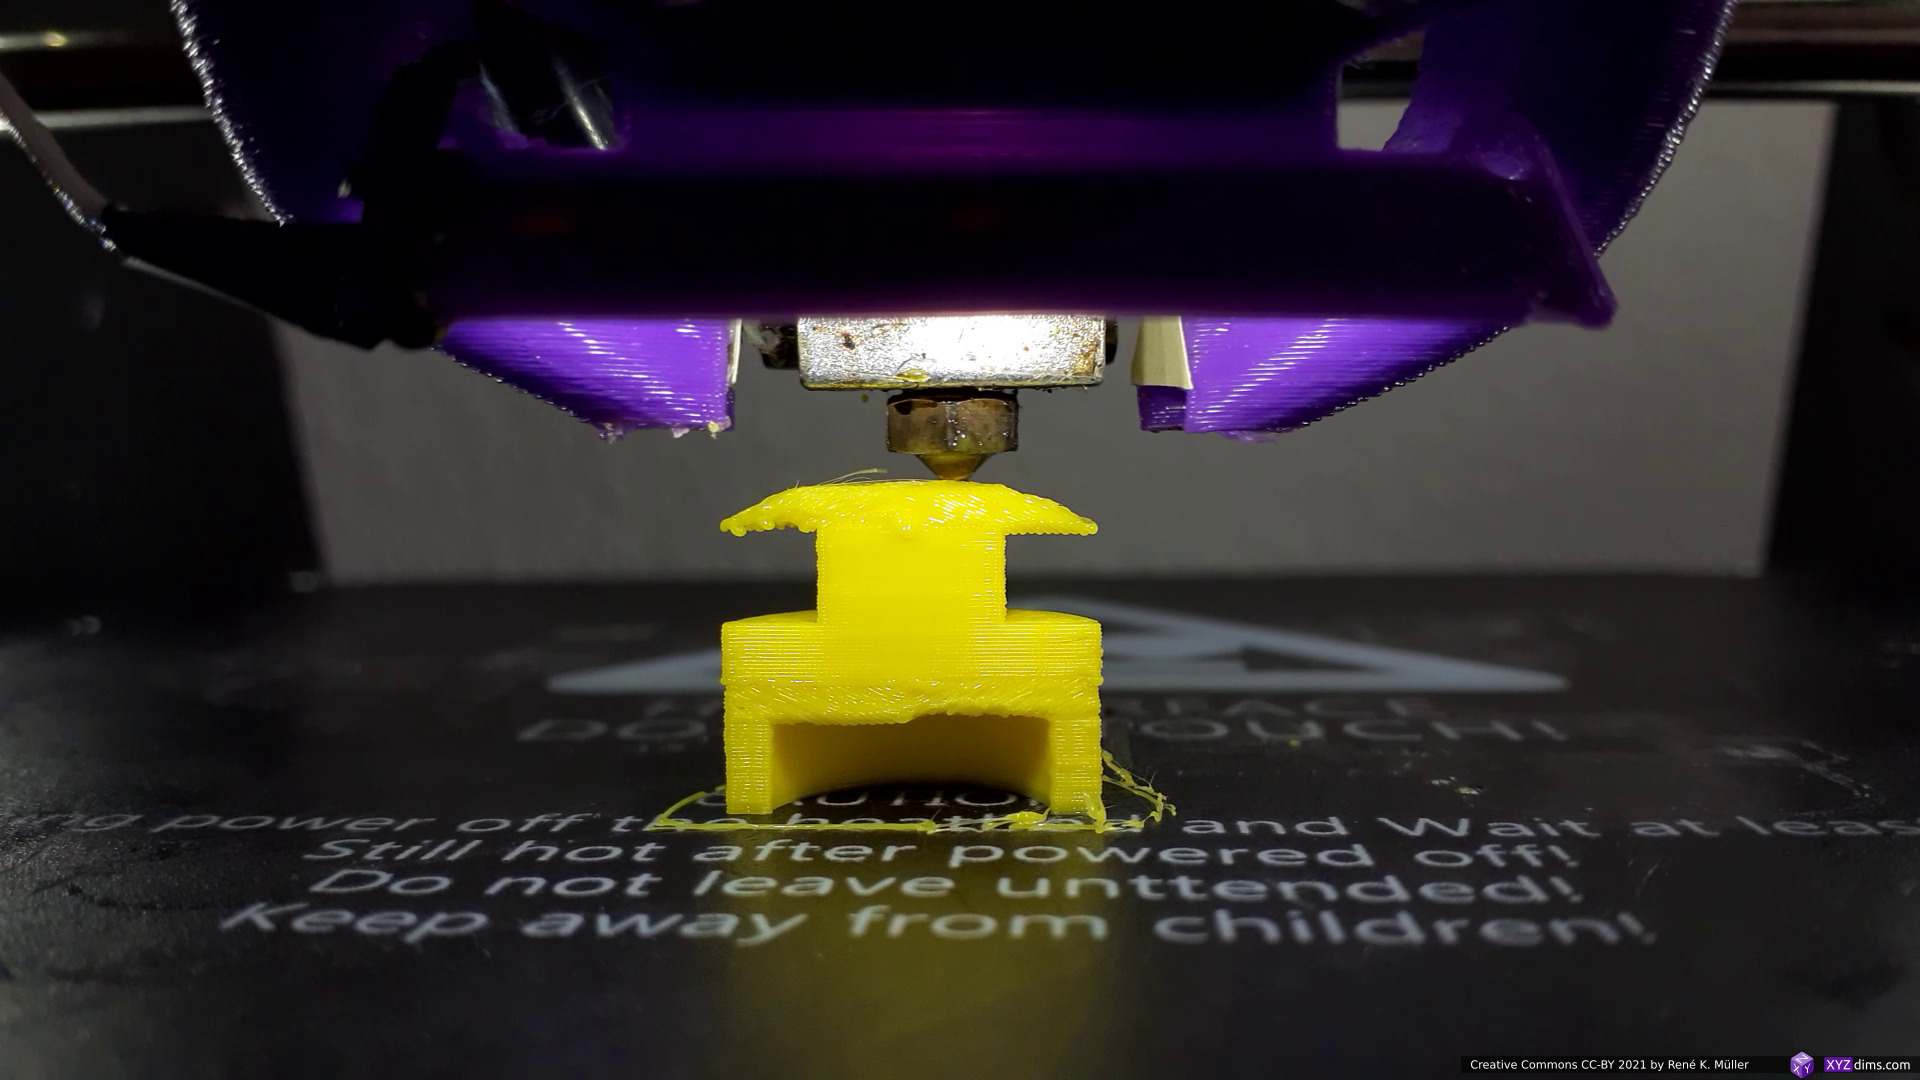
finishing the piece 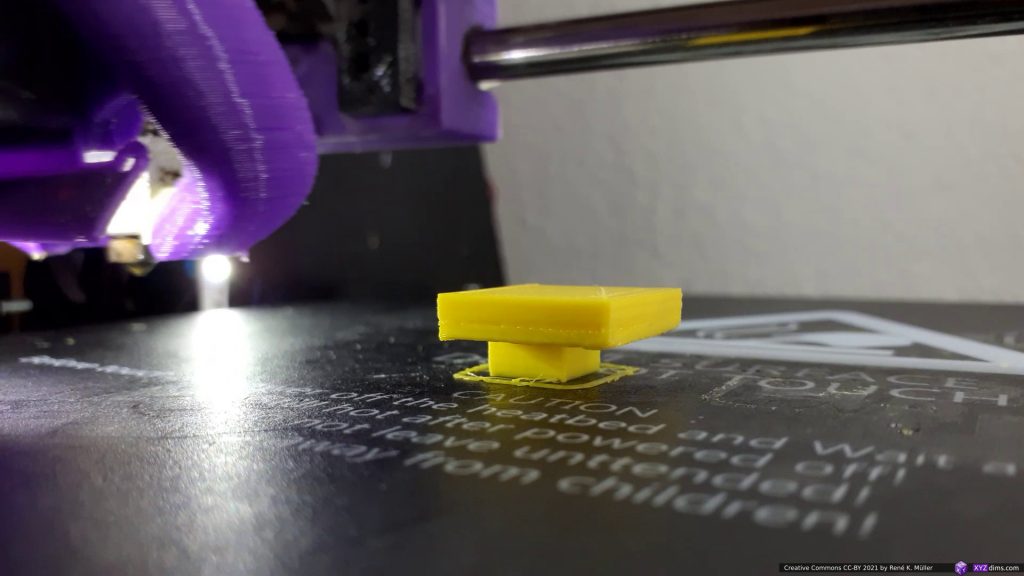
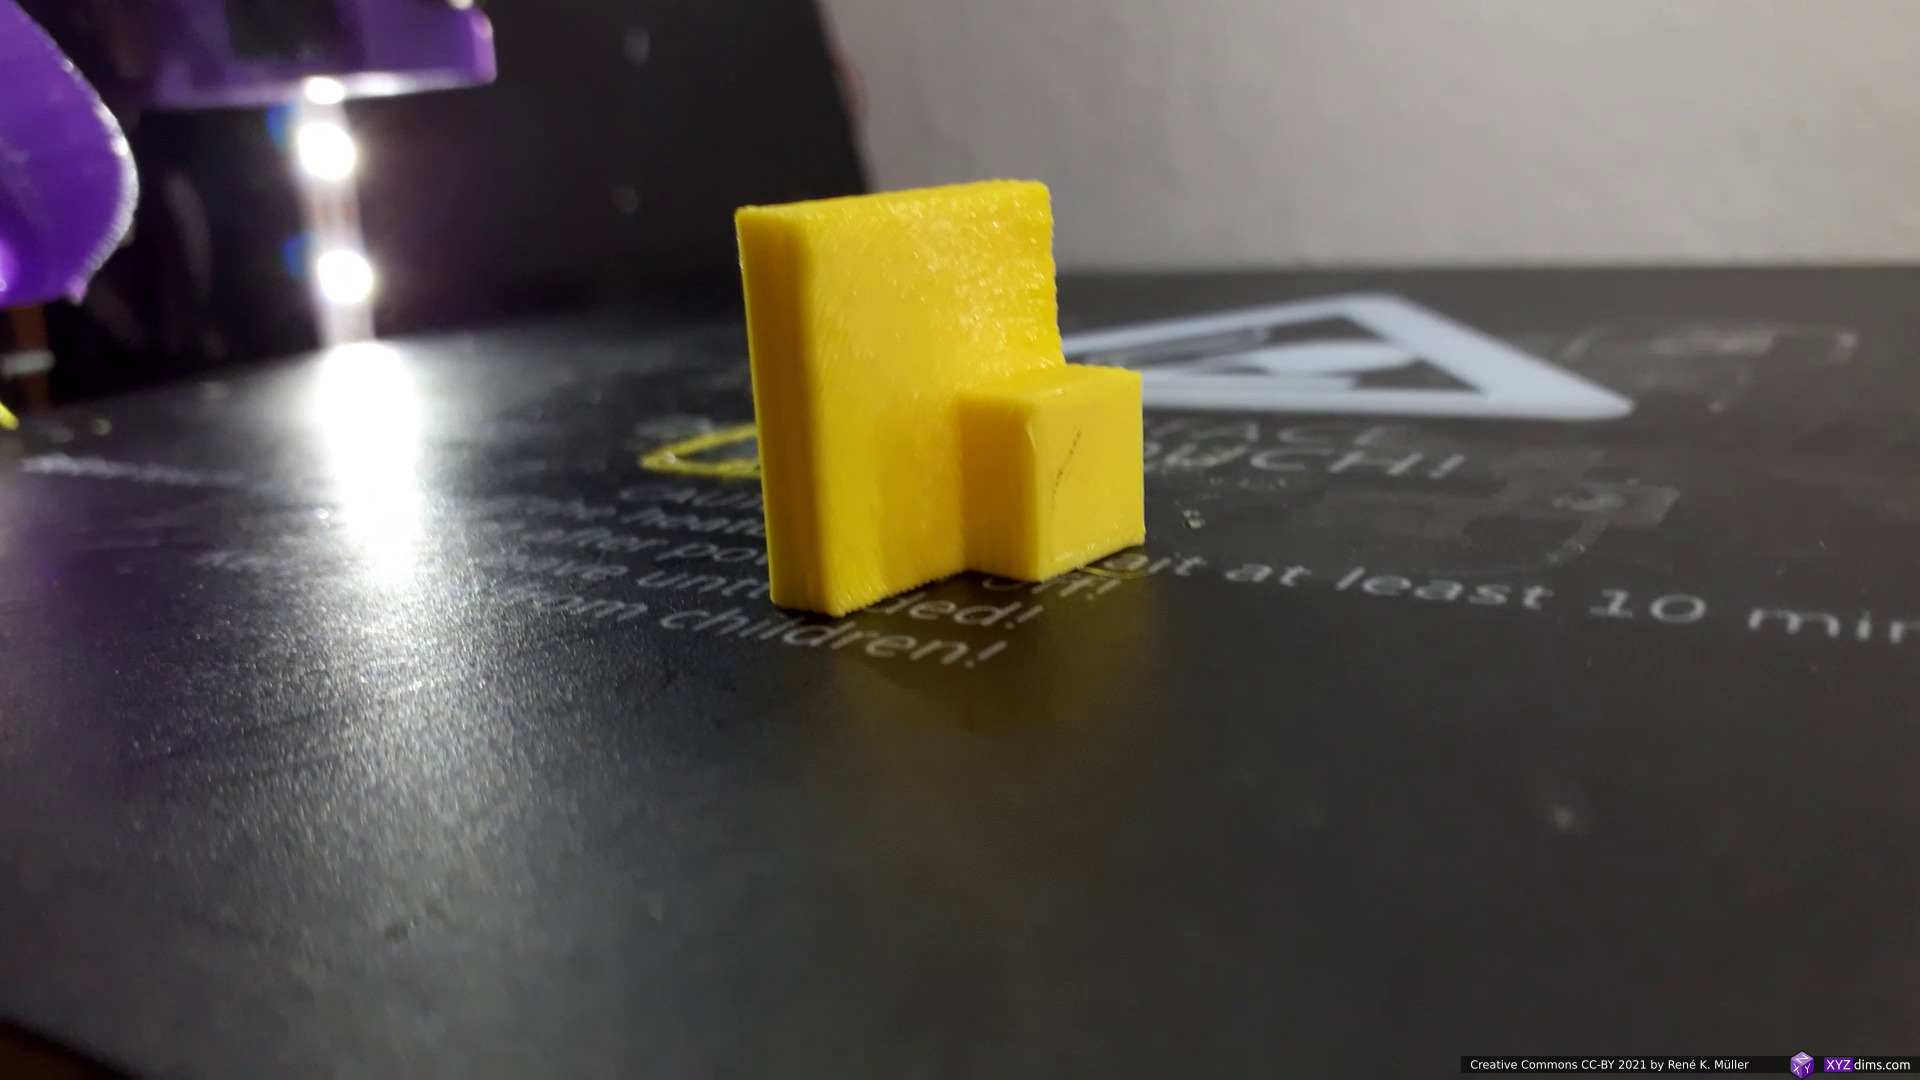
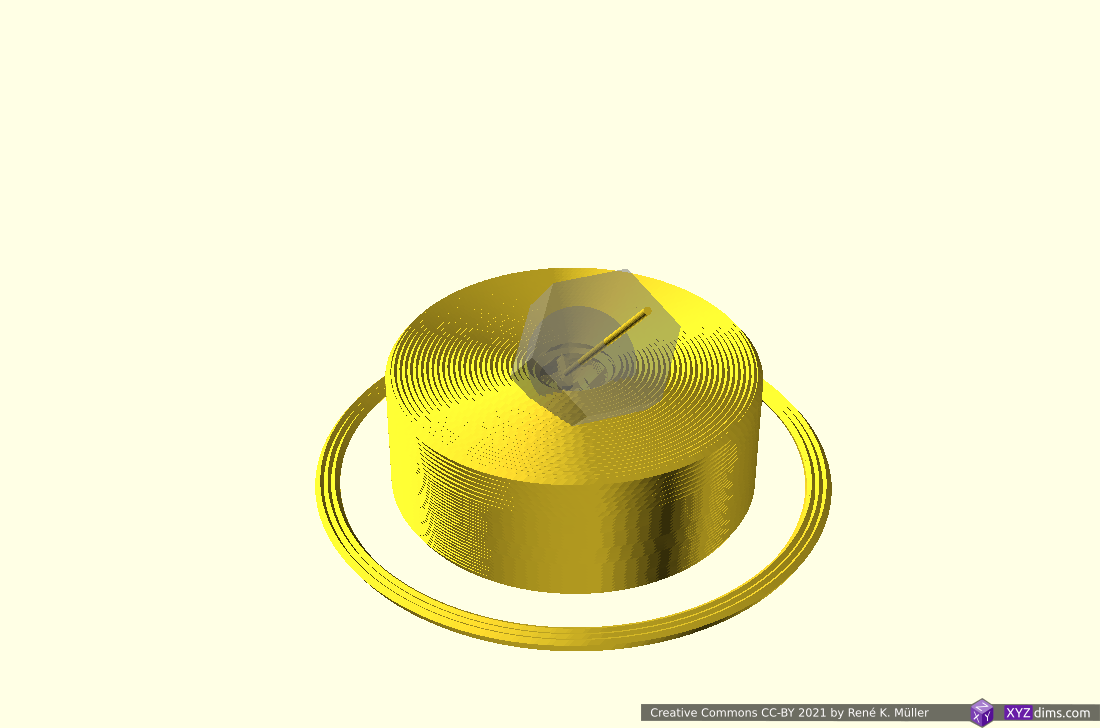
finished 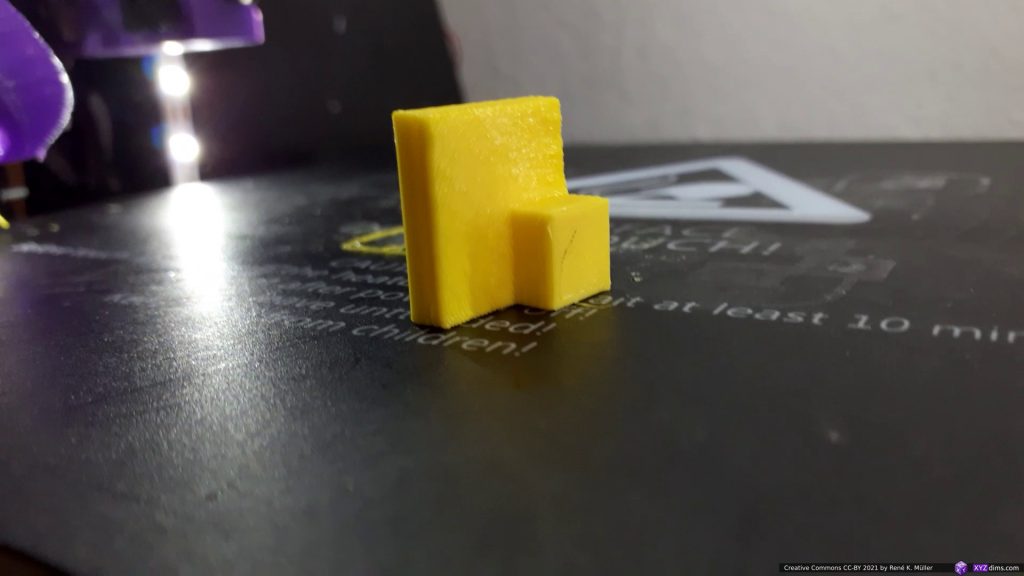
circular underside of the overhang 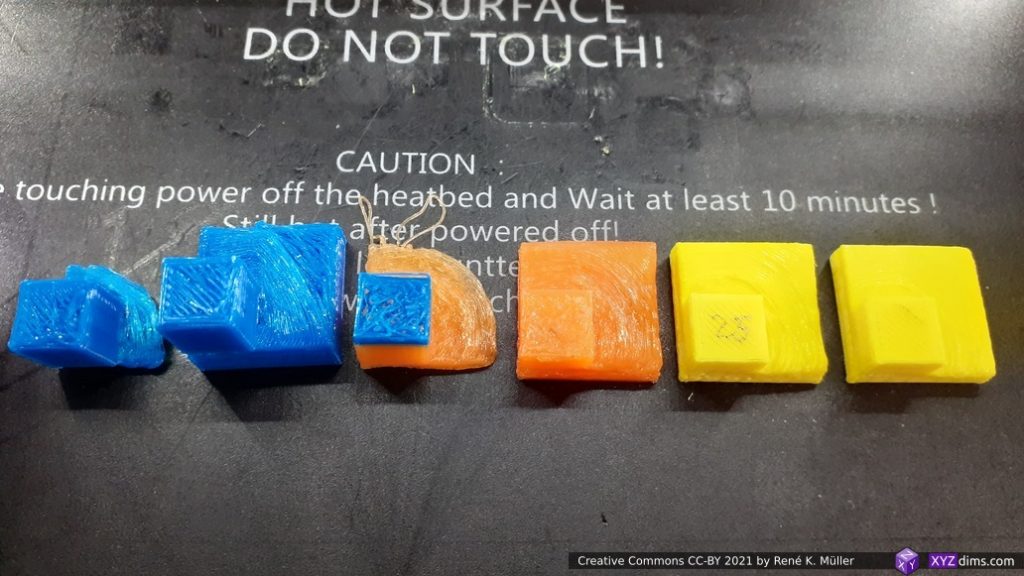
took a few attempts to arrive to something acceptable


Excerpt of the actual printing process with brief annotations:
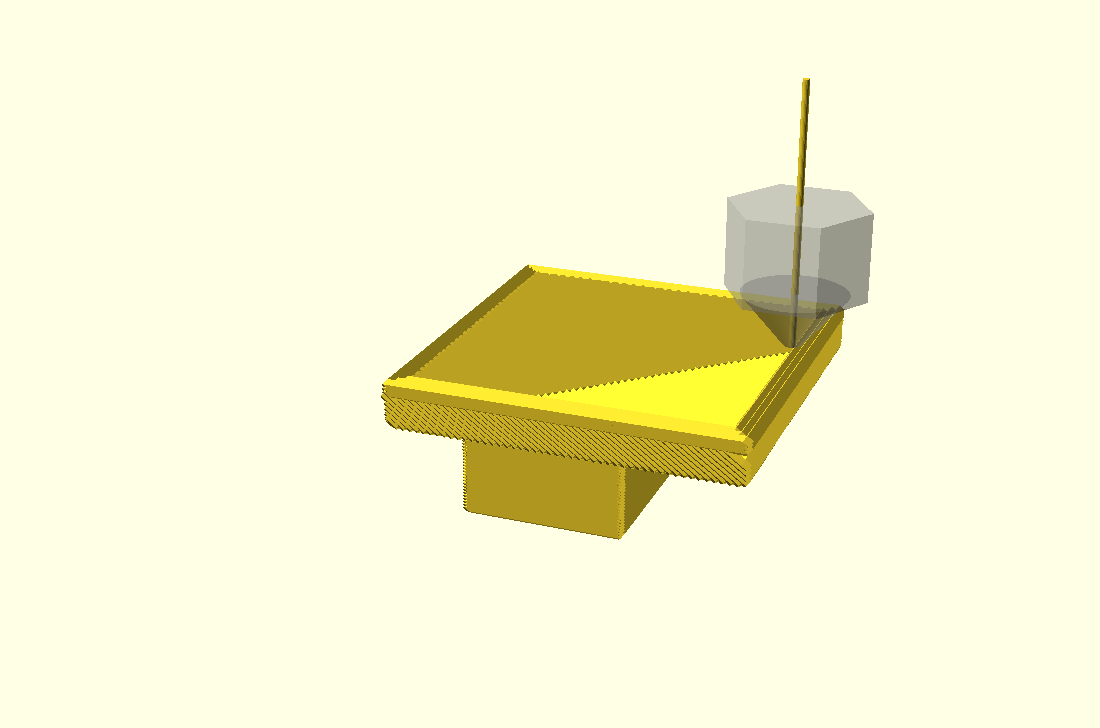
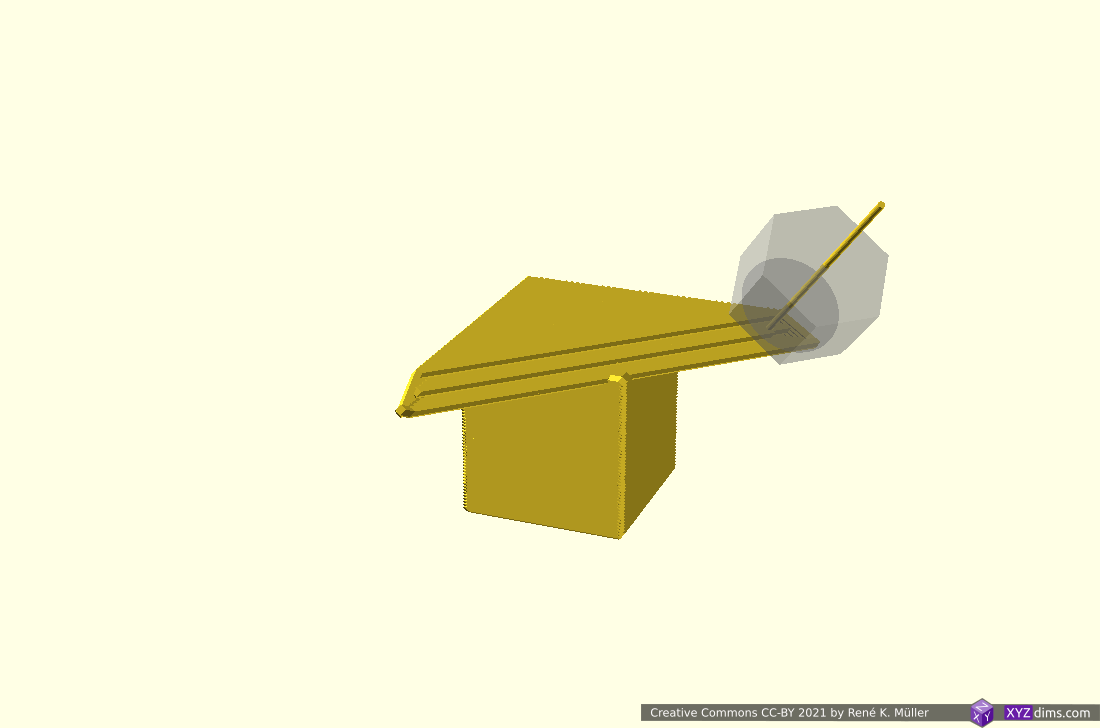
Tilt Sliced Overhang Segment
Just for sake trying out, instead of conic sliced overhang segment, tilt sliced and 45° Z rotated to nicely extend to the maximum overhang position:

3 segments: z-planar, tilt sliced, and z-planar on top 


and the actual print of a slightly lower model but with the same features:
after z-planar switching to tilted slice overhang segment 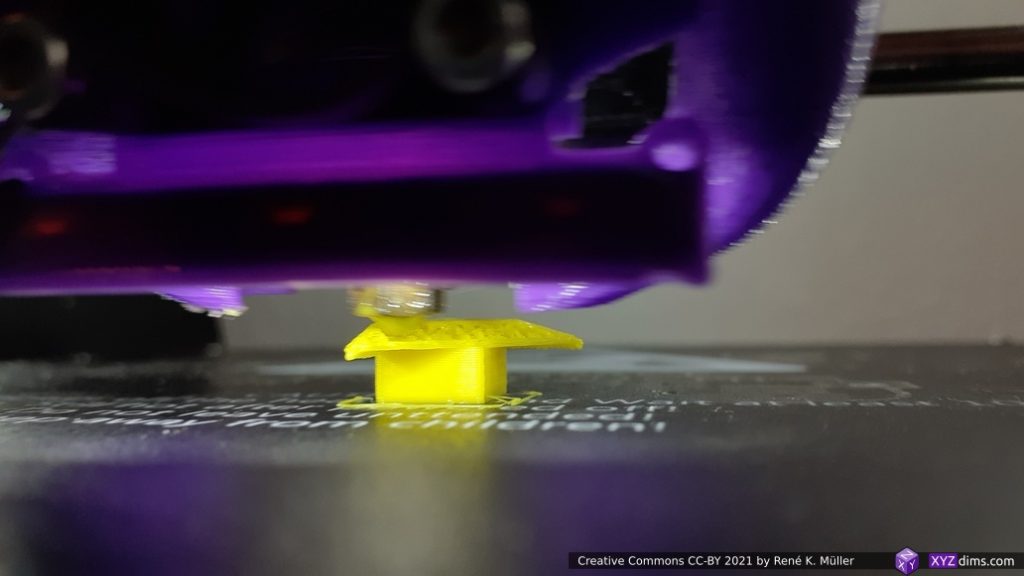
building the tilt sliced “balcony” 2mm thick 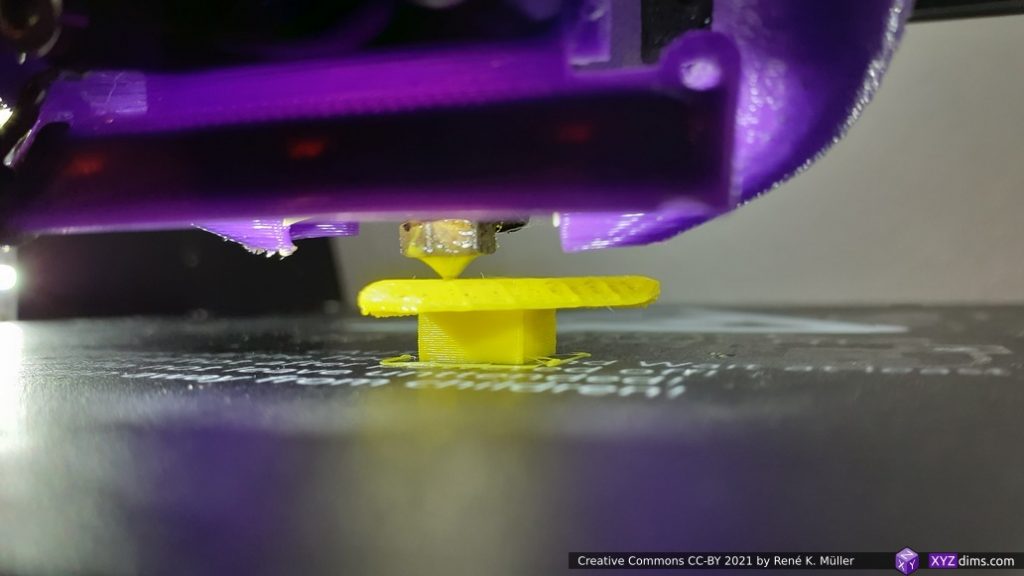
extending the tilt sliced “balcony” 2mm thick 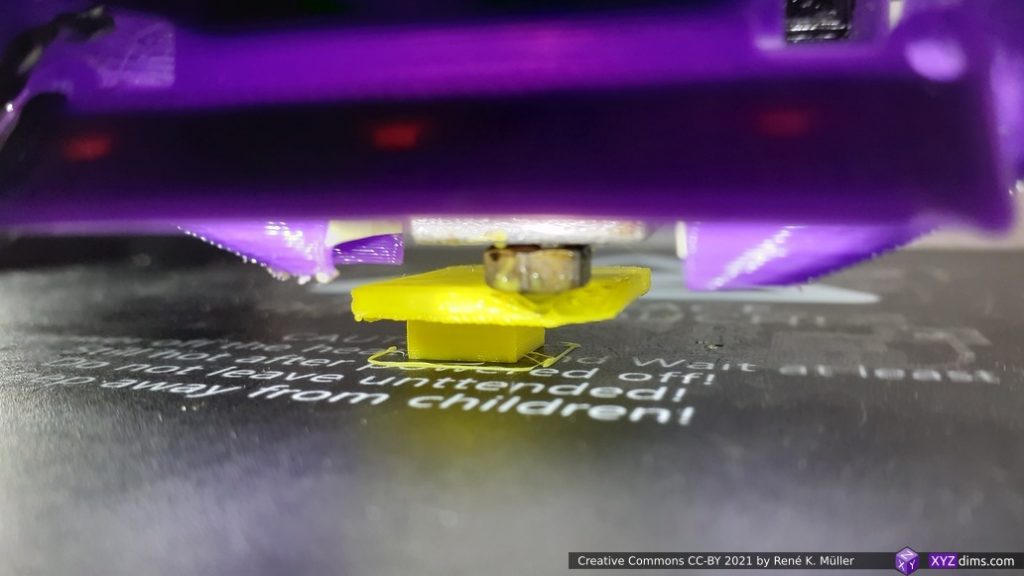
finishing the tilt sliced “balcony” 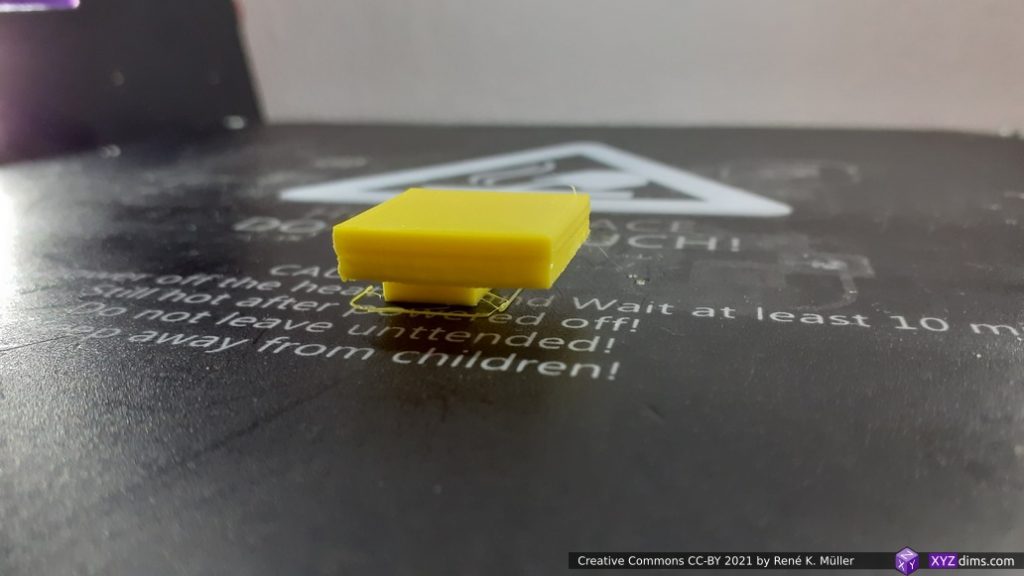
finished piece

Comparing Tilted Sliced vs Conic Sliced Overhang Underside

tilt sliced overhang segment, nice underside surface, but uneven underside edges 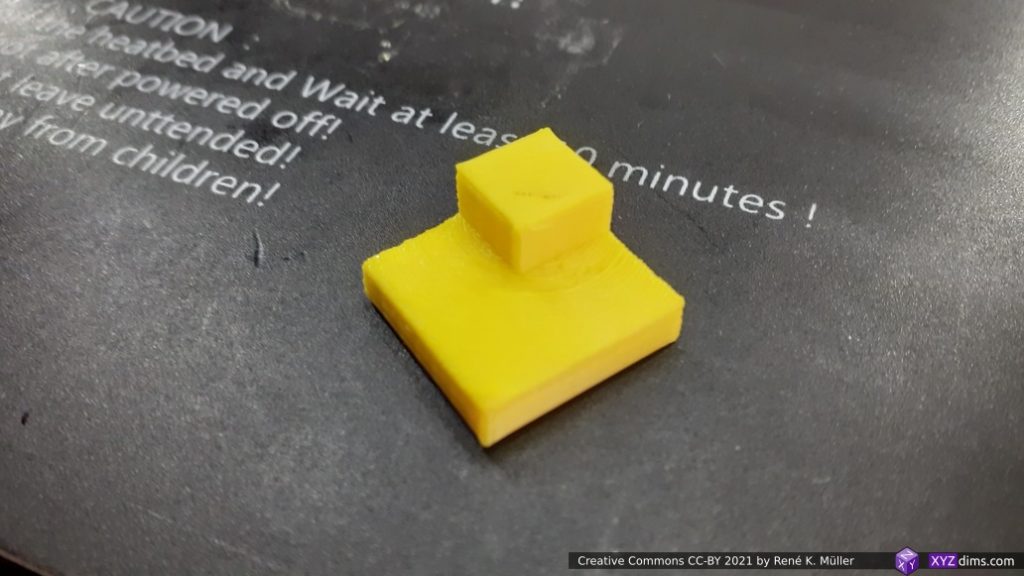
conic sliced overhang segment, nice underside edges, but less clean underside surface 
tilt sliced overhang: sharp overhang edges 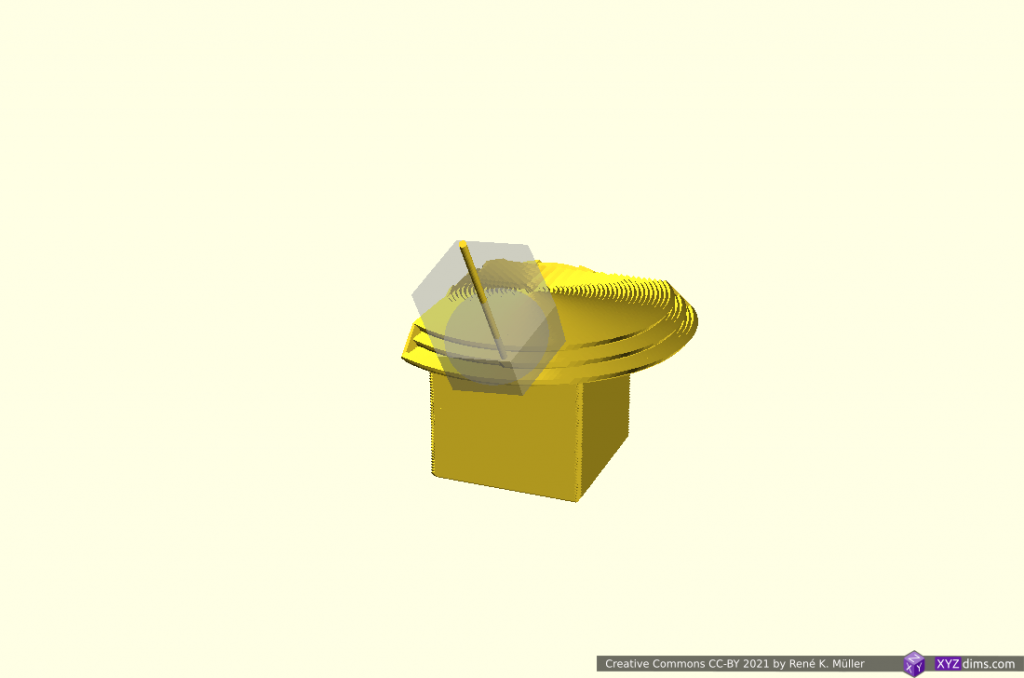
conic sliced overhang: softer overhanging edges
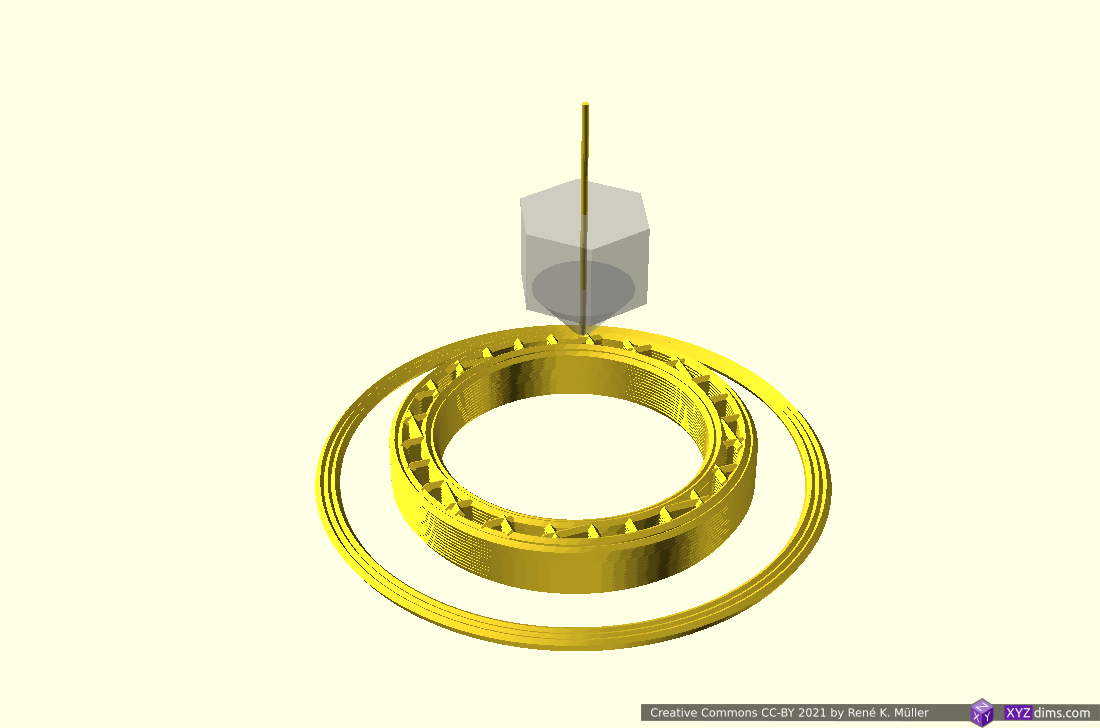
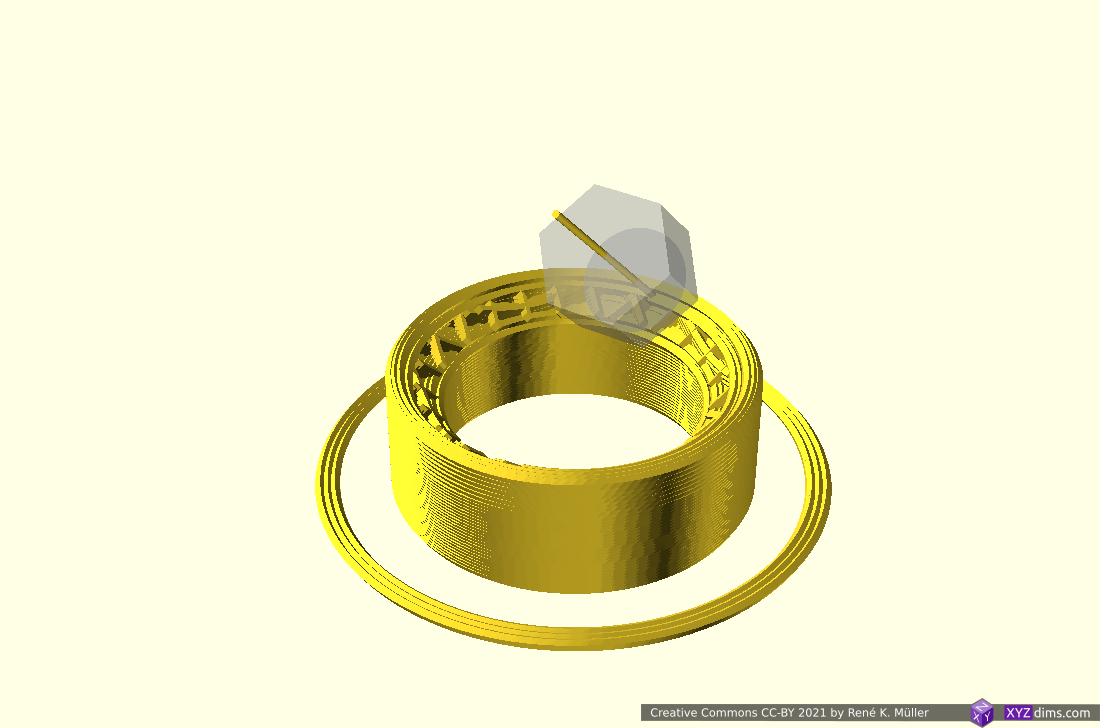
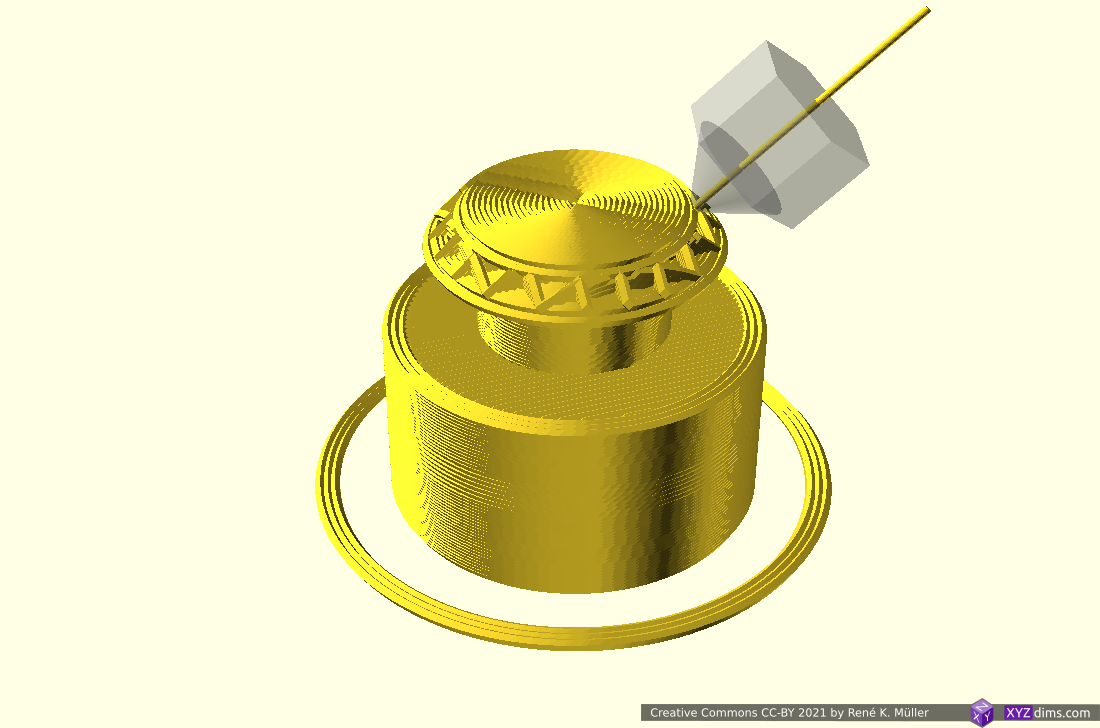
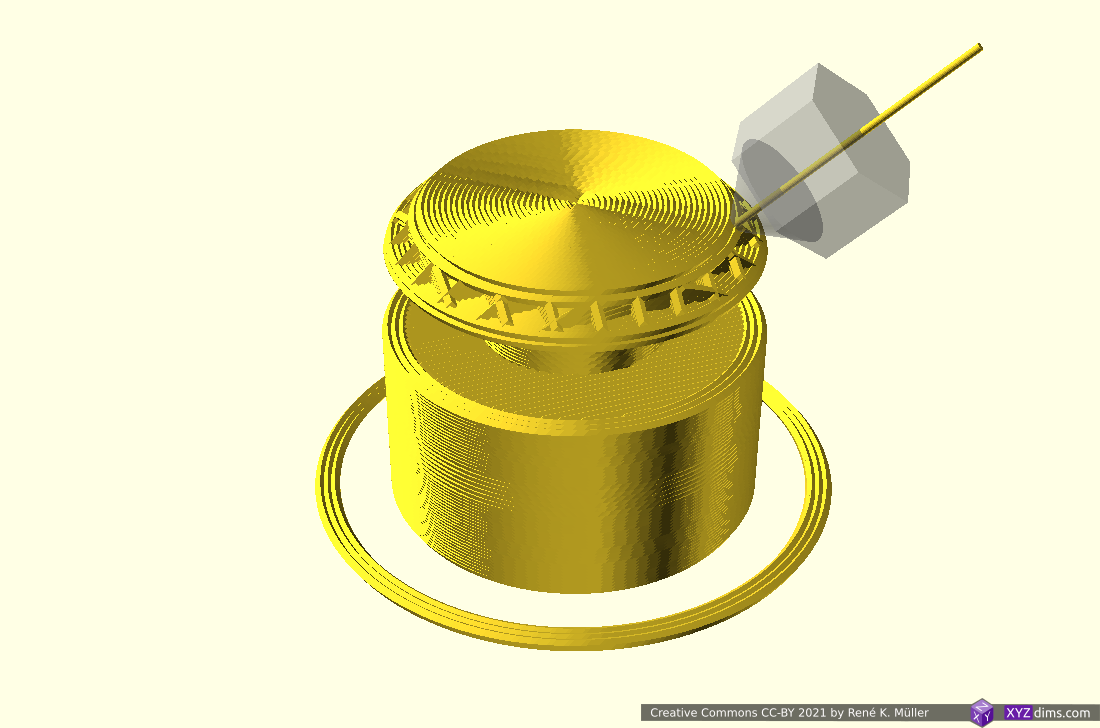
Overhang In/Out: 2 Overhang Conic Segments
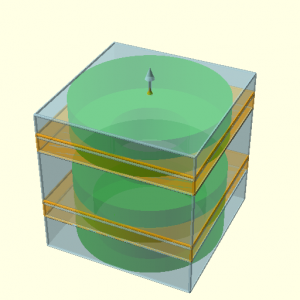
And revisiting the Overhang In/Out Model, which features ingoing and outgoing overhang, segmented into 5 sub-volumes:
- bottom: z-planar
- ingoing1) overhang: conic (inside-cone mode)
- middle: z-planar
- outgoing1) overhang: conic (outside-code mode)
- upper: z-planar
1) when dealing with conic slicing, the direction of overhang matters when deciding the mode of conic slicing, e.g. outside-cone or inside-cone.


and the actual print, a half of the model so the printing of inner overhang on the lower part of the model is visible:

z-planar and now switching to conic (inside-cone) 
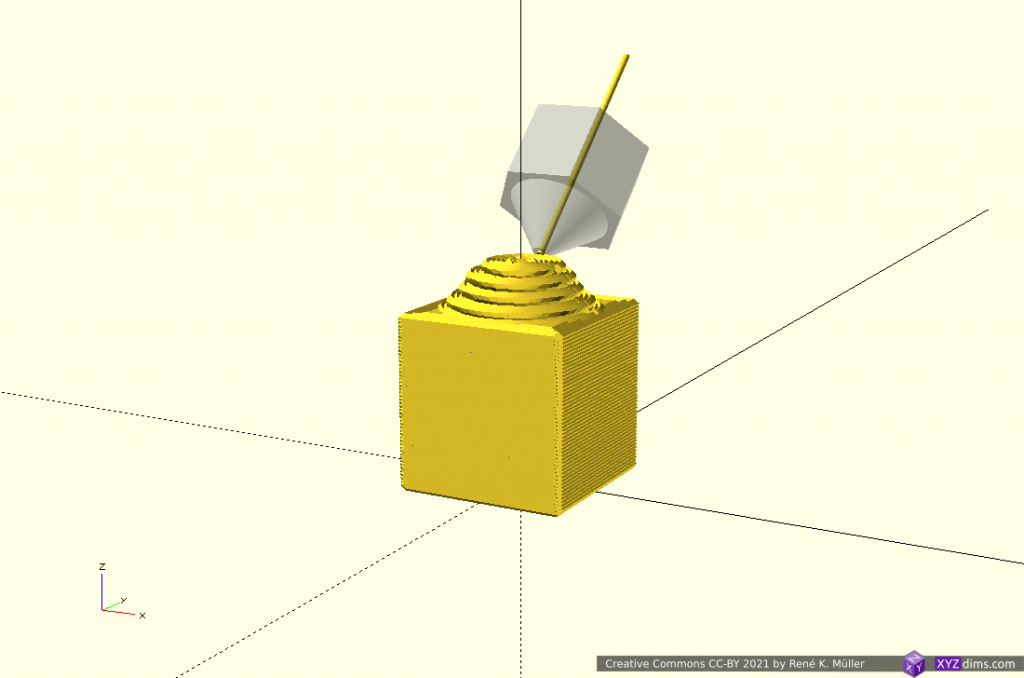
slowly building up inner overhang with inside-cone segment 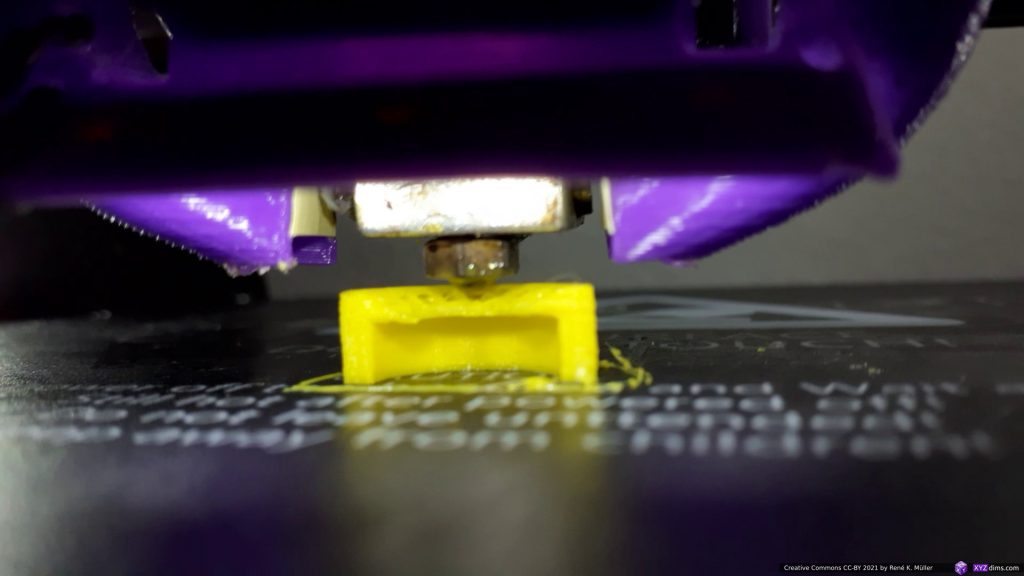
building the inside-cone segment 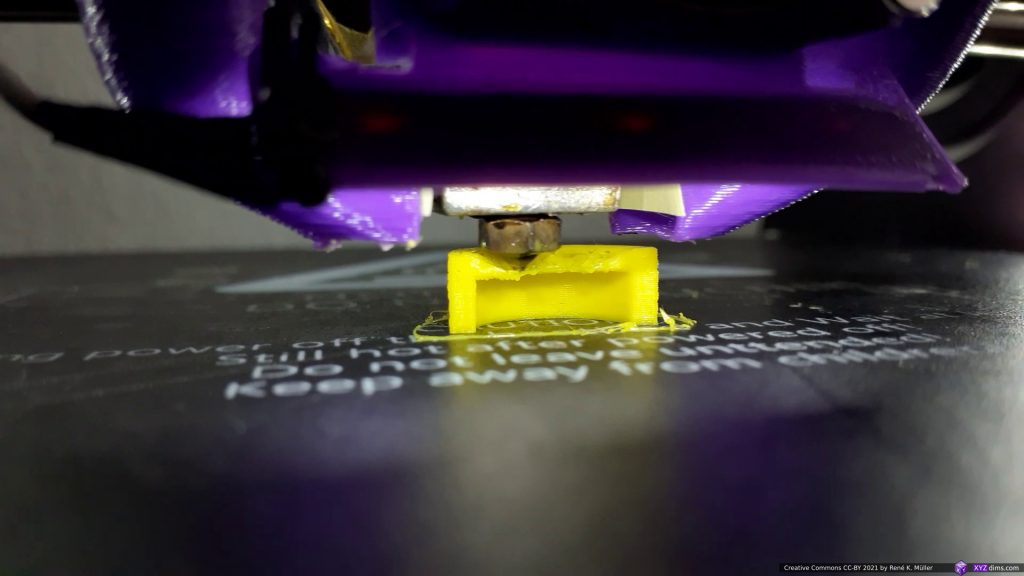
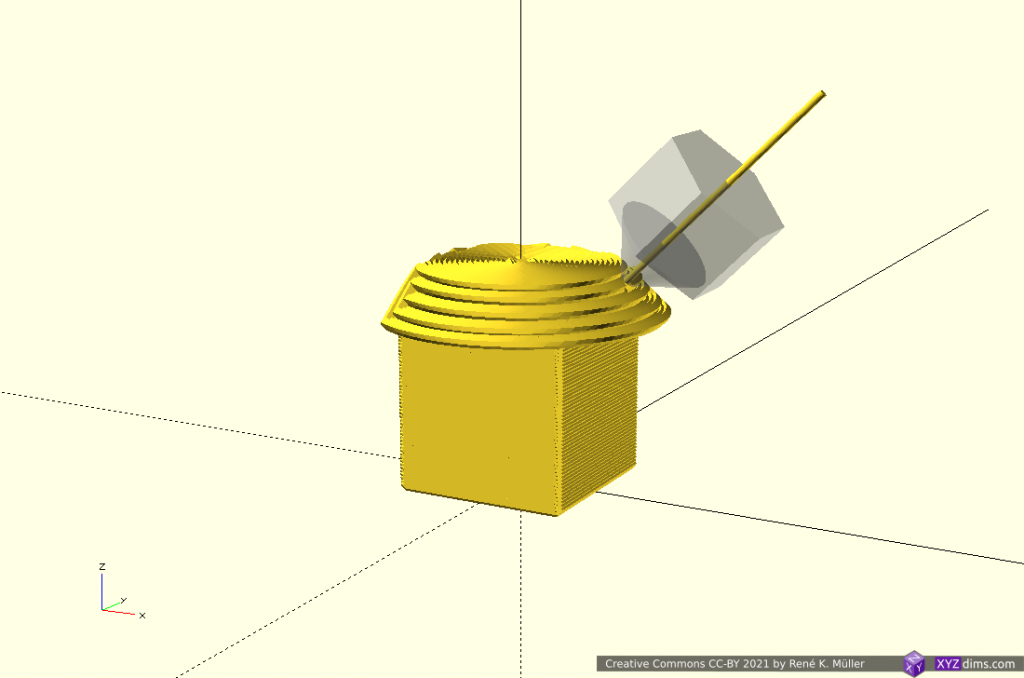
extending the inside-cone segment 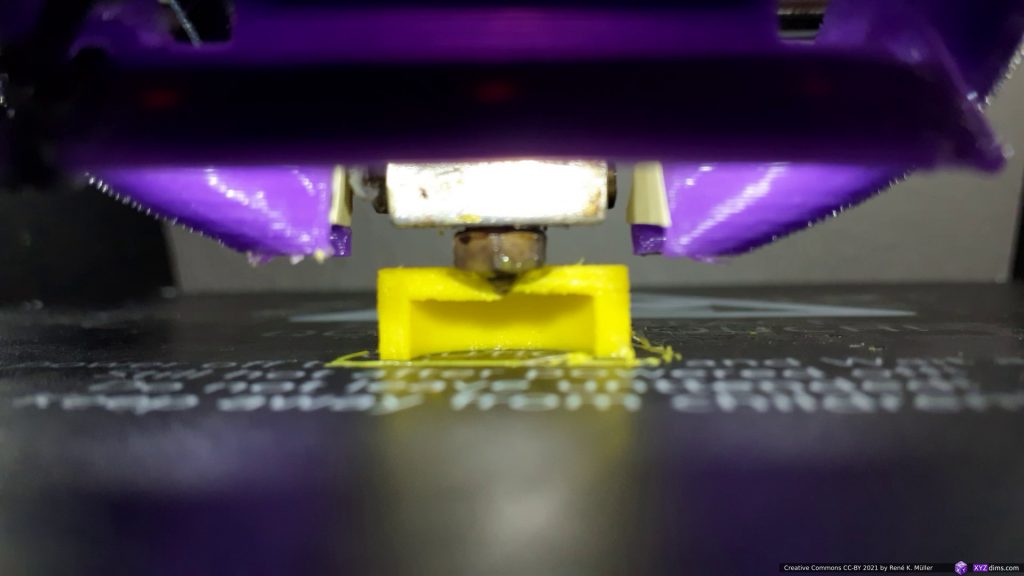
closing the inside-cone segment 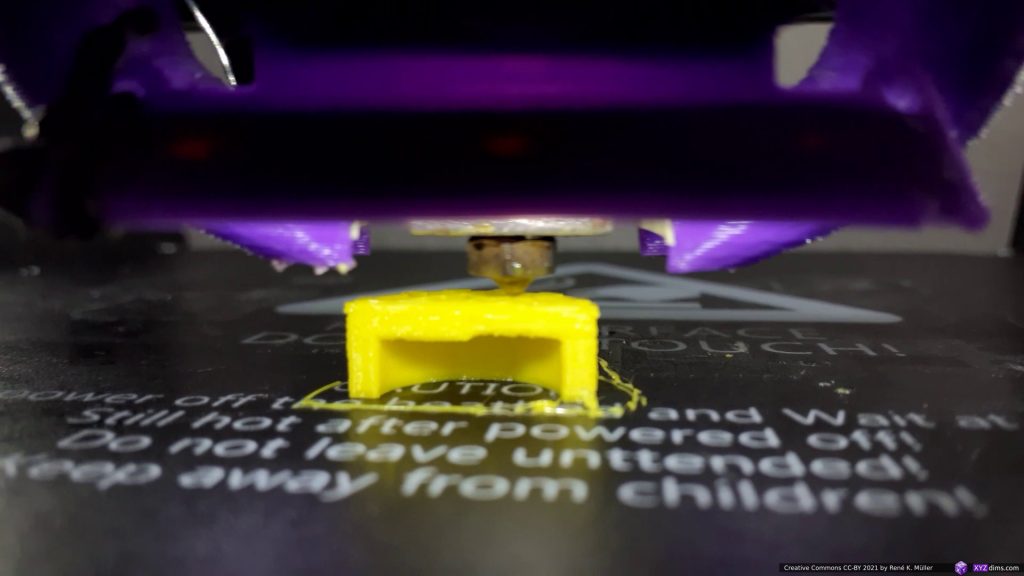
inner overhang finished 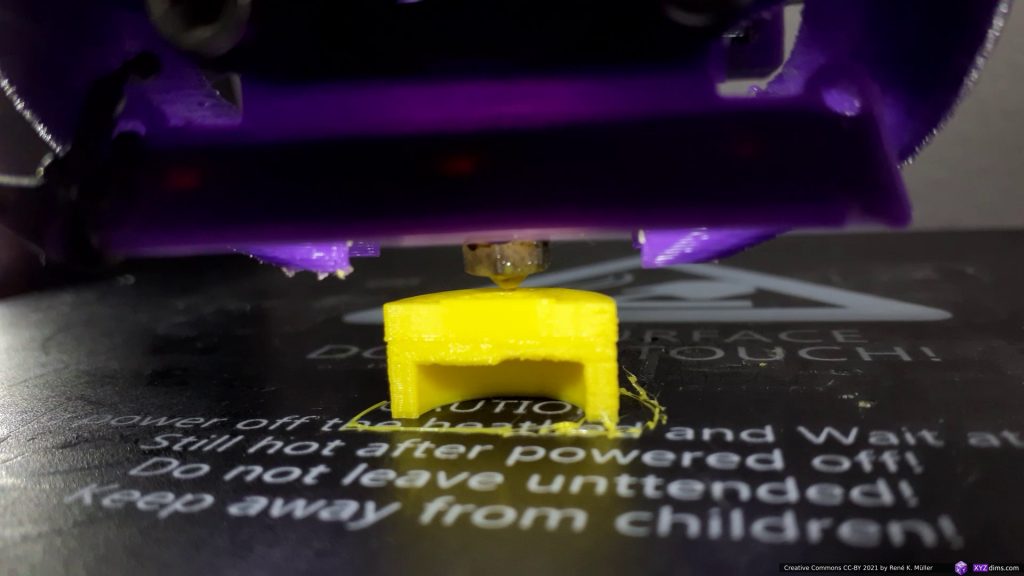
back z-planar on top 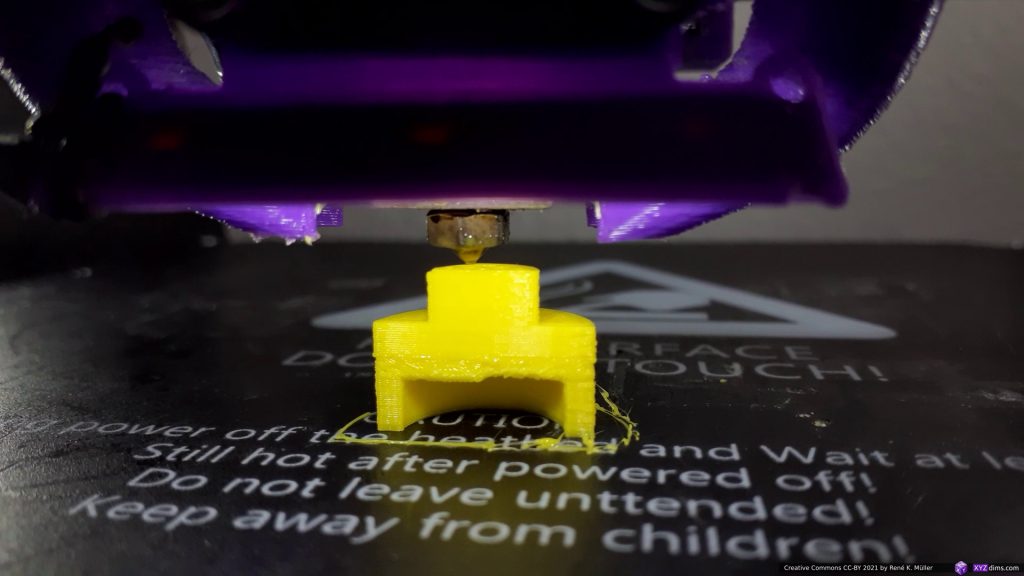
building up z-planar 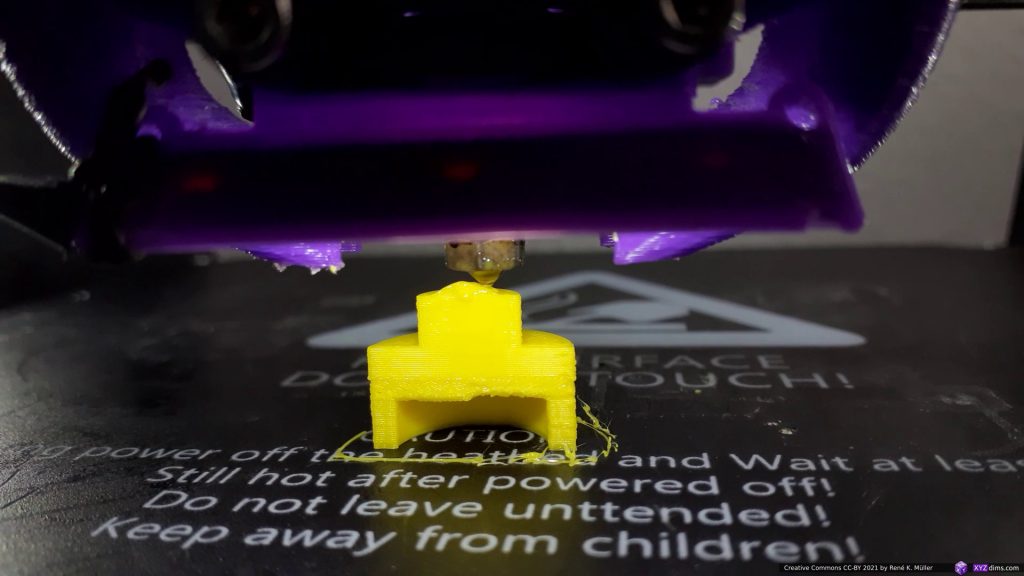
and switching to outside-cone for outgoing overhang 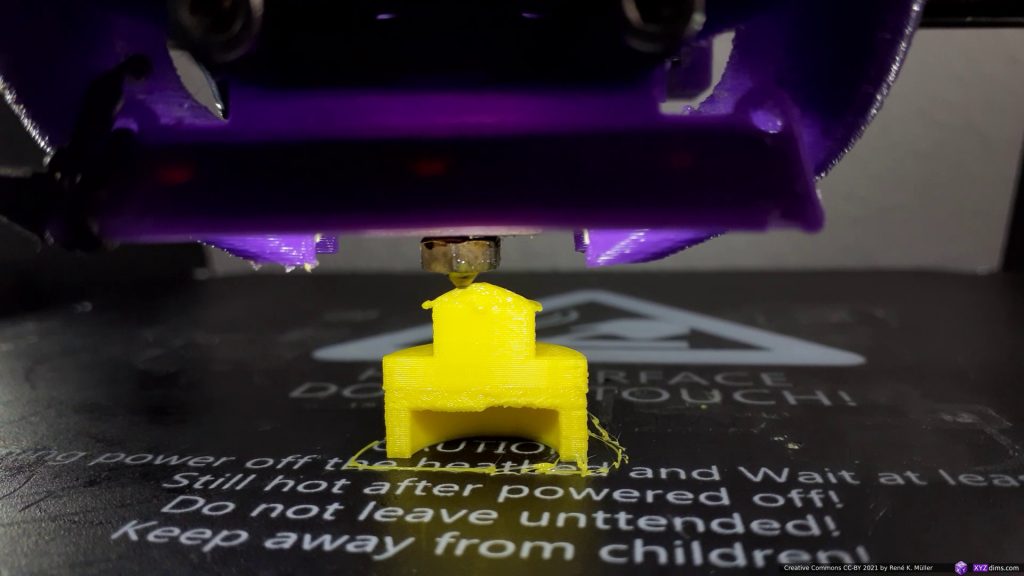
slowly extending 
extending to actual overhang 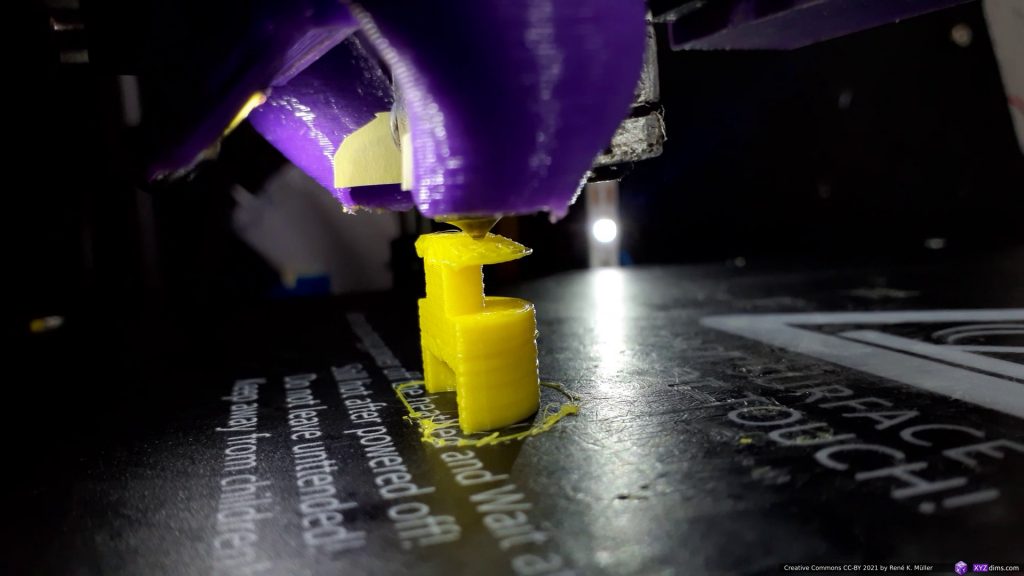
halved model profile 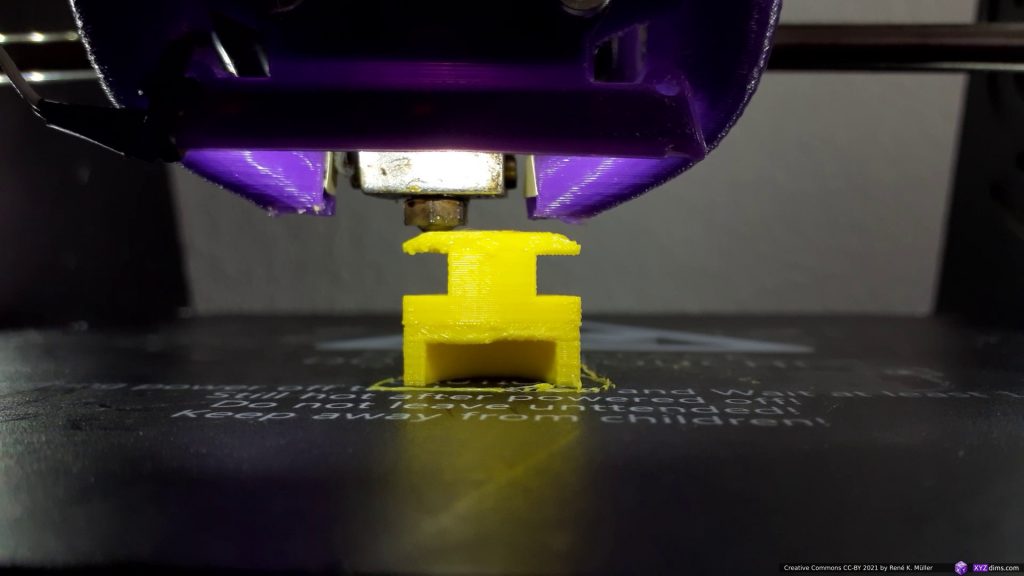
solidifying the overhang 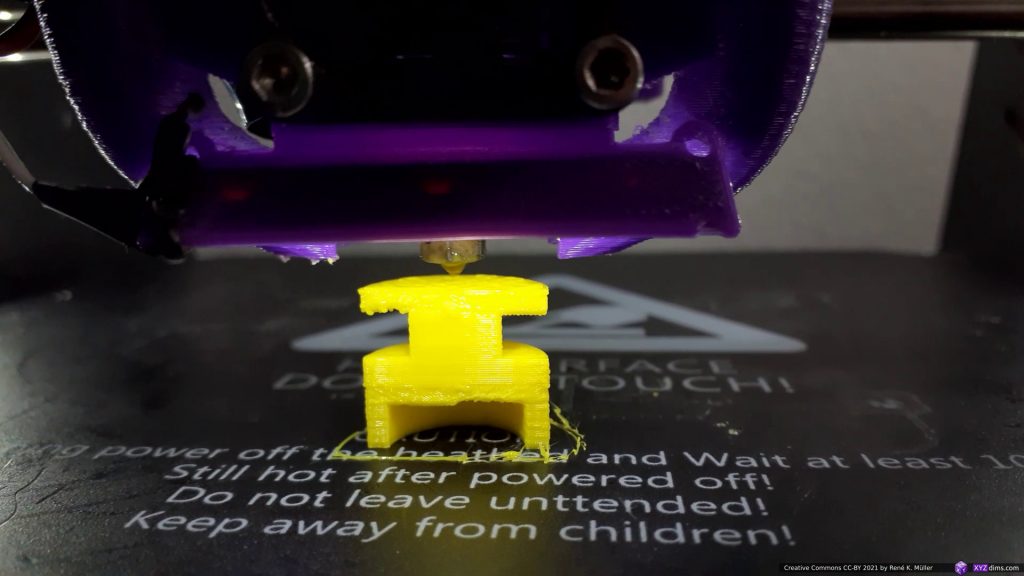
overhang done, switching to z-planar again 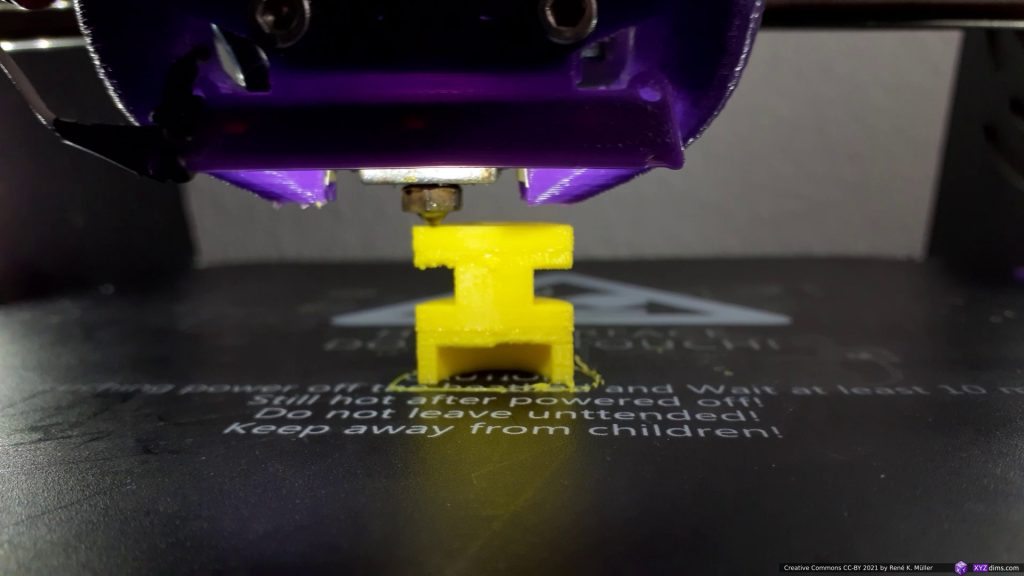
and finishing the piece 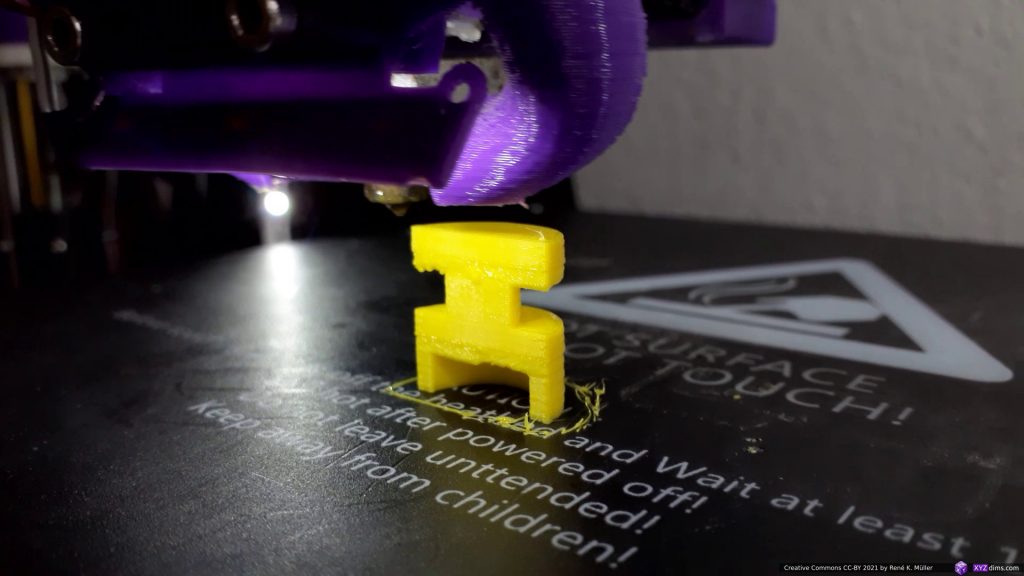
finished piece 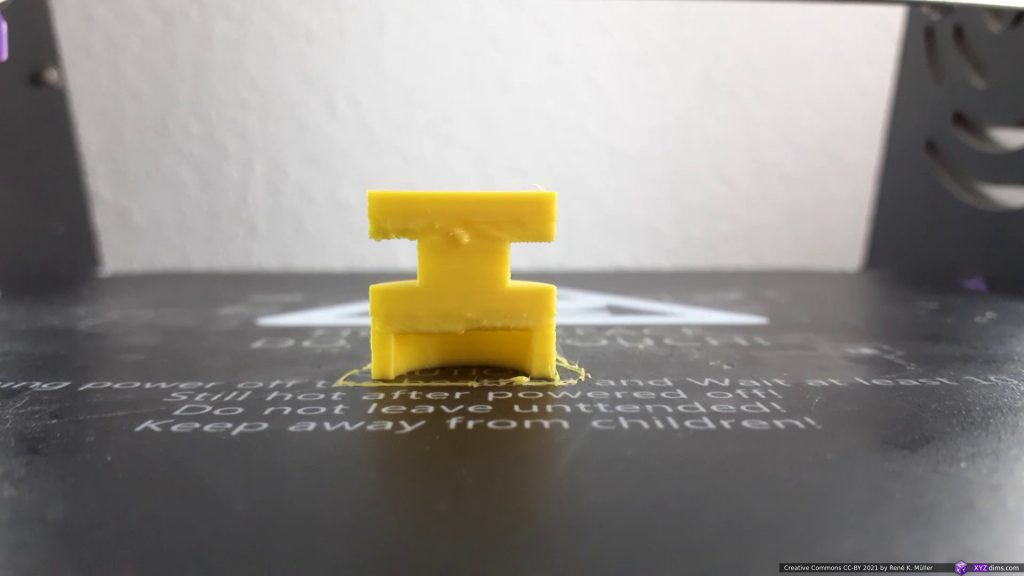
finished piece


Conclusion
It took me a few days to tune the 3-axis FDM printer to print in acceptable quality of this Overhang Model No 5 and also Overhang In/Out Model. A strong part-cooler was mandatory, well adjusted print temperature and slow perimeter as those extrusions align horizontally without vertical support; and it worked: the main idea is to segment and limit the overhang part to ~2mm thickness – a quasi “balcony” – which still allows a classic vertical nozzle with part-cooler to print such, and then switch back to planar printing again.
Detail settings: the conic overhang was sliced with Slicer4RTN with following settings slicer4rtn --slicer=cura-slicer --speed_wall=10 --speed_wall_0=10 --speed_wall_x=10 ... and since the Z-axis motion is limited to 4mm/s (M6 threaded rod, 1 rotation => 1mm) the overall printing speed is slow enough to provide acceptable print quality.
