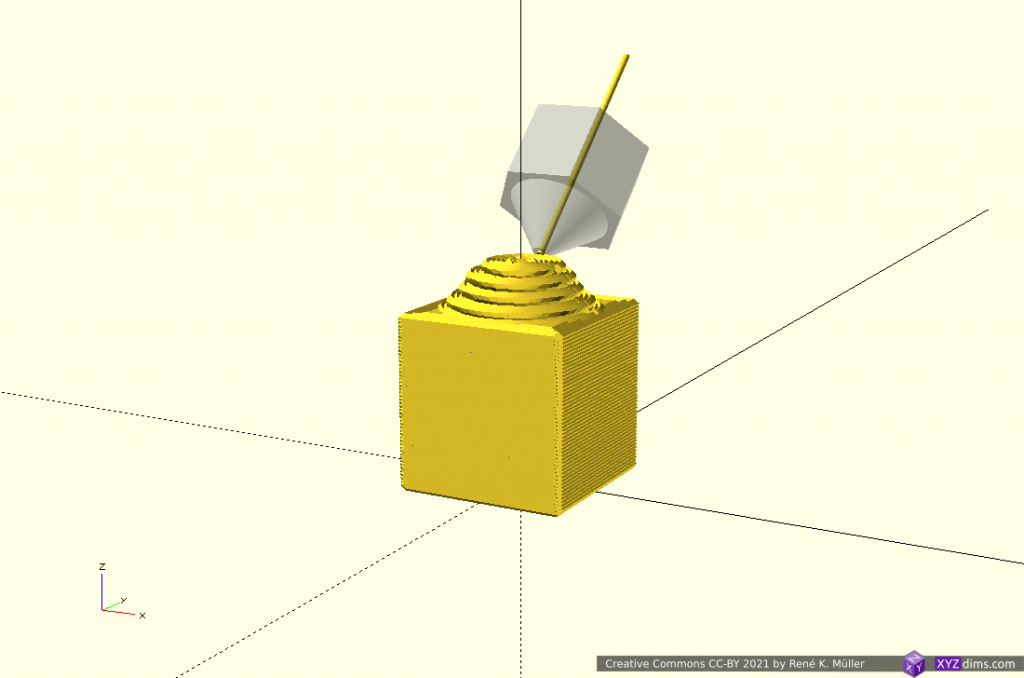
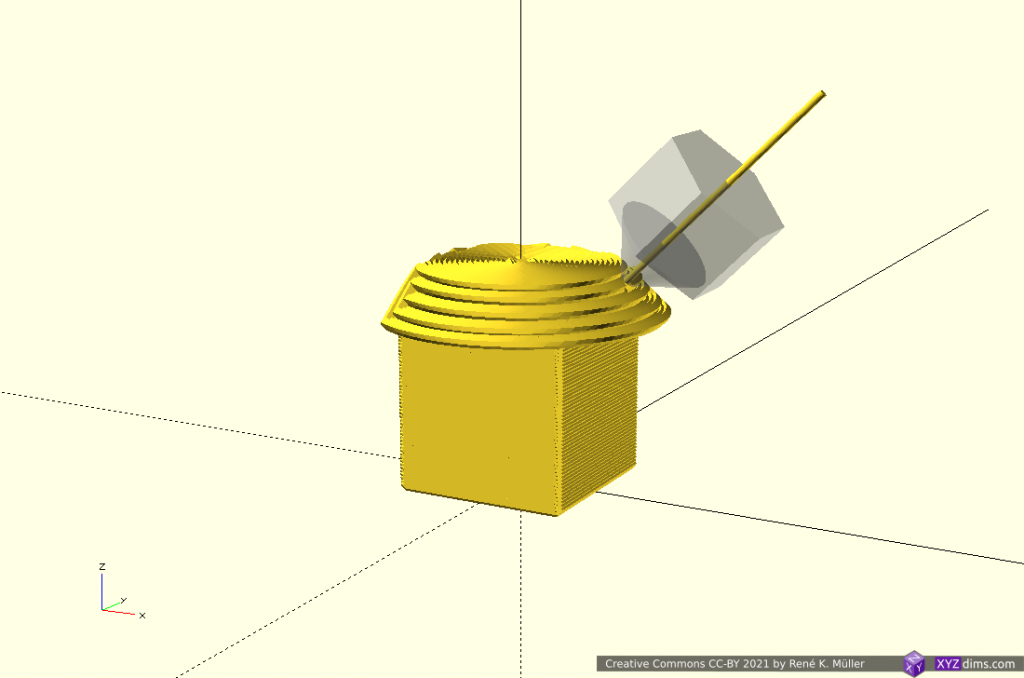
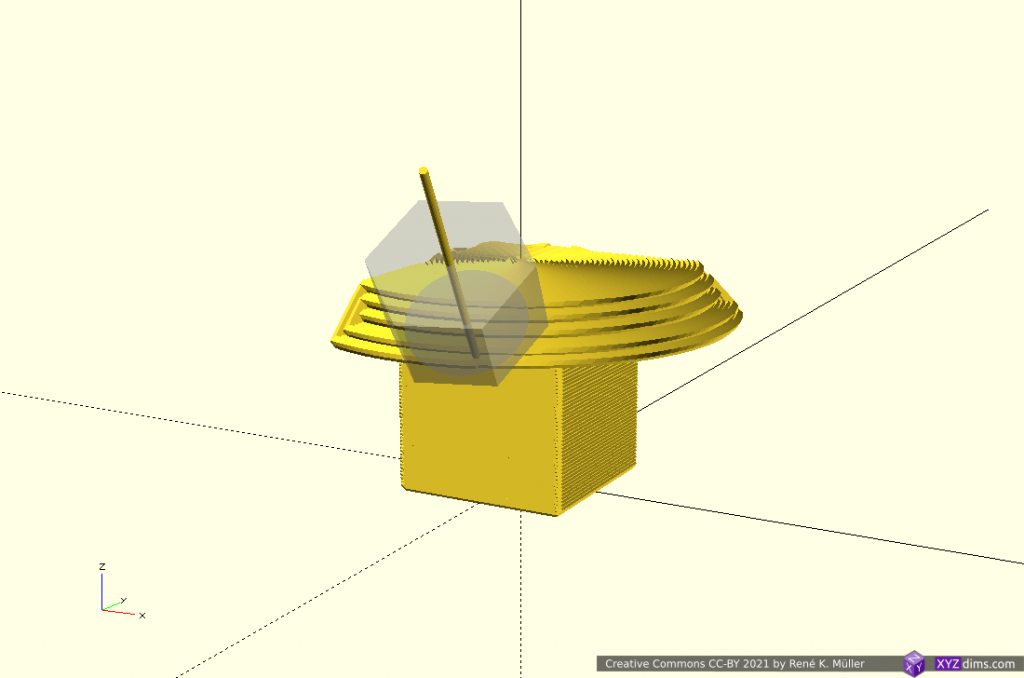
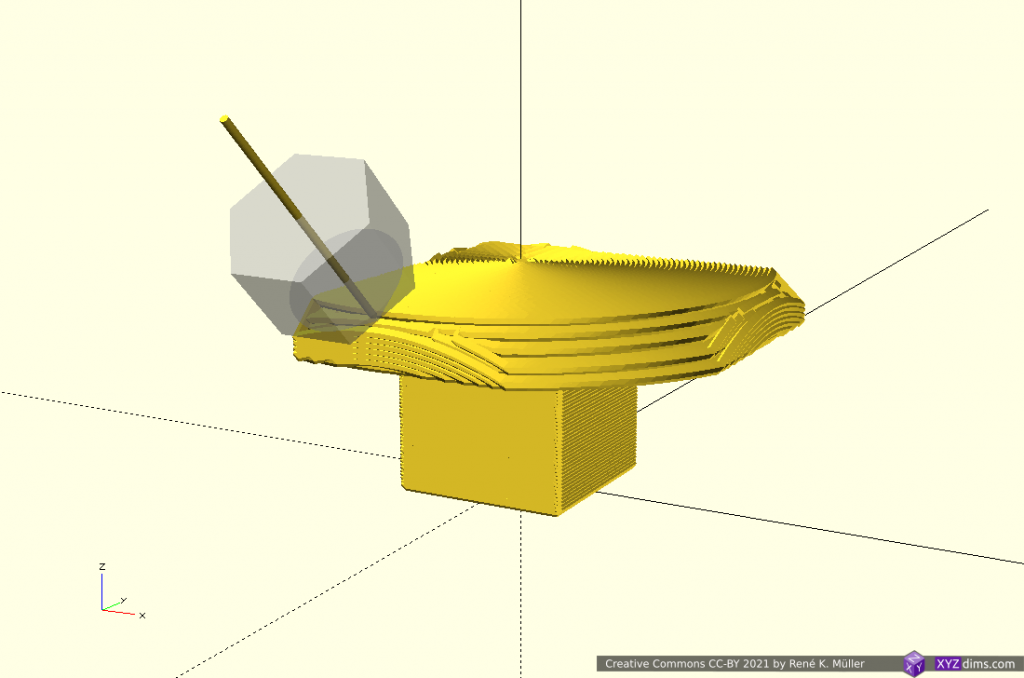
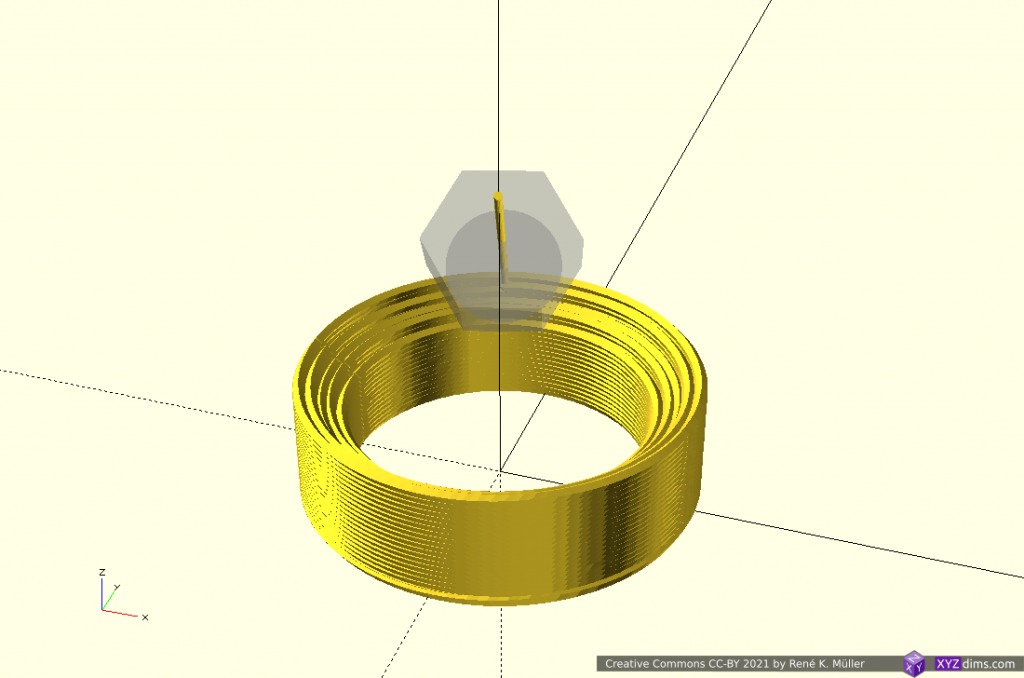
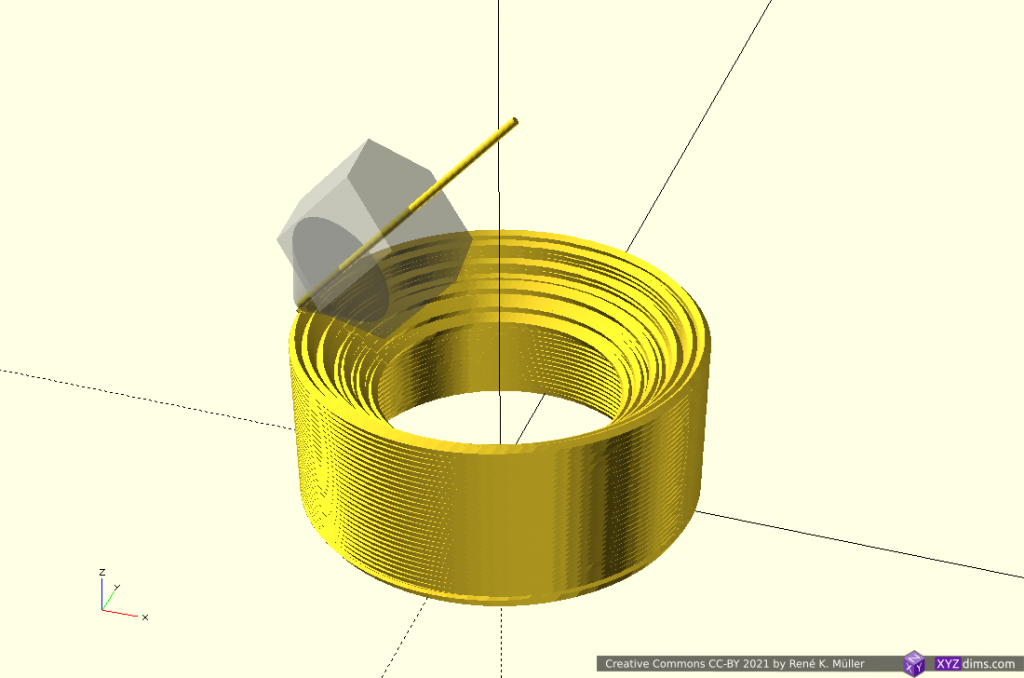
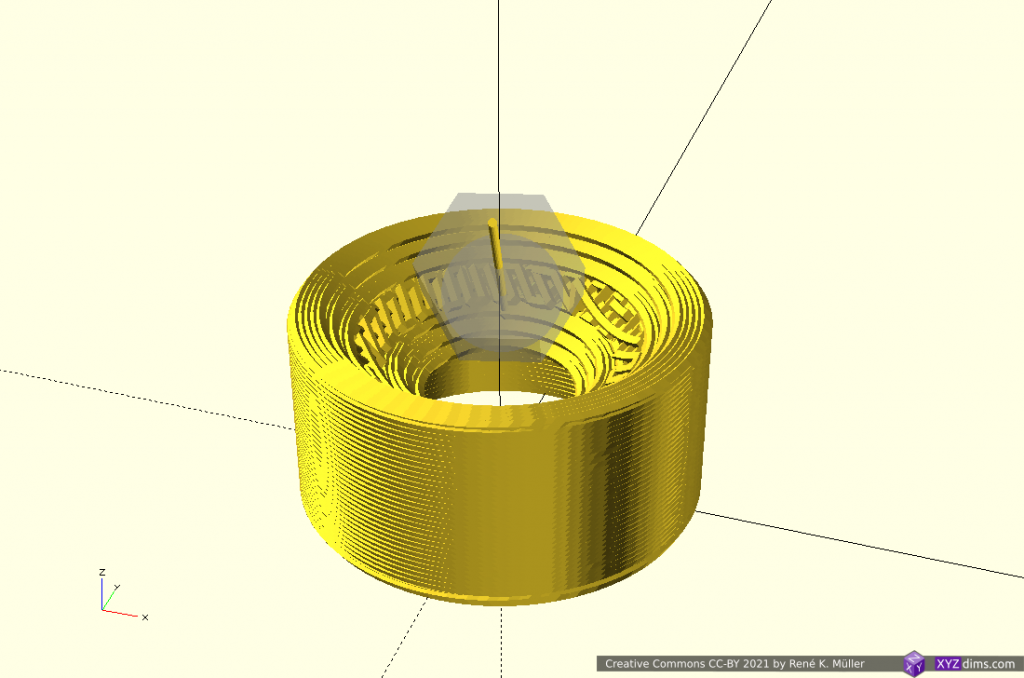
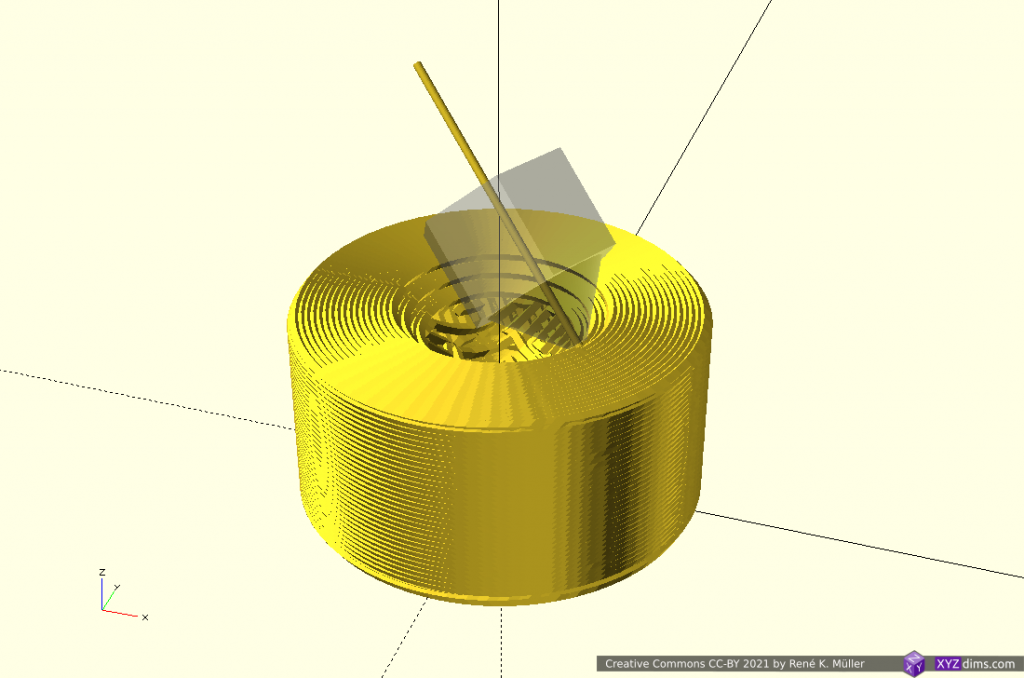
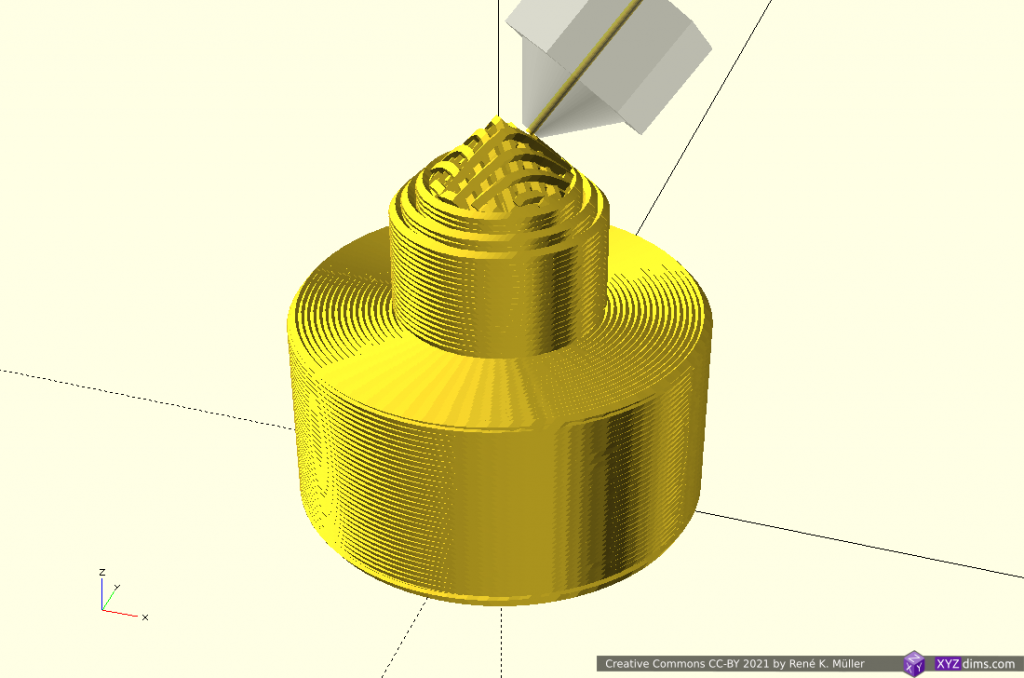
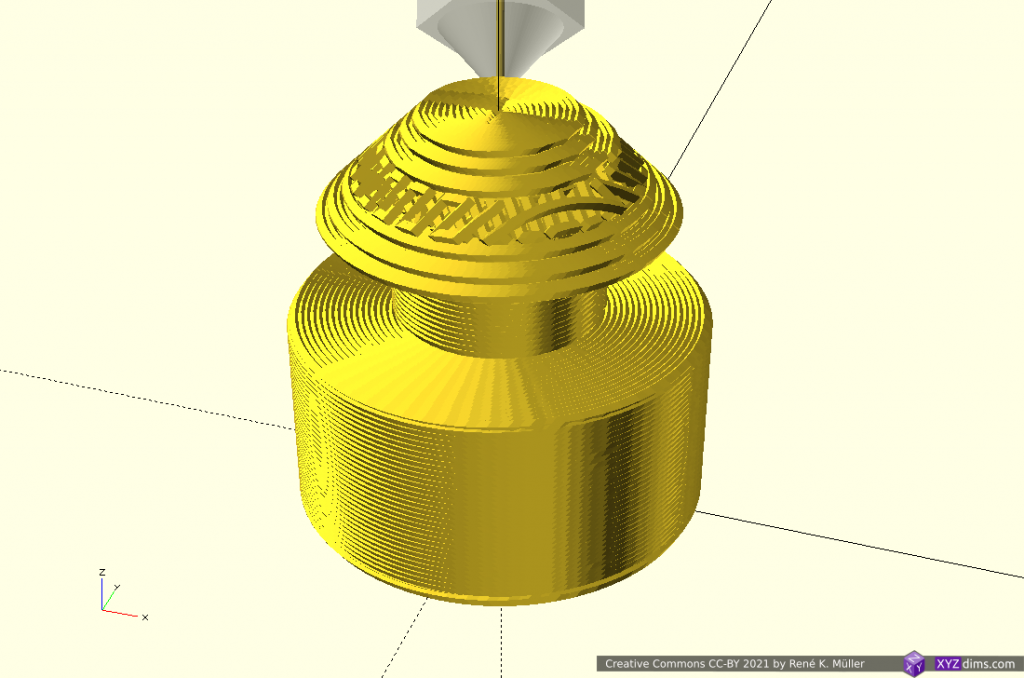
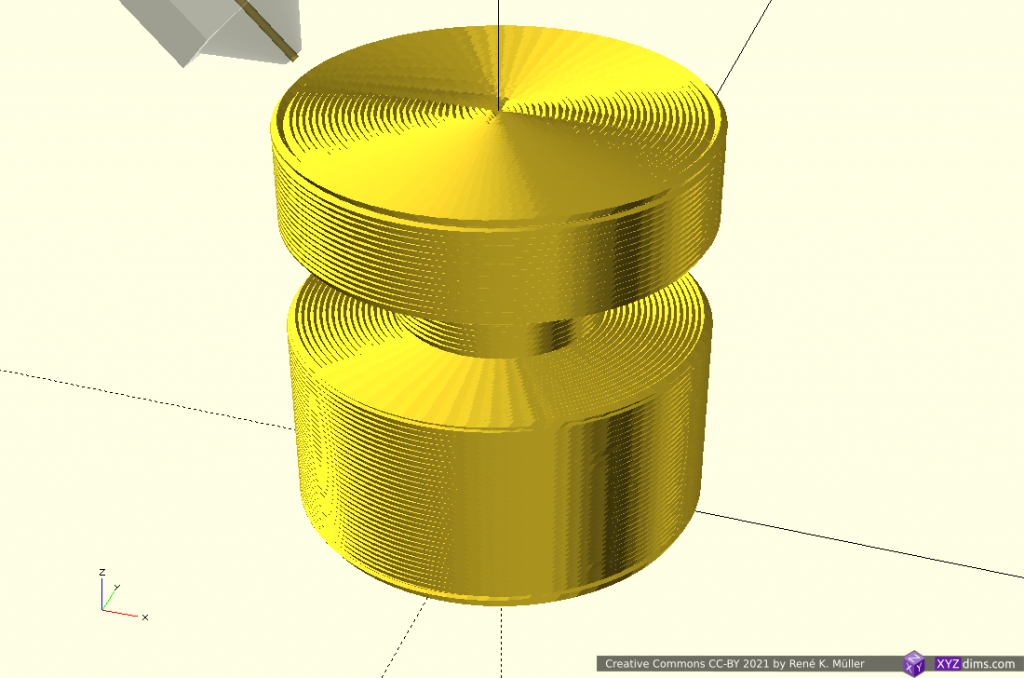
Tag Archives: Sub-Volume Segmenting

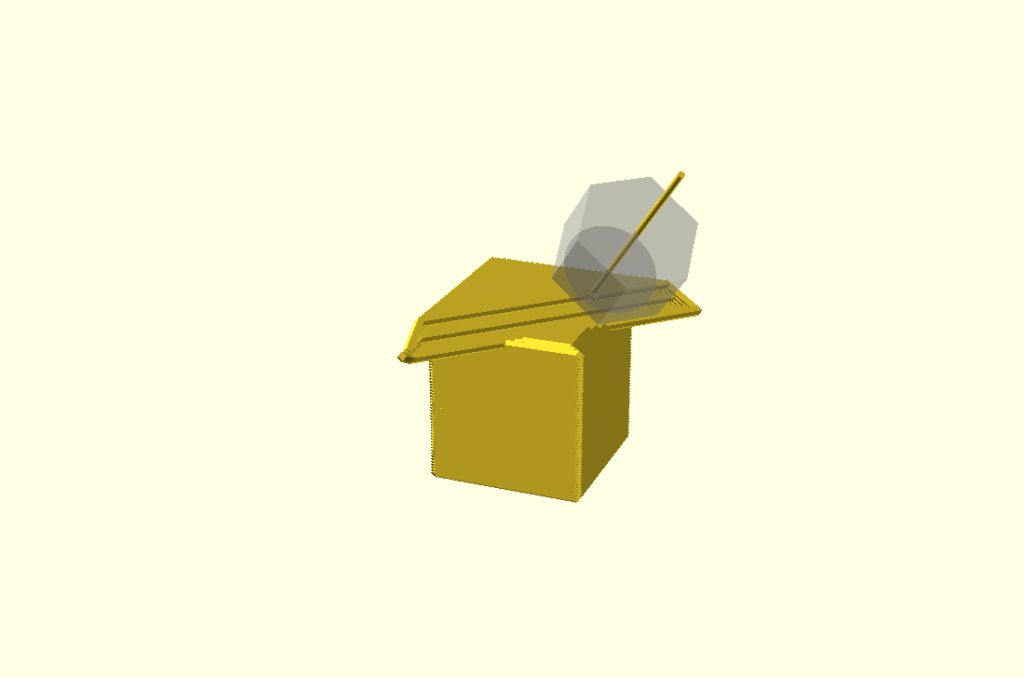
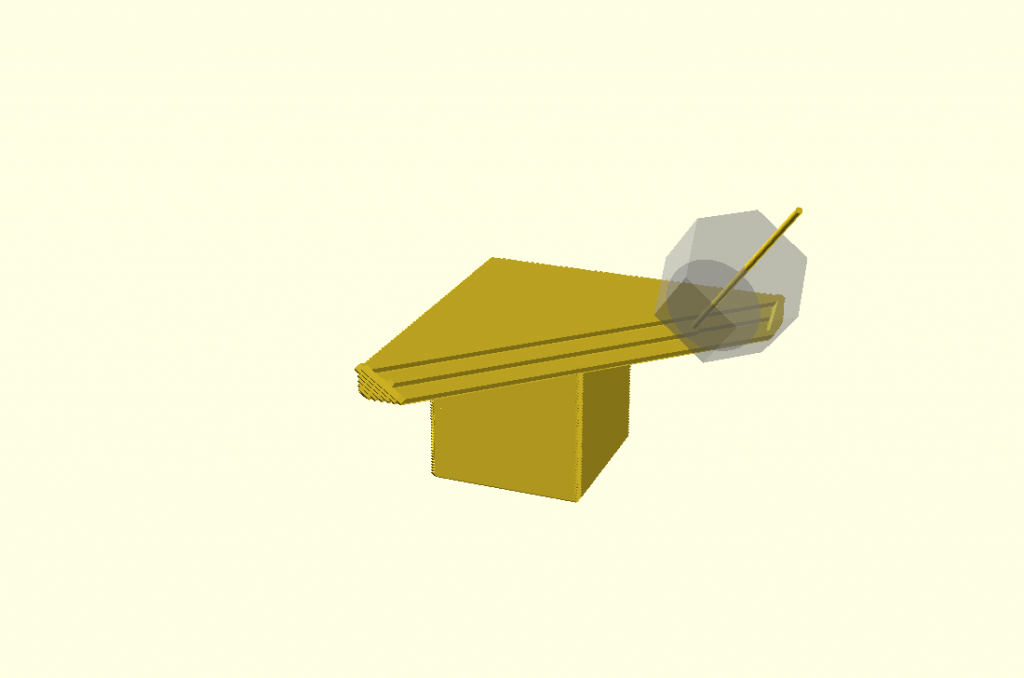
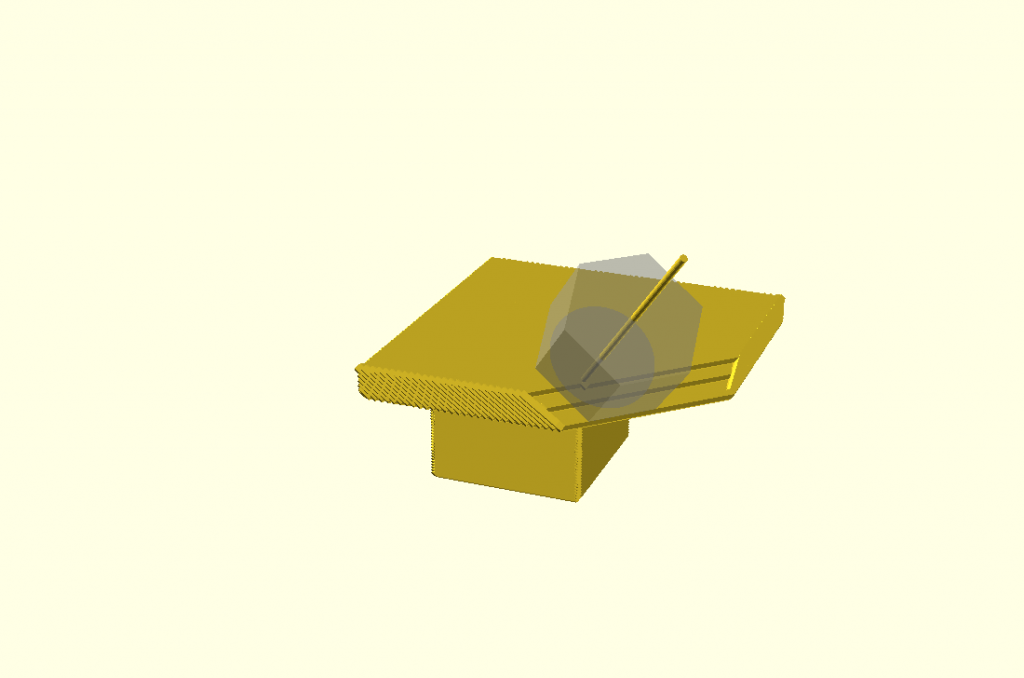
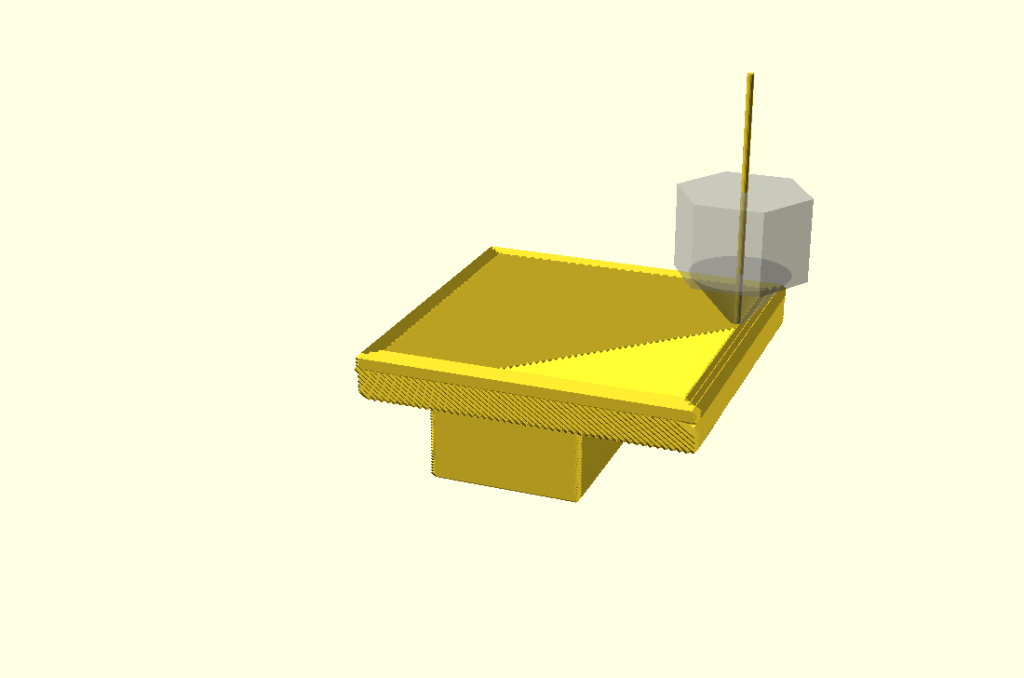
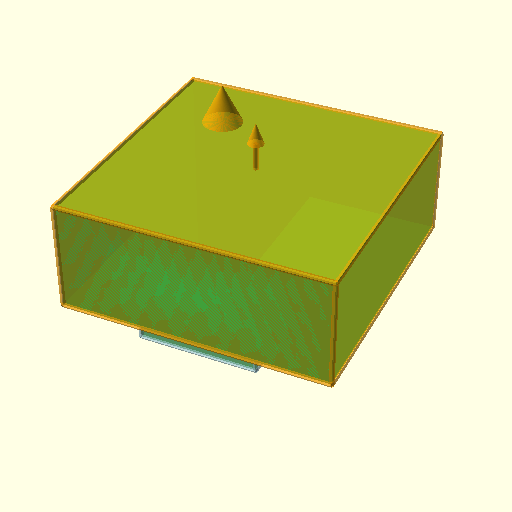
3D Printing: Non-Planar “Balcony” Overhang with 3-axis FDM Printer

Updates:

  • 2021/05/02: adding overhang-inout with 5 segments, with conic inside- and outside-cone mode
  • 2021/05/01: adding tilt sliced overhang segment variant as comparison
  • 2021/04/29: video uploaded and blog-post published
  • 2021/04/27: first successful tests with vertical nozzle (3-axis FDM printer)

Introduction

The past few months and weeks I focused on the non-planar slicing, and the first tests with sub-volume segmenting and thereby mixing planar and non-planar sliced G-code worked as simulation, and now in actual prints.

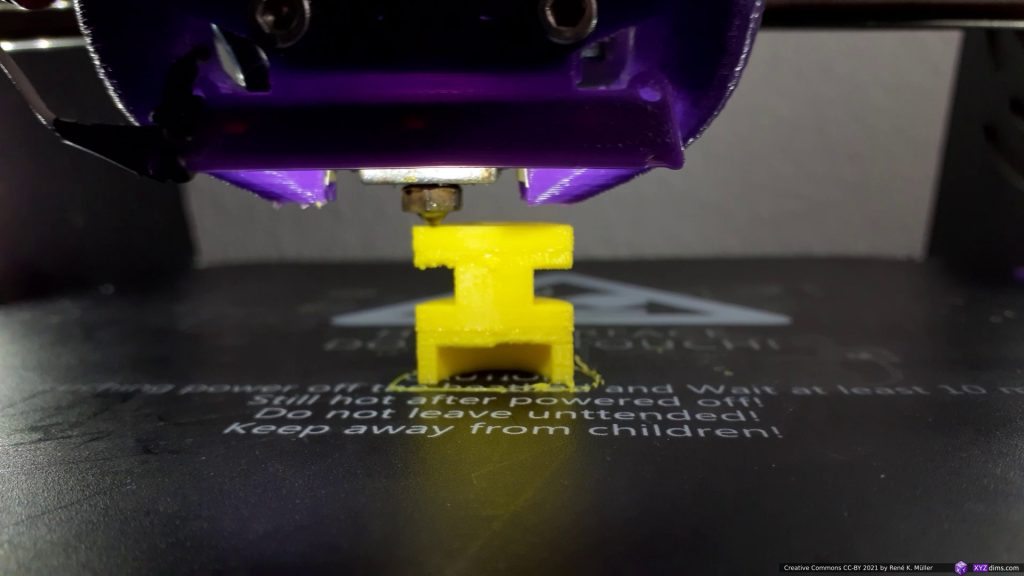
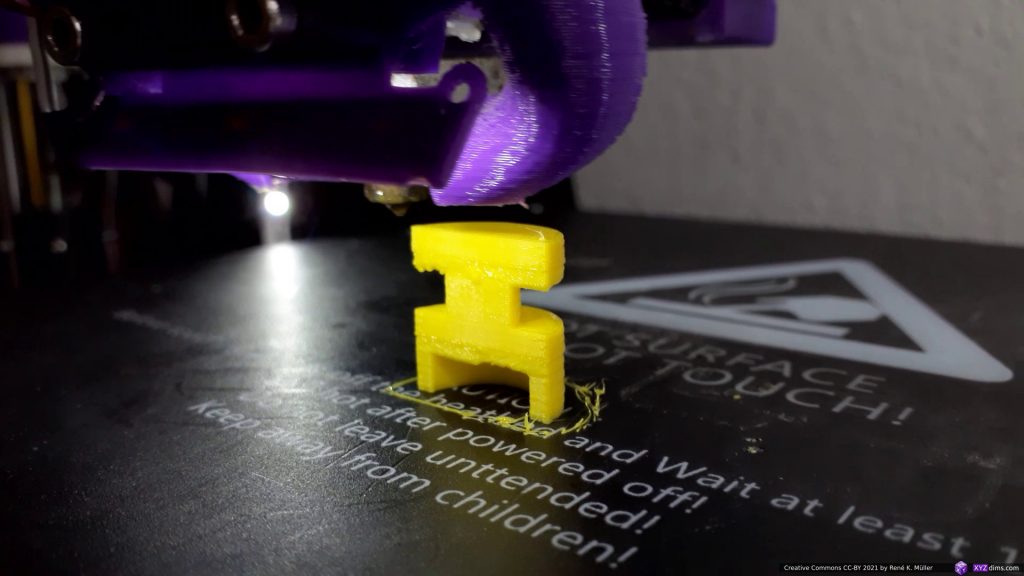
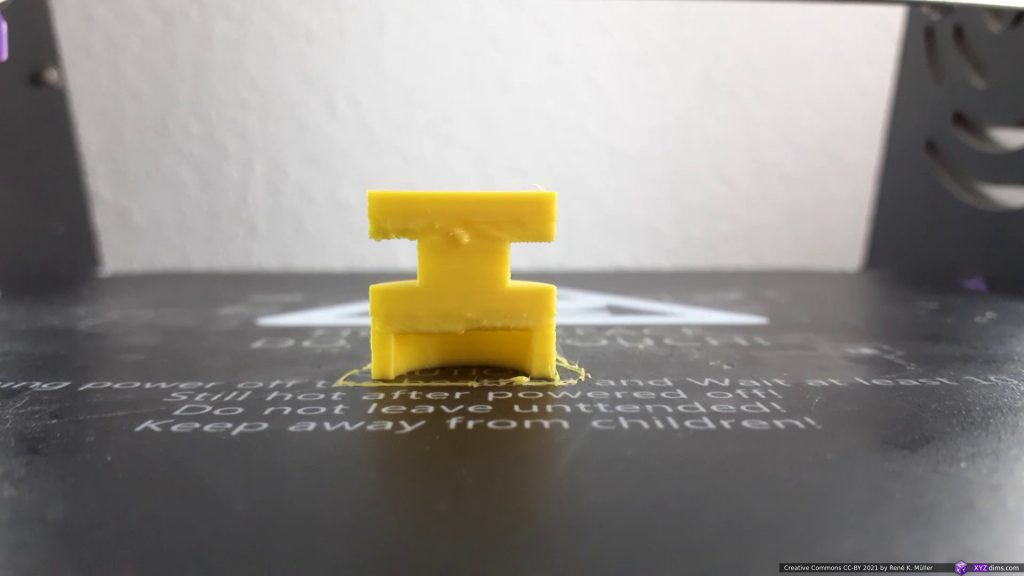
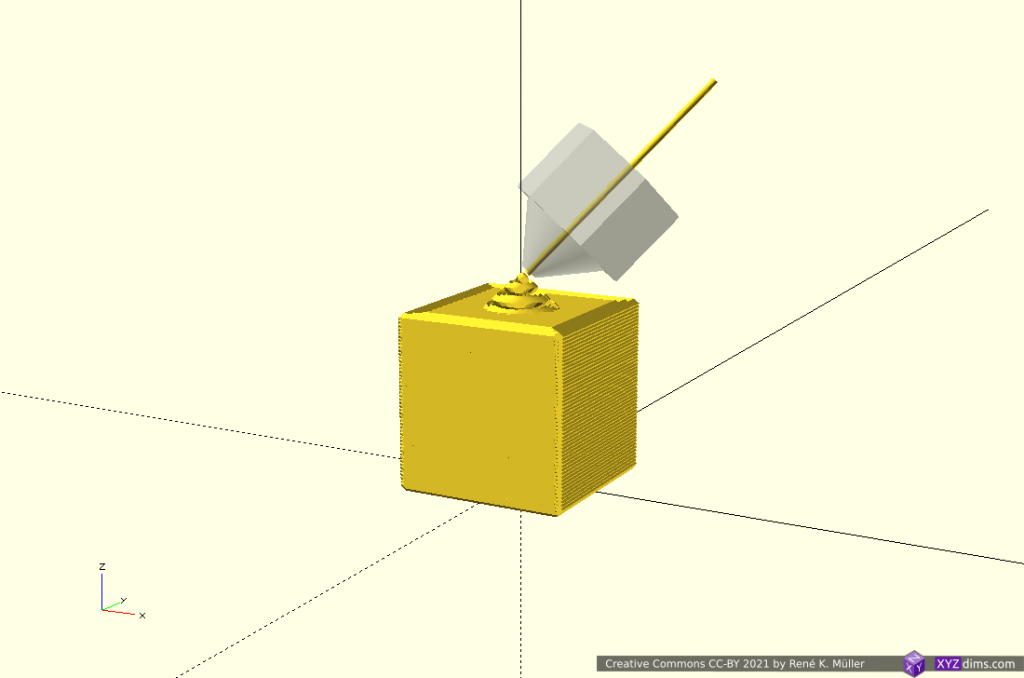
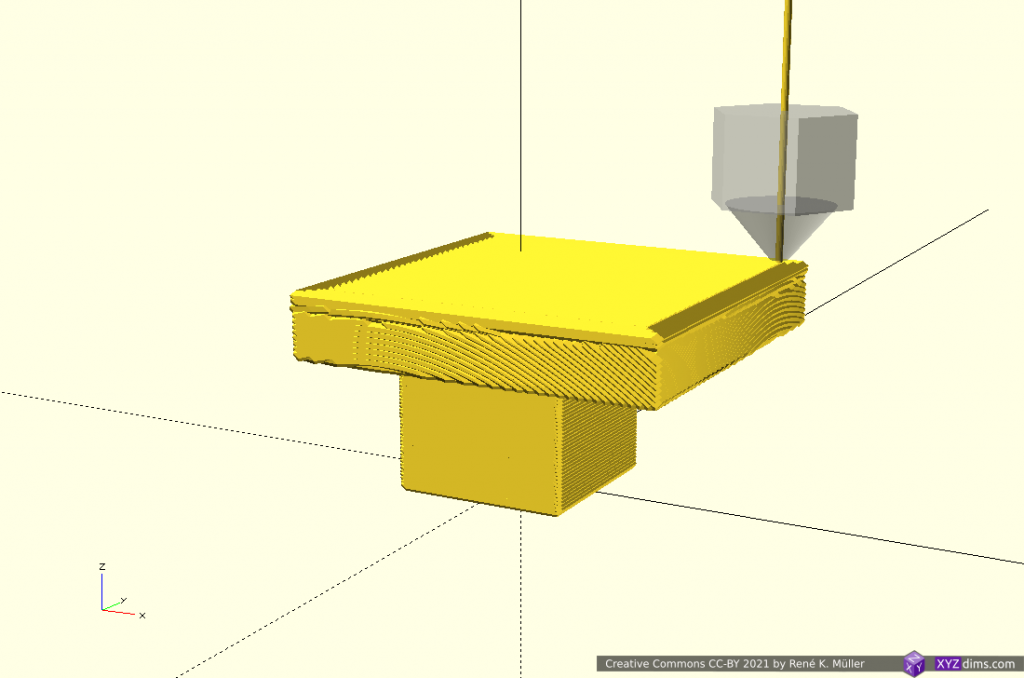
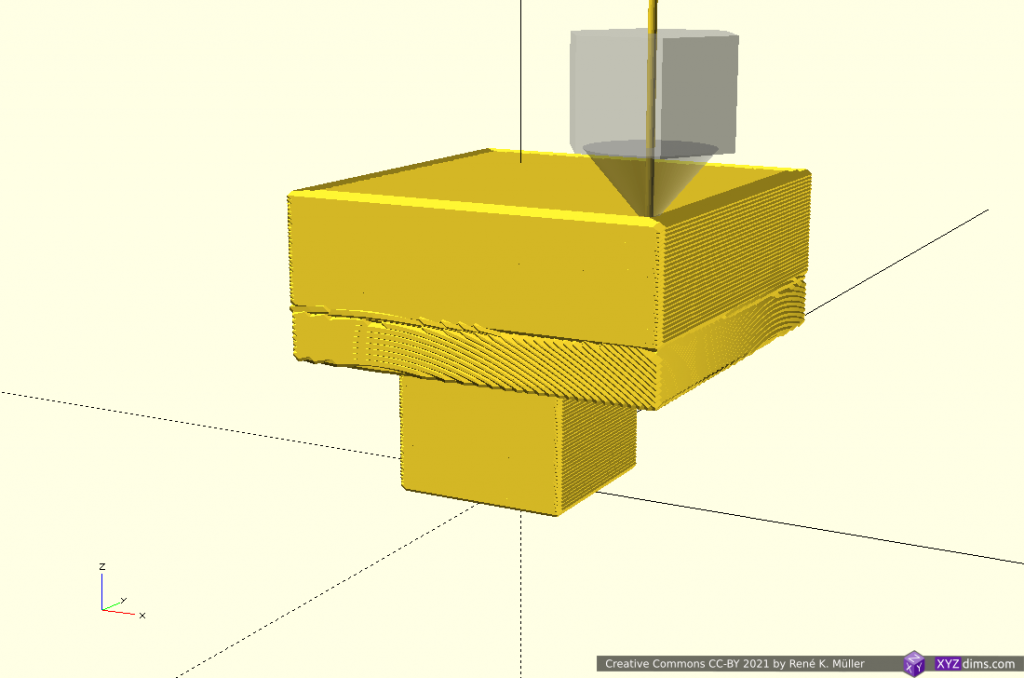
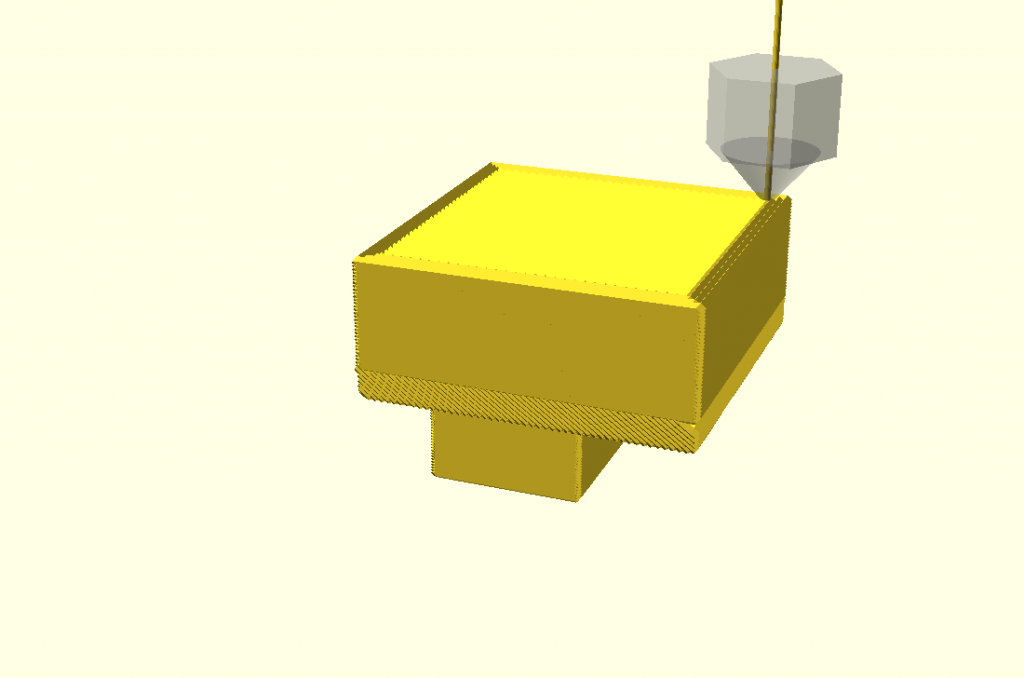
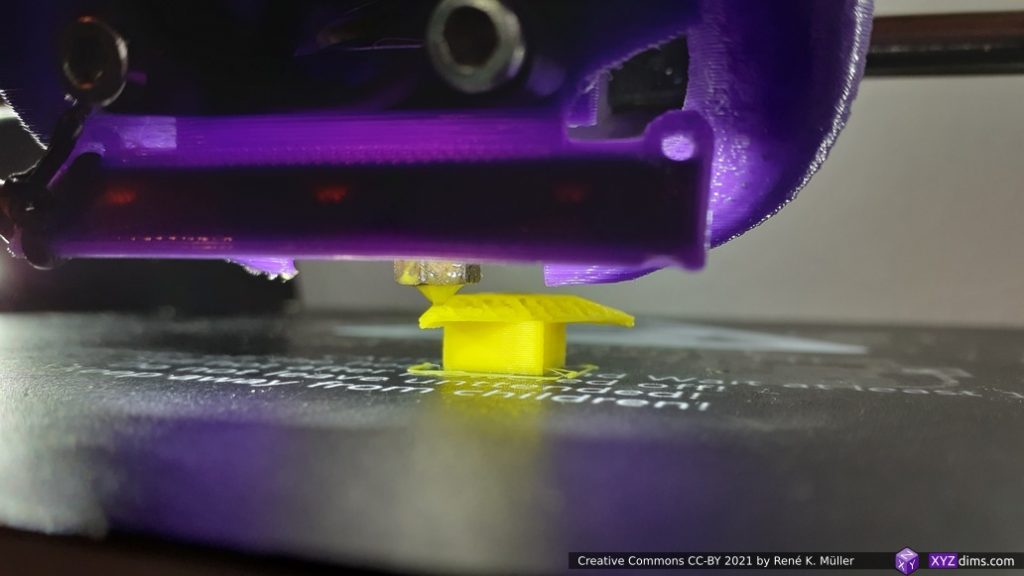
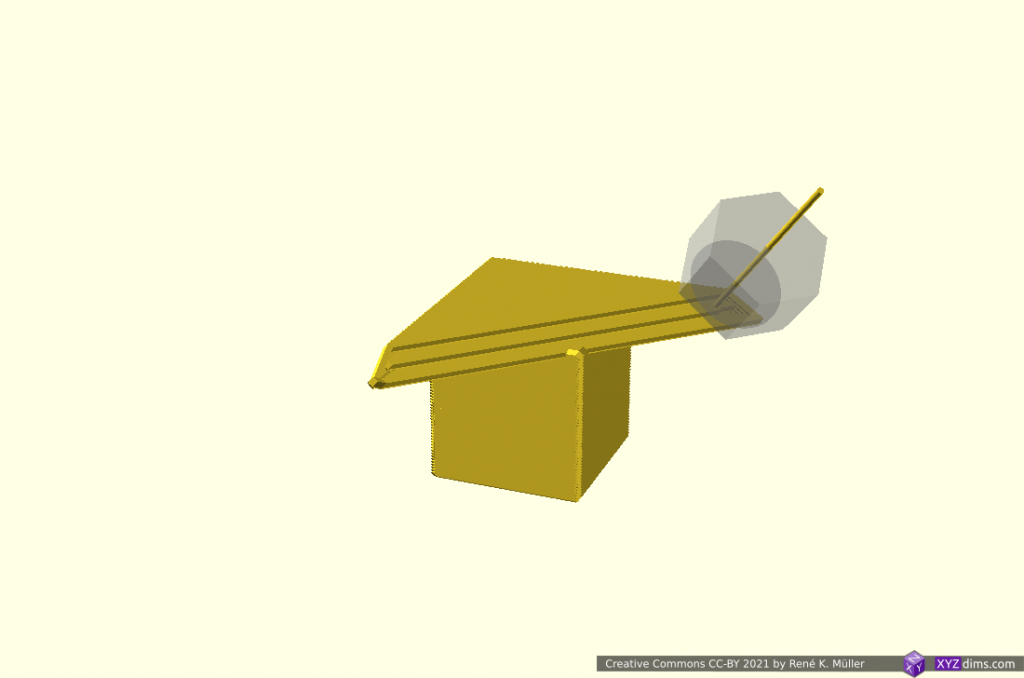
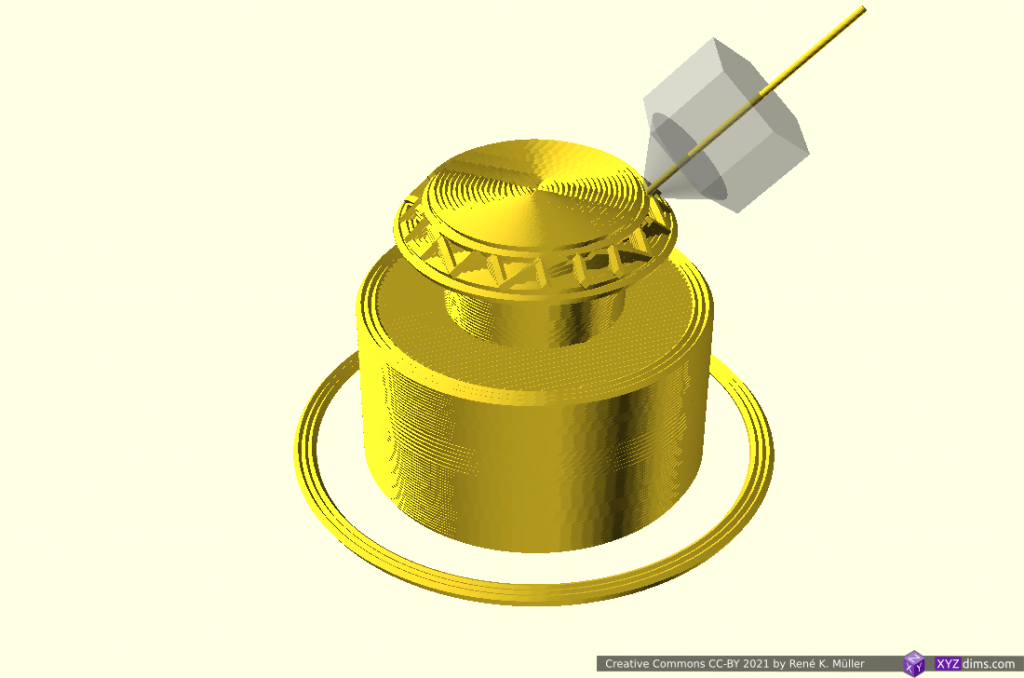
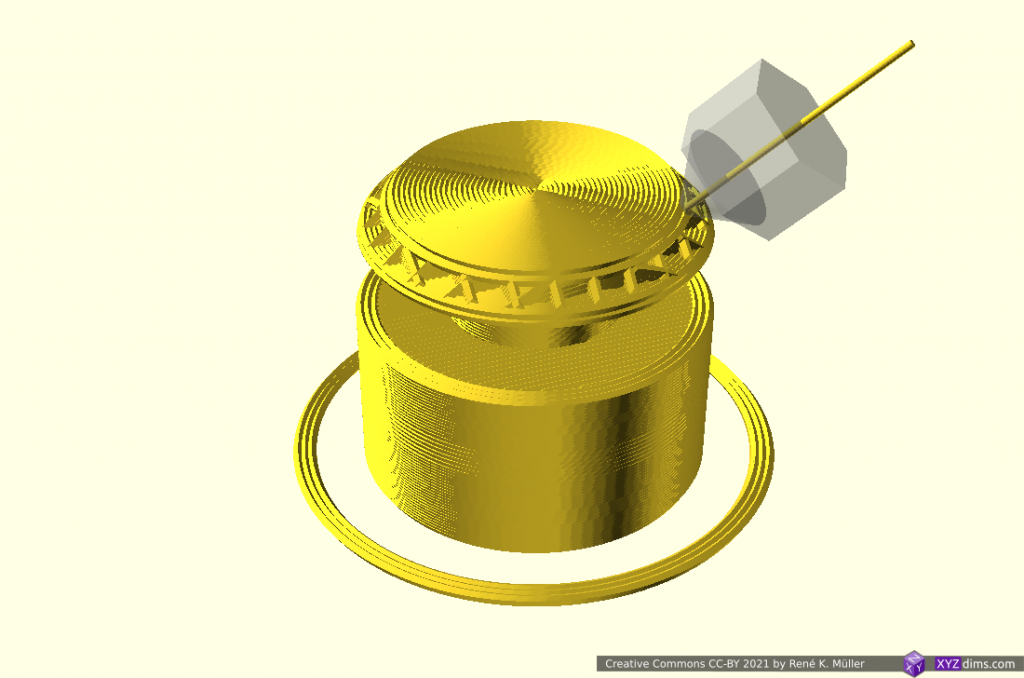
One of the benchmarks are 90° overhangs in different directions, and I printed with vertical nozzle on an ordinary 3-axis FDM printer, therefore I prepared the G-code with a new tool (in-development) which coordinates segmenting and planar/non-planar slicing of sub-volumes, and the conic sliced segment was sliced with 25° conic angle so it remains printable with the vertical nozzle unlike the simulation where a 4- or 5-axis FDM printer is required:

Gallery

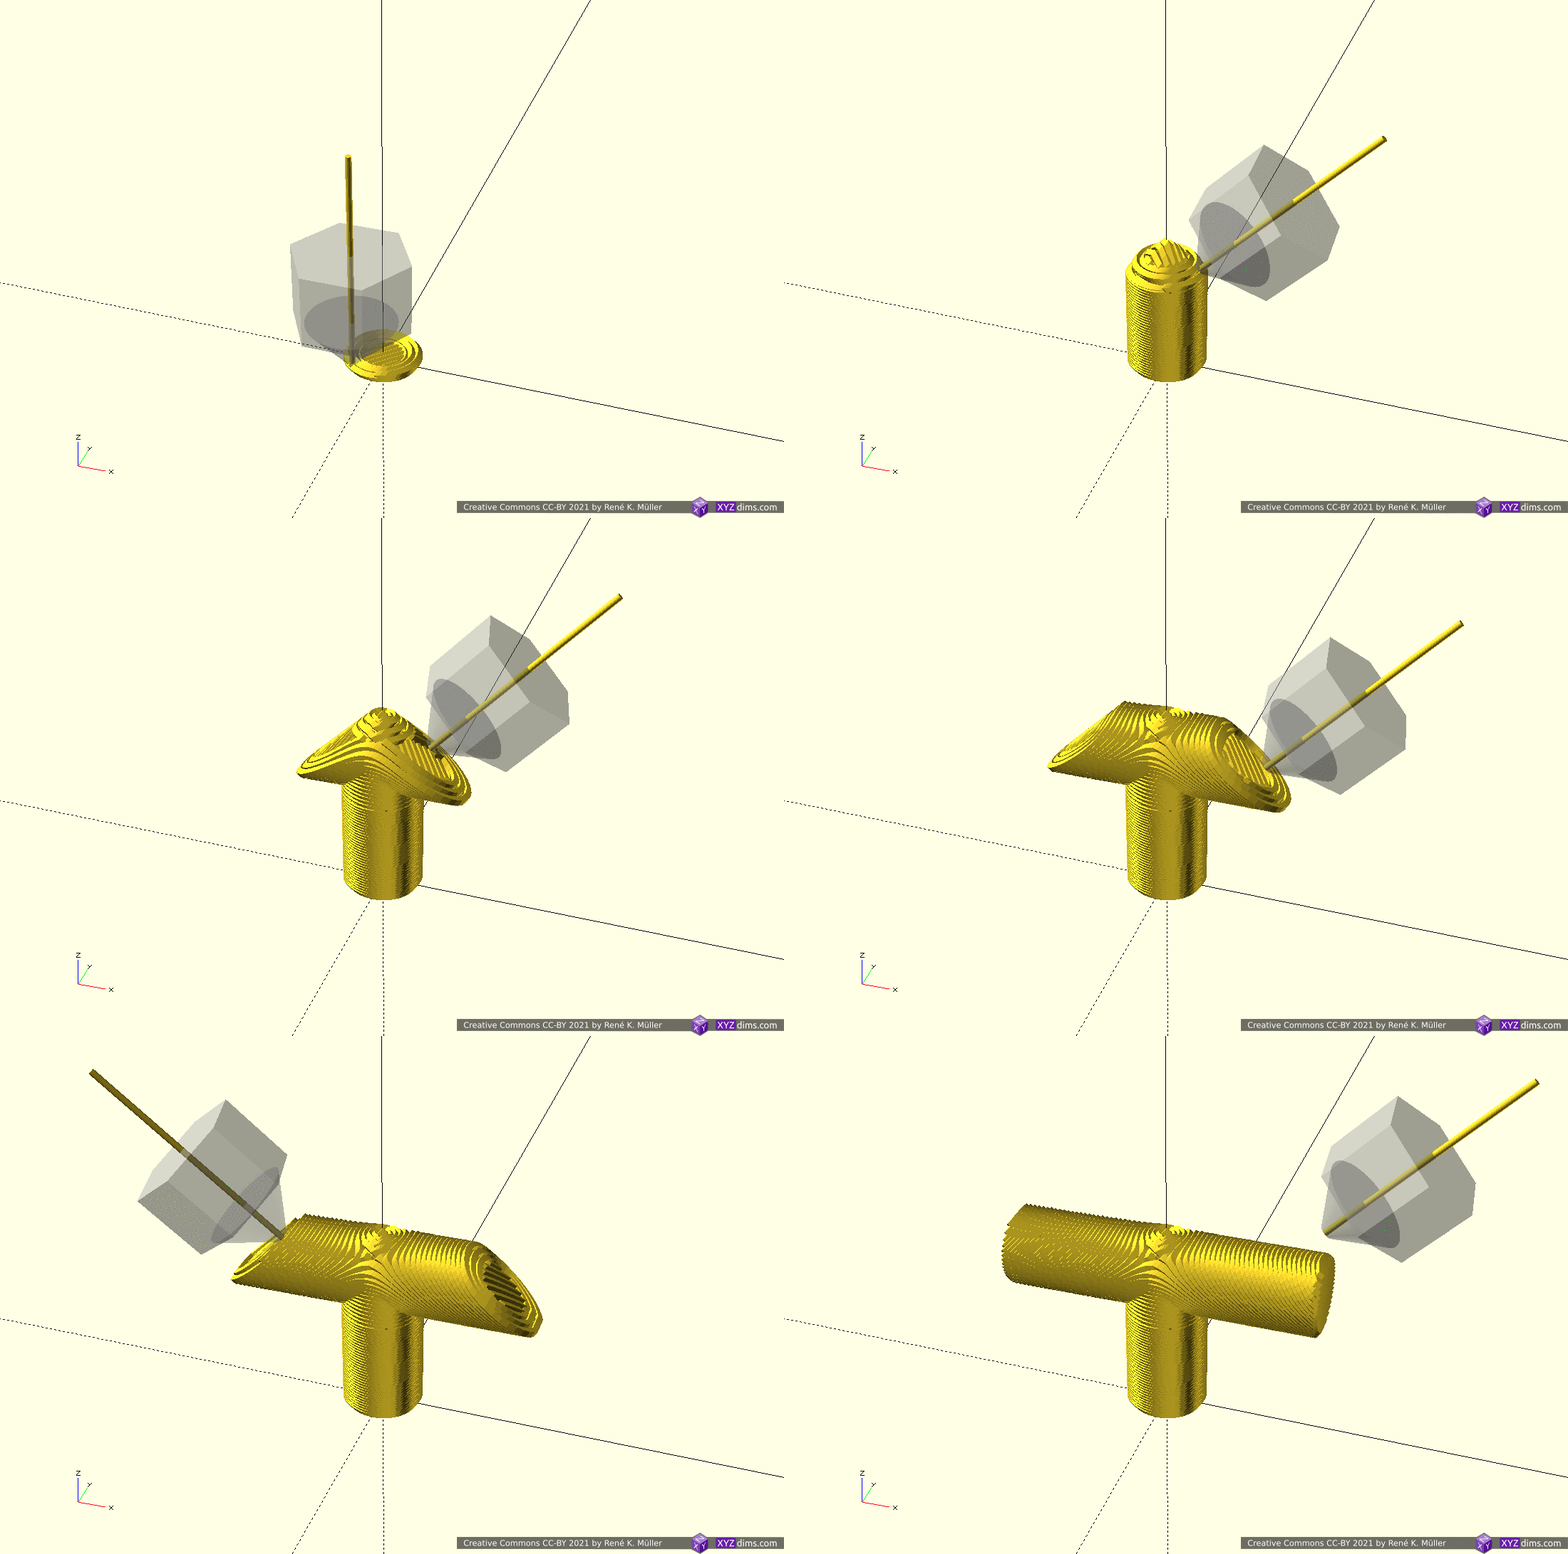
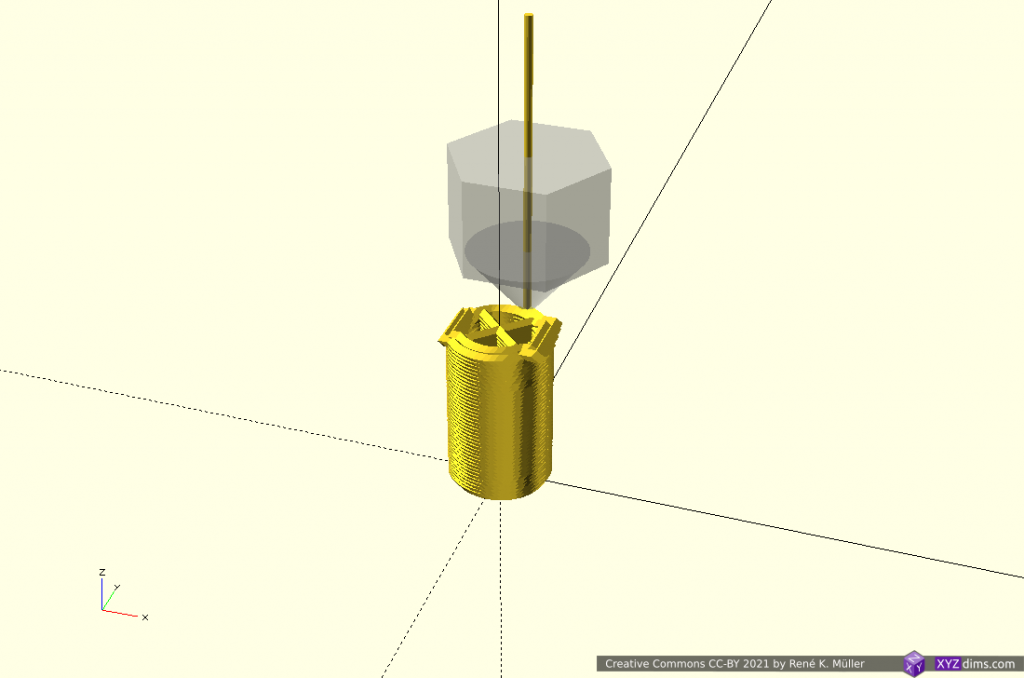
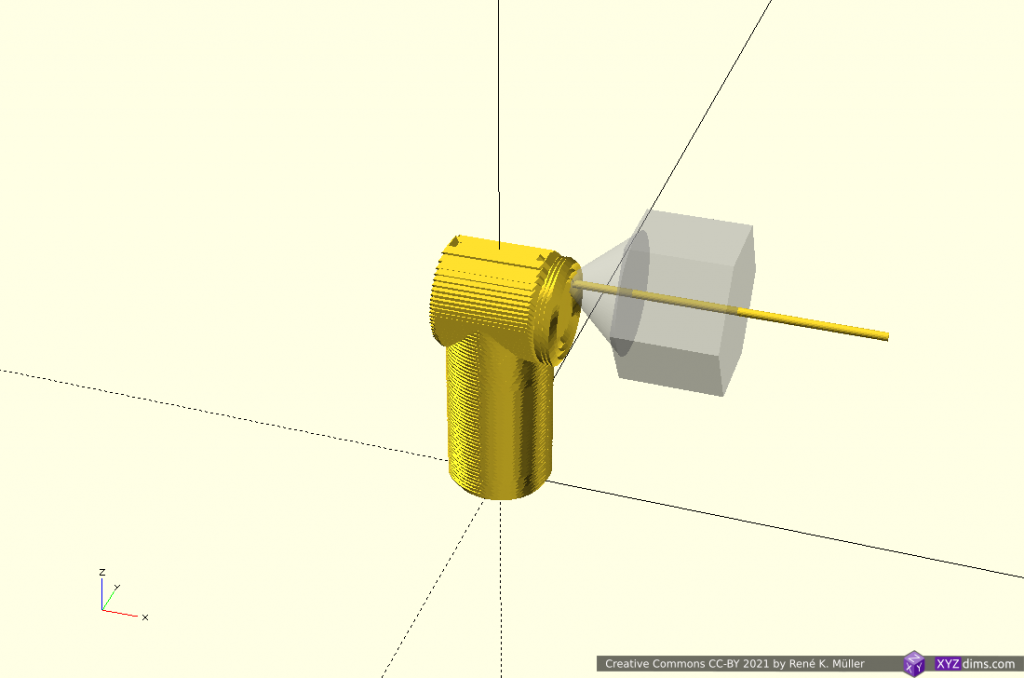
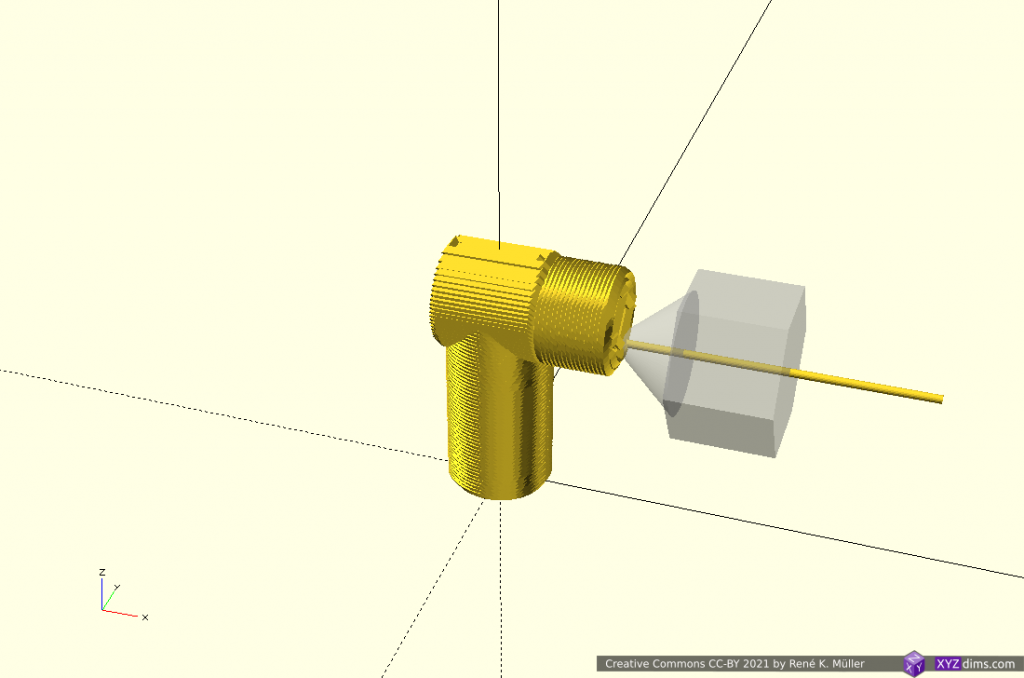
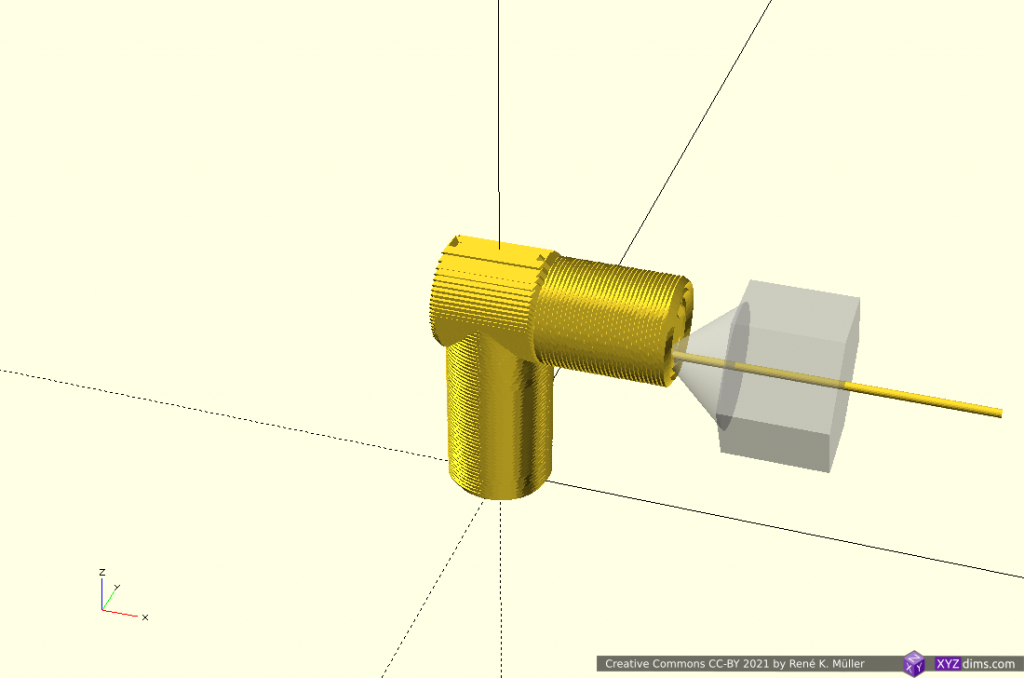
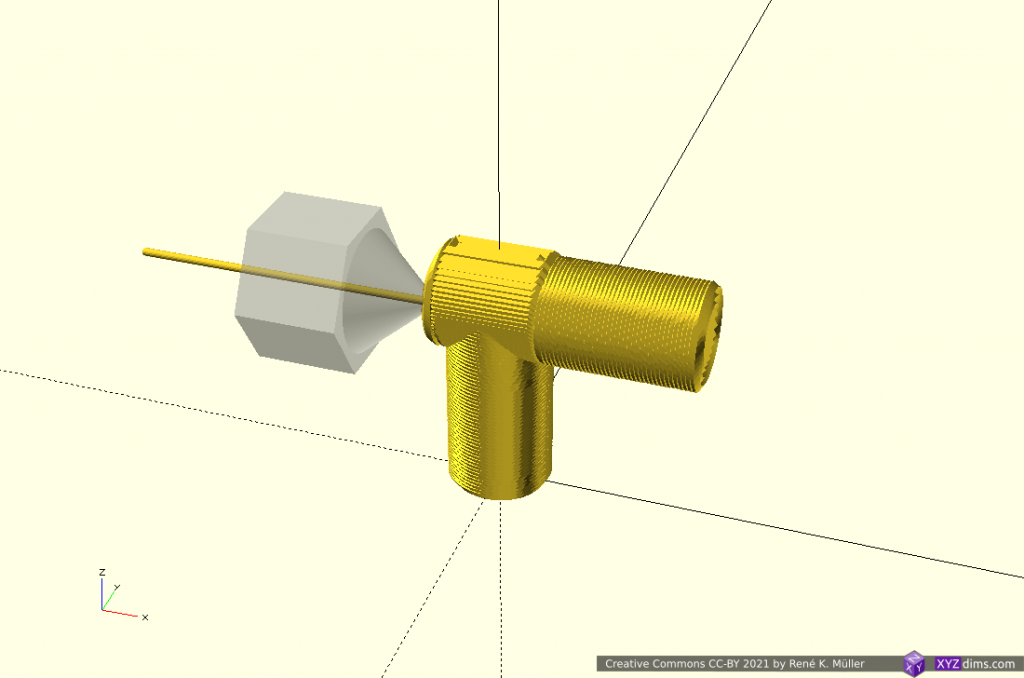
Conic Sliced Overhang Segment

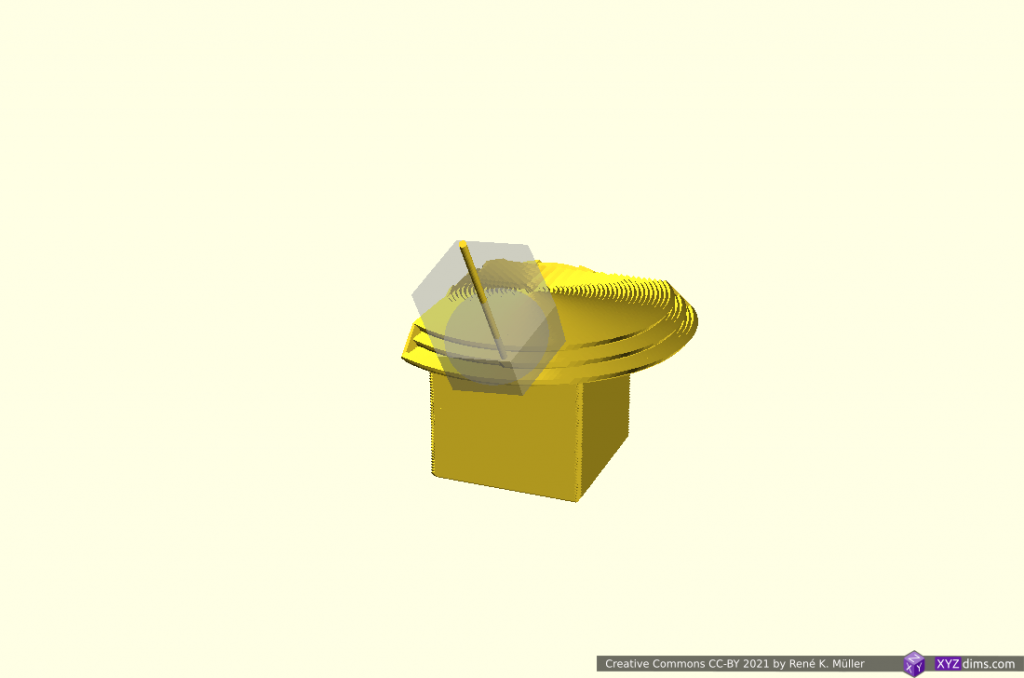
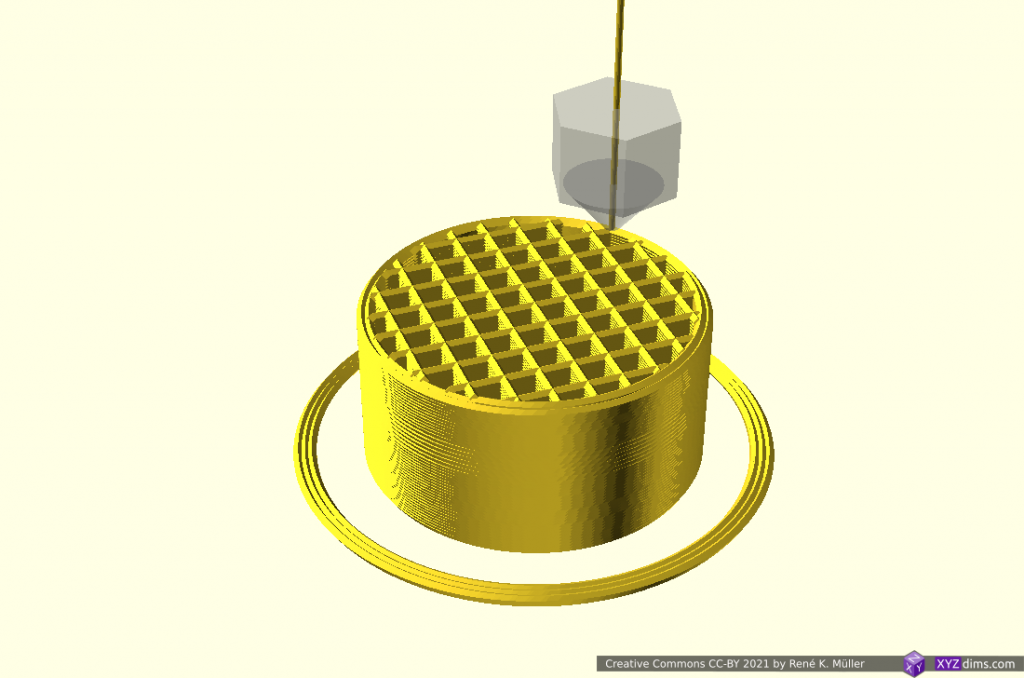
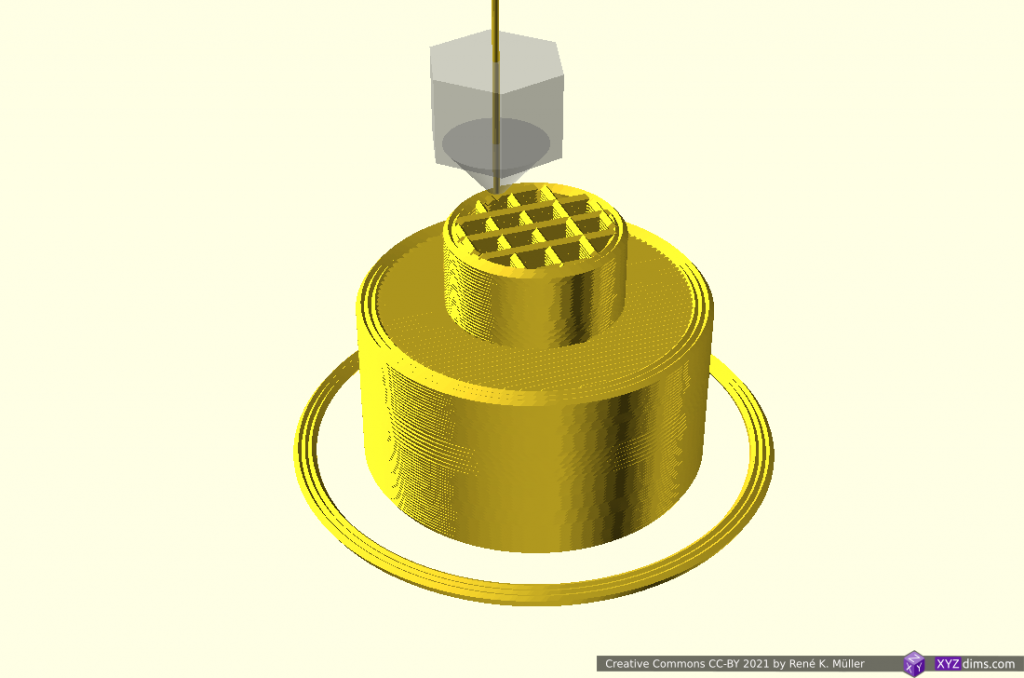
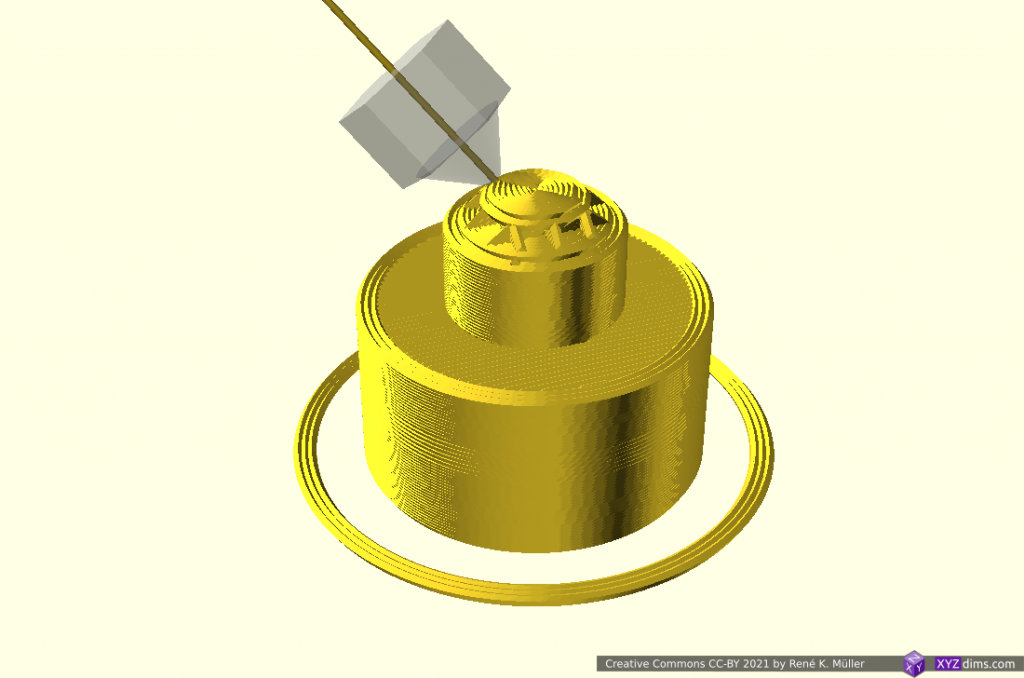
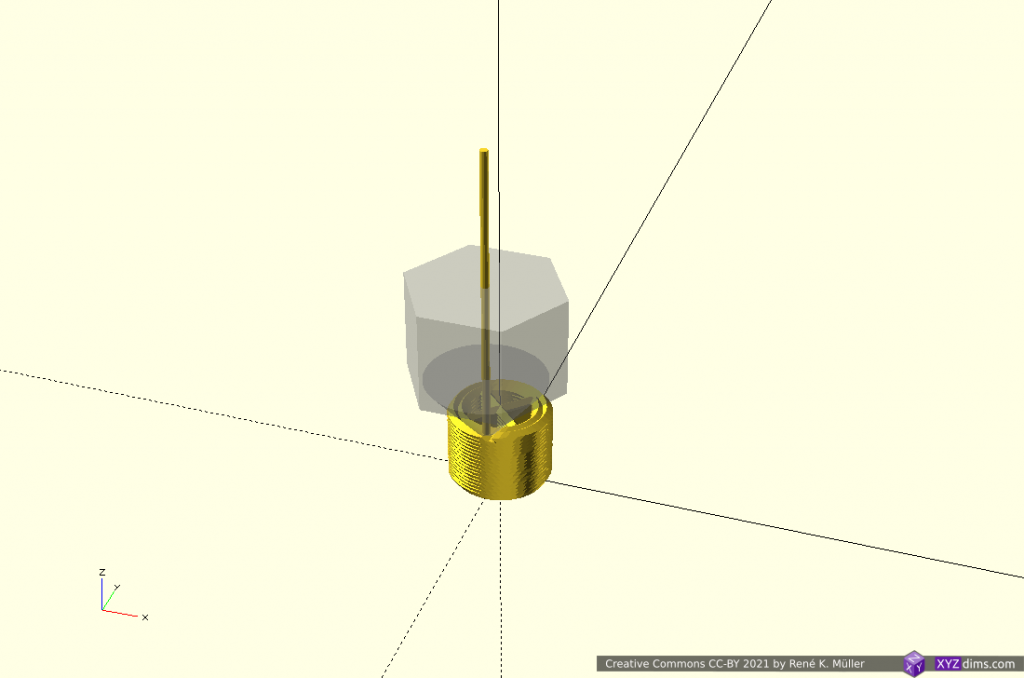
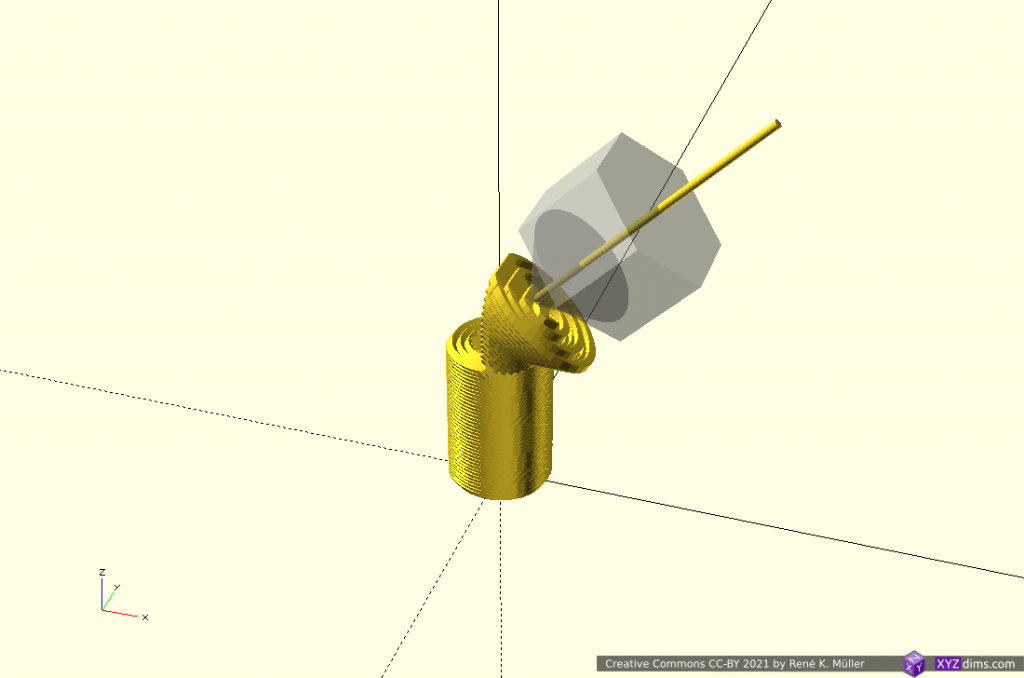
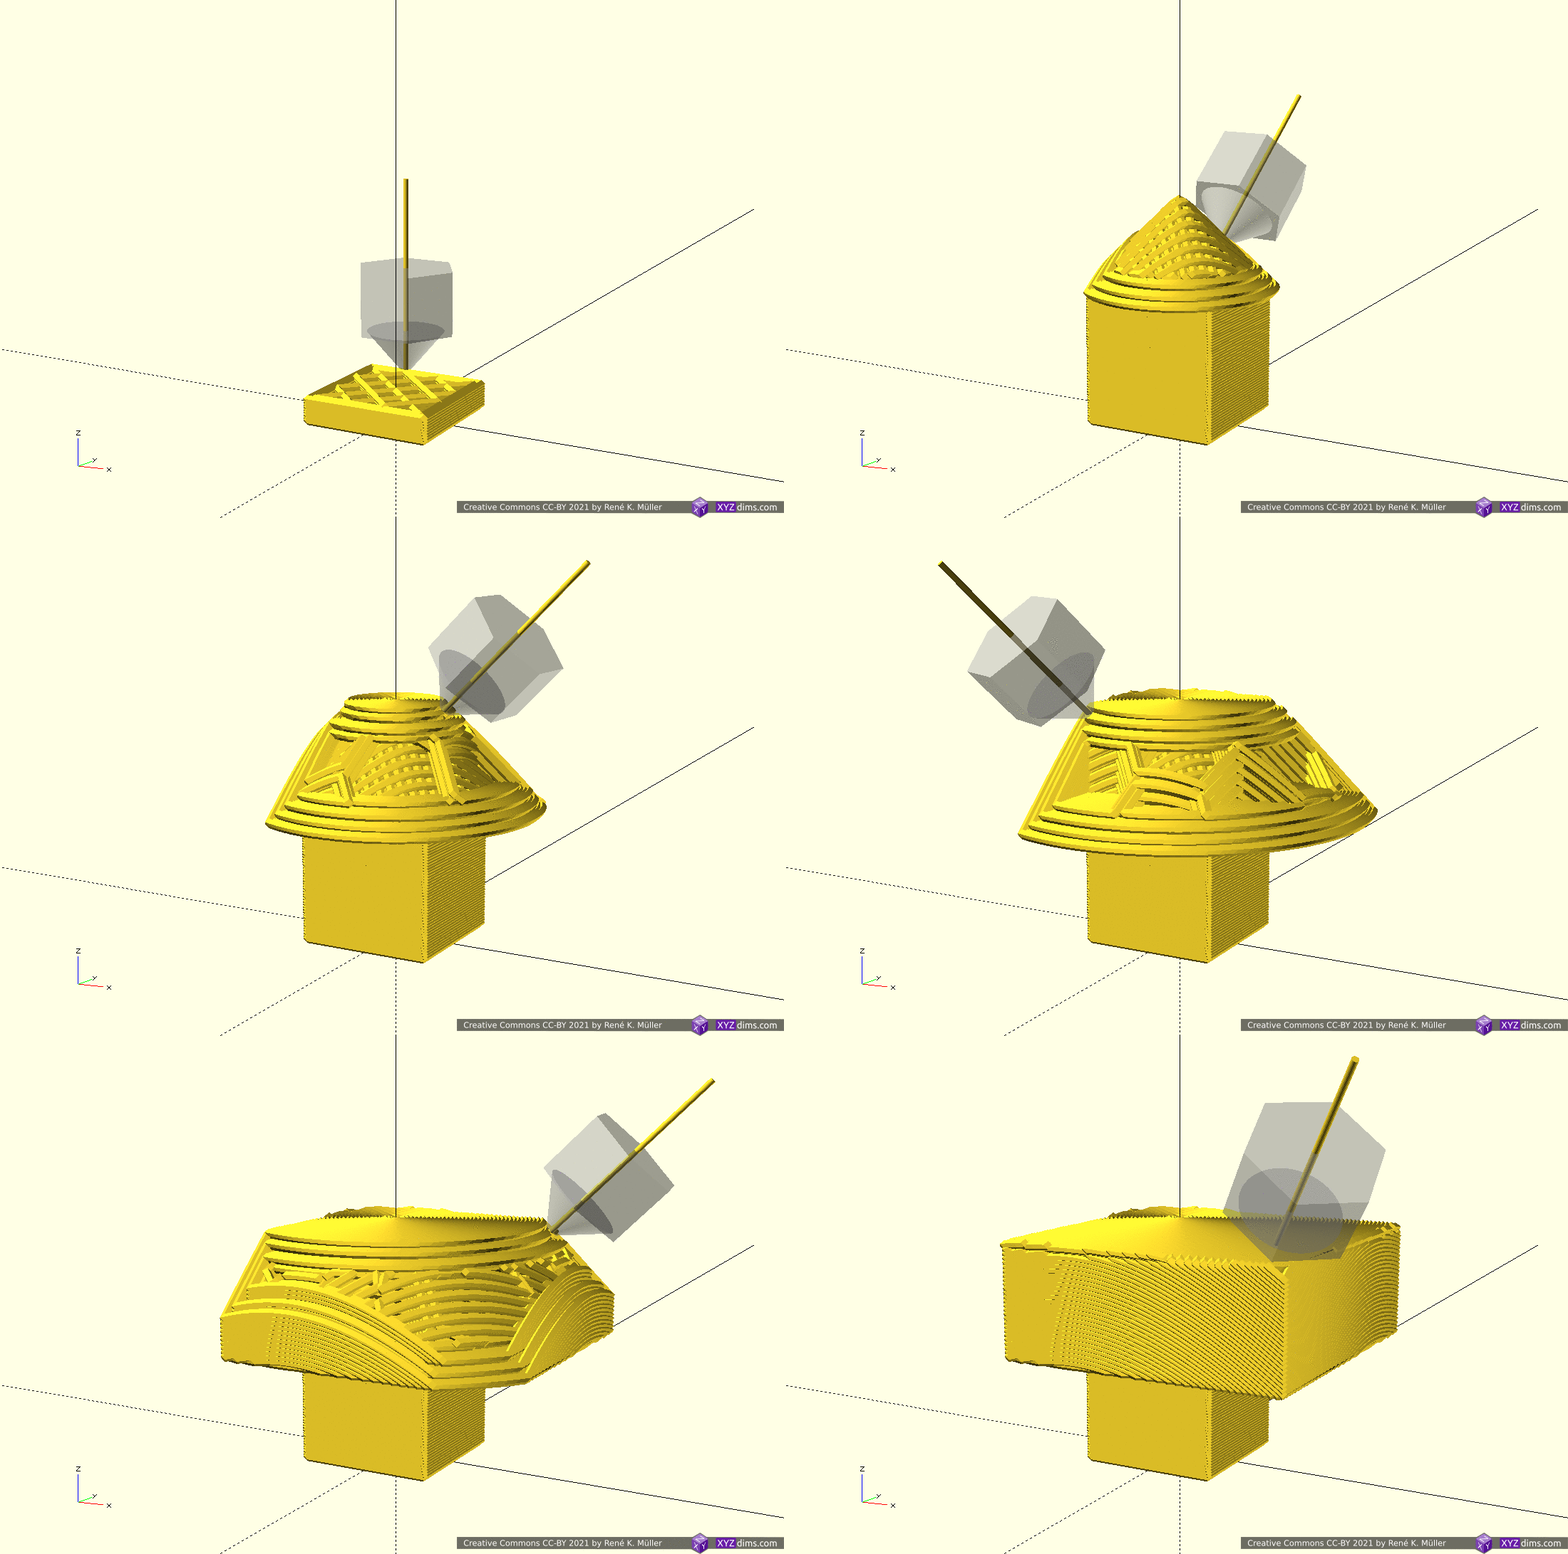
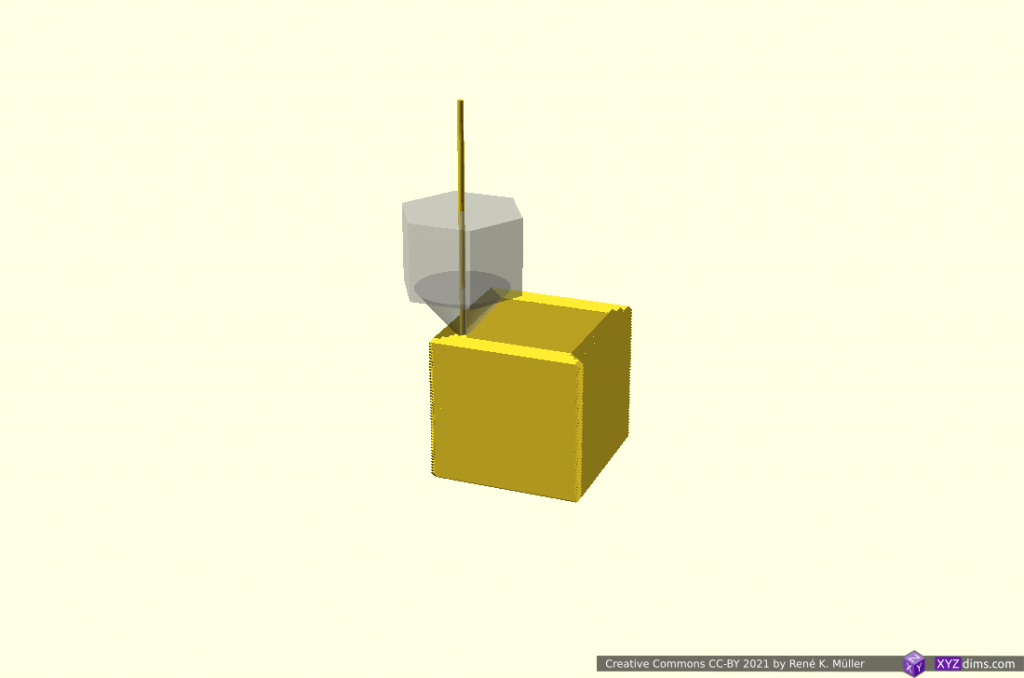
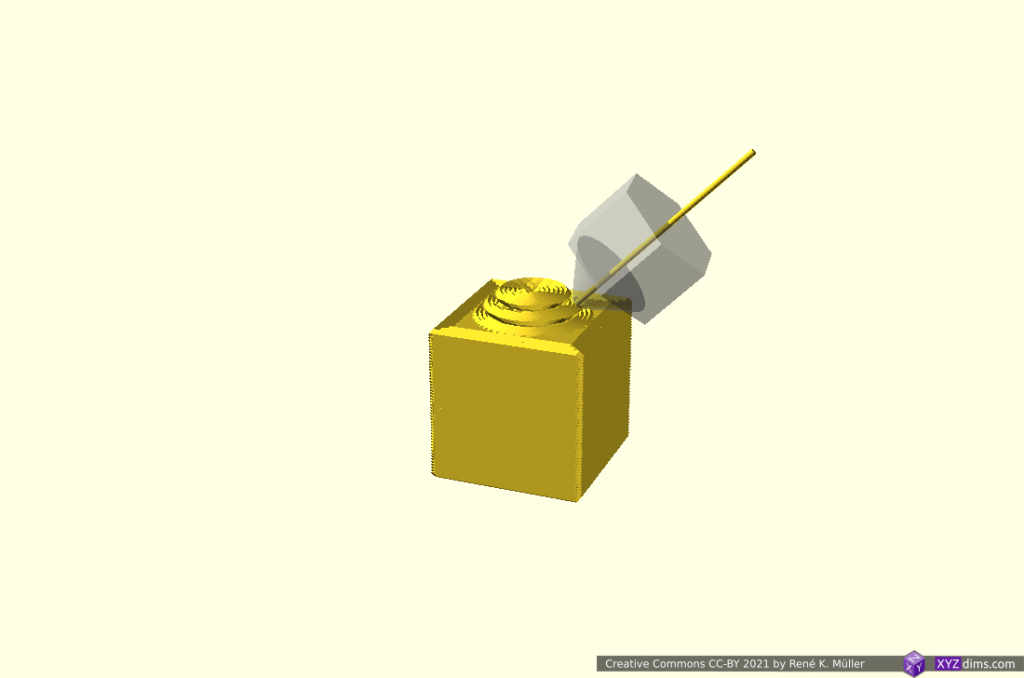
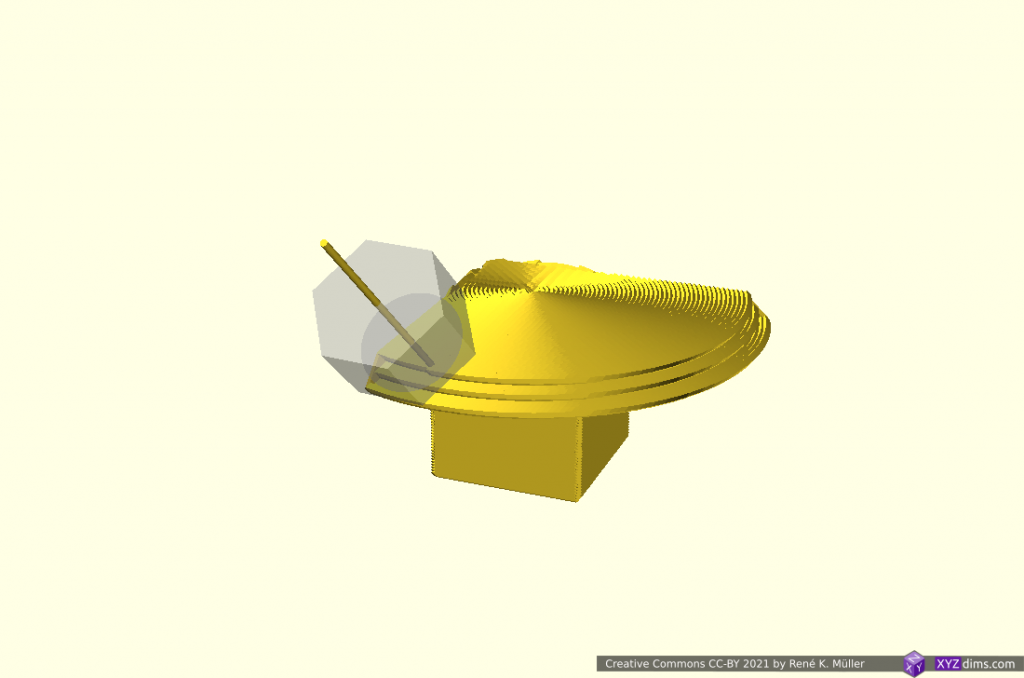
The simulation as reference:

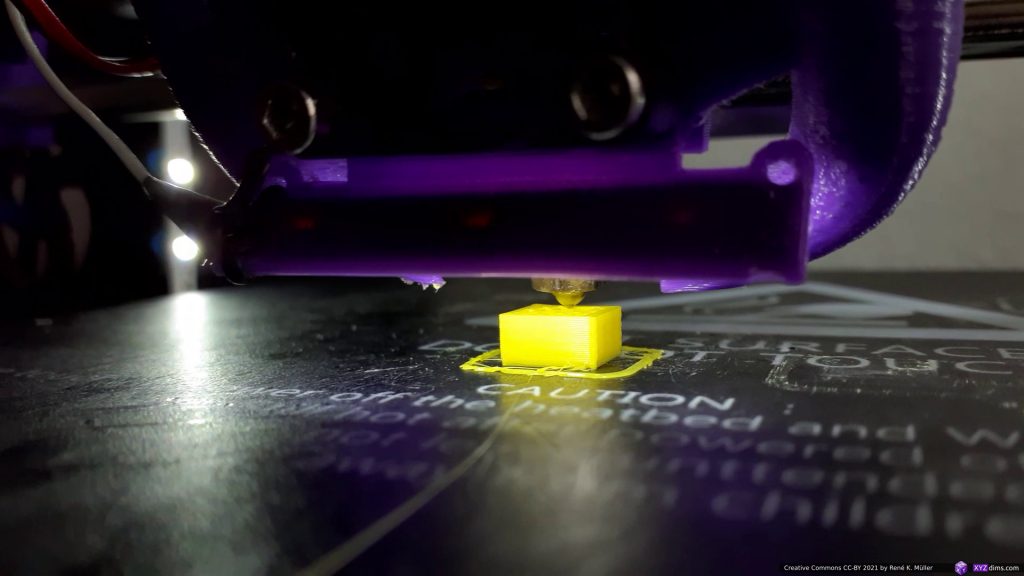
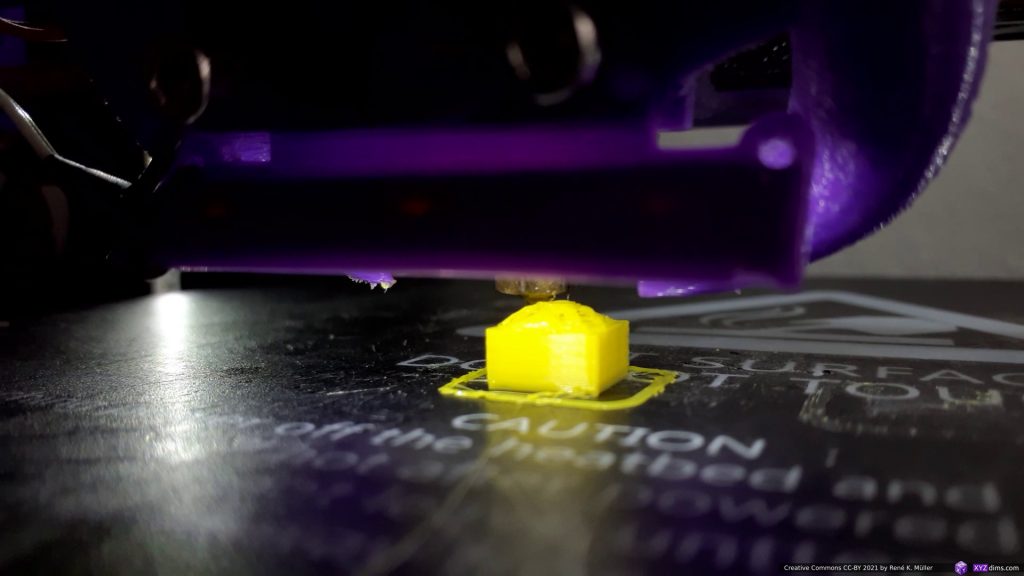
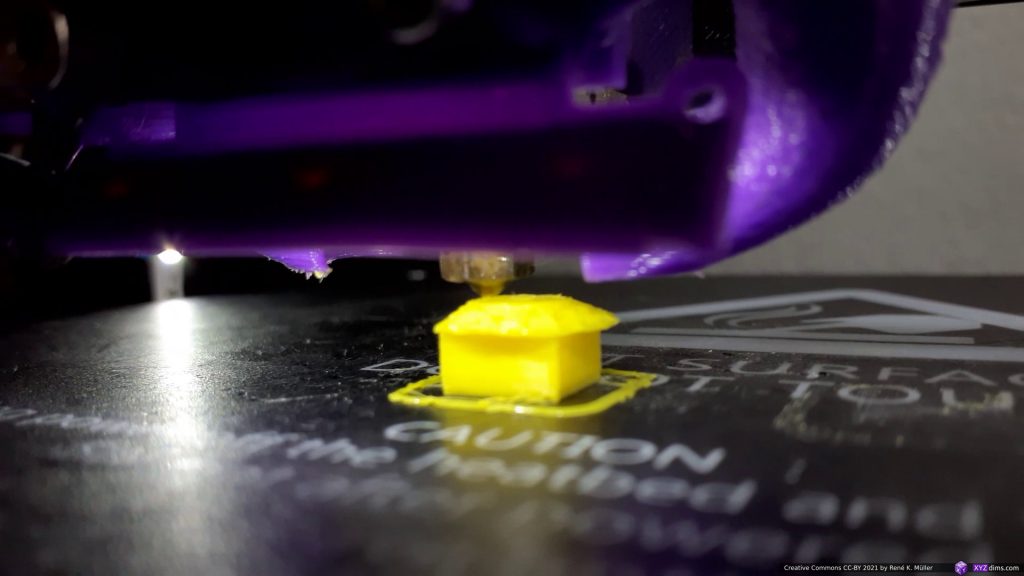
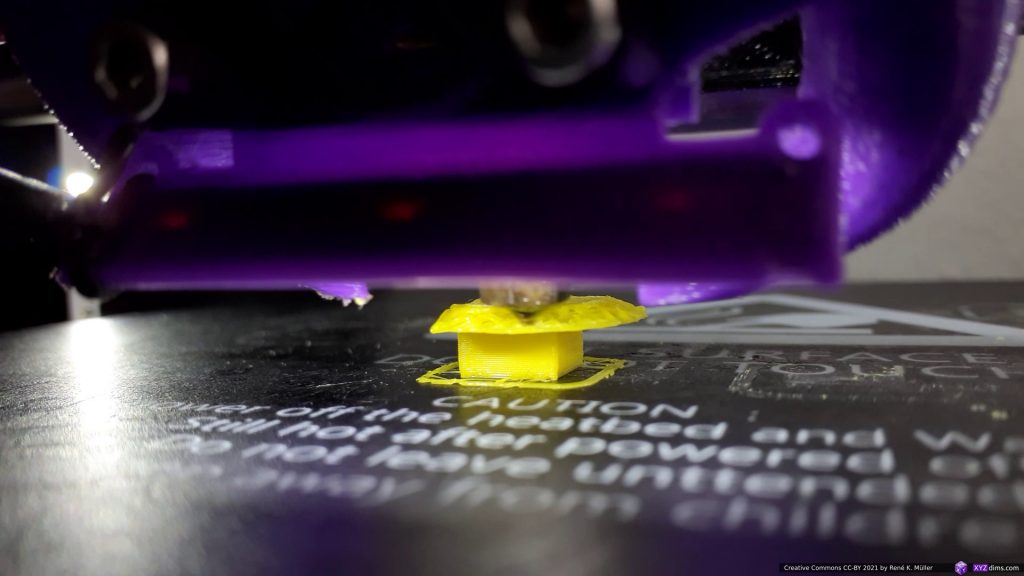
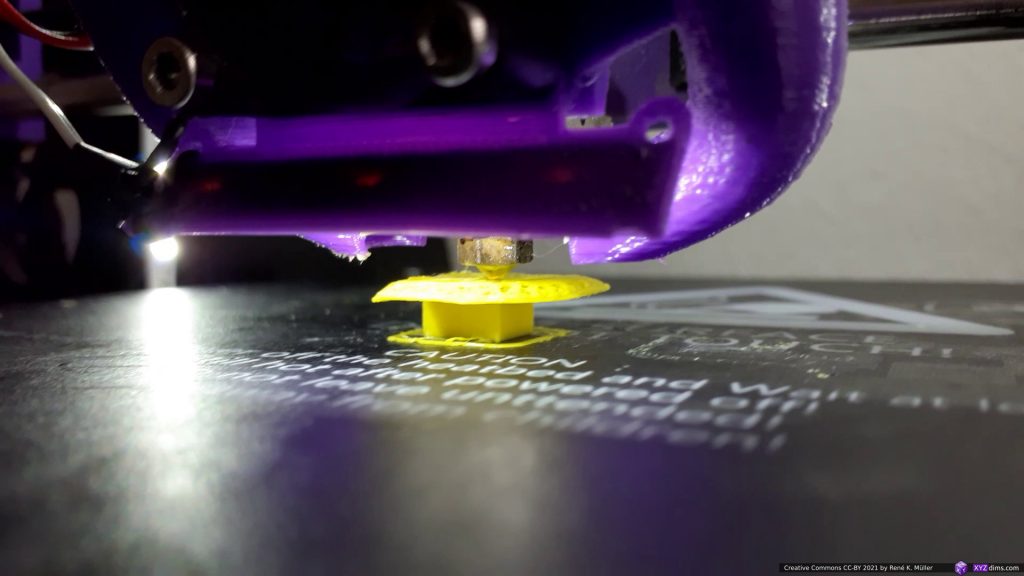
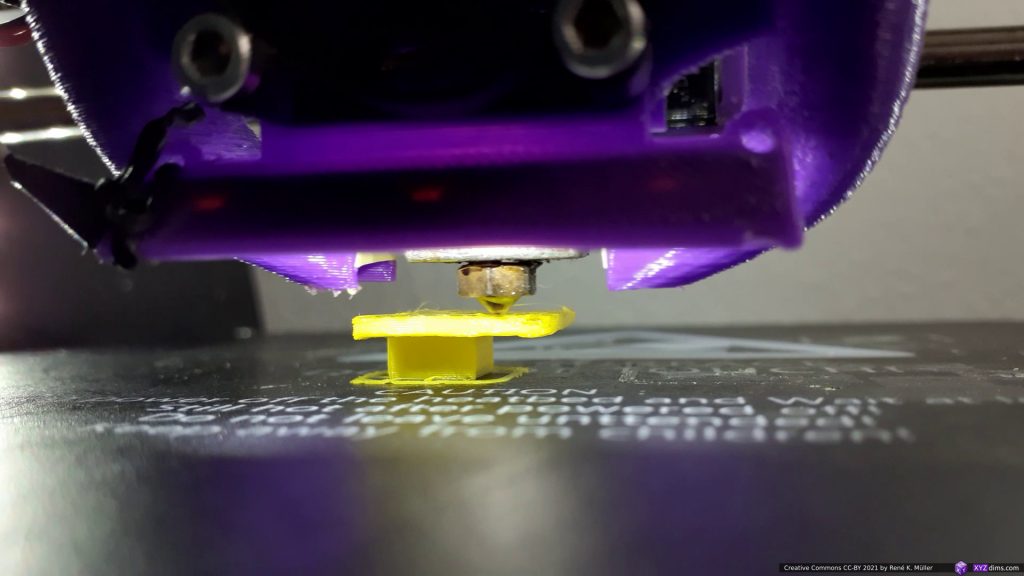
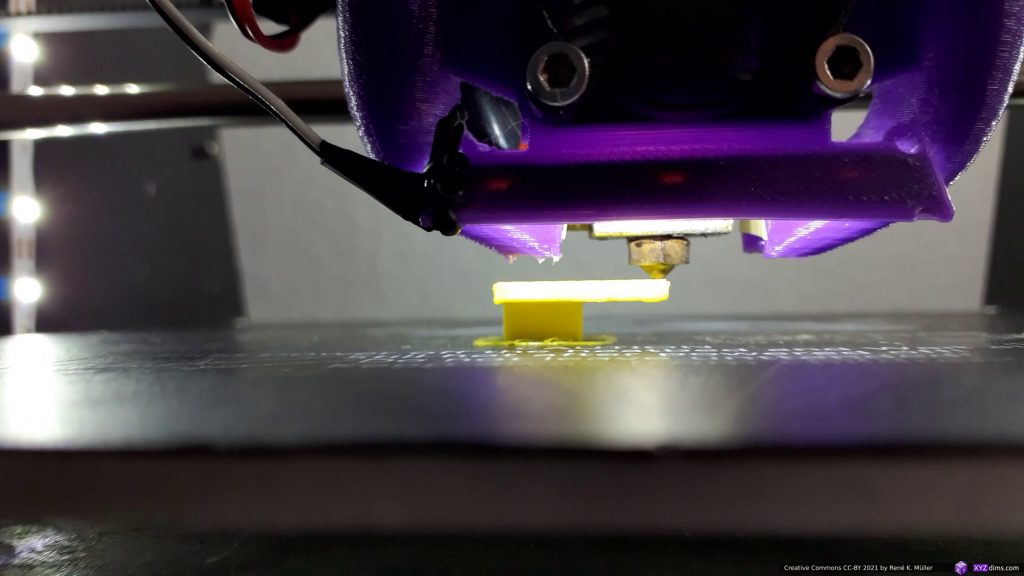
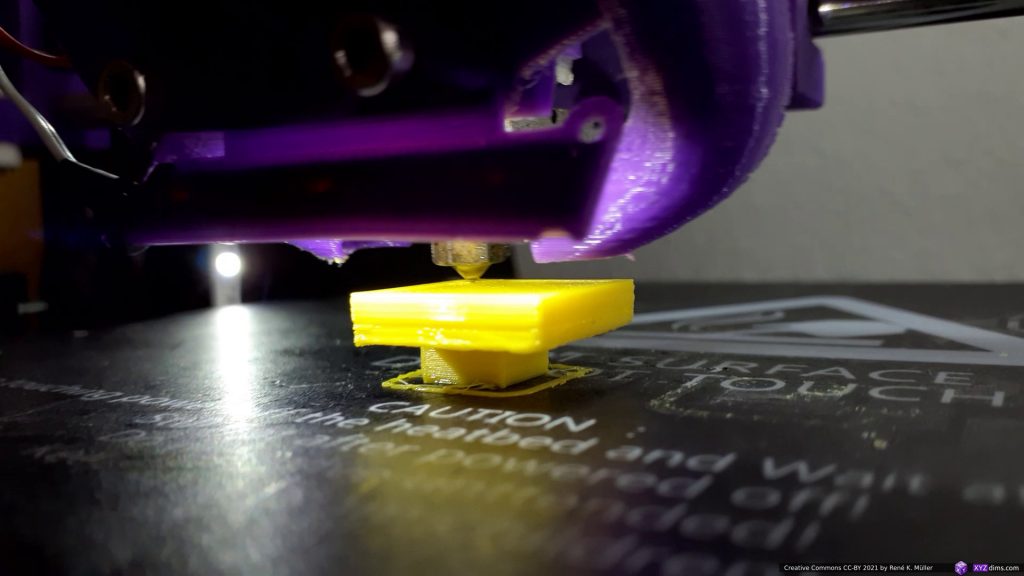
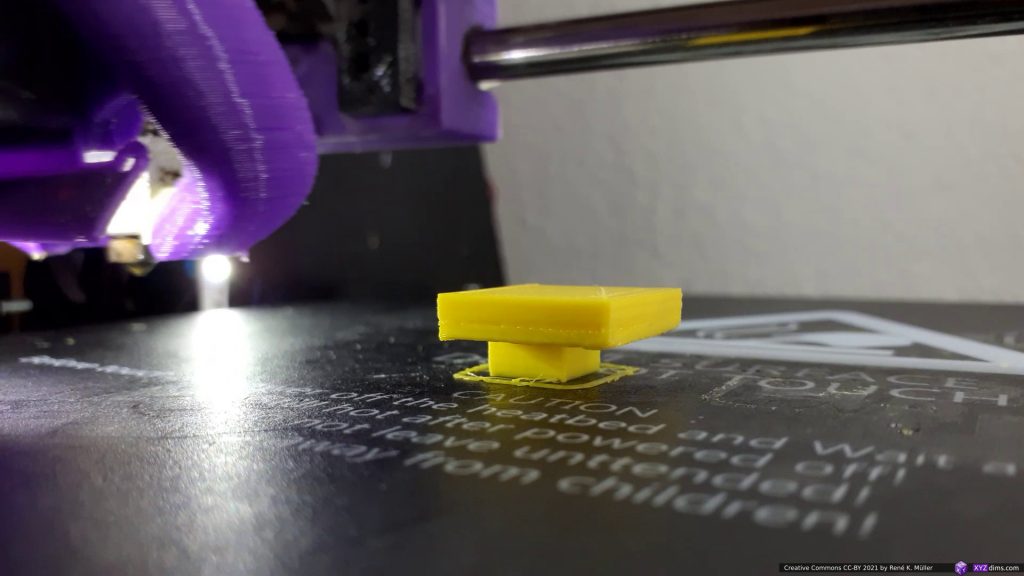
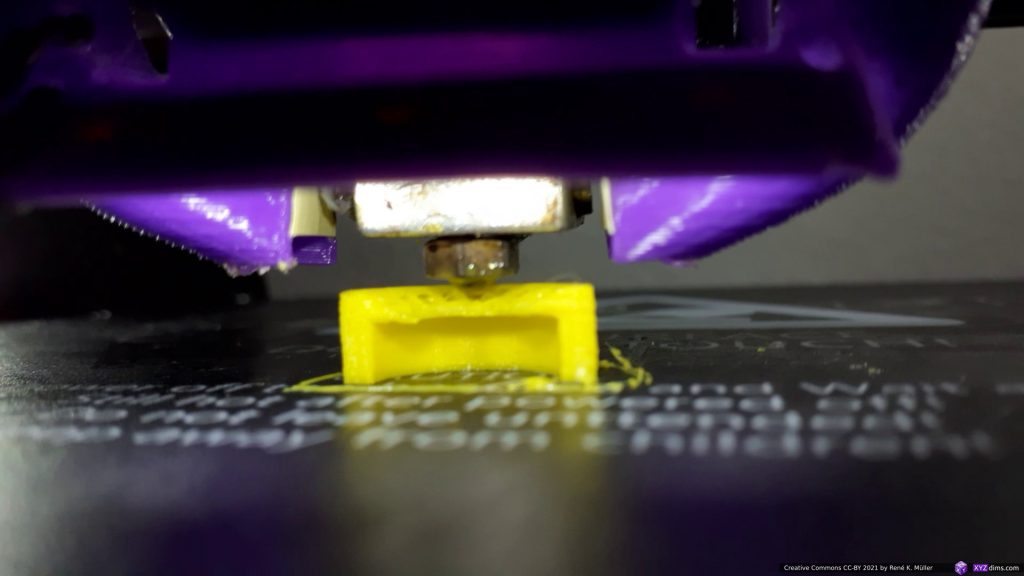
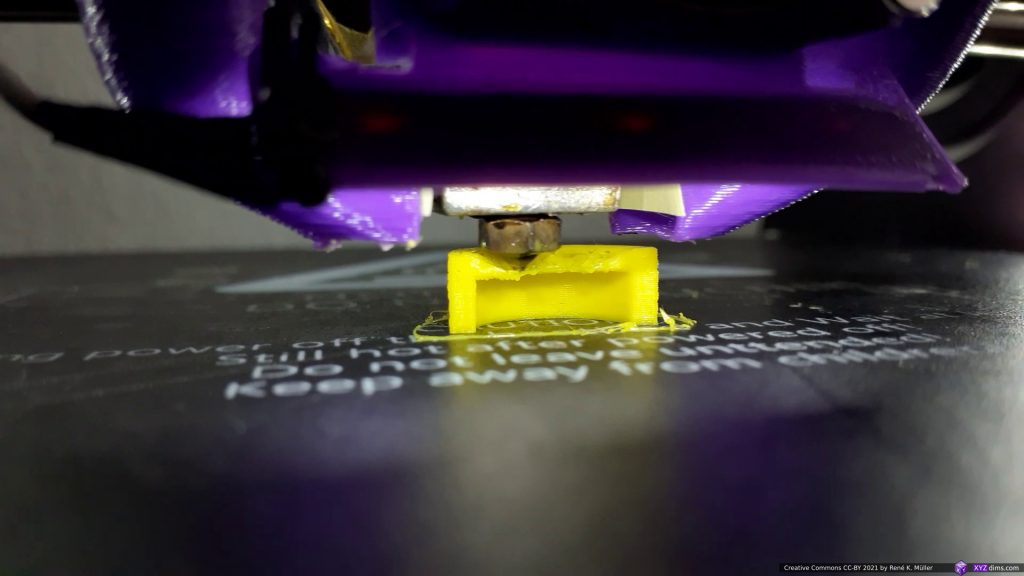
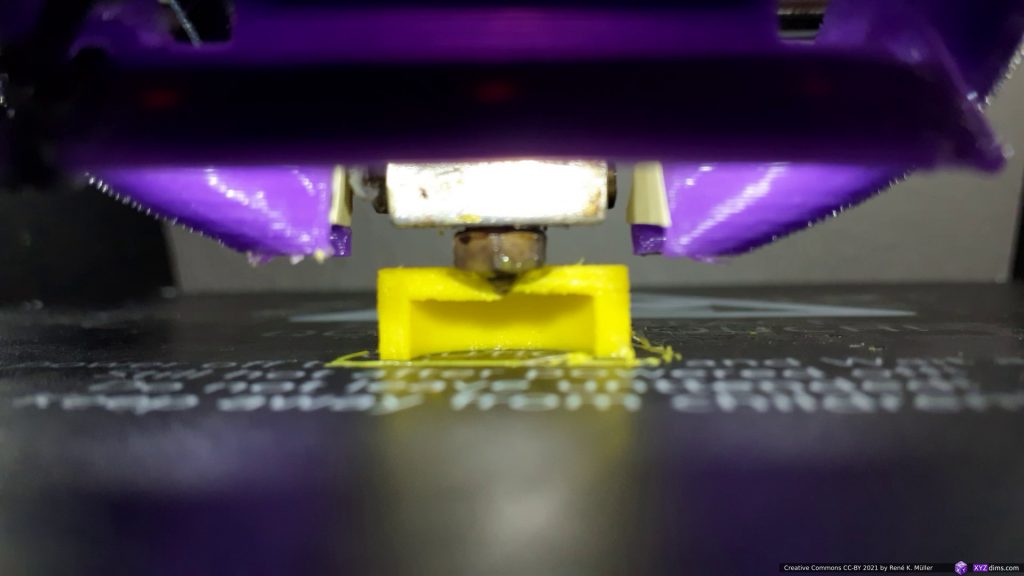
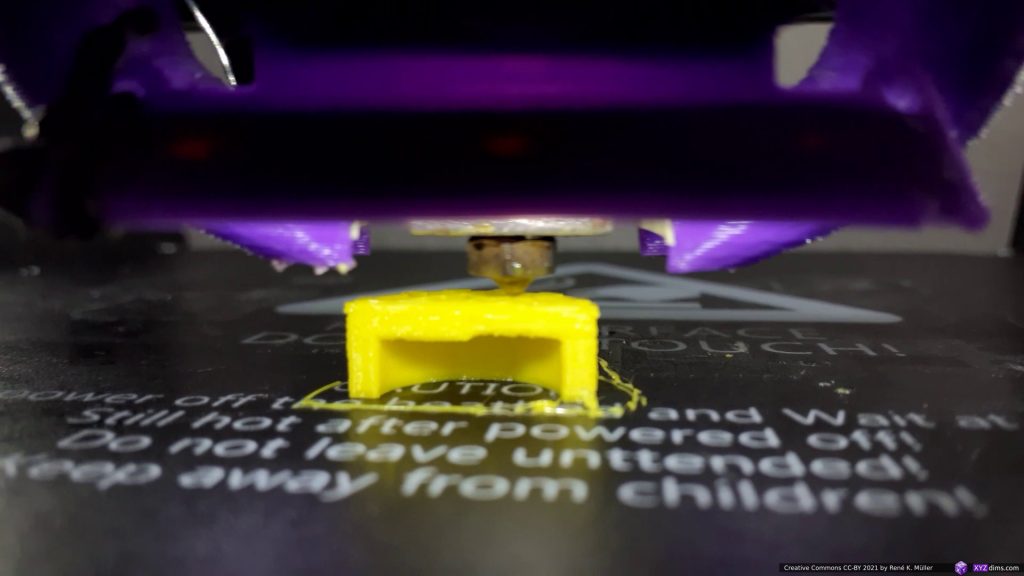
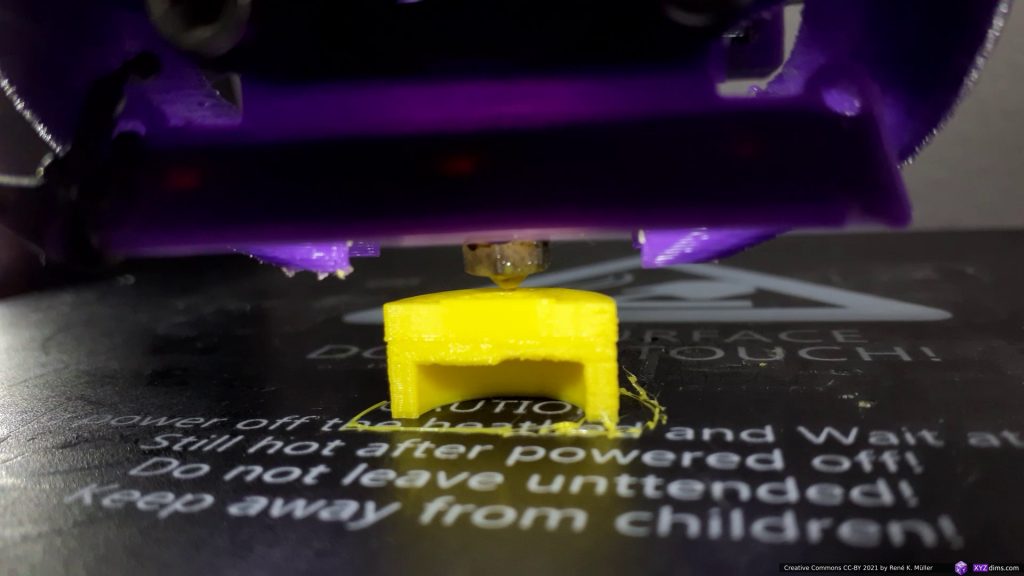
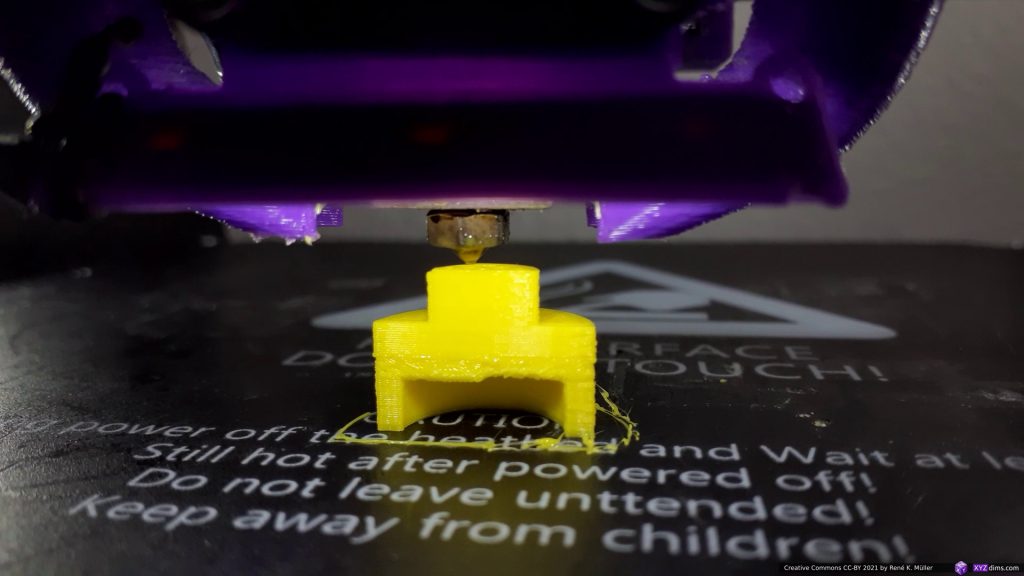
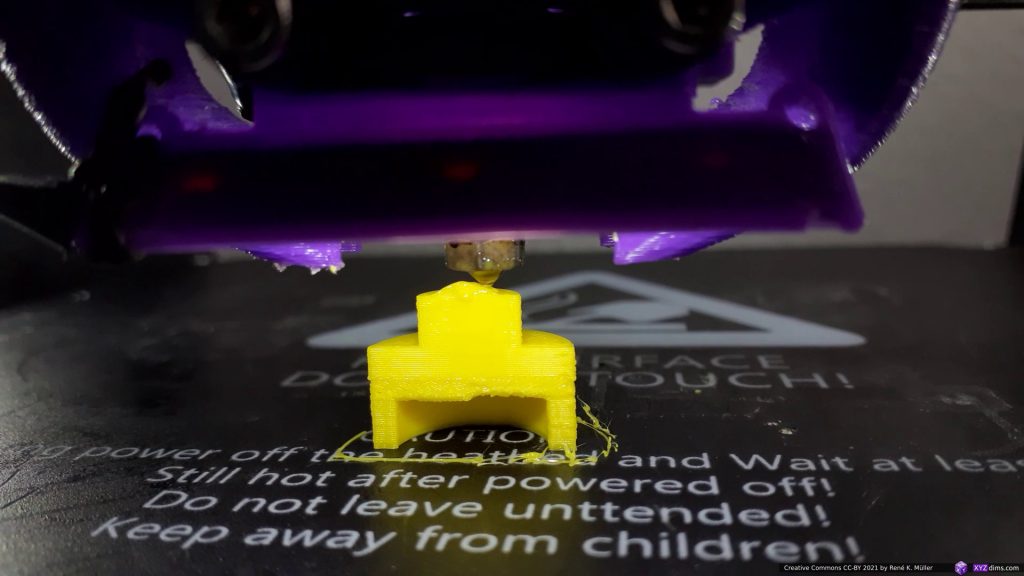
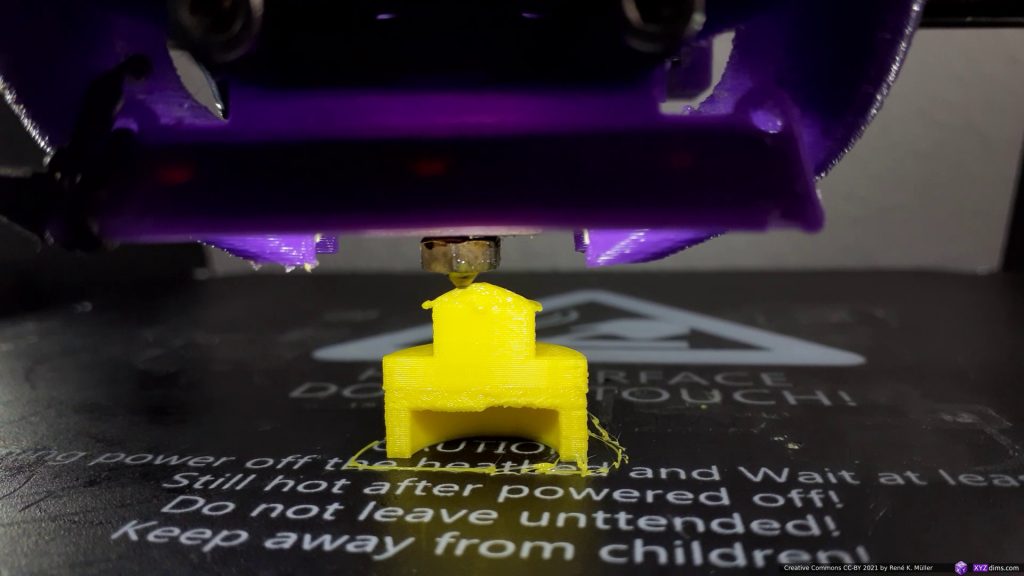
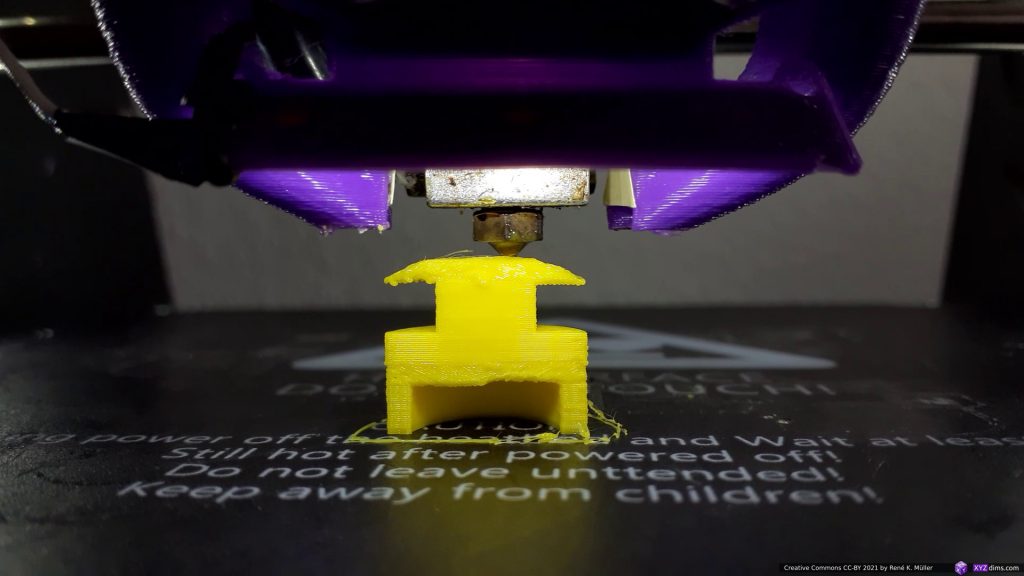
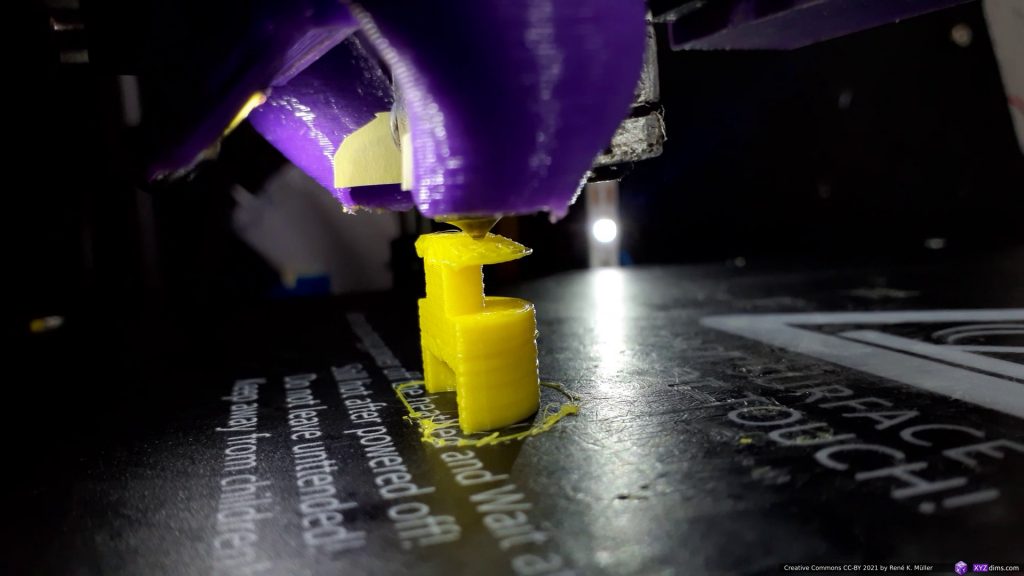
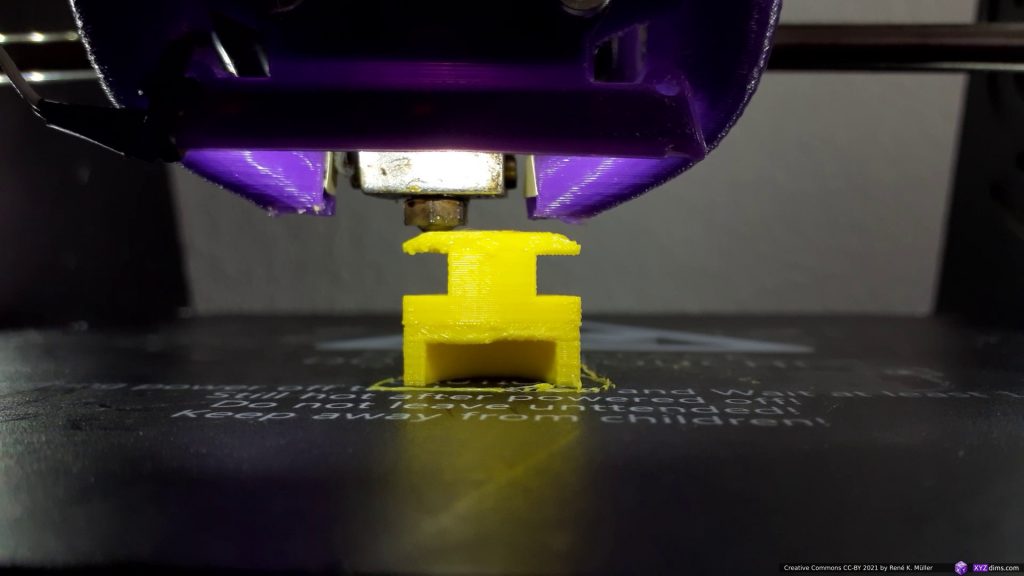
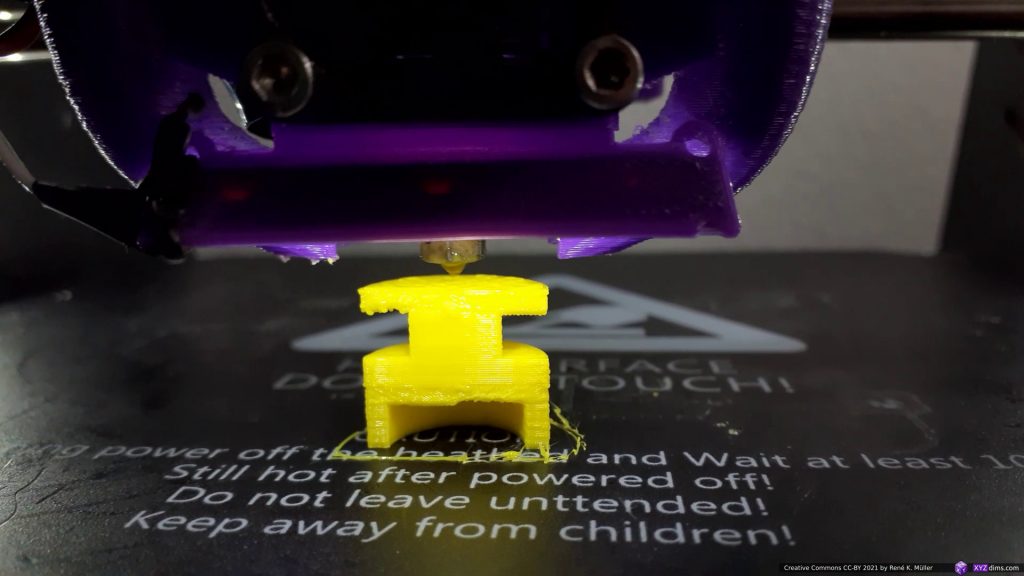
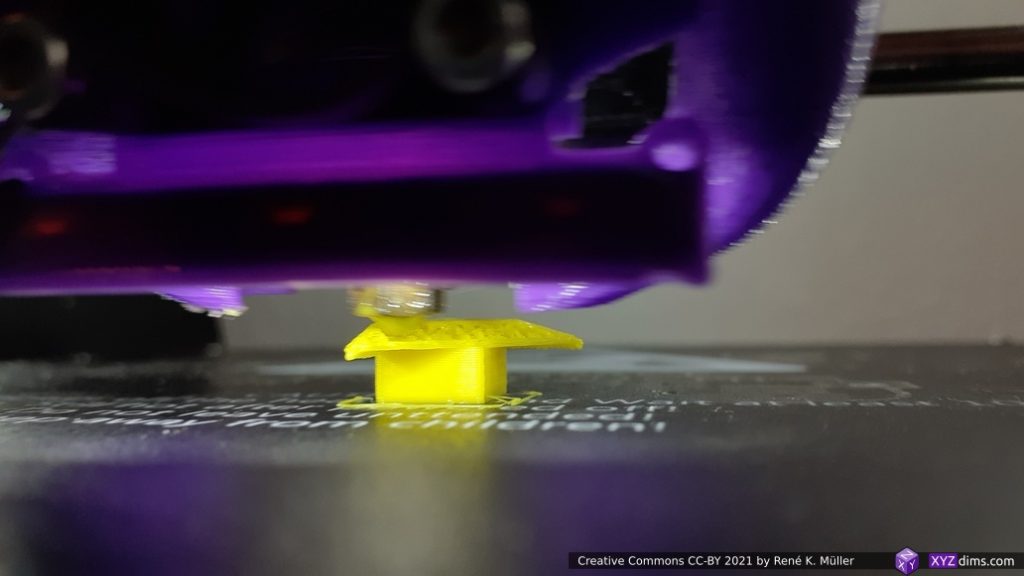
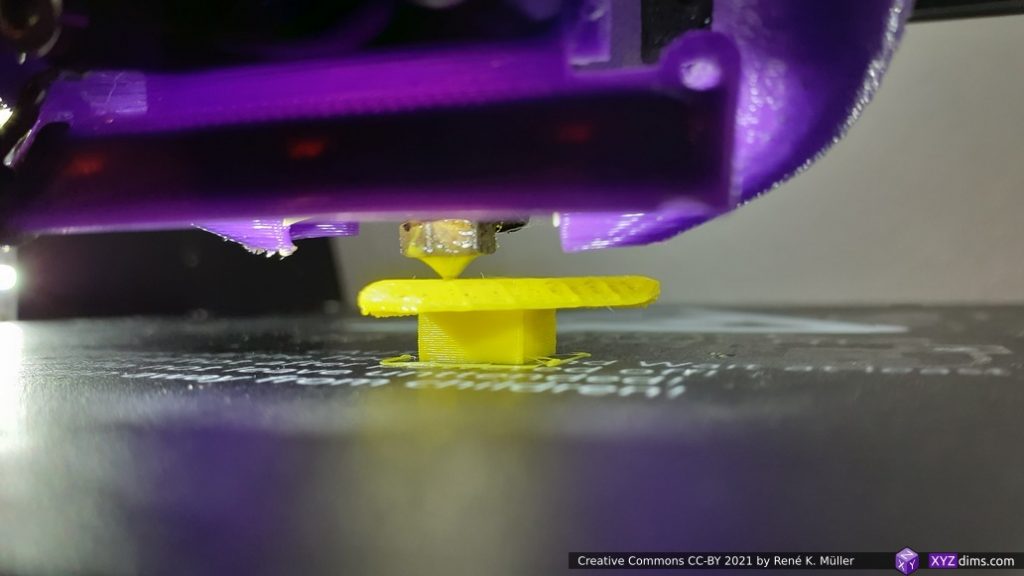
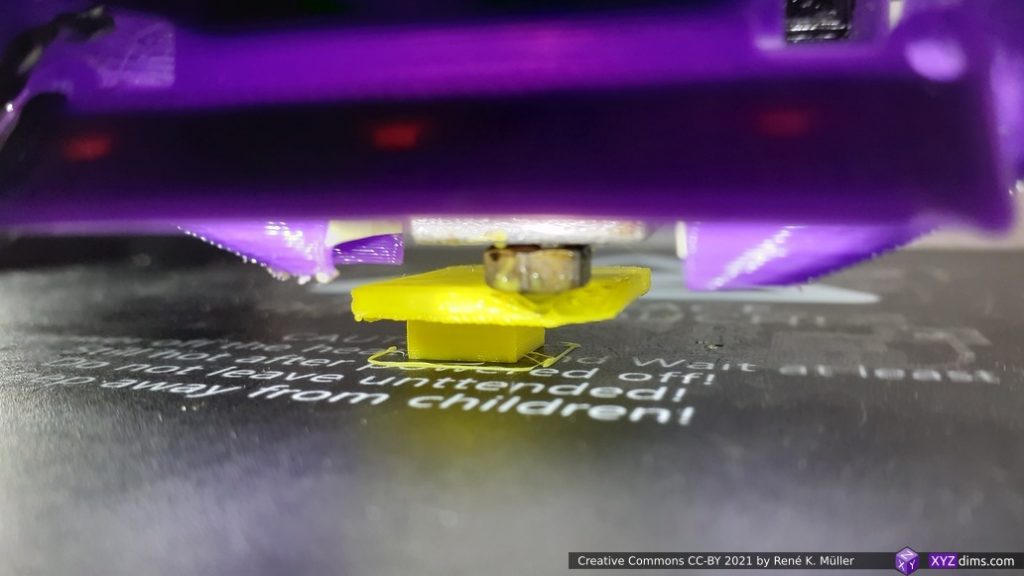
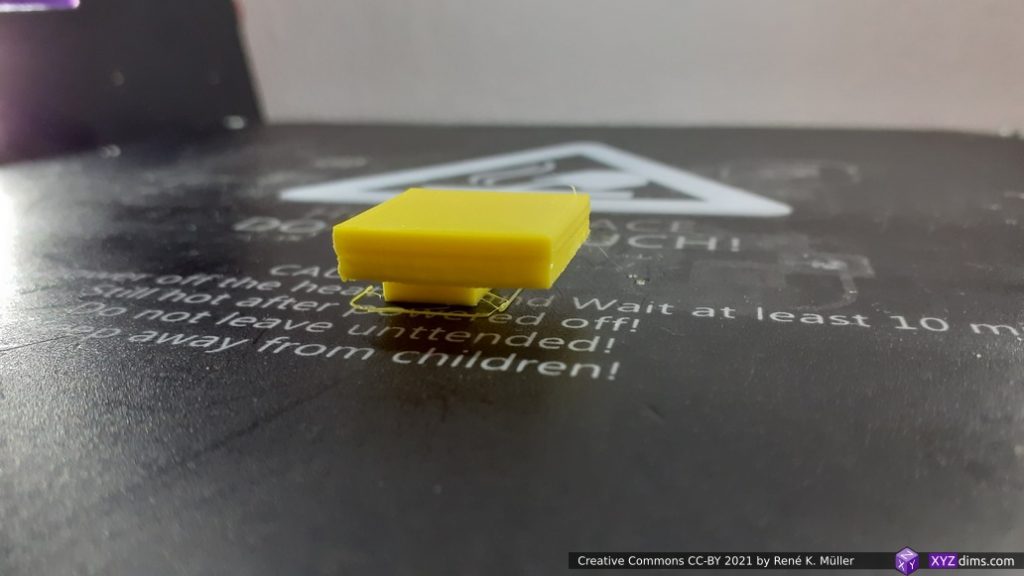
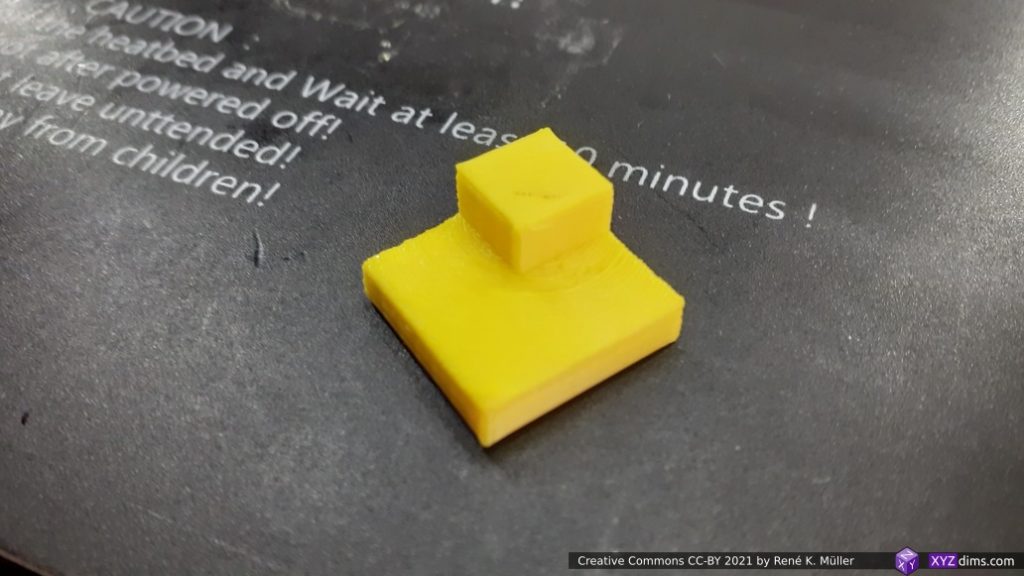
and the actual print process with vertical nozzle on a low-cost 3-axis FDM printer:
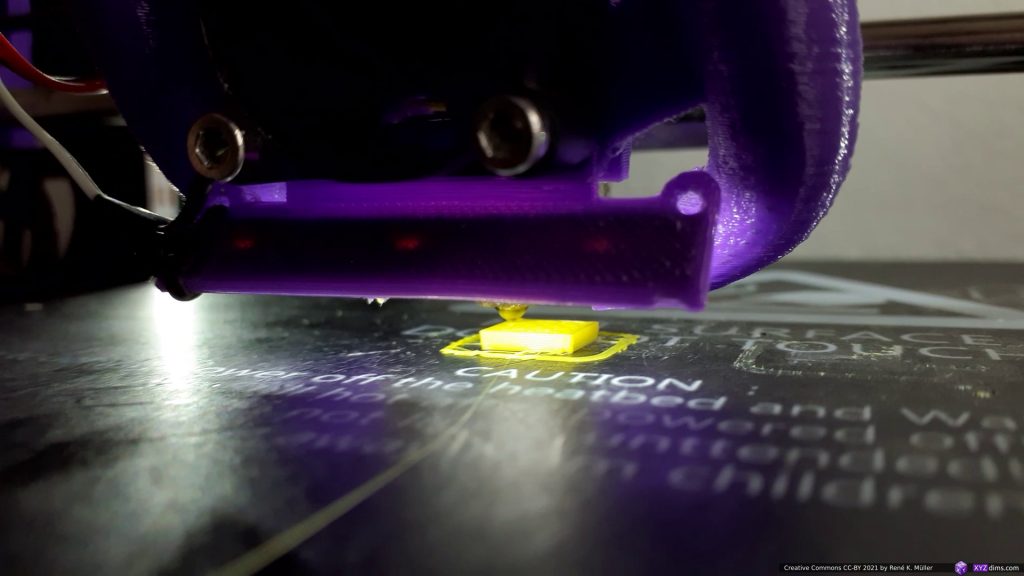
Excerpt of the actual printing process with brief annotations:

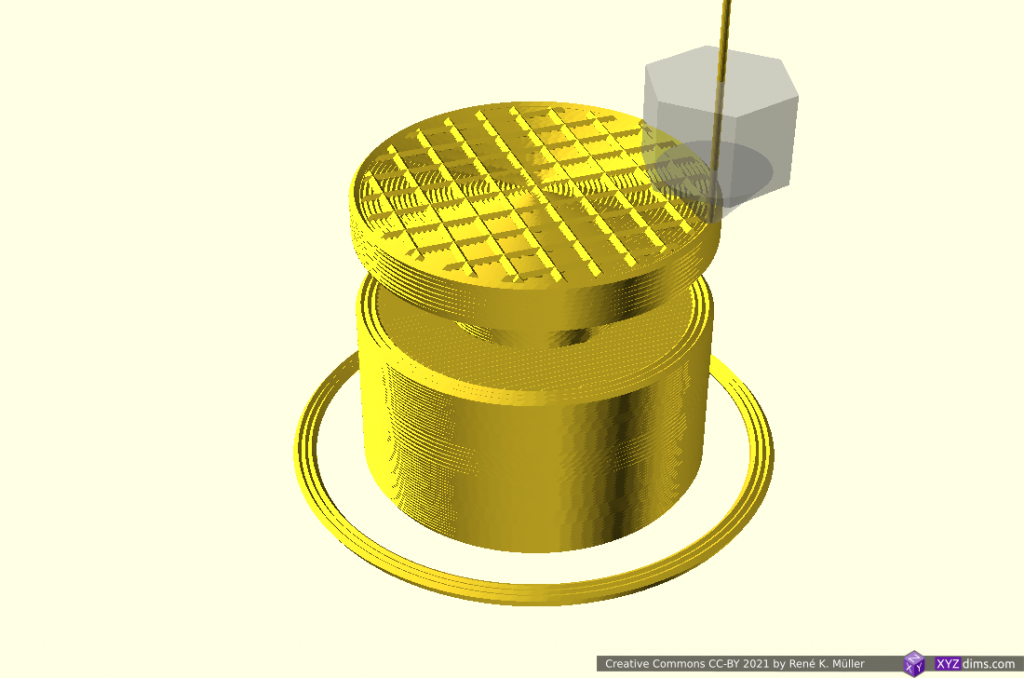
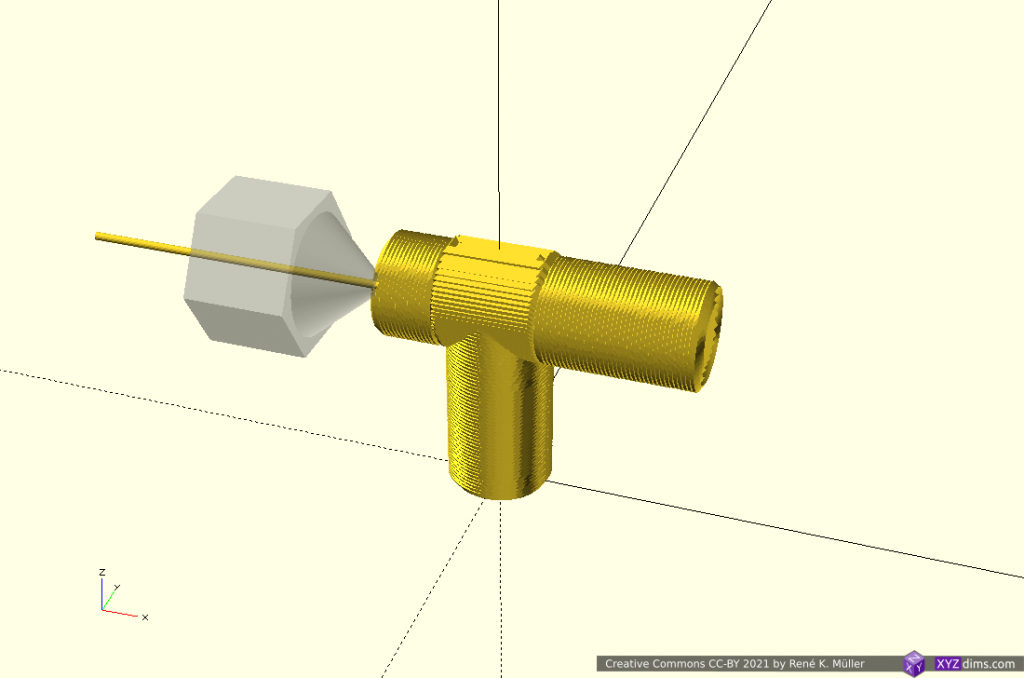
Tilt Sliced Overhang Segment

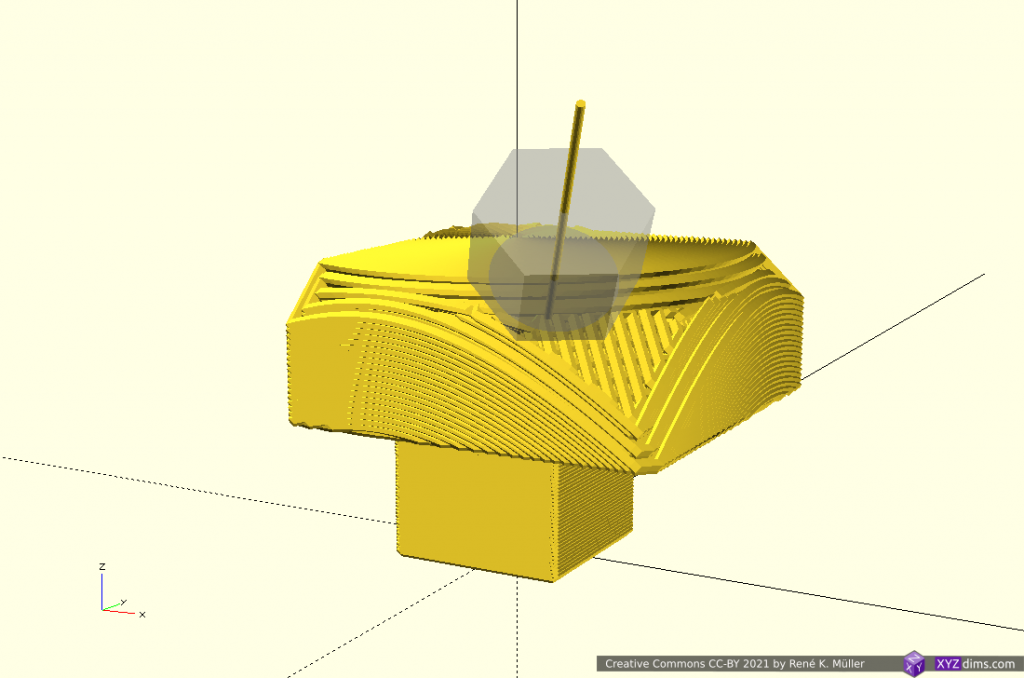
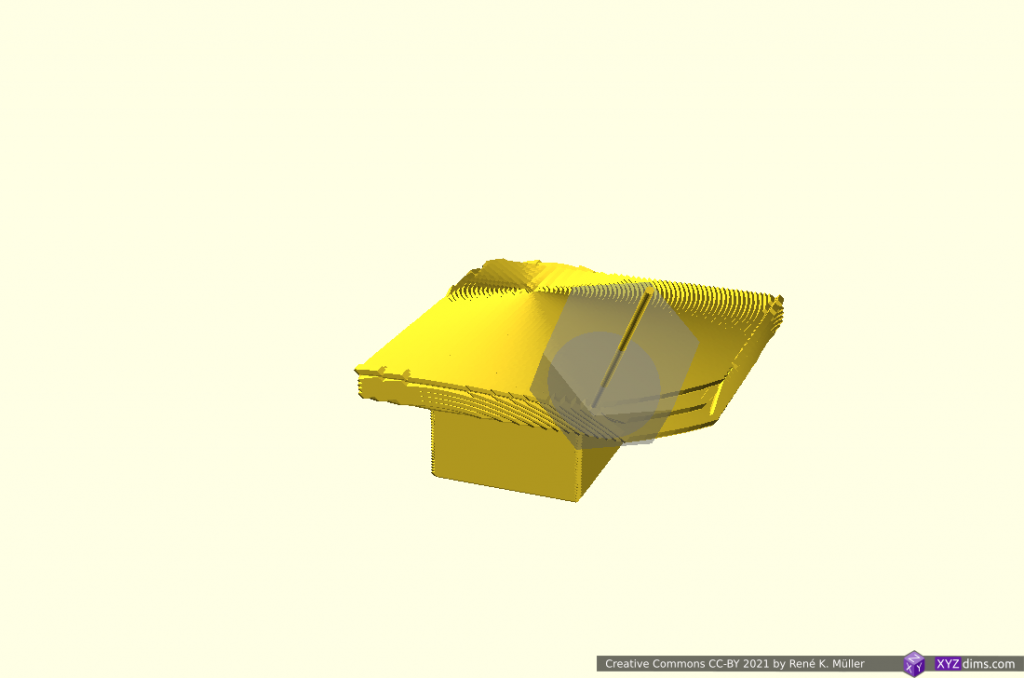
Just for sake trying out, instead of conic sliced overhang segment, tilt sliced and 45° Z rotated to nicely extend to the maximum overhang position:

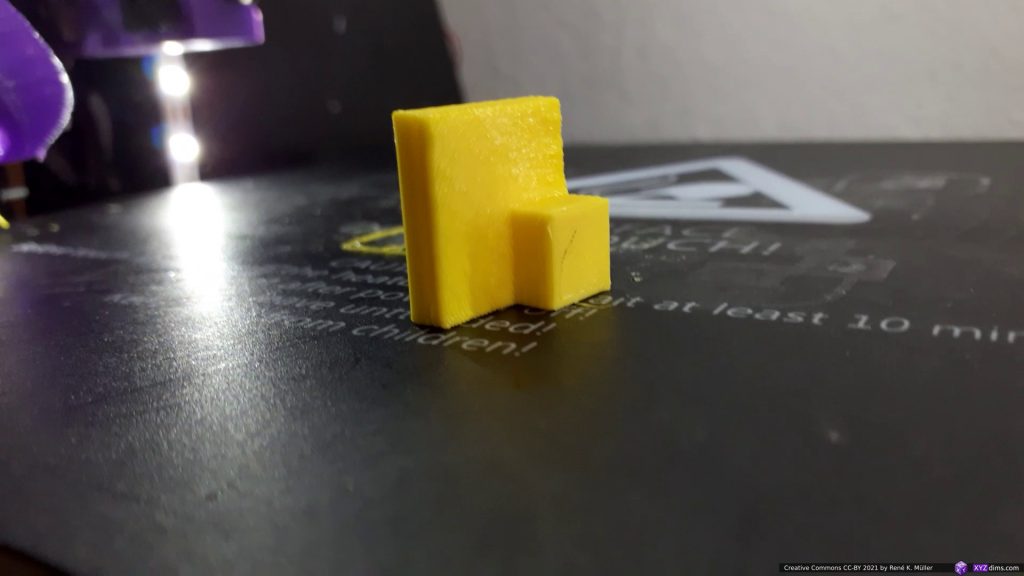
and the actual print of a slightly lower model but with the same features:

Comparing Tilted Sliced vs Conic Sliced Overhang Underside

Overhang In/Out: 2 Overhang Conic Segments
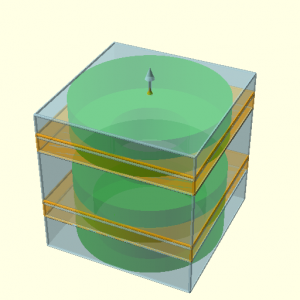
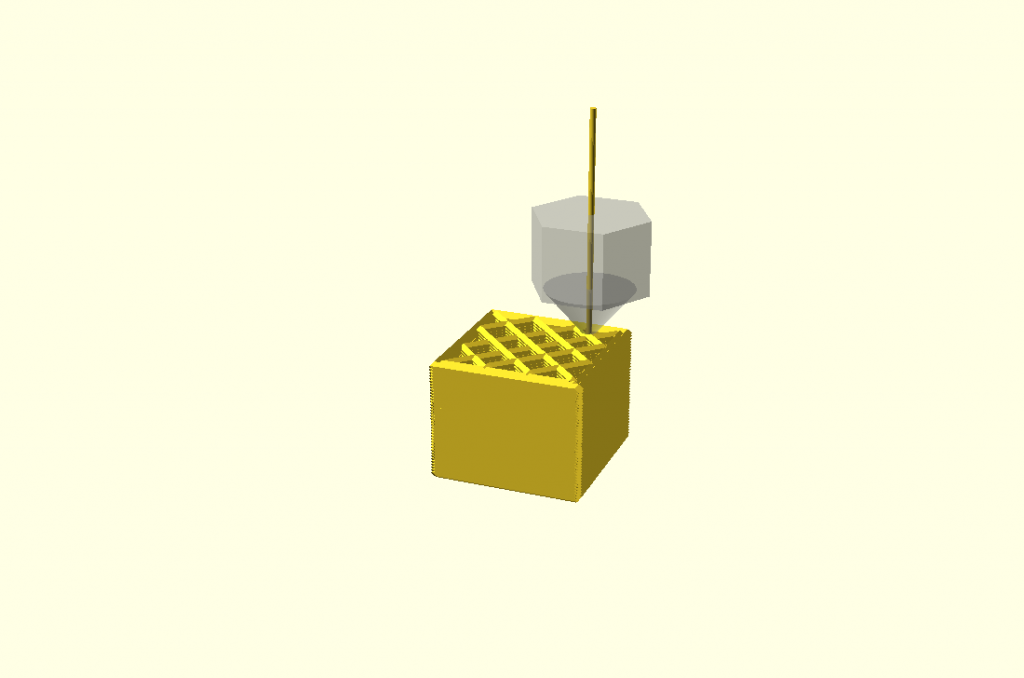
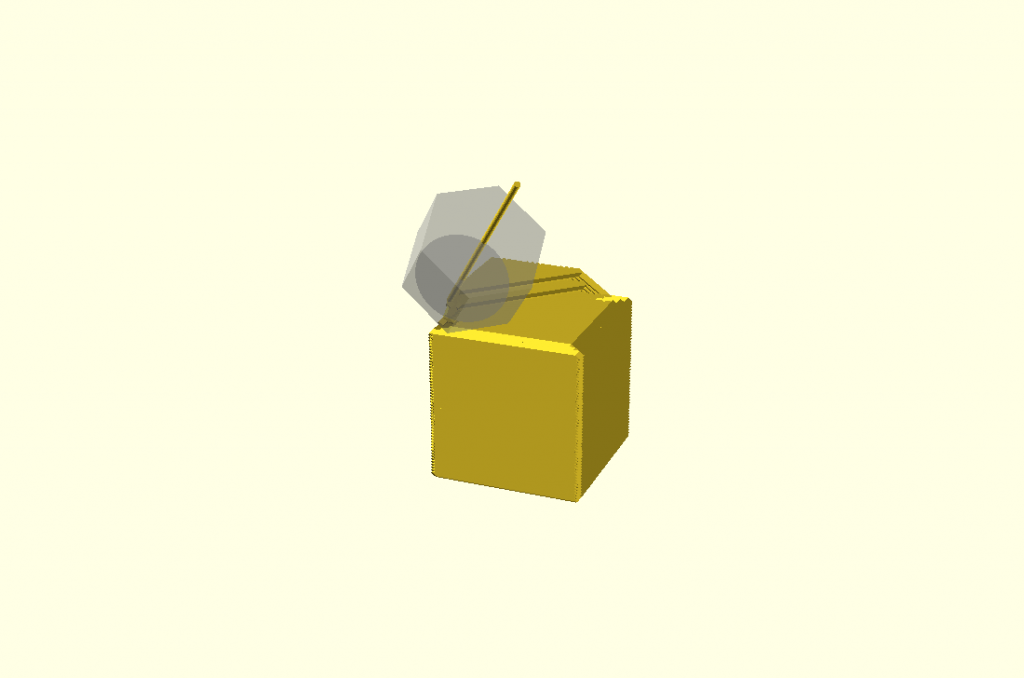
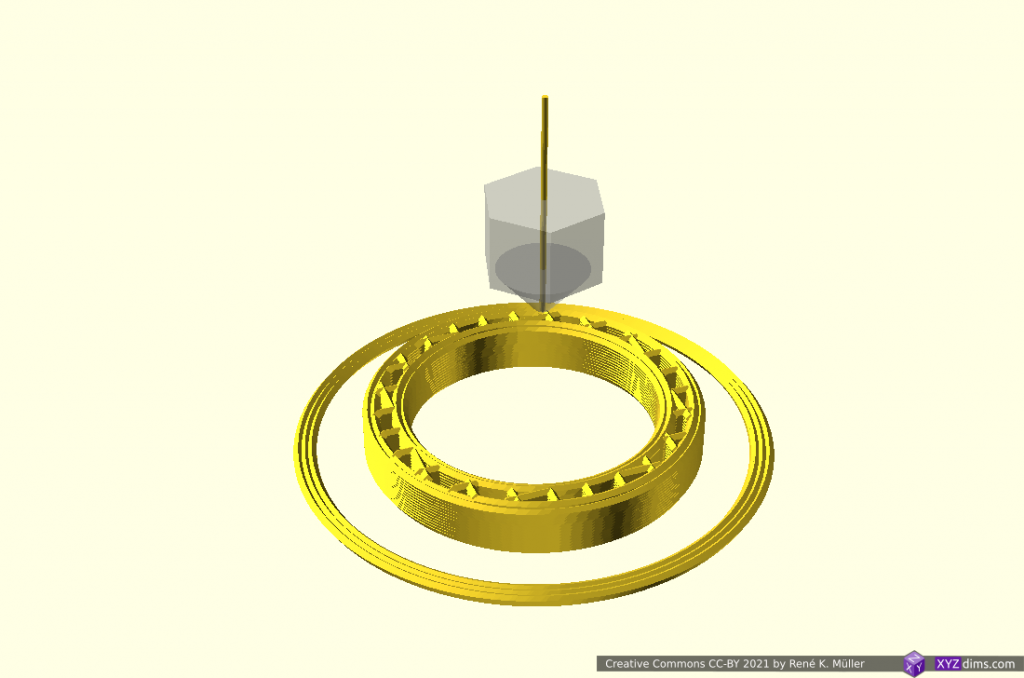
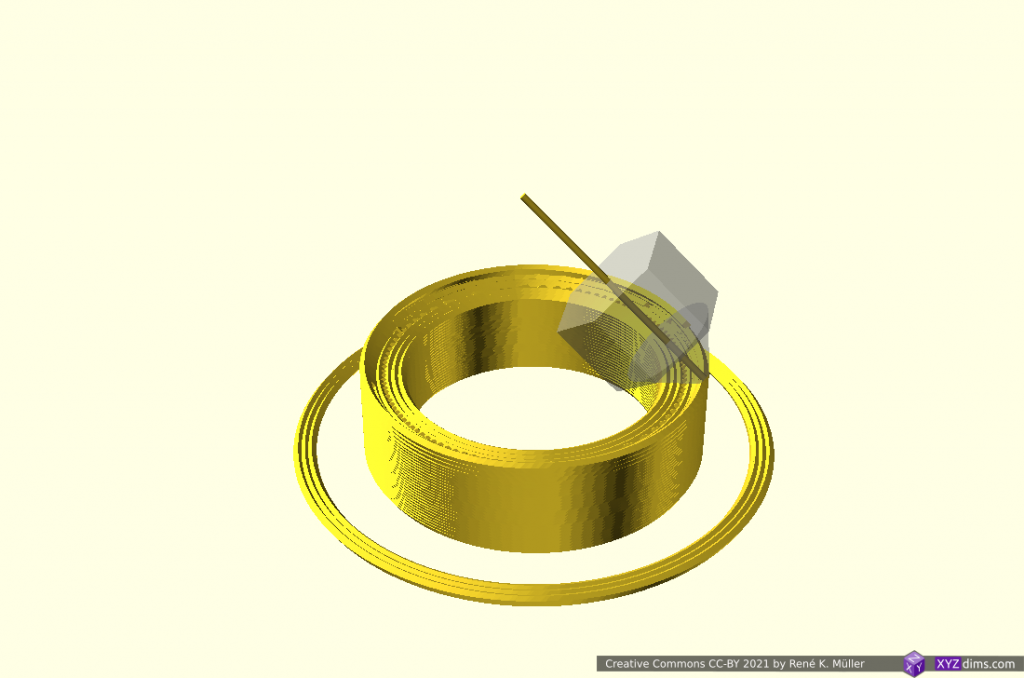
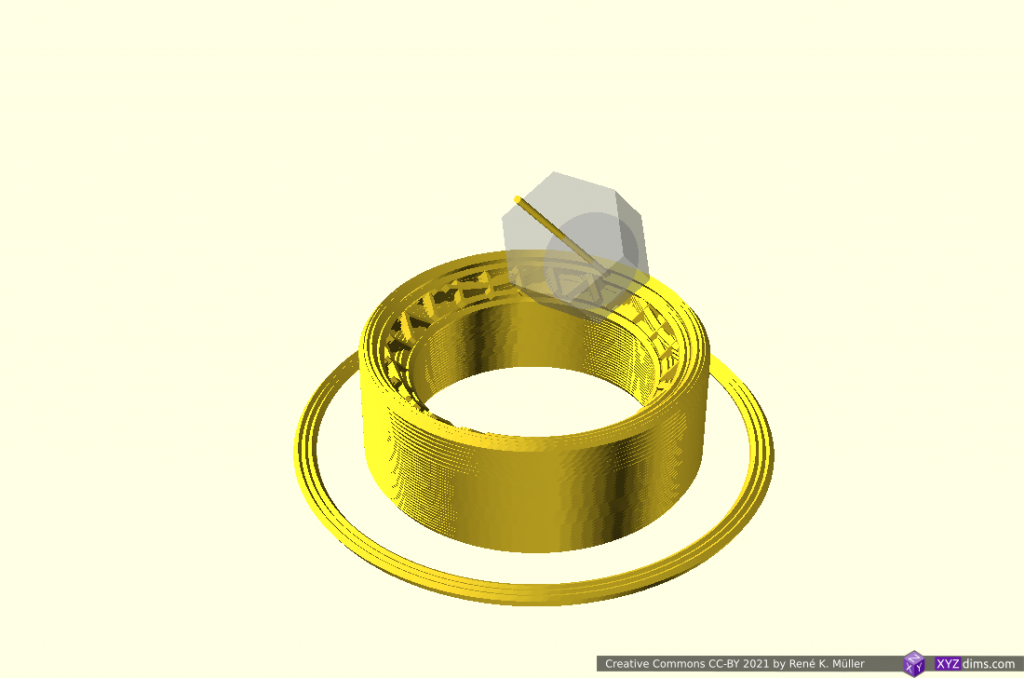
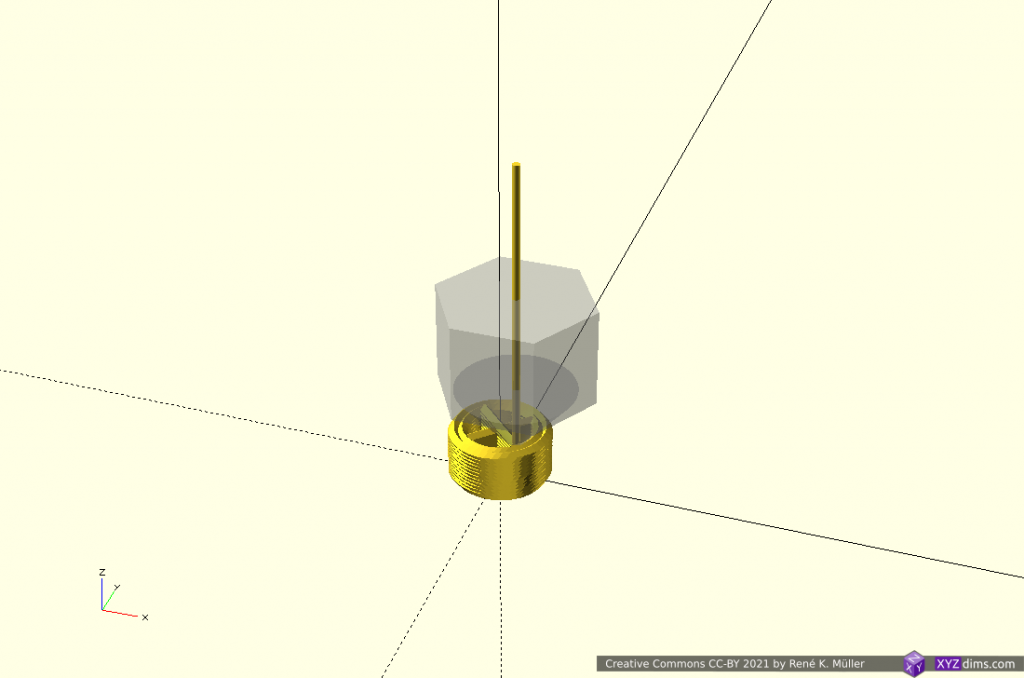
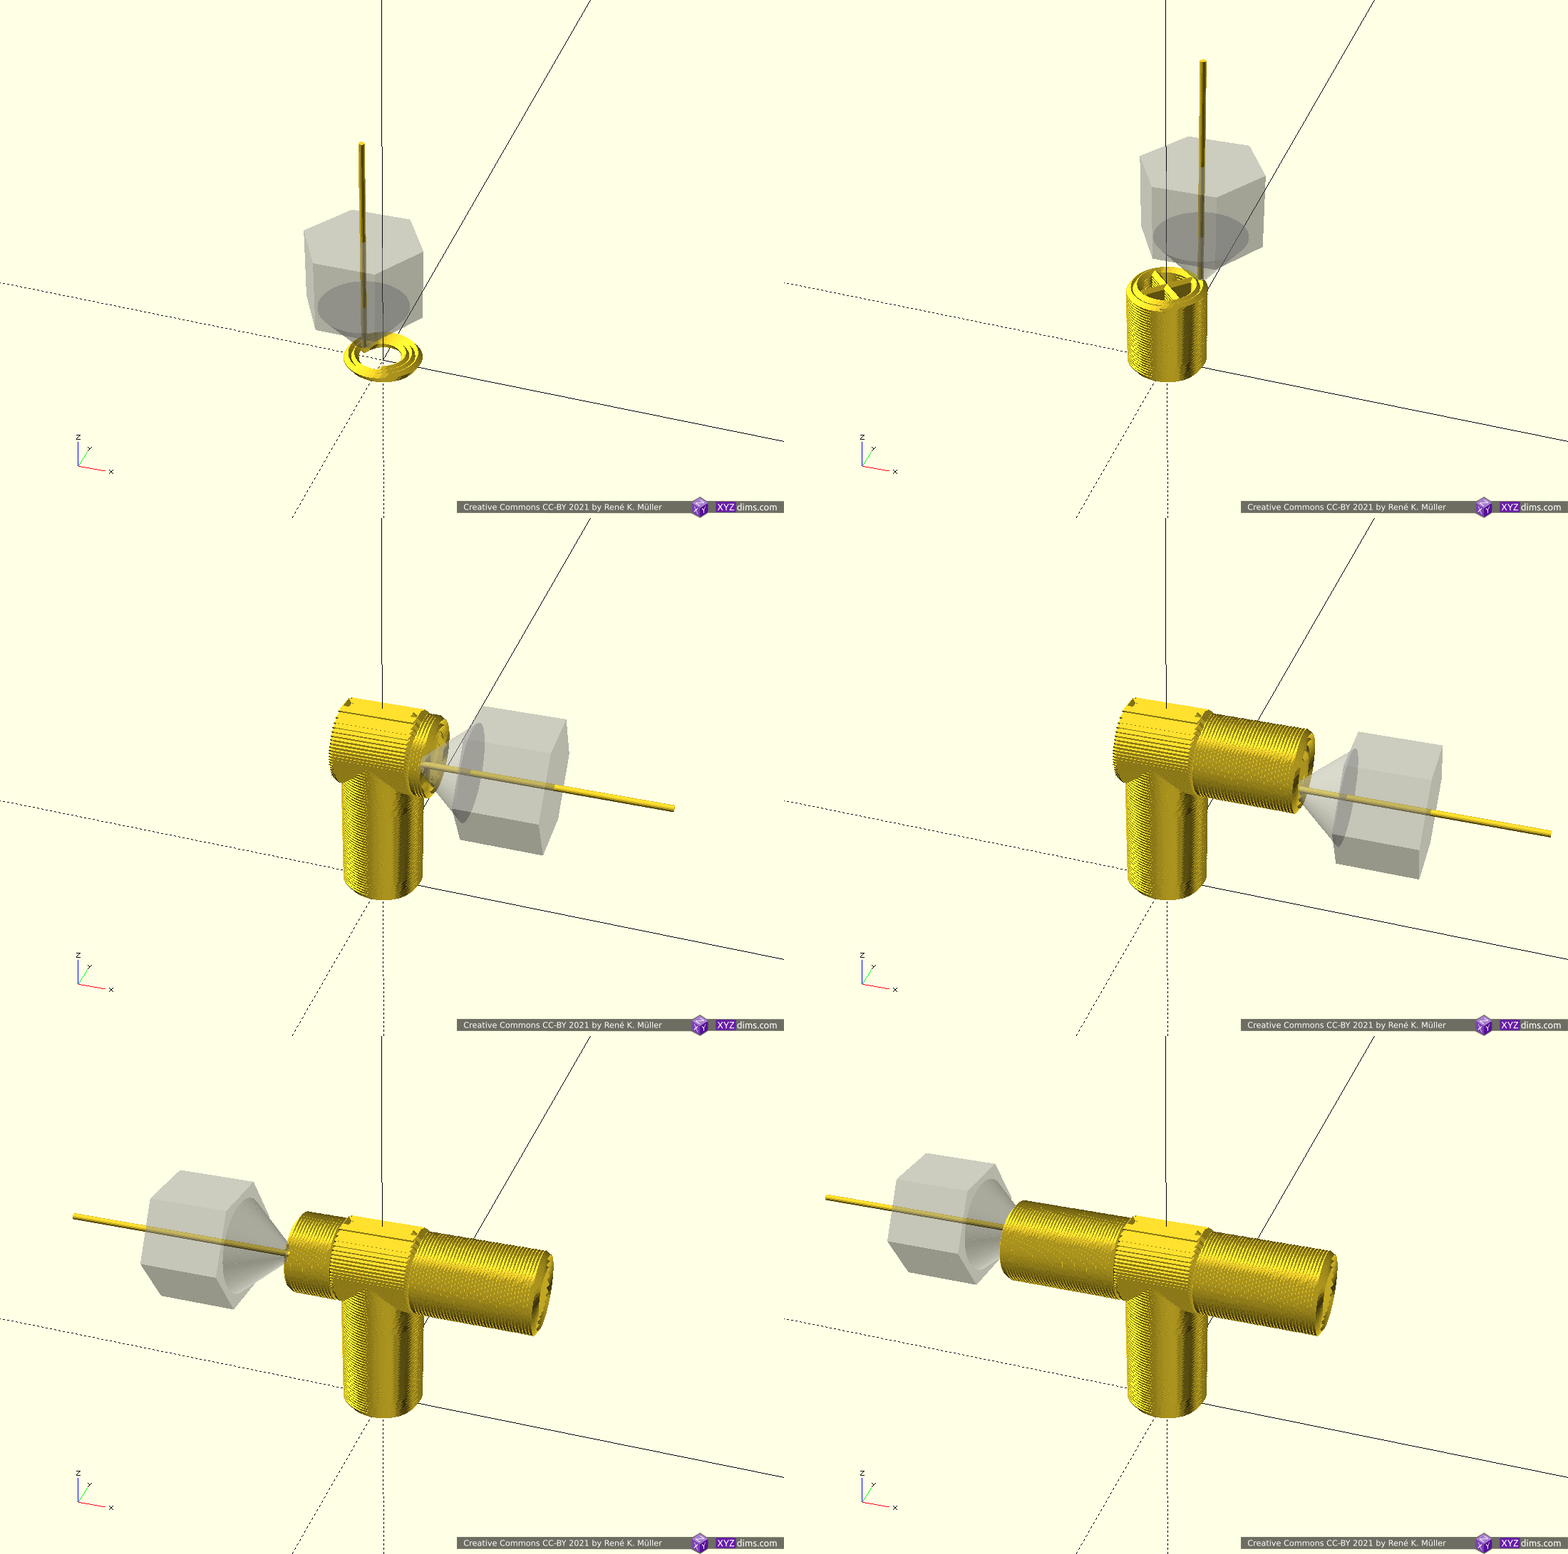
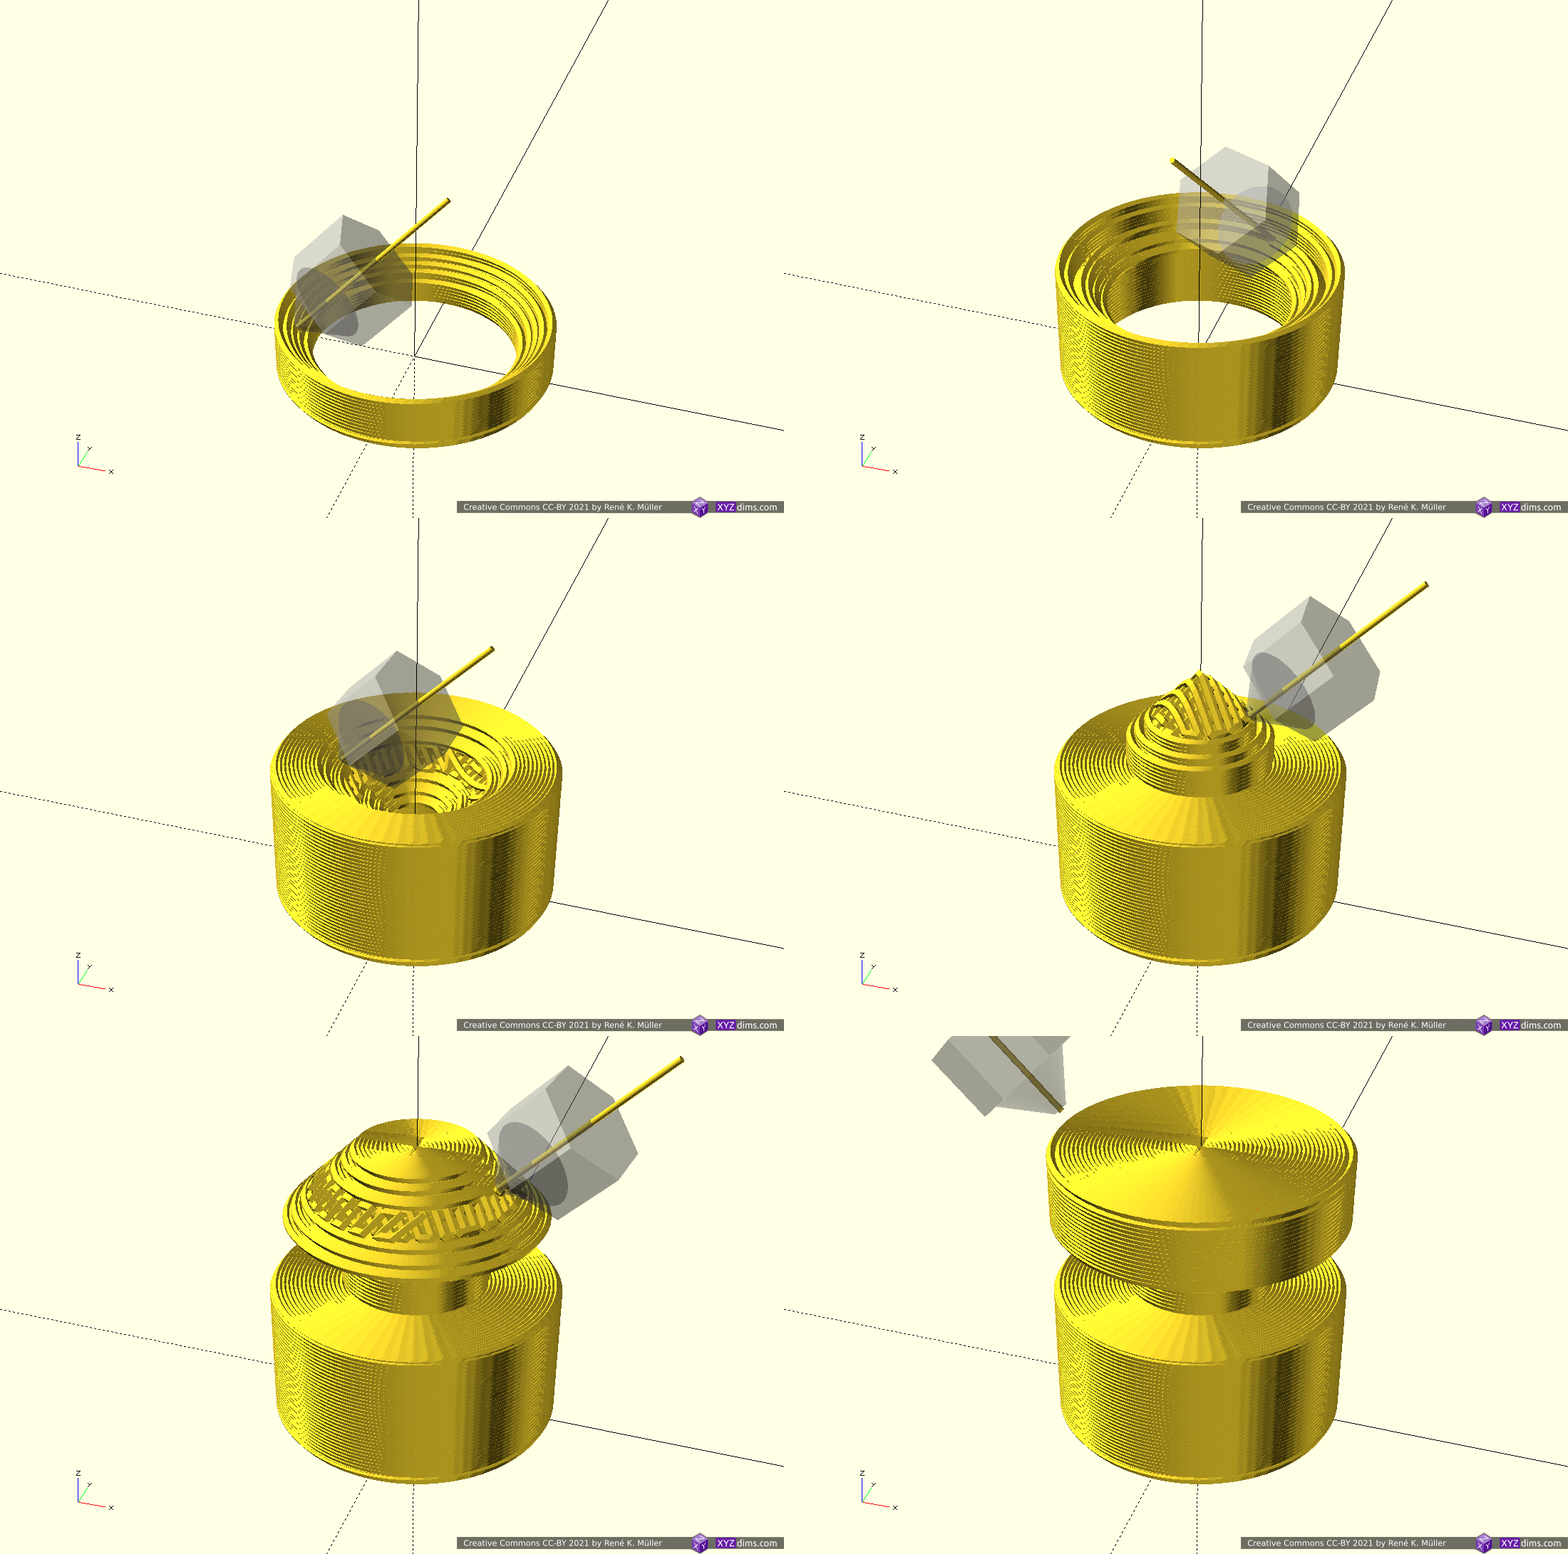
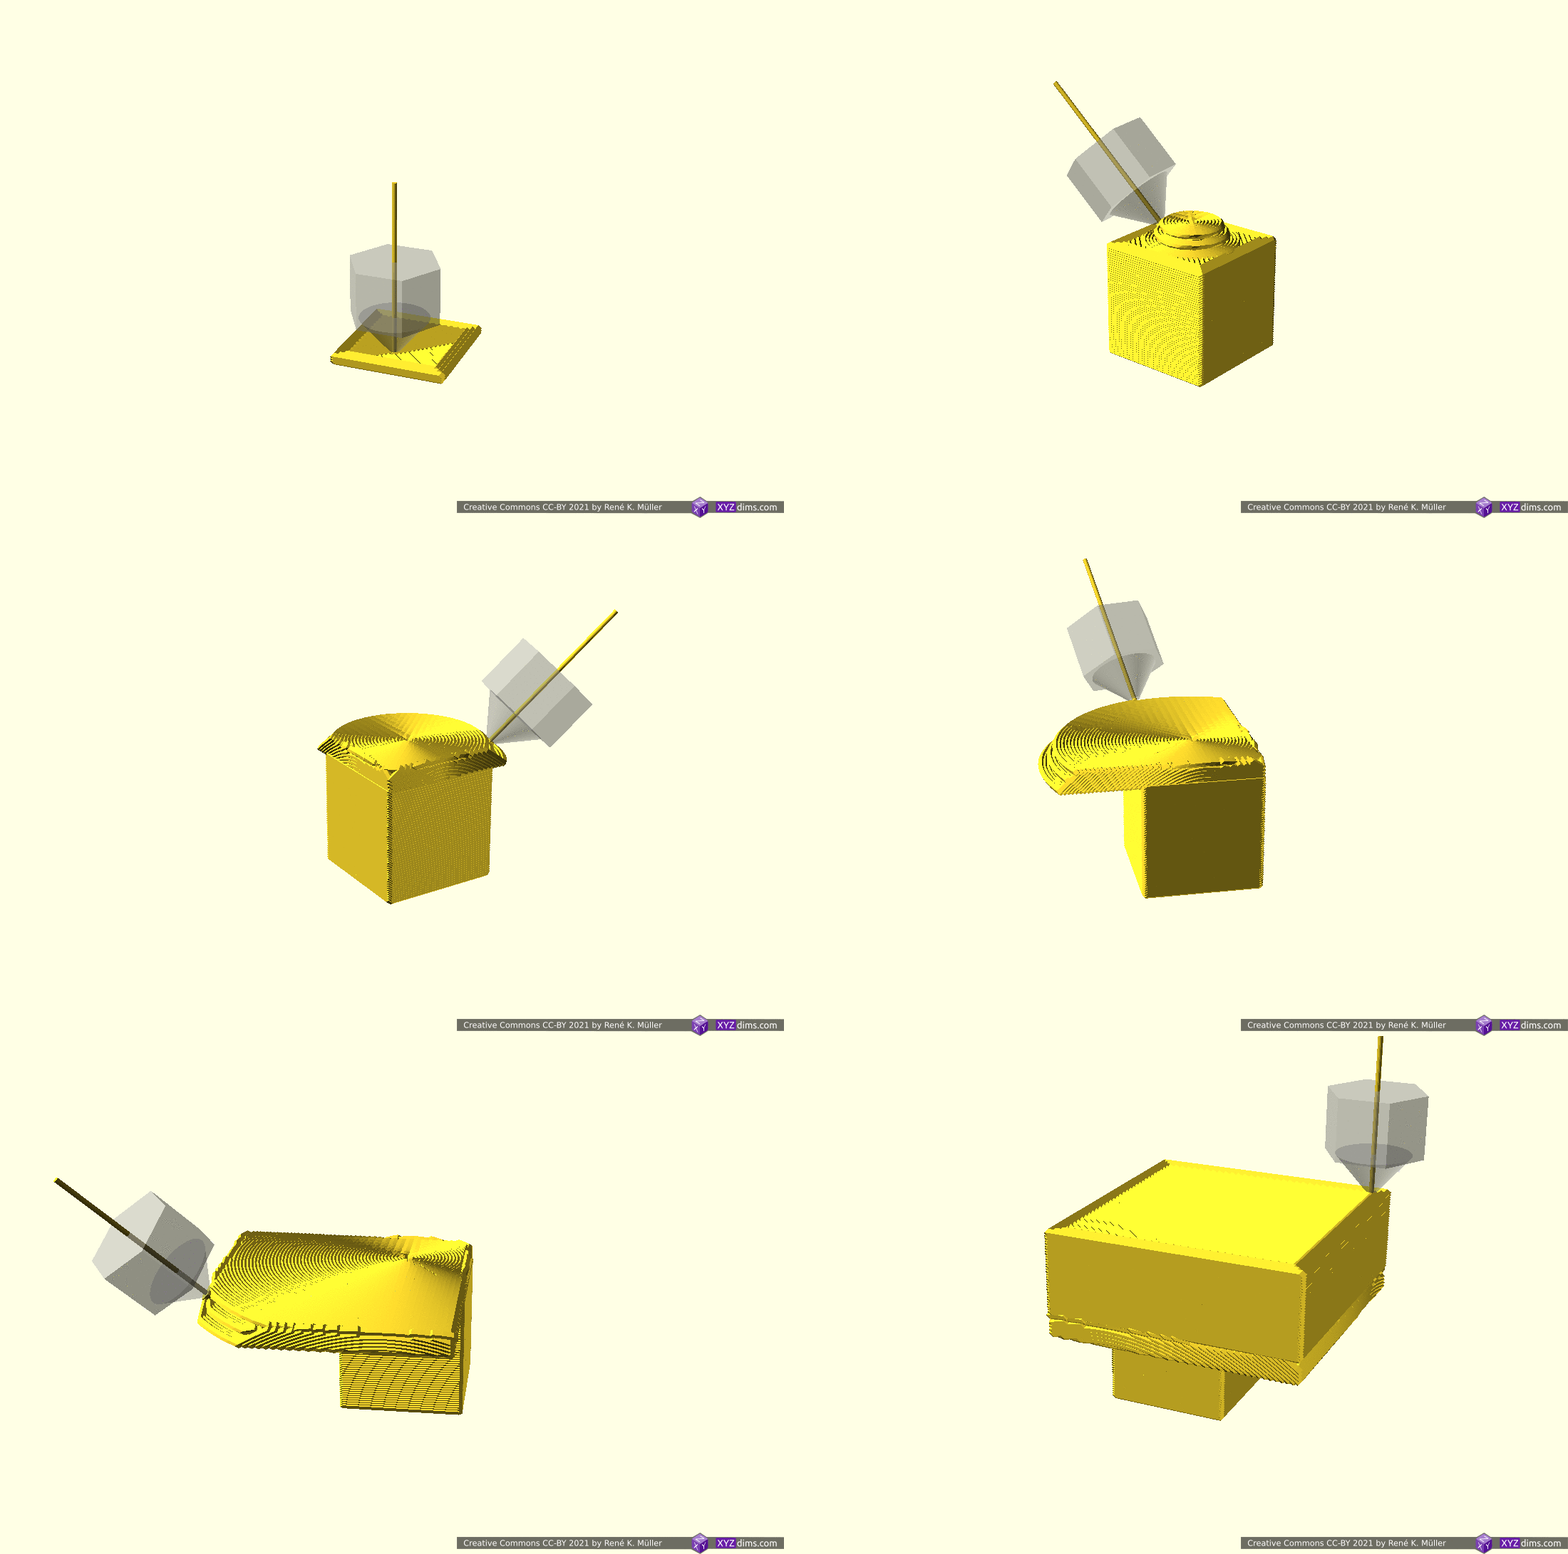
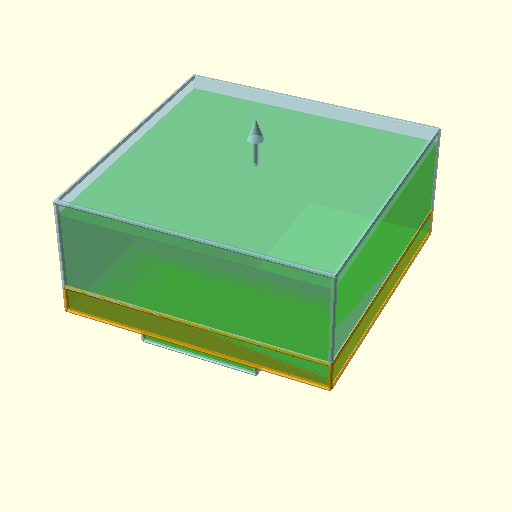
5 segments (bottom to top): z-planar, conic (inside-cone), z-planar, conic (outside-cone), z-planar

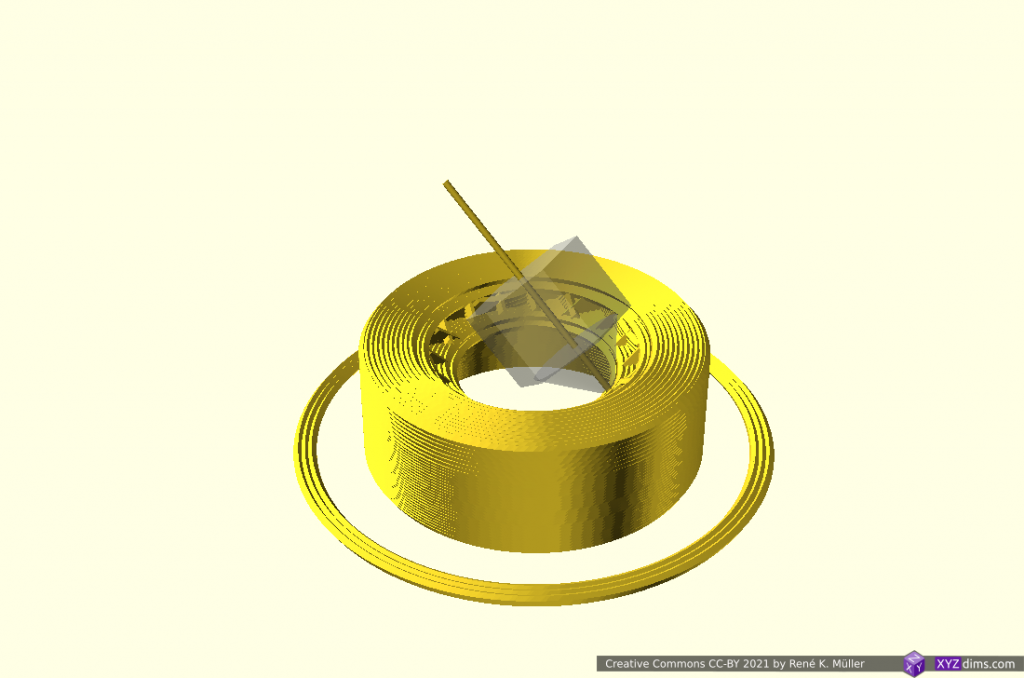
And revisiting the Overhang In/Out Model, which features ingoing and outgoing overhang, segmented into 5 sub-volumes:

  1. bottom: z-planar
  2. ingoing1) overhang: conic (inside-cone mode)
  3. middle: z-planar
  4. outgoing1) overhang: conic (outside-code mode)
  5. upper: z-planar

1) when dealing with conic slicing, the direction of overhang matters when deciding the mode of conic slicing, e.g. outside-cone or inside-cone.


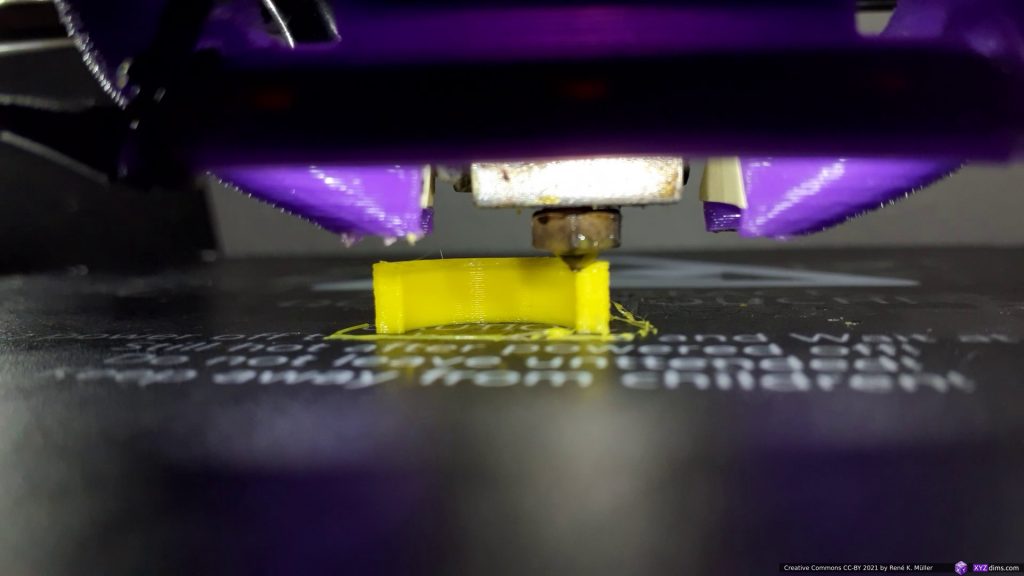
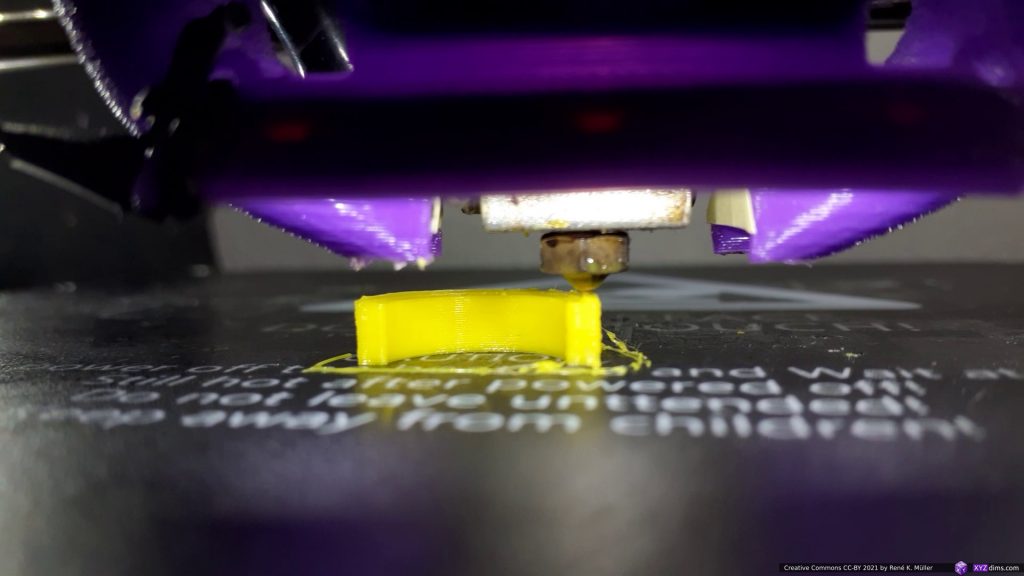
and the actual print, a half of the model so the printing of inner overhang on the lower part of the model is visible:
Conclusion

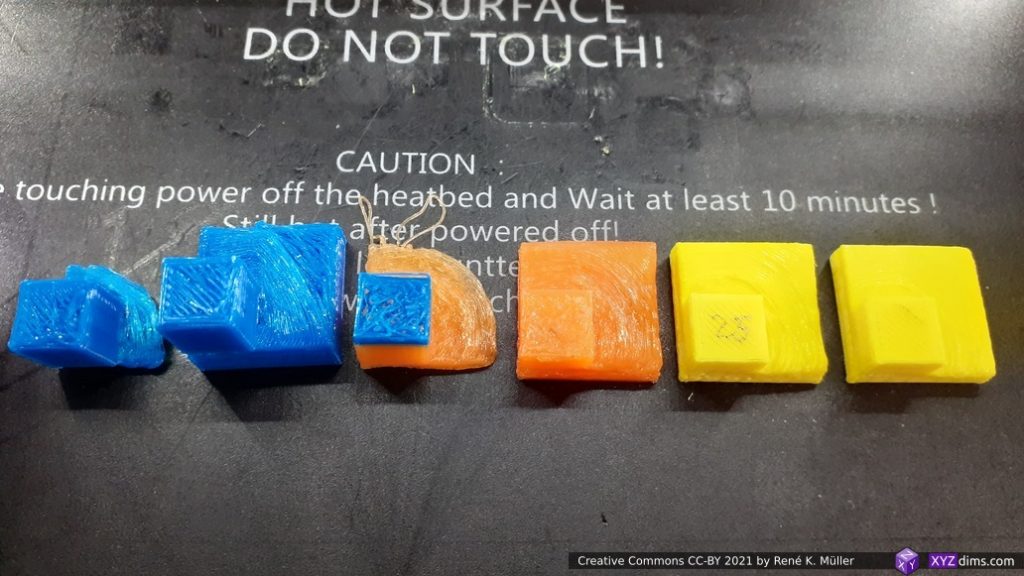
It took me a few days to tune the 3-axis FDM printer to print in acceptable quality of this Overhang Model No 5 and also Overhang In/Out Model. A strong part-cooler was mandatory, well adjusted print temperature and slow perimeter as those extrusions align horizontally without vertical support; and it worked: the main idea is to segment and limit the overhang part to ~2mm thickness – a quasi “balcony” – which still allows a classic vertical nozzle with part-cooler to print such, and then switch back to planar printing again.
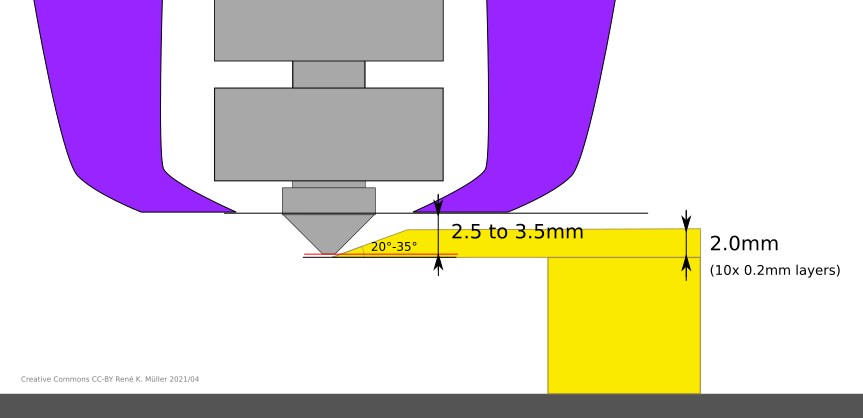
Vertical nozzle with part-cooler printing conic sliced overhang – a “balcony” – working with narrow margins

Detail settings: the conic overhang was sliced with Slicer4RTN with following settings slicer4rtn --slicer=cura-slicer --speed_wall=10 --speed_wall_0=10 --speed_wall_x=10 ... and since the Z-axis motion is limited to 4mm/s (M6 threaded rod, 1 rotation => 1mm) the overall printing speed is slow enough to provide acceptable print quality.

References

3D Printing: Sub-Volume Segmenting & (Non-)Planar Slicing

Introduction

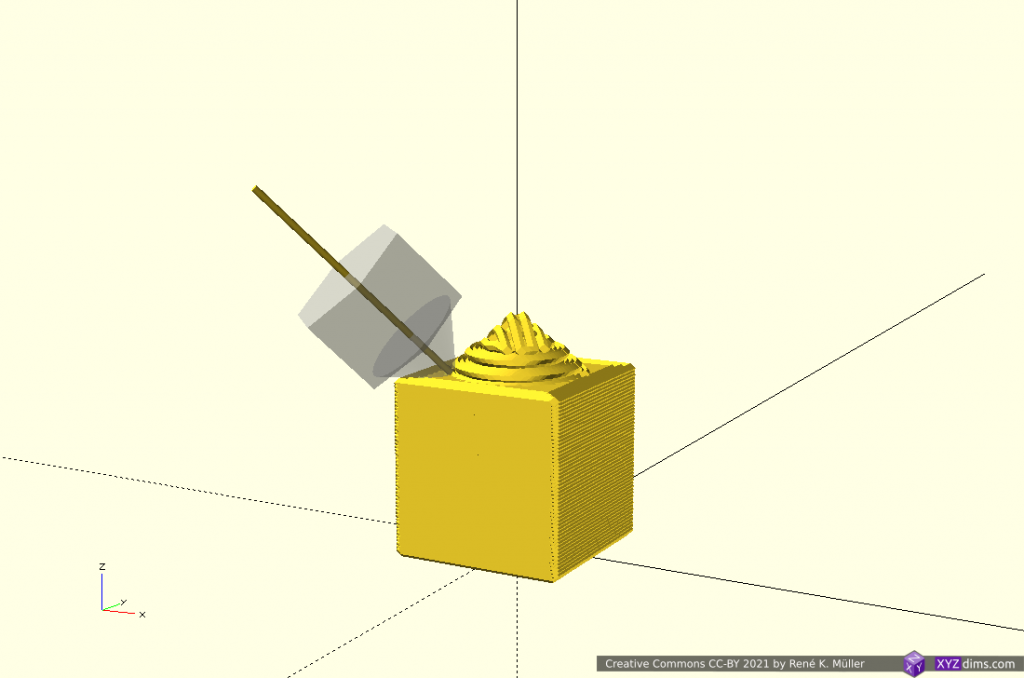
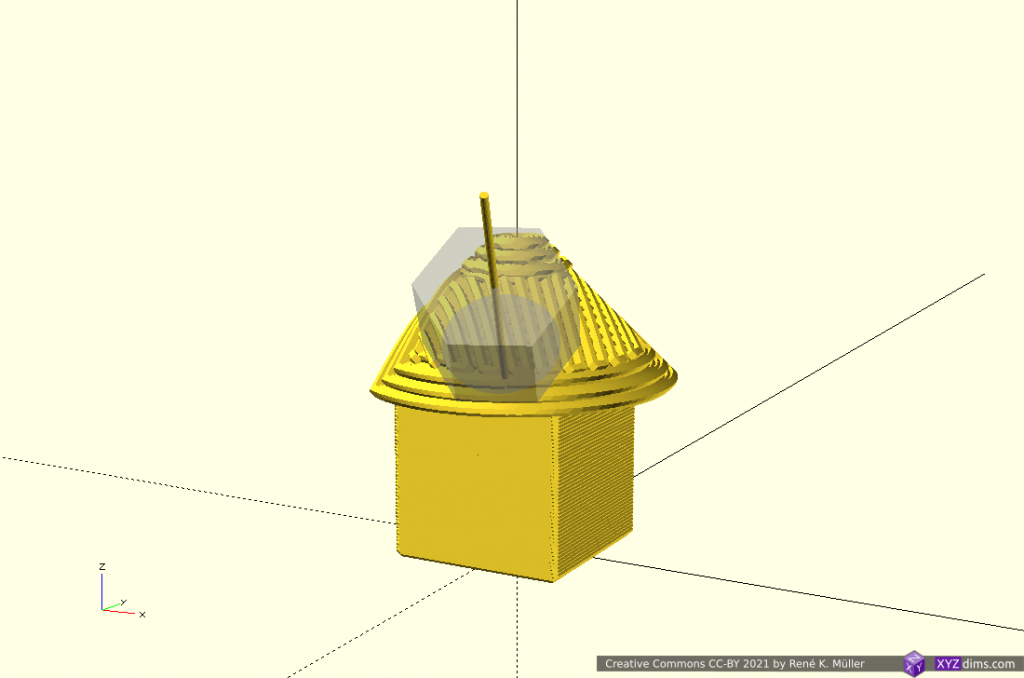
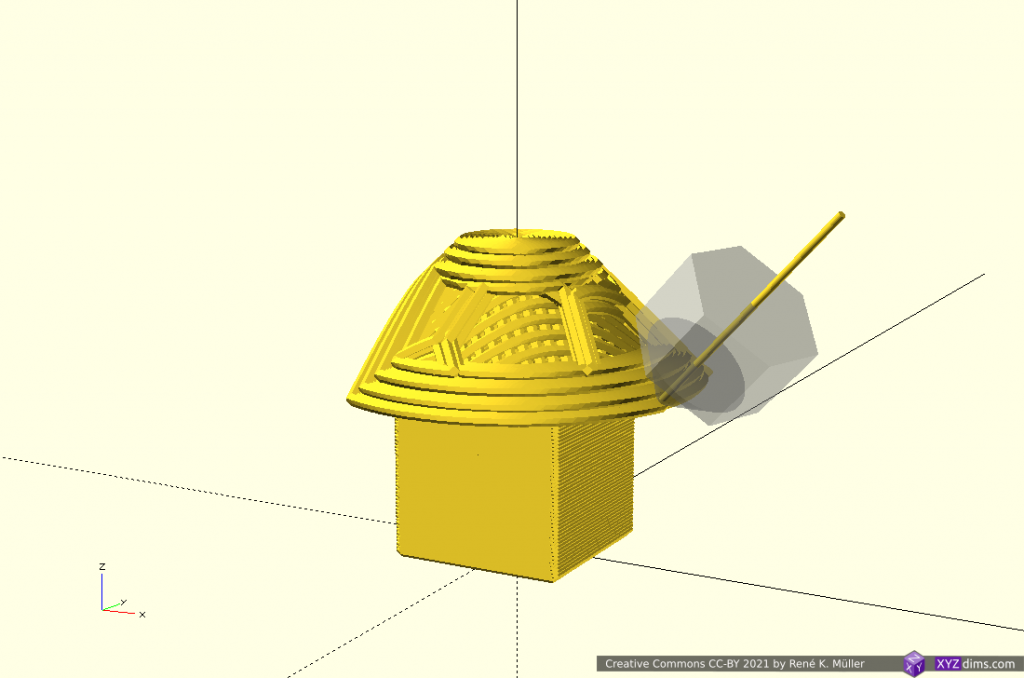
In order to take advantage of 4- and 5-axis non-planar FDM1) printing (e.g. tilted, conic, cylindrical, spherical) the model may be segmented and then dedicate slicing methods can be assigned to such sub-volumes.

A few basic examples combining planar and non-planar slicing methods on sub-volume segmented models illustrating the possibilities printing without support structures:

  1. Fused Deposition Modeling (FDM) also known as Fused Filament Fabrication (FFF)

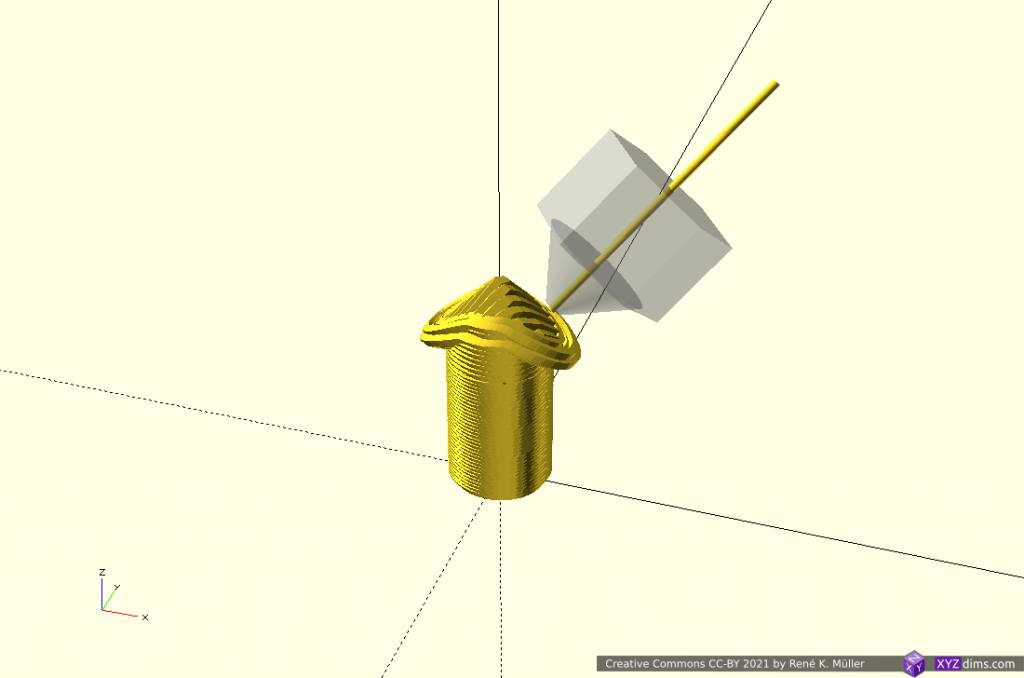
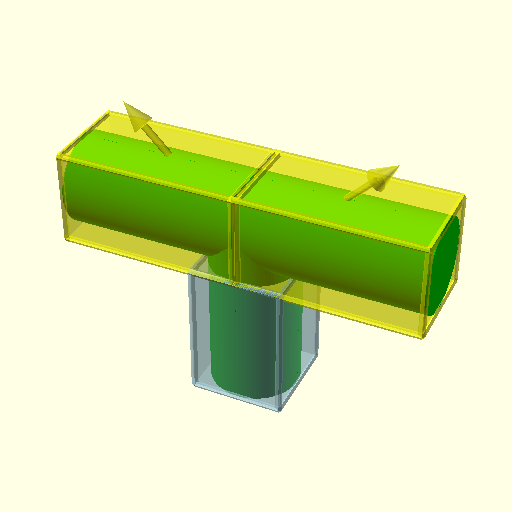
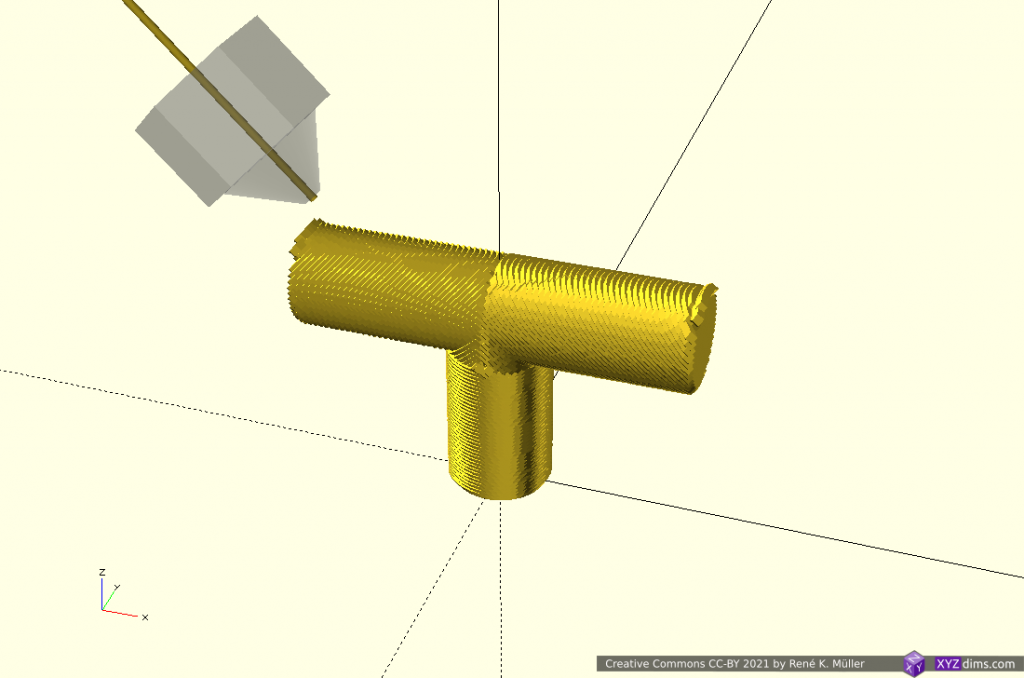
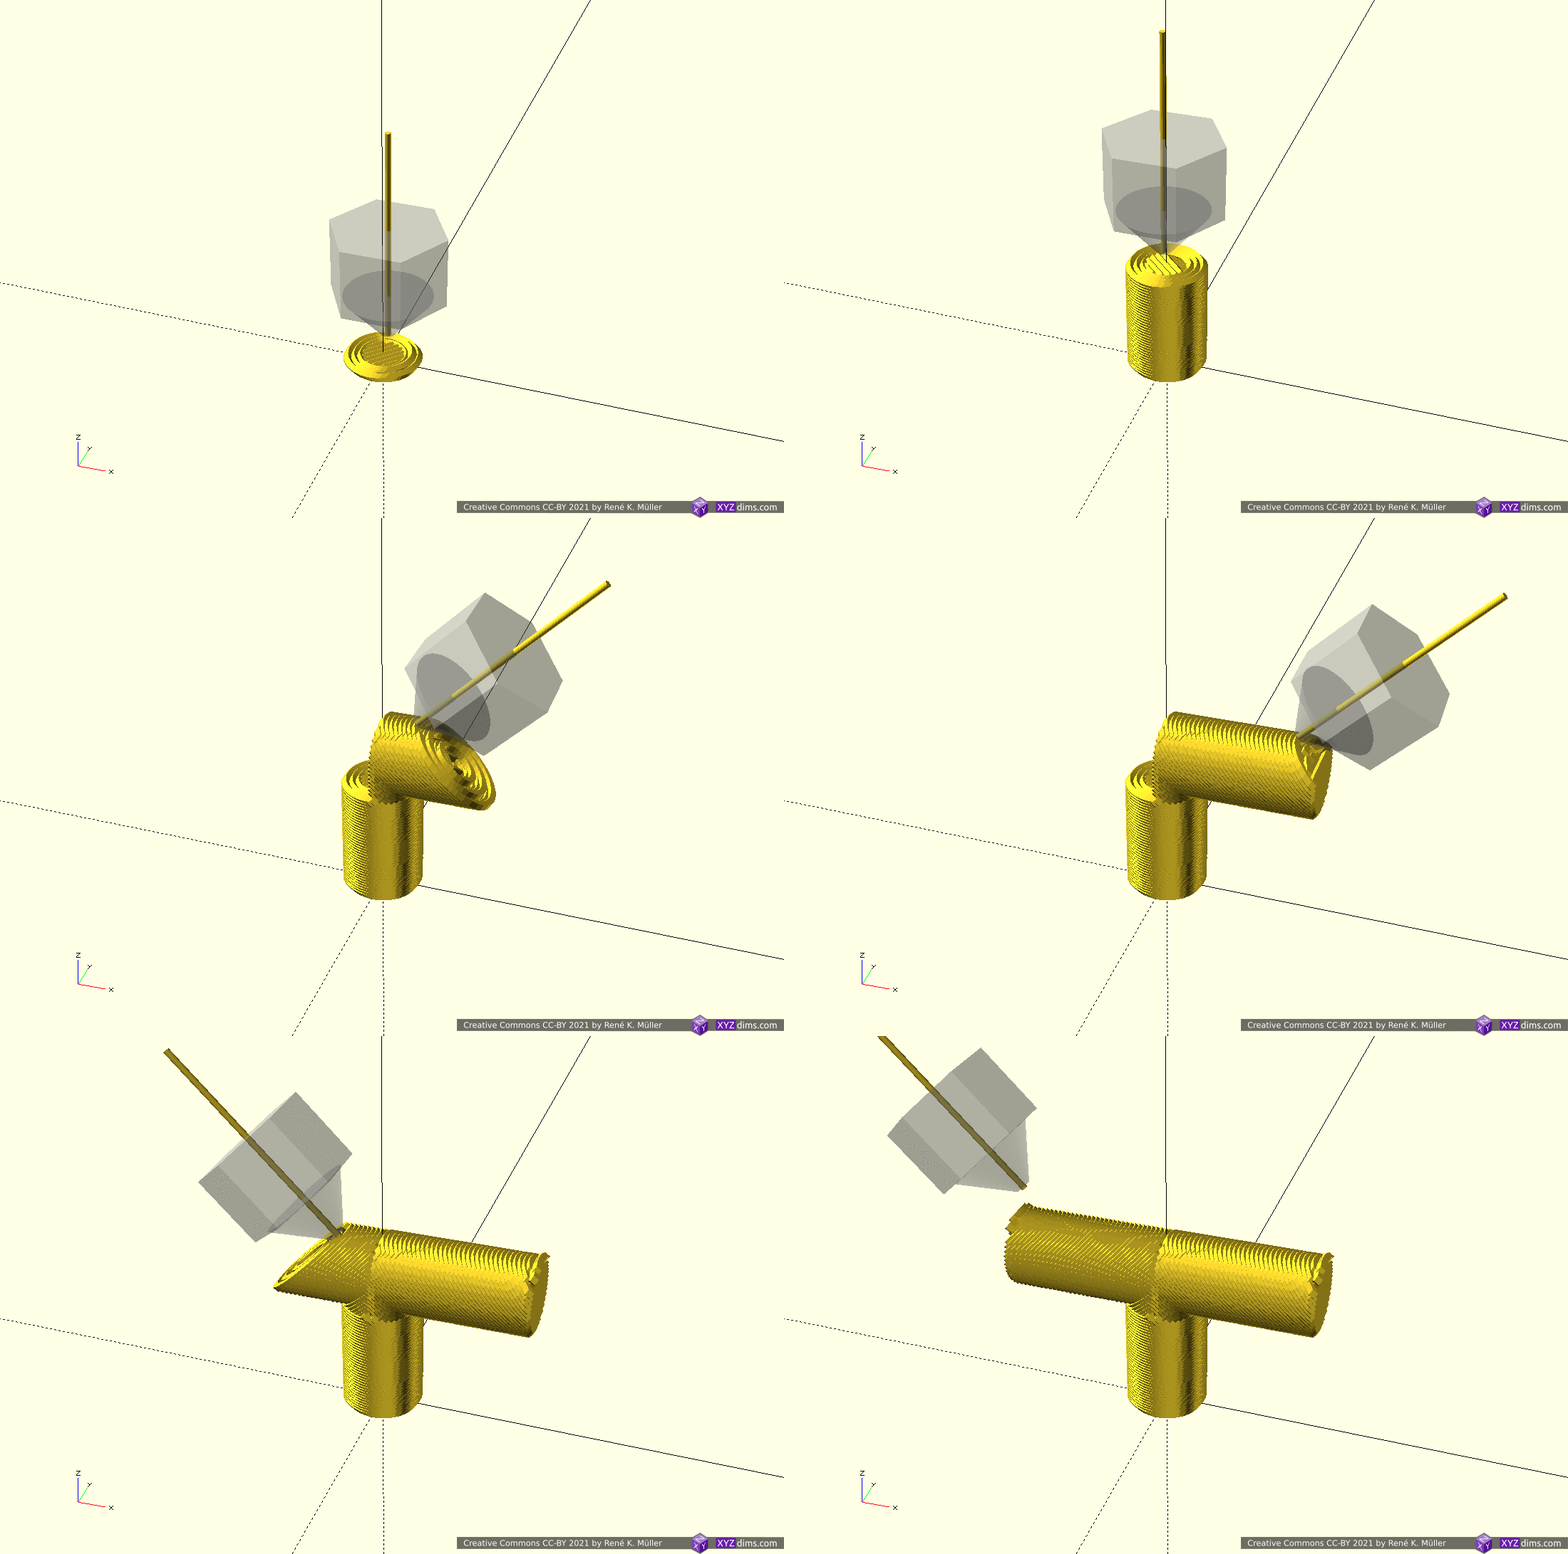
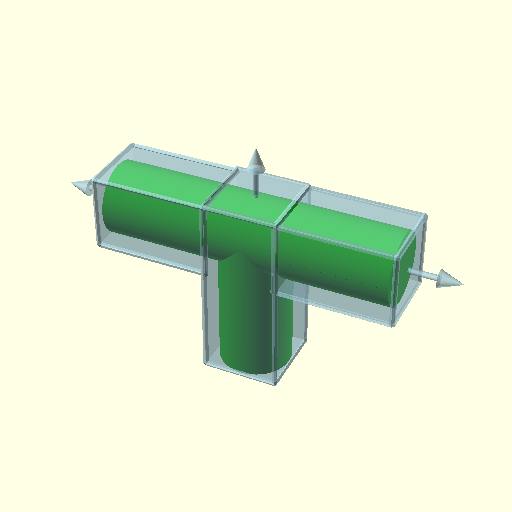
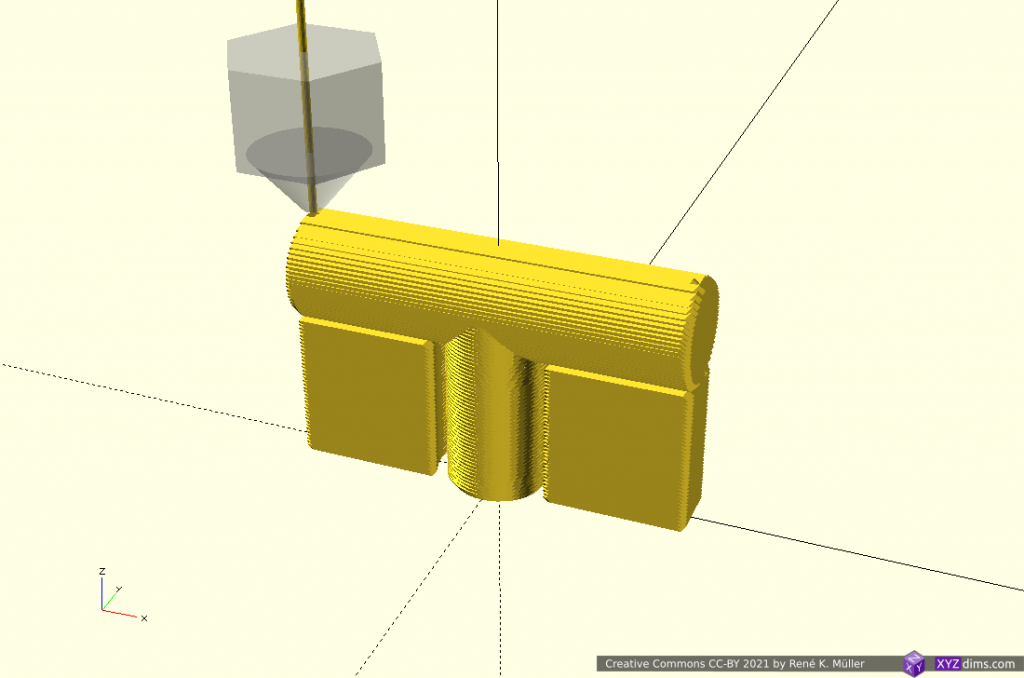
T-Model: 2 Segments: Z-planar & Conic

Utilizing novel conic slicing as introduced by ZHAW researchers in 2020/2021:

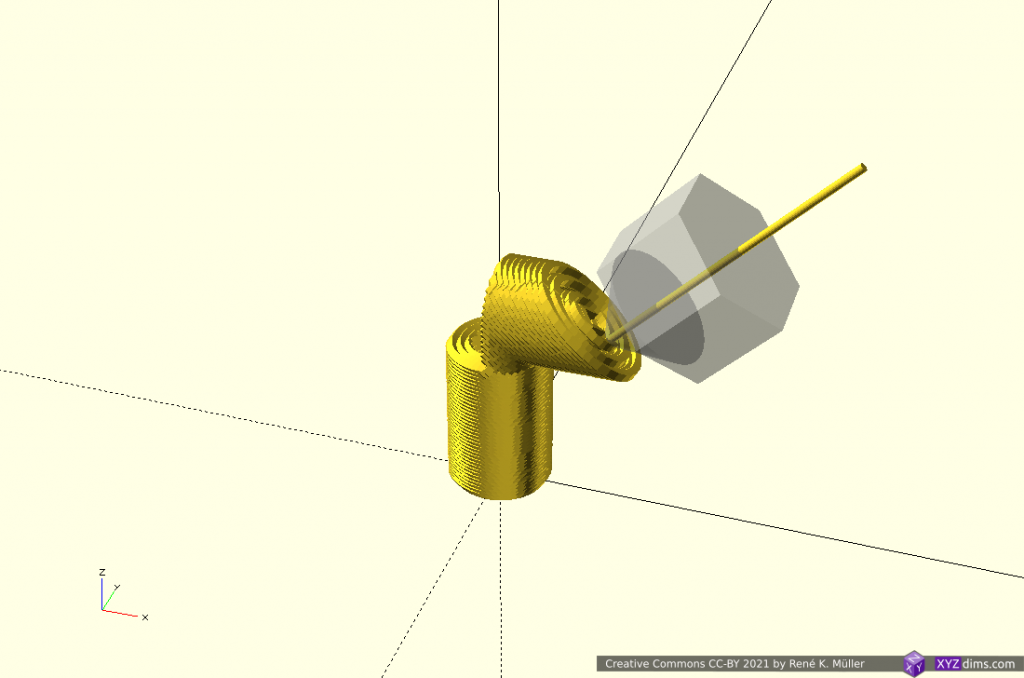
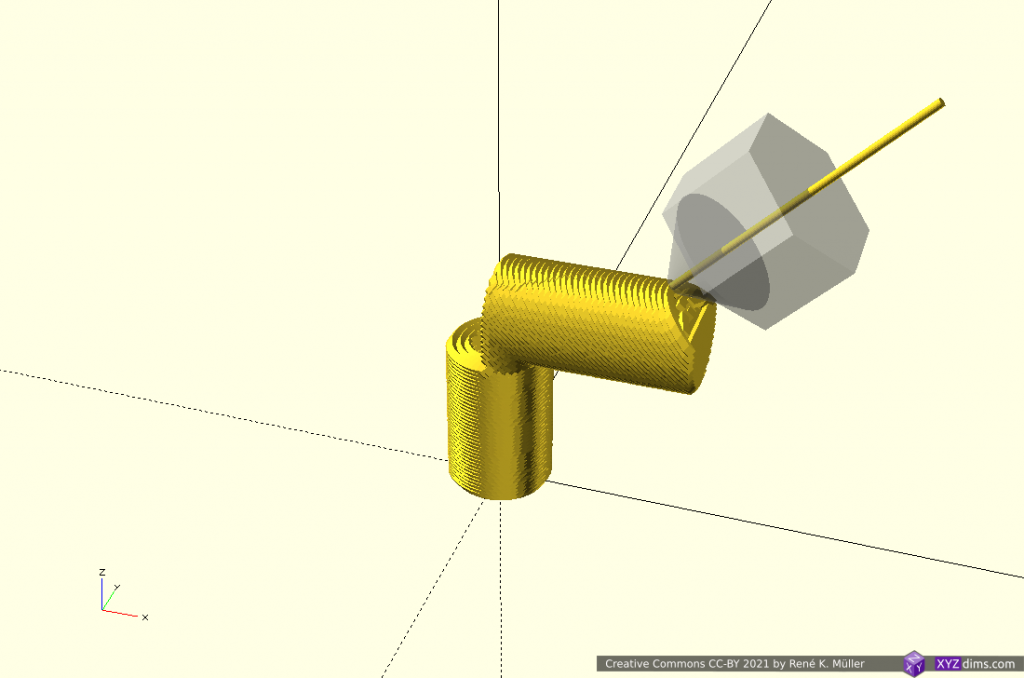
T-model segmented into 2 sub-volumes, sliced z-planar and conic (outside-cone mode)

Conic slices can be printed with 4-axis Rotating Tilted Nozzle (RTN) although printing the Z-planar sliced part might not give goods surface results but rather using a 5-axis Penta Axis (PAX) printhead to cover both cases easily.

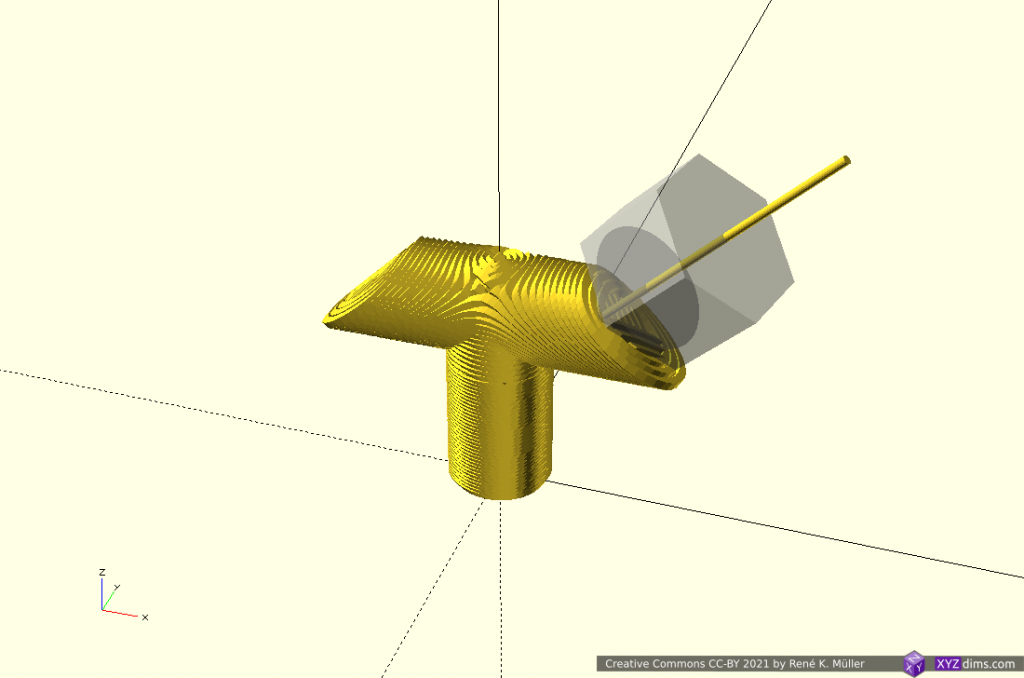
T-Model: 3 Segments: Z-planar & 2x Tilted

Using non-rotating but tilted sliced (like used with belt-printers) but in two distinct directions:

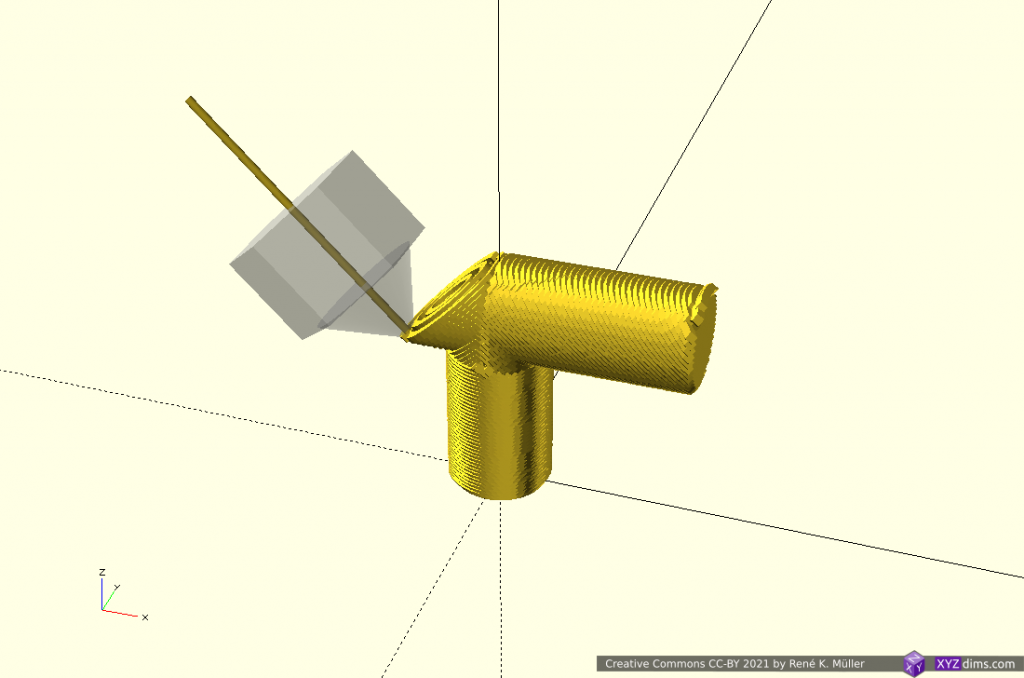
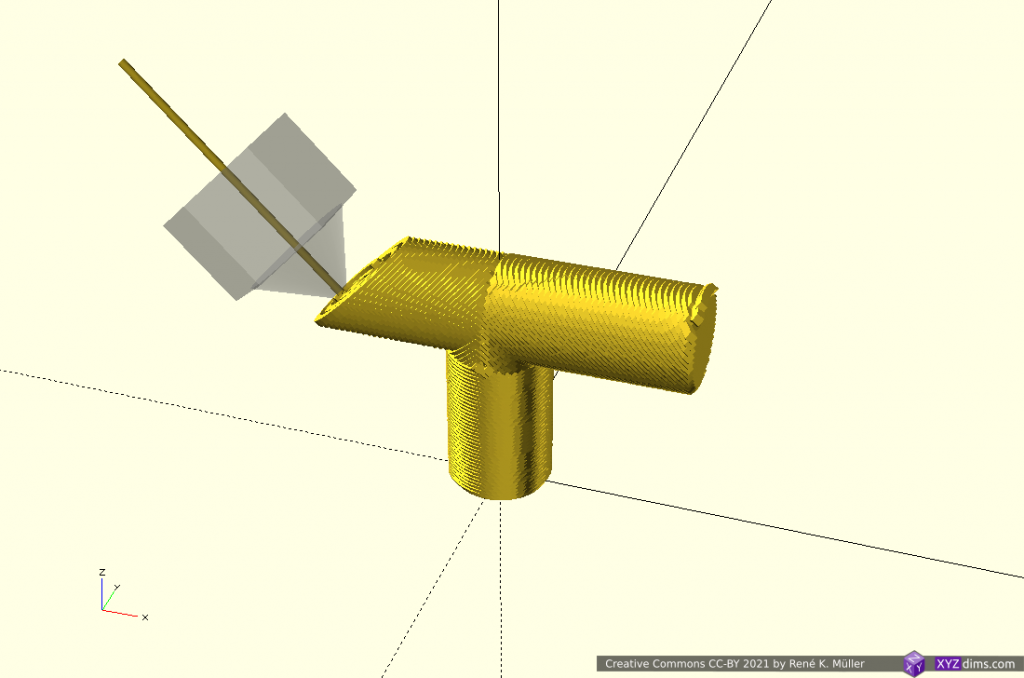
T-model segmented into 2 sub-volumes, sliced z-planar and twice tilted in opposite directions

Tilted slices can be printed with 4-axis Rotating Tilted Nozzle (RTN) but the first Z-planar part, as mentioned above, might not provide sufficient surface quality, whereas a 5-axis Penta Axis (PAX) printhead can print both segments easily.

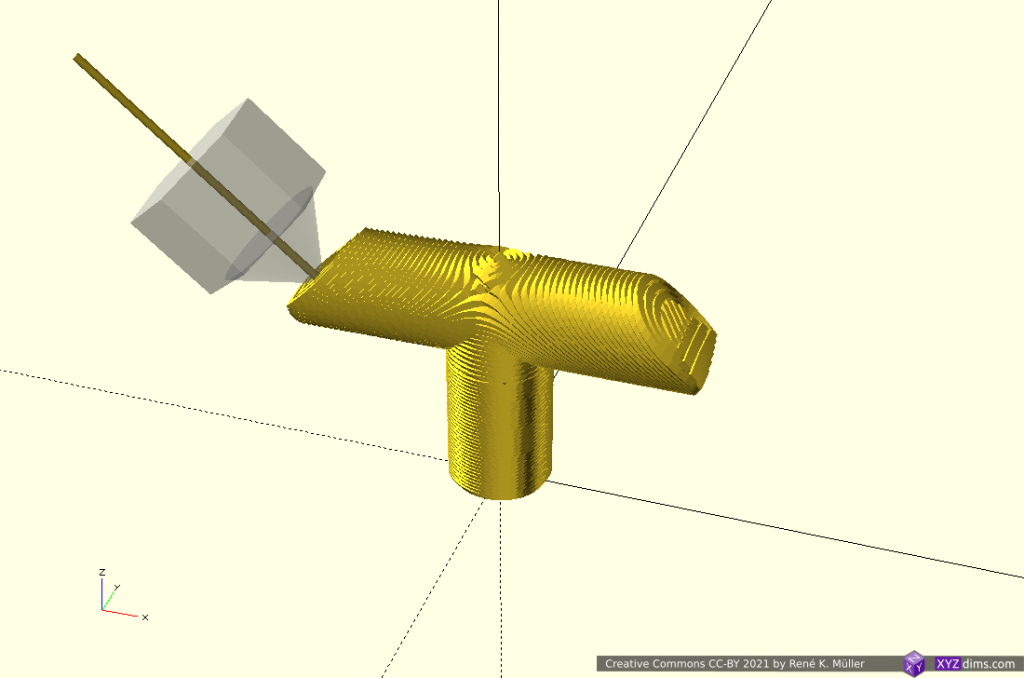
T-Model: 3 Segments: Z-planar & 2x X-planar

A more classic planar approach but with different planes as reference, first Z-planar then twice X-planar in different directions:

T-model segmented into 3 sub-volumes, sliced z-planar and twice x-planar

X-planar printing requires either 5-axis Penta Axis (PAX) printhead or the ability to tilt the bed.

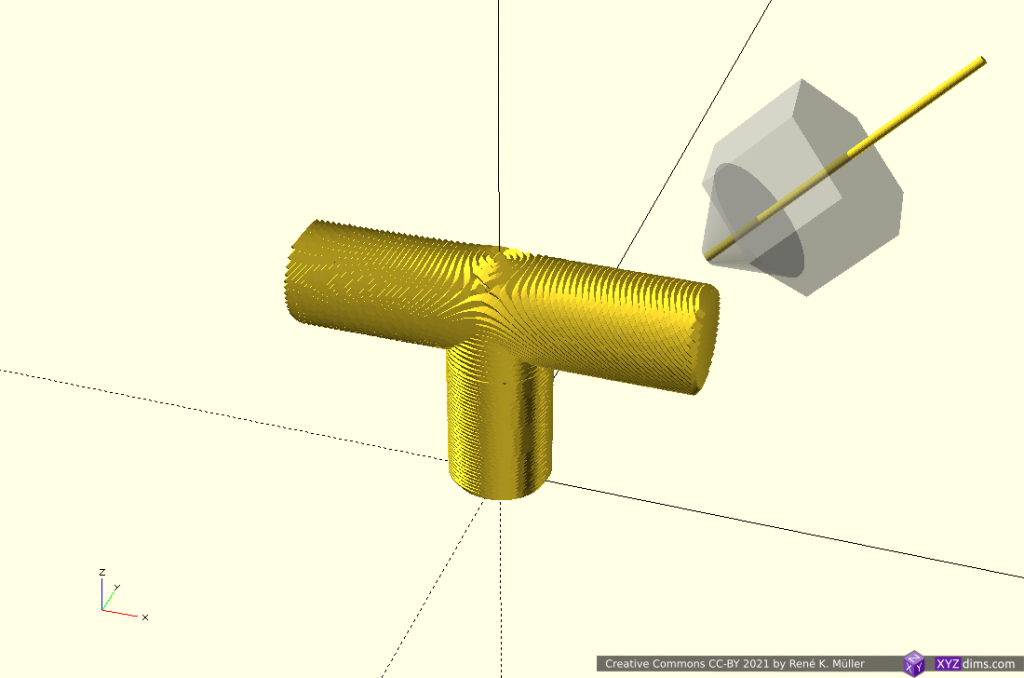
Overhang In/Out: 2 Segments: 2x Conic

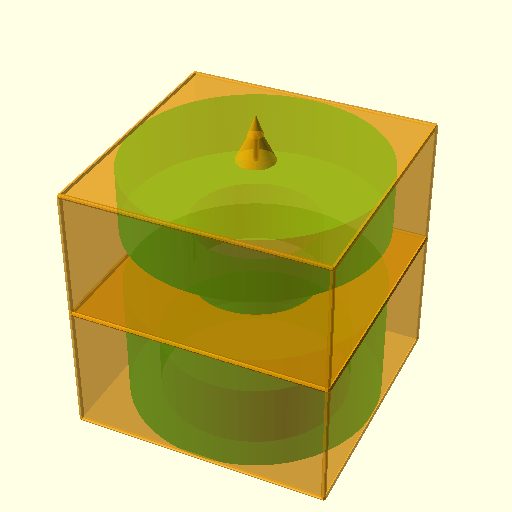
Lower part is sliced with conic slicing with inside-cone mode to print in-going overhang, whereas the upper part is sliced with outside-cone mode to cover the out-going overhang:

Overhang in/out model segmented into 2 sub-volumes: lower part is sliced conic (inside-cone mode) and upper part conic (outside-cone mode)

This model covers the classic case of 4-axis Rotating Tilted Nozzle (RTN) application: rotating 45° tilted nozzle printing in two different modes (outside-cone and inside-cone); a 5-axis Penta Axis (PAX) printhead also can print such.

Overhang Out No 5: 2 Segments: Z-planar & Conic

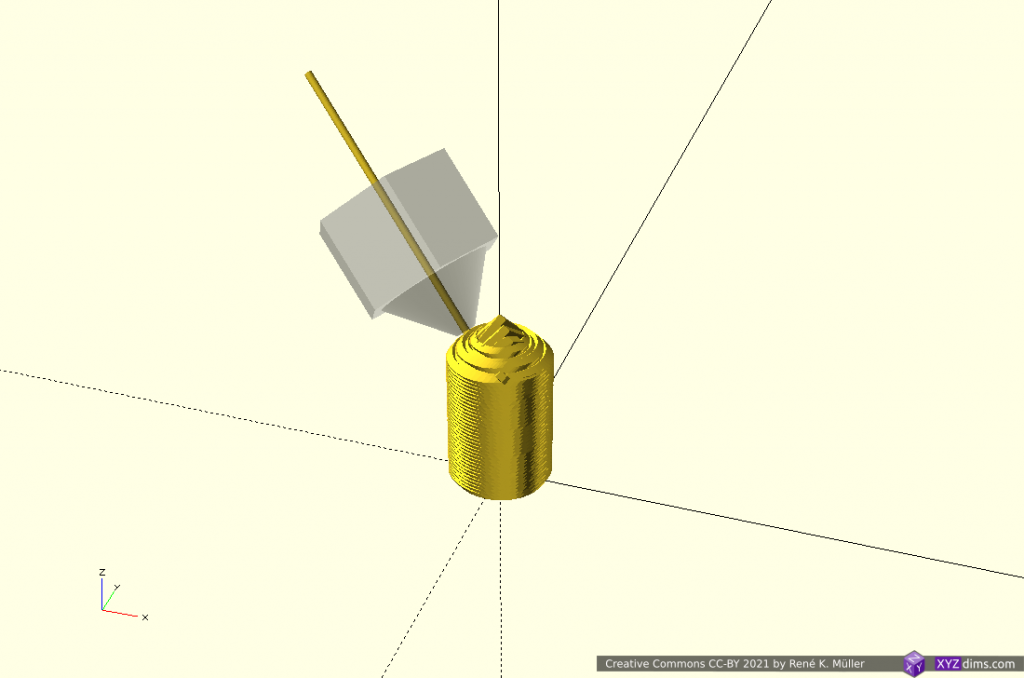
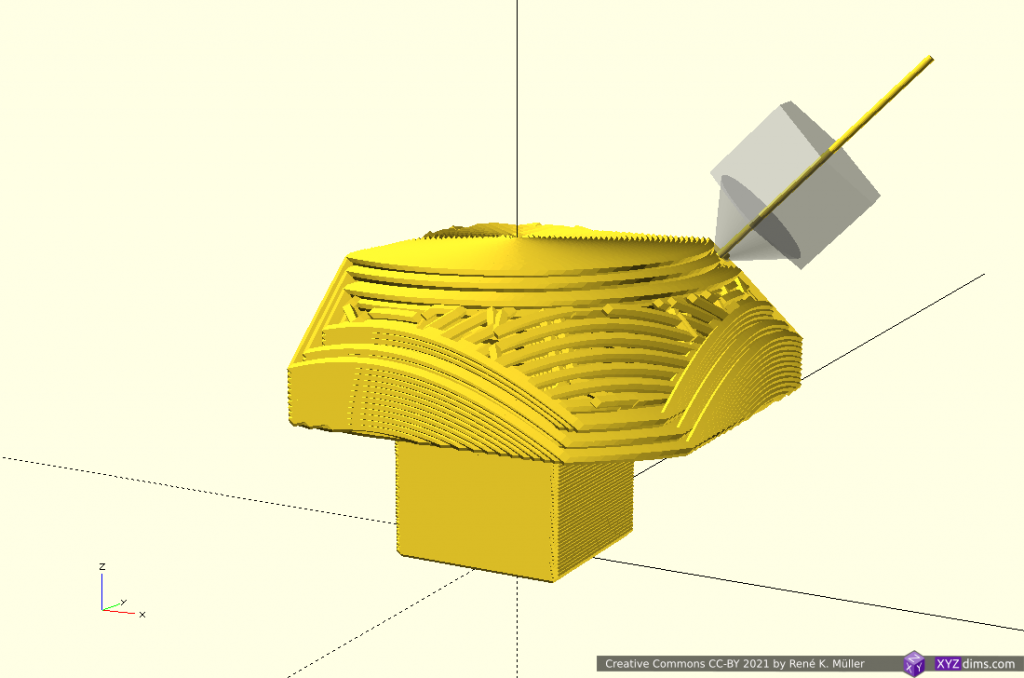
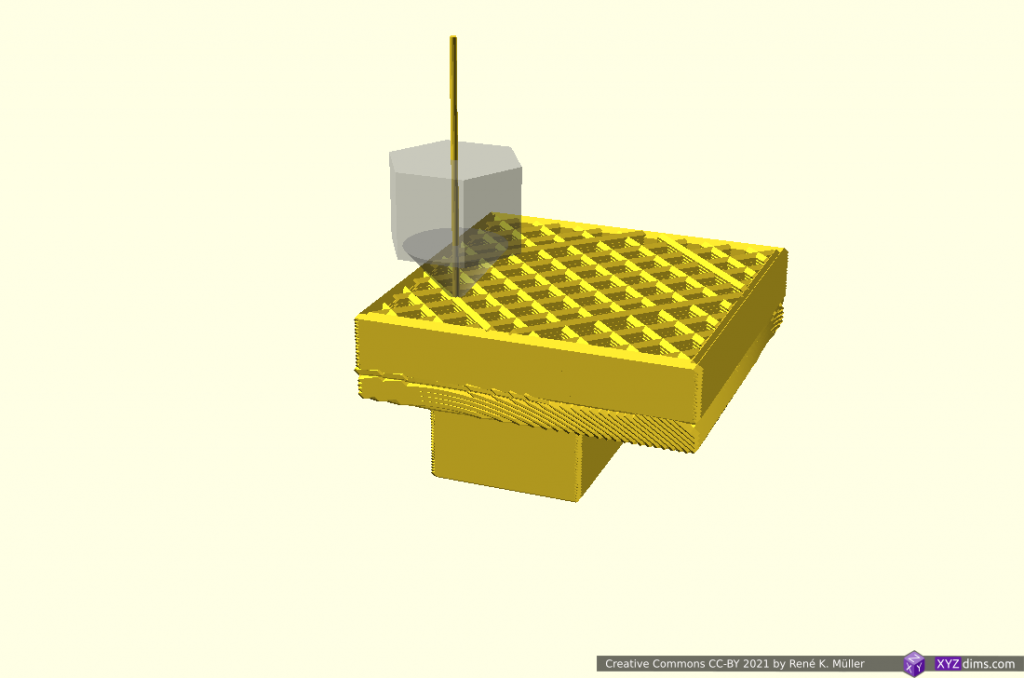
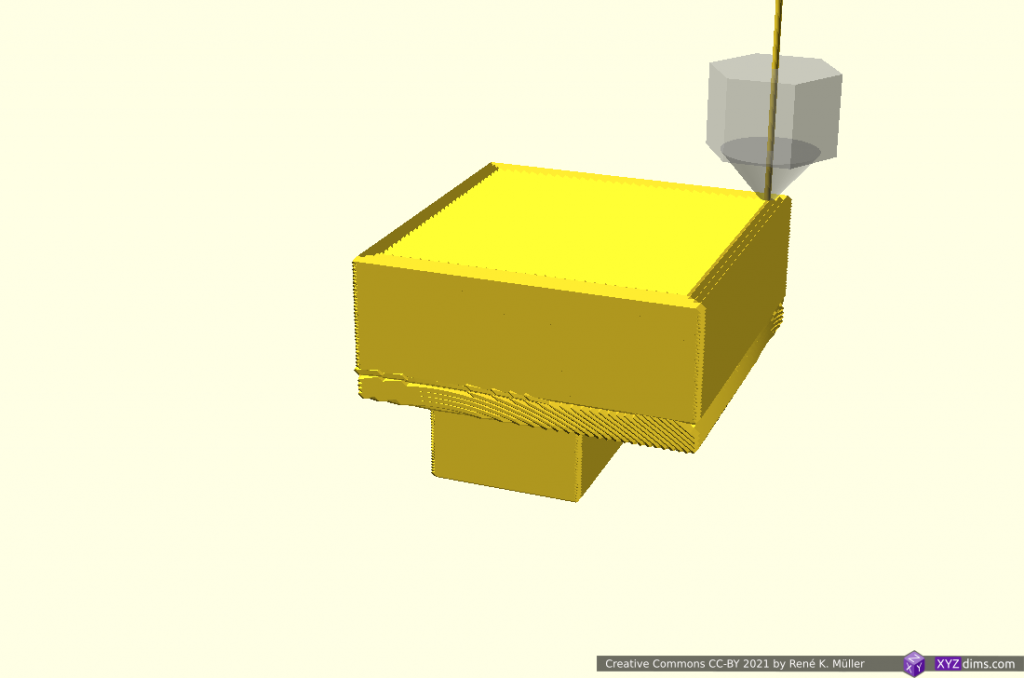
Another overhang piece, stretching out into one direction; the lower part Z-planar, and the overhang conic (outside-cone mode) with an offset to align better with the lower segment:

Overhang Out No 5 model segmented into 2 sub-volumes: z-planar at the bottom and overhang segment conic (outside-cone mode)

Overhang Out No 5: 3 Segments: 2x Z-planar & Conic

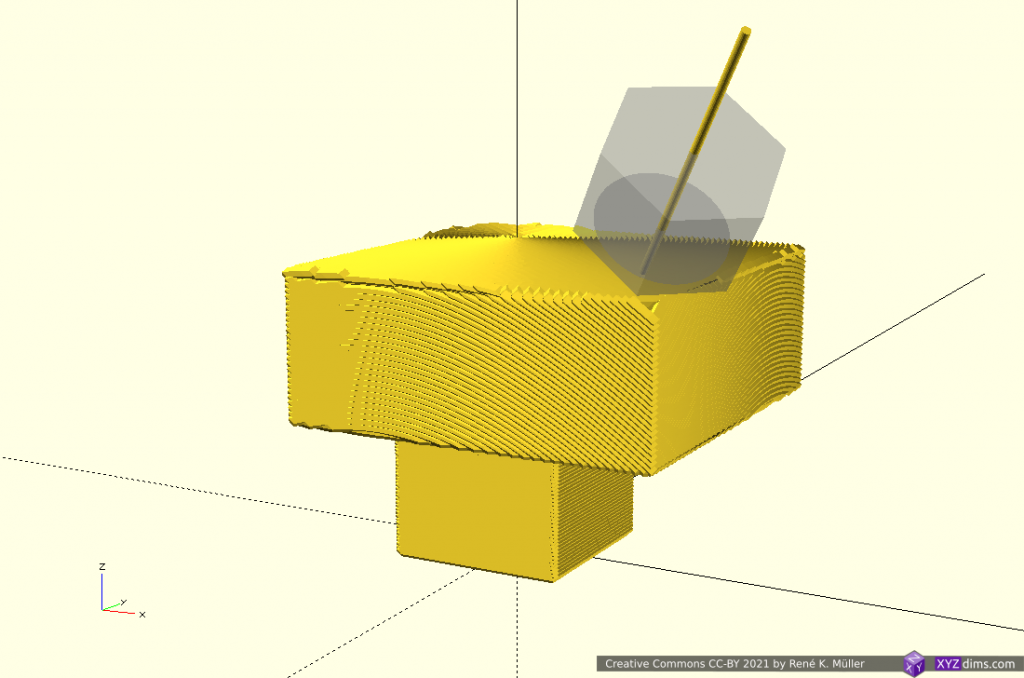
Perhaps a more realistic approach using the conic part as a “balcony” just for the overhang part sufficiently thick to carry next segment and switching back to Z-planar:

Overhang Out No 5 model segmented into 3 sub-volumes: z-planar first, then conic (outside-cone) building a thin “balcony” as support for the z-planar part on top again

Early tests have shown the thickness of the conic overhang “balcony” depends on the actual length of the in-air overhang, where print speed, part-cooling capacity and extrusion consistency determine the geometrical accuracy. More examples with “balcony” printed with 3-axis FDM printer followed.

Conclusion

Unlike with ordinary Z-planar slicing, it may be suitable to dedicate a particular slicing method and orientation for sub-volumes in order to take advantage of the possibilities like avoiding support structure, particular strength properties or surface quality.
This of course opens a wide-range of possibilities and complexity therefore:

  • where to segment
  • which slicing method to use
  • in which orientation the slicing is performed

but I think it’s worth it, in particular when a piece is printed more than once like with small series manufacturing / production.

The examples have been produced with various slicers and combined with a new application coordinating the segmenting and dedicated slicing methods, which currently (2021/04) is in development; it also involves a new file-format describing the segmenting and its slicing settings. The segment positioning was done manually as a start, but I expect with more experience and research some cases can be detected automatically.

Sub-volume segmenting is just one approach to take advantage of 5-axis FDM printing, another is continuous slicing along the form.

References

See Also

PS: All animations I combined in a short 3min video: Mixing Planar & Non-Planar Slicing Methods for 3D Printing Overhangs without Support Structure (YouTube)