
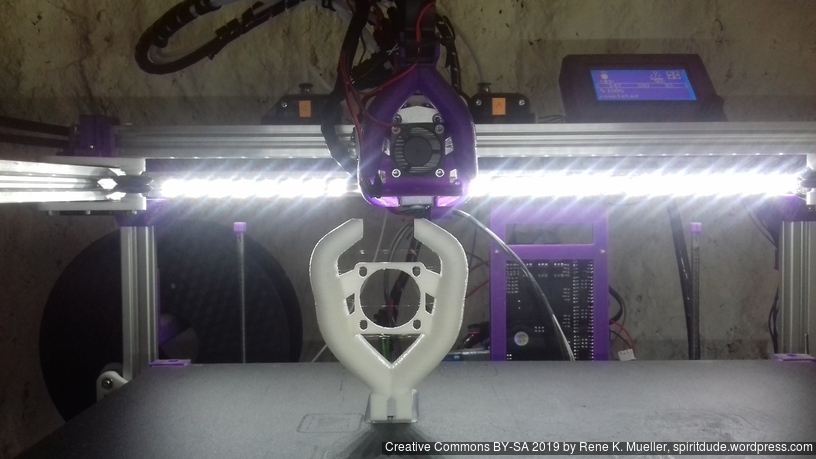
It never has been so easy to manifest an idea into the physical reality, as with 3d printing:
[wp-3dtvl model_file=”/wp-content/uploads/2019/11/625_Pitan_Body_v1.1.stl”][/wp-3dtvl]
The part belong to Pitan Remix for 625zz bearings
(Geared Extruder) alike Titan Extruder.
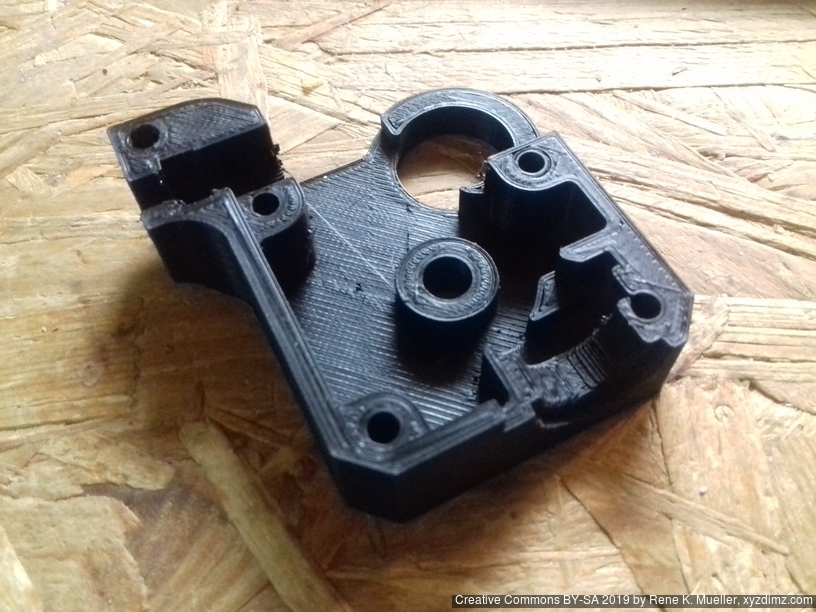
In 42 Mins the part was printed, with 200um layer height, total 76 layers. This kind is also known as “Additive Manufacturing” – nothing is cut away, but only added.
Slicing
There are several ways to 3D print a part, I focus on the Fused Deposition Modeling (FDM) method, where layers of extruded plastic are laid on each other. In order to do so a model needs to be:
- sliced into slices also known as layers
- each slice or layer (a set of polygons) needs to be converted into machine code aka Gcode: where and how much plastic is extruded per layer:
- perimeter or wall
- infill with a pattern, usually also defined in percentage, e.g. 20% “infill” or “fill-density”
The same piece as featured above, sliced with Ultimaker Cura:
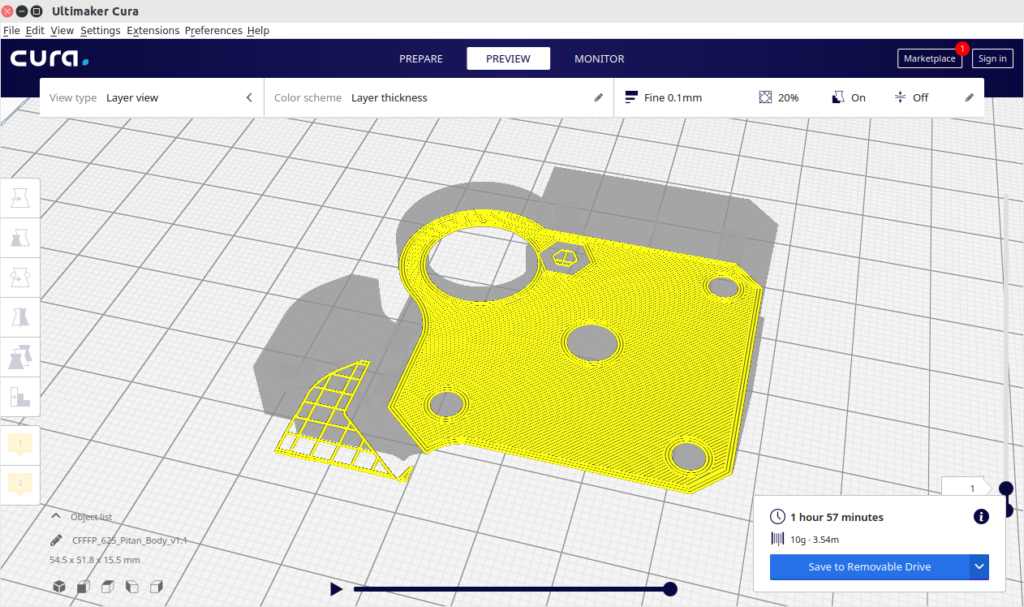
1st layer 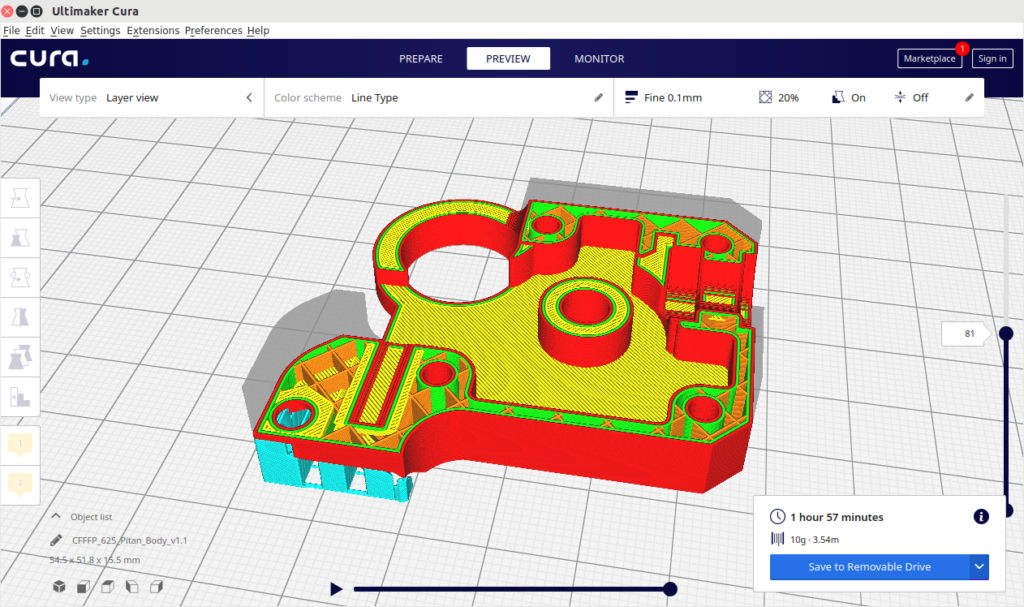
layer 81 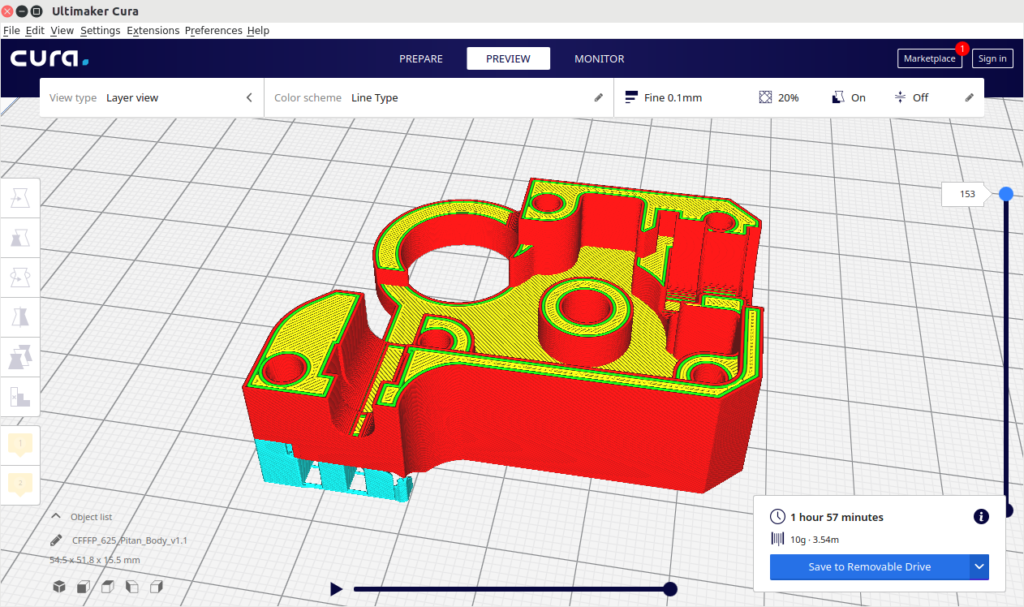
complete sliced part
hence, the program which performs this task is called a “slicer”.
Printing
As next that produced Gcode needs to be sent to a 3D printer, via SDcard (inserted into the 3D printer), via USB or via network (like WiFi):
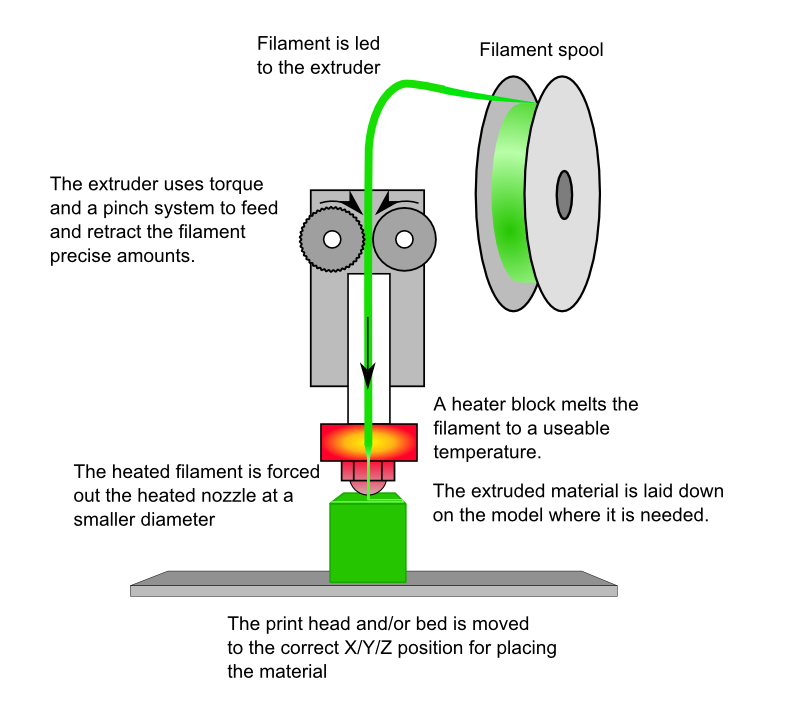
- hotend has to heat up (controlled via Gcode itself)
- filament has to be present
- machine Gcode has be processed by the 3D printer
- 1st layer is being extruded or printed out, the layer determines the success or failure of the print right away, this one has be successful, it literally lays the foundation of the print
- each next layer (e.g. Z axis) are layed on top of the previous – overhangs are supported by “support” or “support structures”
A 3D print with FDM (layered extruded plastic) can take a few minutes, hours or even days depending on the volume to be printed material.
Continue with 3D Printing Software or read about 3D Printer History.
That’s it.