Monthly Archives: January 2024

3D Design: Slices on Canvas (Parametric Canvas)

Updates:

  • 2024/01/26: published
  • 2024/01/20: adding more examples and mounting tool/ruler
  • 2024/01/15: starting write-up

Introduction

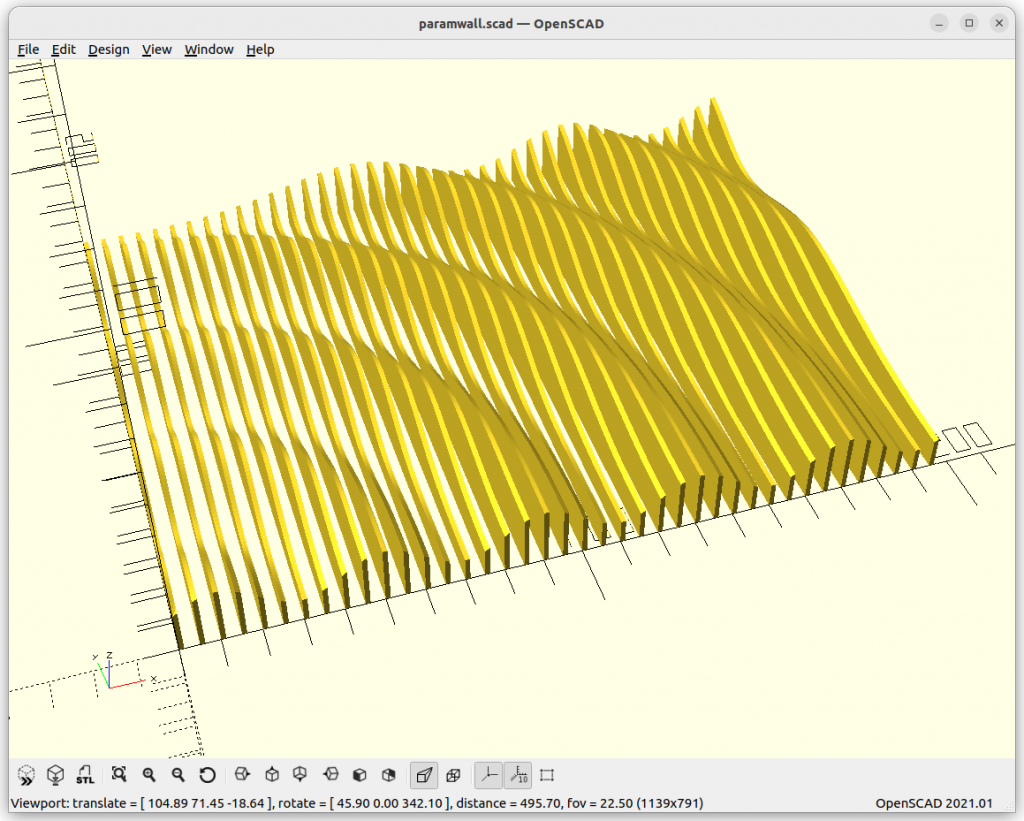
Since a while I was wondering how to create large(r) scale 3D prints like 1m / 1000mm or more, and I thought to use wood planks as slices and make “parametric wall” like sculptures. In order to get an idea of the procedure, I started with “parametric canvas” or Slices on Canvas.
Models

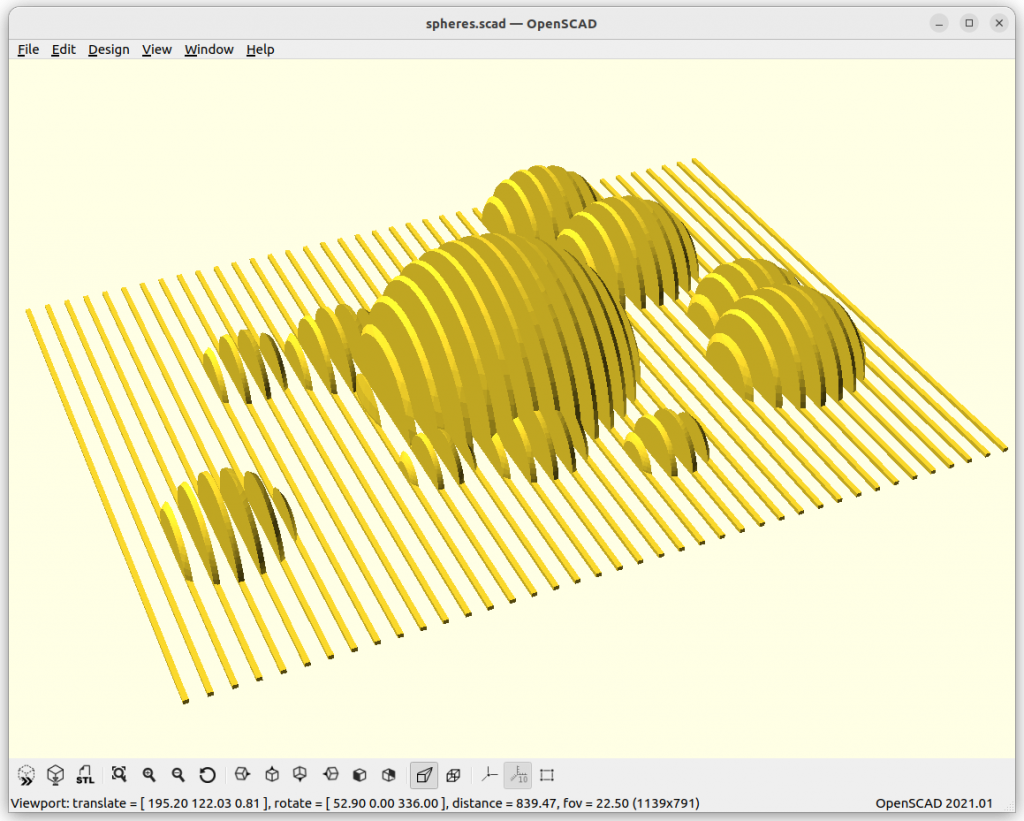
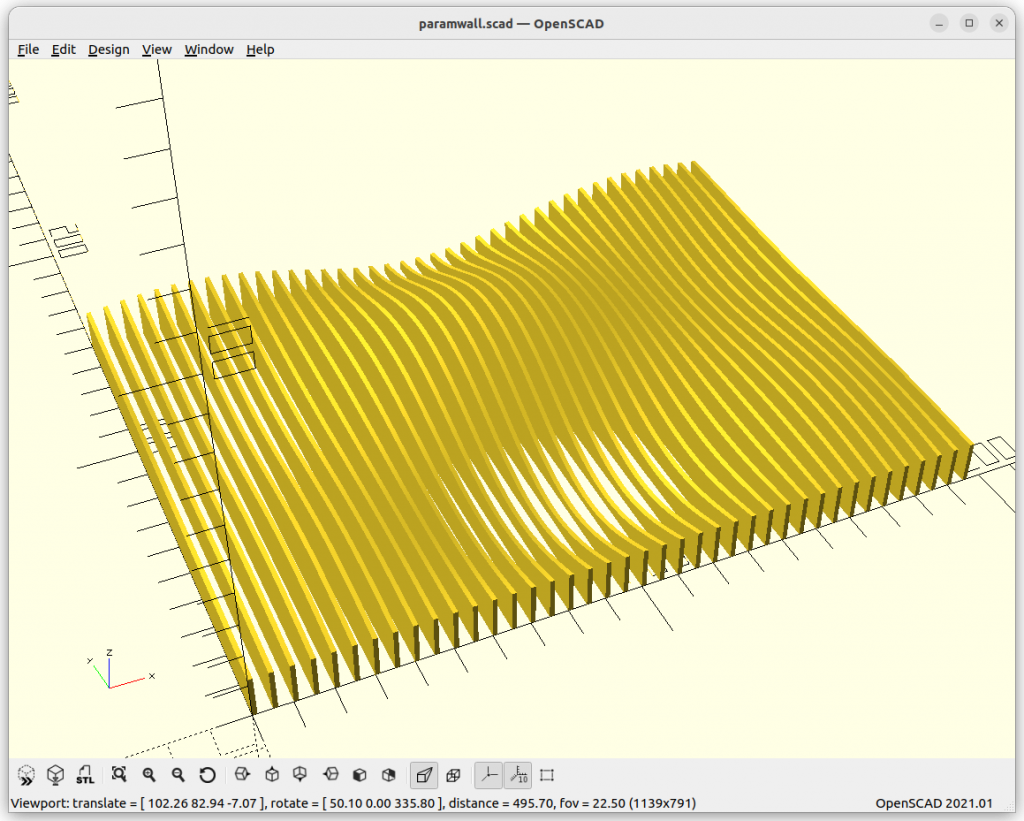
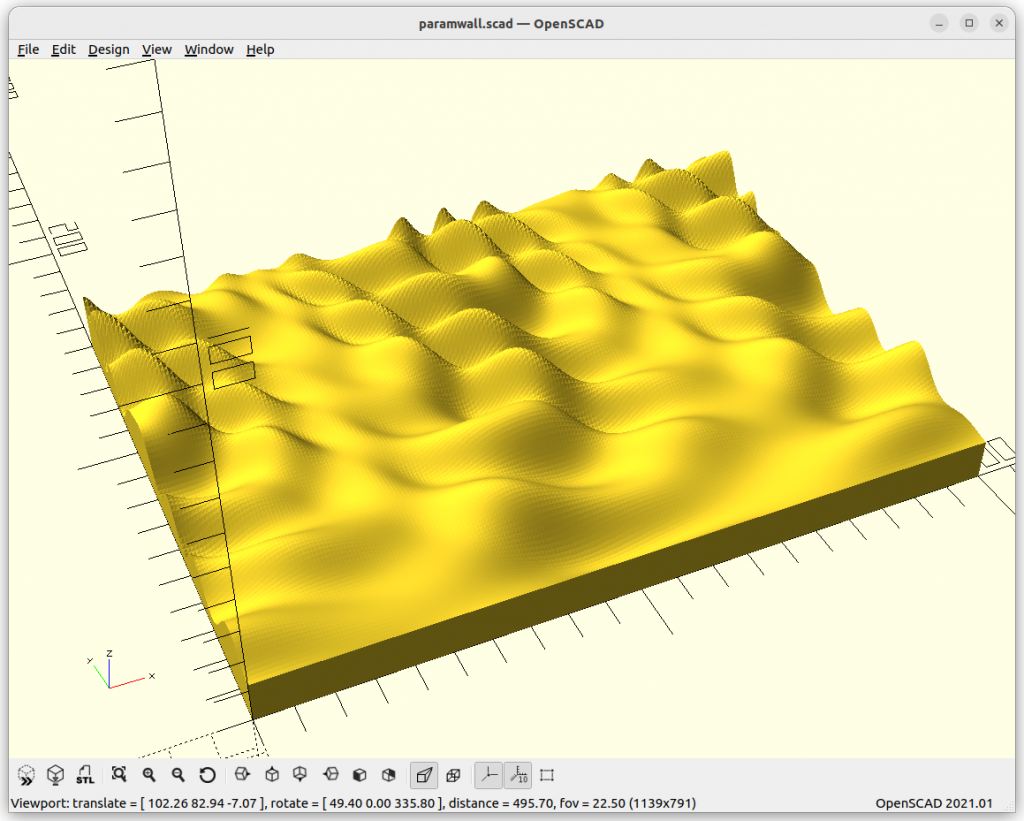
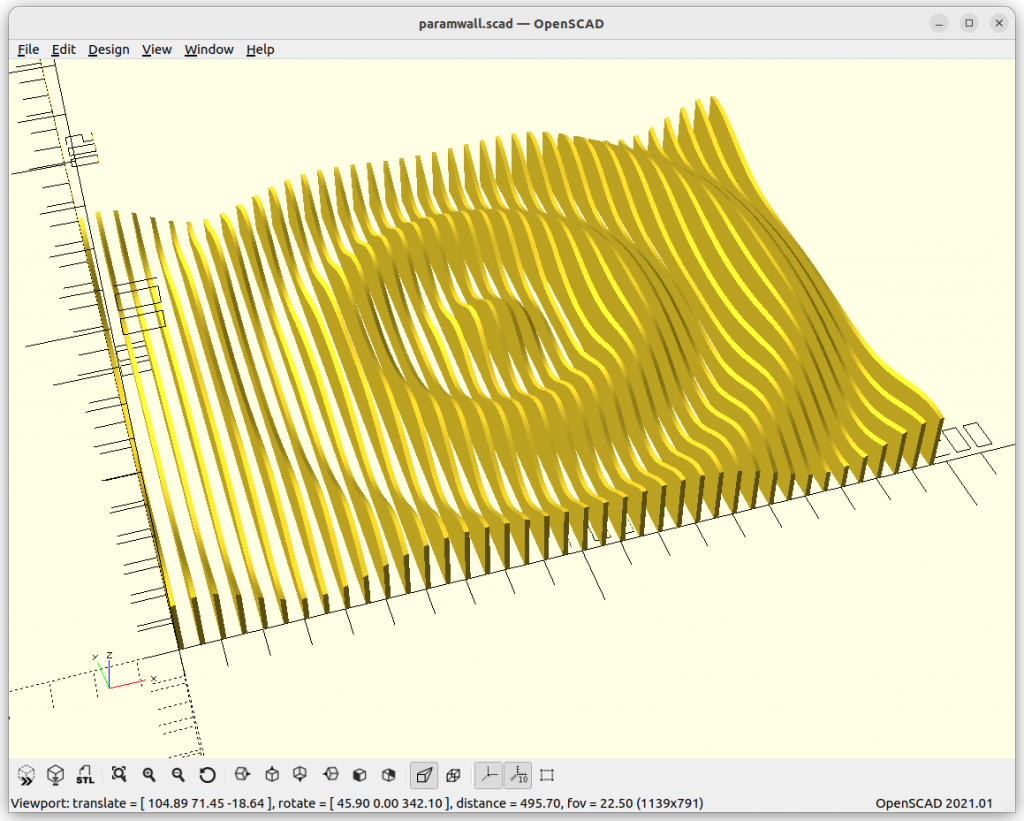
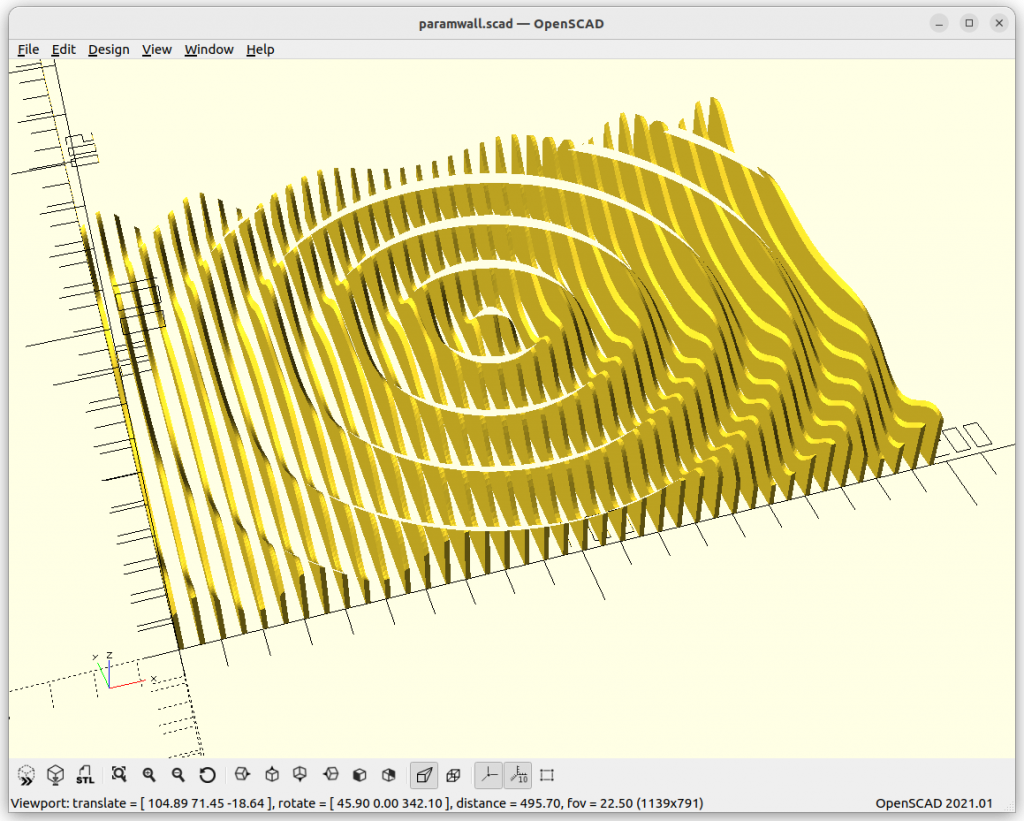
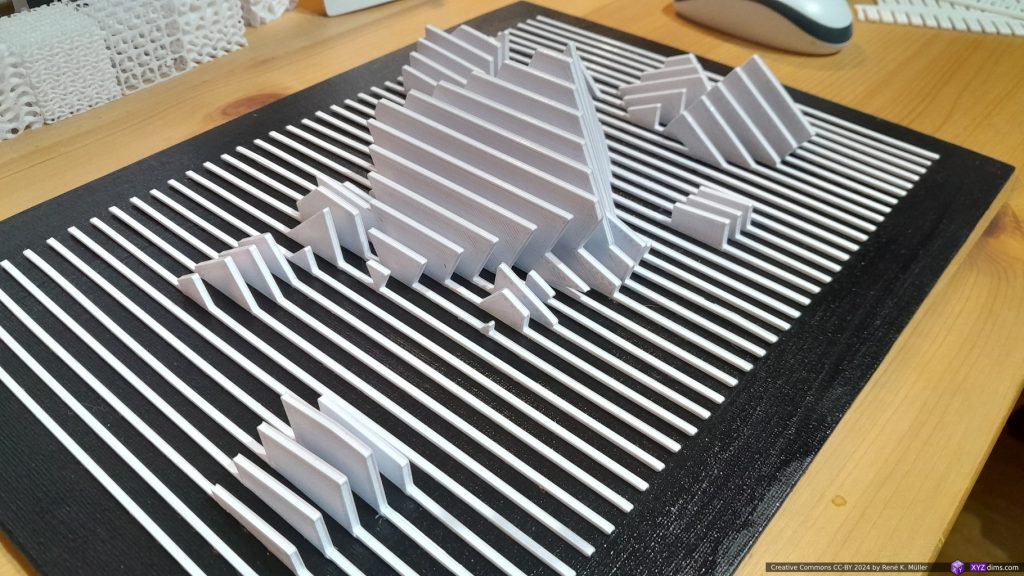
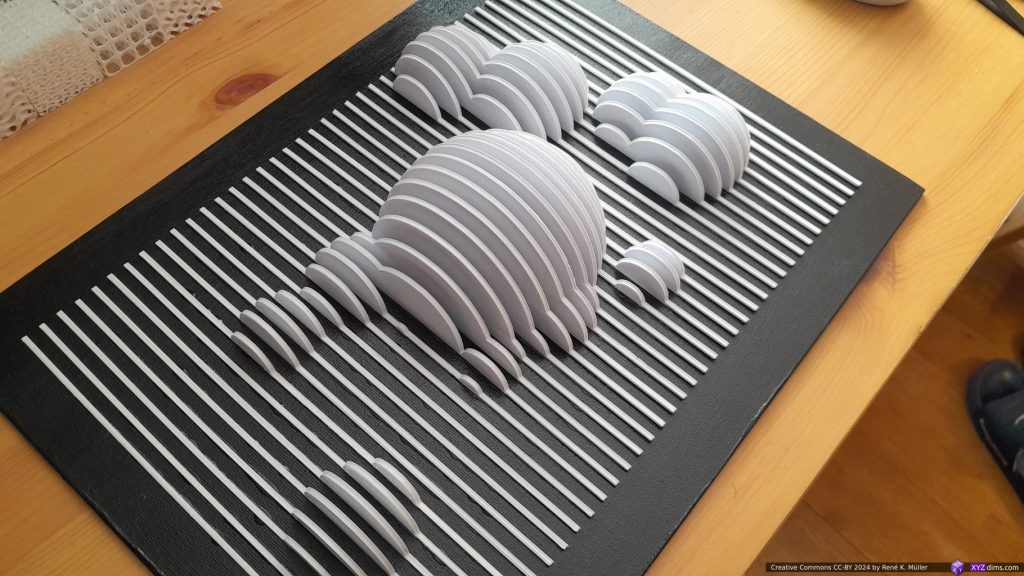
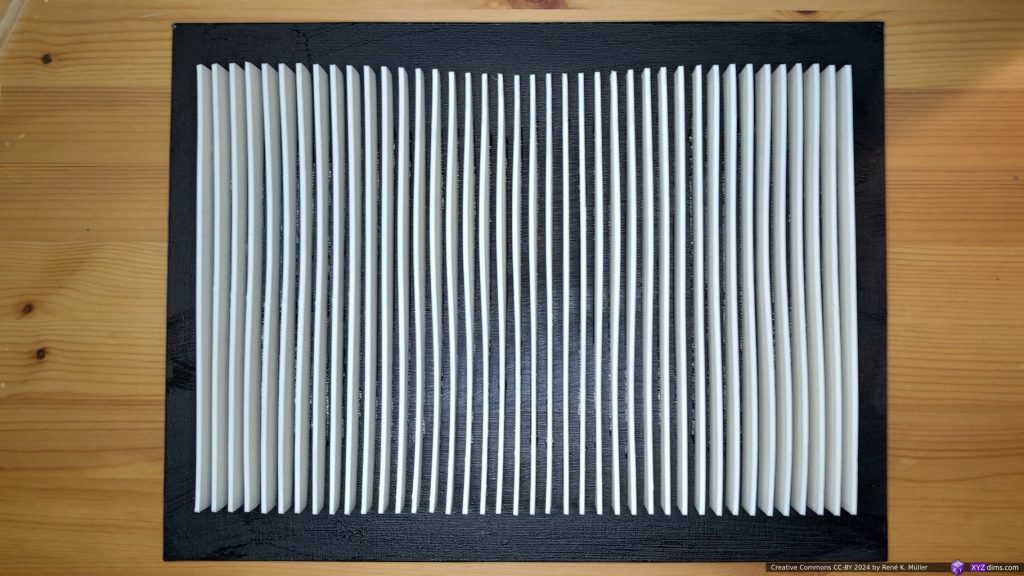
I used OpenSCAD to put together a few examples with 200×150 in size, and settled for 40 slices, which are then scaled up for 400x300mm canvas, the actual size is 340x240mm giving on each side 30mm margin to the edge of the canvas.
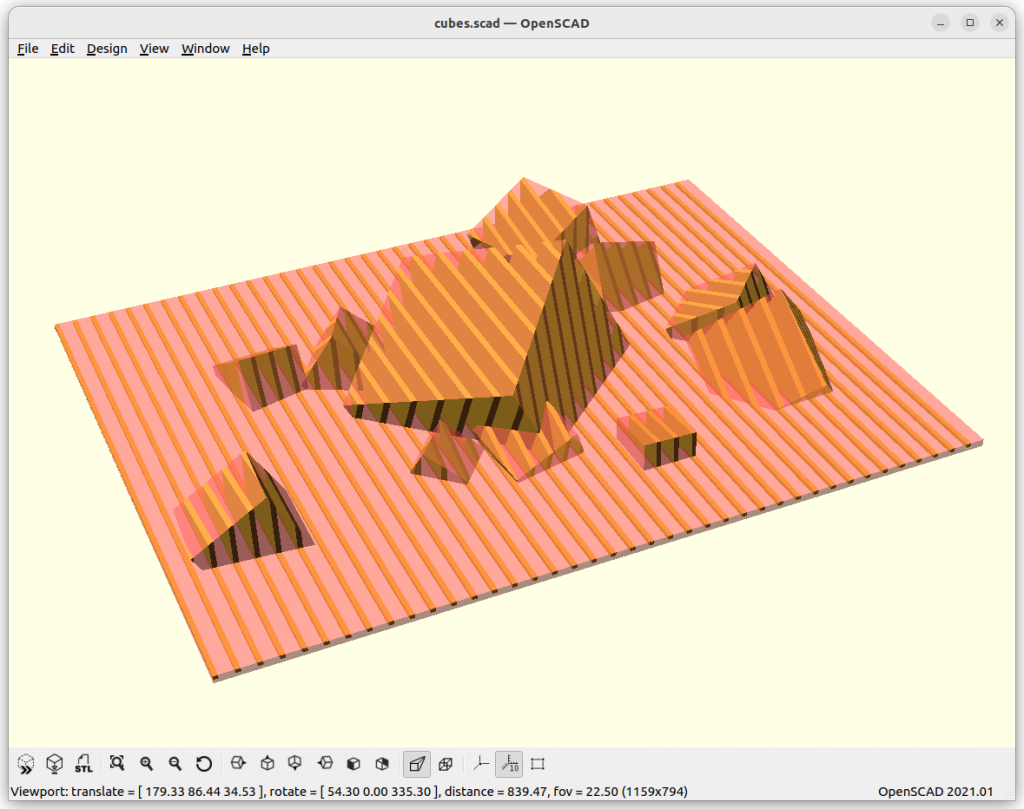
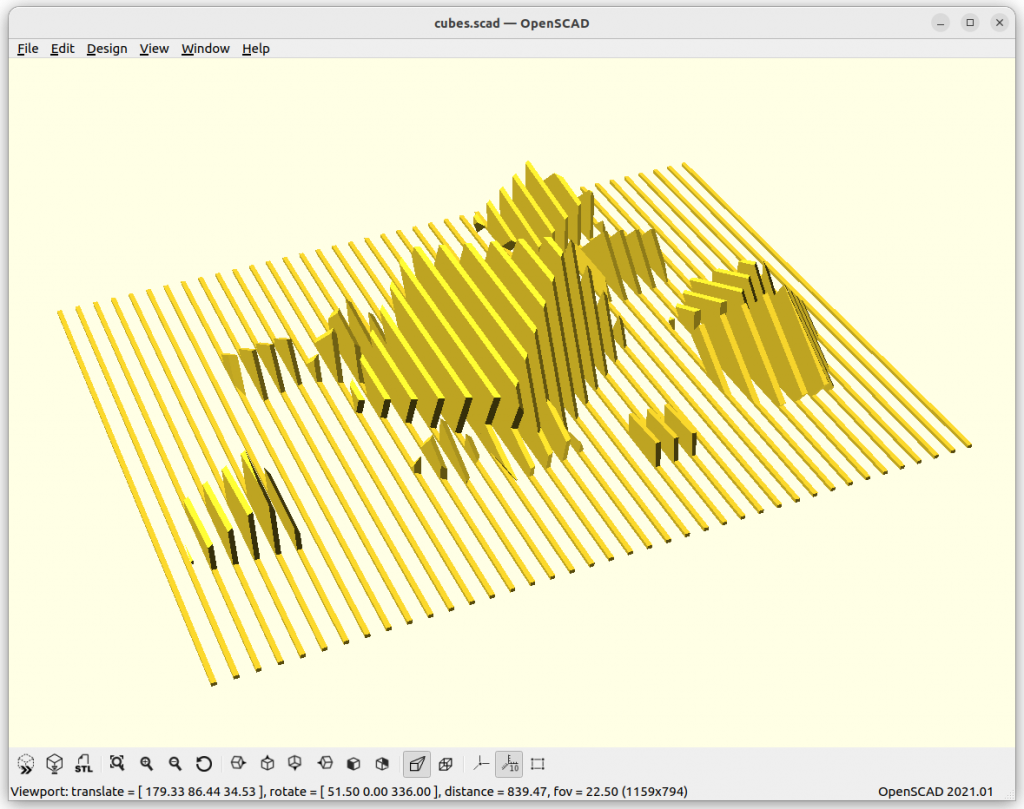
3D Printing Slices

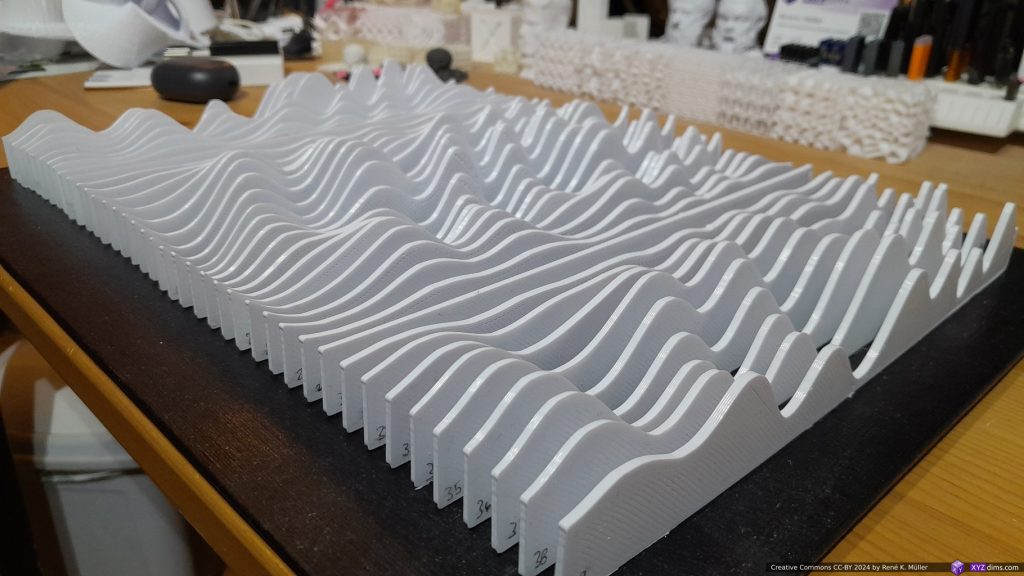
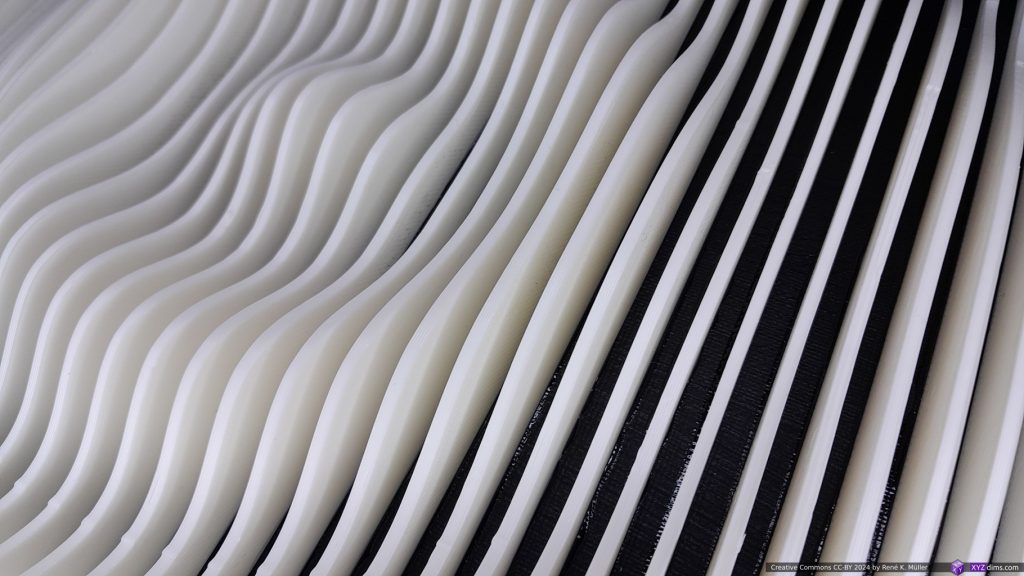
In order to test the concept, I used 3D printed slices printed with cold-white PLA+ in order to get a strong contrasts to the black canvas:
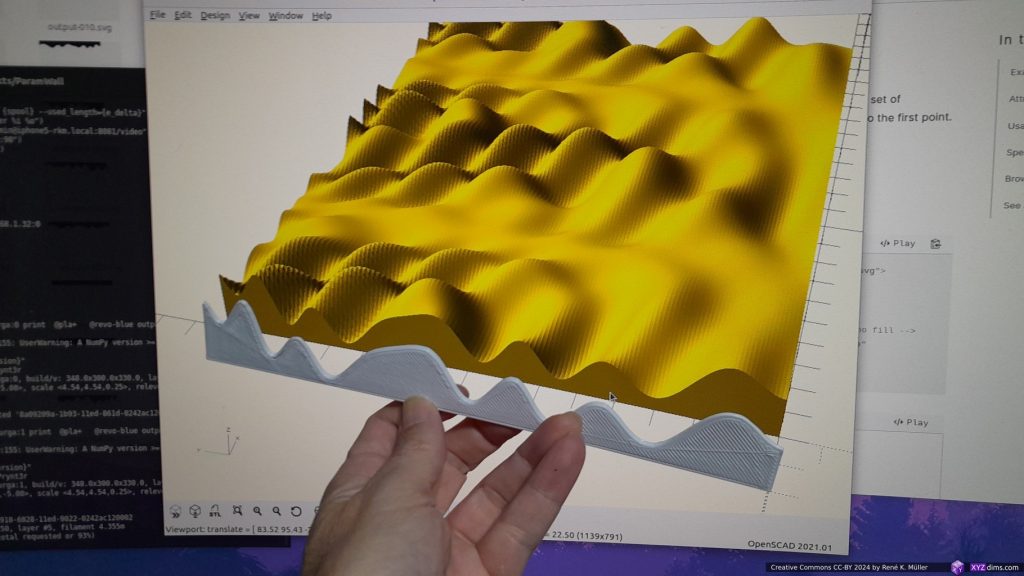
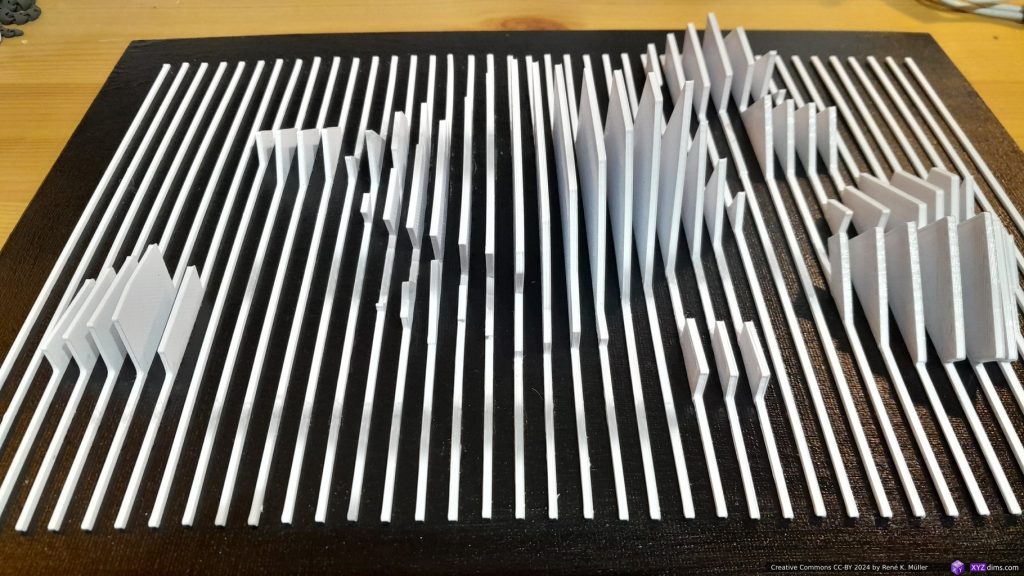
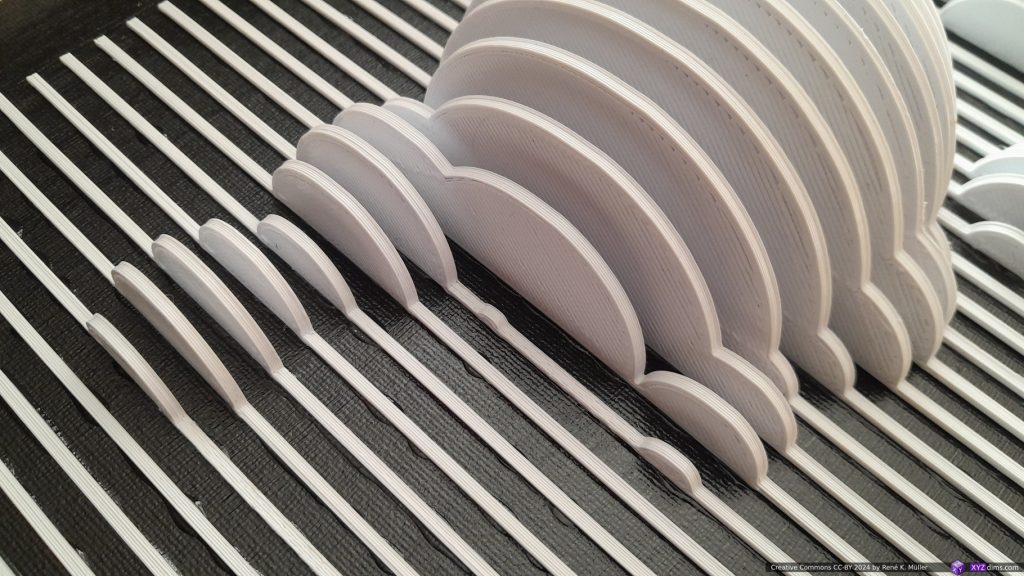
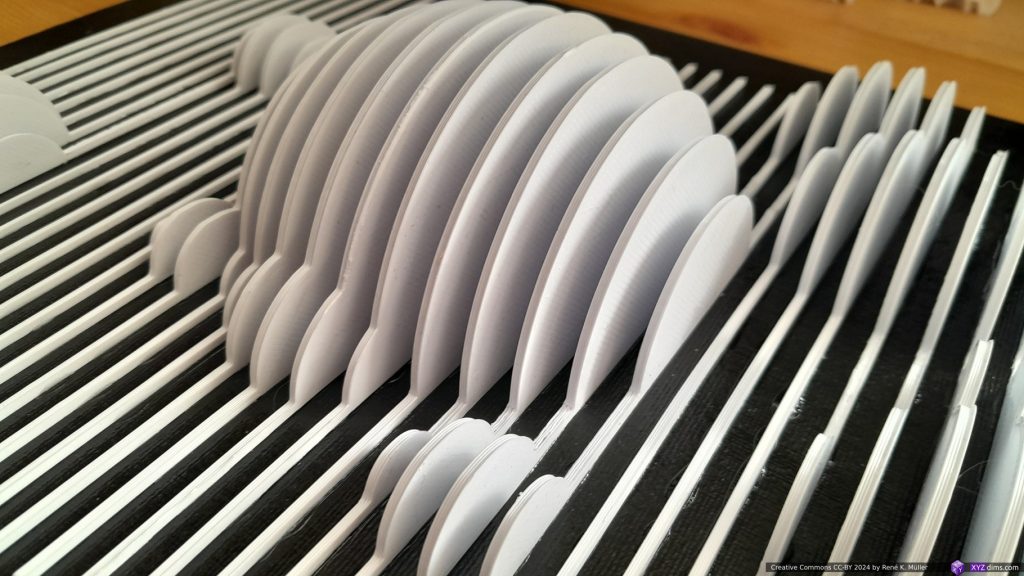
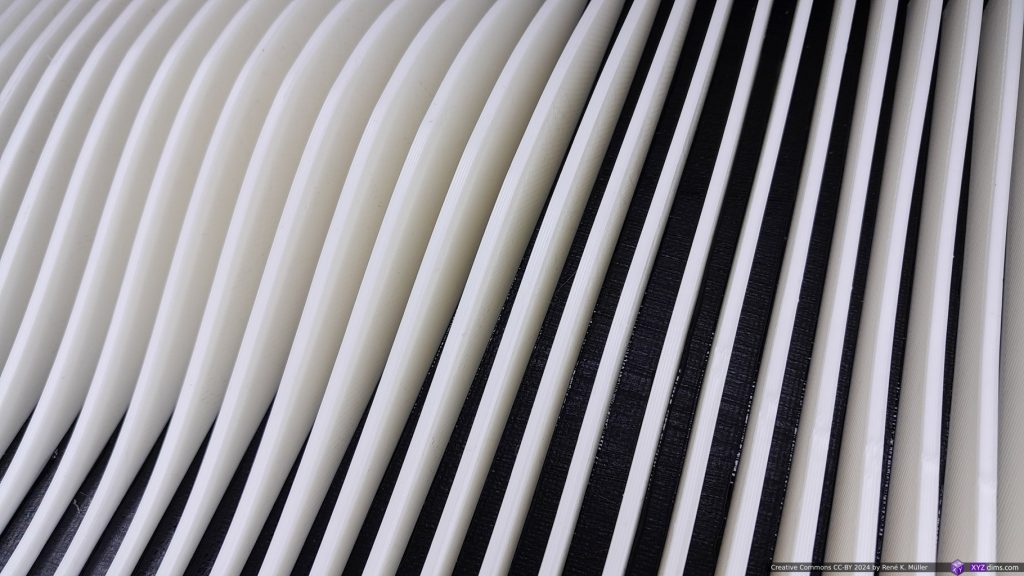
Each slice is 240mm wide, and 2.5mm thick and various height depending on the model.

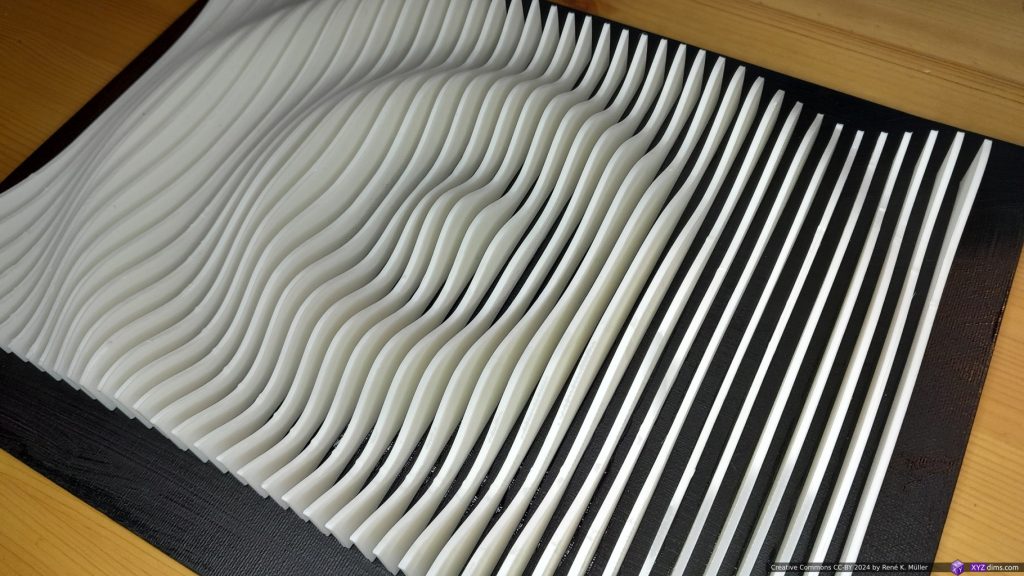
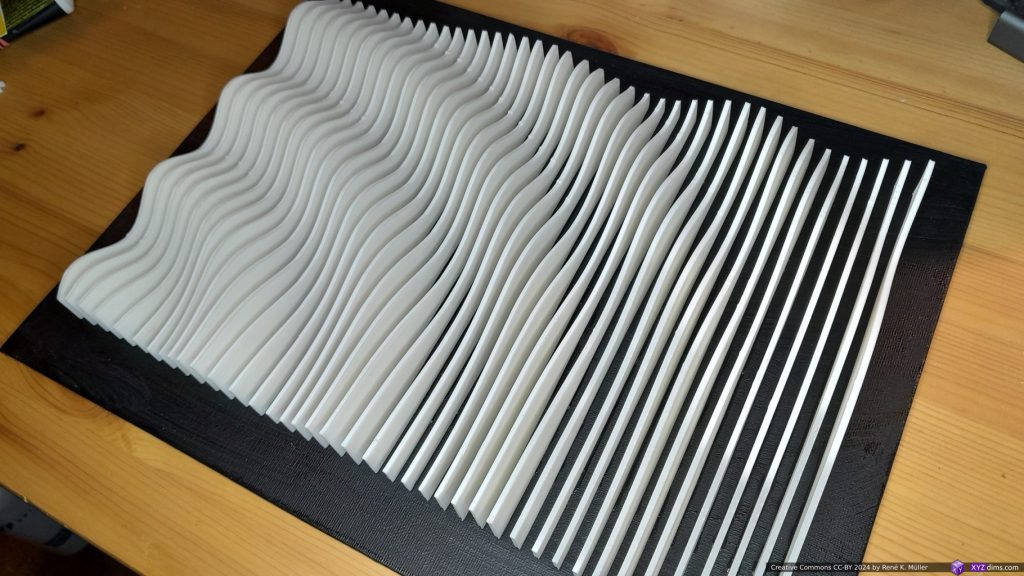
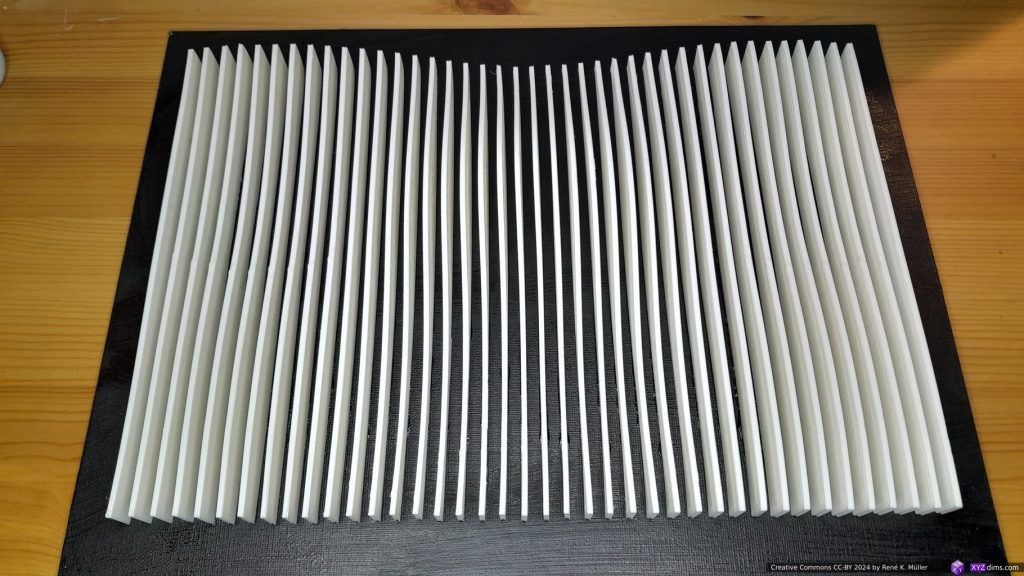
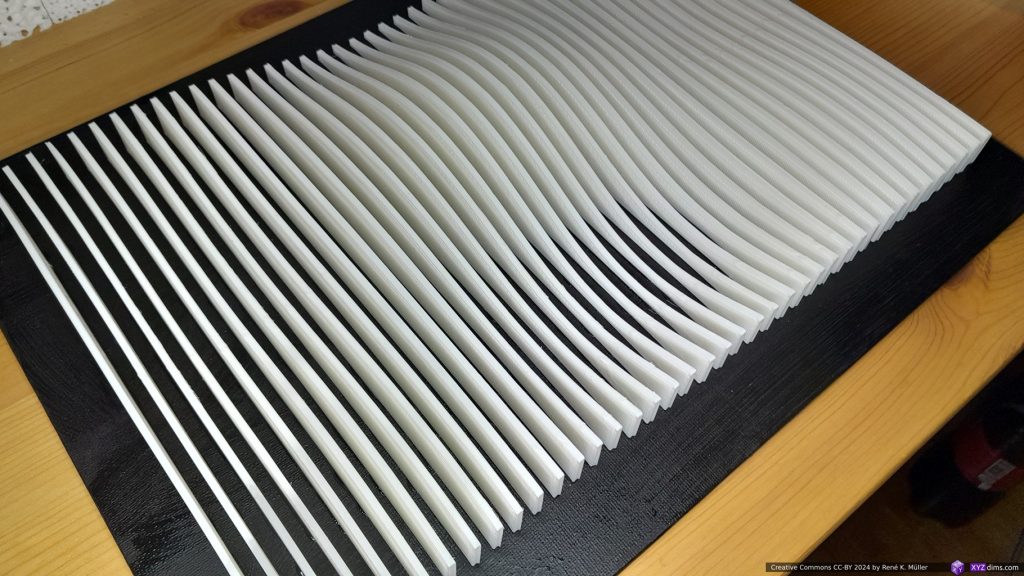
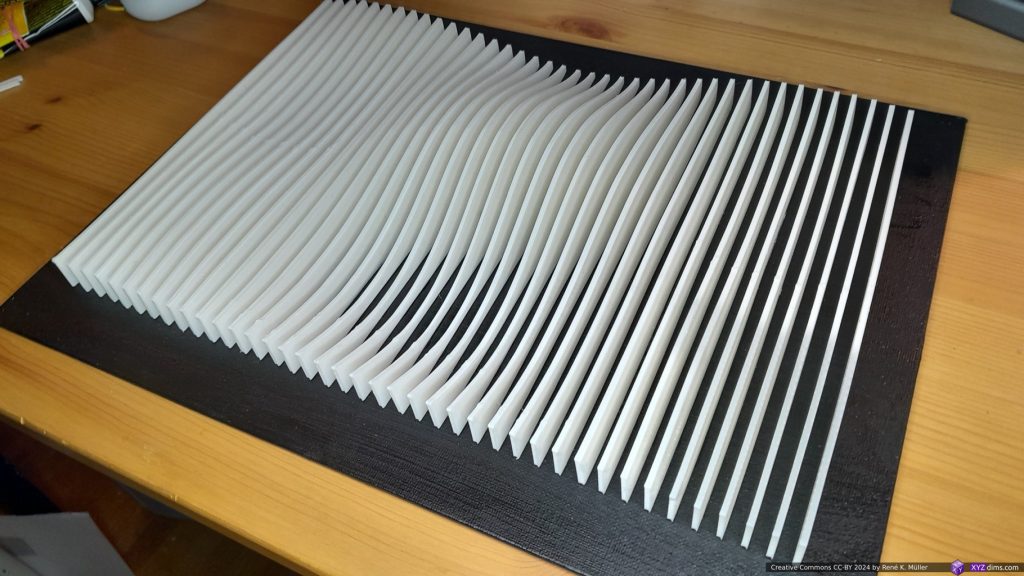
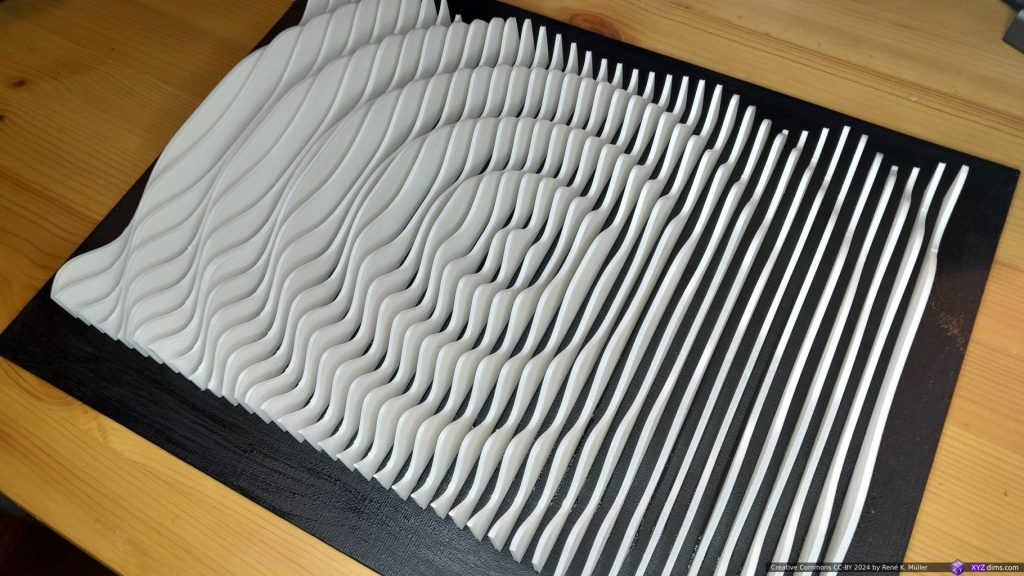
After printing 40 slices finished, I mounted them on the canvas:
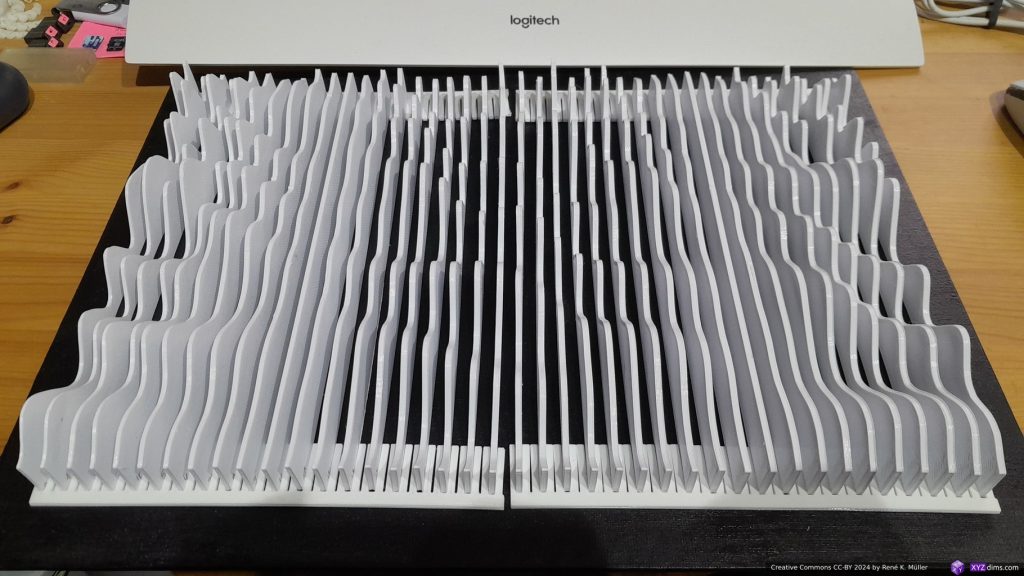
As shown on the photo, I used a mounting tool / rulers, also 3D printed, which helped me to keep the slices well aligned and spaced to each other – then glued each slice on the canvas.

40 slices with 240mm width and 2.5mm thickness takes about 20hrs to print (4 slices ~ 2hrs print time) and ~520g of filament like for the Sinus themed sculptures.
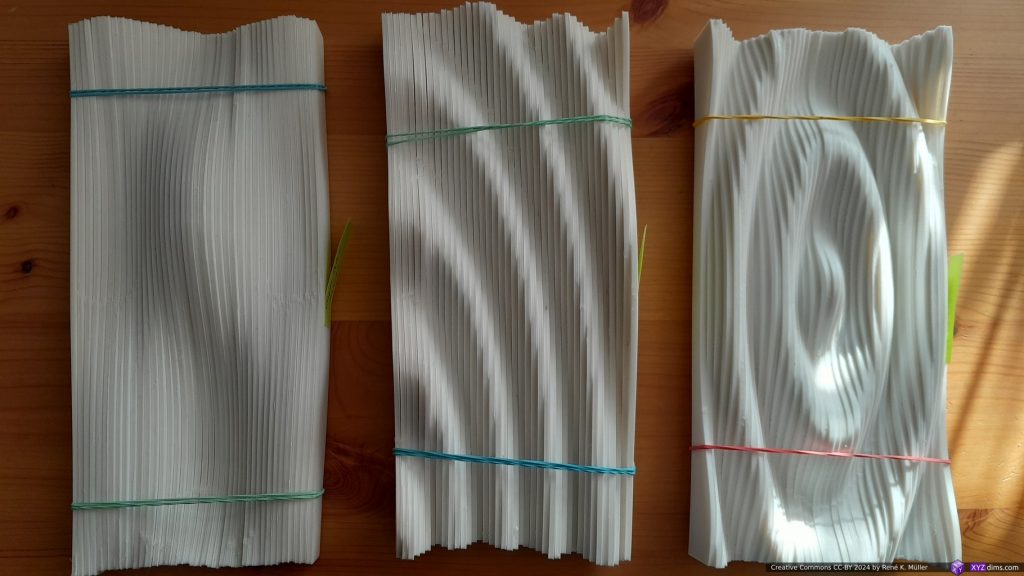
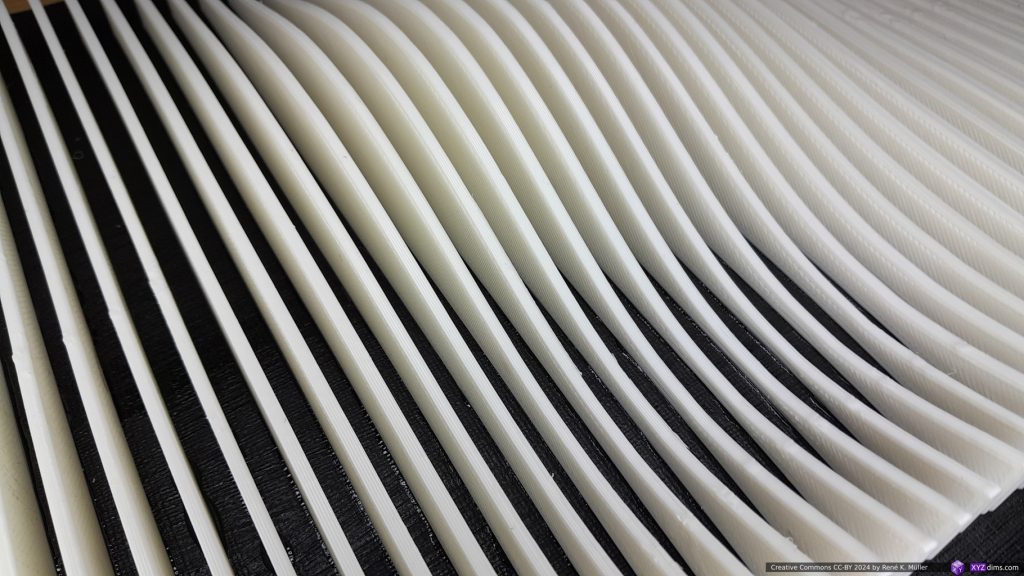
Raw slice bundles: Smooth Sinus Meadow, Quarter Drop, Drop each bundle apprx. 520g PLA+

With 2.5mm thickness x 40 and 340mm canvas width, it’s about ~25% or 1/4 of actual volume of the model, and the rest is empty space in between.

Sinus Mountain Range
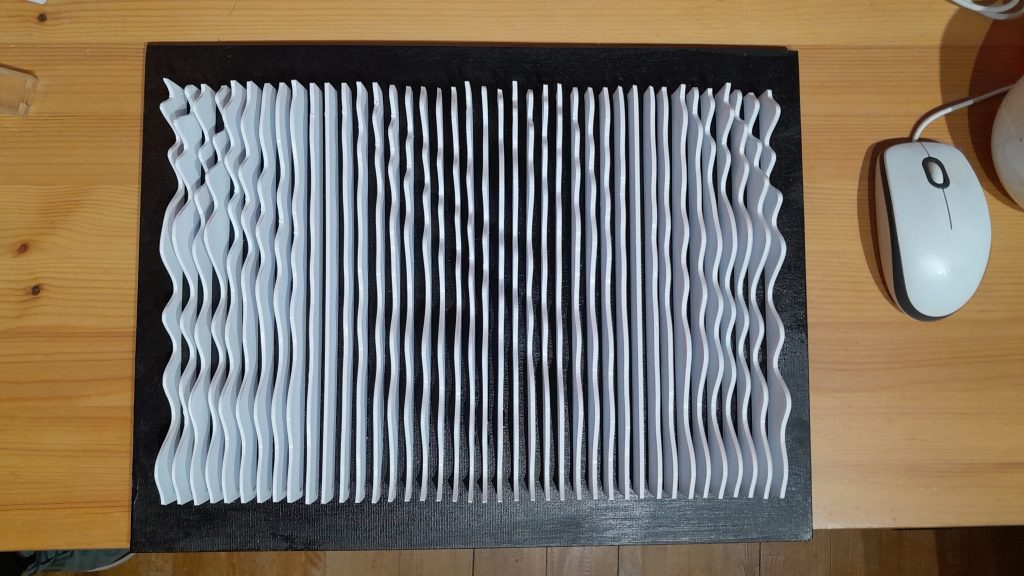
Cubes
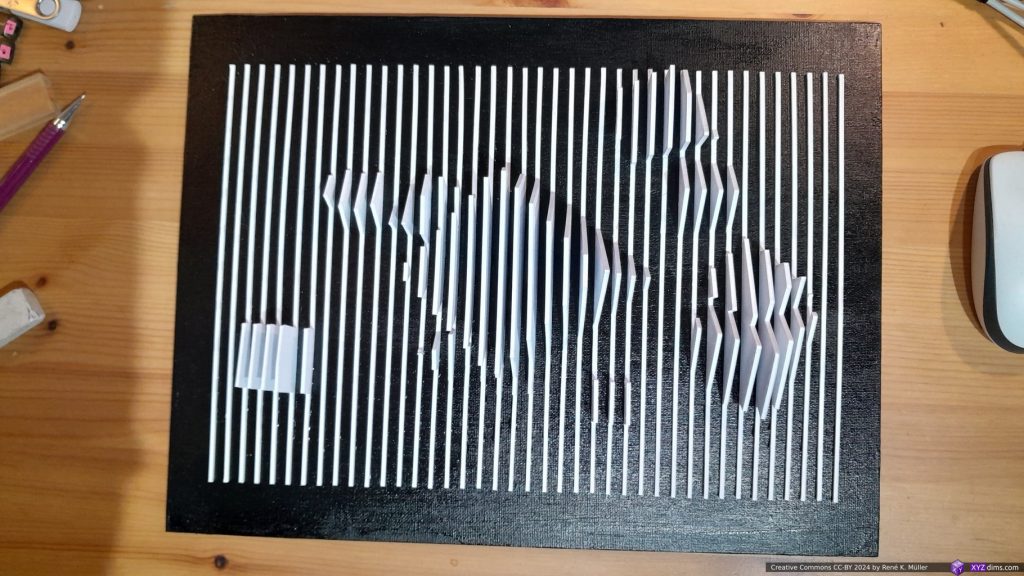
Spheres
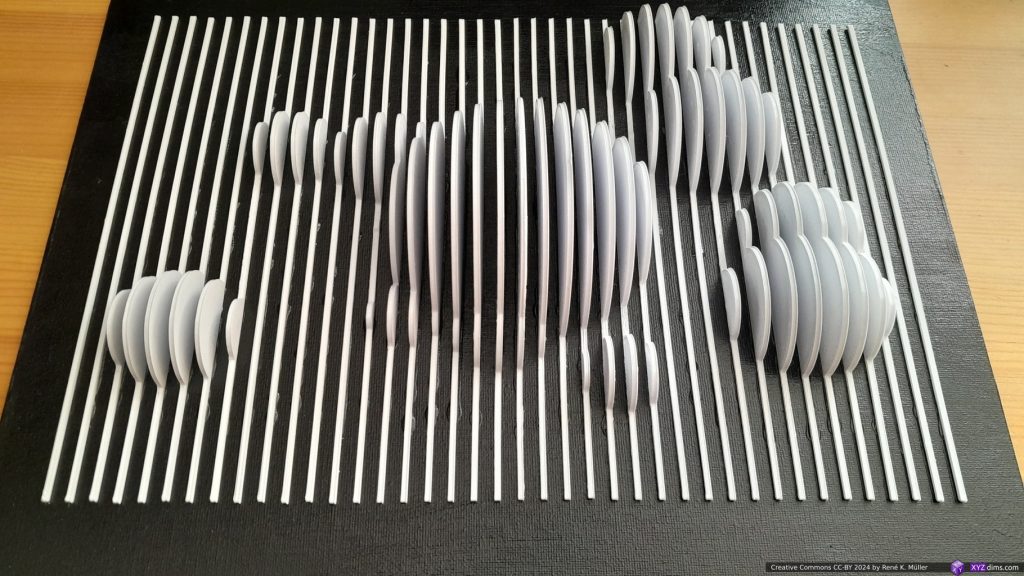
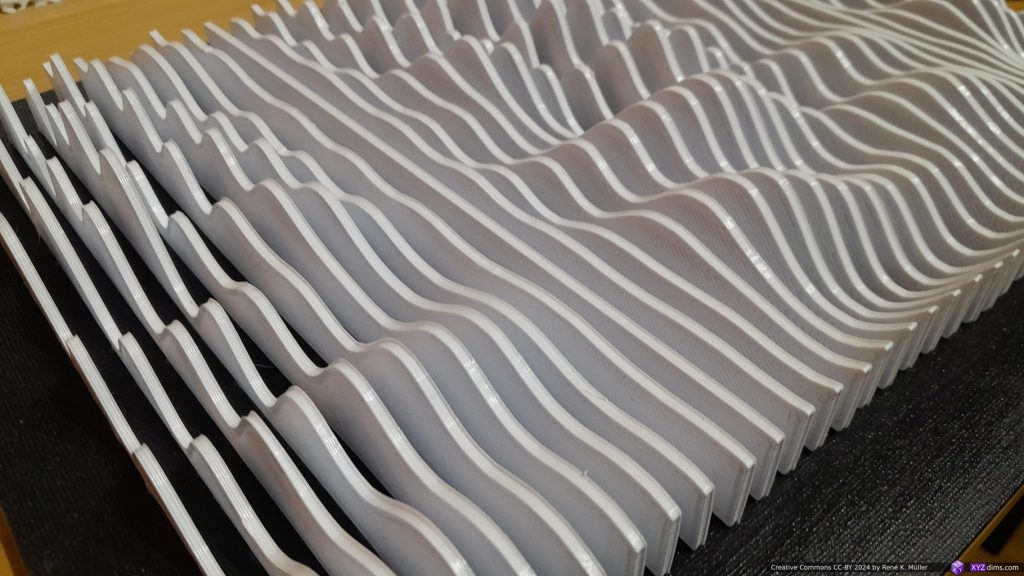
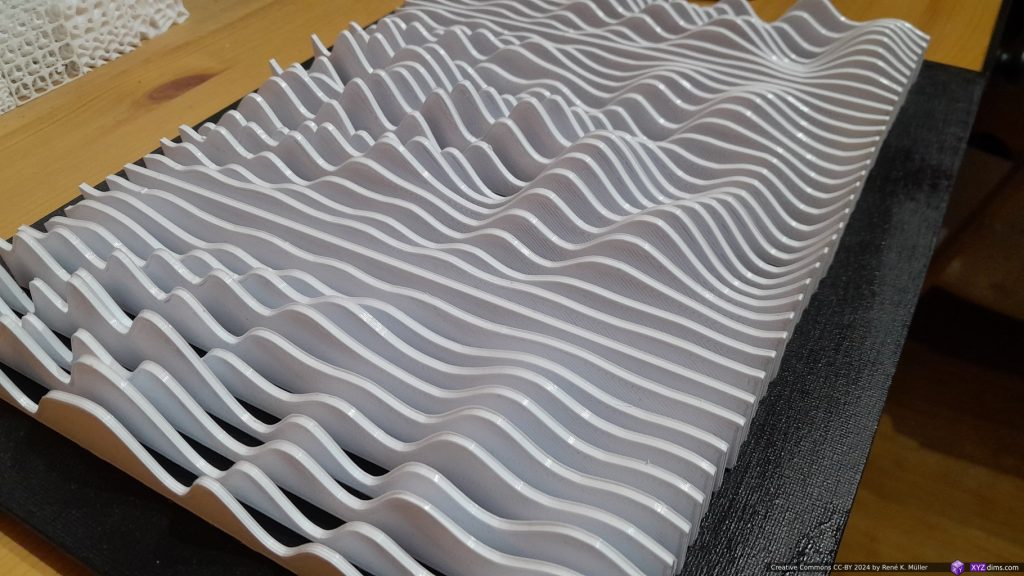
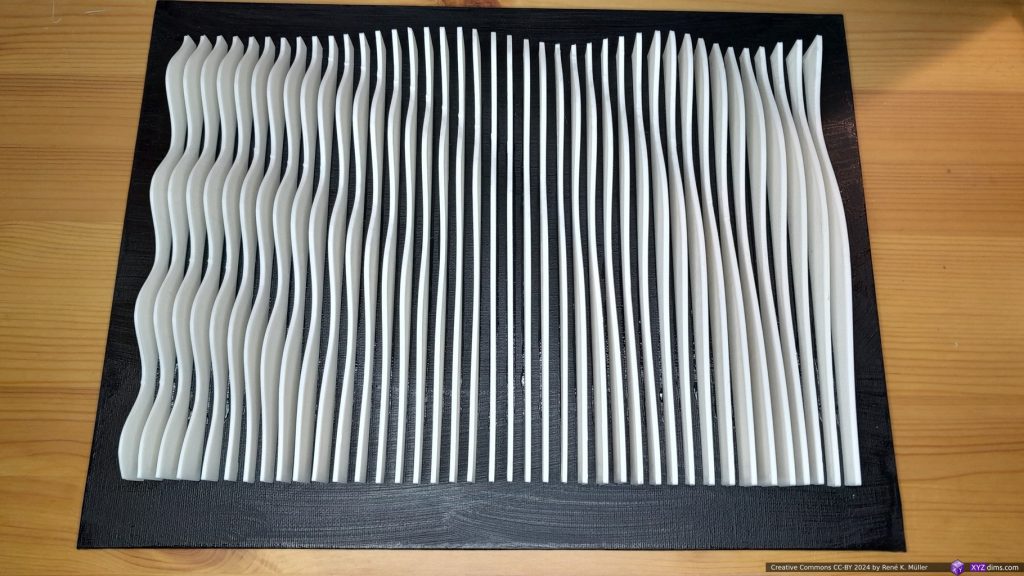
Smooth Sinus Meadow
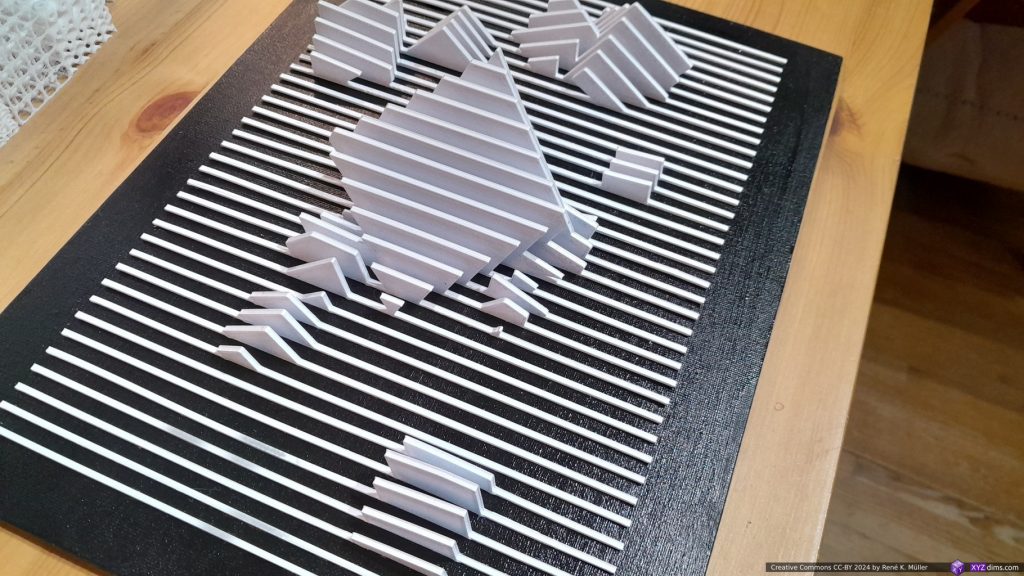
Various Examples
Conclusion

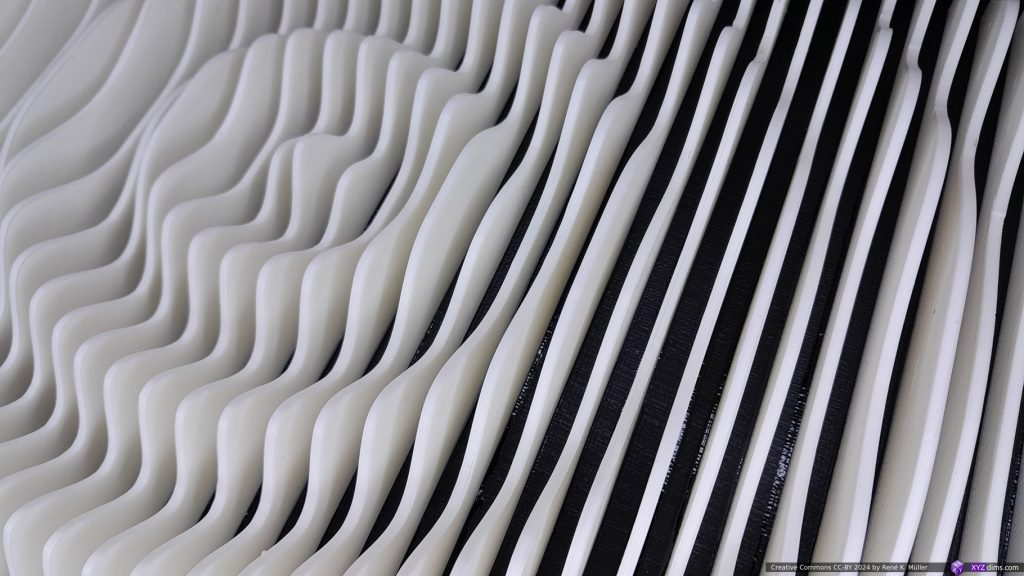
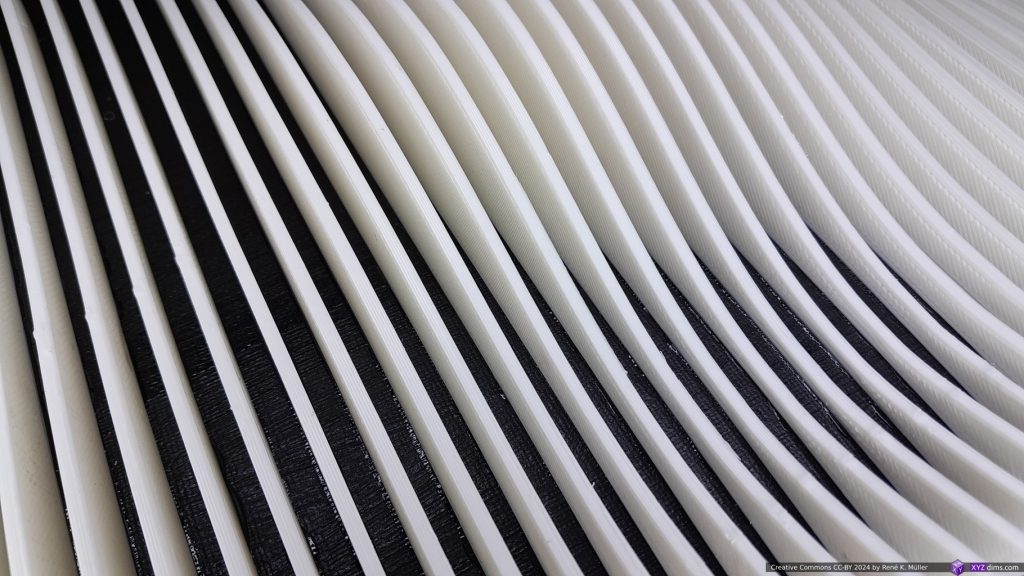
It’s relatively easy to create a Slices on Canvas (parametric canvas) but it takes its time to print and assemble – due the thin slices the sculpture changes its appearance drastically depending on viewing angle, and so is an eye catcher.

It certainly is a viable approach for larger scale sculptures, the saving in material is compensated with additional manual work like aligning and fastening the slices.

References

  • LabSlicer: used to slice the model into SVG slices (PrusaSlicer also supports this functionality)
  • Prynt3r: for printing the individual SVG slices directly

3D Design: 3D Lissajous

Updates:

  • 2024/01/22: published without much reflection & conclusion as research is ongoing
  • 2023/12/02: adding more examples and refining details
  • 2023/10/22: start writeup

Introduction

While studying continuous fiber 3D printing and its main nature is to find ways to lay fiber without interruption. In order to refresh my memory I revisited the Lissajous forms, which until recently only knew in their 2D form, the swirling strings or lines – and now extending it into 3D as well.

The main idea is to realize how a line, string or fiber can be used to fill non-planar and circumvent a 3D structure and how angular shifting in Lissajous context affects such form.

3D Lissajous

  • angle: 0 .. 2pi or 0 .. 360°
  • p, n, m: 0 .. 1000, the amount of loops
  • phi0, phi1, phi2: the angular offsets 0 … 2pi or 0 .. 360°
  • X = sin(angle*p+phi0)*r
  • Y = sin(angle*n+phi1)*r
  • Z = sin(angle*m+phi2)*r

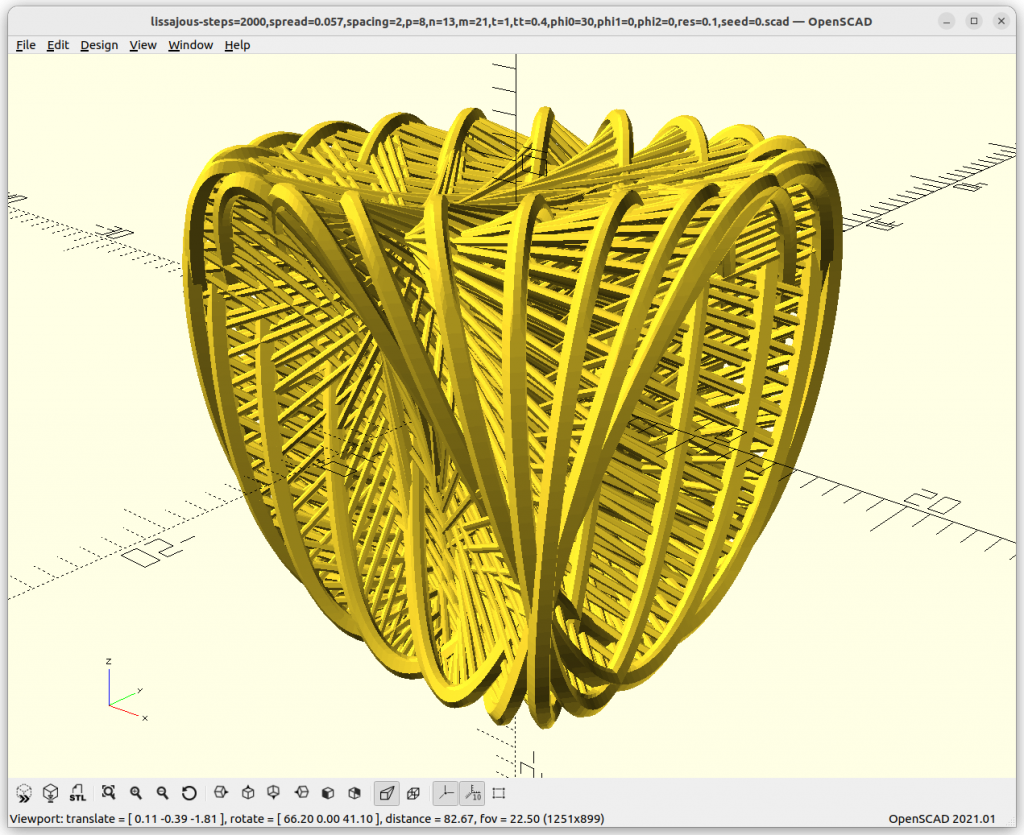
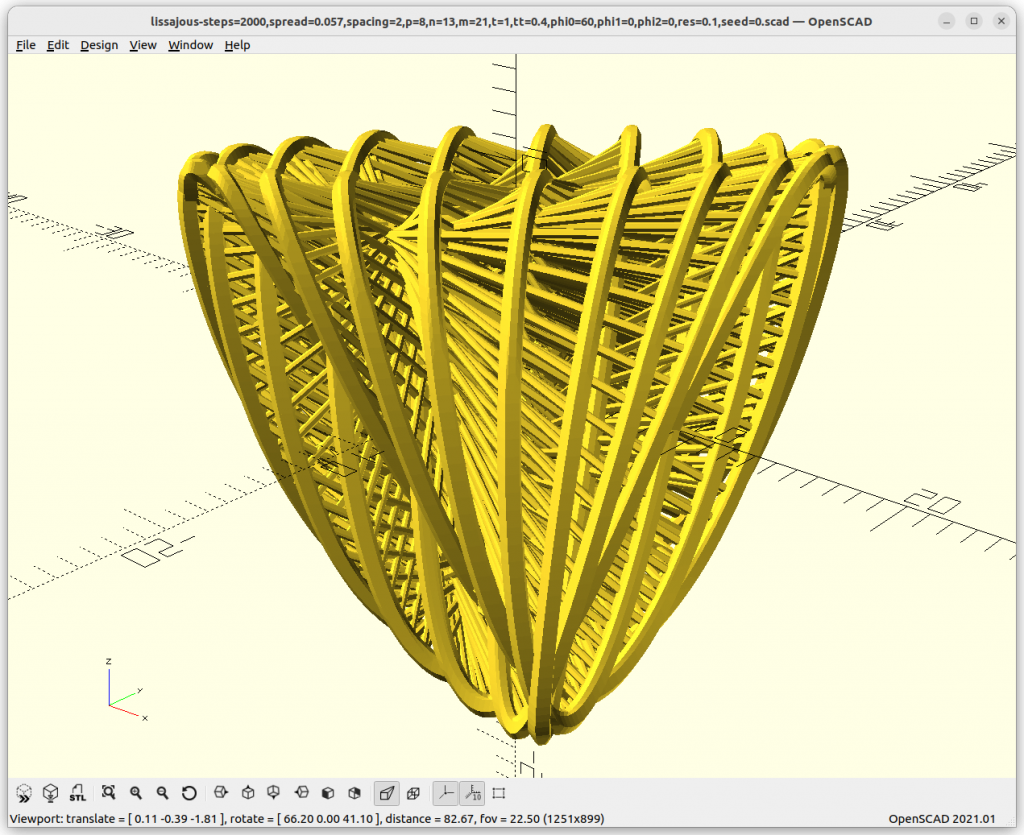
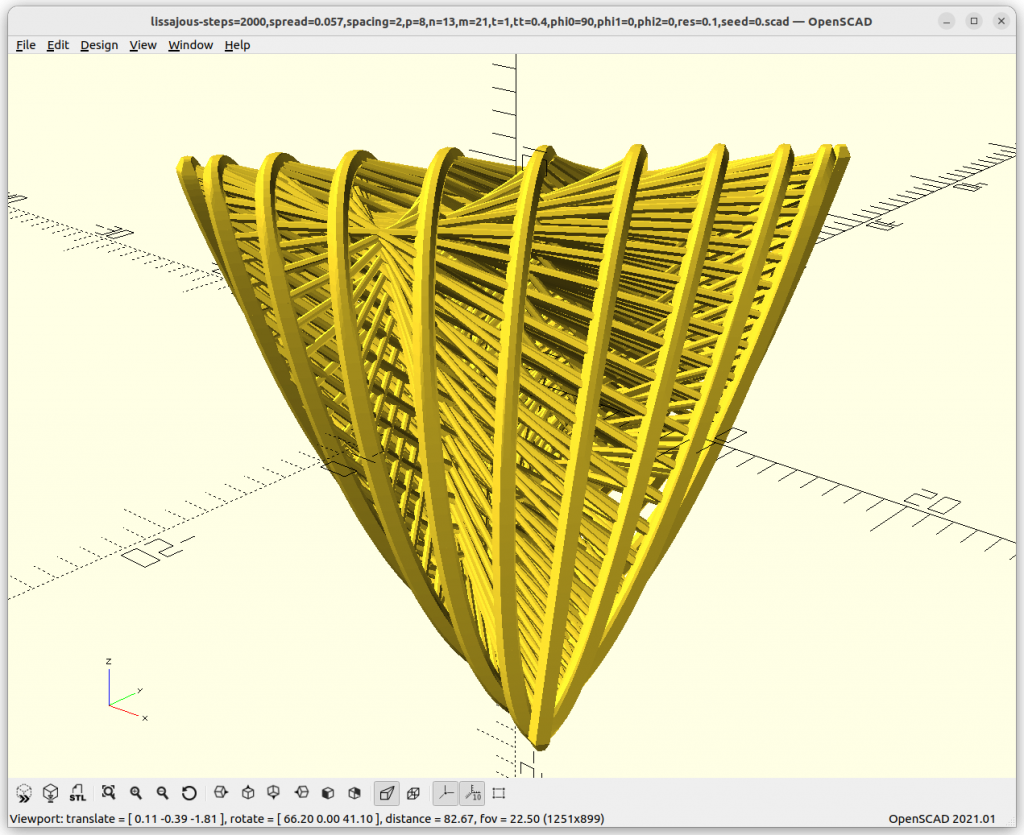
I did a lot of experimenting – I could post hundreds of forms – but let me focus on one a bit closer, which got my attention:

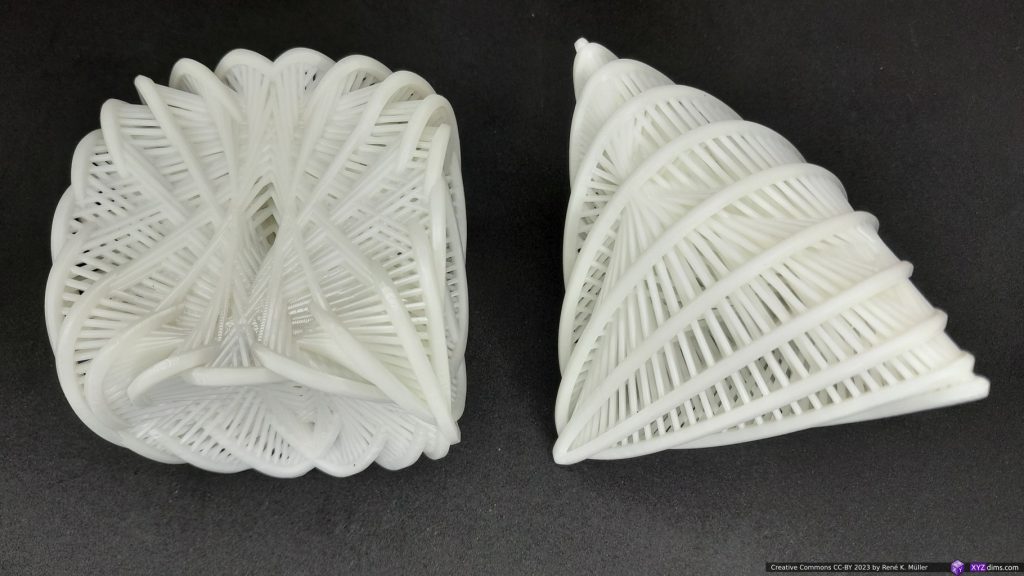
It is a very interesting transition, 8/13/21 with phi0=0° gives almost a cube-like structure, and shifting the X loop to 90° we get a tetrahedron:

Spherical Lissajous

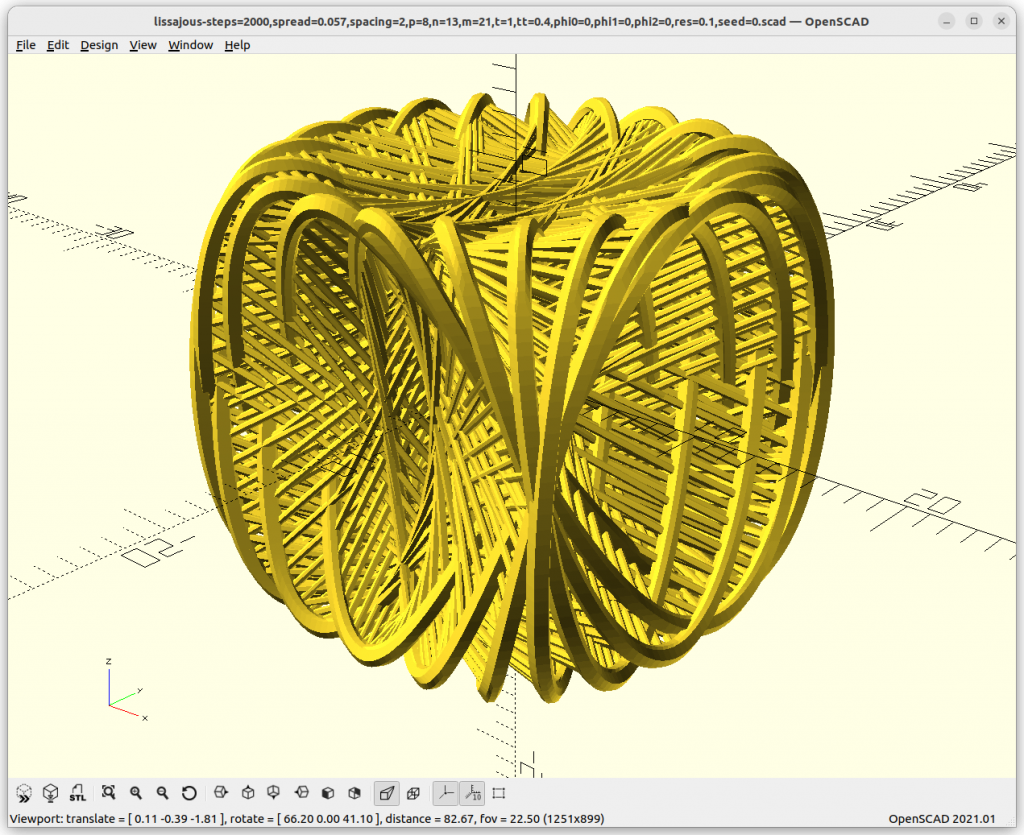
While playing with 3D Lissajous, I thought to adapt the cyclic nature, but apply it to a circle laying in the XY plane and then rotate in X axis, and Y axis as well, and optionally cyclic translation as well:

  • d: diameter
  • angle: 0 .. 2pi or 0 .. 360°
  • p: amount of loops as in X=sin(angle*p)*d/2, Y=cos(angle*p)*d/2
  • q: amount of X rotations: rotateX(angle*q)
  • r: amount of Y rotations: rotateY(angle*r)
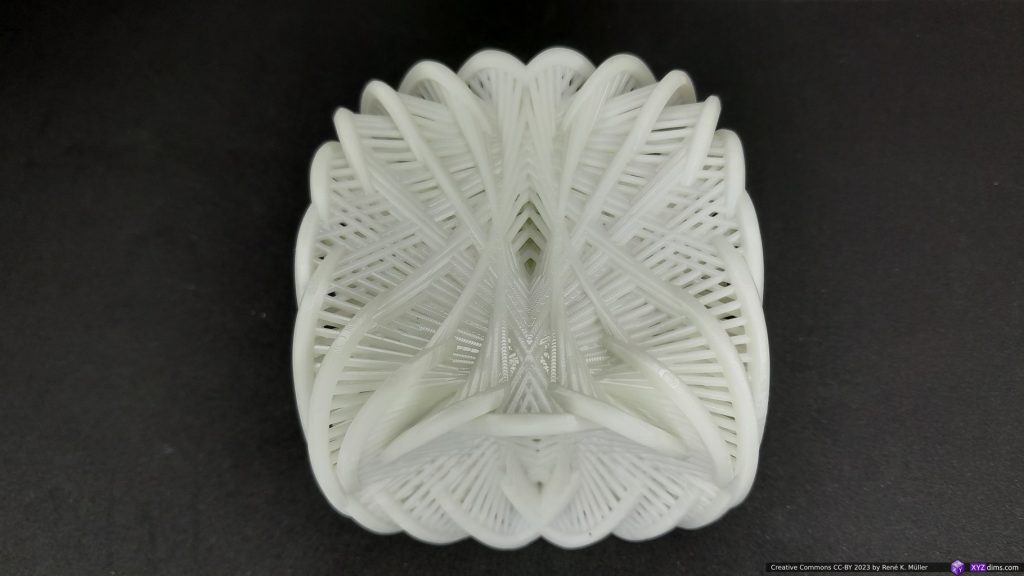
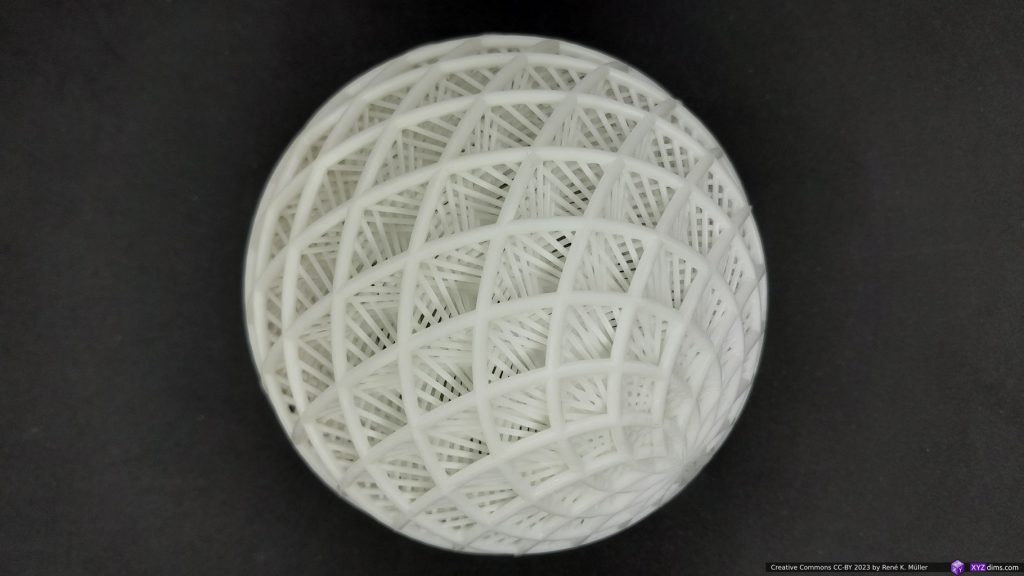
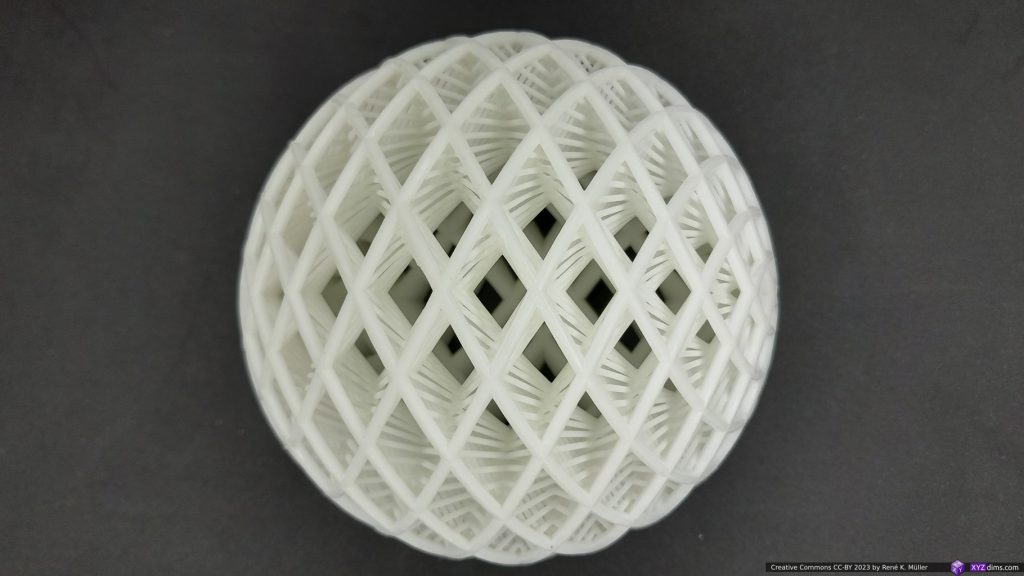
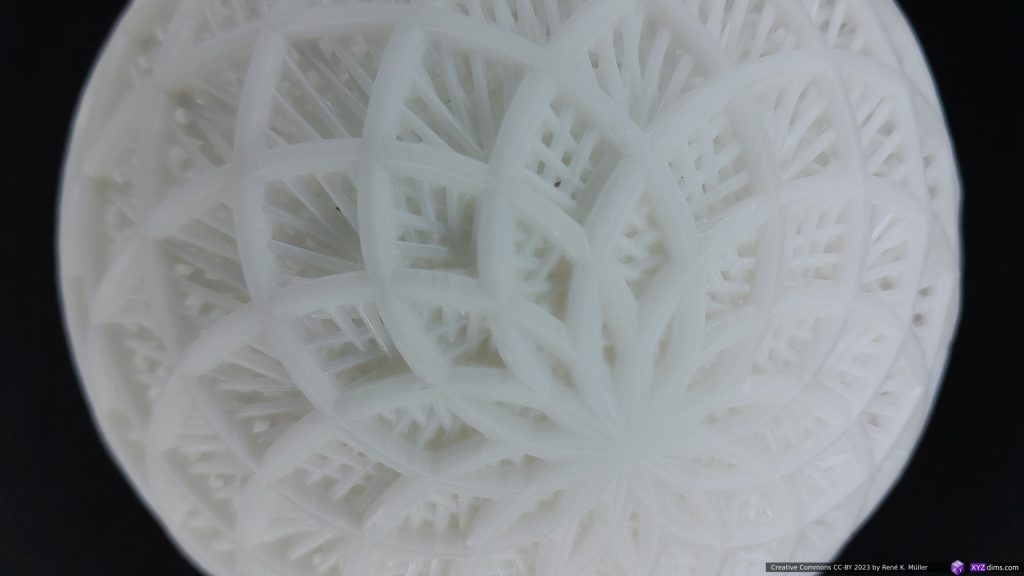
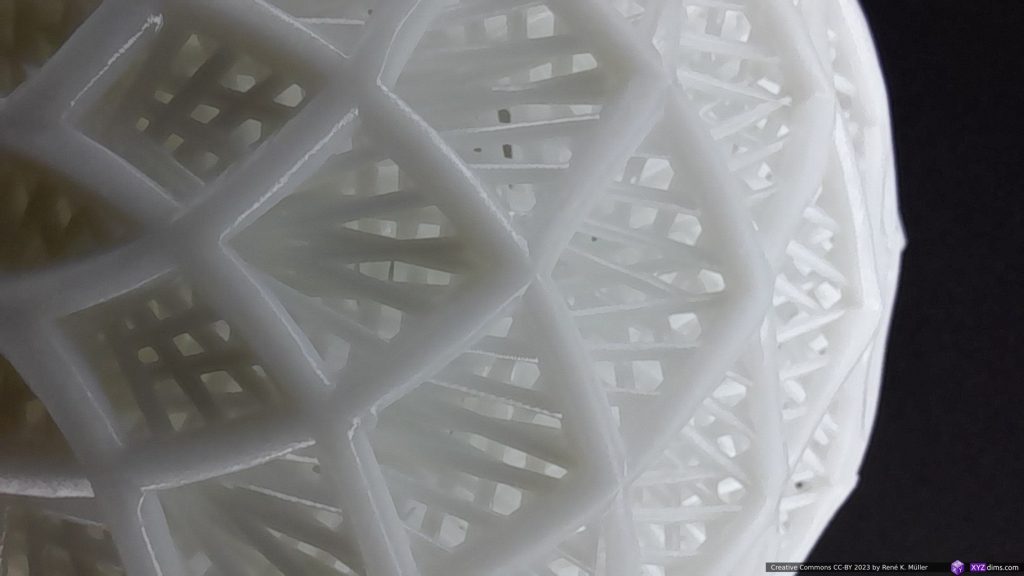
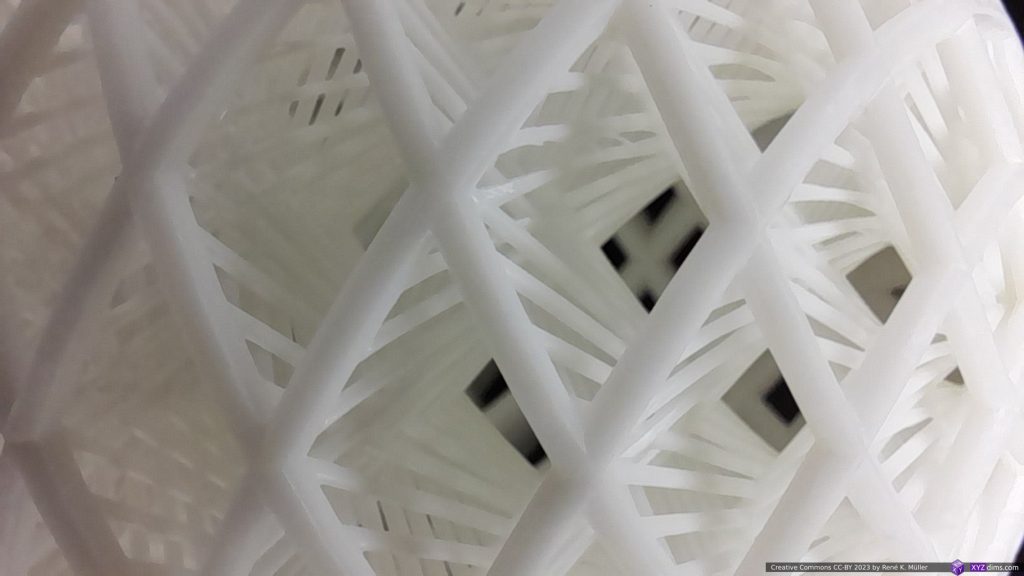
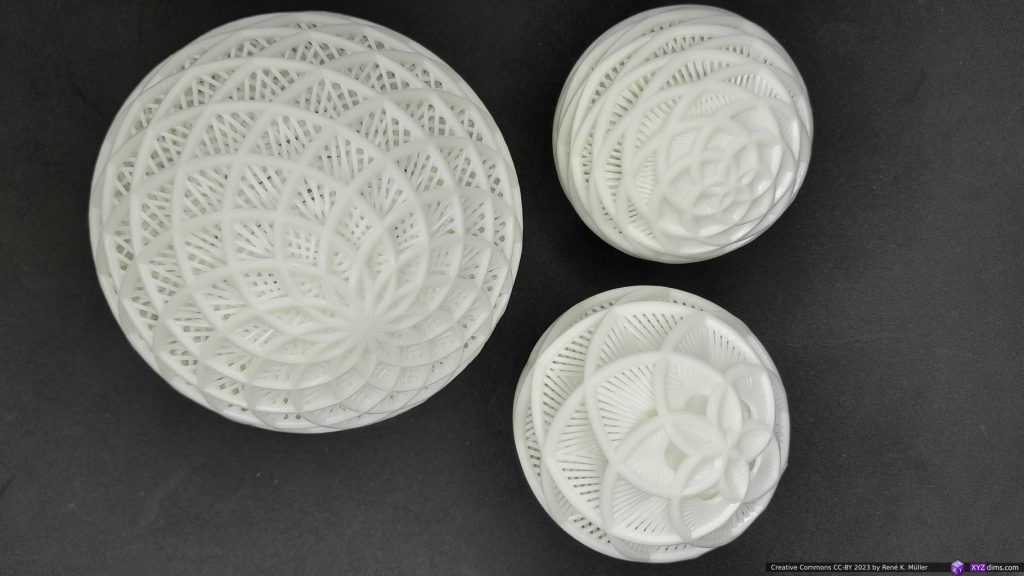
Spherical Lissajous 12.23 with spreading struts

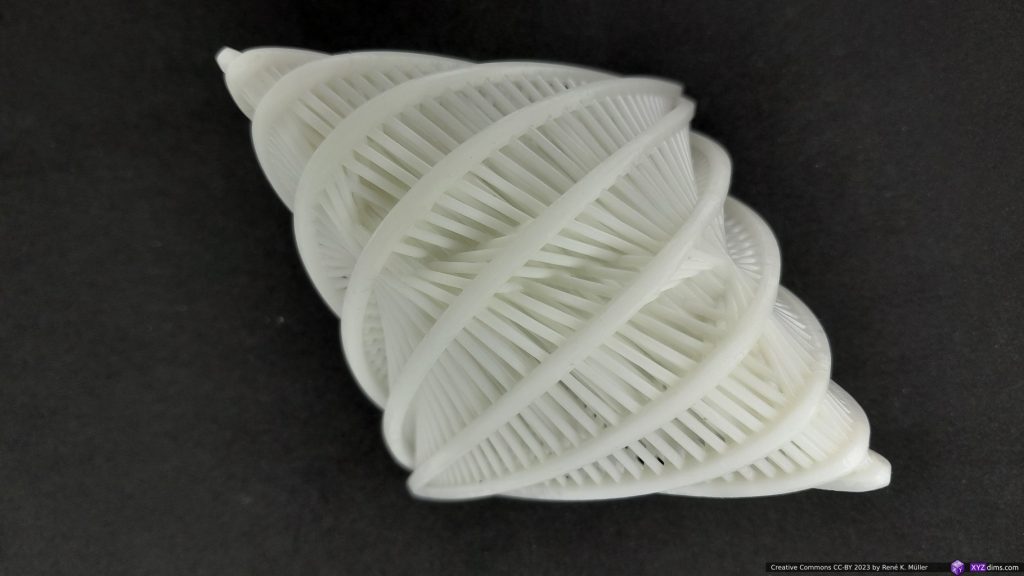
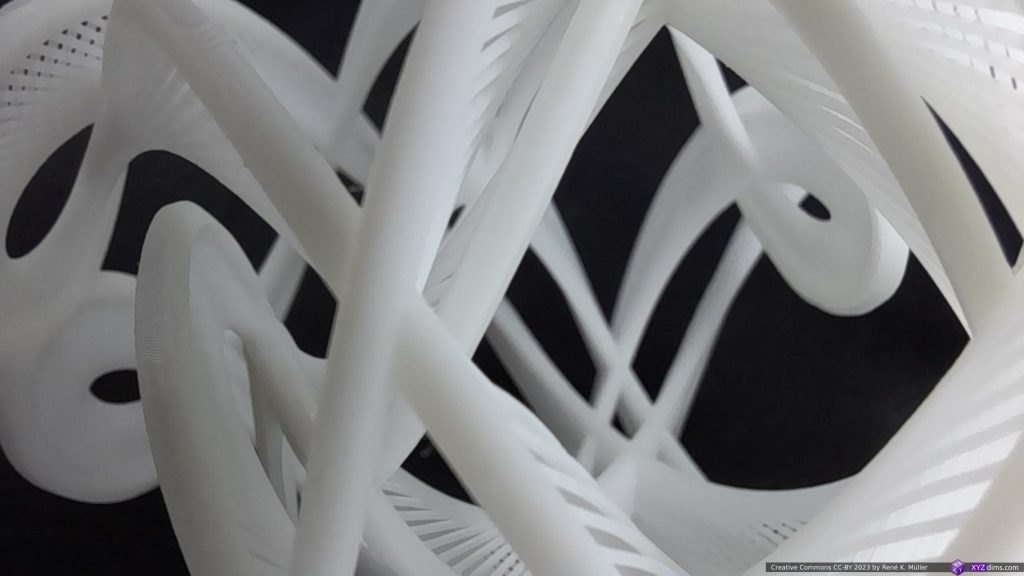
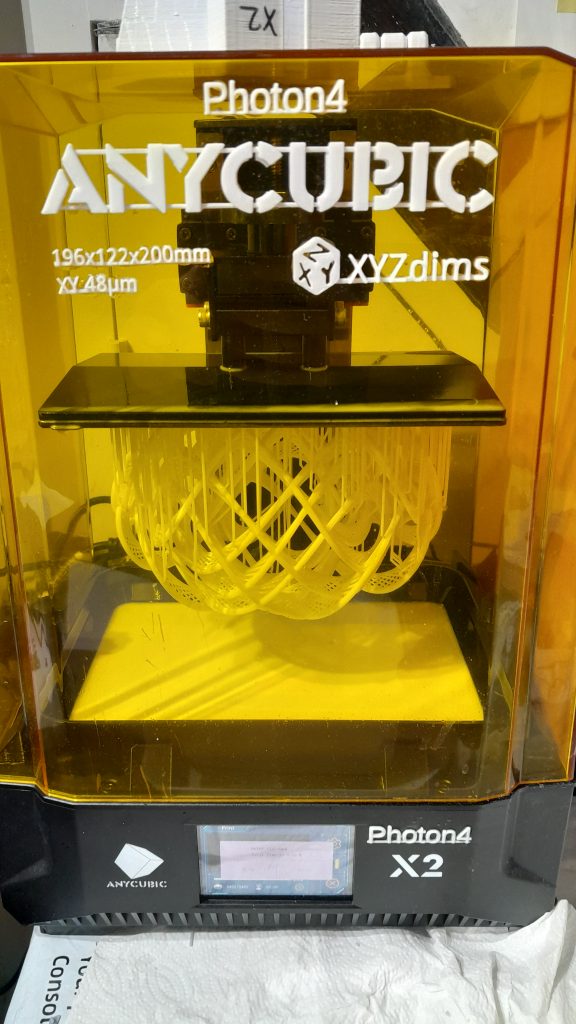
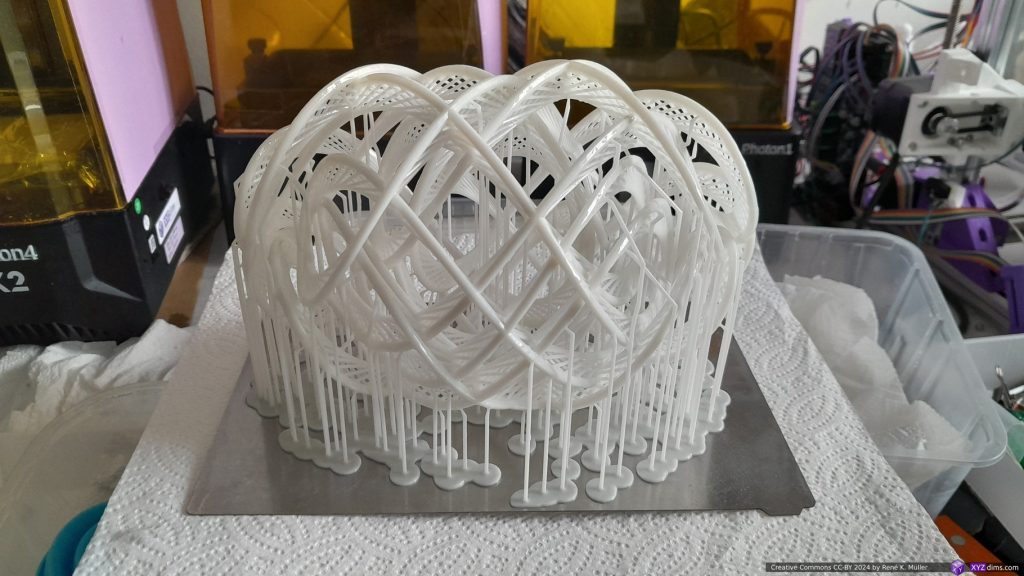
The model was printed with MSLA white resin at XYZ 50um resolution with 120mm diameter, with a few support structures near the bottom:

Spherical Lissajous with Translations

Using the Spherical Lissajous and extend it slightly:

  • [A,B,C]loop/offset/radius: translate([ sin(angle*AL+AO)*AR], sin(angle*BL+BO)*BR], sin(angle*CL+CO)*CR ])

which spreads the ribbons away from the spherical surface origins.

Spherical Lissajous 5.11 AL=3, AR=5

Spherical Lissajous 5.11 AL=3, AR=5

It’s symmetric X- and Z-wise, in Y-axis it isn’t.

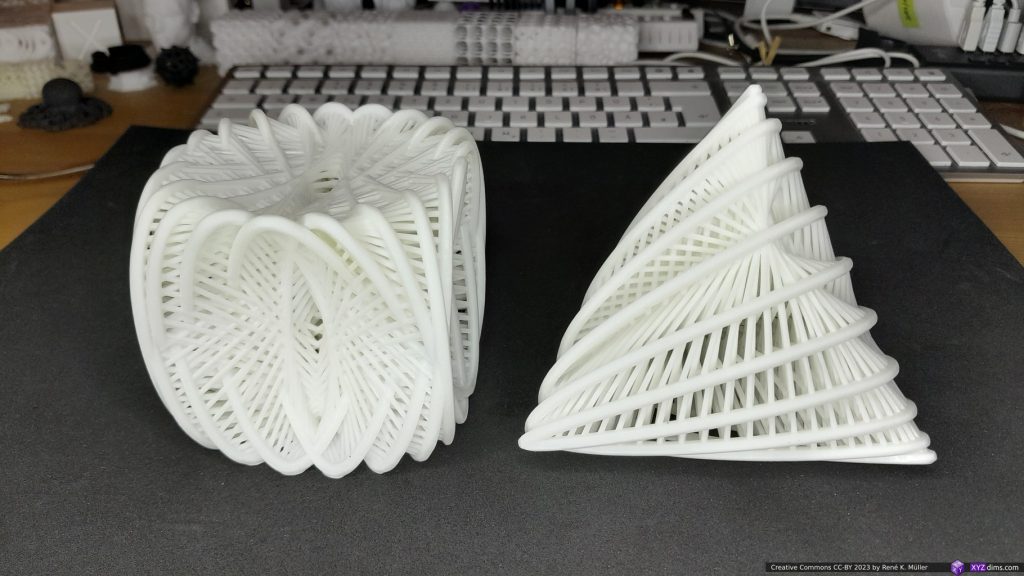
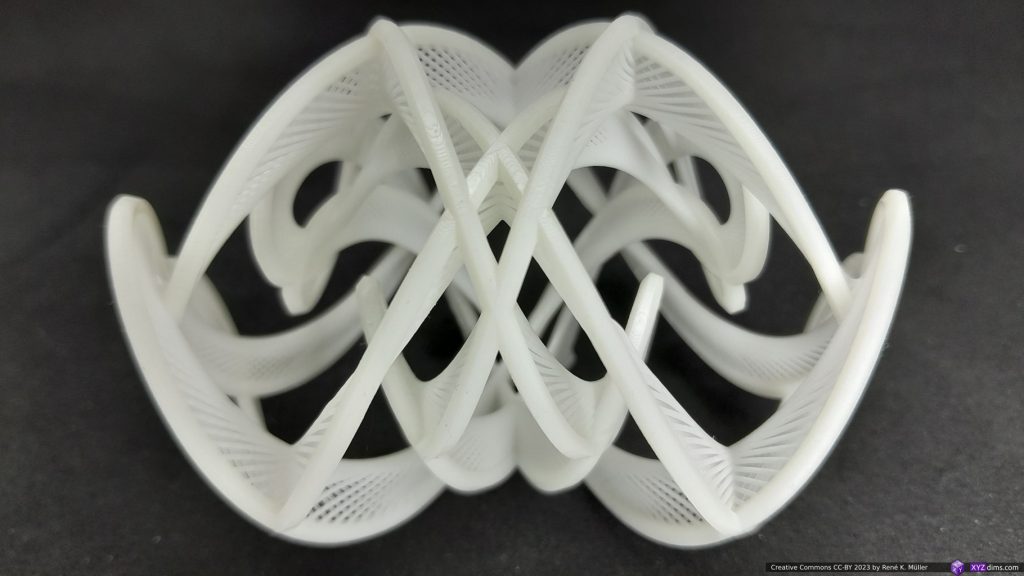
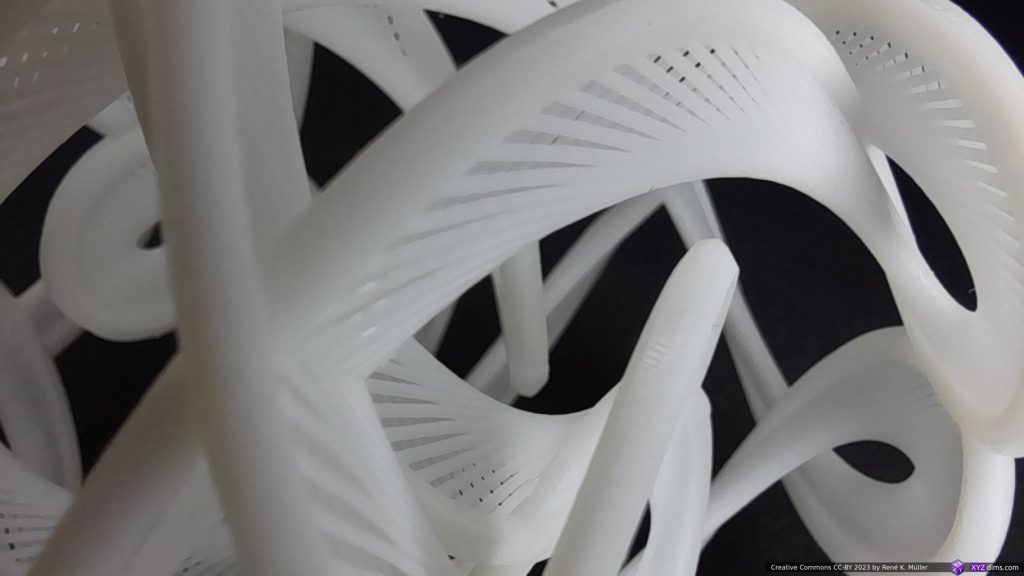
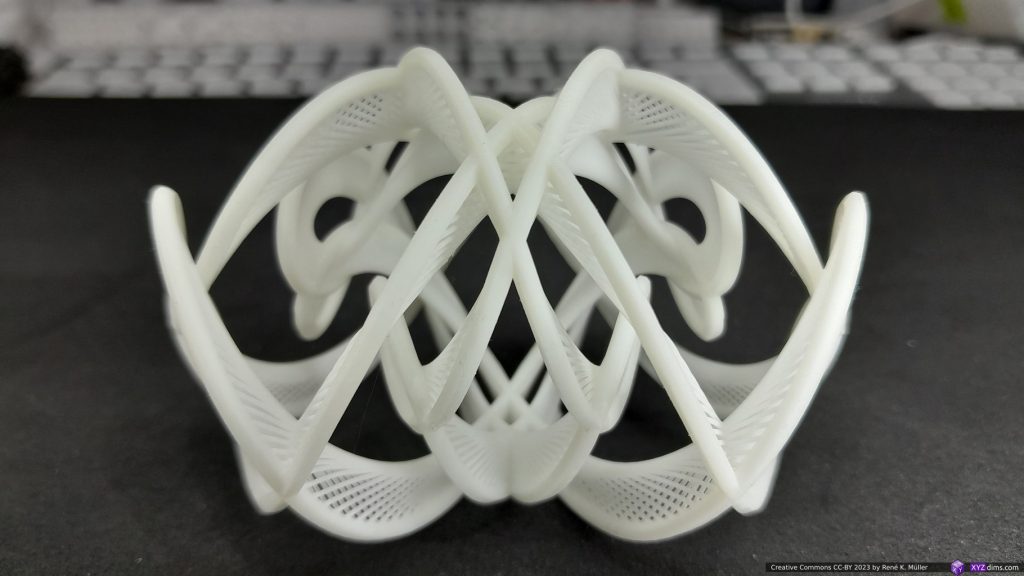
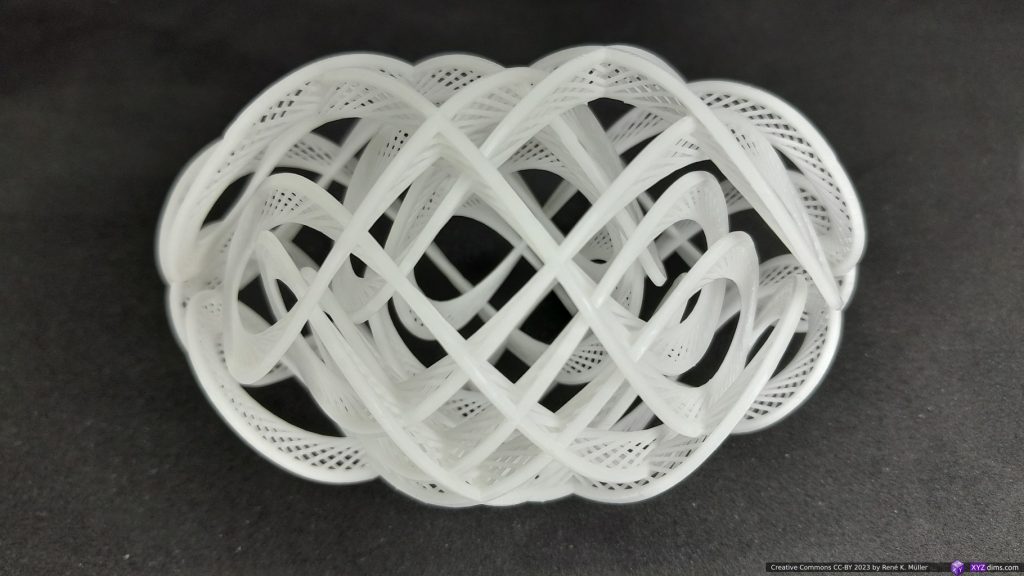
The model was printed with MSLA white resin at XY 35um / Z 50um, at 60mm in Z height, ~94mm width; with a some support structures:

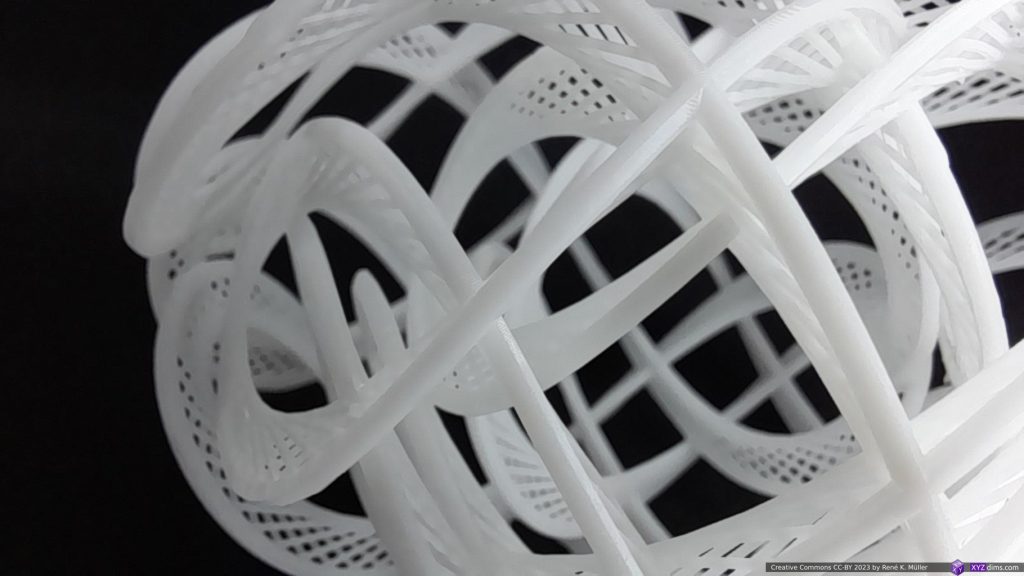
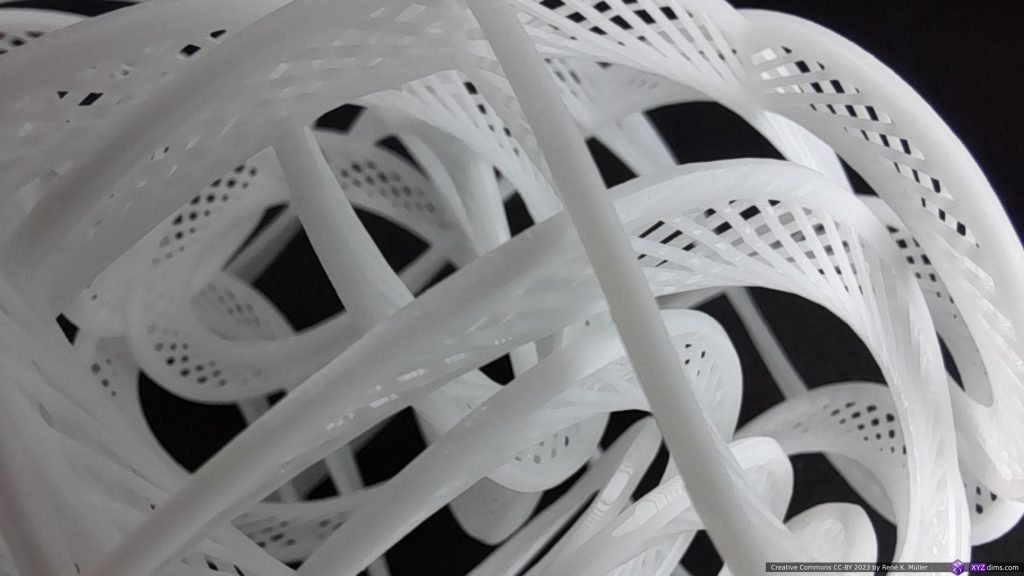
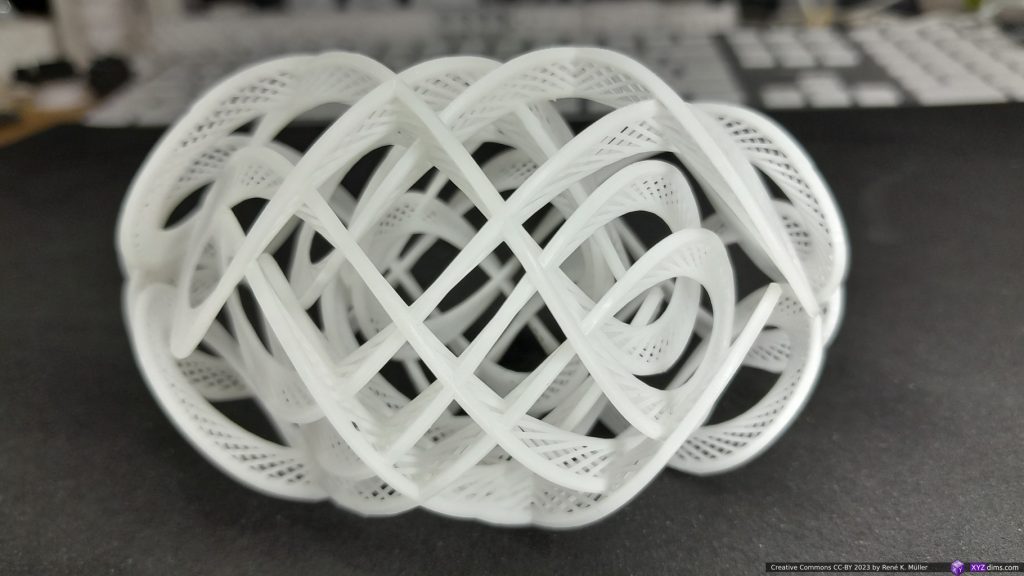
Spherical Lissajous 11.15 AL=2, AR=5

A more elaborate form is 11.15 AL=2, AR=5:

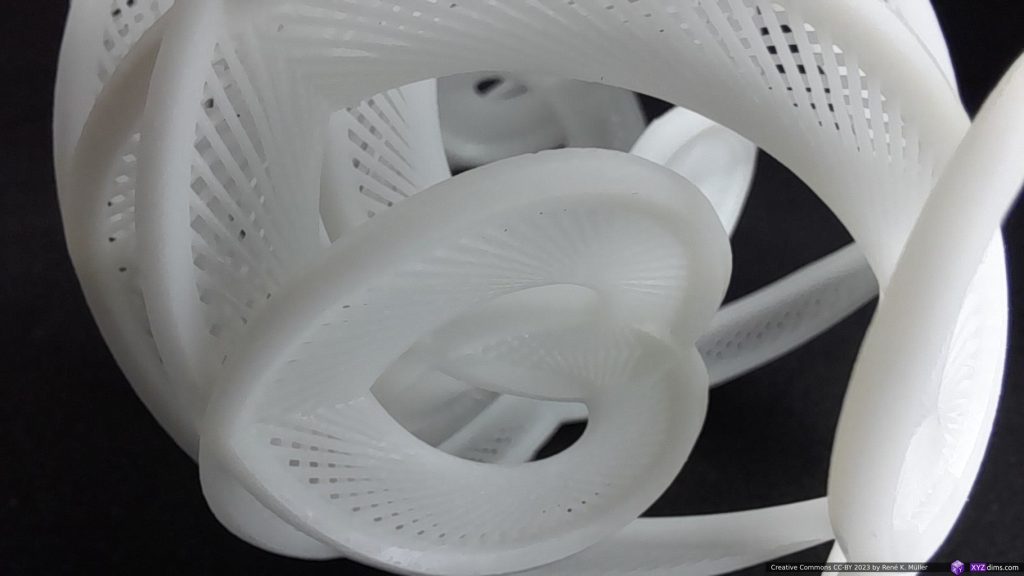
Spherical Lissajous 11.15 AL=2, AR=5 with spreading struts

So, there is no X-, Y- or Z-wise symmetry.

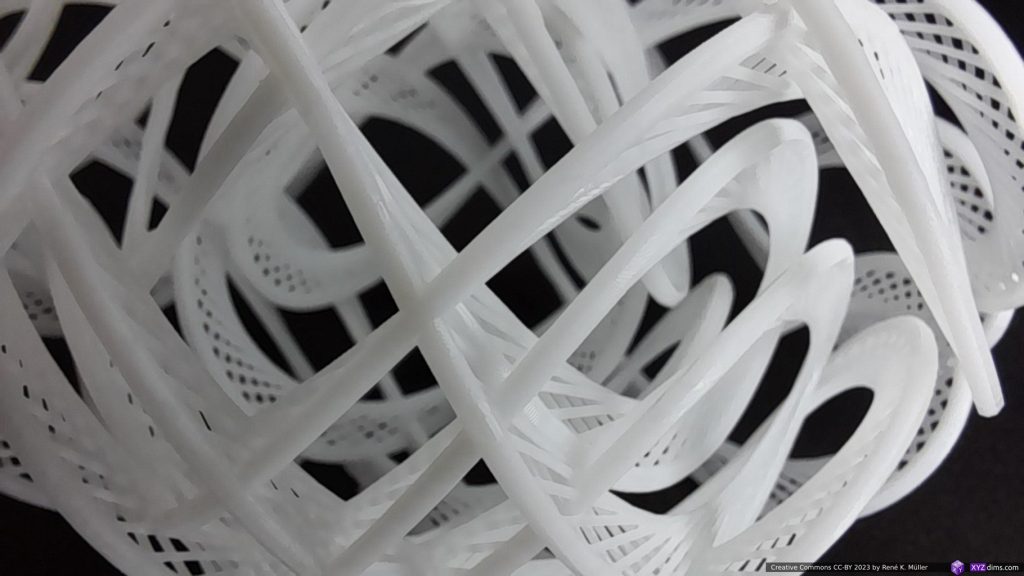
The model was printed with MSLA white resin at XY 35um / Z 50um, at 60mm in Z height, ~94mm width; with a some support structures:

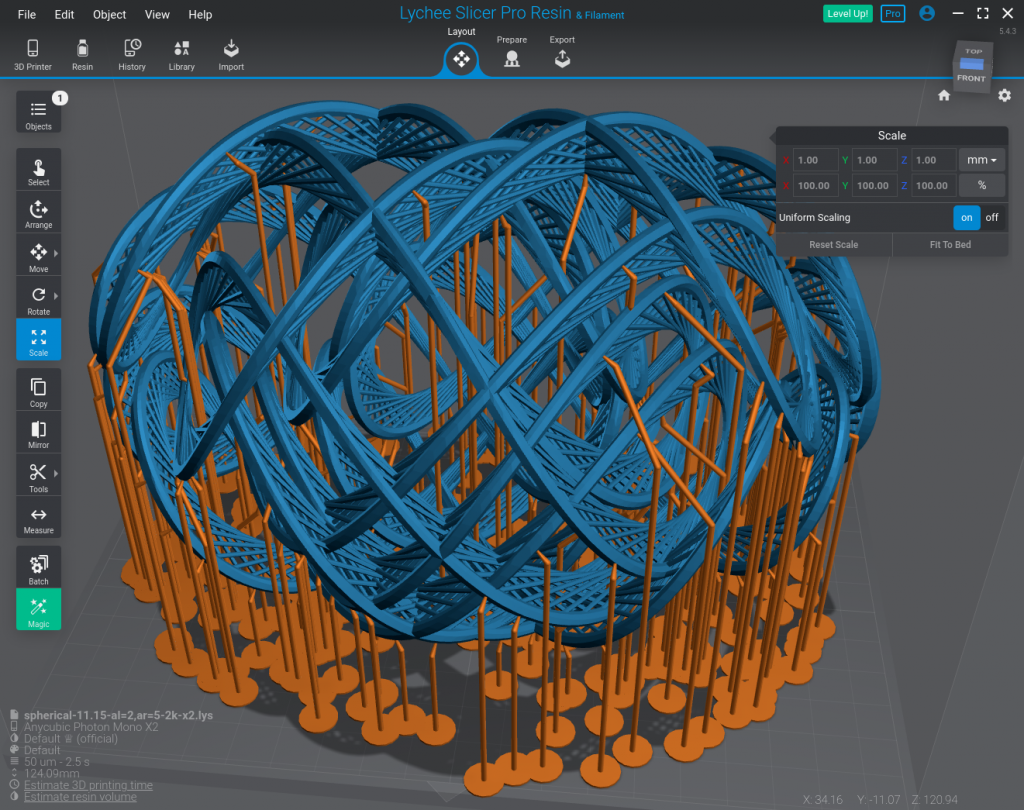
and printing it larger with ~200mm width with manually positioned support:

That’s it (for now).

References