
Updates:
- 2021/03/22:
slicer4rtnreleased, see announcement - 2021/03/19: some information on use of
slicer4rtn(not yet released) - 2021/03/09: removed lengthy “Test Protocol” and extended “Gallery” section a bit
- 2021/03/08:
slicer4rtnat 0.2.4 (still unreleased) resulting in better prints, blog-post linked at hackaday - 2021/03/05: 95° and 100° overhangs are printable too, more bug-fixes in
slicer4rtn - 2021/03/04: fixing various bugs in
slicer4rtnas disovered printing more complex pieces, supportingprusa-sliceras well asideslic3r, pushing the limits with overhangs - 2021/03/02: documenting my findings, a few photos, some early conclusions (not even one day old), conic sliced and tilt sliced.

Table of Contents
Introduction
It has been target of many efforts to print 90° overhangs without support on 3-axis 3D printers as with ordinary Z slicing, each layer requires a support underneath; hence, every overhang then needs a support structure if the model itself doesn’t provide it.
But if . . . one slices non-planar? That’s what I thought about for a couple of years and kept it in the back of my mind. In January 2021 I came across Rotating Tilted Nozzle (RTN) aka RotBot as developed by ZHAW University of Applied Sciences Zurich (Switzerland). I began to design my own approach of the printhead and then started to code my own conic slicer (slicer4rtn), as the paper which might explain it wasn’t published yet by ZHAW.
While reflecting on the output of the 4-axis conic sliced models, I thought what if I simply make the cone angle flatter than 45° but 15-25° so the vertical nozzle can print it?
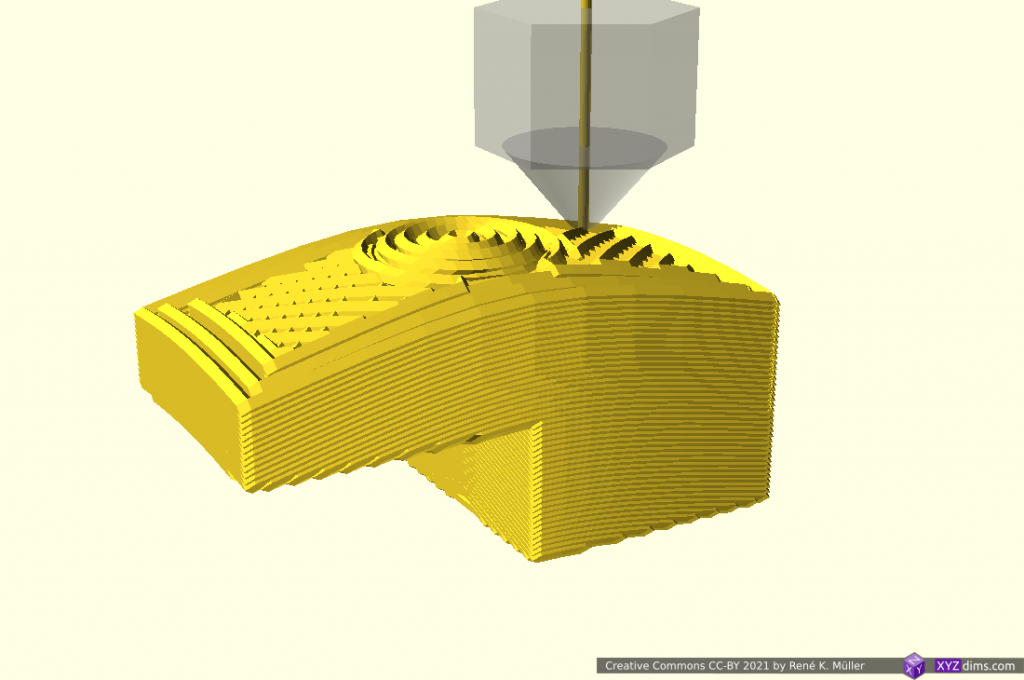
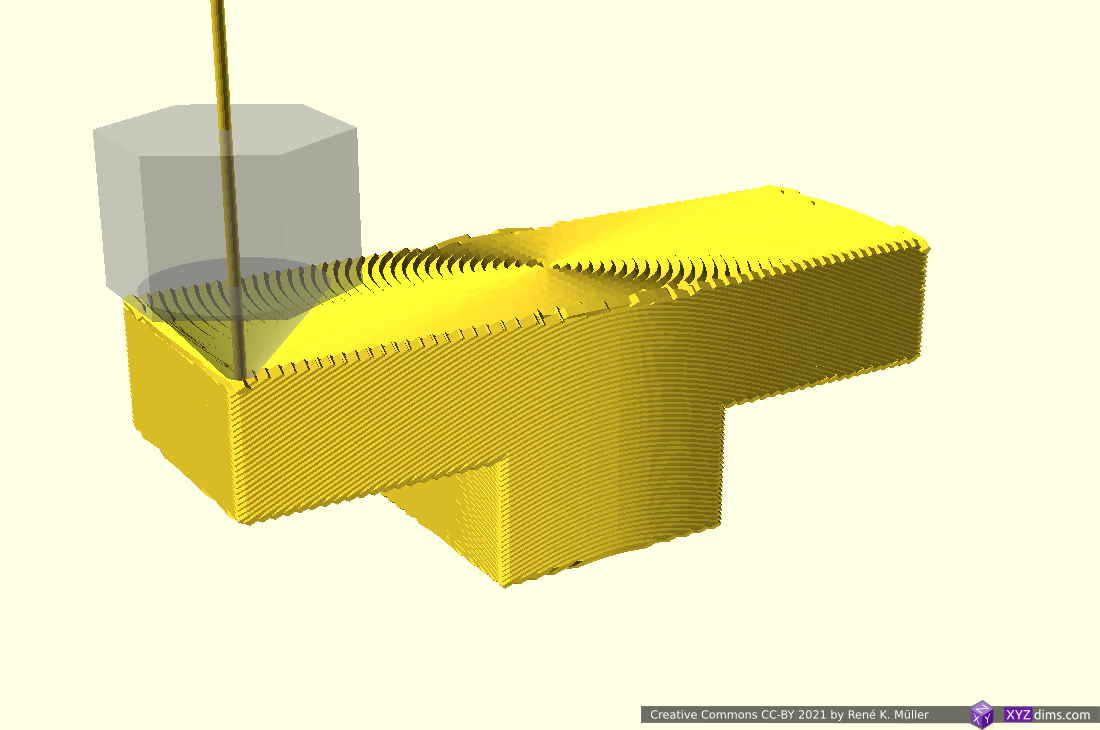
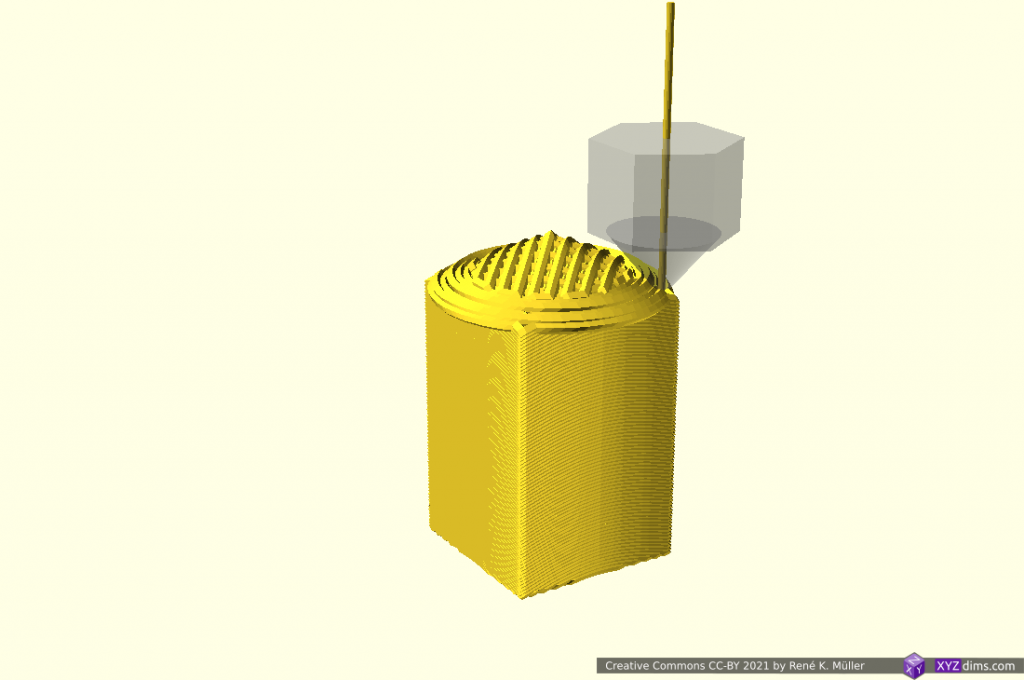
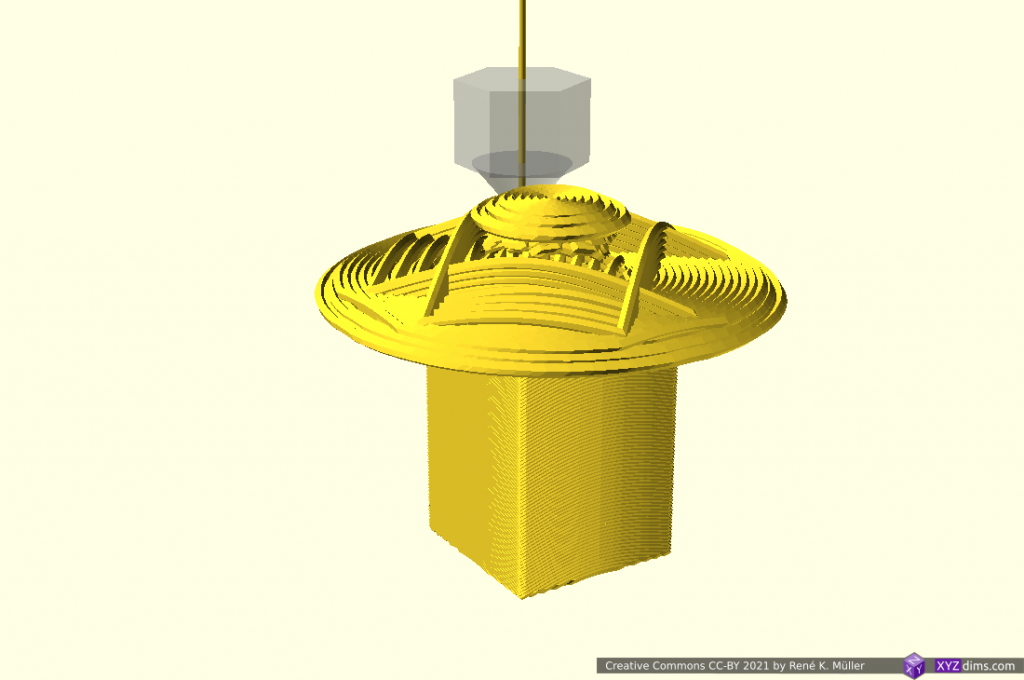
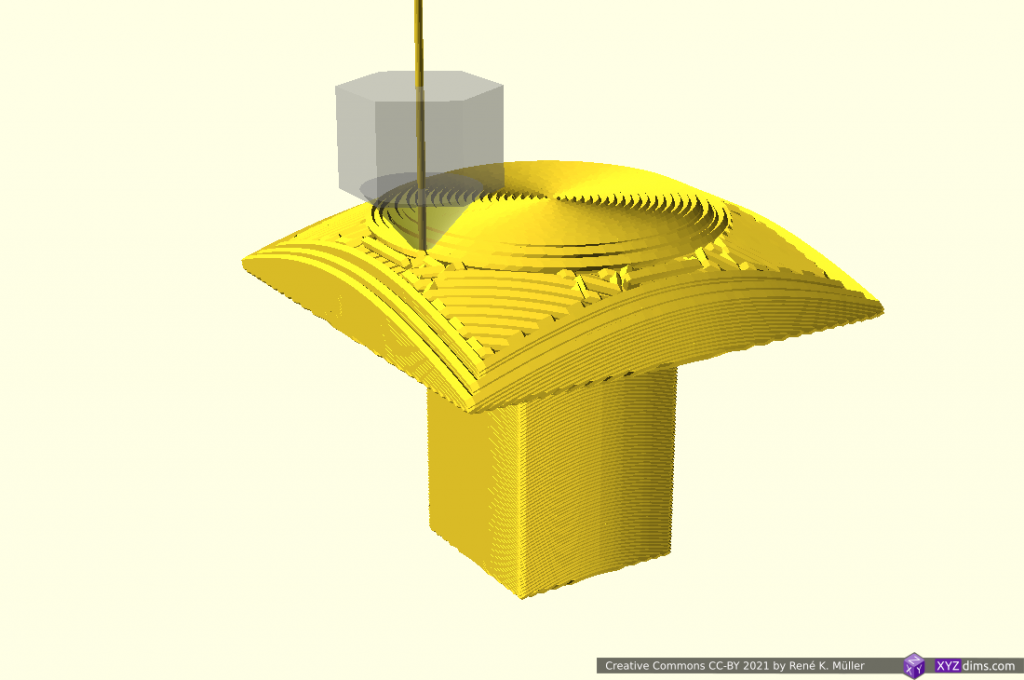
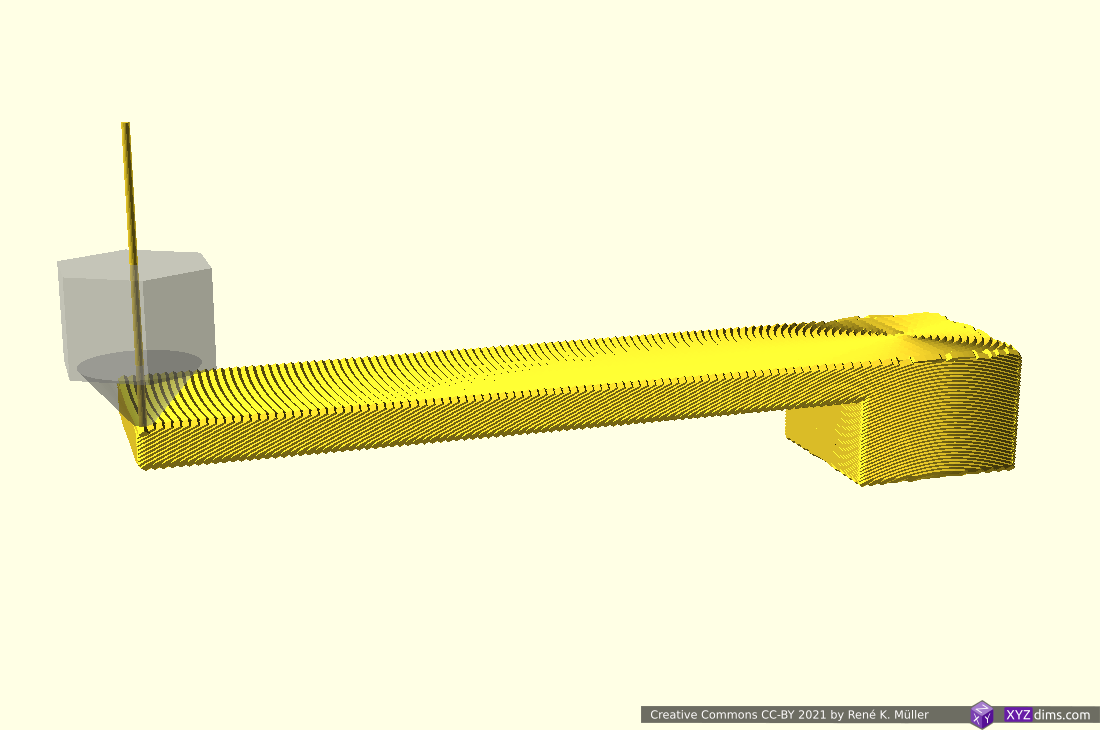
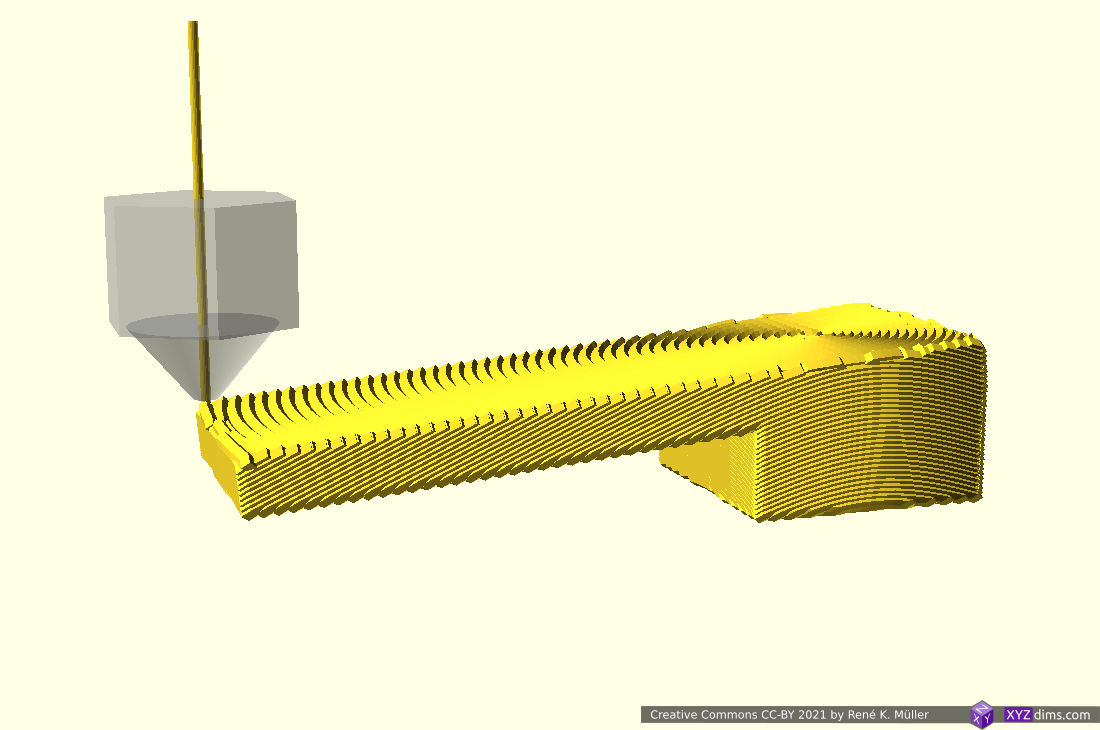
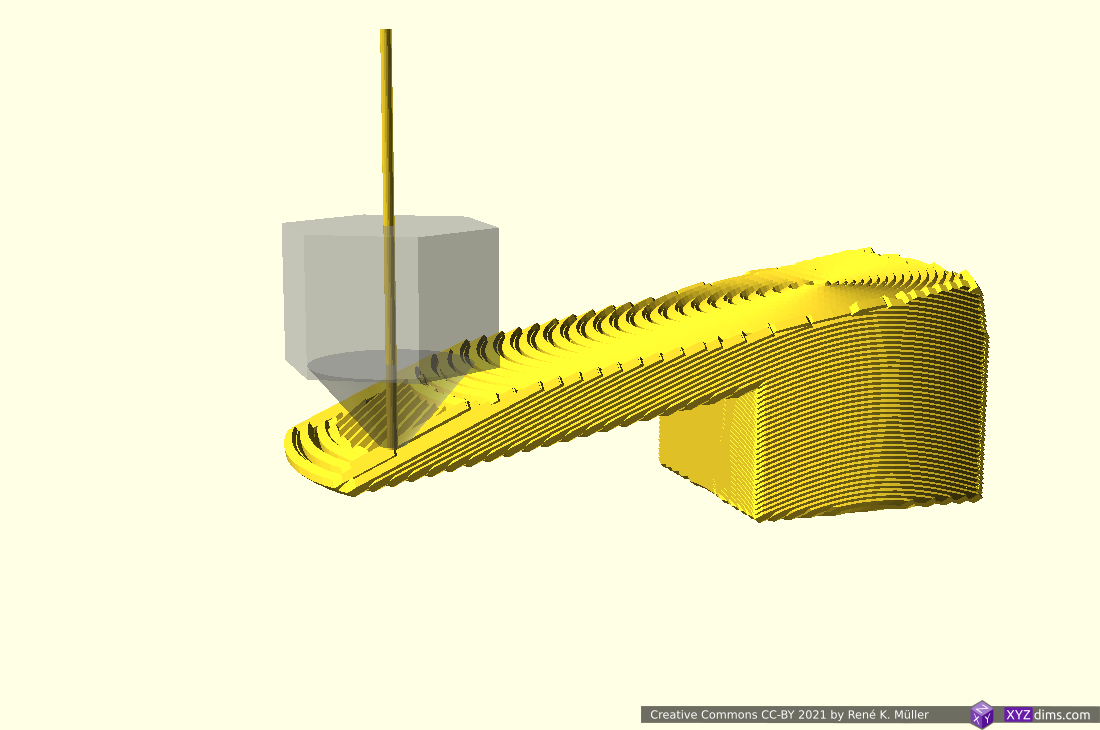
slicer4rtn --angle=22.5 sliced overhang model, meant for 4-axis printer, but printed on 3-axis printerConic Slices Simulation
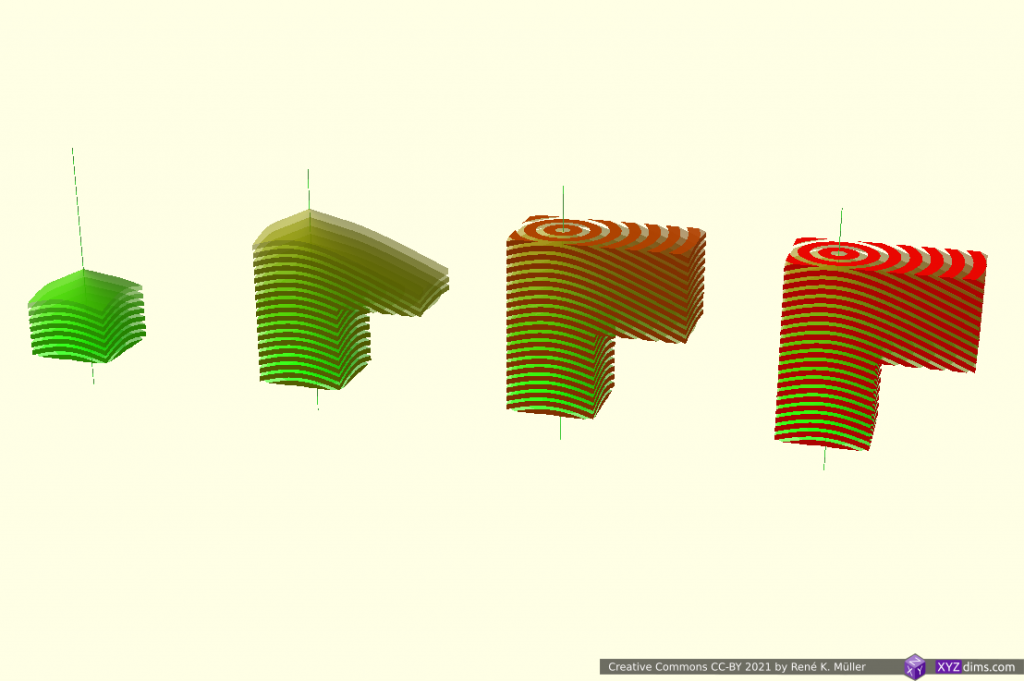
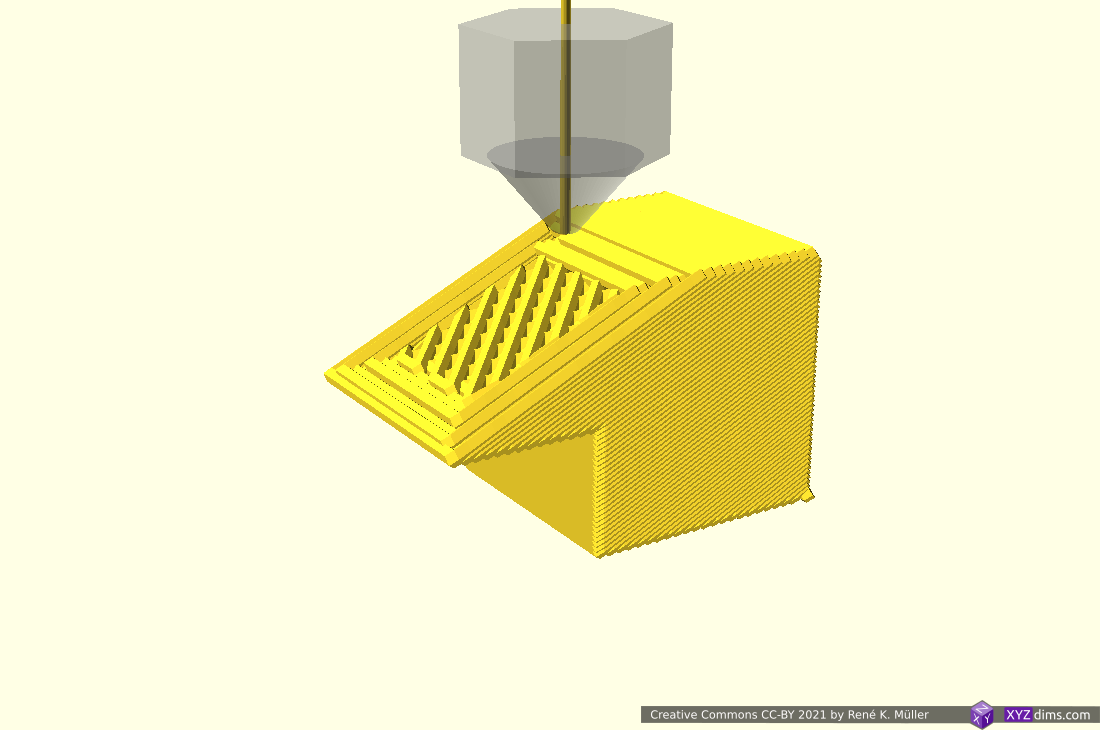
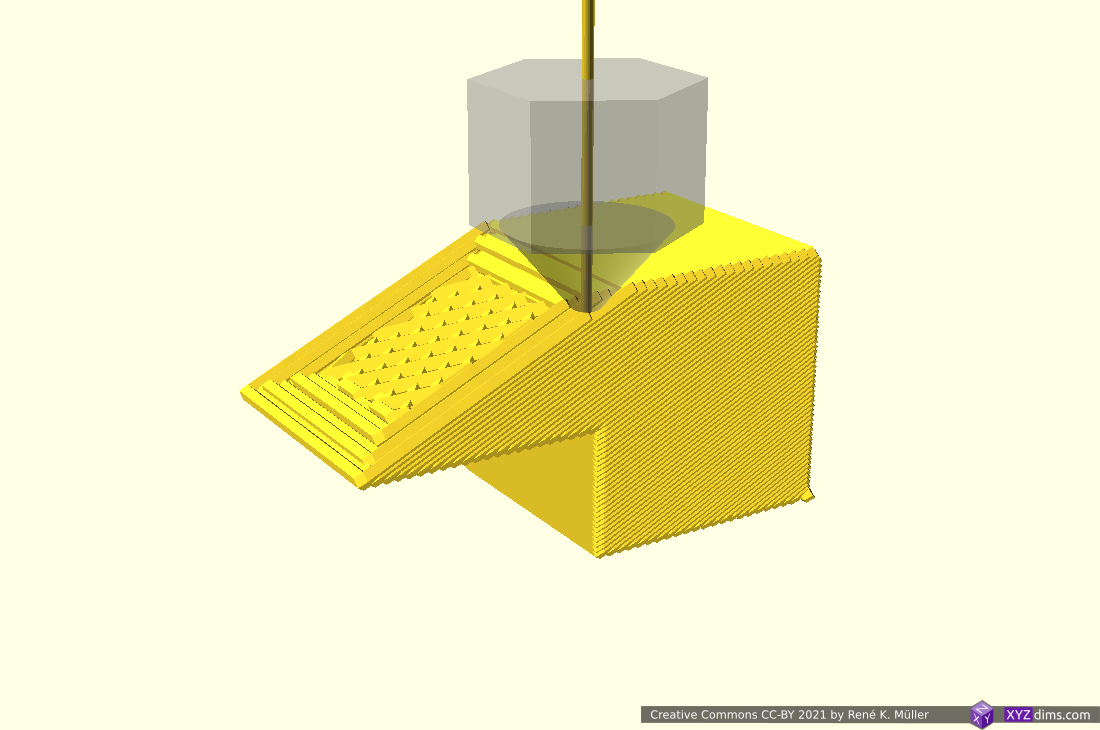
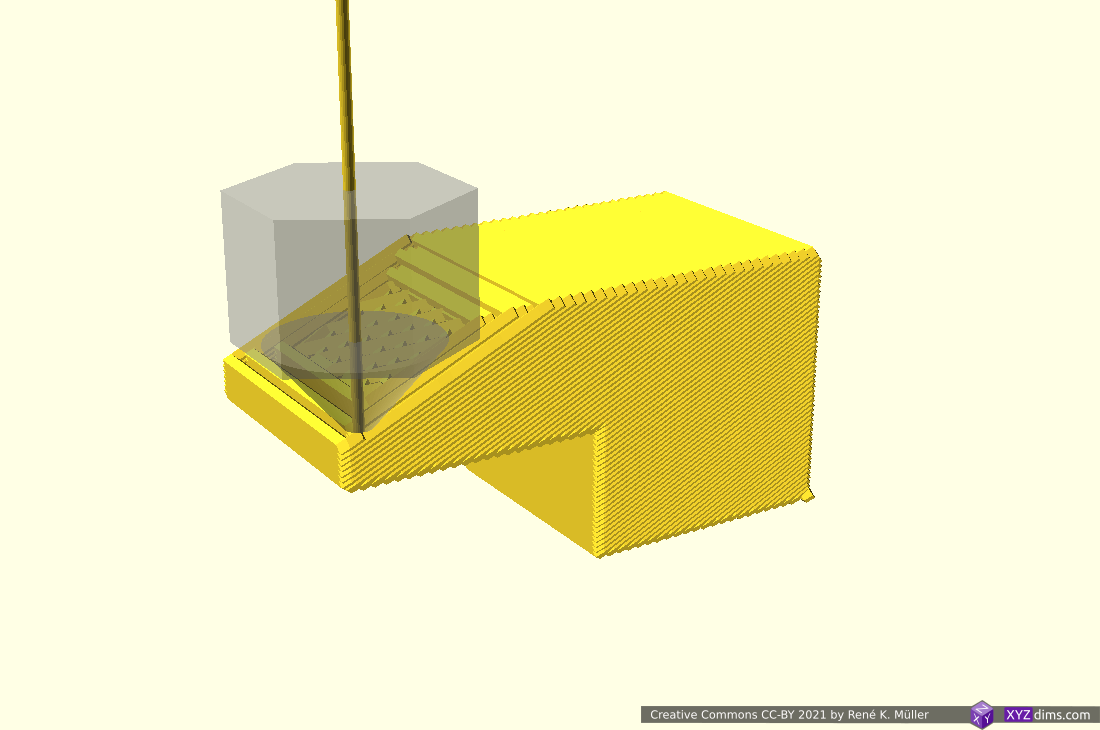
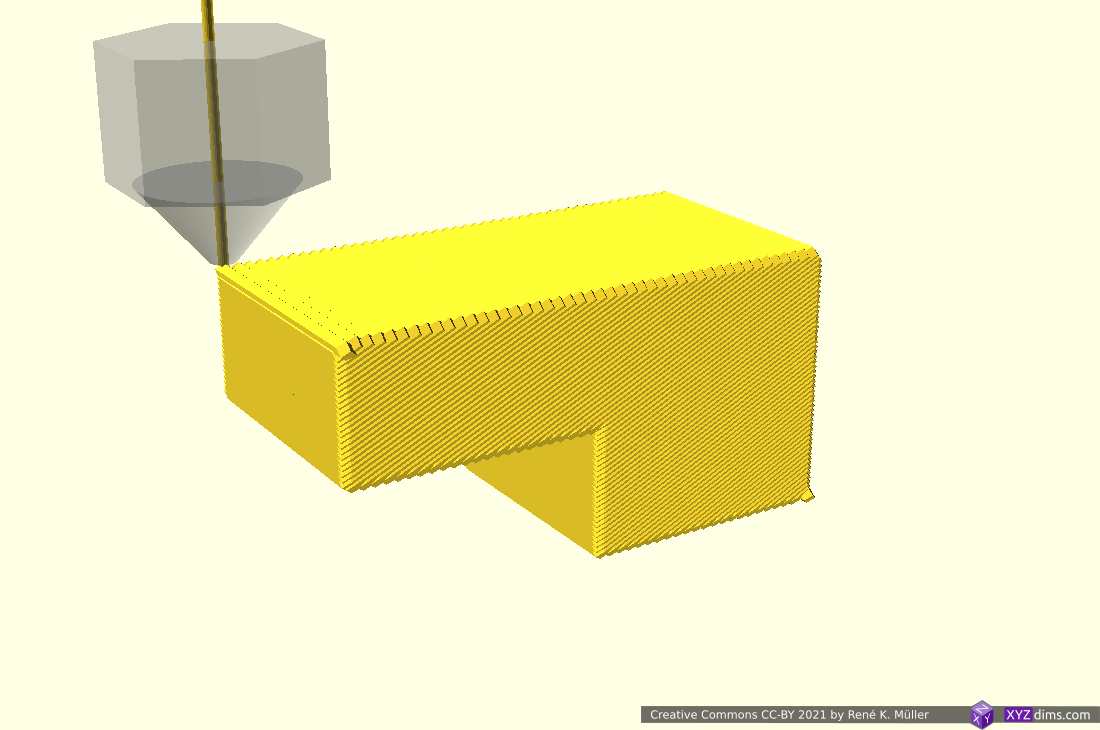
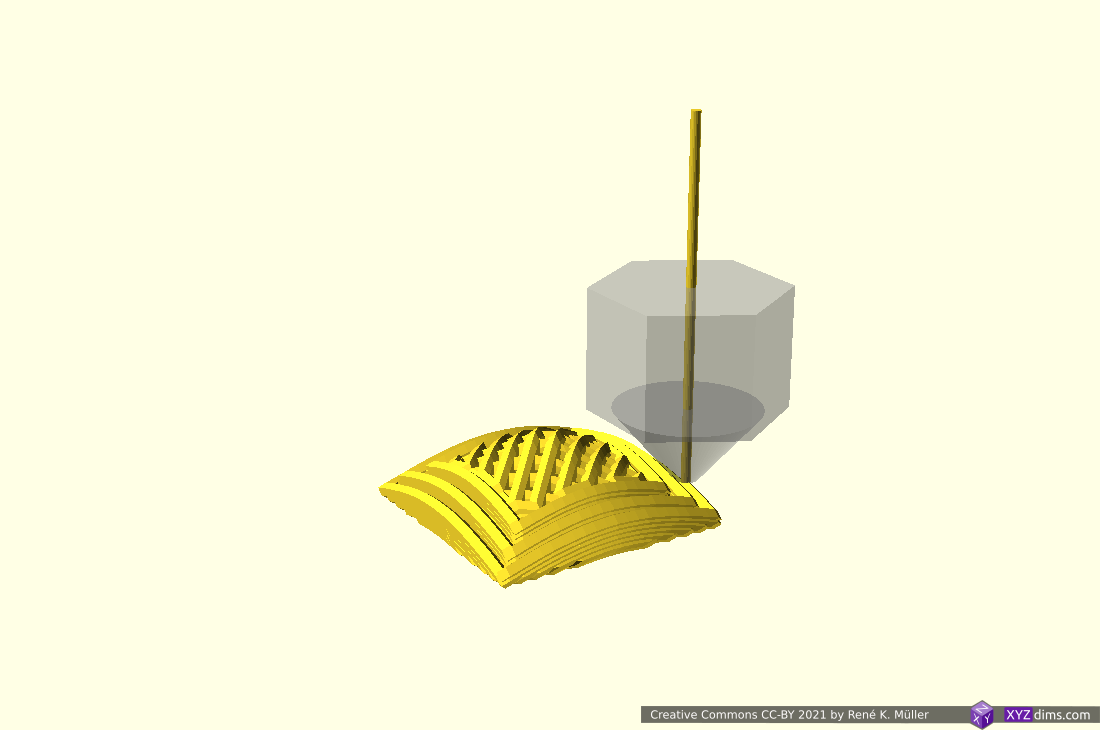
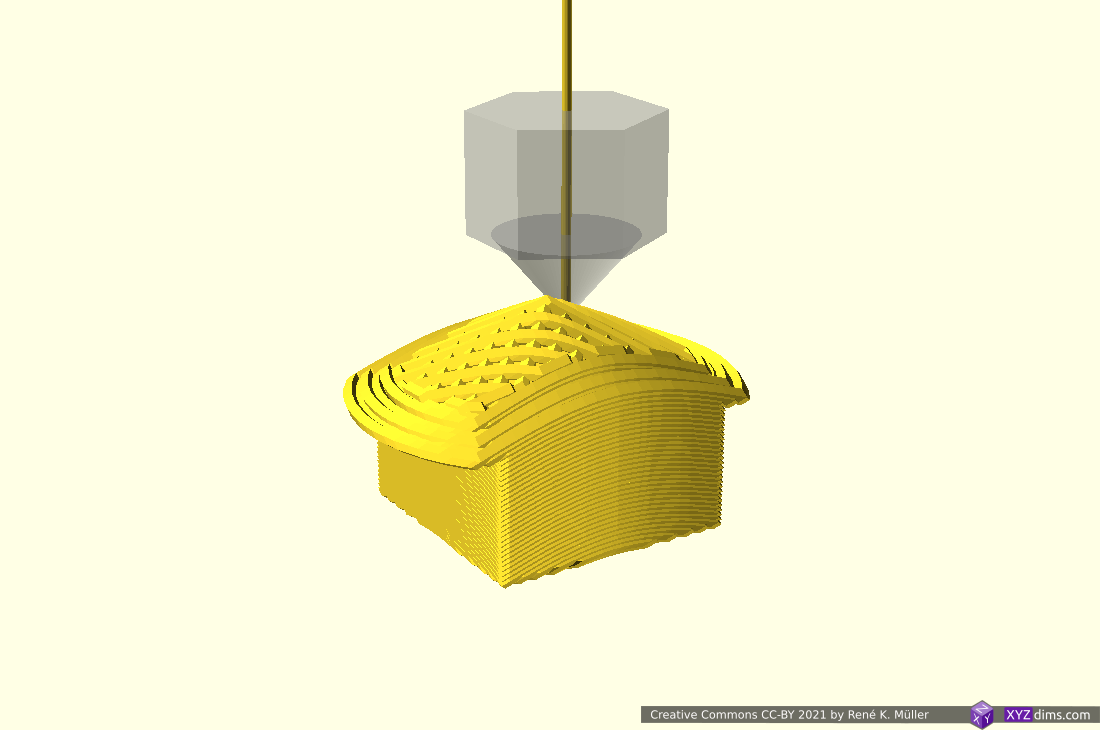
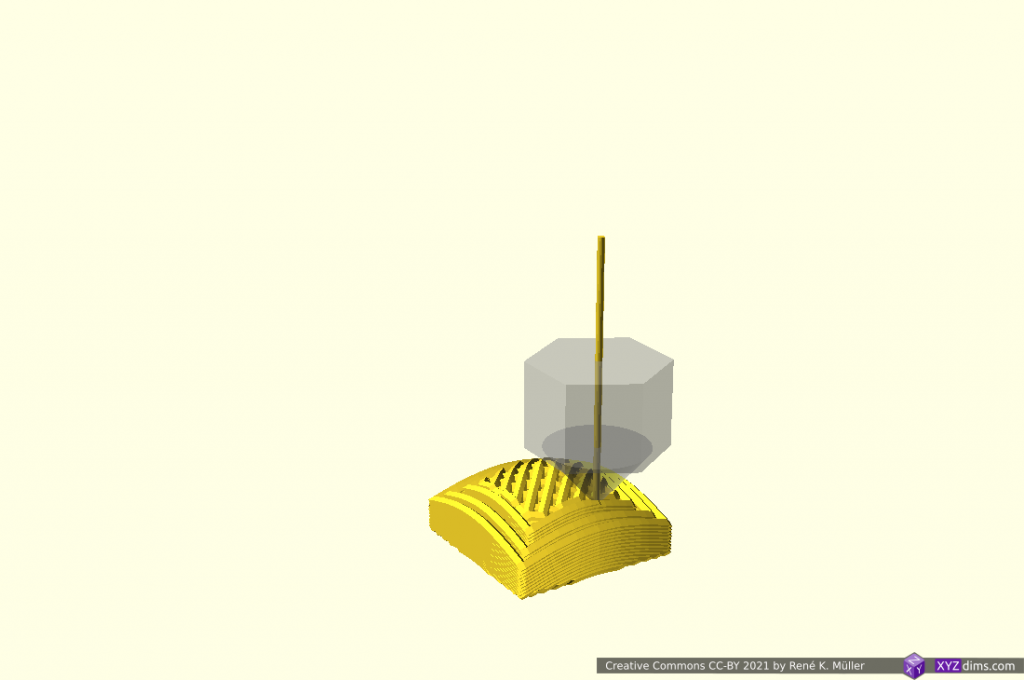
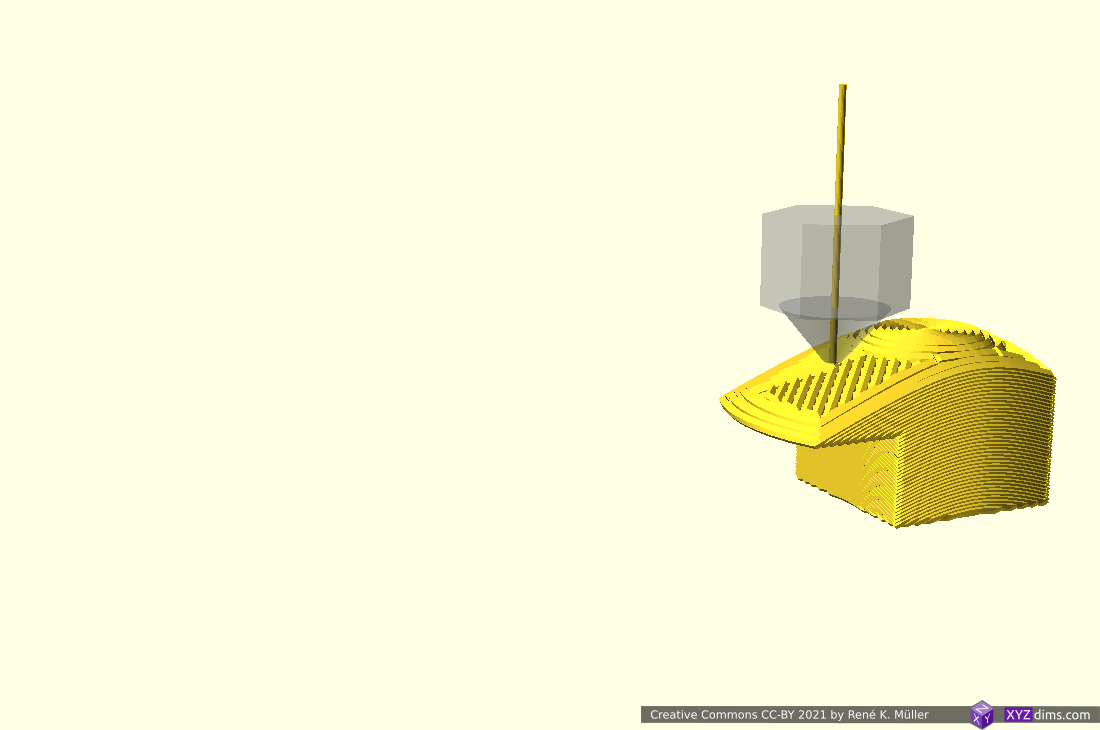
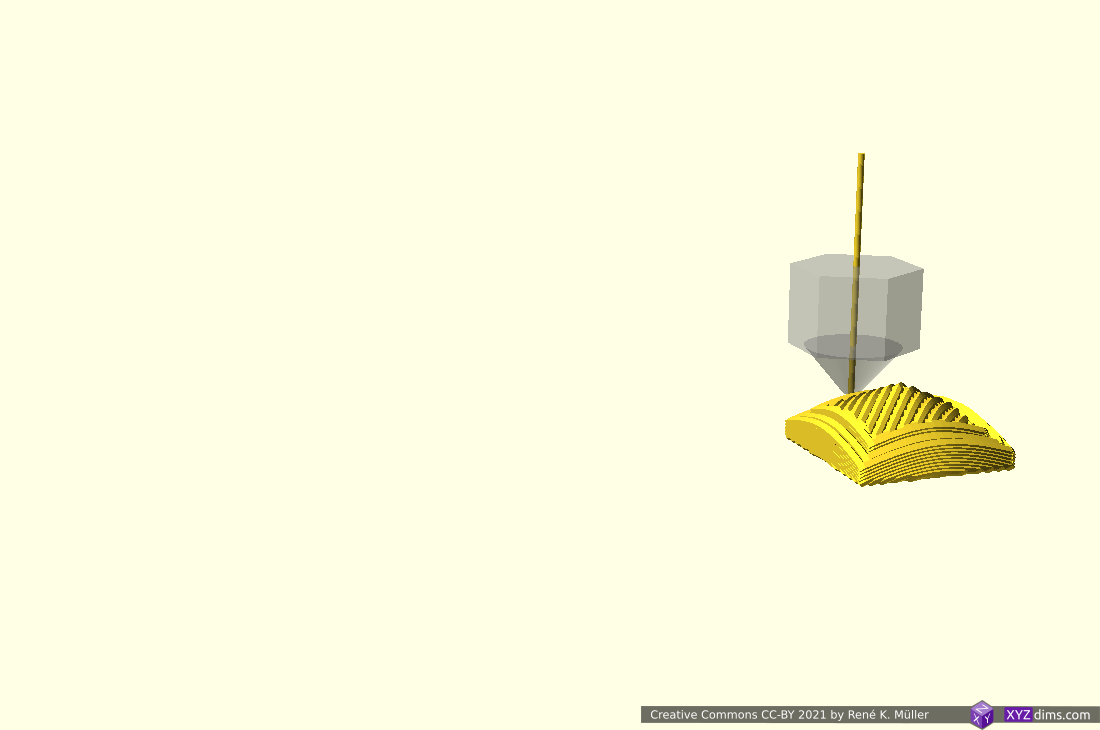
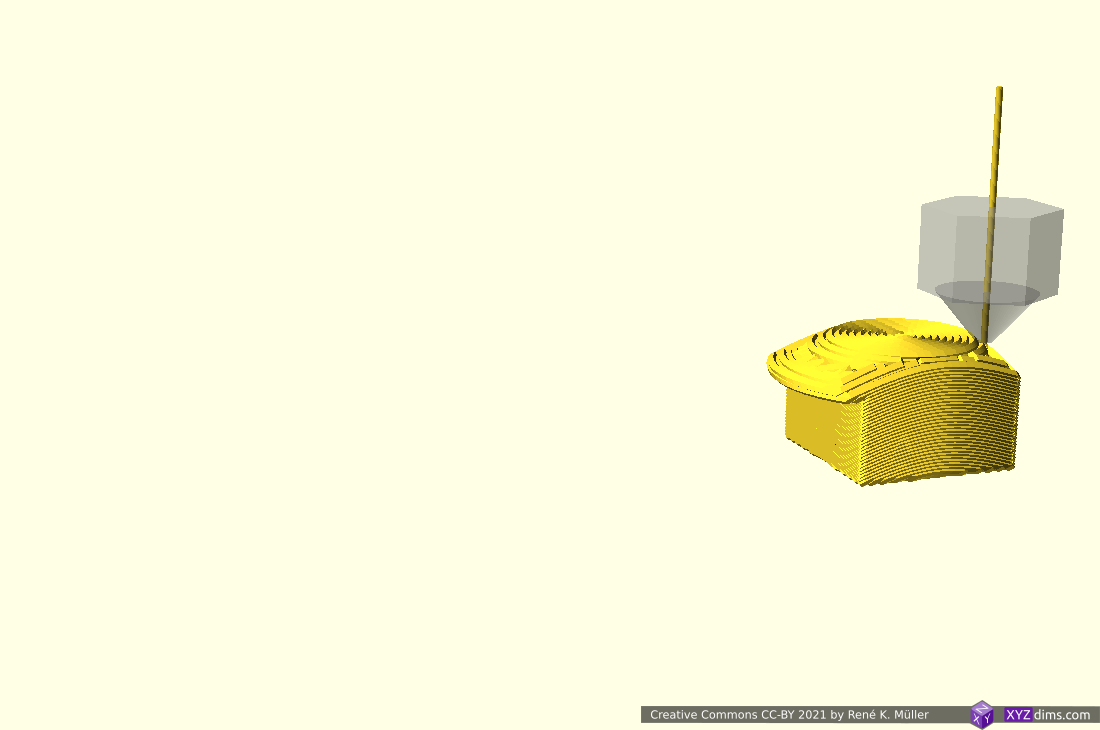
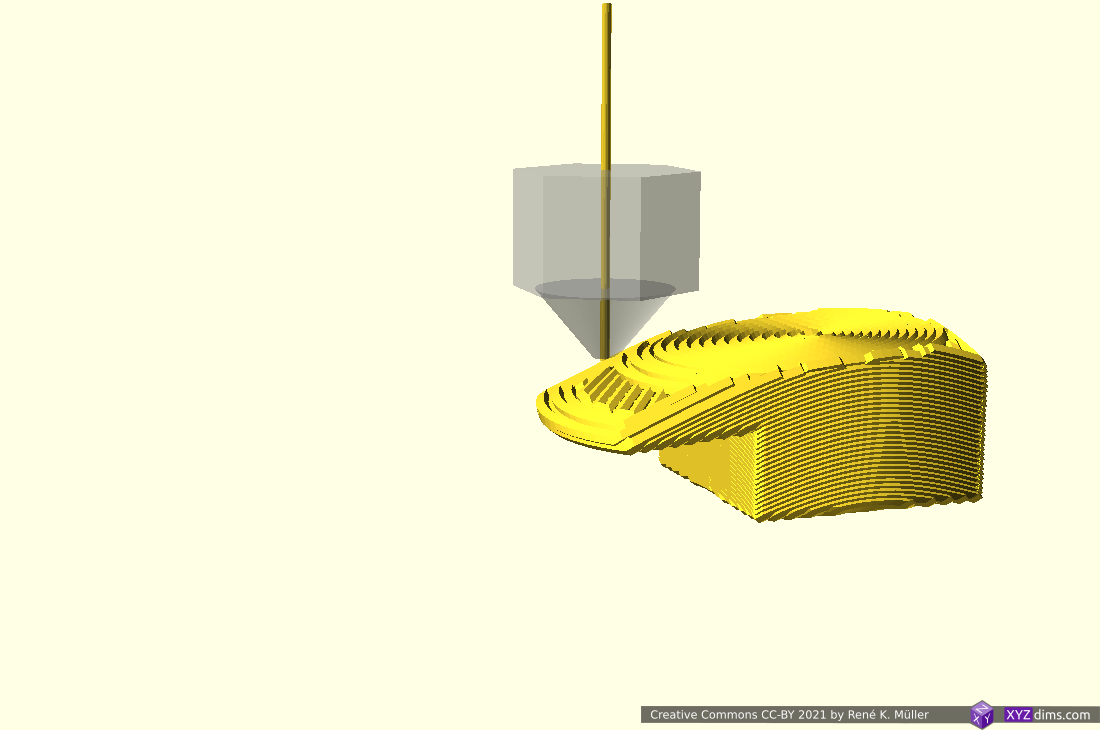
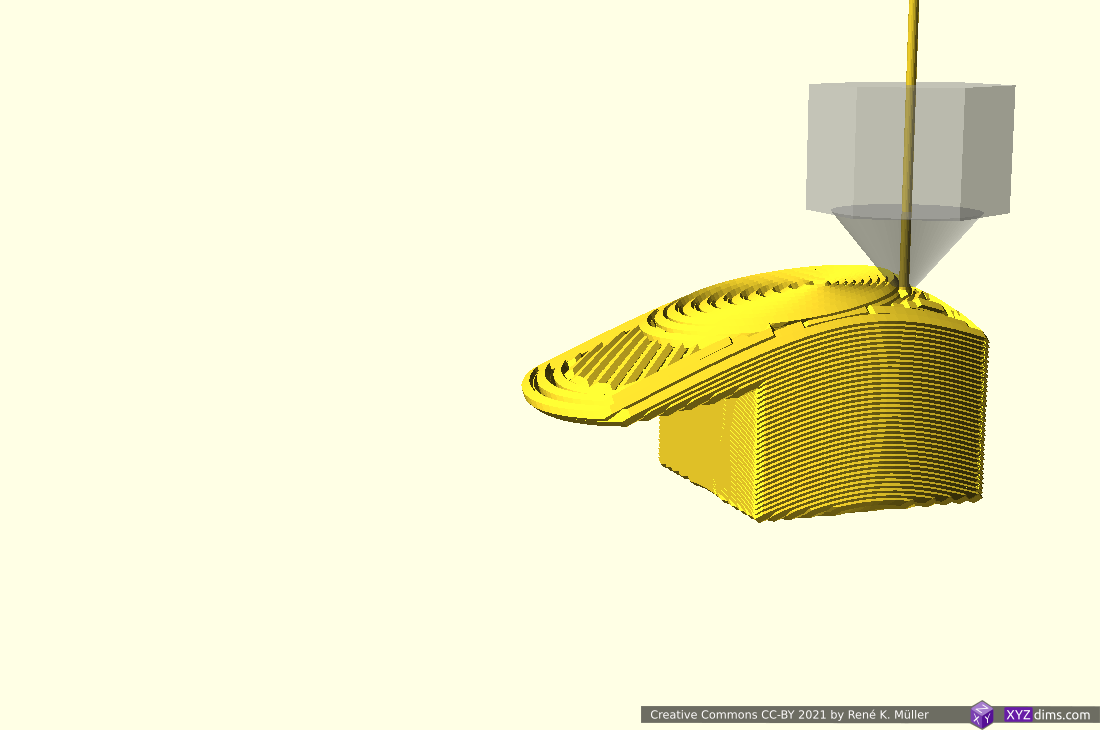
A simple overhang model (nr 3) conic sliced at 25° for 0.4mm nozzle, 0.2mm layer height:


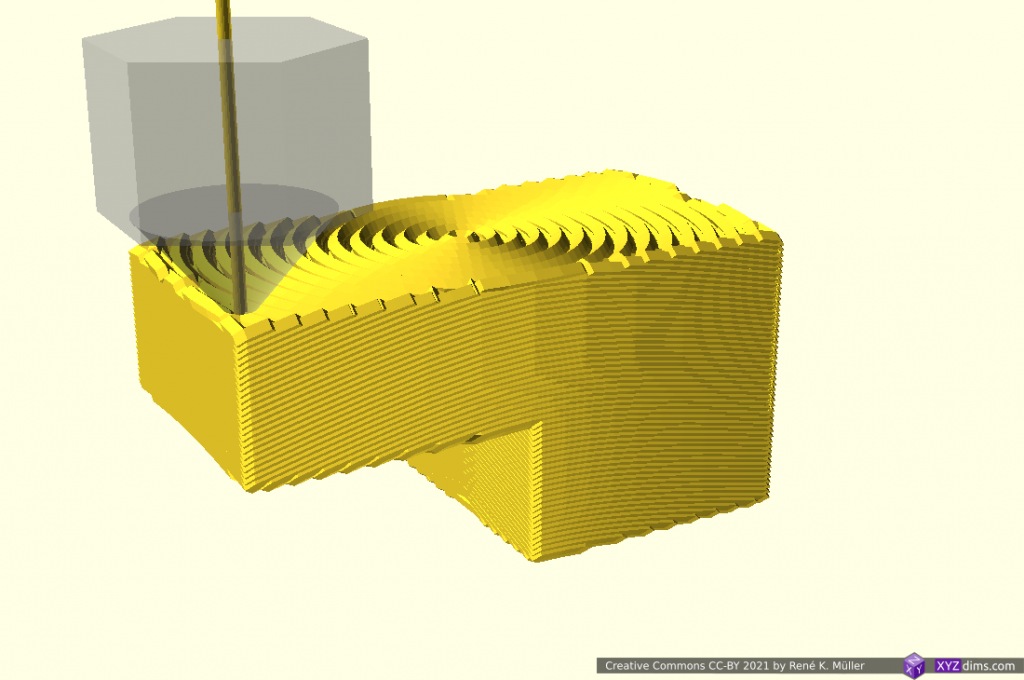
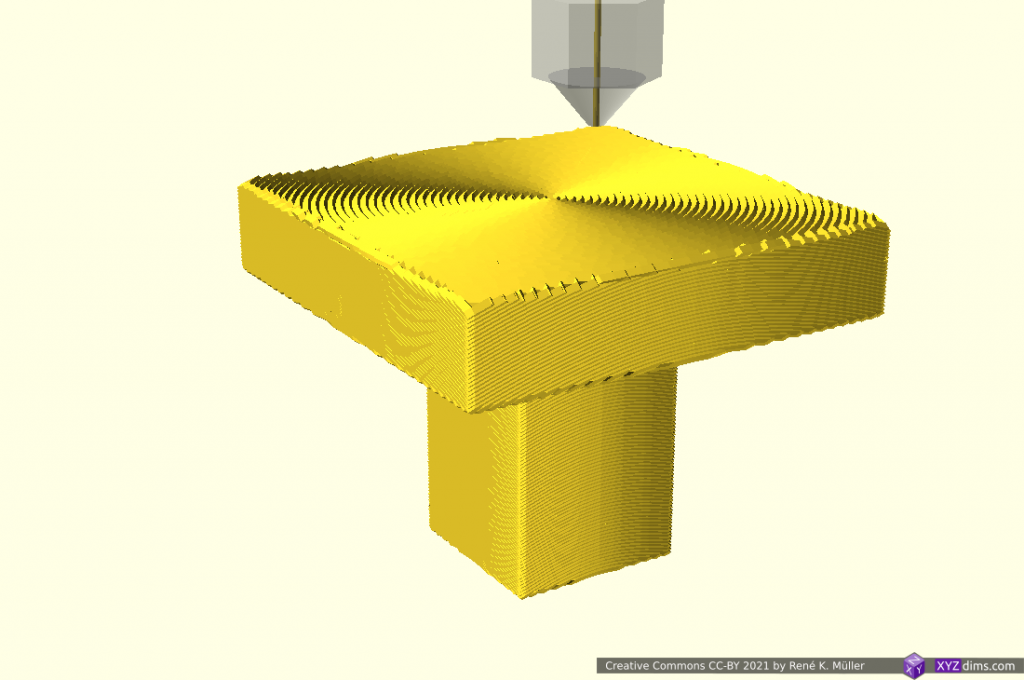
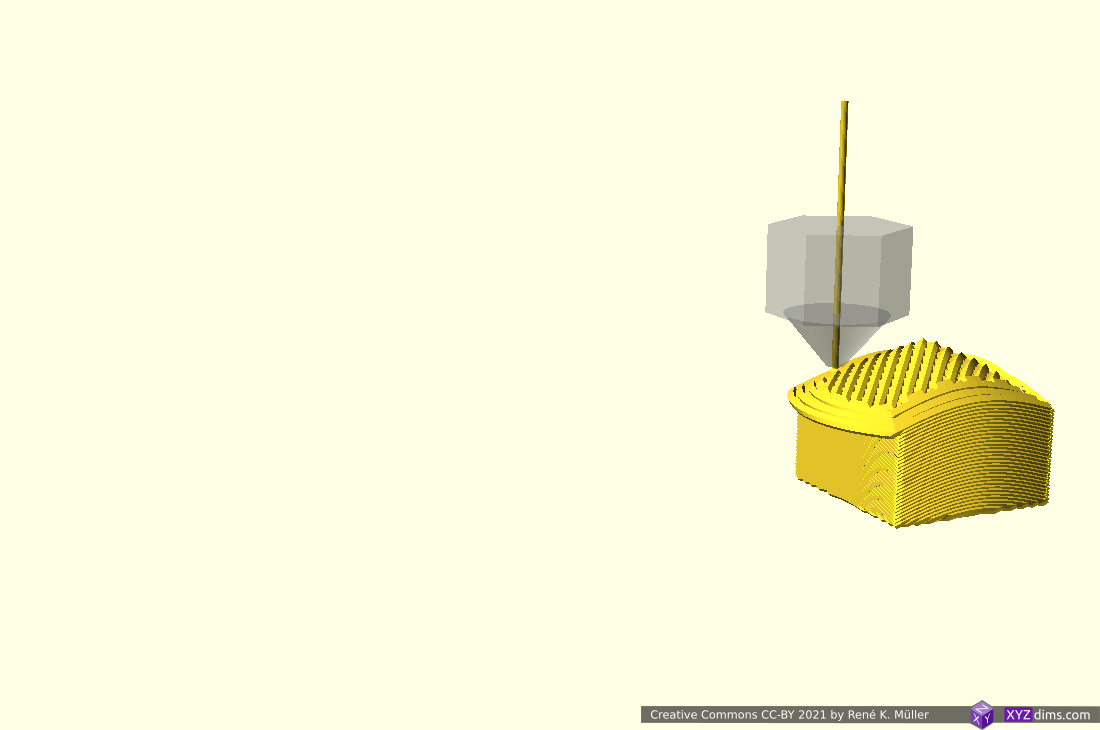
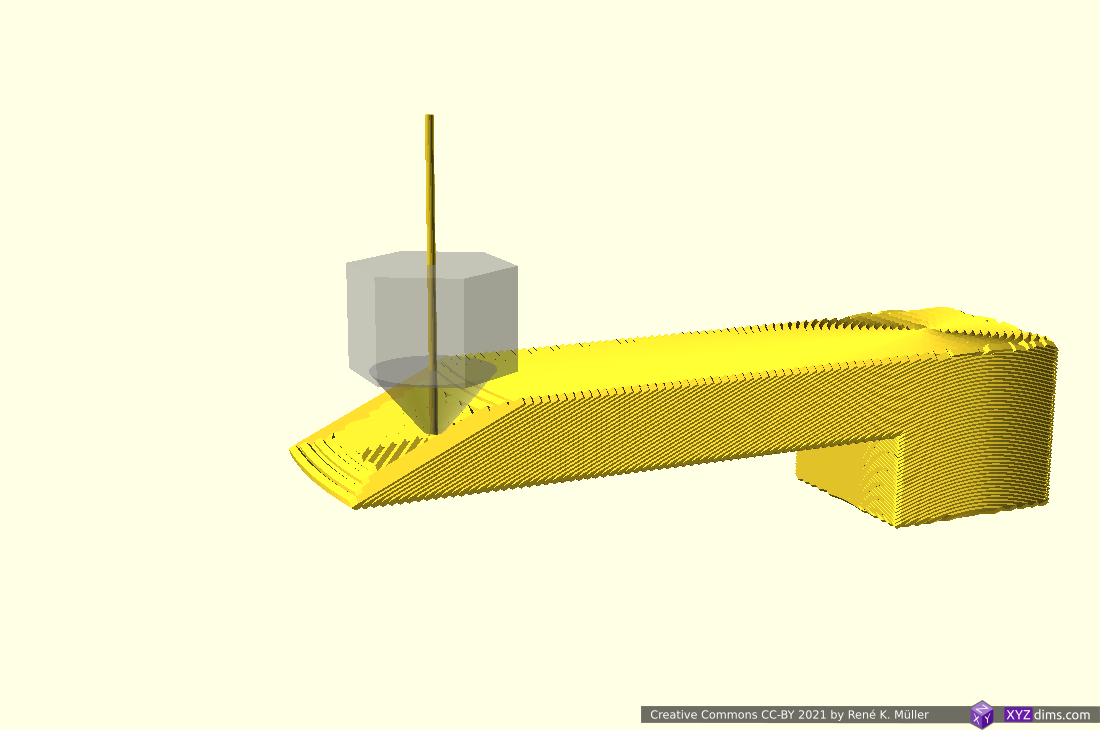
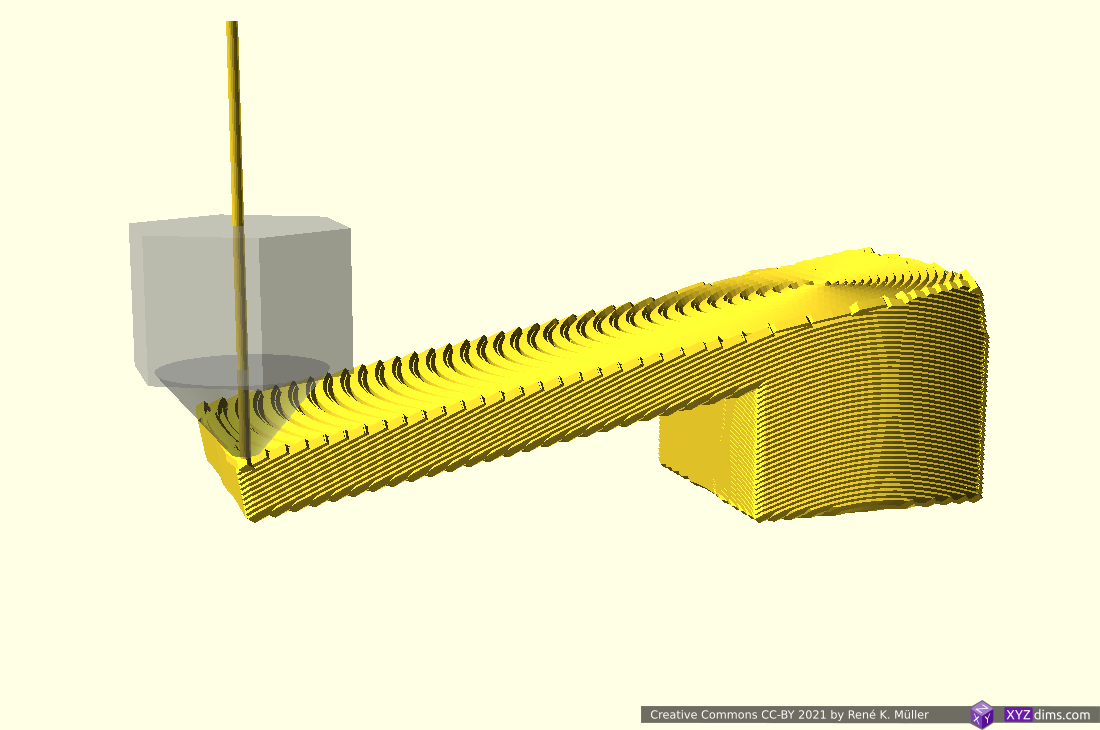
Tilted Slices Simulation
The same overhang model (nr 3) tilt sliced at 25° for 0.4mm nozzle, 0.2mm layer height (like with belt printer):
Conic Slices Print Tests
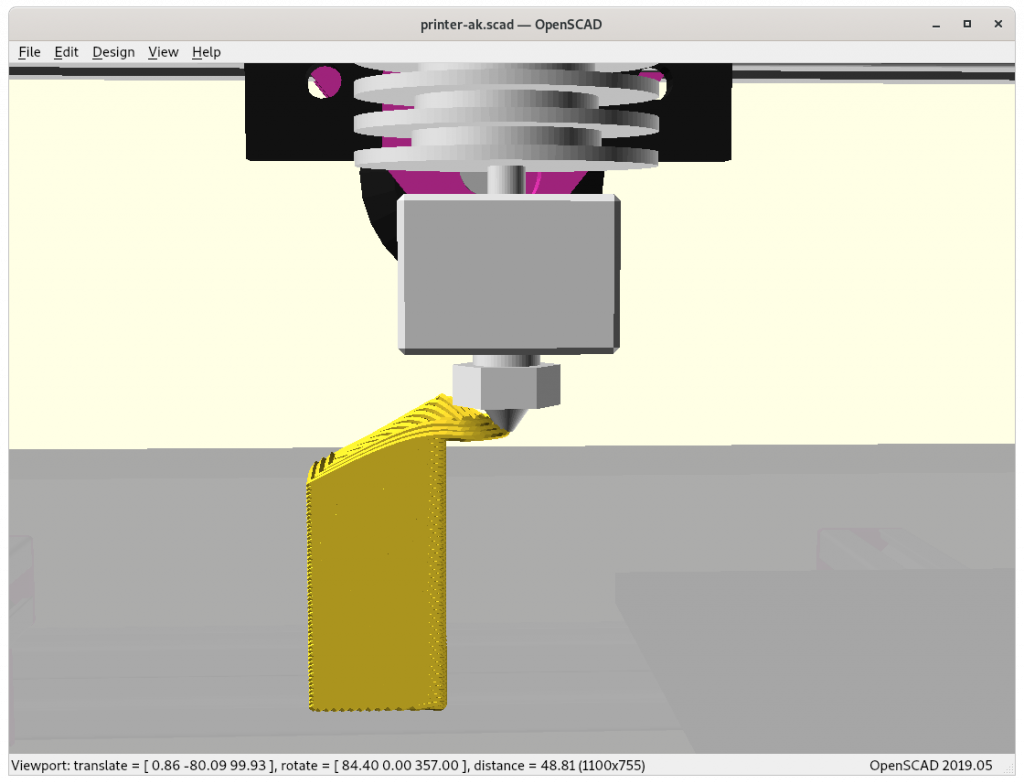
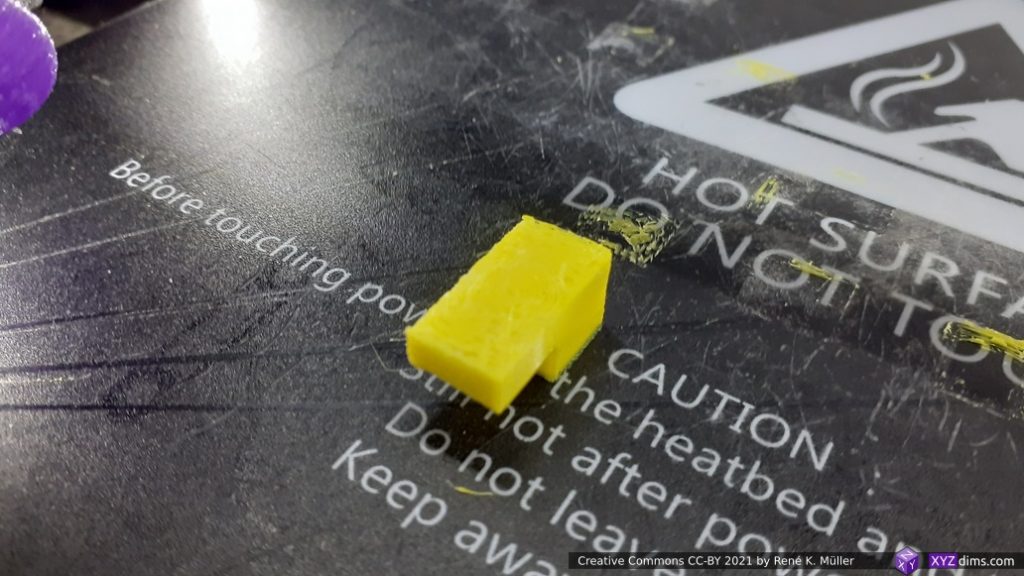
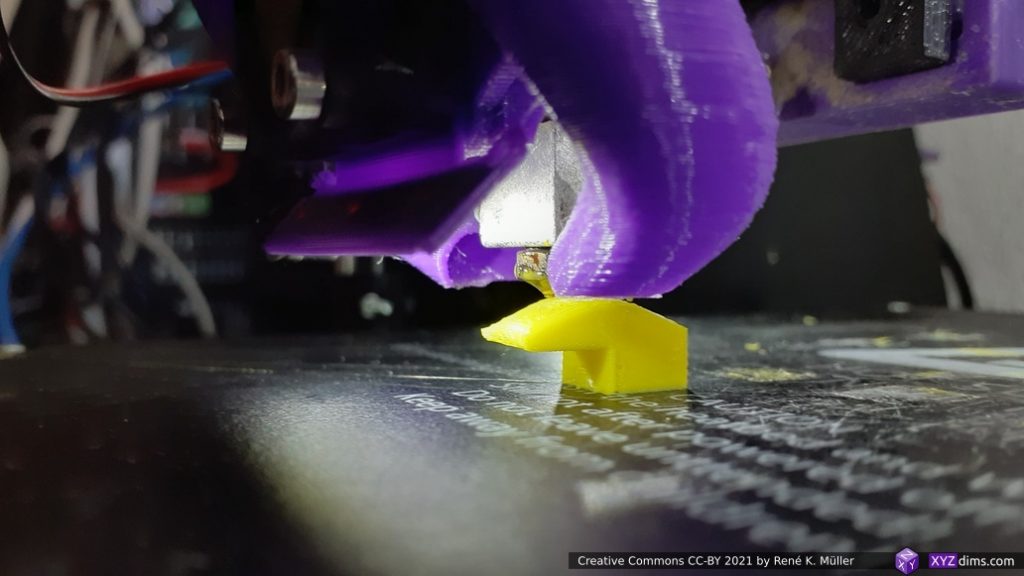
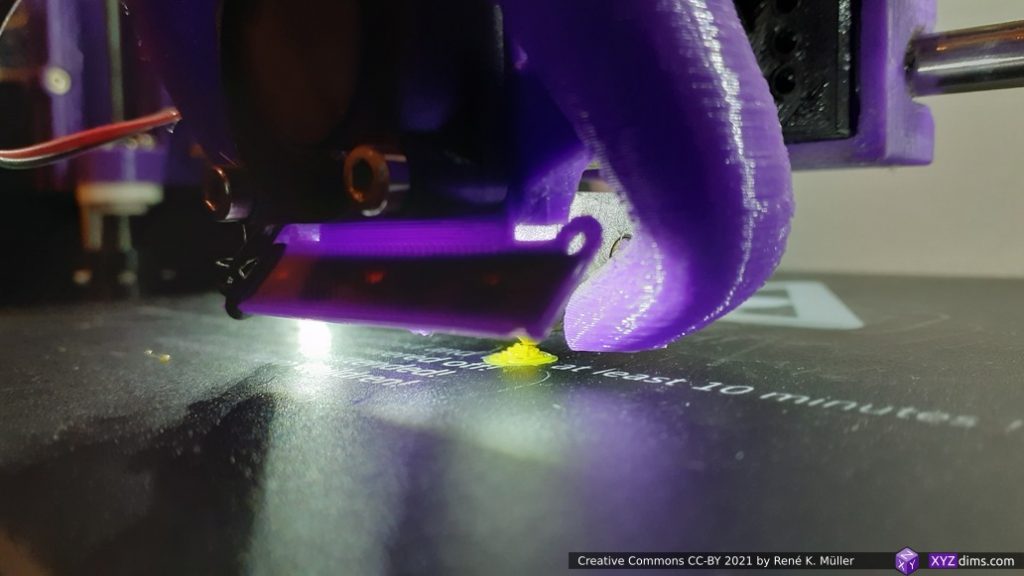
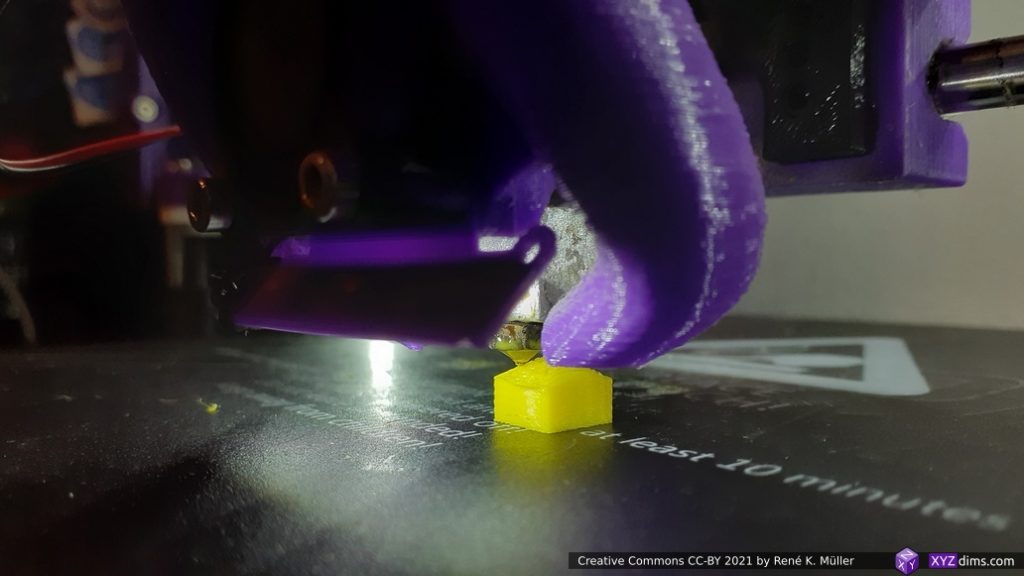
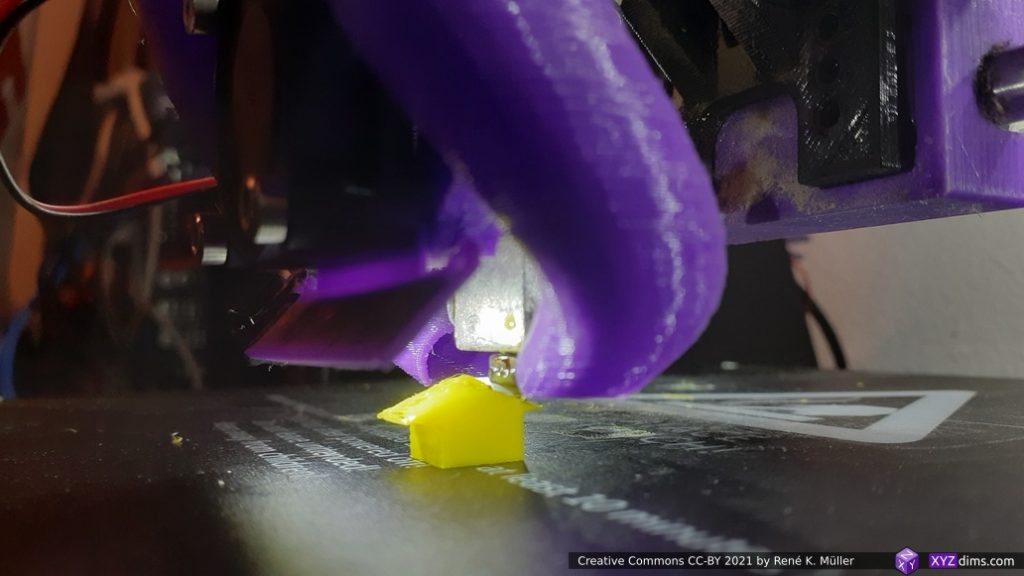
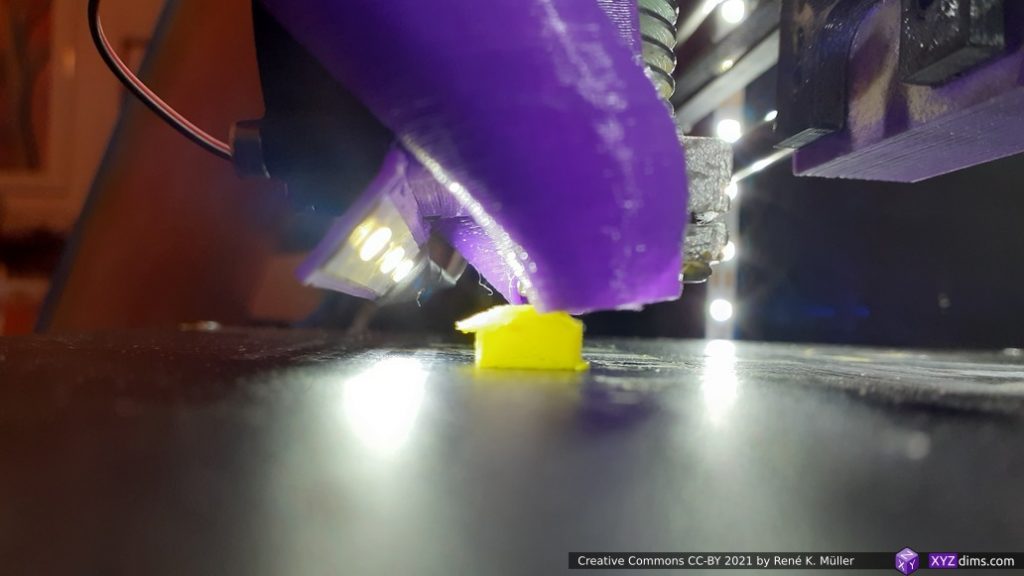
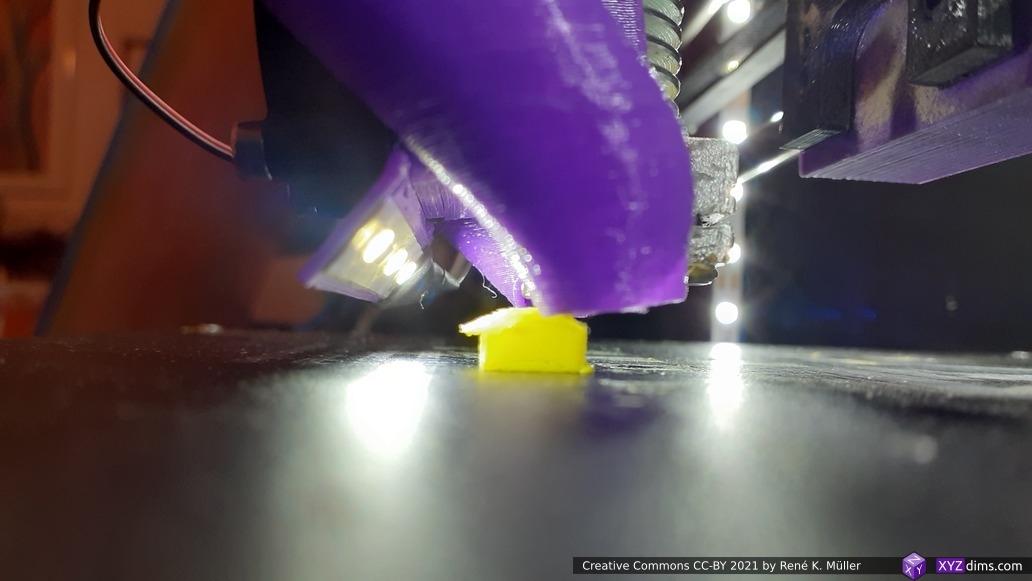
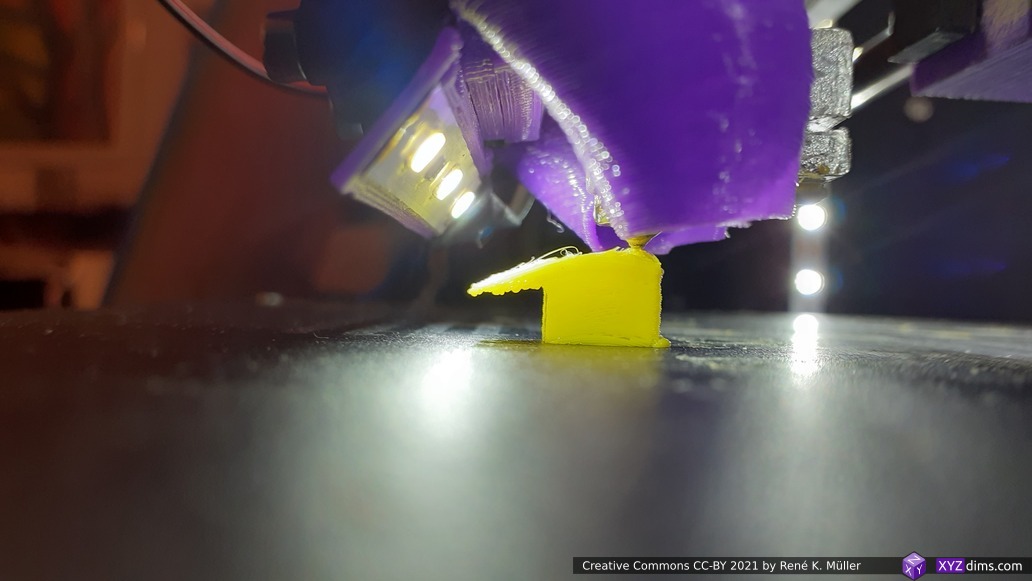
And on the afternoon of March 1st 2021 I ran my G-code for the first time on an ordinary 3-axis printer, a cheap CTC DIY I3 Pro B (Prusa-i3 like), in the attempt to print 90° overhangs, with a conic sliced overhang model:
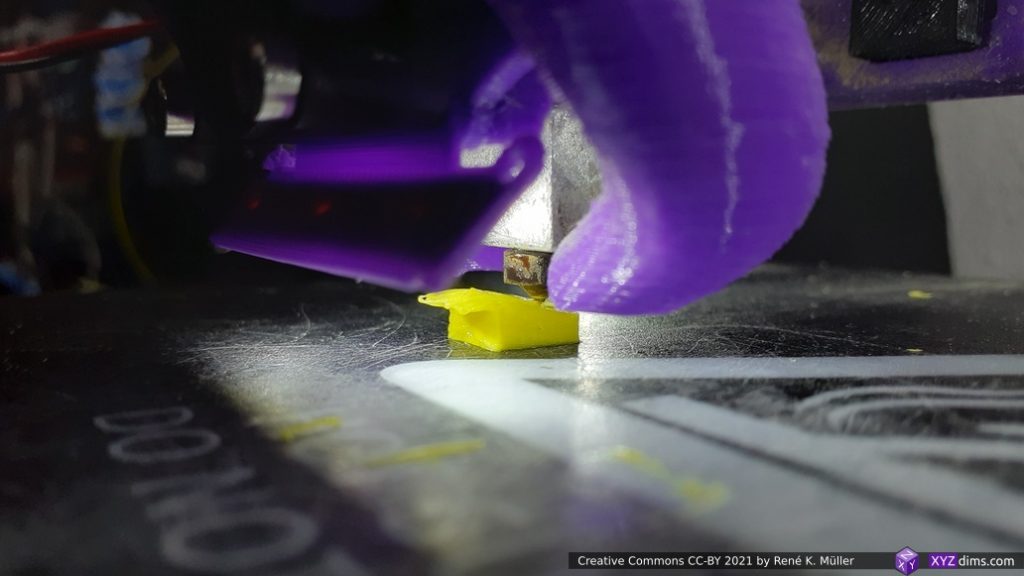

Wow – it seems to have worked! There were still some issues, like the nozzle without extrusion moved into the print as I forgot map linear motions without extrusion also to conic coordinates as well, and some other minor things.
You may consider this a “backport” of 4-axis slicing procedure back to a 3-axis 3D printing procedure.
Next Day Attempts
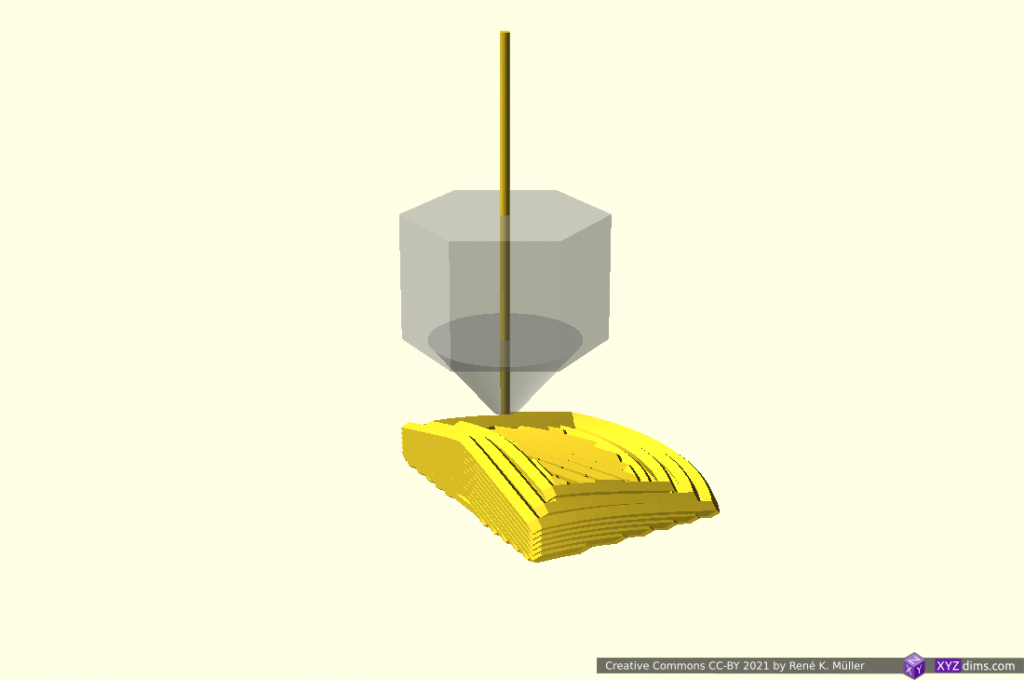
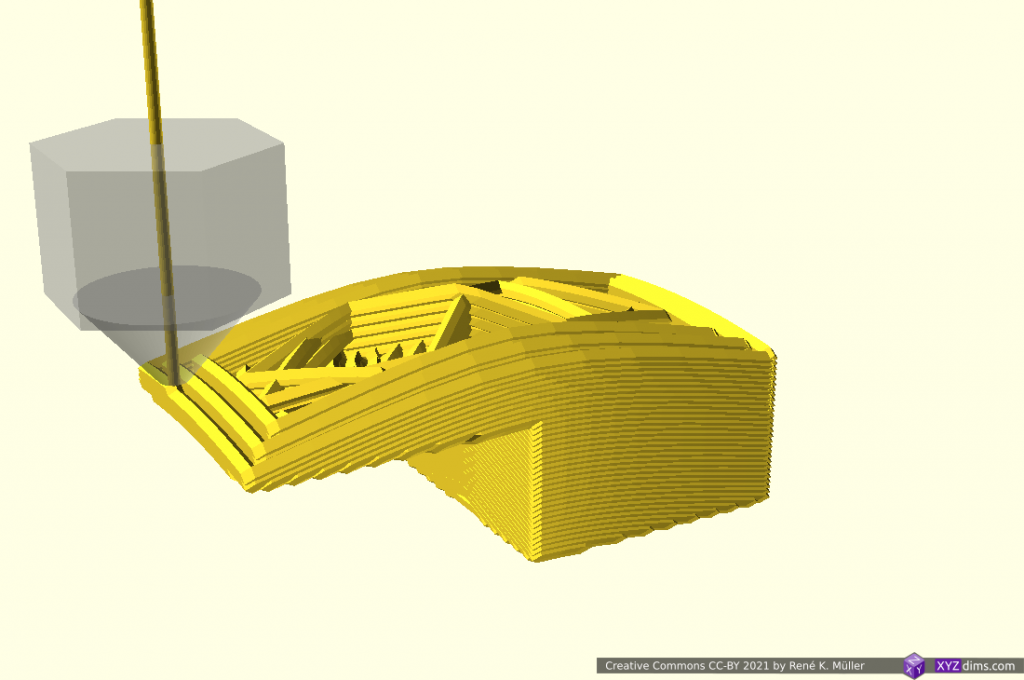
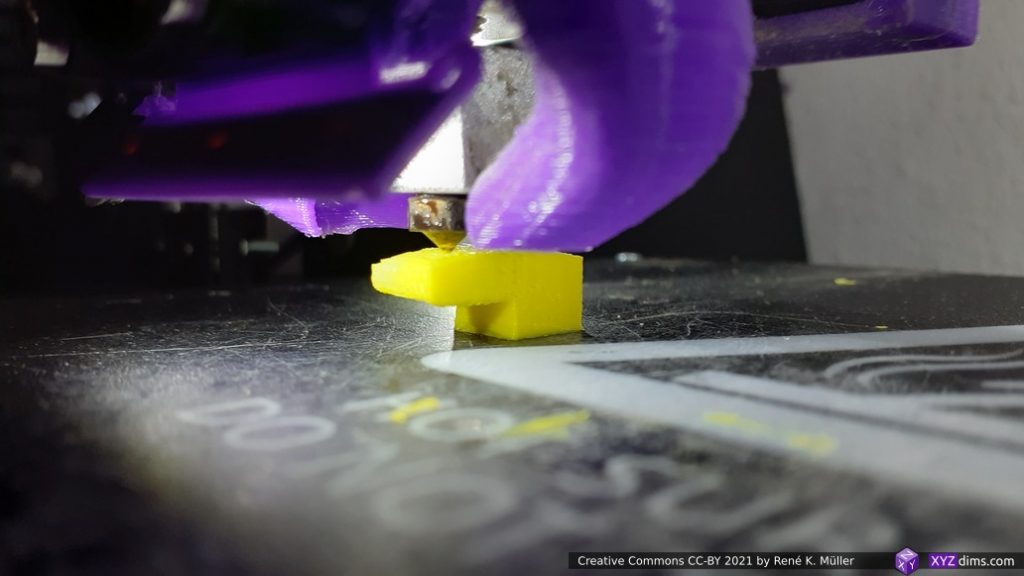
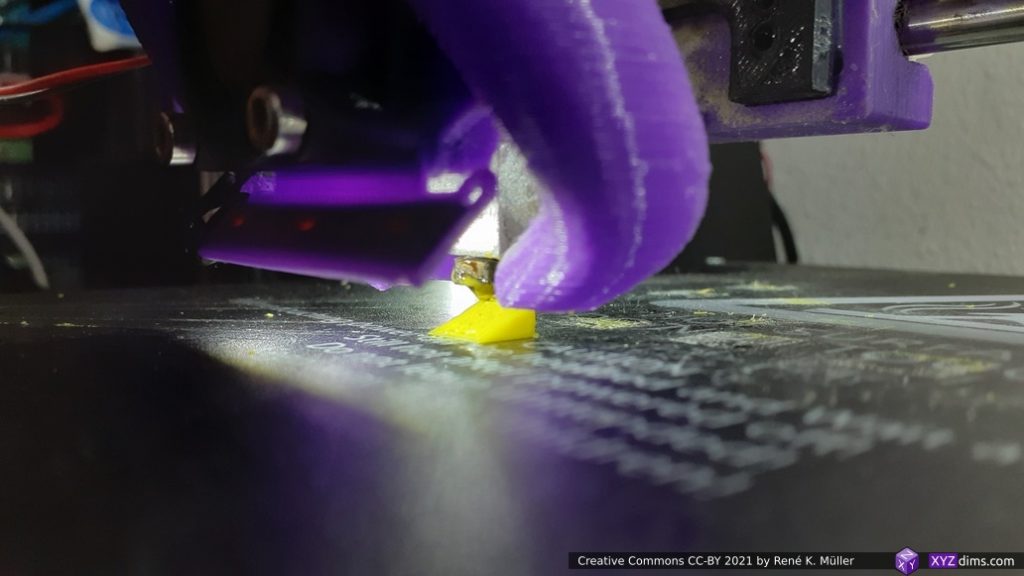
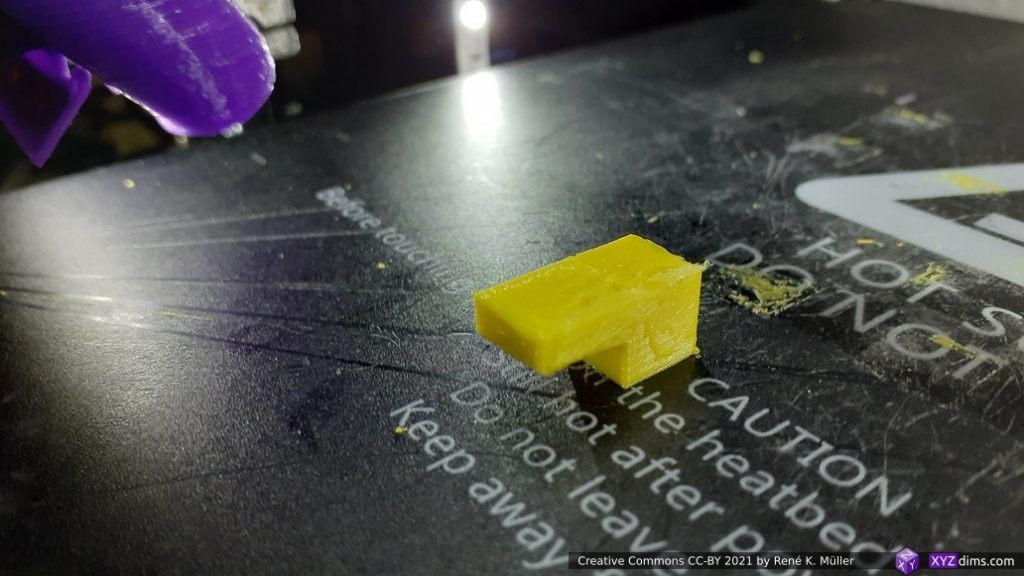
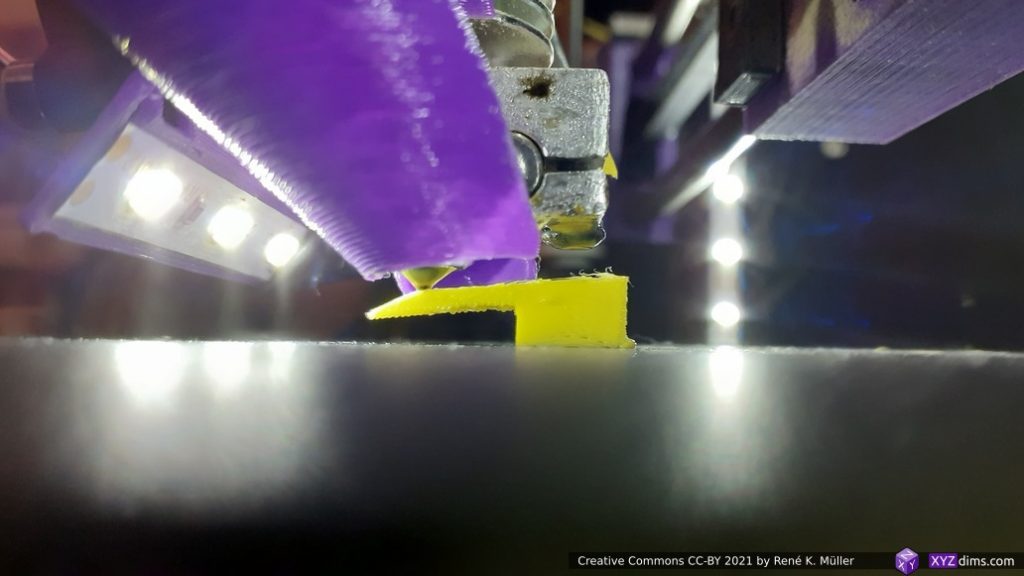
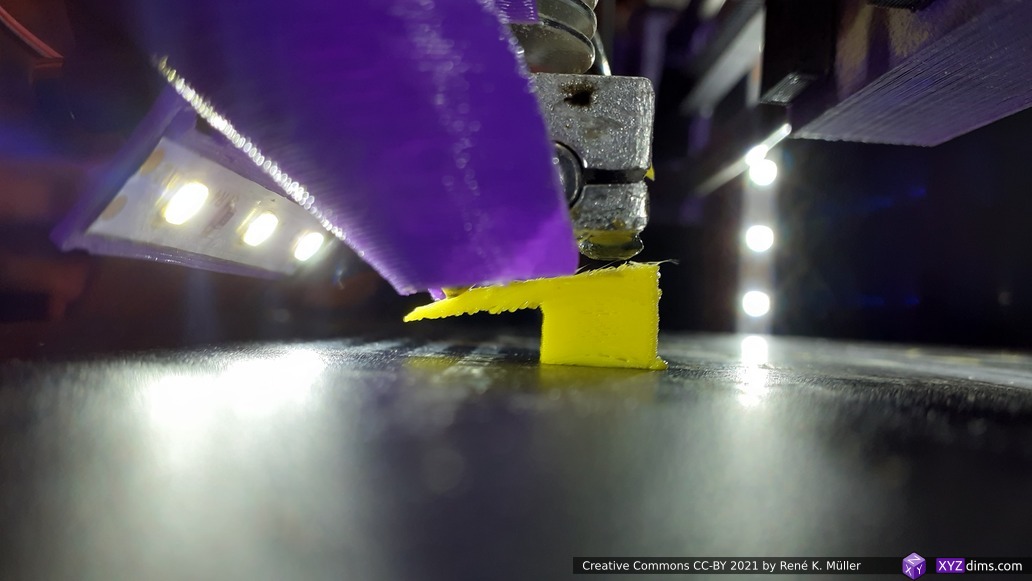
Conic Slices
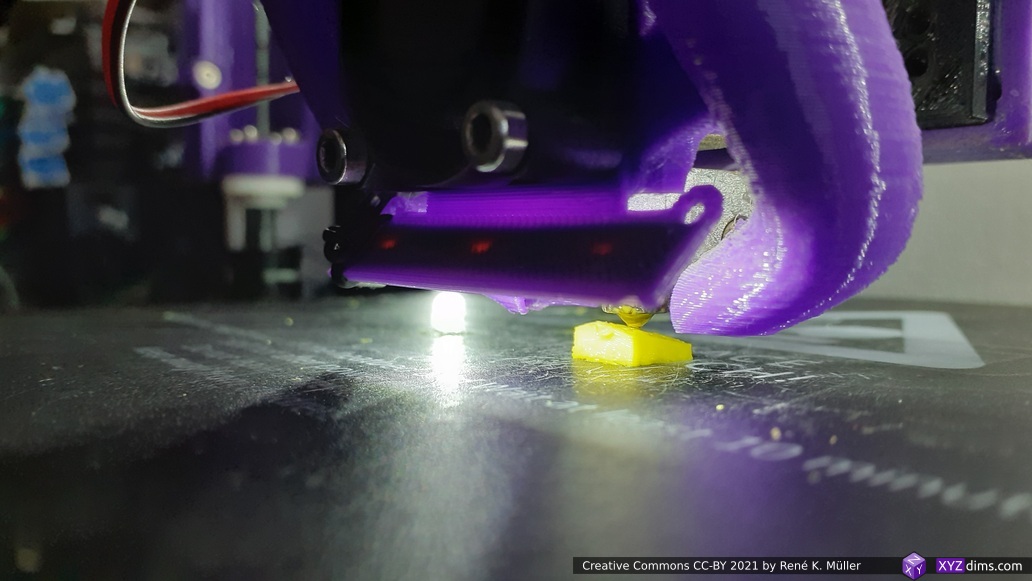

The print is still pretty ugly due to the obvious under-extrusion, but the geometry seems to work overall. The overhang on the left-front isn’t evenly, as the outer wall print speed is still too high.
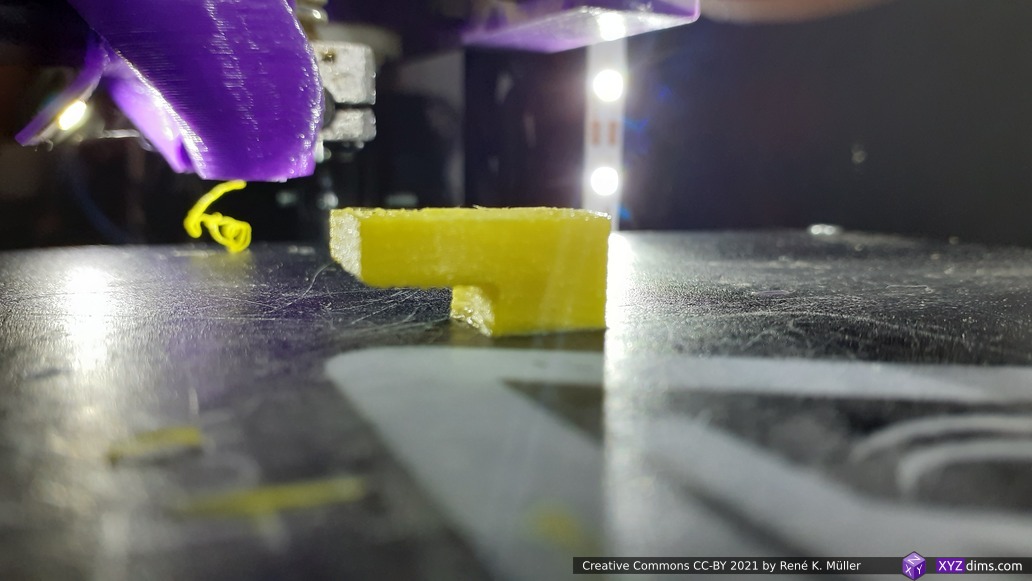
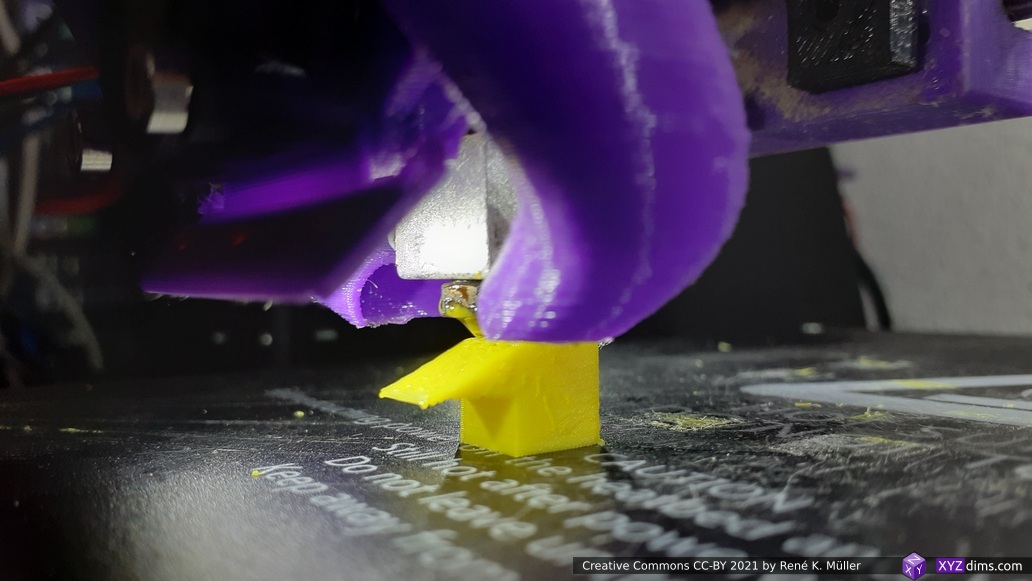
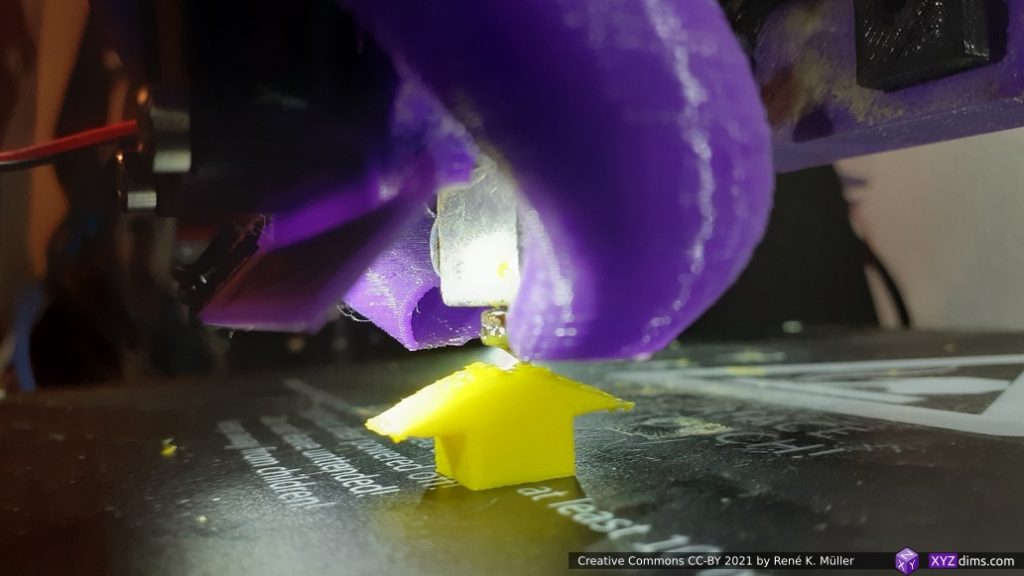
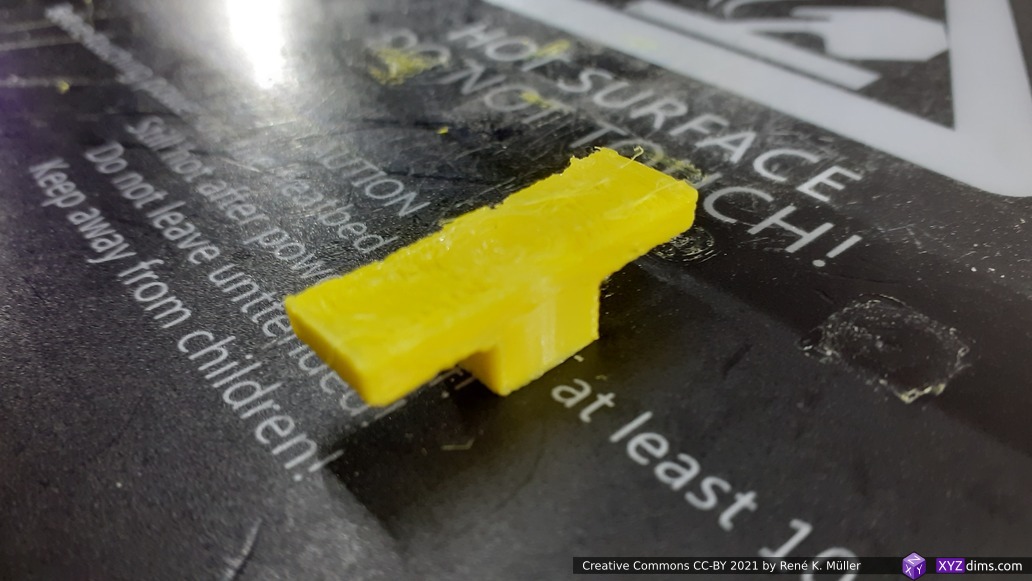
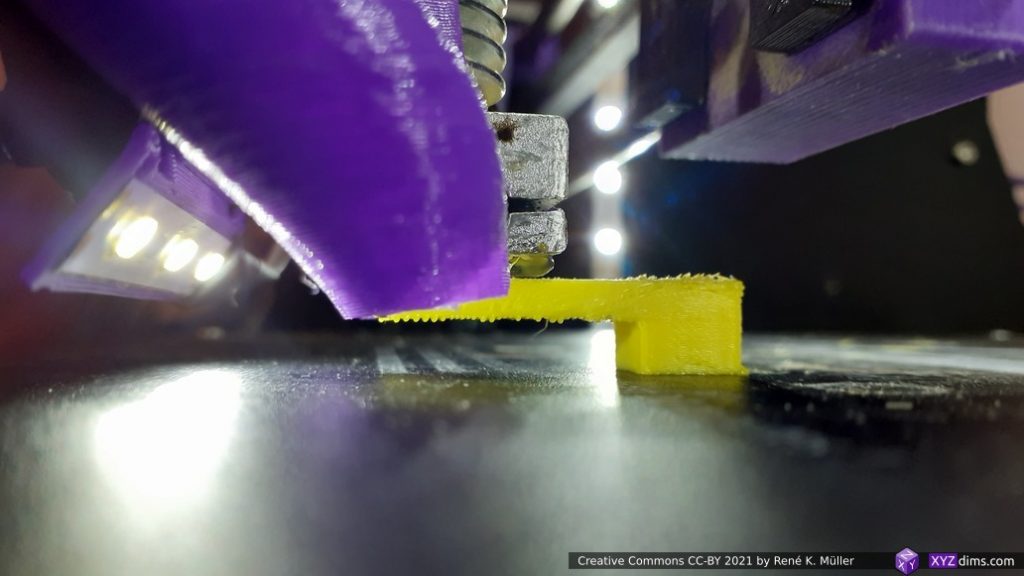
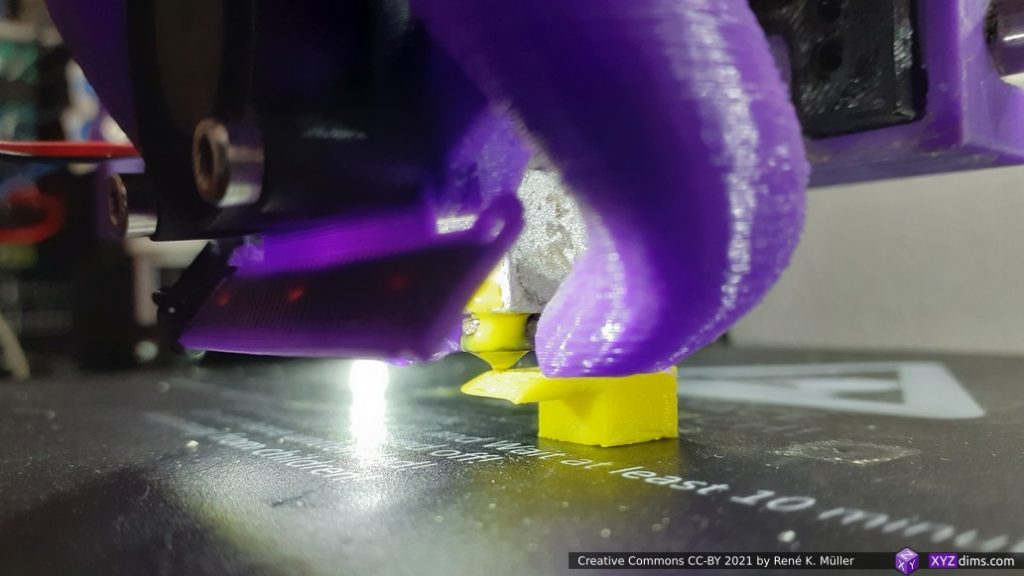
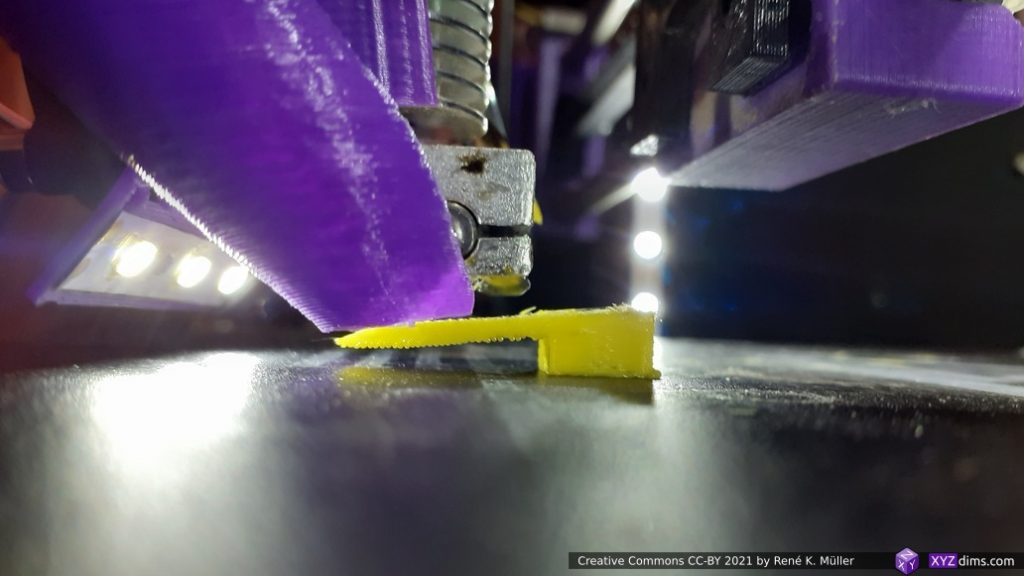
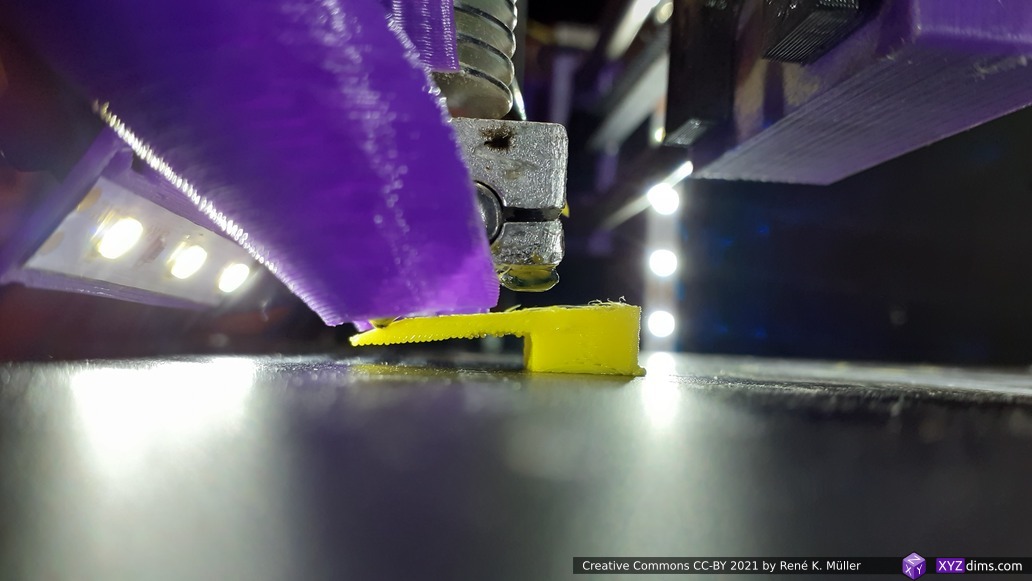
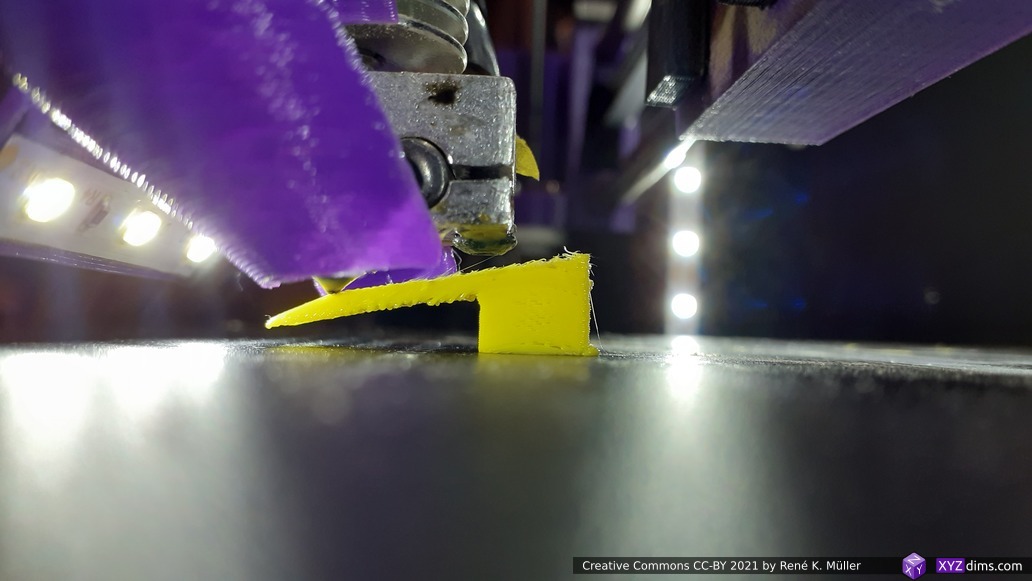
Tilted Slices

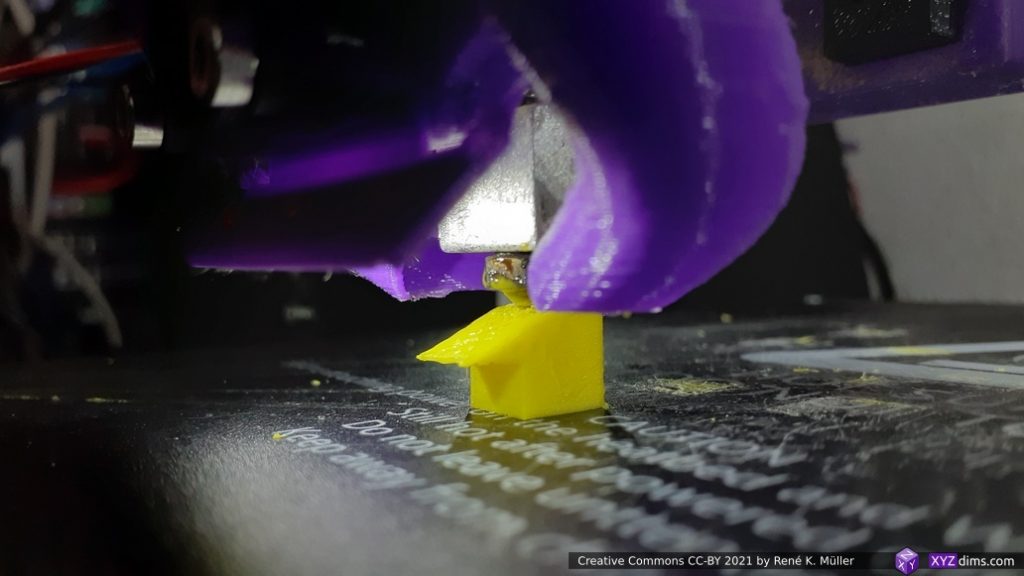
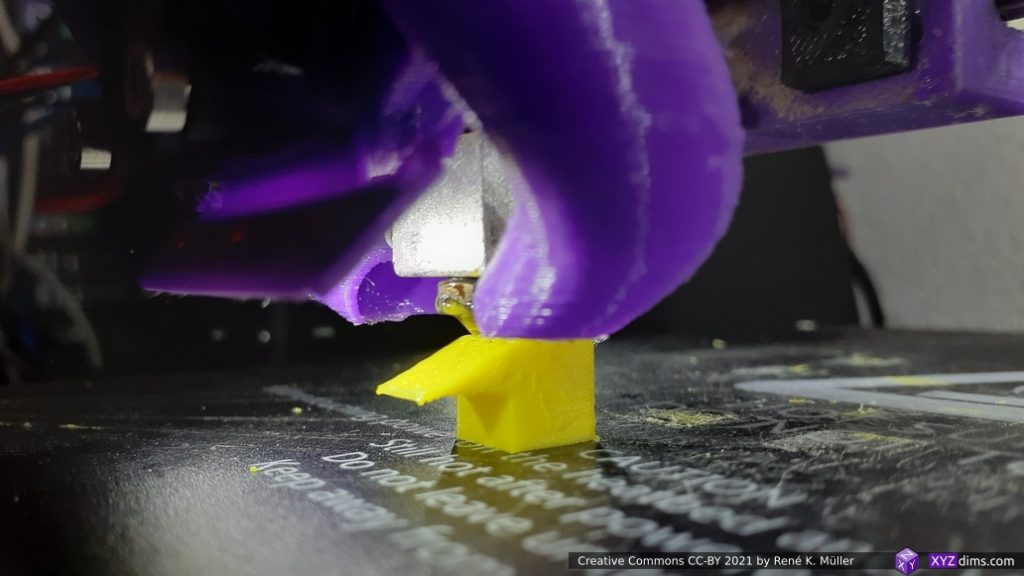
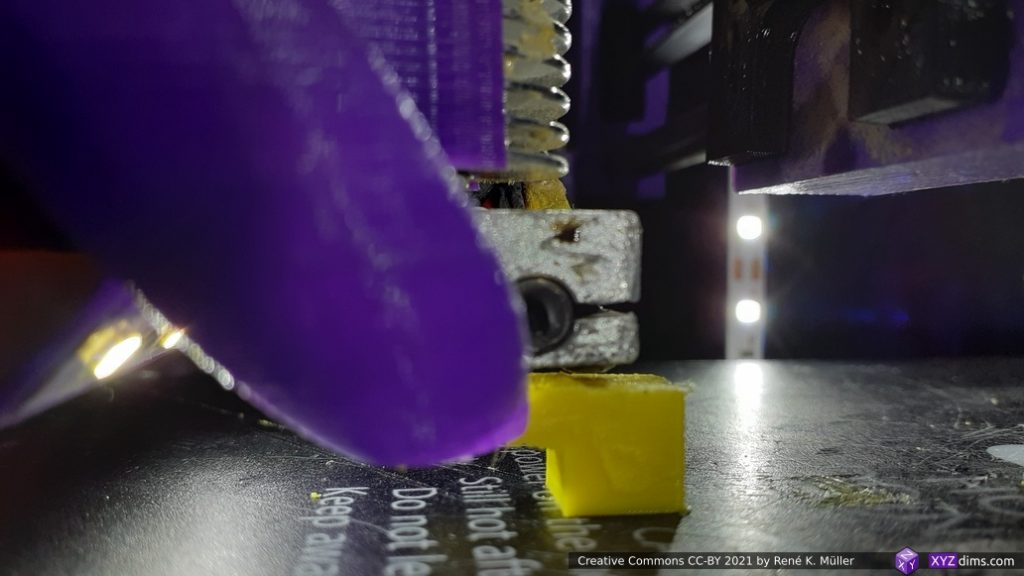
heatblock comes awfully close 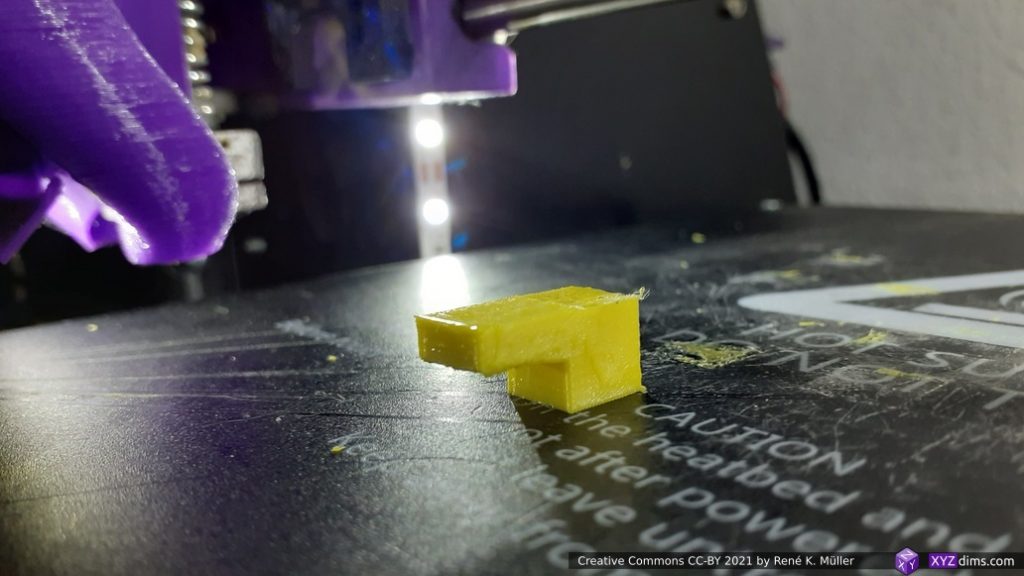

Very clean print so far but the overhang is limited to one direction (see below of overall considerations).
Findings
Well, it works, but here are some limitations of using non-planar slicing:
Conic Slices
- conic sliced overhangs need to be going out- or inward from a central point
- more complex pieces need to be volume decomposed or segmented, e.g. some sub-volume sliced ordinary vertically Z-wise, others conic sliced where needed – this is part of my research on 4-axis and 5-axis printers; and I was hoping some of the findings can be applied to 3-axis 3D printer as well (as this post shows)
- the printhead geometry with heatblock sock, part-cooler, LED light they quickly come into way with larger pieces and larger overhangs
- this might look minor, but part coolers play significant role for quality prints, so they need to be optimized for non-planar printing
- cone angle
- 15° works, sufficient space around the nozzle, but on the edge for overhangs, better surface quality
- 20° works better, layers more stable beneath the overhang
- 25° works too, but is the limit on my E3D V6 clone, poorer surface quality, but overhang prints better
- print quality is sub-optiomal, as the nozzle runs over its own extruded filament and any “flat” surface becomes jittery as it’s not longer flat (toward Z) printed
Tilted Slices
- single direction angled slice like with belt-printer
- only one direction overhang possible, but good quality
- tilt angle:
- 25° works good, yet, the heatblock comes into the way rather quickly with my sample overhang model
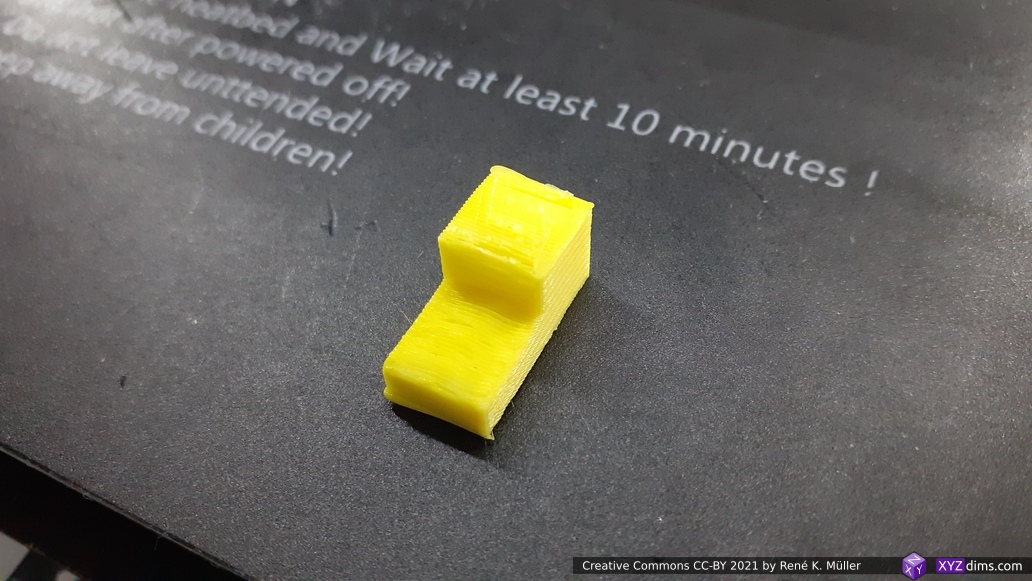
Conic vs Tilted Slices
25° conic sliced overhang model 
25° tilt sliced overhang model
Issues to Resolve
- more tests
- more beautiful prints
- fine tune extrusion rate: the current
slicer4rtndoes a simple/poor interpolation causing rough top surfaces (under- vs overextrusion) - fine tune outer wall of overhangs, slow them down
--slicer.external-perimeter-speed=10%(Slic3r)
- fine tune extrusion rate: the current
- support more slicers
- Slic3r: supported since
slicer4rtn 0.0.1 - Prusa Slicer: supported since
slicer4rtn 0.1.2 (0.1.1 was broken)but often refuses to slice model, e.g. cube fails in inverted cone space - Cura Engine: not yet
- see Conic Slicing for RTN for up-to-date list
- Slic3r: supported since
- support skirts (again): due the slicer algorithm the skirt must omitted before pre-processing but be added at last stage or post-processing
- redesign my part cooler so I can test print larger overhang pieces
- find collision algorithm (along with given parametric printhead geometry), that’s part of the 4-axis and 5-axis slicing procedure
- integrate it sub-volume segmenting framework to print complex pieces too
Gallery
2-sided overhang model nr 4 (conic sliced)
Trying out an overhang model which extends -Y and Y (as side-ways the part-cooler comes into the way)

There are still inconsistencies with extrusion calculation, but the prints getting cleaner.
4-sided overhang model nr 6 (conic sliced)
Sample print comes soon as I need to redesign my part cooler so I can print this piece.
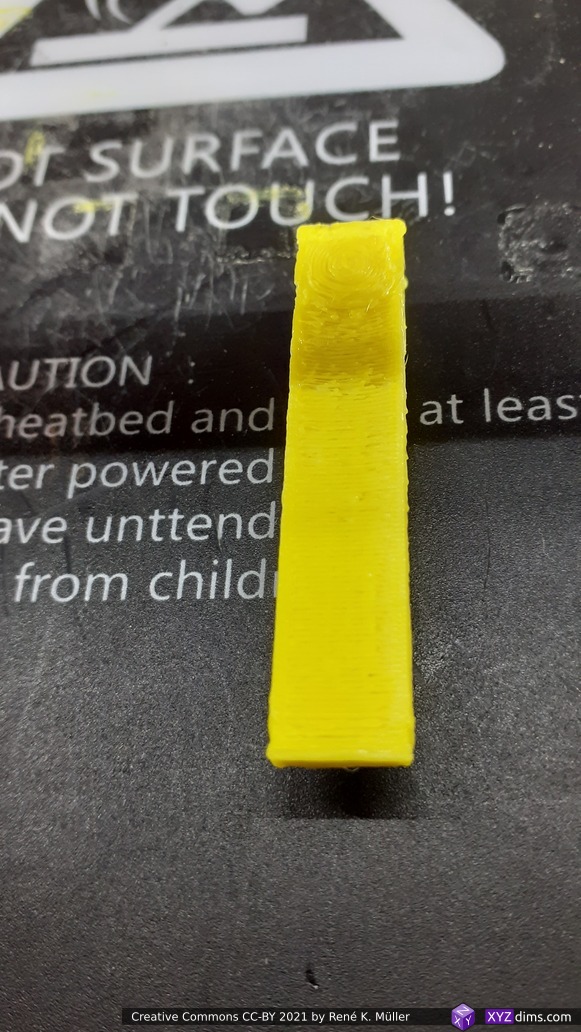
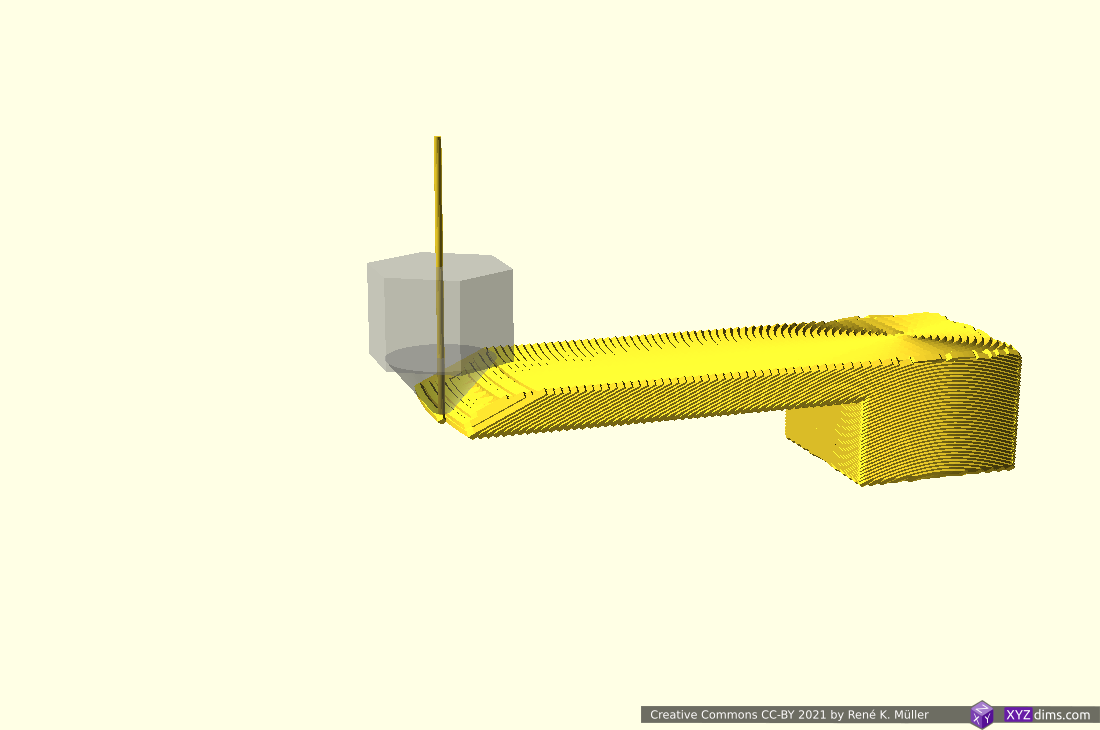
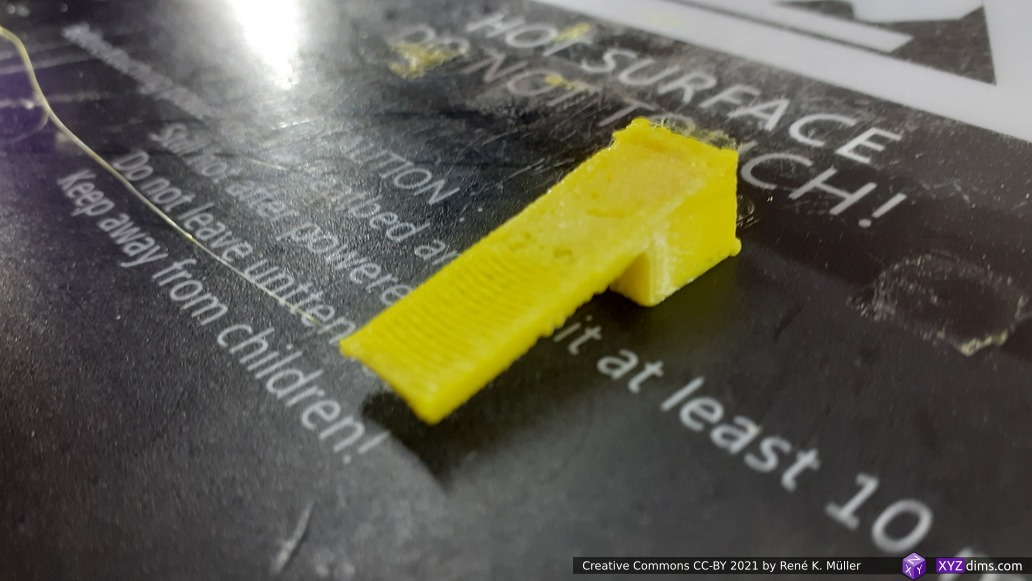
1-sided long 4mm thick overhang model nr 3 (conic sliced)
Long 40mm overhang, just 4mm thick extending nose . . .


a bit rough 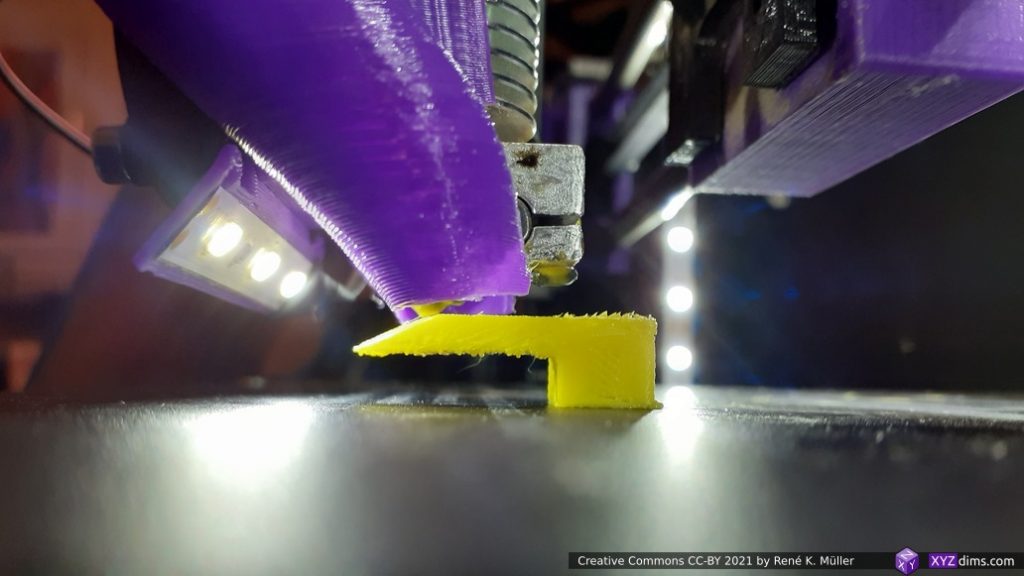


a few layers definitely hang, overextrusion or lack of proper cooling 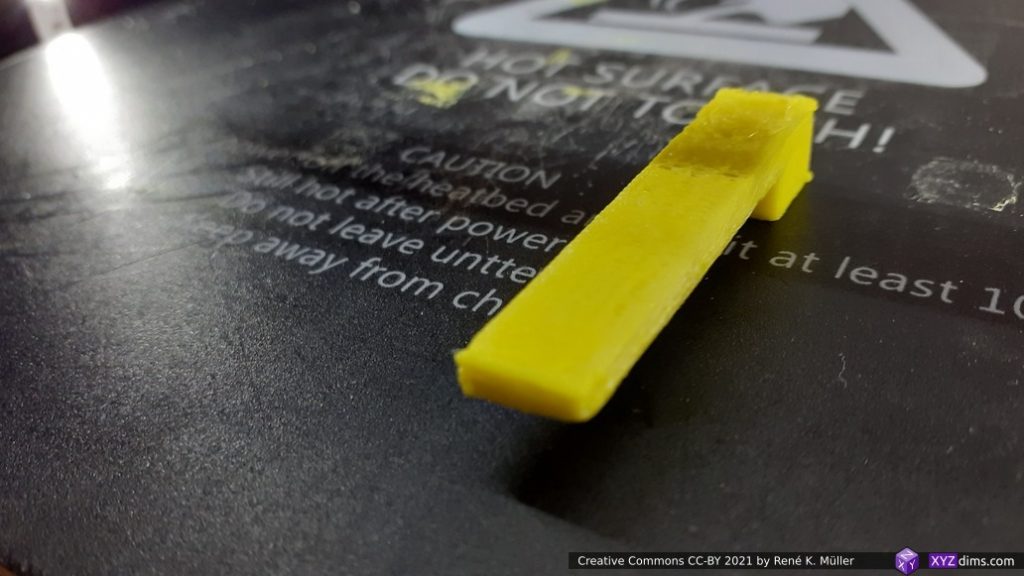
right front is missing some material, rough top of the foot at the back 
X-wise OK

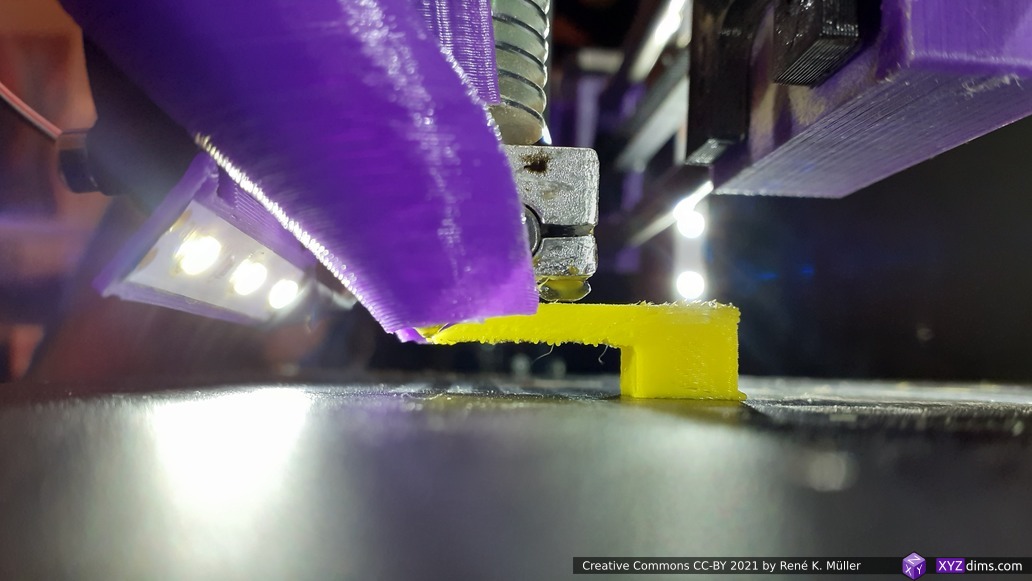


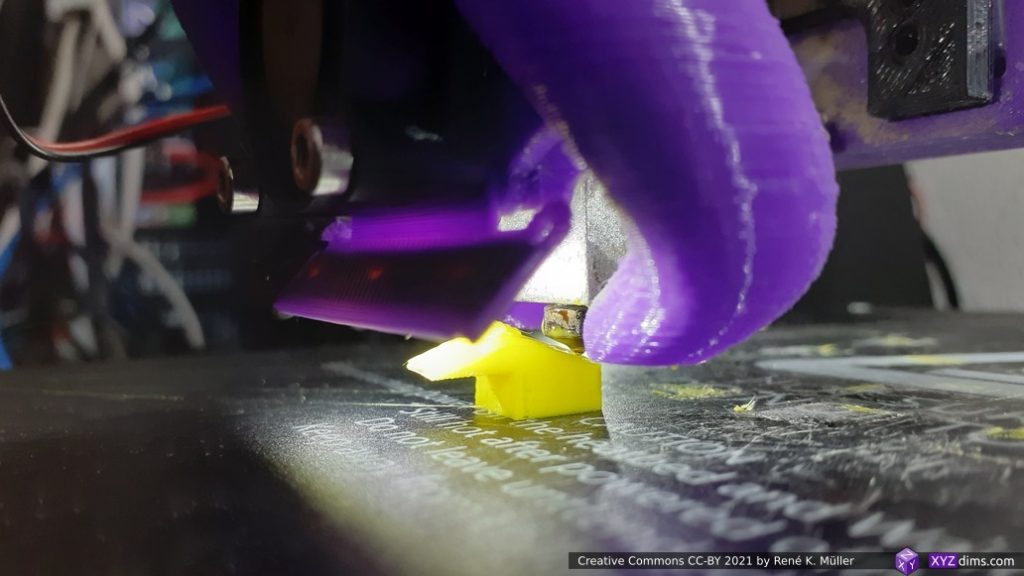
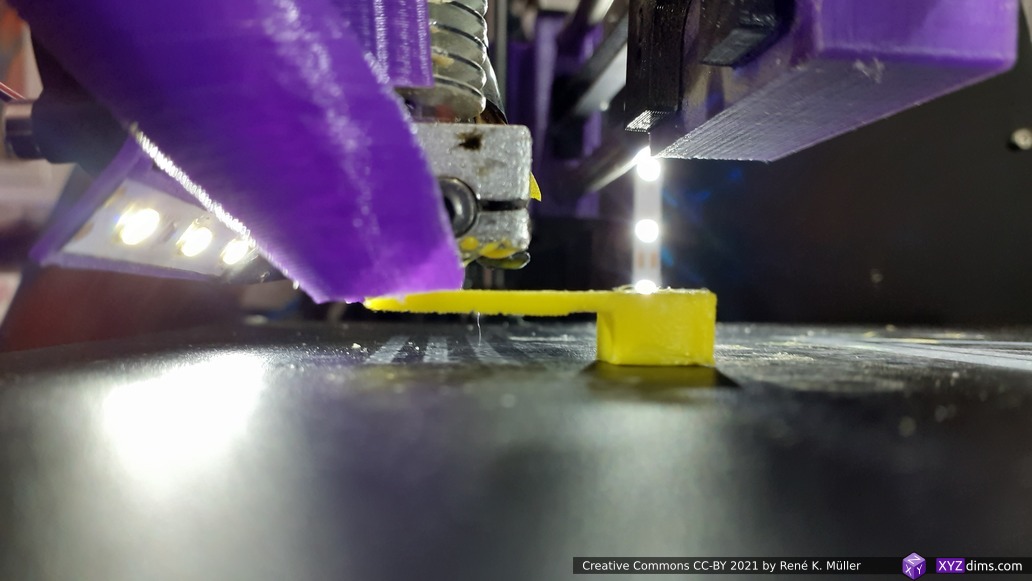
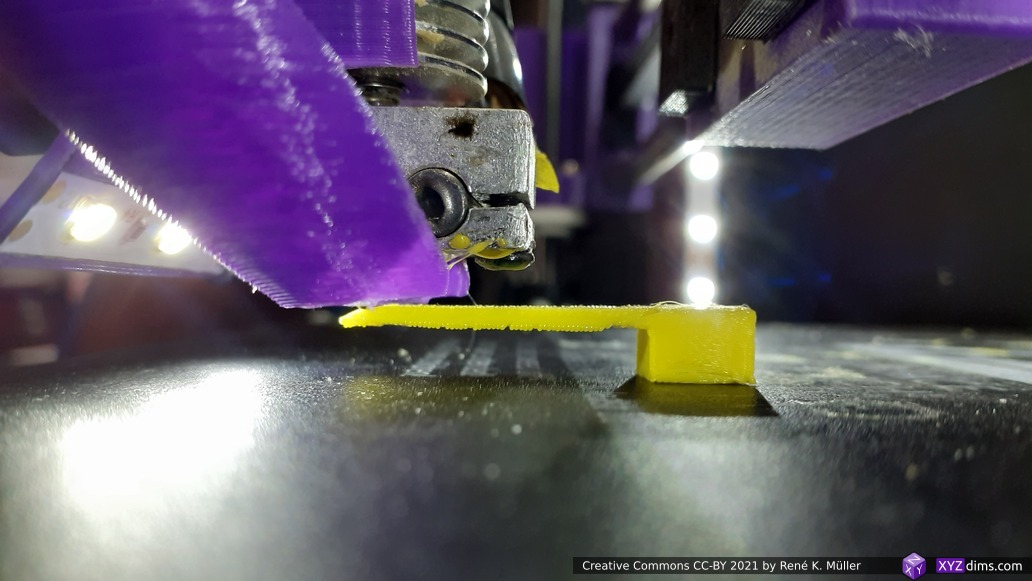
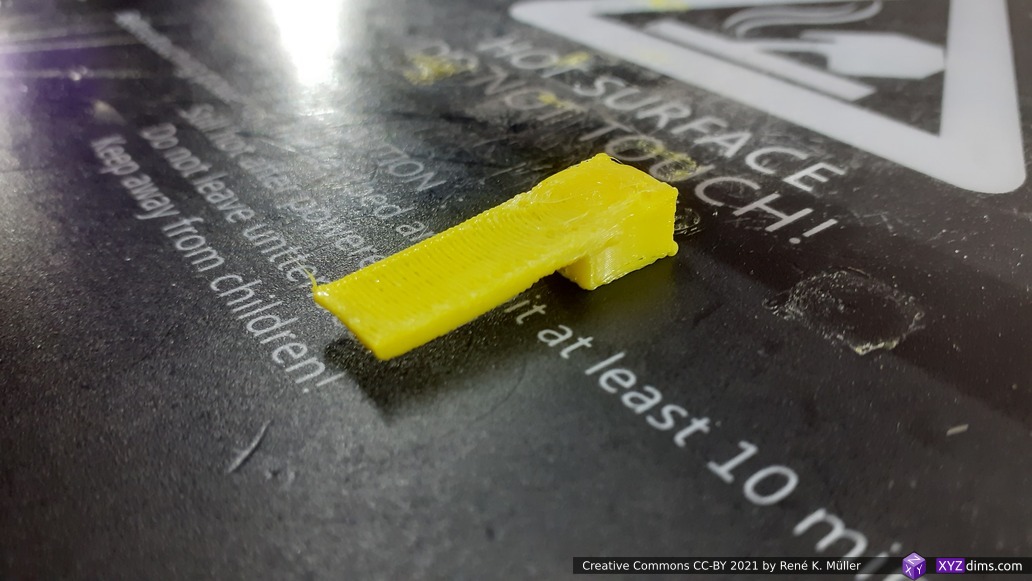
1-sided long 2mm thick overhang model nr 3 (conic sliced)
Long 40mm overhang, just 2mm thin extending nose, let’s push the limits of what’s possible:

good 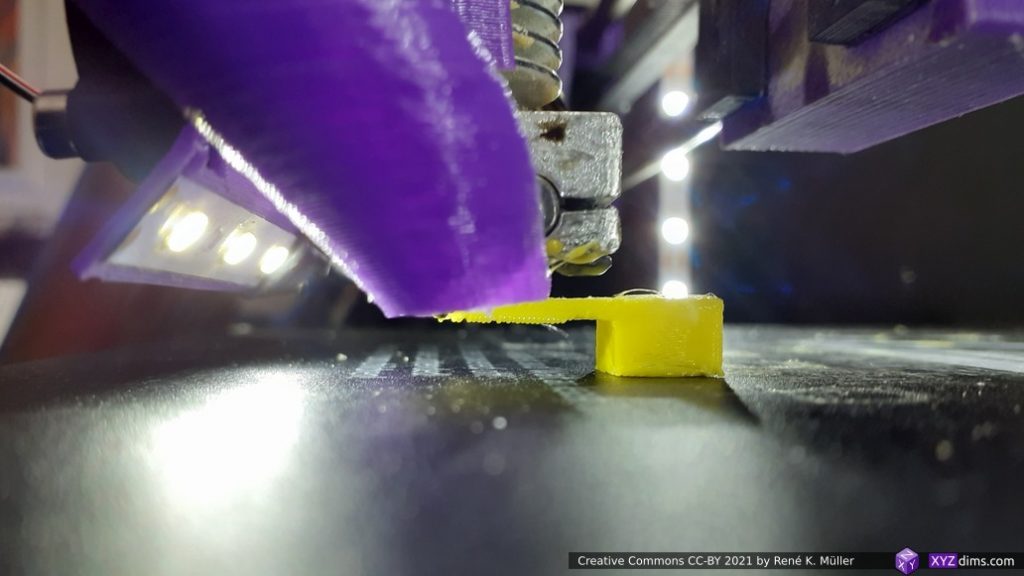
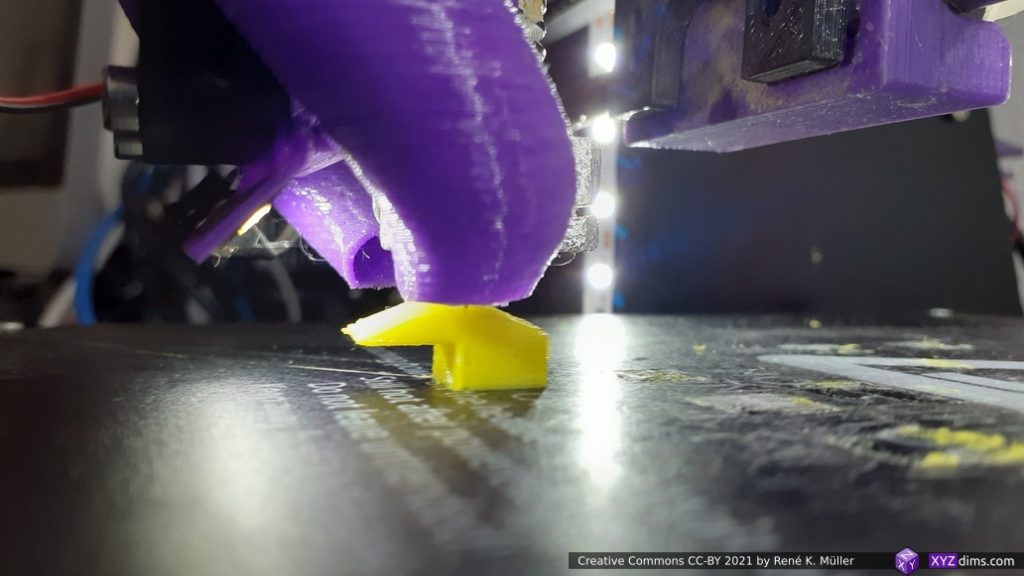
still good 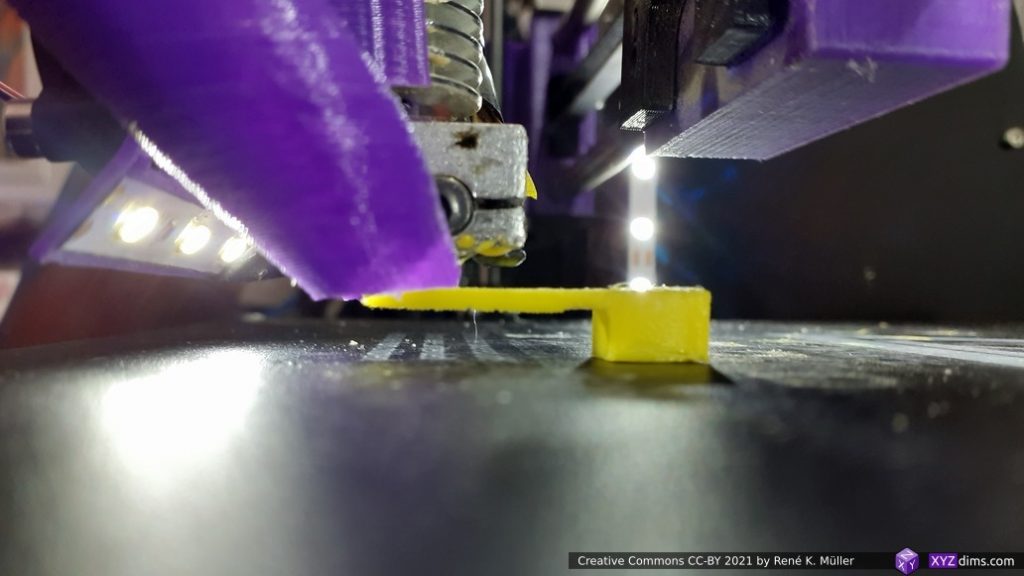
still good? 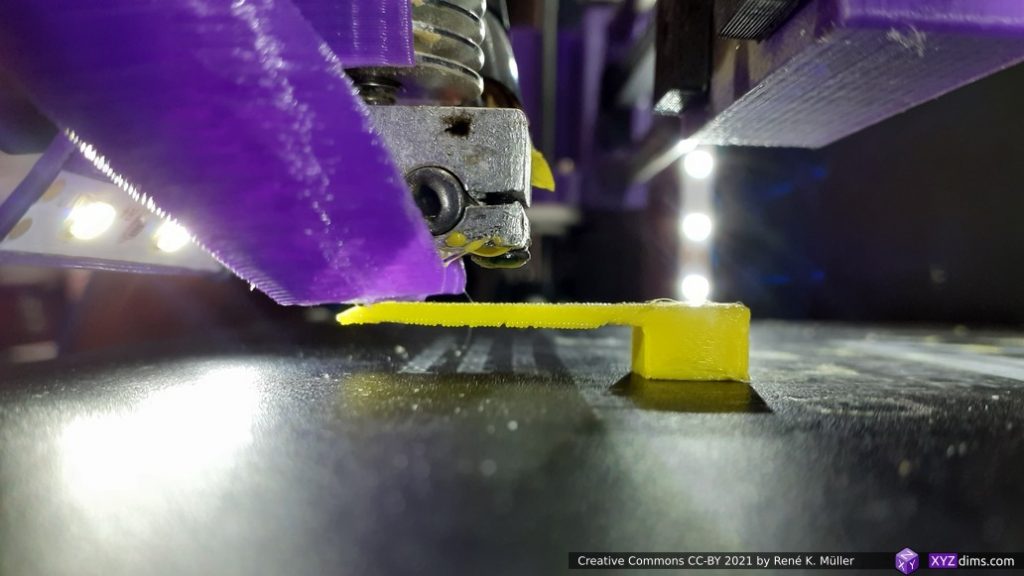
going good further 
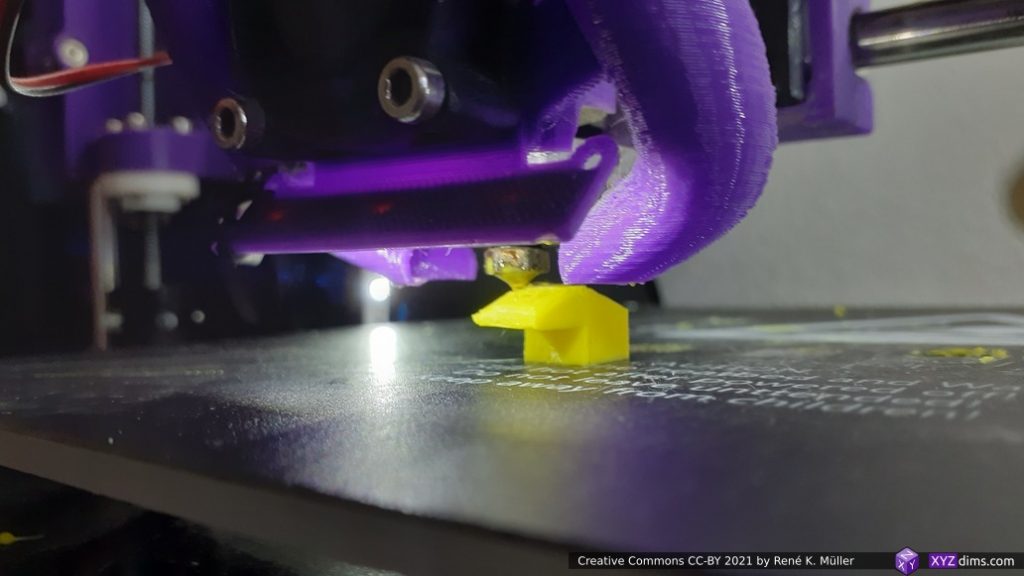
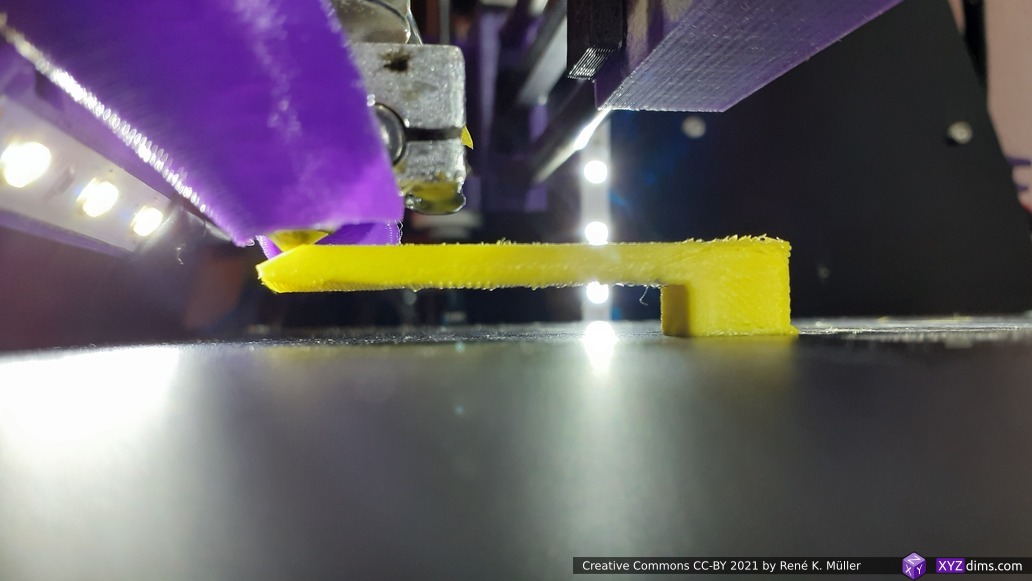
wow, it keeps staying good 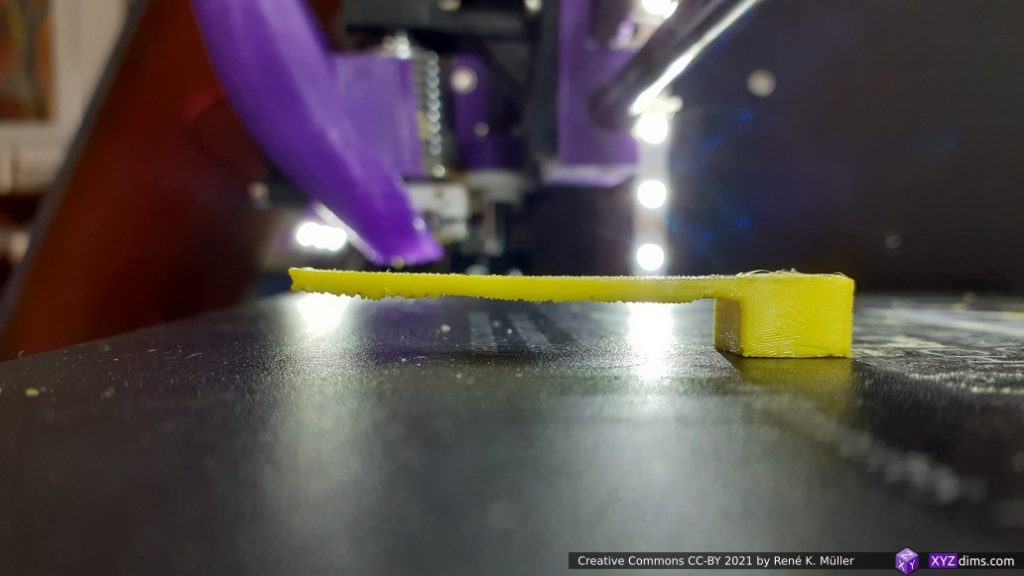
the final bends a bit upward 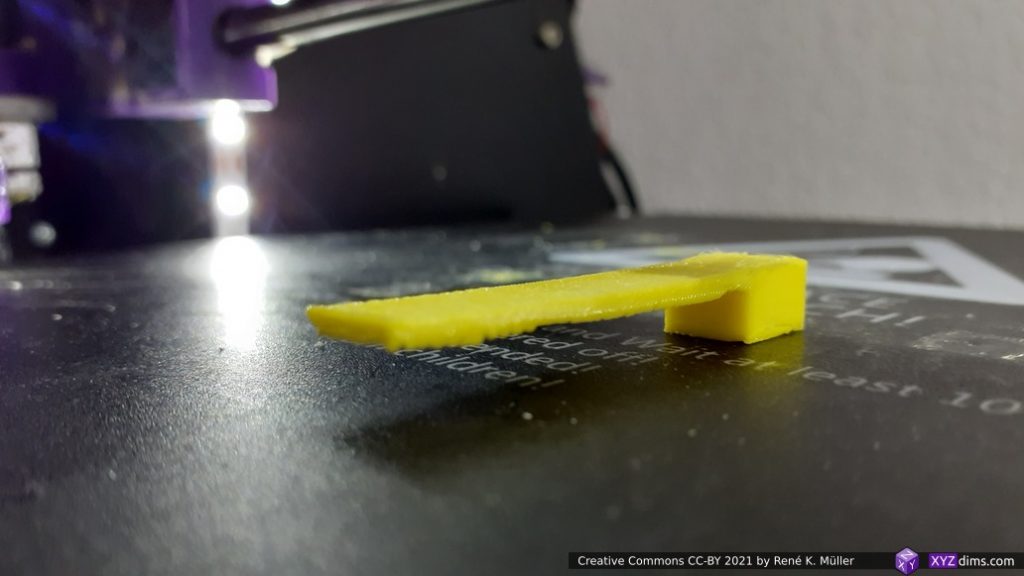
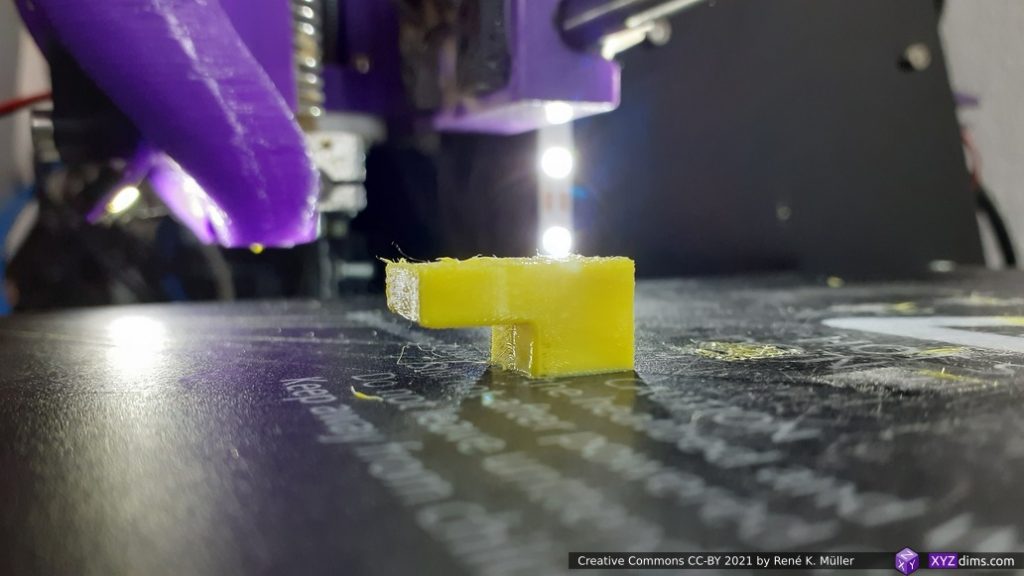
last layers in front are OK but one sees the limit here 
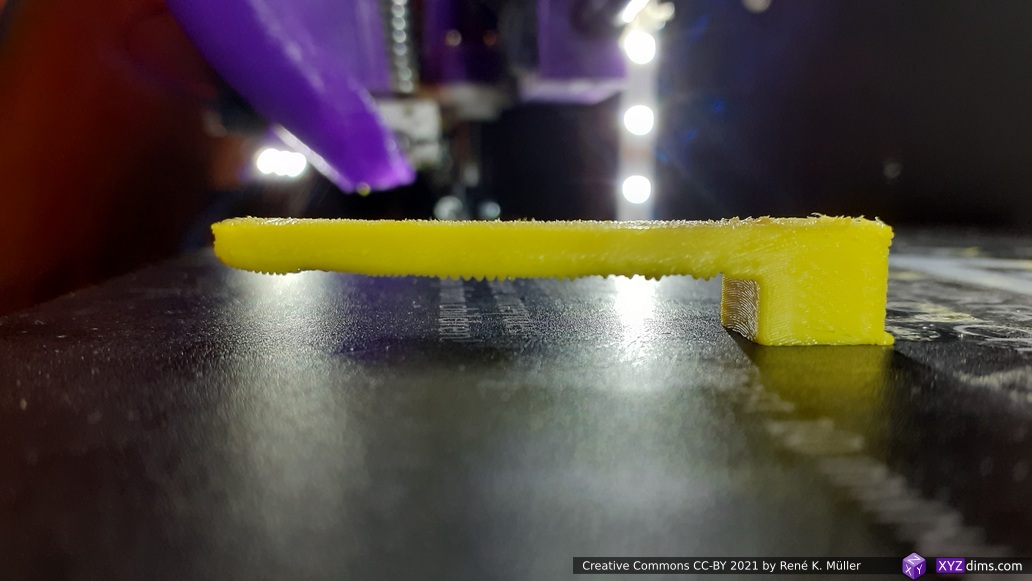
X-wise very good, surface of the foot is still rough


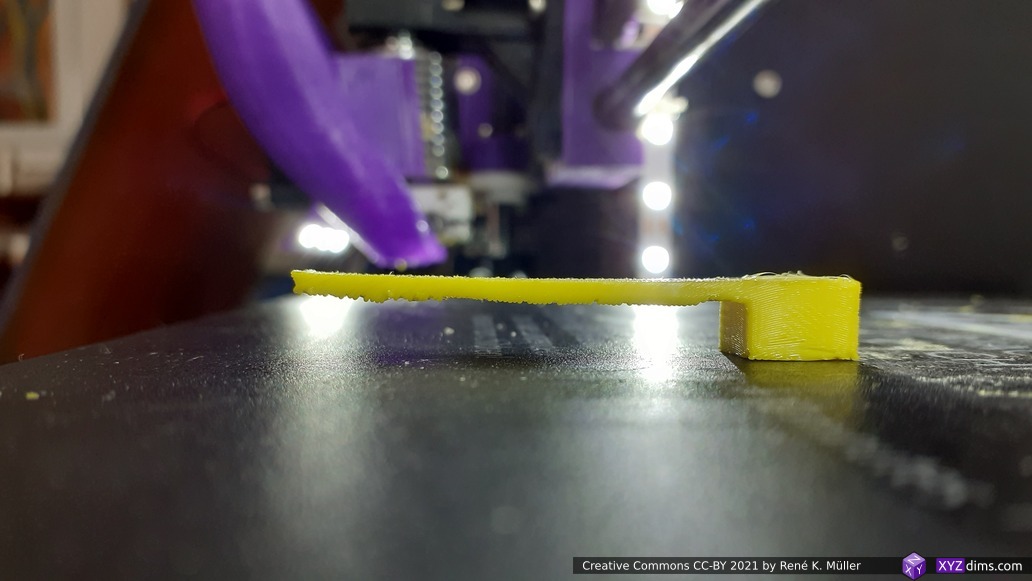


OK print so far, better than anticipated, but still a way to improve it. Reprint with a newer version of slicer4rtn (0.2.3):
in print 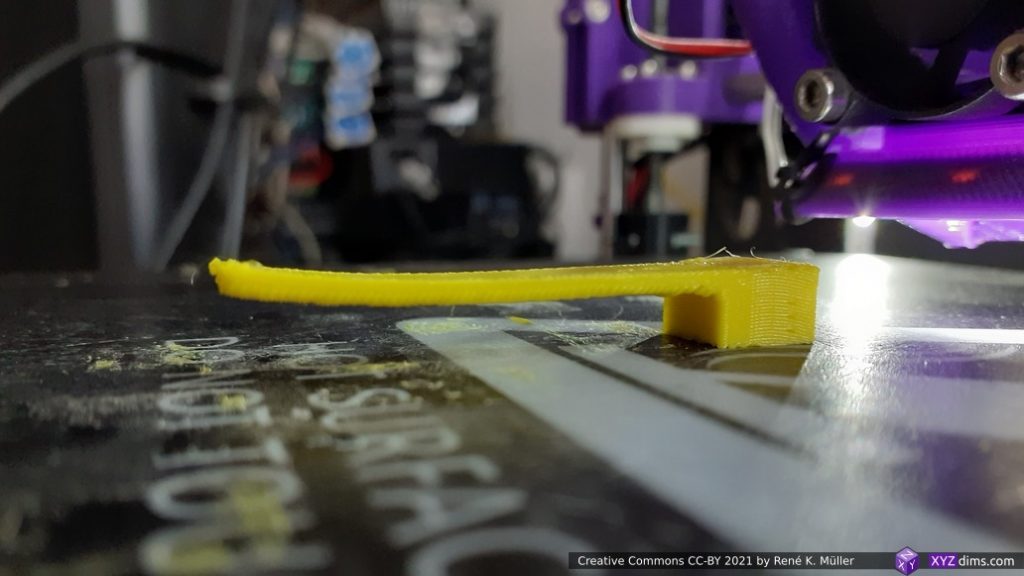
finished, bowed up, but thickness and print quality improved 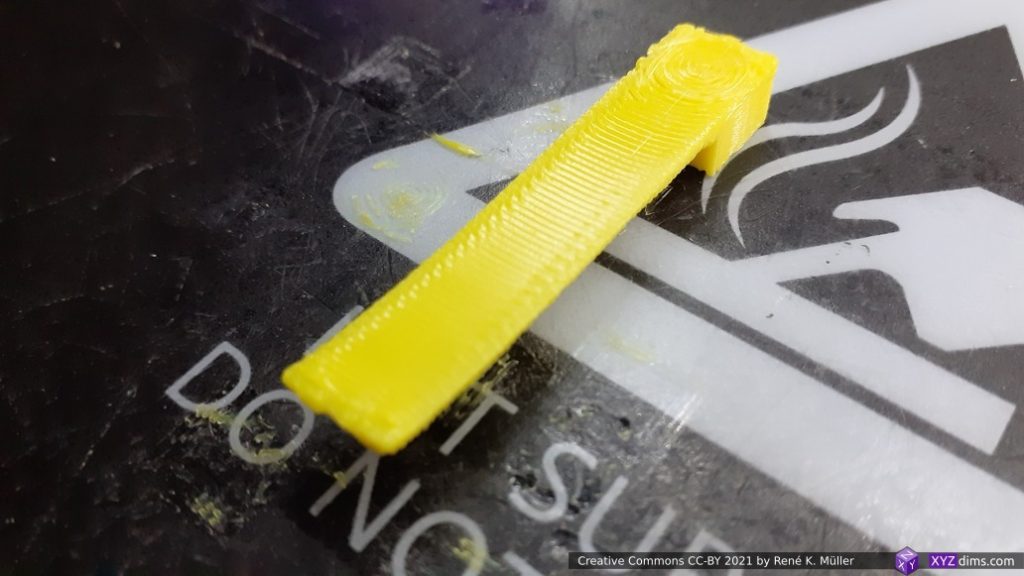
surface is clean(er), smooth 
underside is uneven, too fast printed (20mm/s)


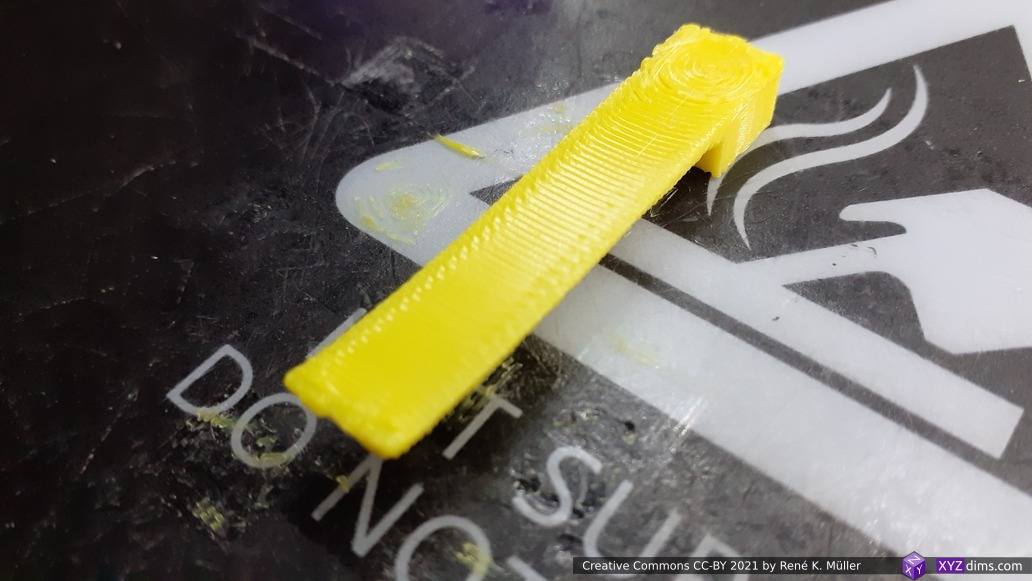

- better surface, no stringing anymore
- faster print speed but also more geometric inconsistency like bending up
- underside is more uneven but also cleaner than all the previous (pre- 0.2.0 of
slicer4rtn)
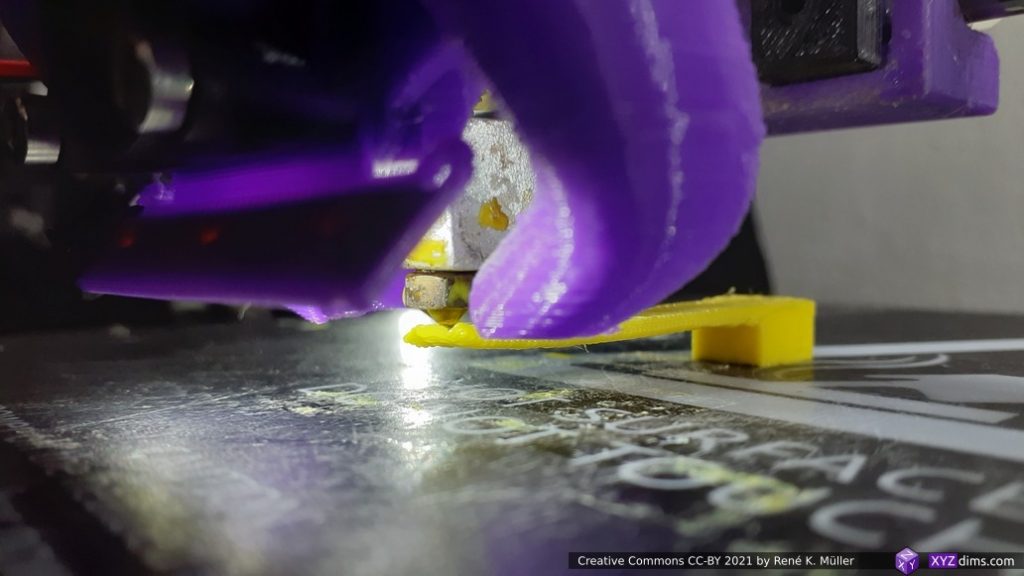
1-sided short 2mm thick 95° overhang model nr 3 (conic sliced)
Just trying more overhang, let’s see.


good so far 

looks good 95° overhang 
still rough surface


Obviously there is more than 95° overhang possible, so let’s try …
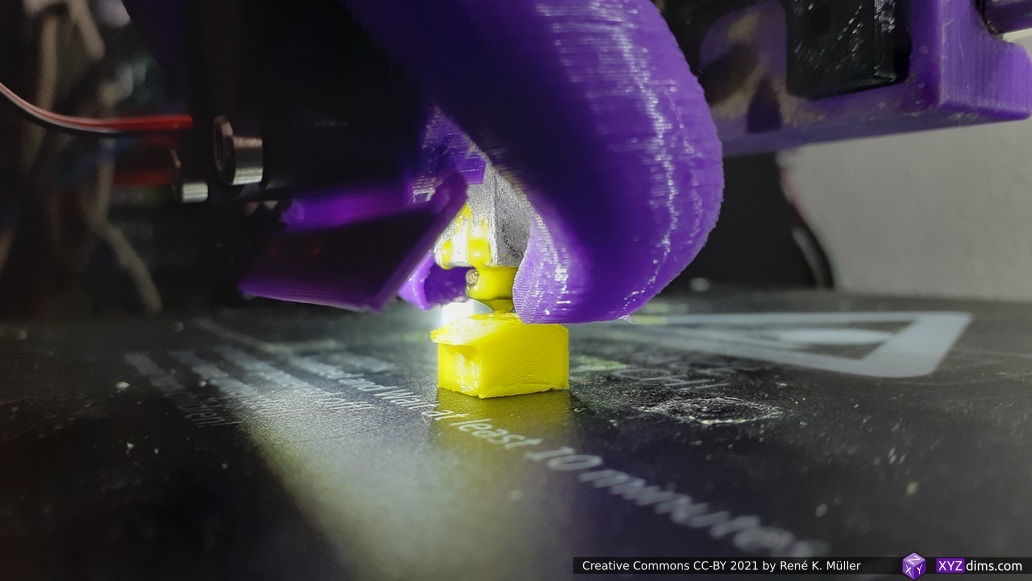
1-sided short 2mm thick 100° overhang model nr 3 (conic sliced)
Even steeper overhang, let’s see.


it’s actually seems to still work 
a bit rough at the beginning of the overhang 
good so far 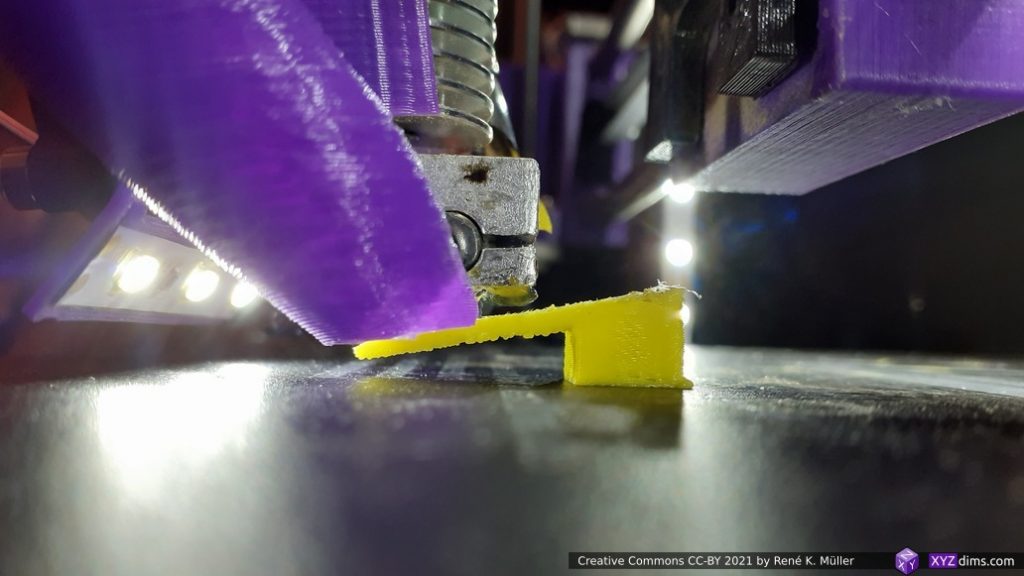
can’t believe this works 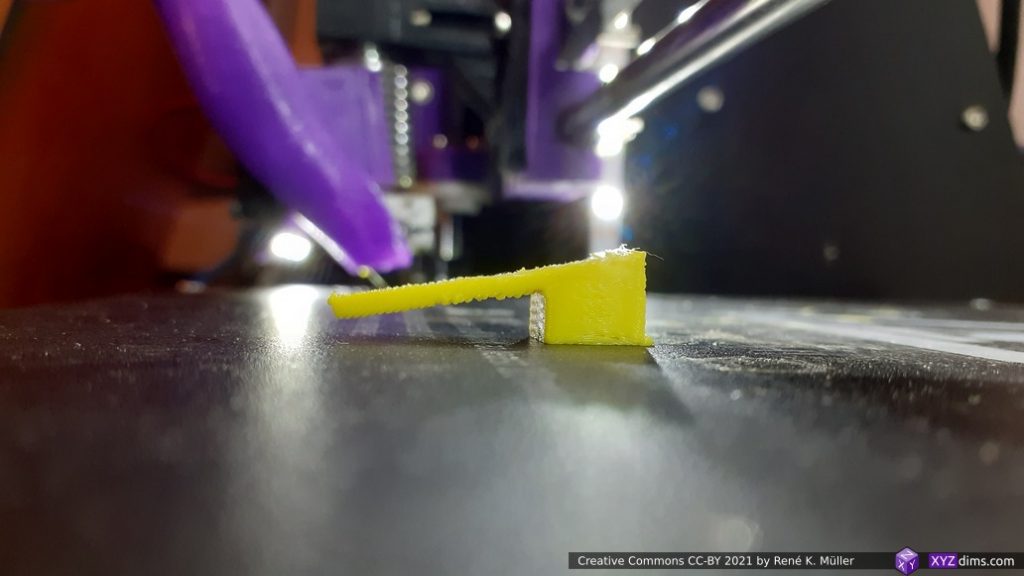
just wow, 100° overhang 
rough surface


This is truly promising, up to 100° overhangs printable with vertical nozzle as mounted on most 3-axis 3D printers . . .
95° overhang 100° overhang
Slicer4RTN Settings
As of the publication of this blog-post (2021/03) no slicer is available but slicer4rtn will be made available soon which was released 2021/03/22.
- Caution: you need to be an experienced 3D printing enthusiast to proceed, you need to know and realize what you do:
- pay close attention of the printhead geometry, such as the nozzle and heatblock, and the part cooler which limits the non-planar printing
- depending on the angle, and the direction of extrusion more or less extrusion distortion will occur

--angle=20is a good start, you may go as low as 15°, and perhaps at max at 30° depending on your nozzle and heatblock, if you aim to print 90° overhangs--layer-height=0.2is a good start too, the thinner the layers the better overhangs can be printed- if you have trouble with over- or under-extrusion and your printer otherwise well tuned, then use
--erate=f as extrusion-rate tuning, whereas f = 0.5..1.5 or so, if you have to go below or above, something else is wrong. - conic slicing is complex(er), you need to think in new terms:
- the slicing procedure requires a conic slicing center
- to and from that center overhangs can be printed well
- if you have multiple centers,
slicer4rtndoes not yet support volume segmenting to support multiple centers slicer4rtnrequires manually entered conic slicing center
- it requires fine-grained faces so the slicing works well, use
--subdivide=5or higher for simple pieces, e.g. like a cube or low-poly models in generals
- the slicing procedure requires a conic slicing center
Tuning 3-axis 3D Printer
Following changes are recommended:
- increase Z axis speed: within the start G-code the line
M203 Z..(replace..with an actual number) to increase speed of Z-axis- depending on the pitch of your Z-lead screw or threaded rods, you may set it to
Z4,Z6, or higher, so the motion speed comes close to X- and Y-axis to improve print quality - if it’s set too high, your stepper motor will block and not move at all
- my setup with M6 threaded rod for Z (200 full steps = 1mm):
M203 Z8, 8mm/s => 8 revolutions/s => 1600 full steps/s: FAILED (blocked motor)
M203 Z6, 6mm/s => 6 revolutions/s => 1200 full steps/s: FAILED (stuttering motor at times, mechanical not reliable)M203 Z4, 4mm/s => 4 revolutions/s => 800 full steps/s: OKM203 Z3, 3mm/s -> 3 revolutions/s => 600 full steps/s: OK
- my setup with M6 threaded rod for Z (200 full steps = 1mm):
- leadscrew T8x2 (2mm lead per revolution) might support ~12mm/s
- leadscrew T8x8 (8mm lead per revolution) might support ~50mm/s (ideal, matching X and Y)
- depending on the pitch of your Z-lead screw or threaded rods, you may set it to
- slow down perimeter (overhangs): use
--external-perimeter-speed=20%or a bit more, it prints overhangs better, leave it at50%if prints look good - X- and Y axis speed: try to match your Z speed, so the overall printing is evenly:
- Slic3r
perimeter-speedbridge-speedinfill-speed
- Slic3r
- miscellaneous hints:
- slicer setting
solid-infill-below-area = 10(make infill work at small(er) pieces too)
- slicer setting
Models
References
- Slicer4RTN, conic slicer for RTN
- Conic Slicing for Rotating Tilted Nozzle (RTN)
- Rotating Tilted Nozzle (RTN)
- Sub-Volume Segmenting & (Non-)Planar Slicing, mixing various slicing methods together
- Non-Planar “Balcony” Overhang with 3-axis FDM Printer, more complex overhangs with segmenting sub-volumes
- RotBot by ZHAW, the source of my inspiration
That’s it.
