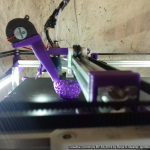
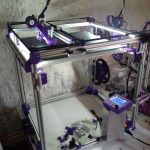
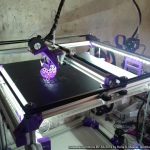
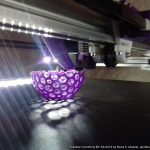
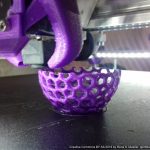
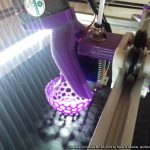
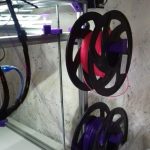
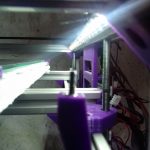
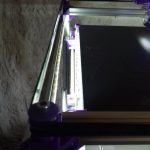
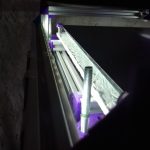
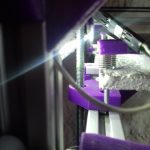
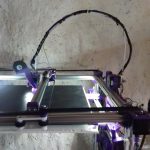
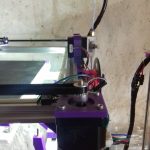
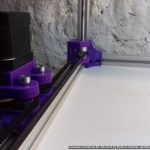
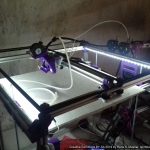
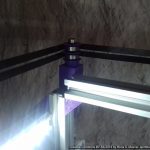
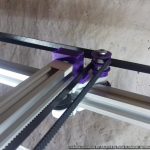
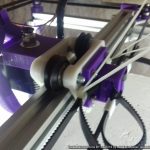
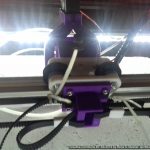
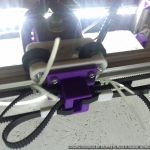
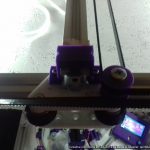
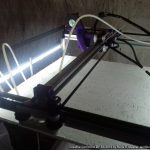
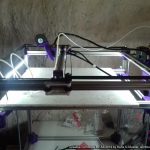
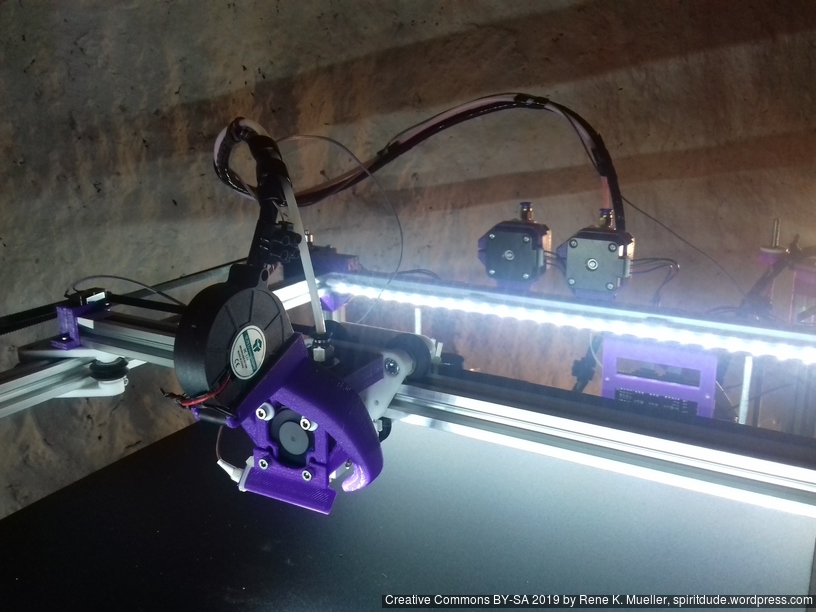
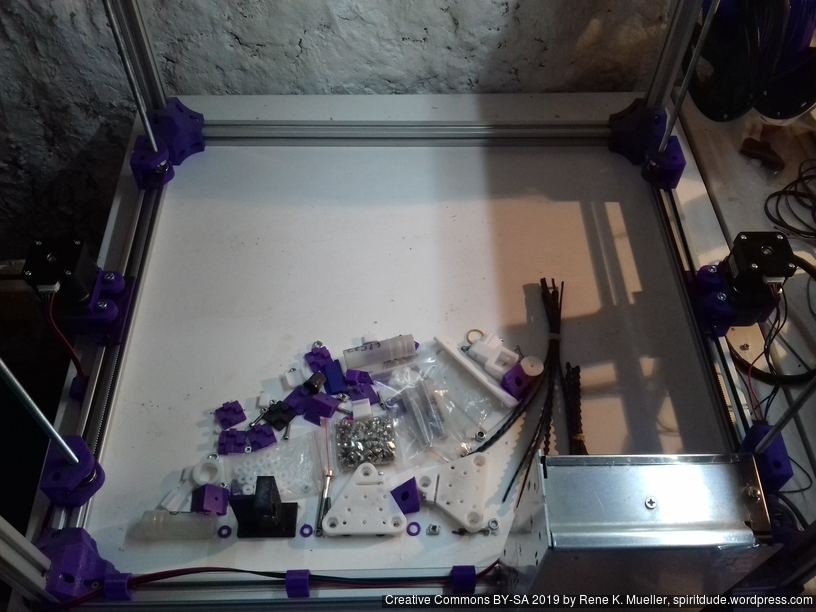
Back in September 2018 I started to code the first parts for Ashtar C, a “Core XY” type 3d printer – finally, after several weeks waiting for the several parts (bearings, closed loop belts), I was able to finalize the bed and Z axis (2018/01/30) and perform the first test prints of Ashtar C #1 composed with 500mm 2020 T-slot and V-slot alu extrusions:
Specifications
- CoreXY style
- Build Volume: 380 x 400 x 380mm
- Frame Size: ~500 x 500 x 500mm
Bed
- 400 x 400mm black bed sticker (~0.7mm thick)
- 400 x 400 x 4mm mirror (custom order)
- 4x bed corner mounts (printed), with M3 x 30 and spring and 4x washers each
- 420 x 420 x 4mm OSB
residing on 2020 T-slot alu extrusions.
Z Axis
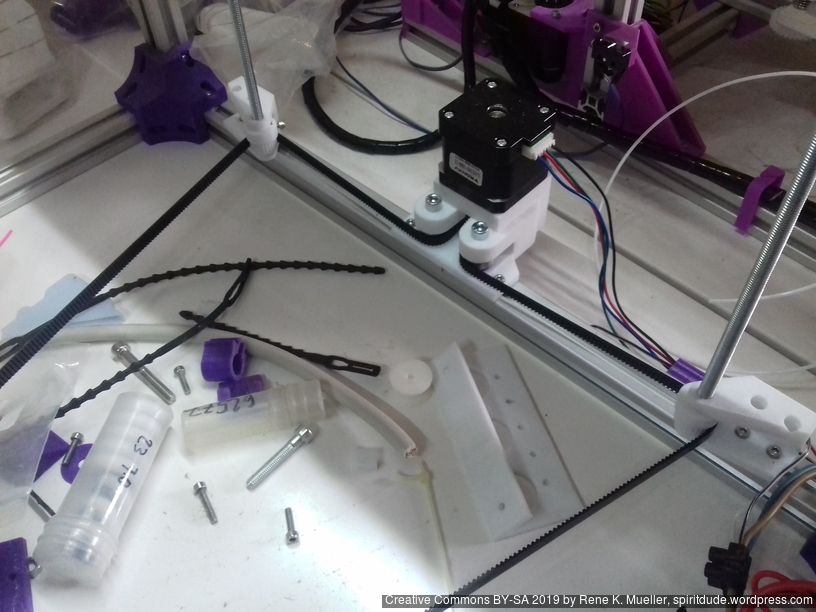
1524mm GT2 closed belt:even though driving 4 threaded rods worked somehow, but not reliably therefore:- Option A
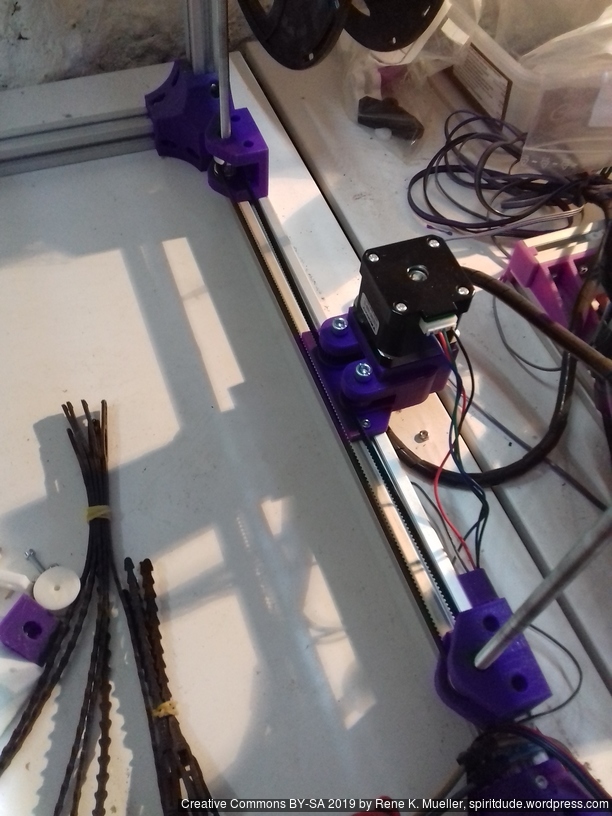
- 2x Nema17 (45Nm) stepper motor with 18 teeth GT2 pulley 5mm bore
- 2x 760mm closed belt
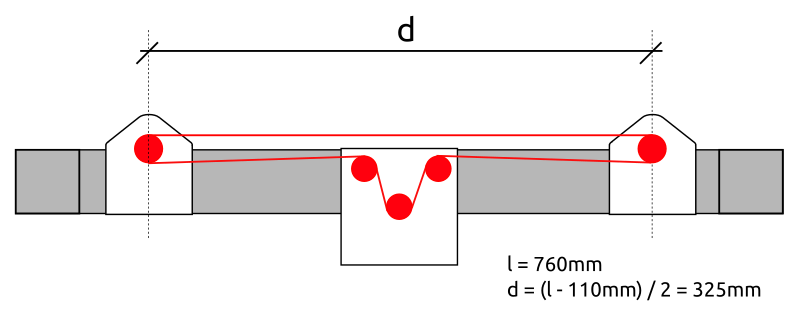
- Option B
- Using 3 or higher : 1 gear box (e.g. 3:1 gearbox could be used, but external shaft isn’t strong enough stabilized versus tilt) or alike to increase torque and still drive 4 threaded rods
- Option A
- 4x M6 x 490mm threaded rods
- 4x M6 nuts with bed mounts (printed)
- 4x bottom Z rod mount (printed)
- 8x 606ZZ bearings (each rod has 2 bearings)
- 4x 18 teeth GT2 pulley 6mm bore
Challenges
Following challenges came up in the first test prints:
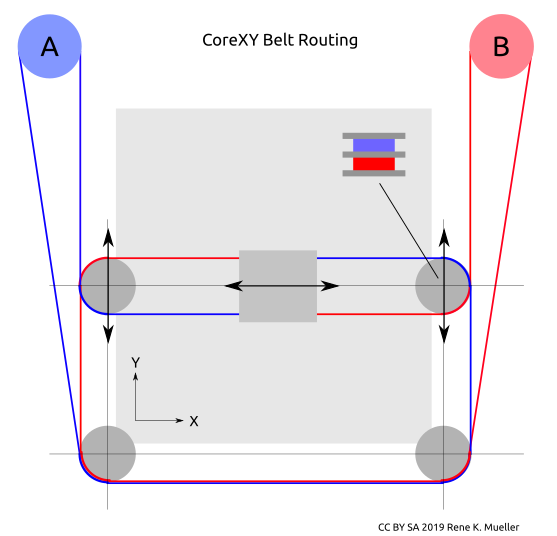
- CoreXY principle works well, yet, the friction of each idler really matters as it increases risk of missing steps, well greased and well positioning mandatory
- X endstop: right now positioned on the left hand side of the X beam, but the cable hangs down – likely need to reposition X endstop on the X carriage itself
- the Bowden tube is long and so hangs to the bed, the tube (4mm OD, 2mm ID) isn’t stiff enough to bend upward, so requires some guidance to ensure it doesn’t ride on the bed surface and entangles with print process
- E3D V6 clone this time really does not perform well: extrusion is not even, and missing steps of the extruder; requires further investigation.
- thermistor seems off, increasing to “220C” print temperature, gave better and cleaner prints
Impressions
That’s it for the moment.

