
Brief update of motors, belts, threaded rods and end stops mounted:
X Axis
I switched from slider based carriage to the nylon wheel (23.0mm OD, 7.3mm width) based carriage (X and Z axis), apprx. 120cm belt length.
Y Axis Belt
Apprx. 90cm belt length – with some considered cutting X + Y ~ 2m belt length.
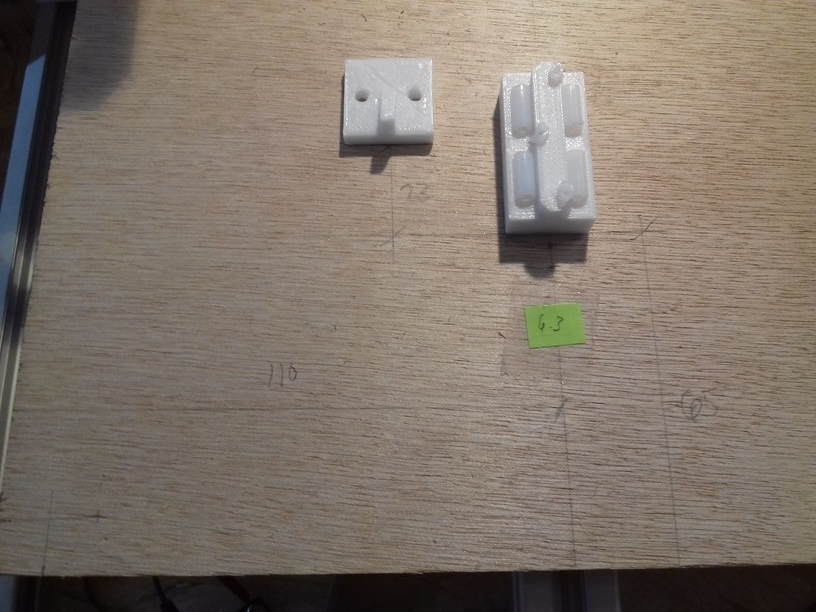
This part was tricky – the parts are glued to bottom of the wooden carriage:
- mark the positions of the sliders (left: 65mm distance from top and bottom, left: center of top/bottom)
- glue 2x sliders on the left (where the Y motor is mounted)
- glue 1 slider on the right side
- put carriage on the rails, avoid any horizontal movement, push it slightly down (a slight snapping you sense from the sliders)
- let it rest (don’t touch or move it) for 30min – glue must dry
- move Y carriage gently forward & backward; if there is slight resistance then
- loosen all screws of the right 2020 beam so you can move it sideways
- then move carriage forward and backward and let the beam slightly find its new position
- when the carriage moves gently without resistance
- fasten the screws gently
- retest and if it’s still resitance, repeat procedure
- this is a bit tedious work, but worth it
This part is to do next (once I concluded those PTFE pipe chunk based sliders do their job well):
- drill holes and use Zip ties to fasten sliders
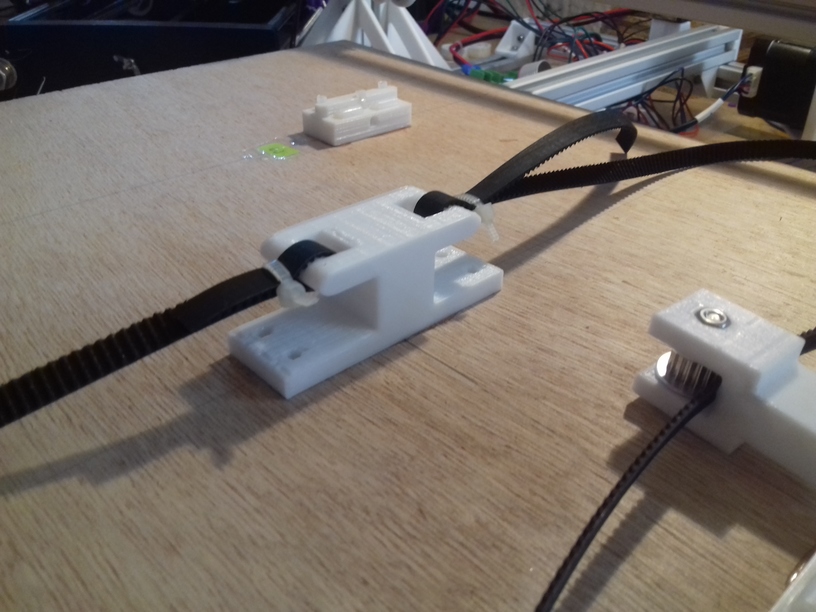
- glue Y carriage belt mount, let it dry
- mount GT2 belt to carriage belt mount
- fasten Y carriage belt mount with screws: drill holes from the bottom side
-
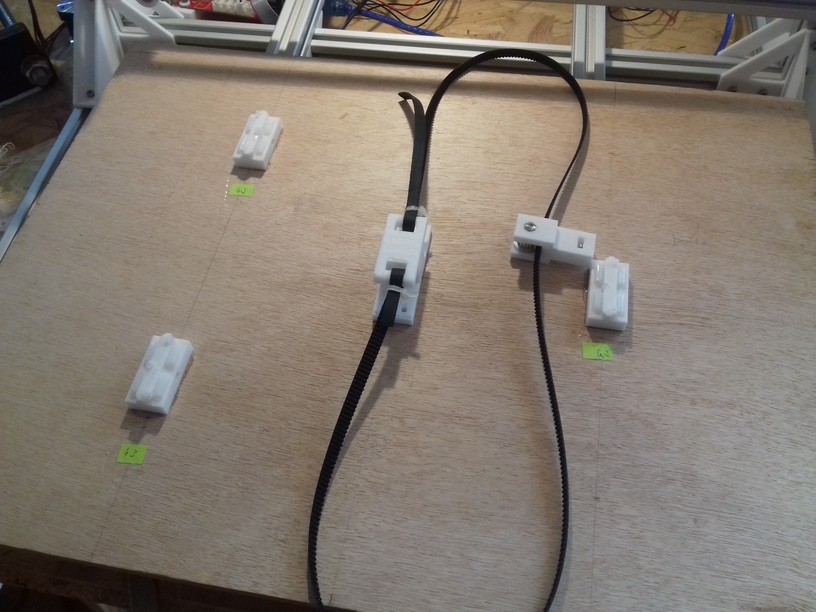
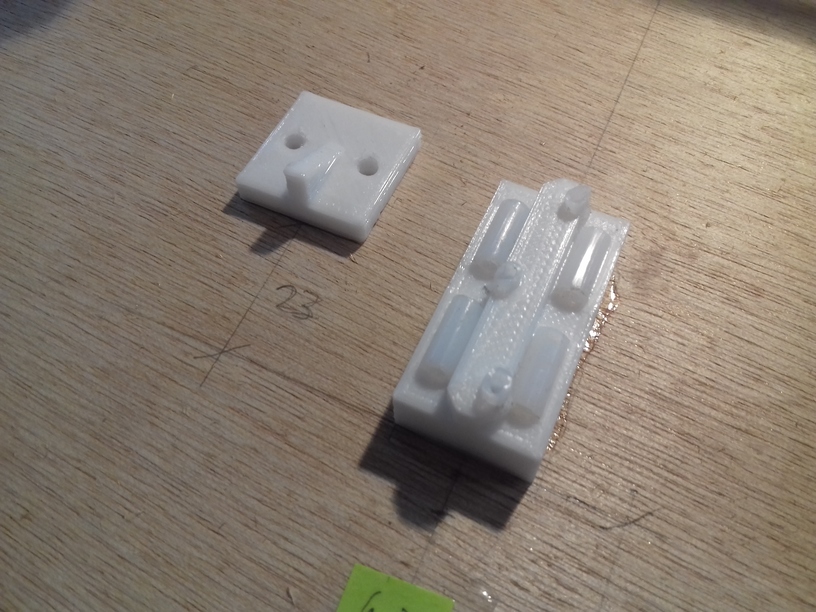
- Ashtar K: 3 slider based Y bed
-
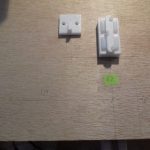
- Y bed mount
-
- Detail measurements: 110mm from left to slider, 65mm from bottom; stopper, 23mm further, apprx. 20mm aside of slider.
-

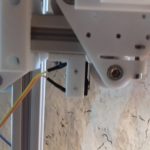
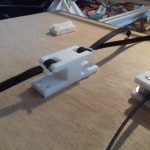
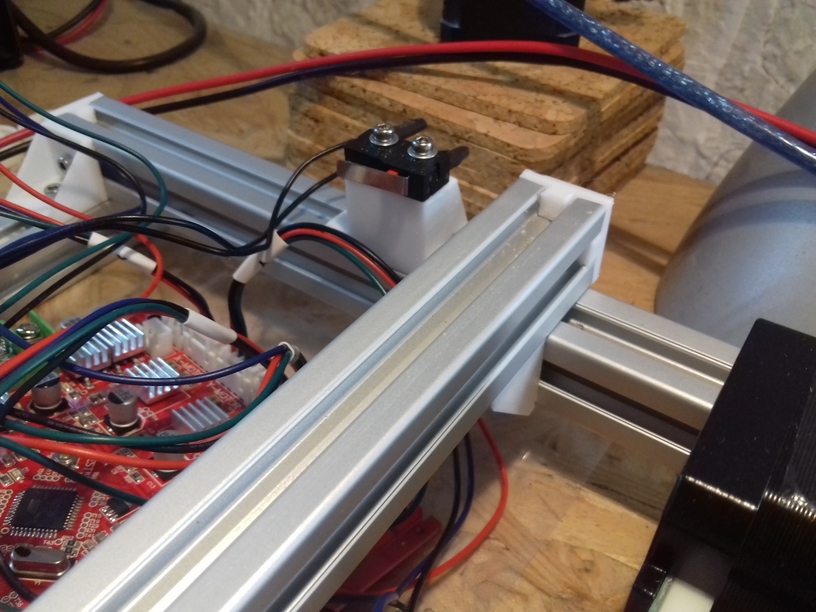
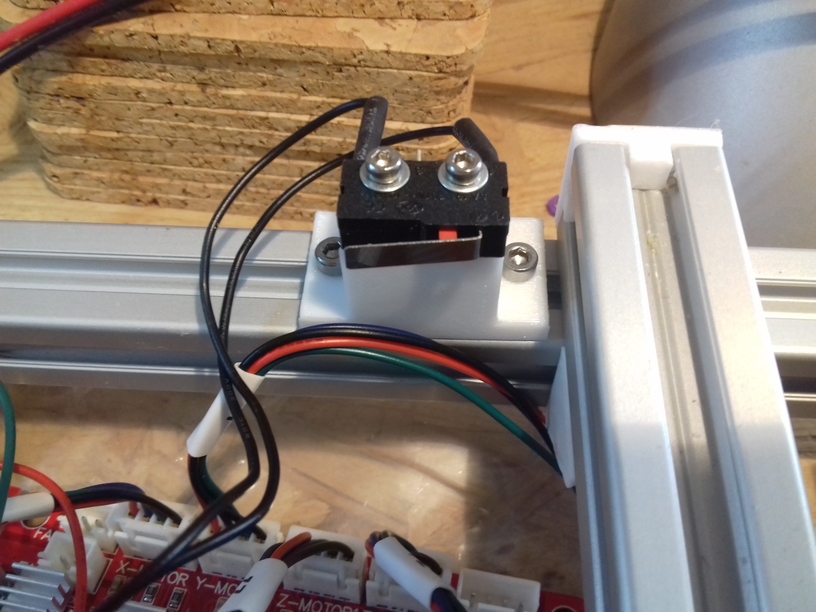
- Slider closeup with trigger for Y endswitch
I will make some short videos of putting the carriage together and mounting it – it’s quite fast to attach and detach with those sliders (no screws to unfasten).
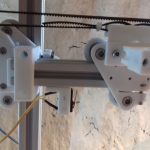
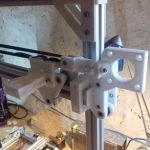
Z Axis
I extended the corner brackets so the Z stepper motors can be inserted, this weakens the part but saves quite a lot of space and hides the threaded rods nicely behind the 2020 Z beams. I might work on those brackets later to increase rigidity again.

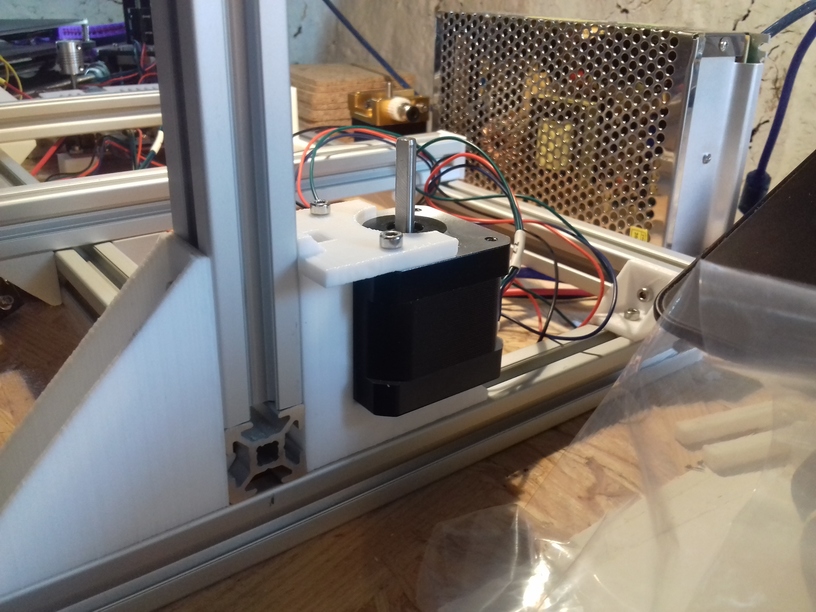
-
- Alu 5mm to 6mm coupler
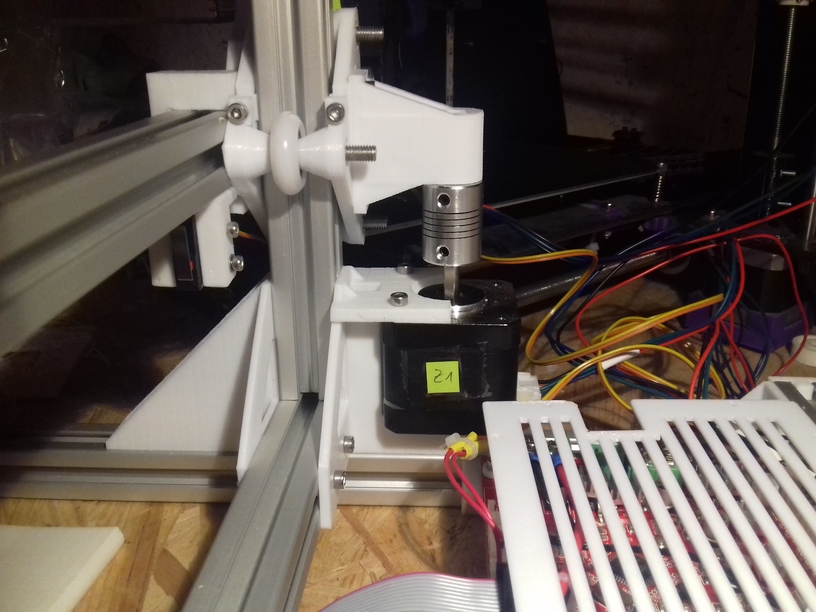

Currently I use M6 threaded rods for the Z axis, one cycle gives 1mm height change.
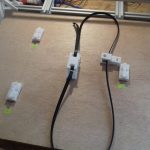
X, Y, Z Motion & Homing
Flashing the Anet 1.0 board (which I currently use) with latest Marlin, this was required:
- using Arduino Uno R3 (clone), installing Arduino ISP on it
- cabling Uno R3 with Anet board (Uno powers Anet board with 5V, all stepper motors or power detached)
- installing Bootloader (“Burning Bootloader”) with “Arduino as ISP” as writer
- downloading latest Marlin, copying Anet Configuration.h and starting to change it
Finally, after hours fiddling around (bad install of Arduino failed to compile and/or upload anything to my Uno R3) the LCD display greeted with “Marlin 1.1.8” 🙂
Moving X, Y and Z axis briefly, 380 x 300 x 320 build volume with the current V carriage with 23mm OD, 7.3mm width nylon wheels – no extruder and no bed heating and leveling yet.
