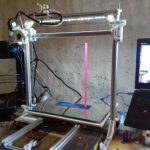
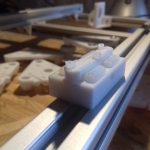
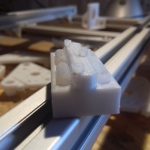
It has been a few days (2018/09/04), since Ashtar K happen to be able to print, the heat bed still unfinished, some prints illustrated below are done with no leveling screws, the mirror just taped on the Y carriage – don’t laugh – later prints I had proper carriage and leveling screws included; a proper build surface I still wait for in the mail (400×400 black sticker to be cut in shape) – anyway, here some of the early prints:
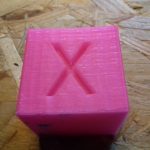
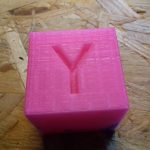
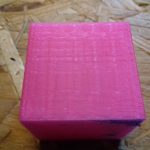
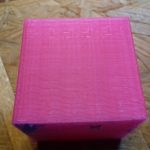
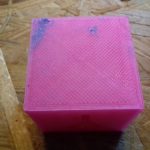
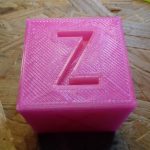
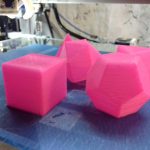
40mm XYZ Calibration Cube
The original 20mm XYZ Calibration Cube is printed in 8 mins with 0.5mm nozzle at 0.4mm layer height, and so I thought, let’s print it 2x the size with 0.4mm layer height, merely 40 mins later this:
The quality is . . . impressive, this is just tuning a single day – mostly on the extrusion factor and print temperature – and this is what I hoped for: XYZ positioning almost flawless: there is slight ghosting on X axis (which could be resolved) shown on “Y”, and Y axis shown on the “X” which is fine, given the size of the bed and its weight and inertia this is OK.
I had to increase print temperature +20C from 200C to 220C for 80mm/s infill while printing with the 0.5mm nozzle, I otherwise would hear clicking from the extrusion stepper motor missing steps. I still use the classic E3D V6 (clone) heat block, not the Volcano heat block.
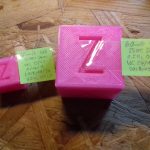
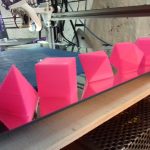
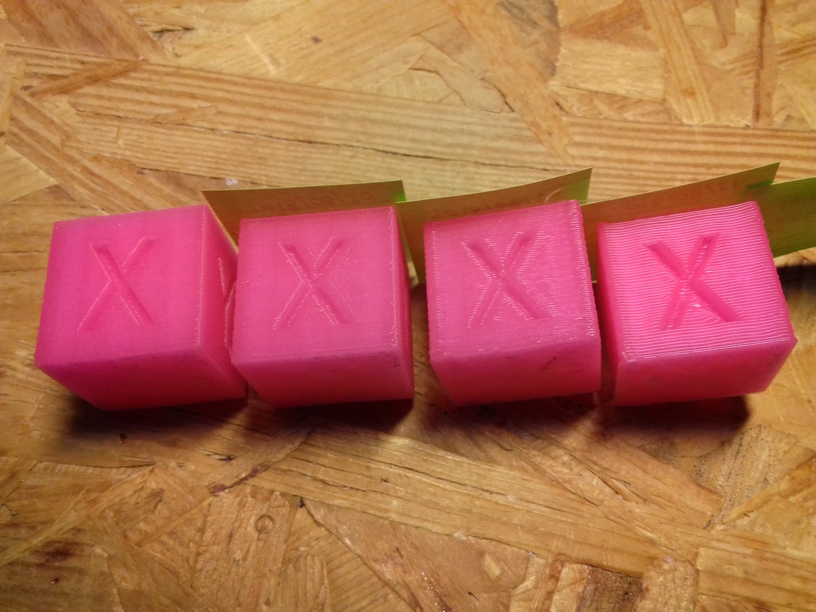
20mm Calibration Cube: Different Layer Heights
Printed with 0.5mm nozzle, left-to-right: 0.1mm, 0.2mm, 0.3mm and 0.4mm layer height, 60mm/s (80mm/s infill), 200C first layer, rest with 210C, pink glowing PLA by Sienoc.
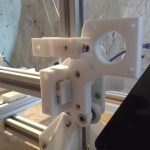
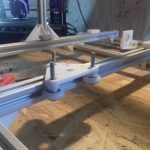
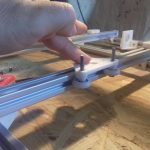
X Carriage: Sliders vs Wheels
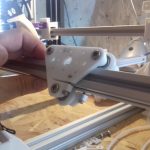
While printing with slider carriage on the X axis, I noticed increased stuttering, and regardless if I thighten or loosen the grip, the stuttering remained, and slight horizontal tilt occured when changing direction on the X axis resulting in too narrow prints in X dimension.
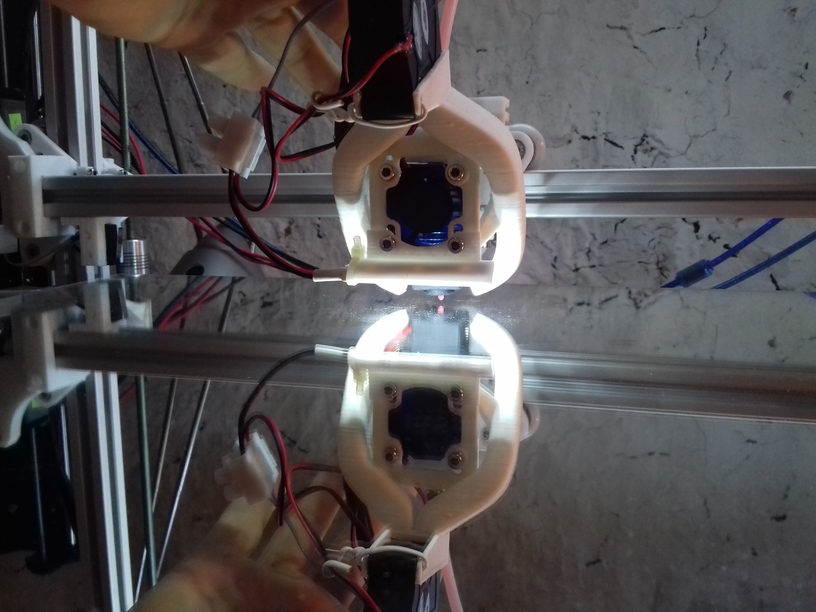
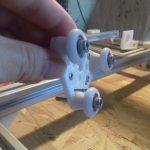
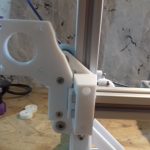
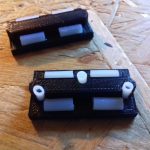
X carriage with white nylon wheels (23.mm OD / 7.3mm width)
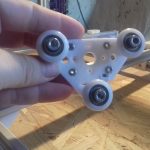
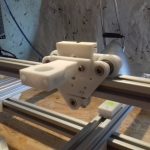
So, I changed back to wheel-based carriage, first again 23/7.3 white nylon wheels (right photo), but when I printed “L” shape with 200mm length in X and Y and 1mm height in Z, I noticed slight Z sinus form as I saw before – while it rolled nicely, there was a wobble . . . and so I printed a new carriage which holds the black OpenRail Double V (clone) 24.4mm OD / 11mm width, and put it on the X carriage:
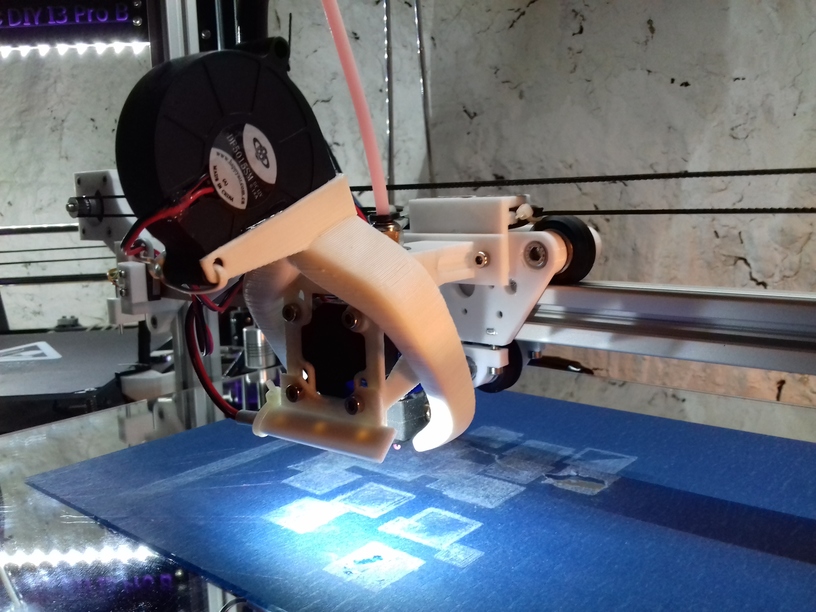
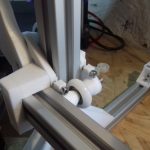
X carriage with double V black wheels 24.4mm OD / 11mm width
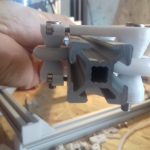
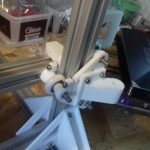
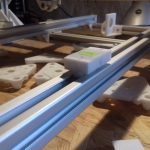
A brief overview of the carriages riding on 2020 T slot (B-Type) alu extrusion:
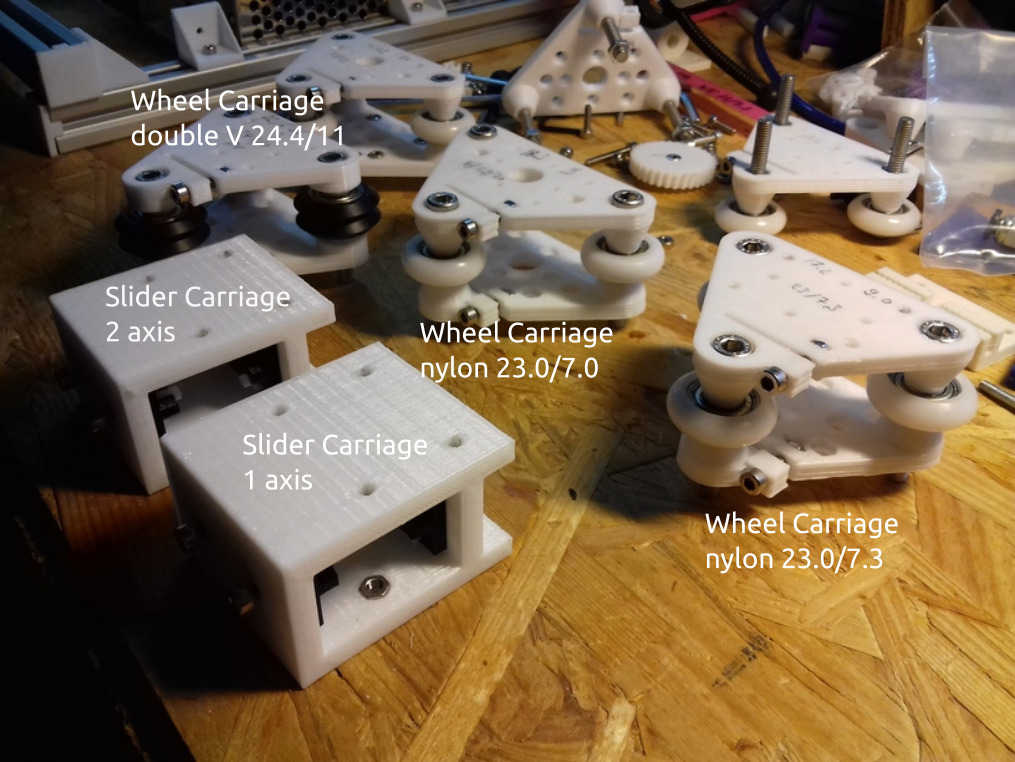
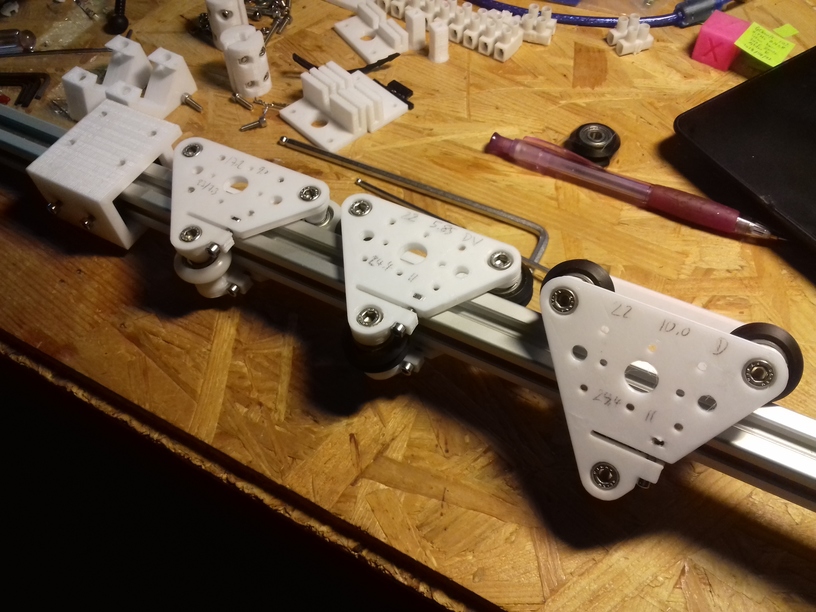
Sliders: on the X axis it did not last, the stuttering was not avoidable; the issue is that the X carriage is one of the hardest axis of the Prusa i3 style geometry to handle: it isn’t just X directional rail, but also pressure on the Z with the weight of the print head, and running over overextruded filament – and it’s hard to pull the X carriage perfectly without the carriage have some vertical tilt as well – anyway, I still use the slider option on the Y carriage – and works fine so far.
White nylon 23/7.3mm wheel: rolls nicely, but gives wobble to the Z height when used on X carriage, apprx. 1mm, also doesn’t stay vertical upright, but tilts a bit with pressure – when the print head moves over overextruded print it doesn’t level it, but jumps over it. I currently use white nylon wheels on the Z carriage successfully.
Black double V delrin 24.4/11mm wheel
- groove use: rolls very nicely, gives no wobble, and stays vertical. The next days and weeks will tell if the double V wheels do last on the T slot alu profiles – they are meant on proper V slot alu extrusions.
- diagonal/edge use: rolls very nicely too, but surprisingly gives less tilt rigidity than groove use – the T slot 6 (B-Type) gives less surface at supposed 90deg edge, but is rather 85deg
Z Axis Linearity
As you may have read in the other post(s), I use M6 threaded rods, it’s flexible and rather aligns with the Z axis itself, whereas M8 is stiffer and misalignment – which by the way doesn’t come from the rod itself, but the mounting with the couplers – won’t impose on the X carriage – this is my own view and it happens to come true again with Ashtar K, after I changed my cheap CTC DIY I3 also to M6.
Now, the 1m long M6 threaded rod, enough for two Z axis each 500mm long, did just cost EUR 0.70, made in China but purchased locally in Germany, and the nylon wheel-based Z carriage happen to work perfectly so far – I expected some slight sinus wobble imposed by the nylon wheels as I encountered on the X carriage, but it seems when there is little force applied on the wheel the carriage works good enough.
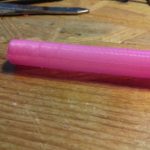
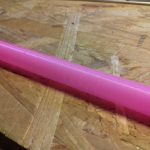
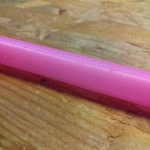
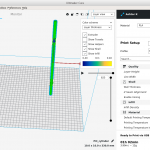
Printing 330mm high 10mm diameter cylinder (with slider-based X carriage):
There was some slight extrusion inconsistencies, this is likely due the material, an broken vacuum seal of a newly purchased glowing pink PLA roll, actually, after watching the 2nd print closely, either GCode errors or USB transmission errors, as some segments of the circle (layer of a cylinder) is repeated for some unknown reason and so overextrusion occurs there (needs proper investigation) – but the linearity is very good, and no Z wobble whatsoever.
Loopy Egg
60mm height “loopy egg”, printed with 0.5mm nozzle, 0.4mm layer height:
The “loopy egg” is a good benchmark for retraction settings, and stressing the extruder motor as the short segments making up the loops require a lot of push / pull on the filament. There was still some slight stringing, which I knew will happen, as the retraction is just set to 2mm at 35mm/s giving very good results. More prints will tell if I can stay with these retraction numbers.
Fighting Heat Creep
I currently use E3D V6 clones as hotends, one with 30mm “original” fan, and one with 40mm fan. And with the “original” smaller 30mm fan I experienced frequent clogging up within the hotend: some of the filament melted above the heat break and expanded and blocked any further extrusion – that happened now several times.
I tried to reduce the extrusion temperature but which caused decline of print quality. After trying to determine the root cause of the problem, I concluded that it was heat creep and insufficient cooling above the heat break, hence, the hotend fan, and I switched to 40mm fan – and the clogging disappeared, not quite yet . . . update follows.

30mm Fan (front facing) with 5015 Fan Fang (top)
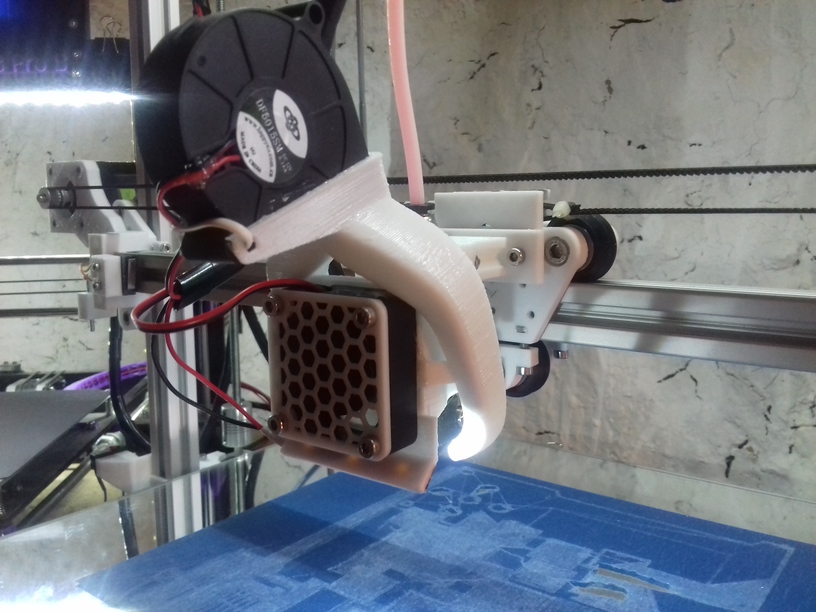
40mm Fan (front facing) with 5015 Fan Fang (top)
Although both setups look very alike, I had to print out another fan fang which can contain 40mm fan.
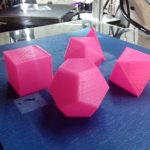
Five Platonics
My favorite geometrical forms – aside the sphere – the sacred set:
Mirror as Bed
I’ve got 40cm x 30cm mirror which became my bed base, underneath with some tight springs some 6mm multilayered plywood, which was warped 2-3mm on the edge – but it didn’t matter (much). The mirror was the reference, and the Y carriage had to hold the mirror. That turned out to work very well: the mirror is truly flat, I leveled the bed once for tilting, after a week, I only had to tweak the Z endstop screw slightly, but I didn’t touch the screws mounting the mirrors to re-level the bed anymore.
So, using the mirror as bed worked well so far due the flatness – but the glass didn’t turn out to print good on it, the printed parts often detached before finishing the print, and ruin the print – so I used blue tape sheet as temporary solution until the black sticker arrives which I already use on the other 3d printer.
Reflection
As I designed Ashtar K with larger build volume, I choose 0.5mm nozzle at least, and the max 0.4mm layer really pays off in regards of print speed, while still maintain some details – I’m quite pleased so far.

