This reference covers ScriptCAD Core 0.3.3 (2019/12/29)
Note: ScriptCAD in its current implementation is highly experimental and subject of changes.
Introduction
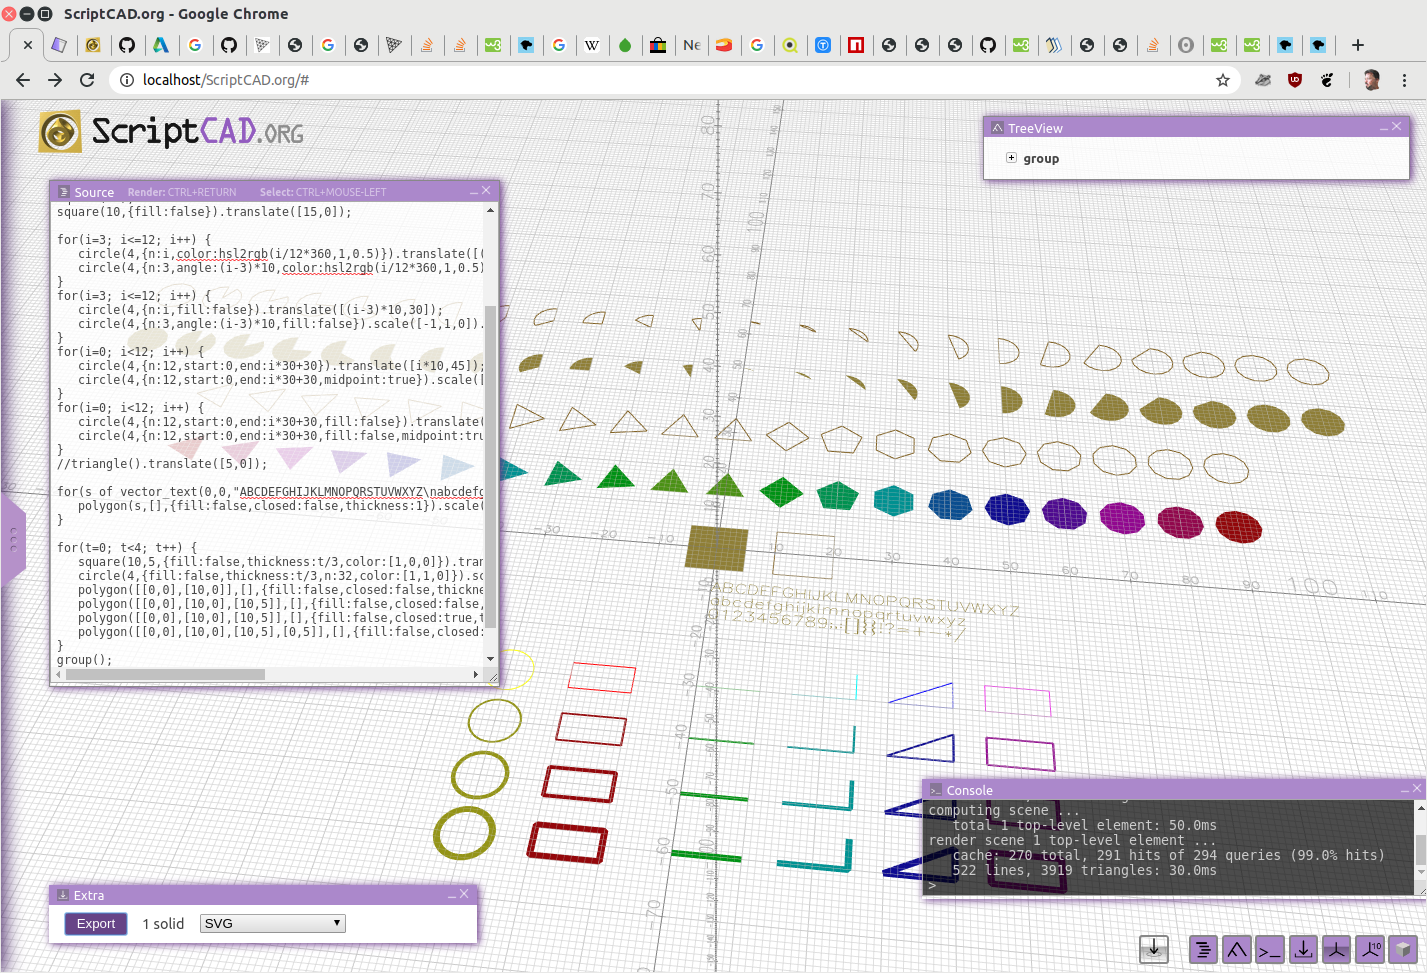
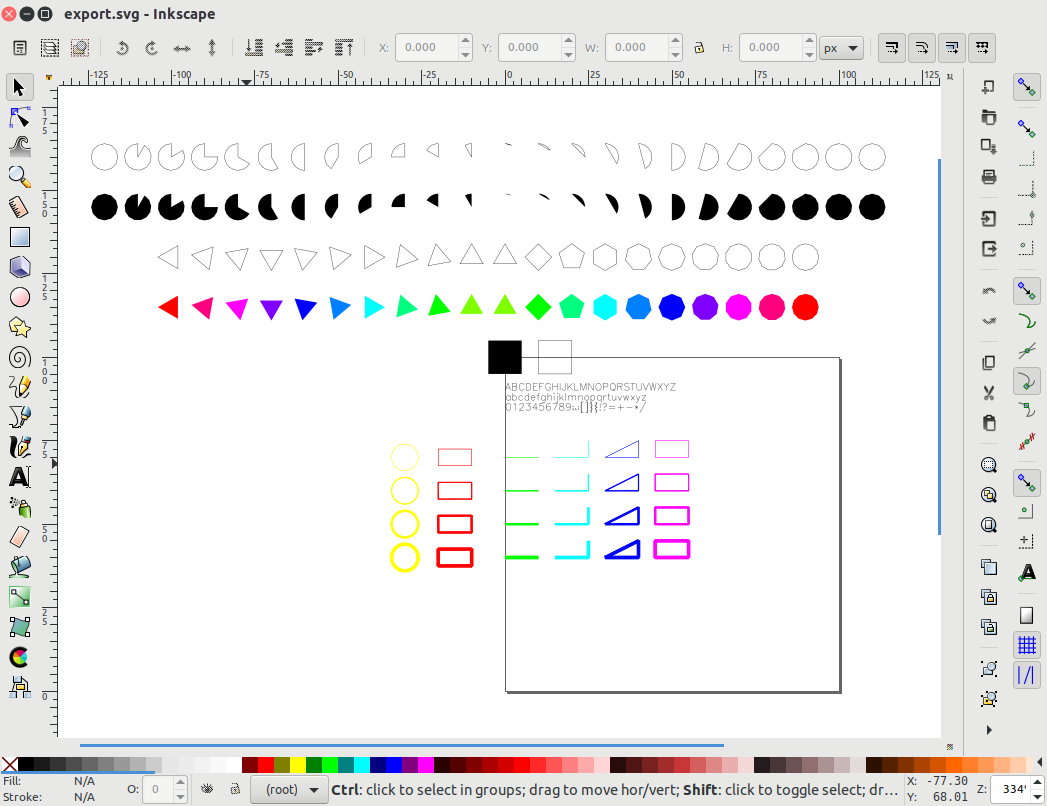
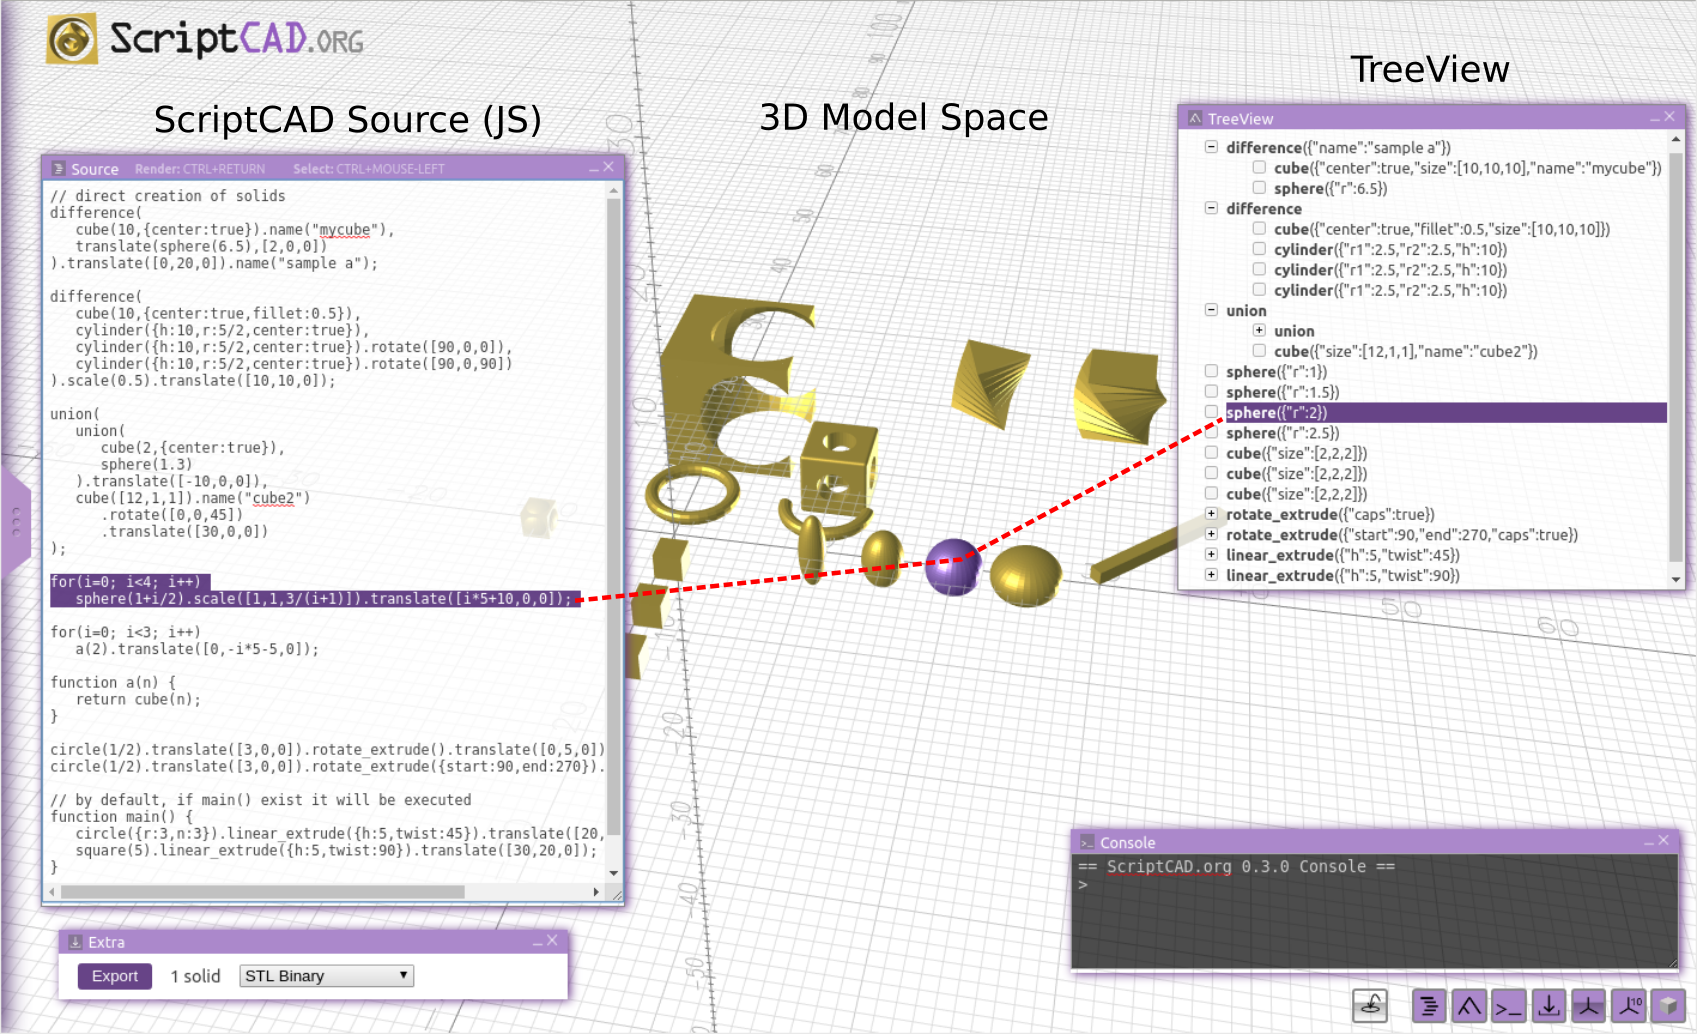
ScriptCAD is a library, CAD framework and web-site, depending on the context different aspects are meant. In general it allows you to create 2D and 3D geometries with JavaScript, in a very lightweight manner and export them with a particular format for further usage.
In order to reduce verbosity and complexity, you can call cube() and it actually creates an object on a stack or the scene already. You may assign a variable like let a = cube() and then operate on a later like scaling or translating, and even return it from a function. Additionally, you may declare a main() function, if it exists, it will be called.
cube()
   .translate([20,0,0])
   .rotate([0,0,45]);
let a = cube();
a.translate([20,0,0]);
a.rotate([0,0,45]);
So, keep in mind, whenever you call primitives, they will be placed on a stack/scene in that very moment. You may walk through that stack/scene with children(function(c) { ... }) to post-process your scene.
2D Primitives
polygon
polygon(p)polygon(p,opts)polygon(p,f)polygon(p,f,opts)polygon({points: p, faces: f, ... })
polygon([[0,0],[0,10],[10,10],[10,0]]) 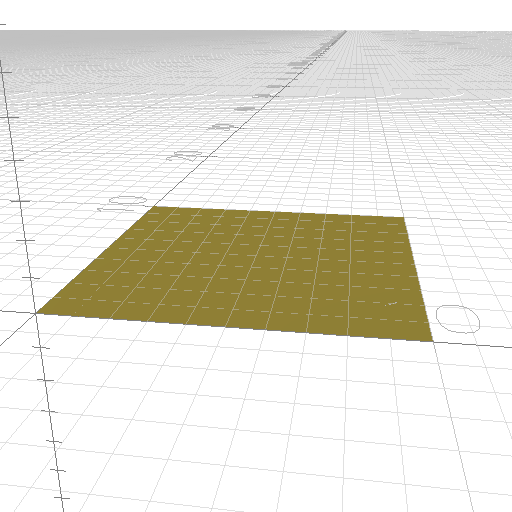
polygon([[0,0],[0,10],[10,10],[10,0]].[[0,1,2],[2,3,0]]) 
polygon([[0,0],[0,10],[10,10],[10,0]],{fill:false}) 
polygon([[0,0],[0,10],[10,10],[10,0]],{closed: false})
where as
pan array of 2D points, andfan array of indices of points defining faces (e.g. triangles).
options:
closed:true(default) orfalsefill:true(default) orfalsethickness: (default0= minimal thickness)
polygon also can be used to draw a line or a polyline, in that case use option closed: false (default true) and fill: false (default true)
polygon([ [0,0], [10,10] ], { closed: false, fill: false }) is a simple line orpolygon([ [0,0], [10,0], [10,10], [0,10] ], { fill: true }) draws a rectangle (closed polyline or polygon)
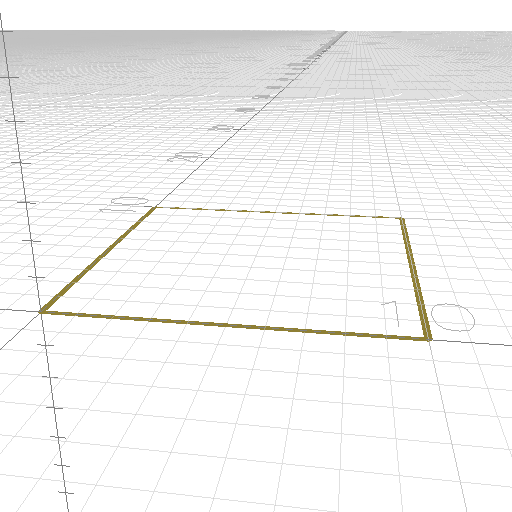
square
square()square(w)square(w, h)square(w, h, opts)square({ w: 3, h: 2, ... })
square() 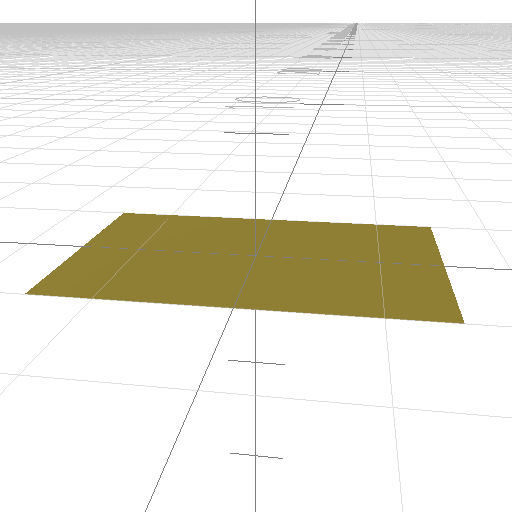
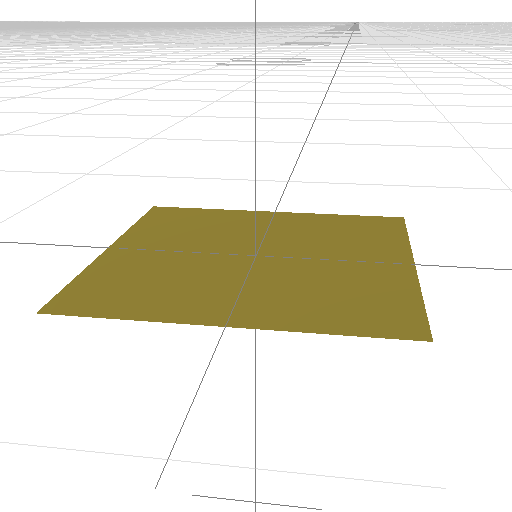
square(3,2) 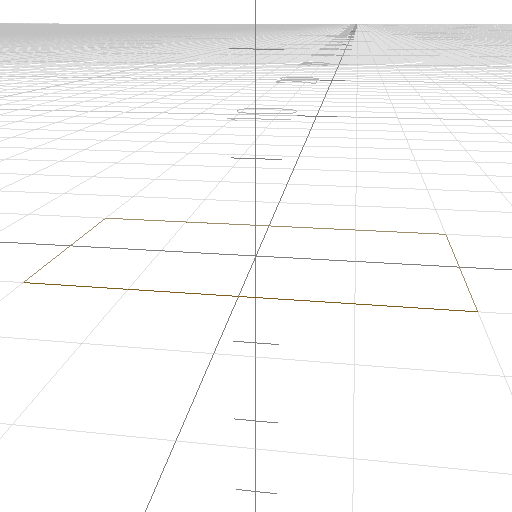
square(3,2,{fill:false}) 
square({w:3,h:2}) 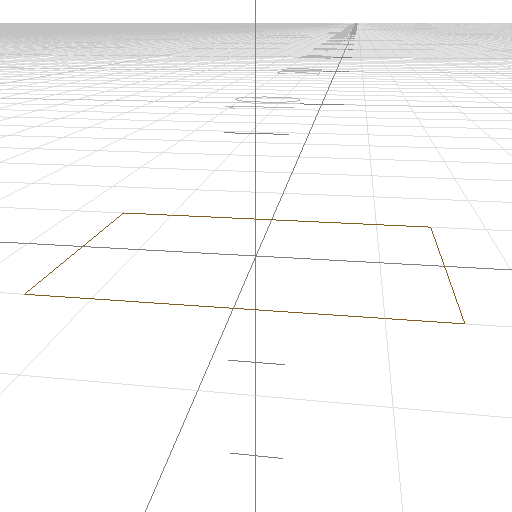
square([w:3,h:3,fill:false})
options:
fill:true(default) orfalse
circle
circle()circle(r)circle(r, opts)circle(opts)

circle() 
circle(1) 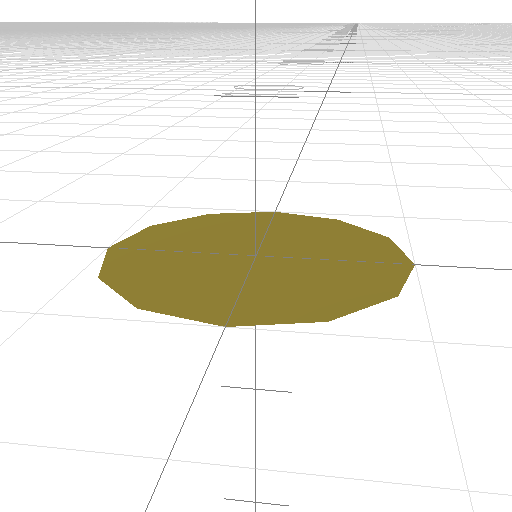
cricle({r:1}) 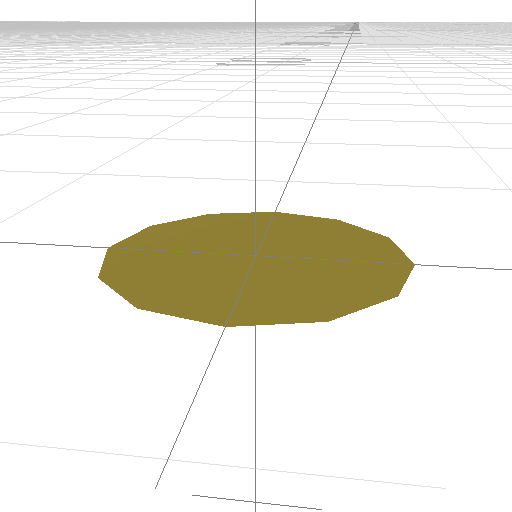
circle({d:1}) 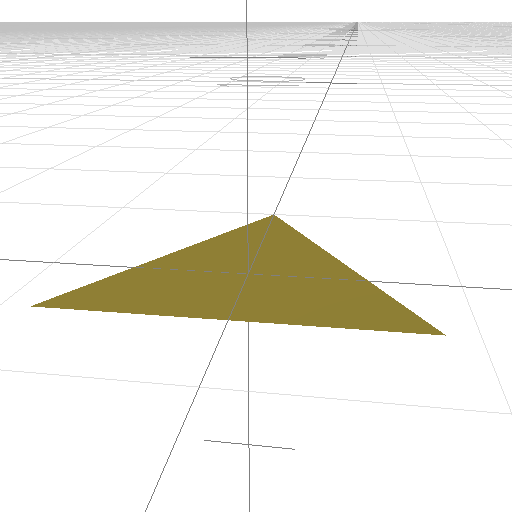
circle({r:1,n:3}) 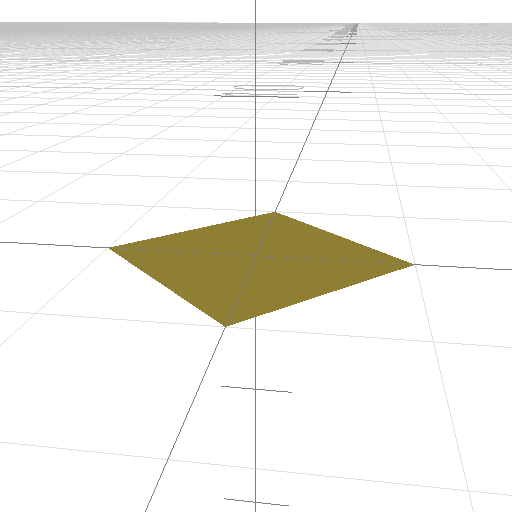
circle({r:1,n:4}) 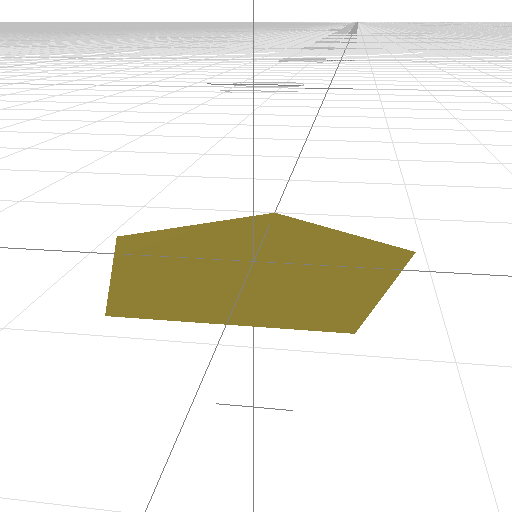
circle({r:1,n:5}) 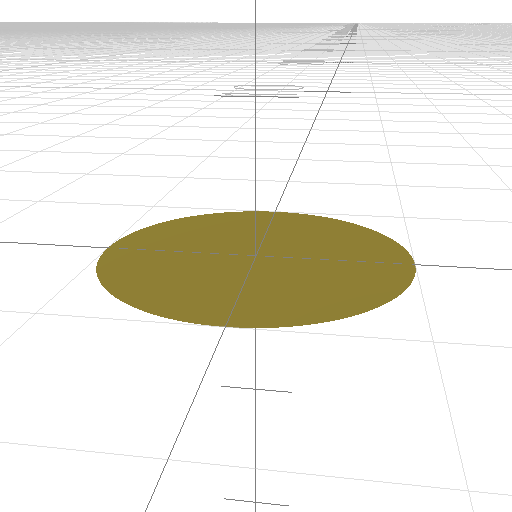
circle({r:1,n:256}) 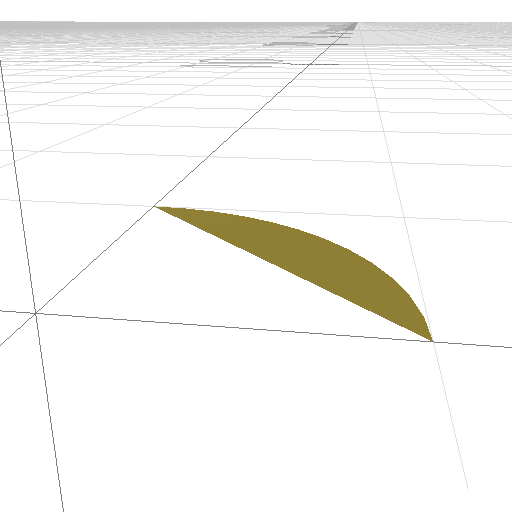
circle(1,{start:0,end:90}) 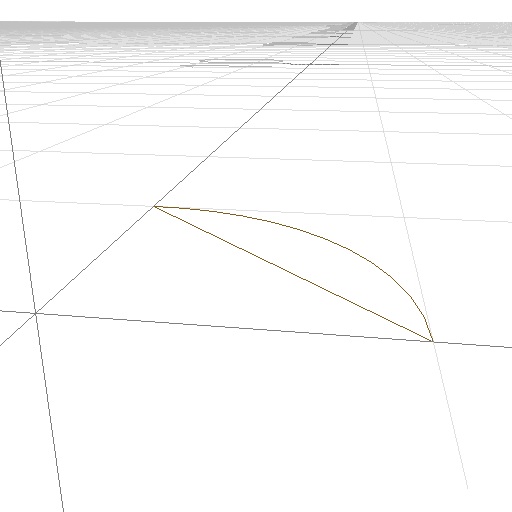
circle(1,{ start:0, end:90, fill:false }) 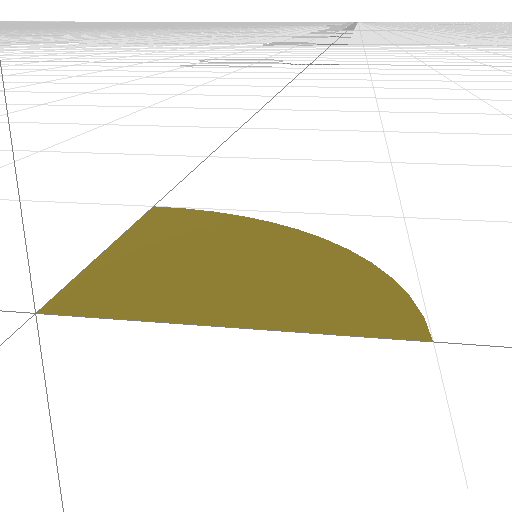
circle(1,{ start:0, end:90, midpoint:true }) 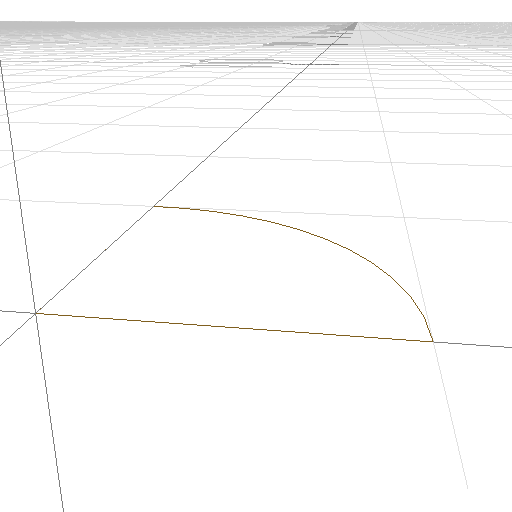
circle(1,{ start:0, end:90, midpoint:true, fill:false })
options:
r: set radius (default1.0)d: set diameterfill:true(default) orfalsestart: (default0)end: (default360)n: amount of segments (default12)angle: angle rotation (default0)midpoint:trueorfalse(default)thickness:0(default, minimal thickness)
3D Primitives
cube
cube()cube(2)cube([2,1,3])cube([2,1,3], { center: true })cube({ size:[2,1,3], center: true })
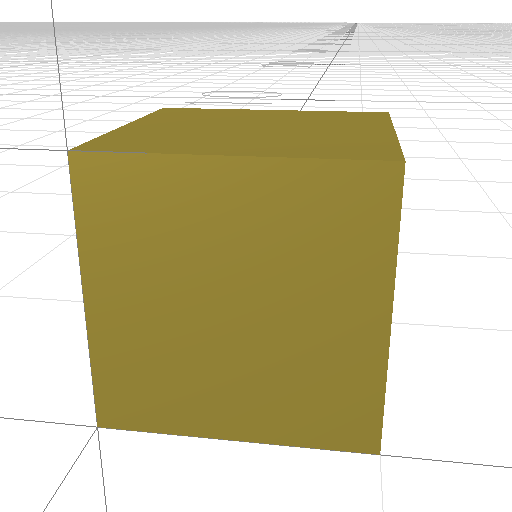
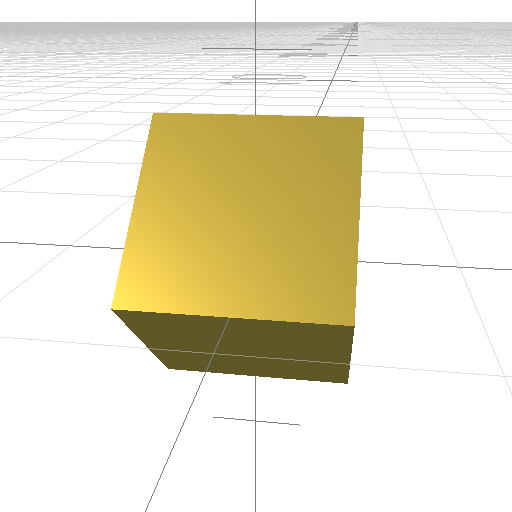
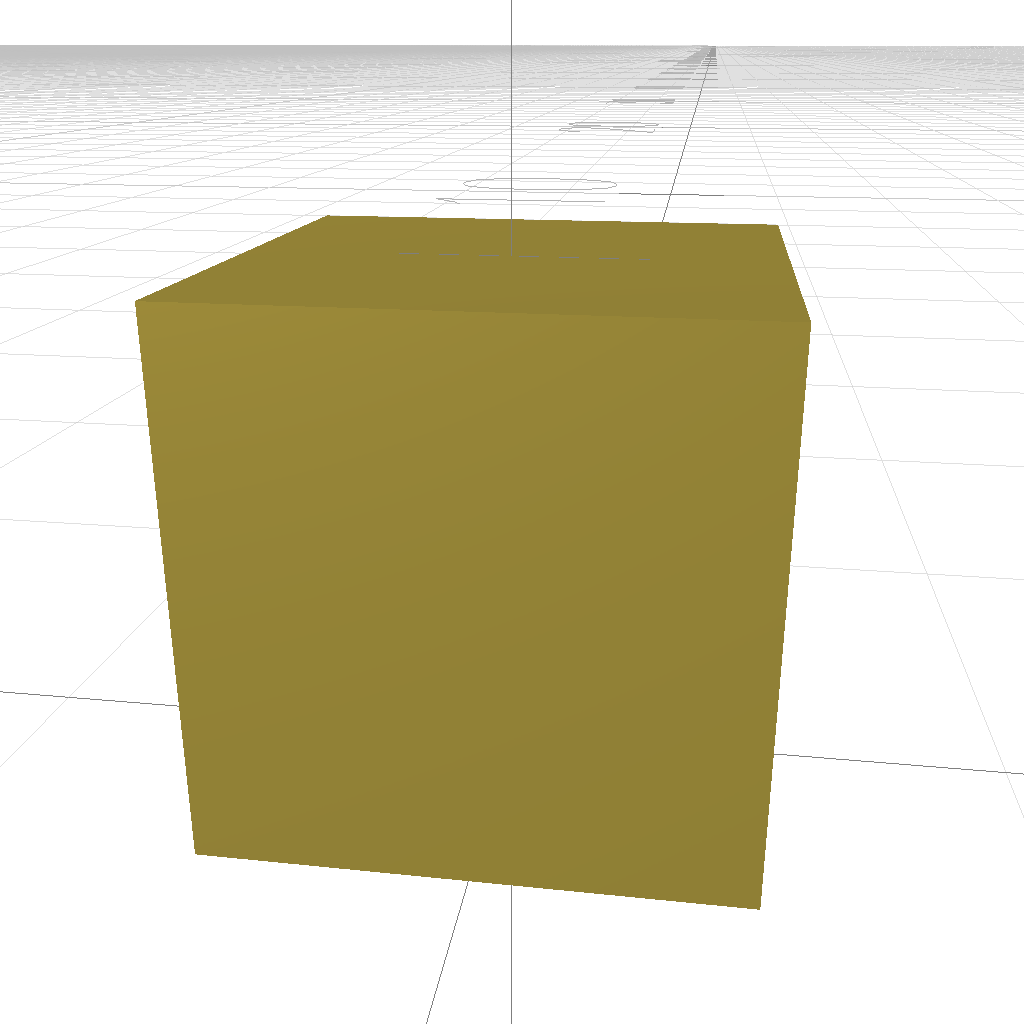
cube() 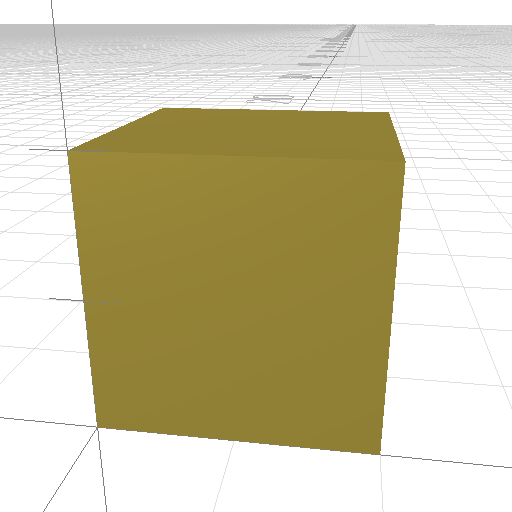
cube(2) 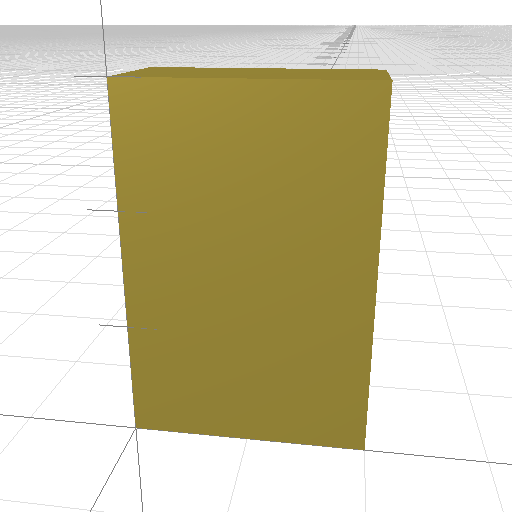
cube([2,1,3]) 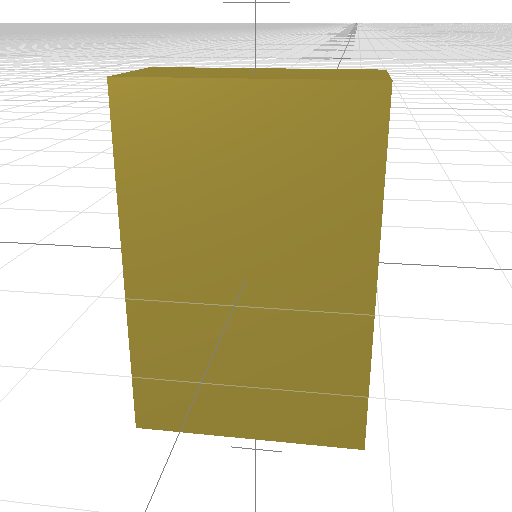
cube([2,1,3],{center:true}) 
cube({size:[2,1,3],center:true})
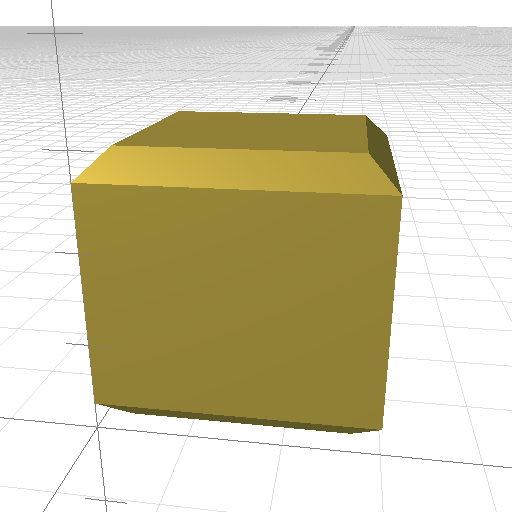
cube(3,{chamfer:0.3}) 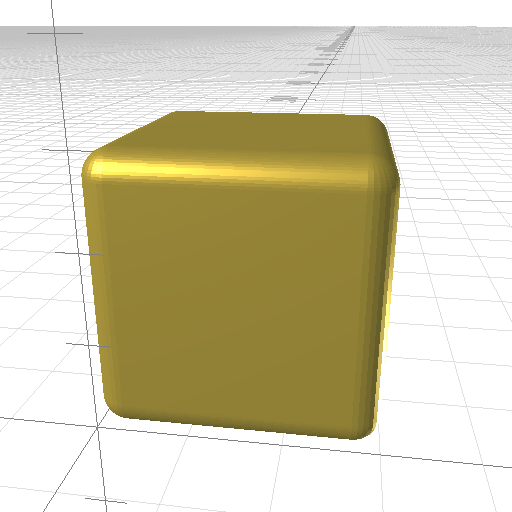
cube(3,{fillet:0.3})
options:
center:trueorfalseor and array of 3trueorfalse, e.g.[ true, false, false]for each axis x, y, and z- experimental:
chamfer:0(default)
fillet:0(default)
sphere
sphere()sphere(1)sphere({r: 1, ...})

sphere(), sphere(1), sphere({r:1}) 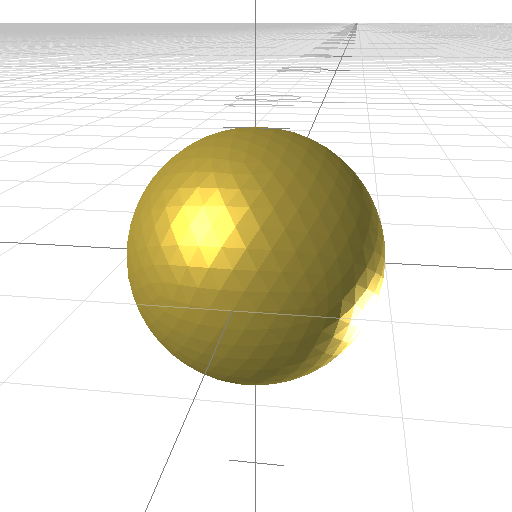
sphere({r:1, type:’icosa’})
sphere({n:3}) 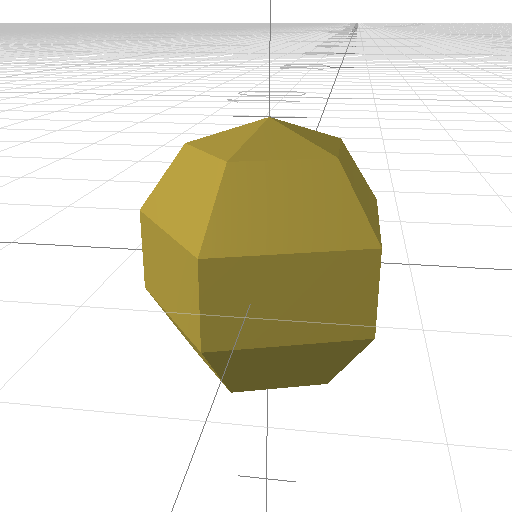
sphere({n:5}) 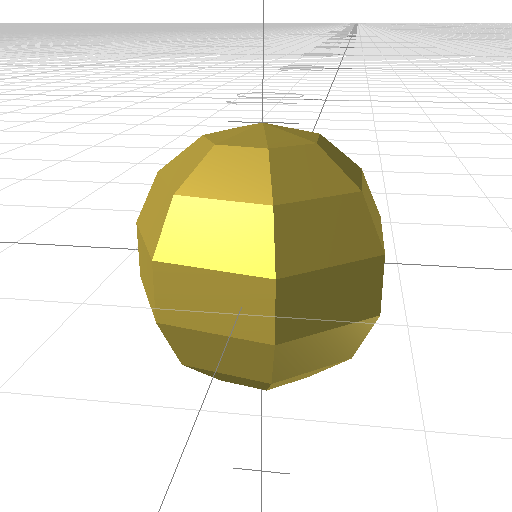
sphere({n:7})
options:
center:trueorfalseor and array of 3trueorfalse, e.g.[ true, false, false]for each axis x, y, and ztype:angular(default) oricosan: segments (default12)
Note: the higher the frequency (n) is, the more computational intensive CSG opertions will be.
cylinder
cylinder(h,r)cylinder(h,r,opts)cylinder(h,r1,r2,opts)cylinder({h:1, r:2, ...})cylinder({h:1, d:2, ...})cylinder({h:1, r1: 1, r2: 0, ... })
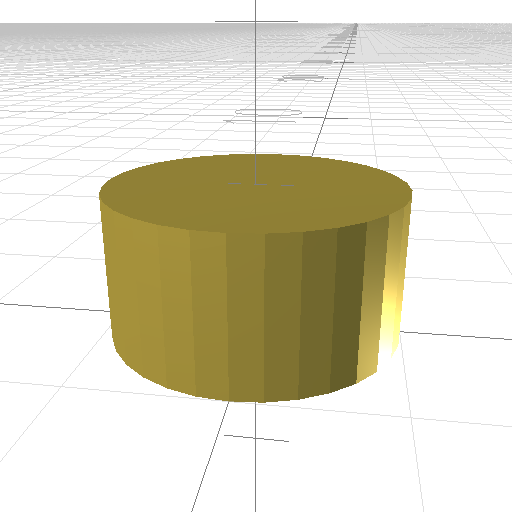
cylinder() 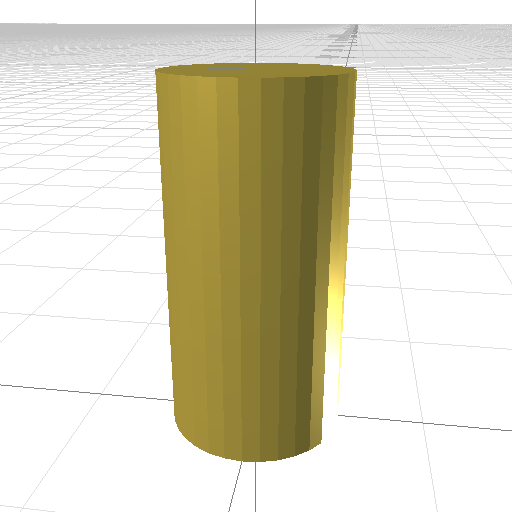
cylinder(2,0.5) 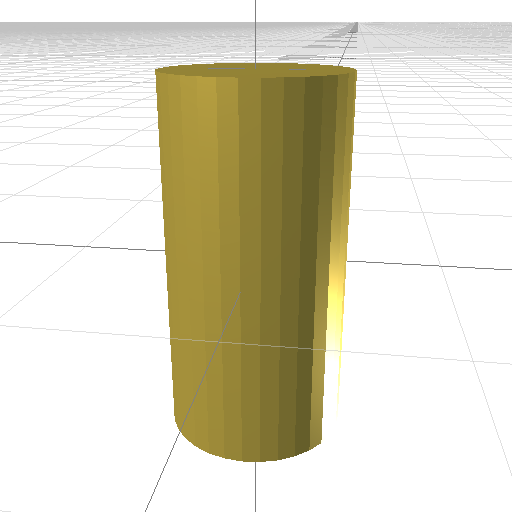
cylinder(2,0.5,{center:true}) 
cylinder({h:2,r:0.5}) 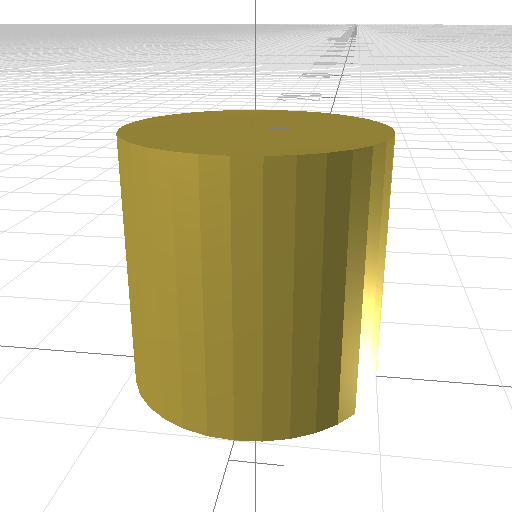
cylinder({h:2,d:2}) 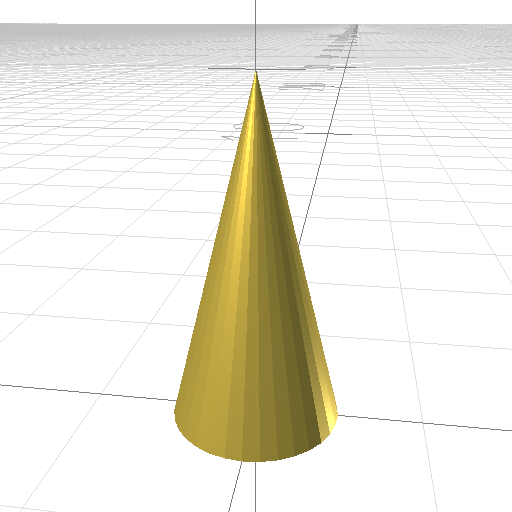
cylinder(2,0.5,0) 
cylinder(2,2,0, {center:true}) 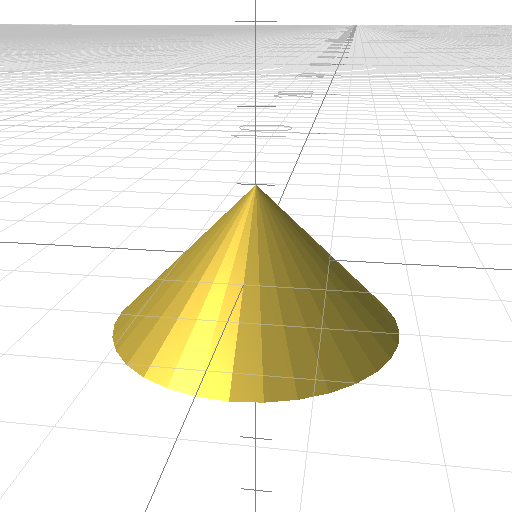
cylinder({h:2,r1:2,r2:0, center:true}) 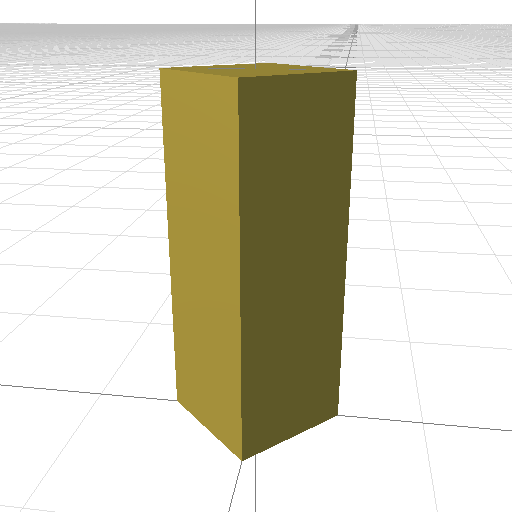
cylinder(2,0.5,{n:4})
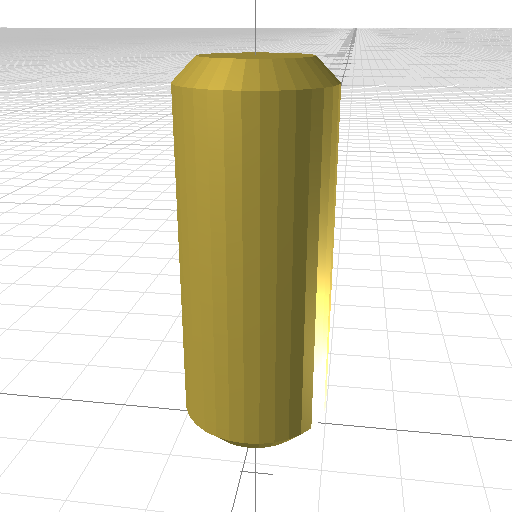
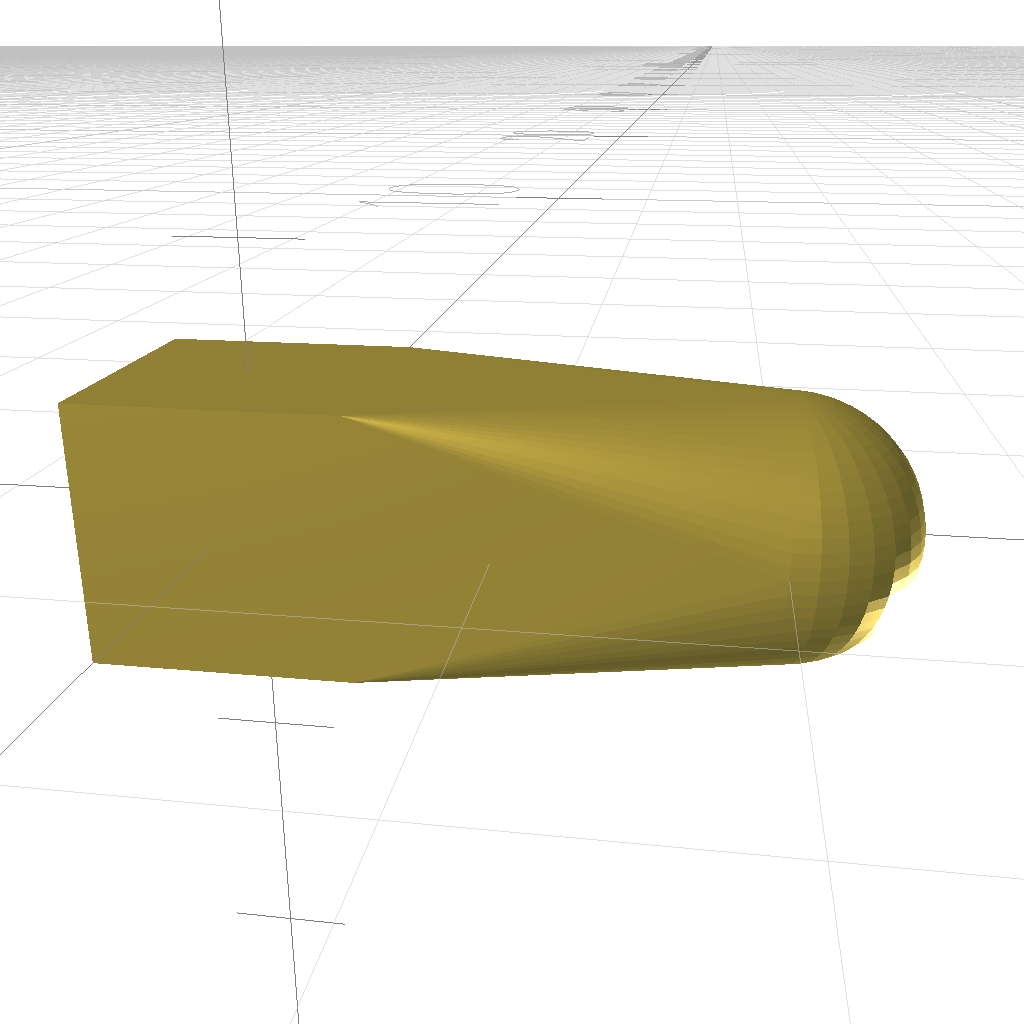
cylinder(5,1,{chamfer:0.3}) 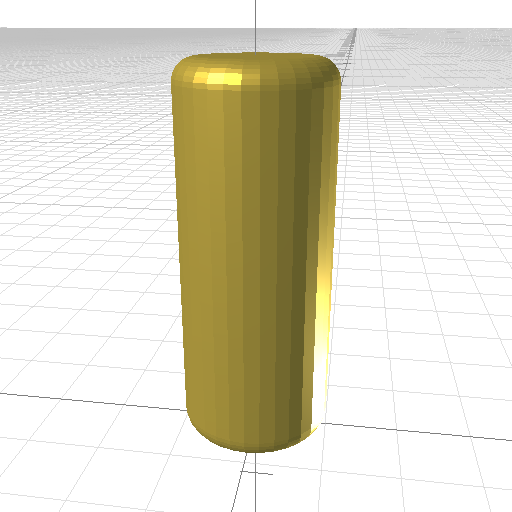
cylinder(5,1,{fillet:0.3})
options:
center:trueorfalseor and array of 3trueorfalse, e.g.[ true, false, false]for each axis x, y, and zn: segments- experimental:
chamfer:0(default)fillet:0(default)
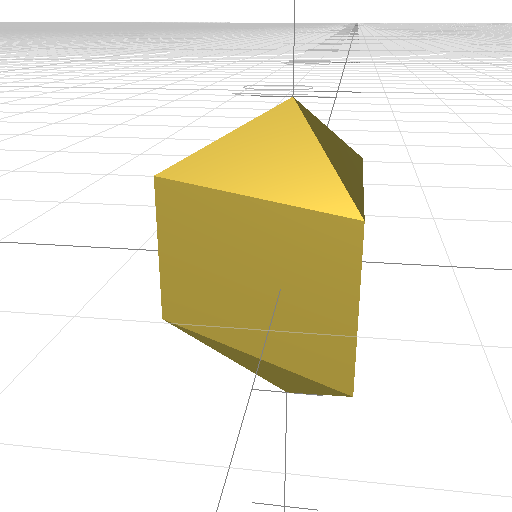
polyhedron
polyhedron(p,f)polyhedron(p,f,opts)polyhedron({points: p, faces: f, ...})
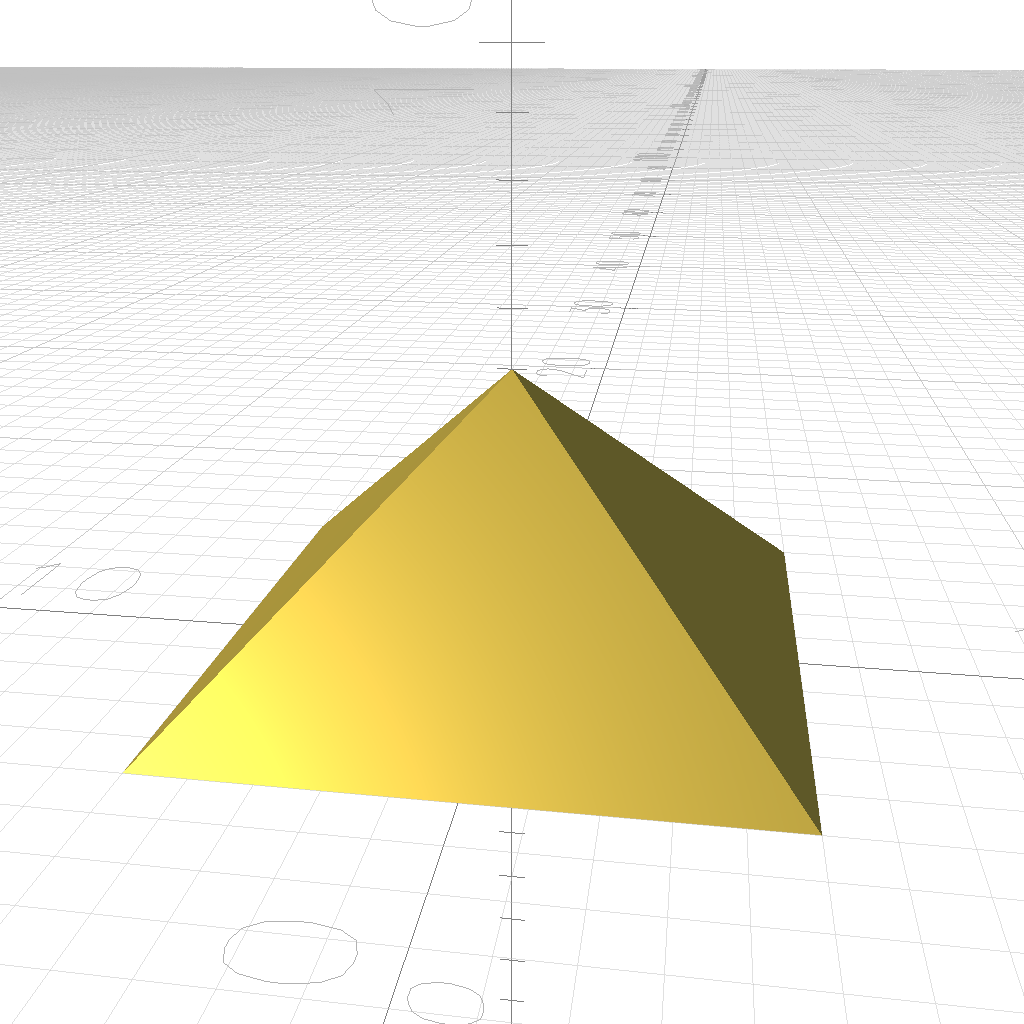
polyhedron(
    [              // set of points
       [-1,1,0],
       [1,1,0],
       [1,-1,0],
       [-1,-1,0],
       [0,0,1]
    ],
    [              // set of faces
       [0,1,2,3],     // square bottom
       [1,0,4],       // side
       [2,1,4],       //  "
       [3,2,4],       //  "
       [0,3,4]        //  "
    ]
 ).scale(5);
where as:
p: array of [x,y,z] coordinates, e.g.[0, 0, 0]f: array of vertice indexes e.g.[0, 1, 2]
Usually one does not manually compose polyhedron() but create such procedurally.
Note: polyhedron() isn’t compatible OpenSCAD polyhedron() as face orientation is reversed in OpenSCAD compared to common standard.
Transformations
translate
obj.translate([x,y,z])translate(obj,[x,y,z])
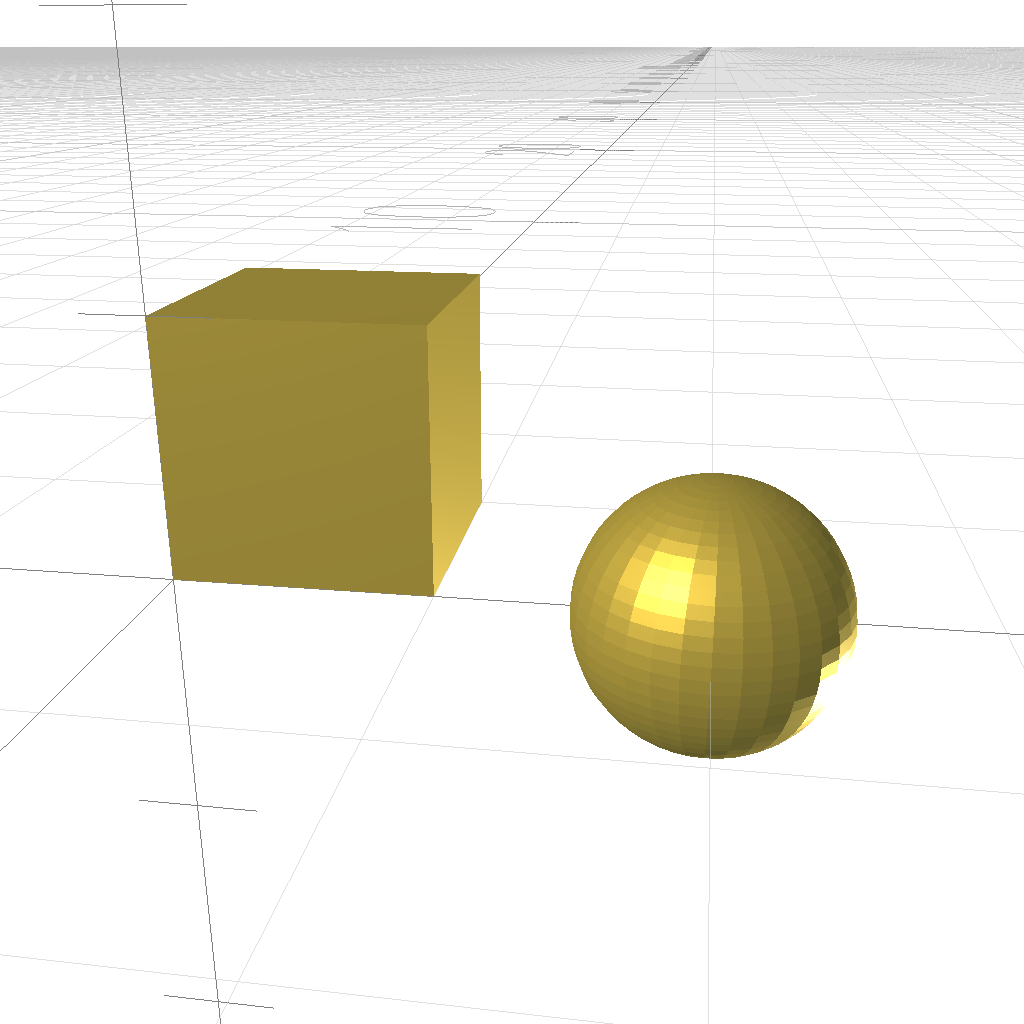
cube(); sphere(0.5).translate([2,0,0])
scale
obj.scale(f)obj.scale([x,y,z])scale(obj,f)scale(obj,[x,y,z])
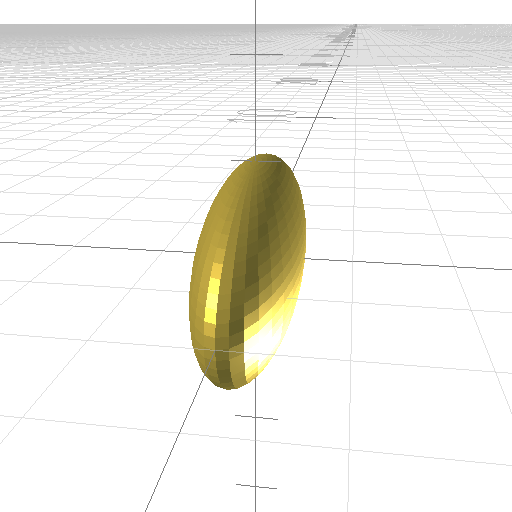
sphere().scale([0.5,2,1]) 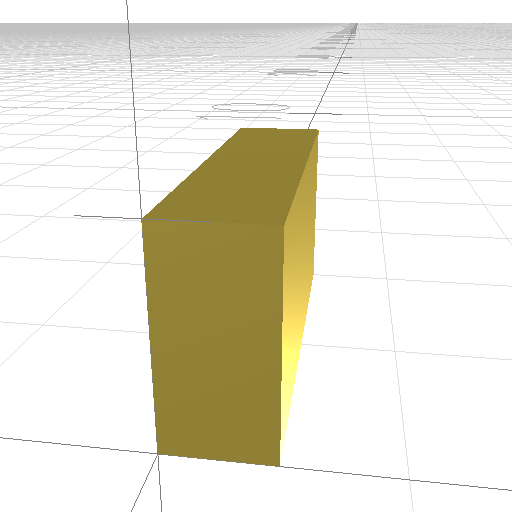
cube().scale([0.5,2,1]) 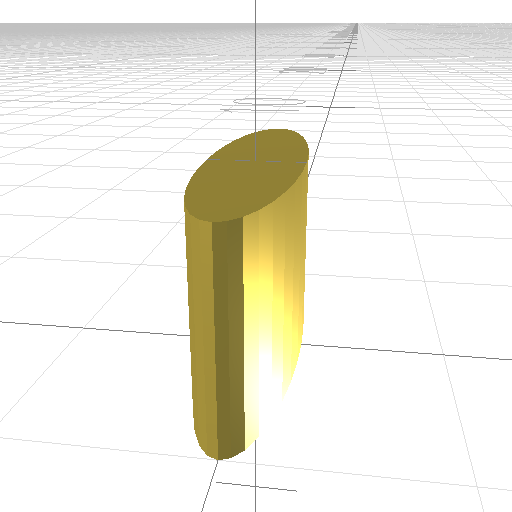
cylinder().scale([0.5,2,1])
rotate
obj.rotate([x,y,z])rotate(obj,[x,y,z])
cube( {center:true} ).rotate([45,0,0]) 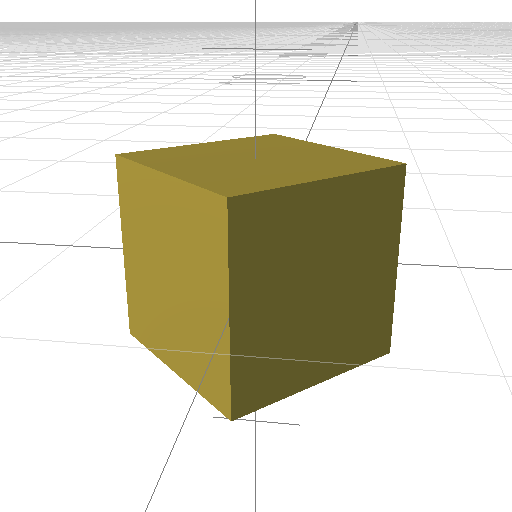
cube( {center:true} ).rotate([0,0,45]) 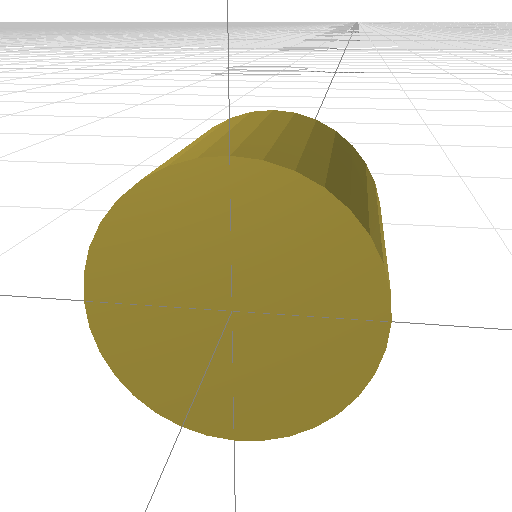
cylinder().rotate([-90,0,0])
where as x, y, and z are angles in 0..360 degrees.
transform
.transform([ t0, t1, t2, ... t15 ])transform(obj,[t0, t1, t2, ... t15])
4×4 transformation matrix applied.
hull
obj1.hull(obj2, ...)hull(obj1, obj2, ... )
hull( cube({center:true}), sphere(0.5).translate([2,0,0])) 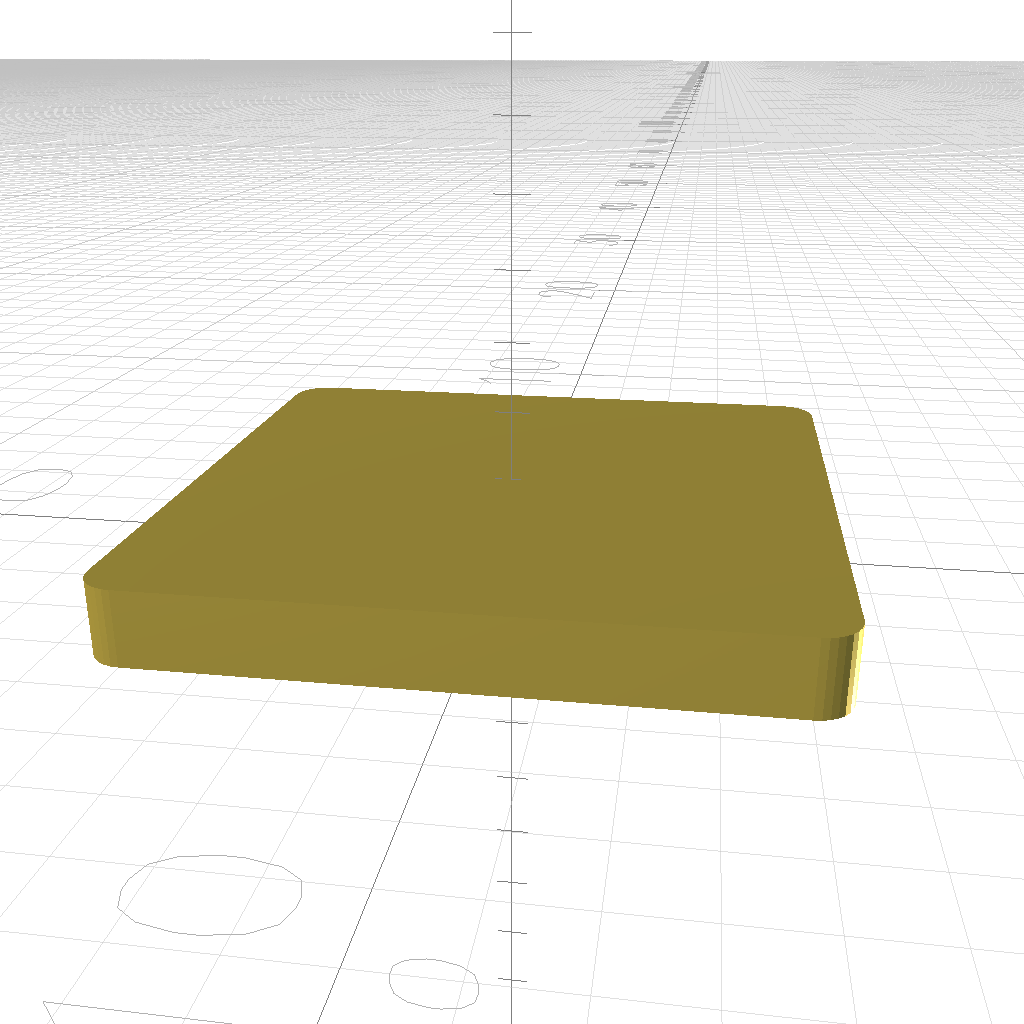
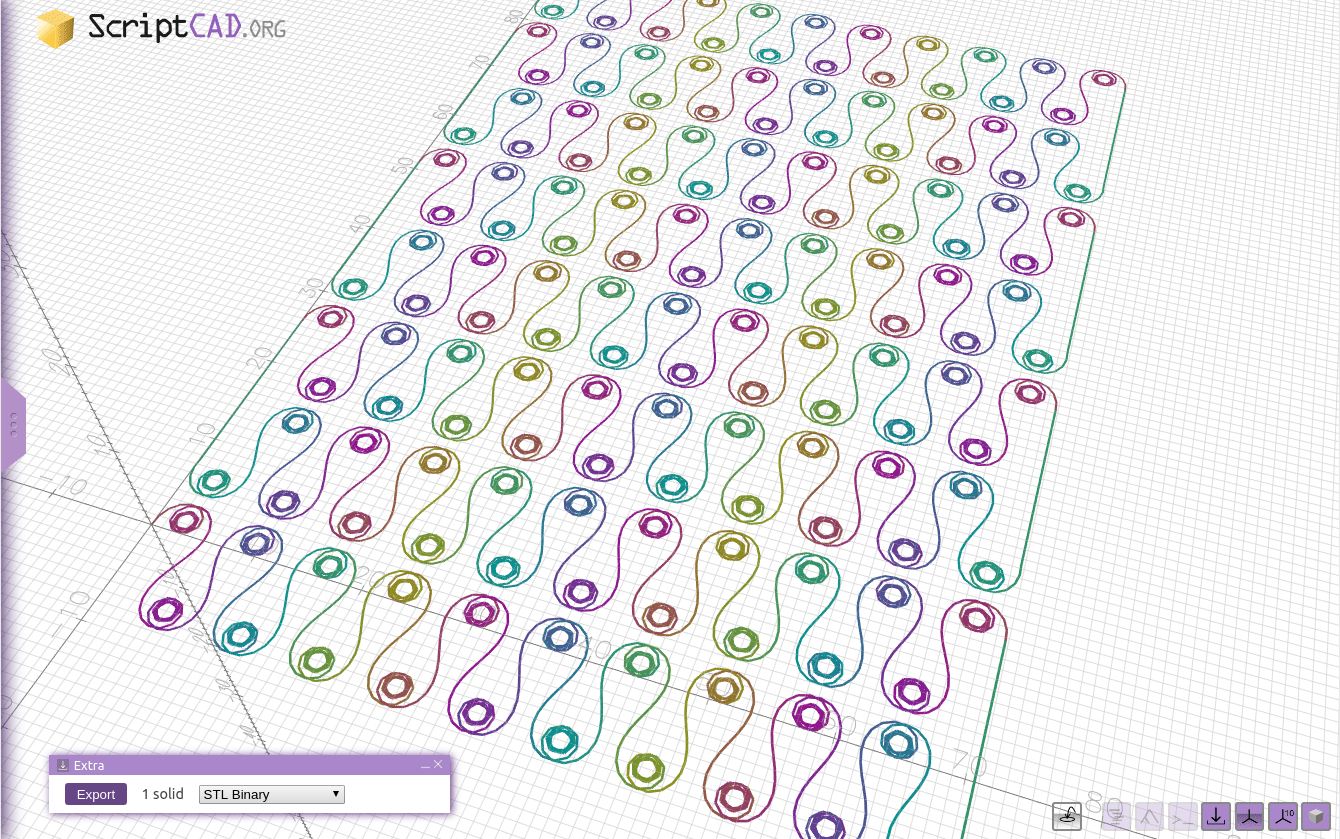
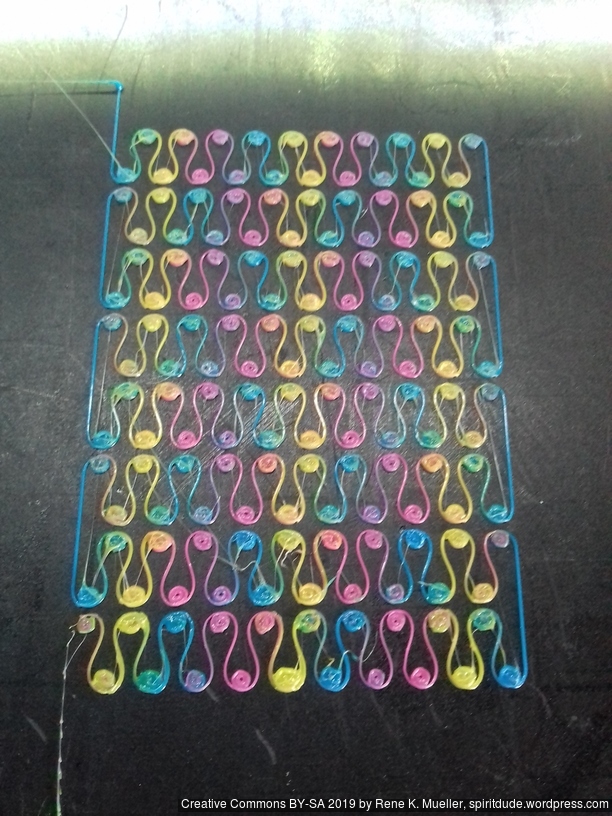
hull(forrange([0,3],function(i) { cylinder(1,0.5) .translate([4,4,0]) .rotate([0,0,i*90]) })) 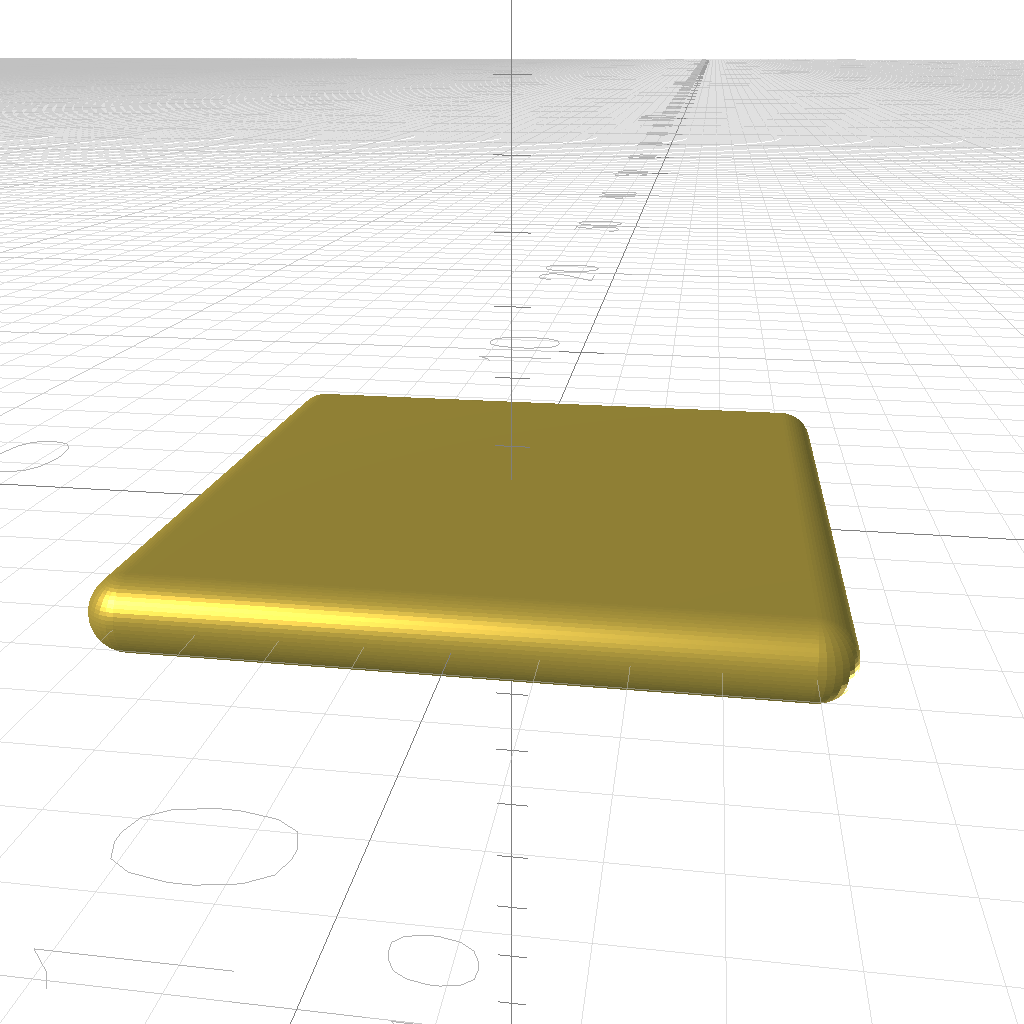
hull(forrange([0,3],function(i) { sphere(0.5).translate([4,4,0]).rotate([0,0,i*90]) }))
hull() is quite powerful, and one may reduce complex structures back to hulled 2D or 3D primitives.
linear extrude
.linear_extrude(opts)linear_extrude(obj,opts)
square().linear_extrude() 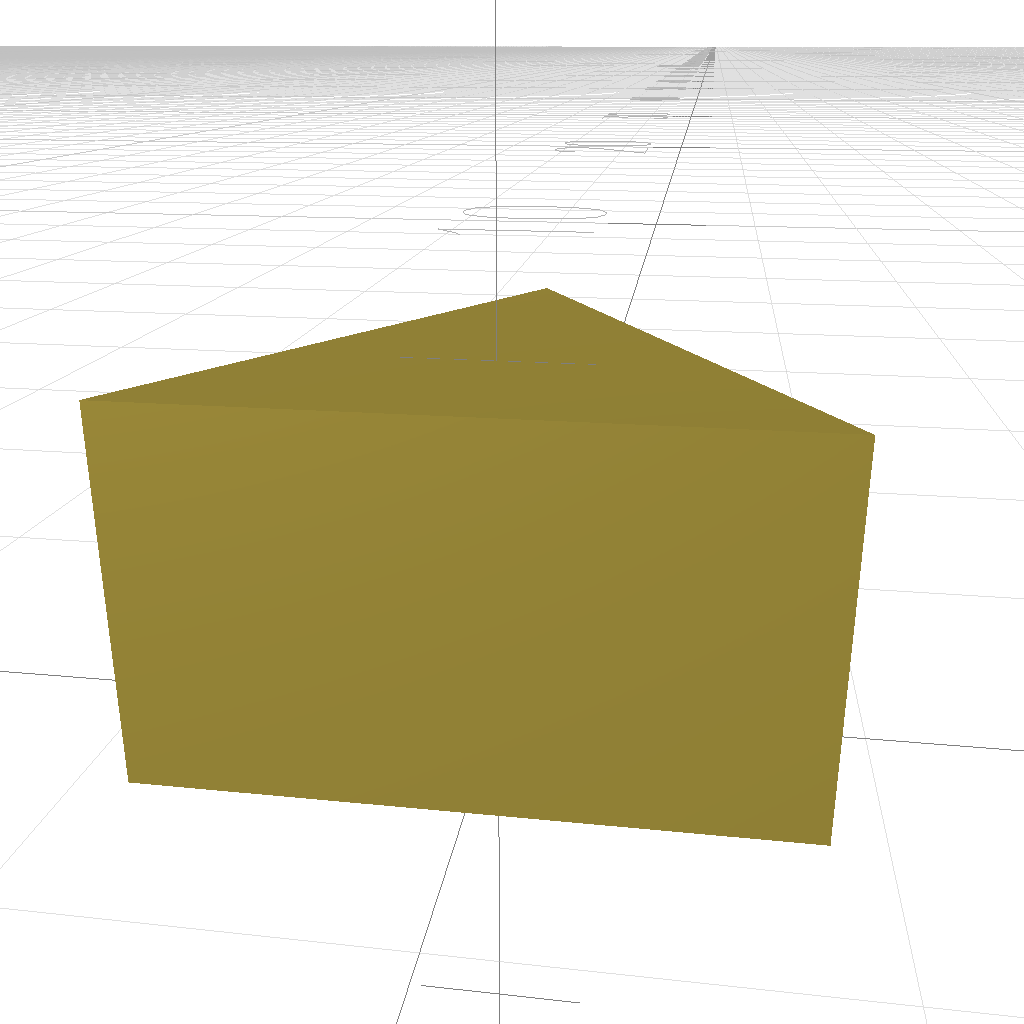
circle(1,{n:3}).linear_extrude() 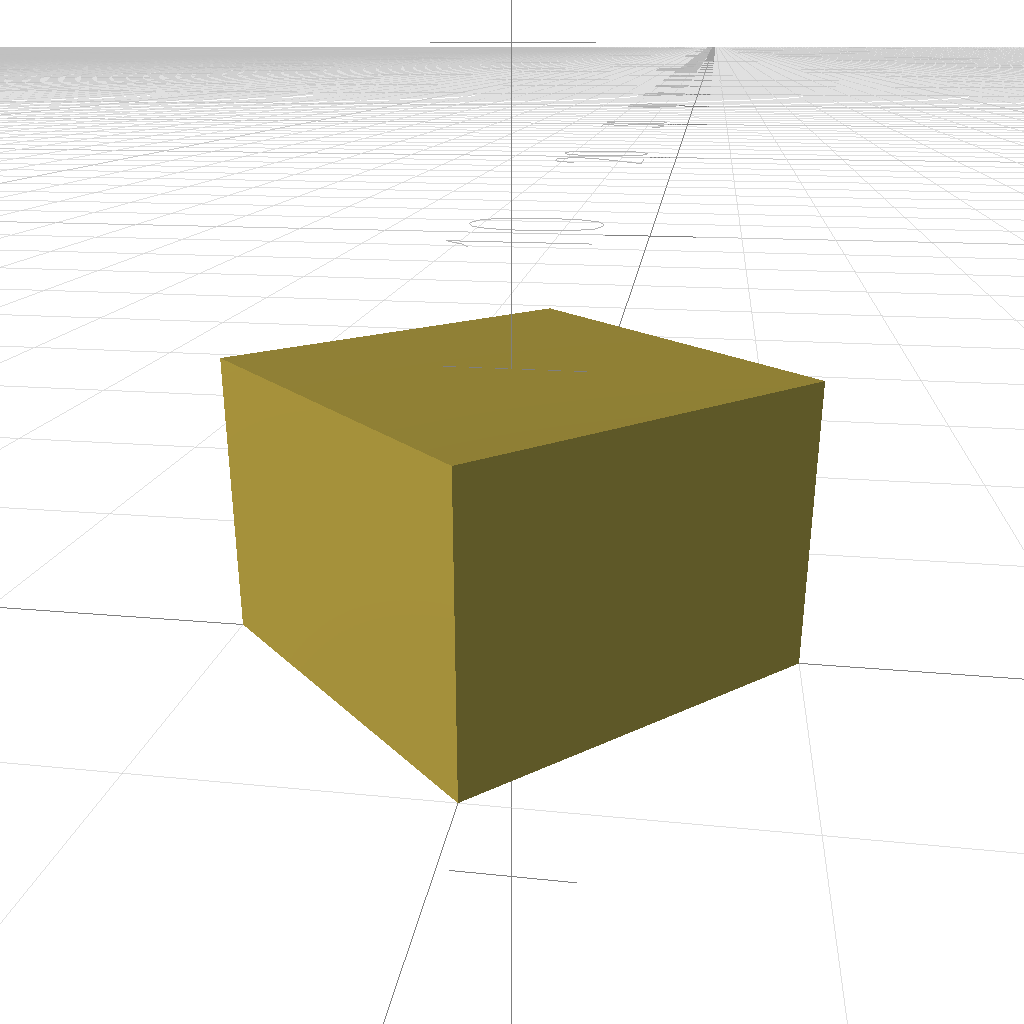
circle(1,{n:4}).linear_extrude() 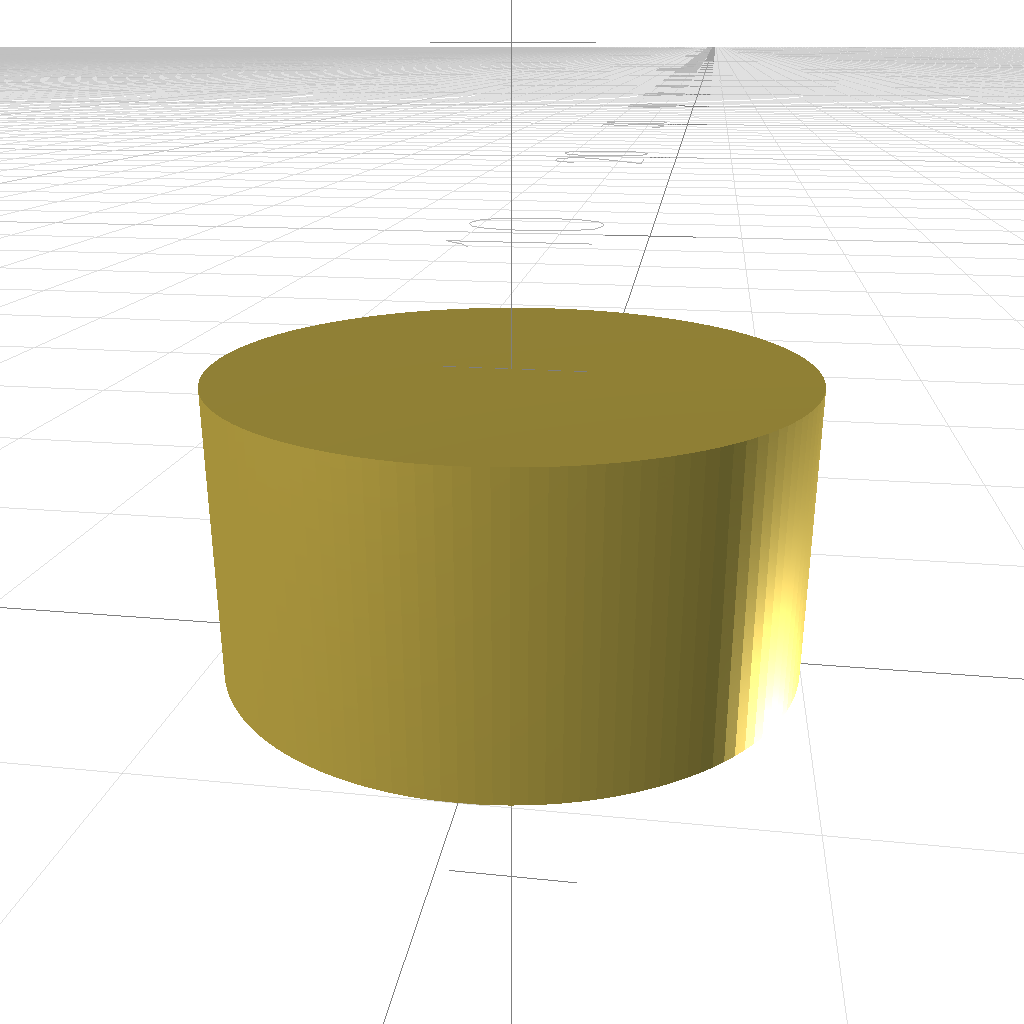
circle(1,{n:128}).linear_extrude() 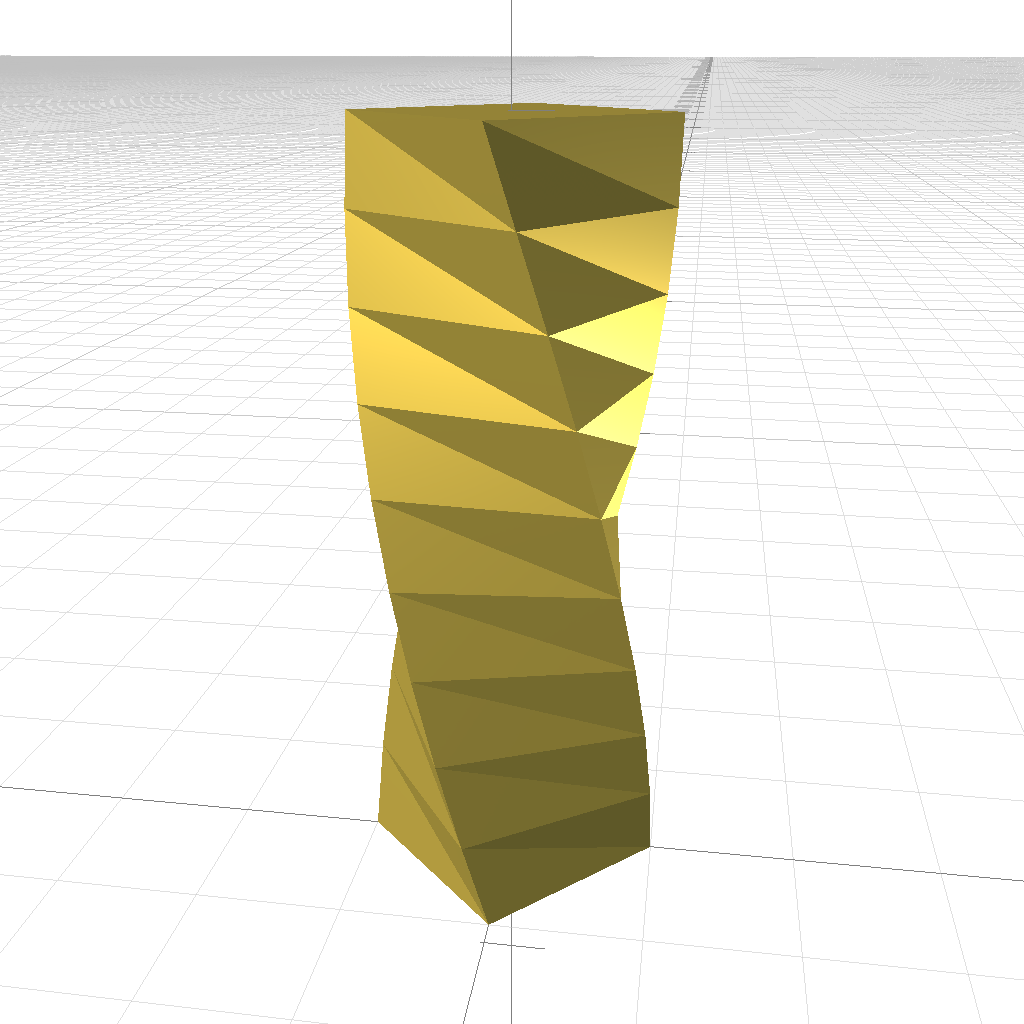
circle(1,{n:4}) .linear_extrude( {twist:90,h:5} ) 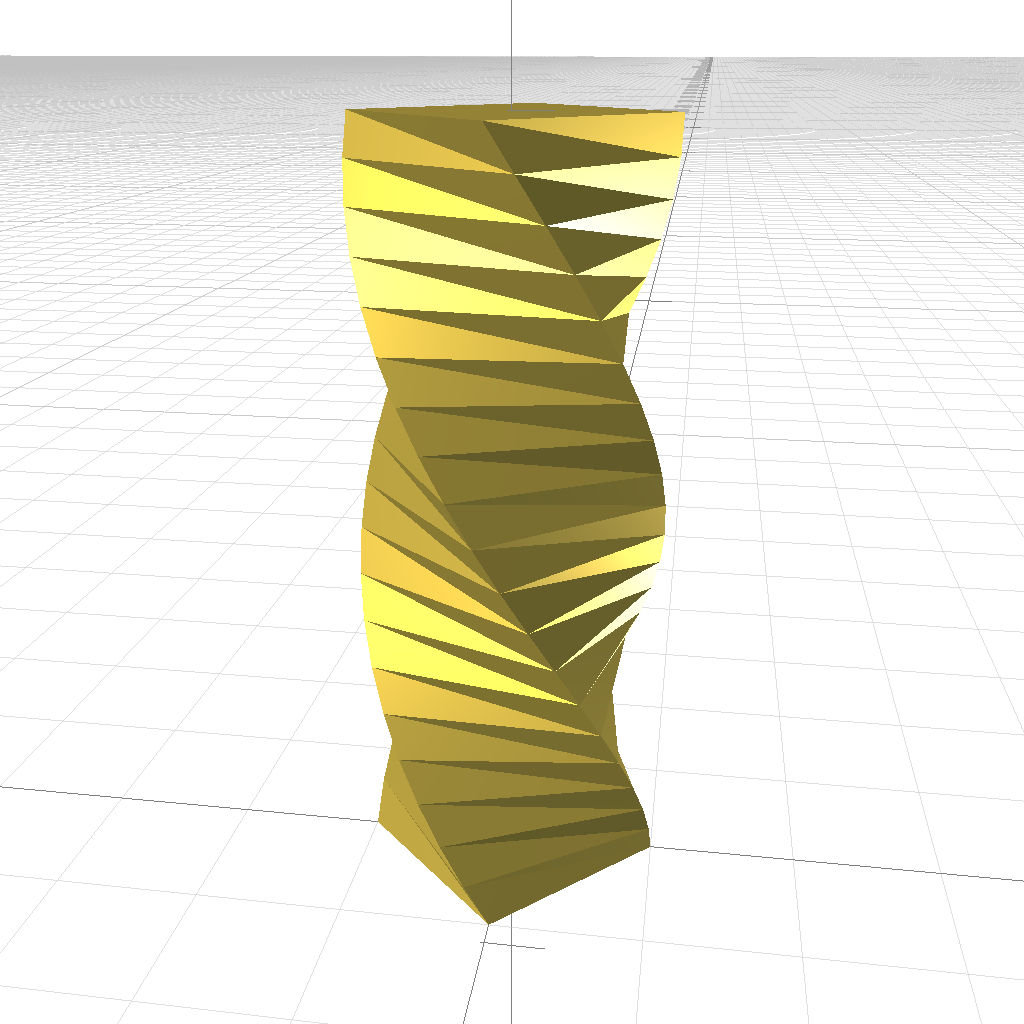
circle(1,{n:4}). linear_extrude( {twist:180,h:5,n:20} ) 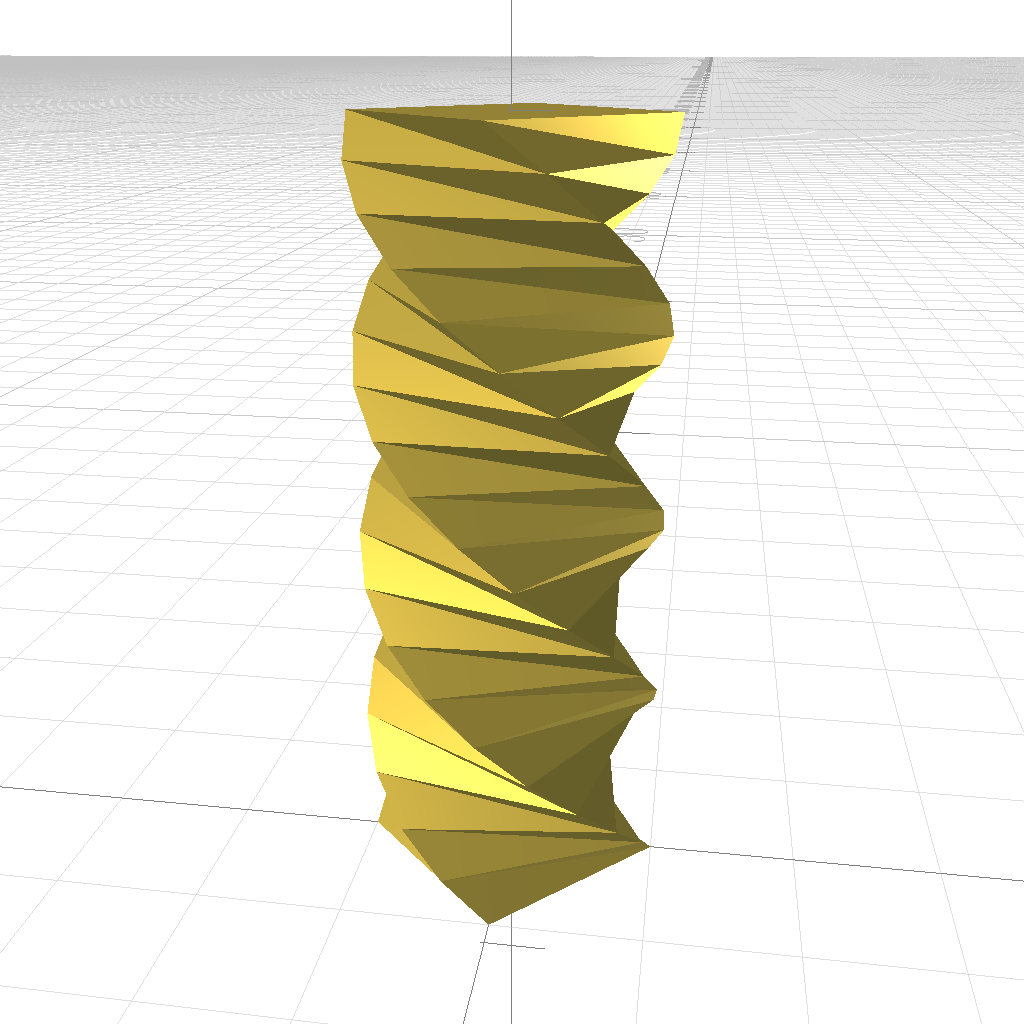
circle(1,{n:4}).linear_extrude({twist:360,h:5,n:20})
options:
h: heightn: segmentstwist: twist in degrees (0..360)
rotate extrude
.rotate_extrude(opts)rotate_extrude(obj,opts)

circle(1) .translate([4,0,0]) .rotate_extrude() 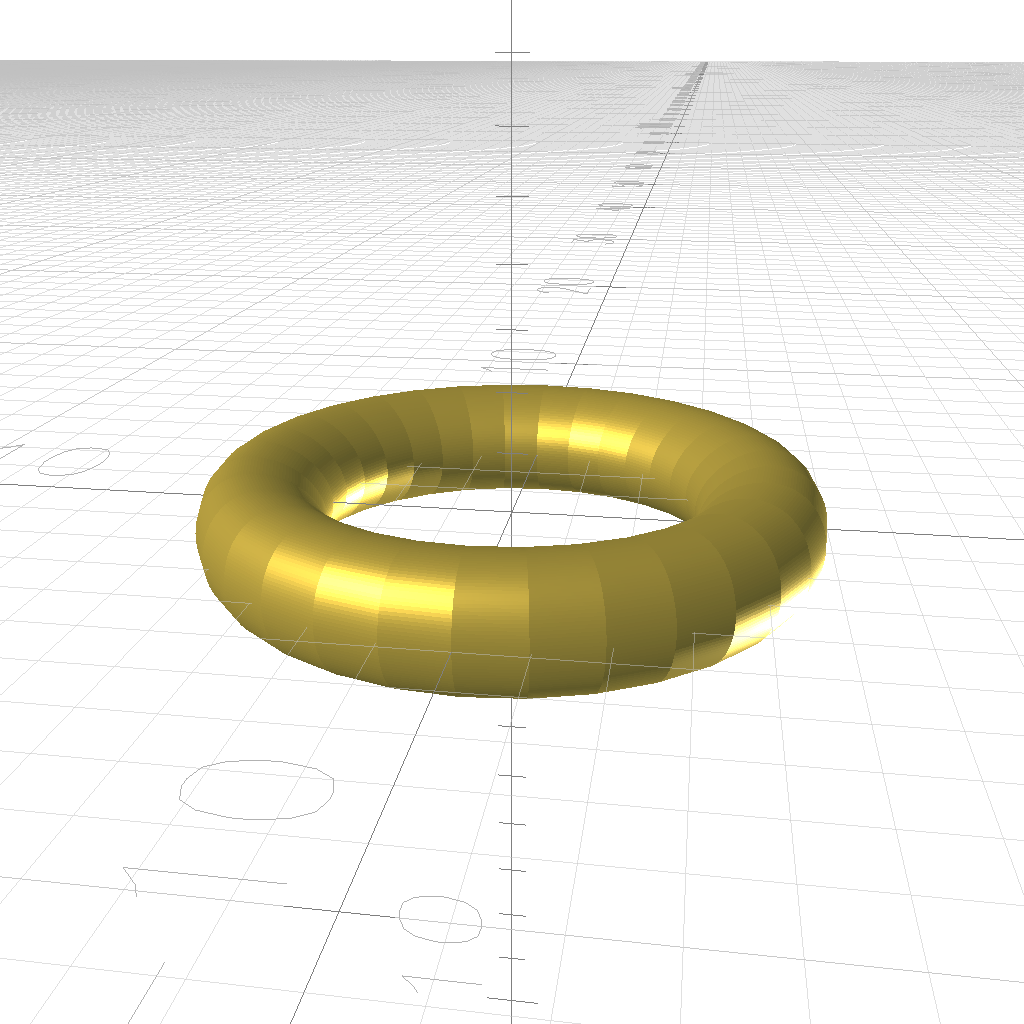
circle(1,{n:128}) .translate([4,0,0]) .rotate_extrude() 
circle(1,{n:128}) .translate([4,0,0]) .rotate_extrude({n:128}) 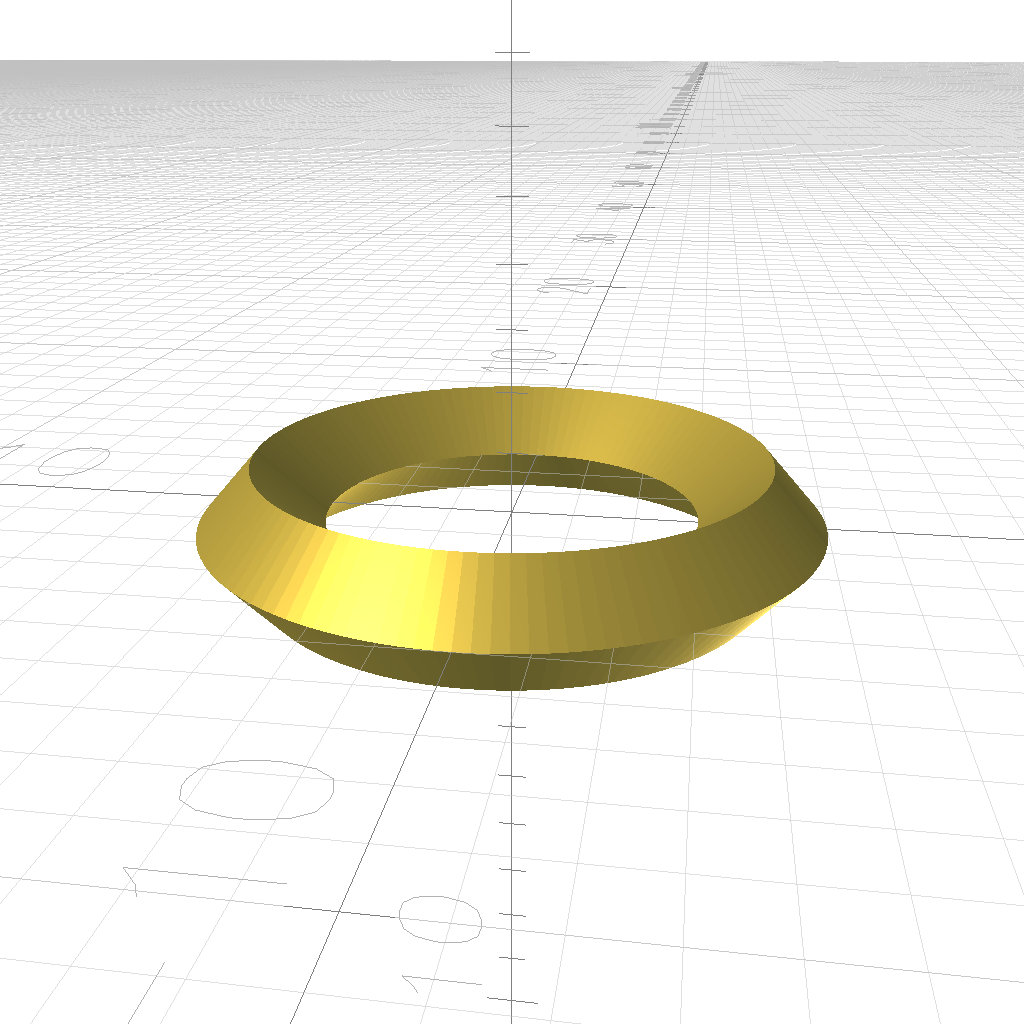
circle(1,{n:4}) .translate([4,0,0]) .rotate_extrude({n:128}) 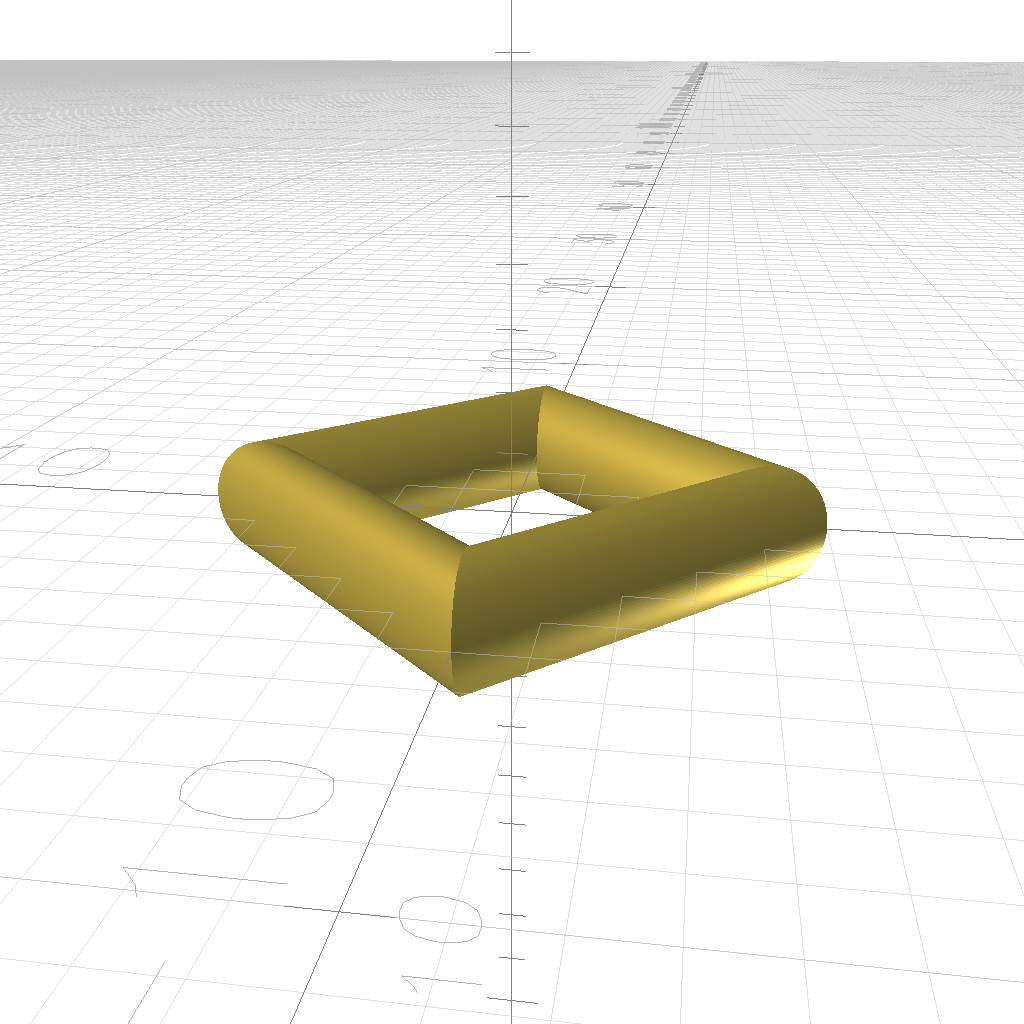
circle(1,{n:128}) .translate([4,0,0]) .rotate_extrude({n:4}) 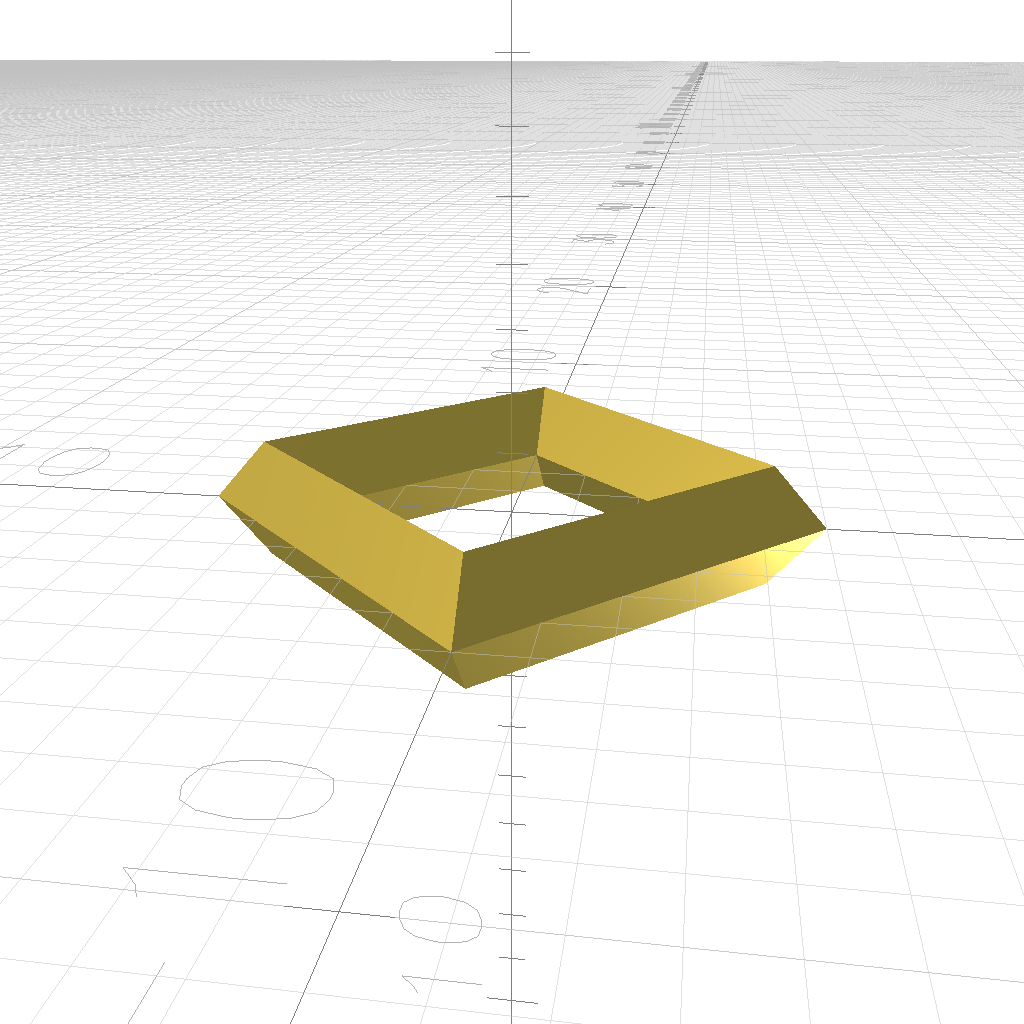
circle(1,{n:4}) .translate([4,0,0]) .rotate_extrude({n:4}) 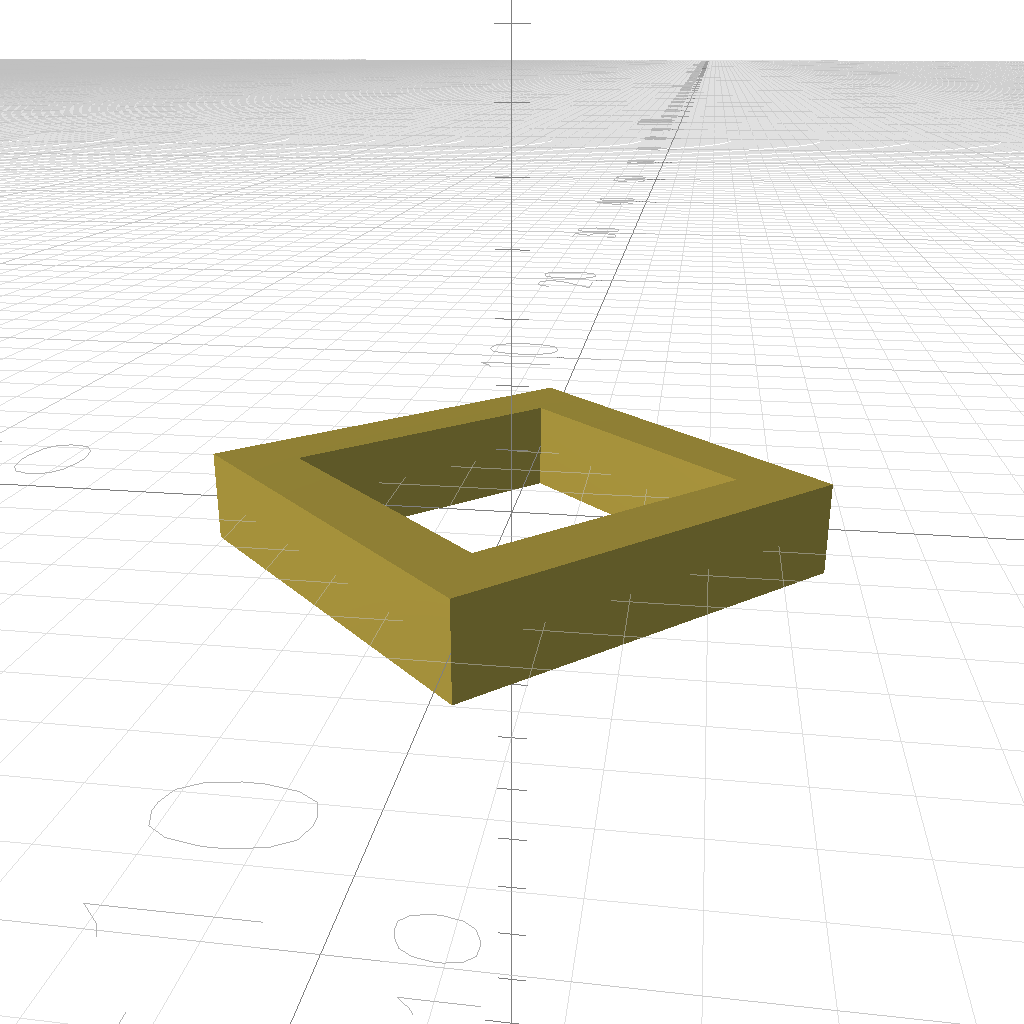
circle(1,{n:4,angle:45}) .translate([4,0,0]) .rotate_extrude({n:4}) 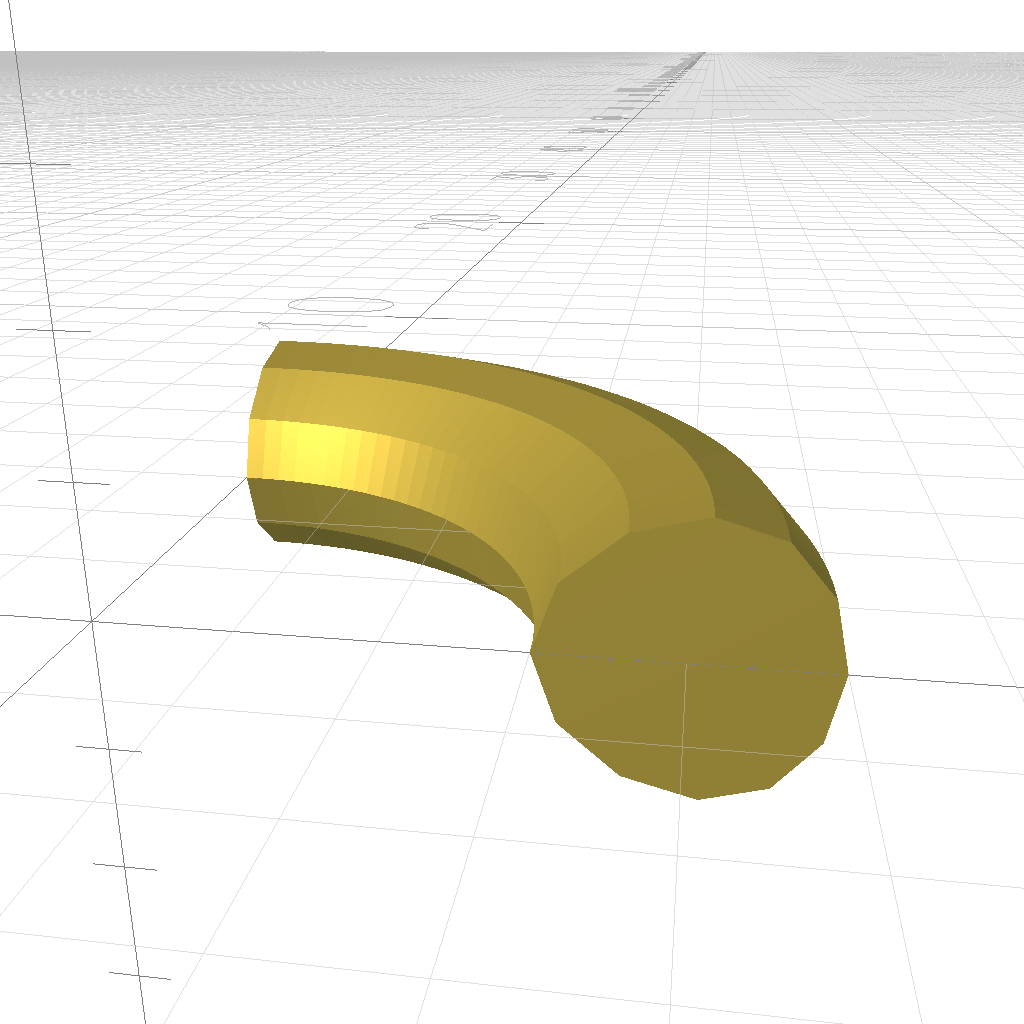
circle(1) .translate([4,0,0]) .rotate_extrude( {end:90} ) 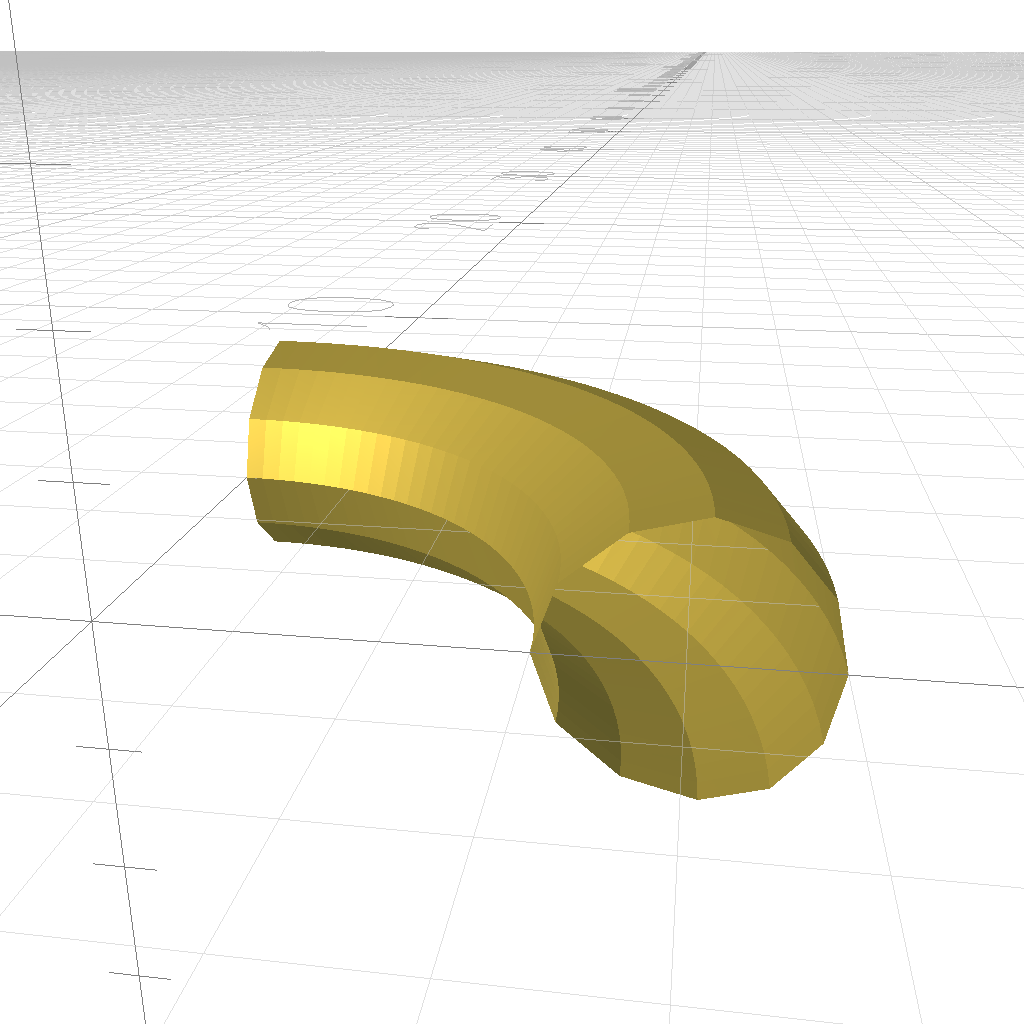
circle(1) .translate([4,0,0]) .rotate_extrude( {end:90,caps:false} )
options:
start: start angle 0..360 (default0)end: end angle 0..360 (default360)caps:true(false) orfalsein case start != end
CSG Operations
union
obj1.union(obj2, ...)union(obj1, obj2, ...)
union( sphere(0.62), cube({center:true}) )
You may consider union() the additive manufacturing principle.
Note: union() operation can be costly in regards of computational overhead.
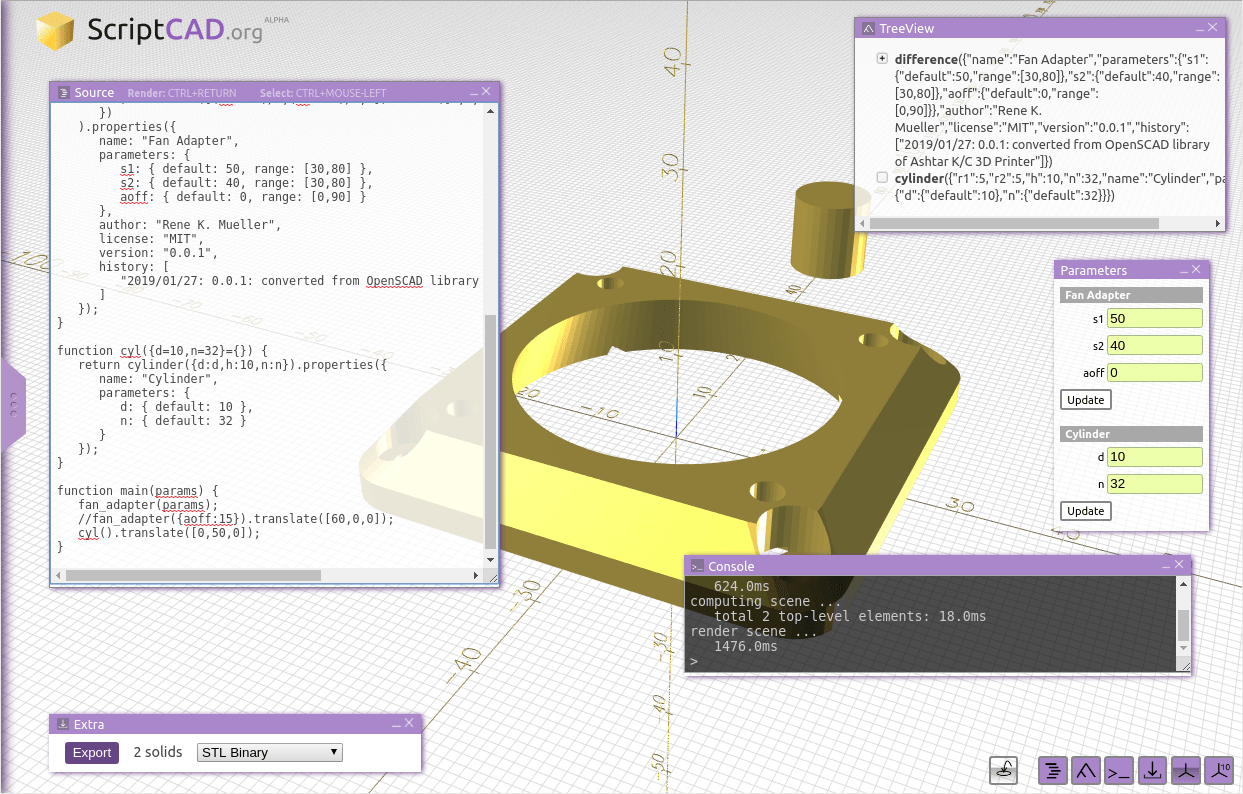
difference
obj1.difference(obj2, ...)difference(obj1, obj2, ...)

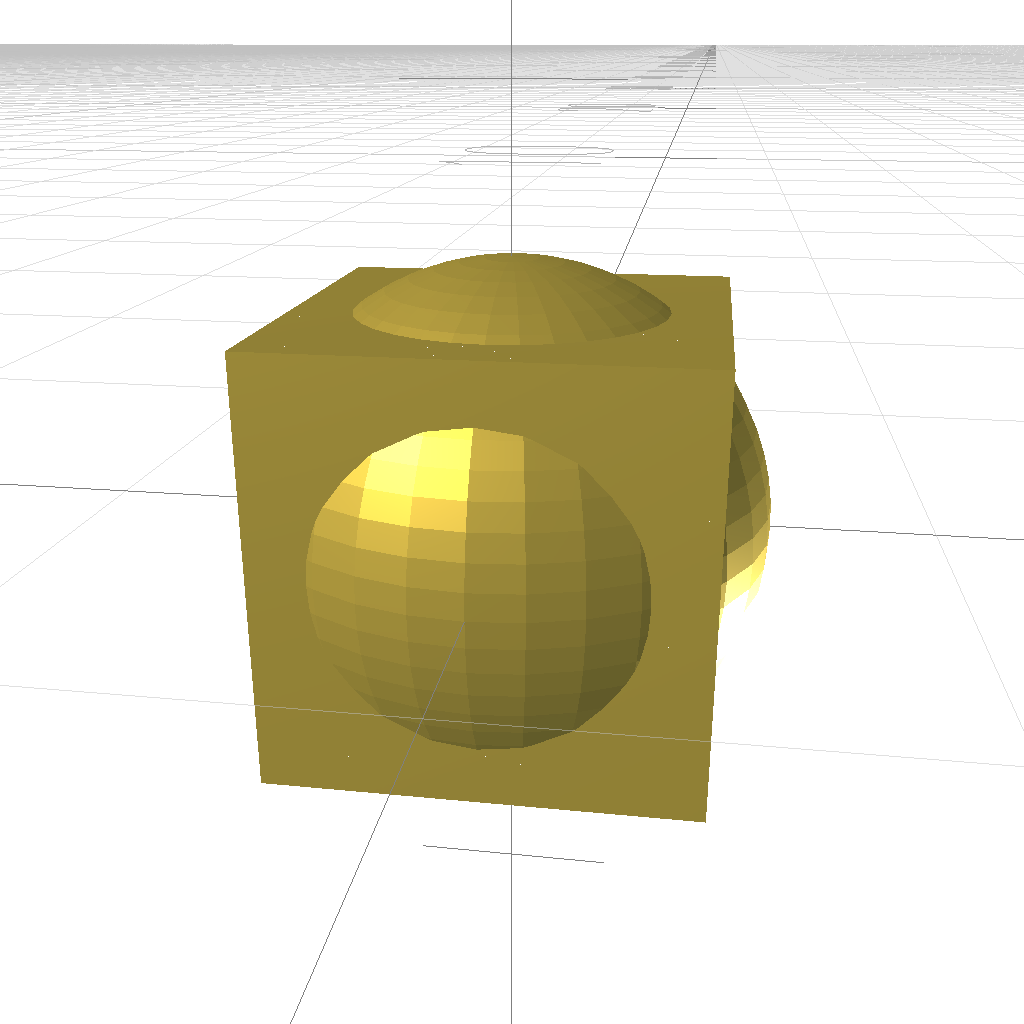
difference( sphere(0.62), cube({center:true}) ) 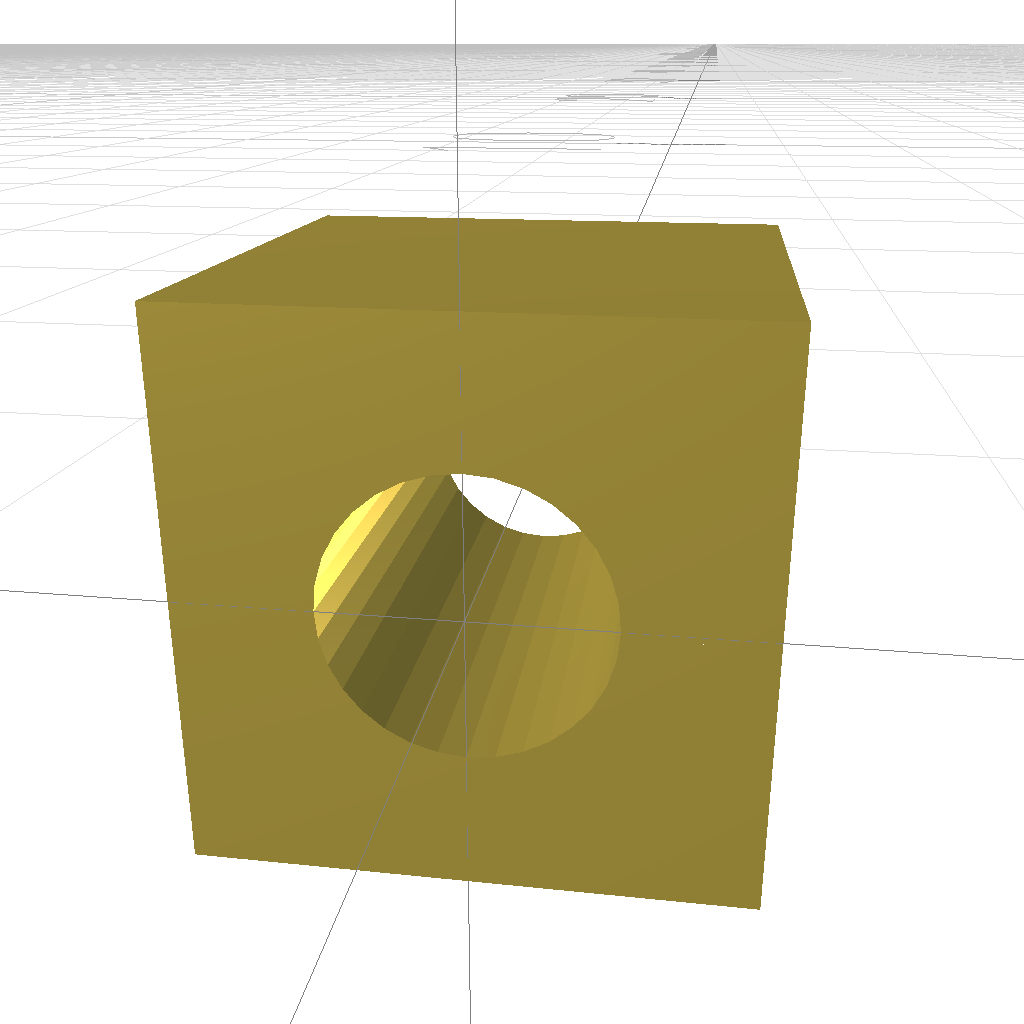
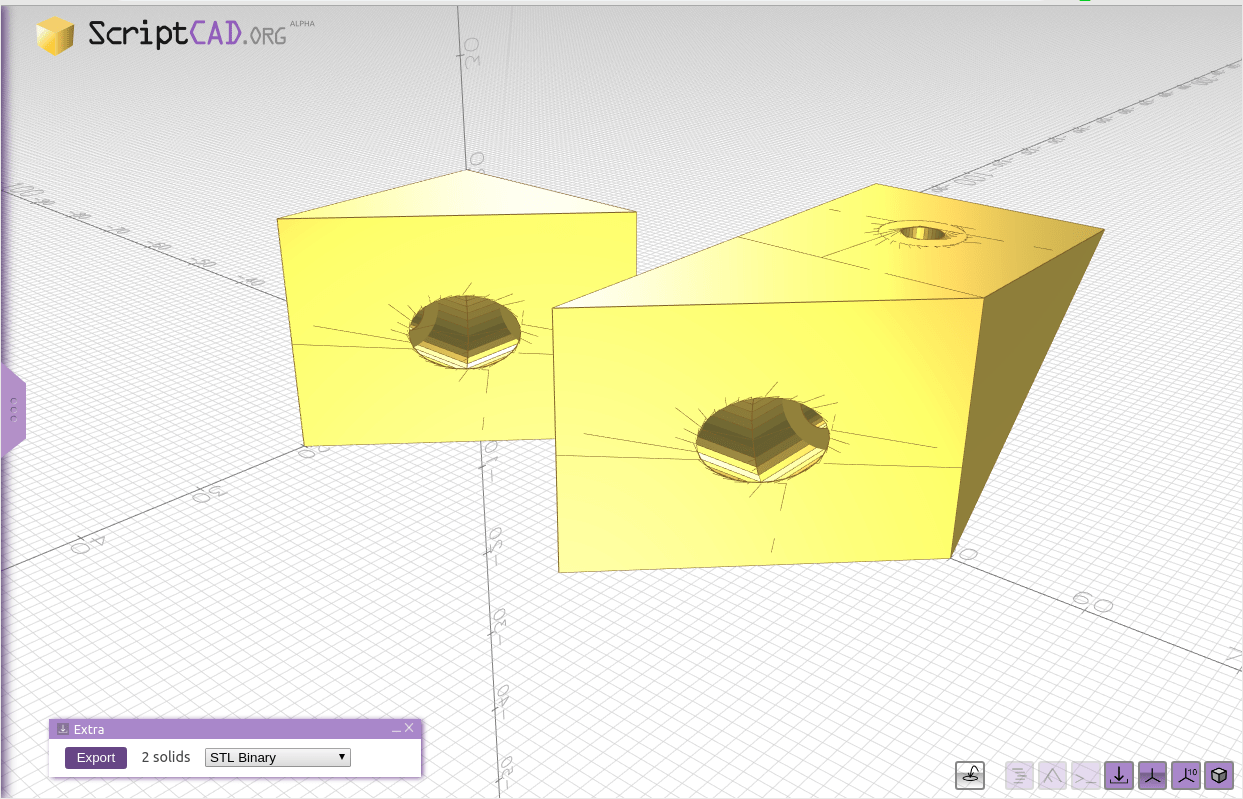
difference( cube({center:[true,false,true]}), cylinder(1,0.5/2).rotate([-90,0,0])
You may consider the difference() as substractive manufacturing, e.g. drilling a hole (with a cylinder()) into an existing object.
Note: difference() operation can be costly in regards of computational overhead.
intersection
obj1.intersection(obj2, ...)intersection(obj1, obj2, ...)

intersection( sphere(0.62), cube({center:true}) )
Note: intersection() operation can be costly in regards of computational overhead.
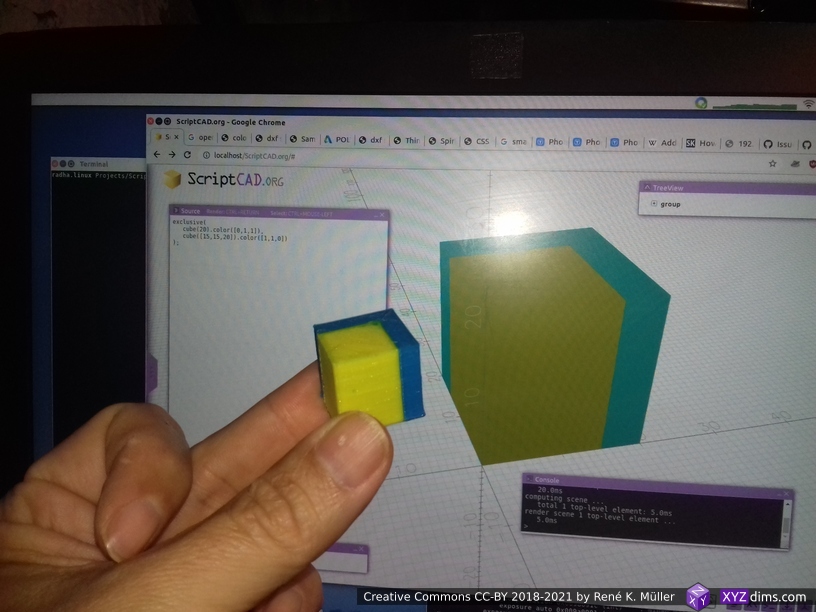
exclusive
exclusive(obj1, obj2, ...)exclusive(obj1, obj2, ..., opts)
options:
order:asc(default) ordesc
You may consider exclusive() a new CSG operation where all the objects displace each other in ascending or descending order, hence, occupy exclusive space to each other – implementing “there can be no object occupy the same space at the same time”.
- ascending order (default): each new object dominates and displaces previous ones.
- descending order: each new object can only occupy the remaining free space left over.
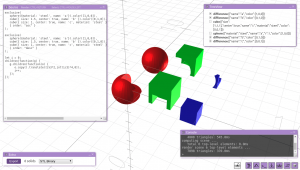
Following illustrations show ascending and descending order, and are post-processed to show the parts aside of each other.
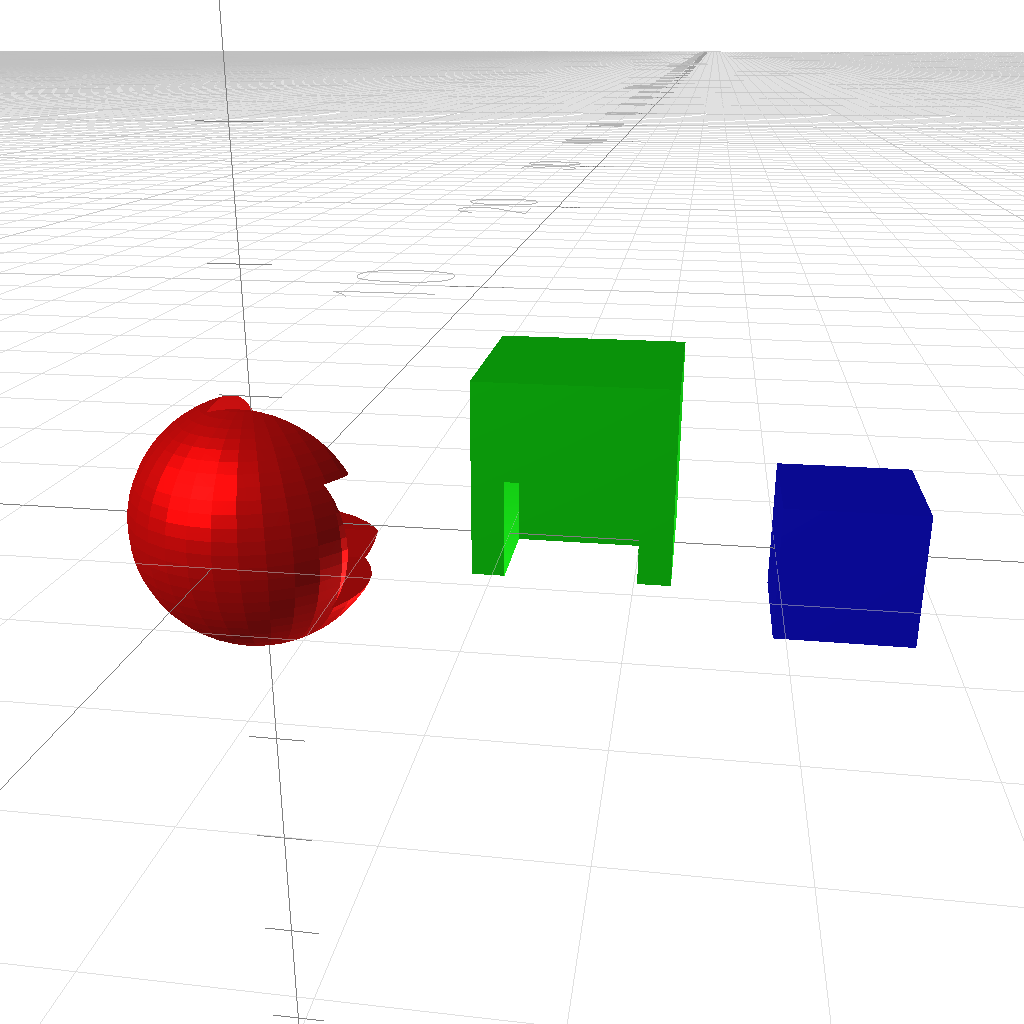
Ascending Order Exclusive
exclusive(sphere().color([1,0,0]),cube({ size: 1.5, center: true }).color([0,1,0]).translate([0.5, 0.5, 0.5]),cube({ size: 1, center: true }).color([0,0,1]).translate([0.5, 0, 0]),{ order: “asc” });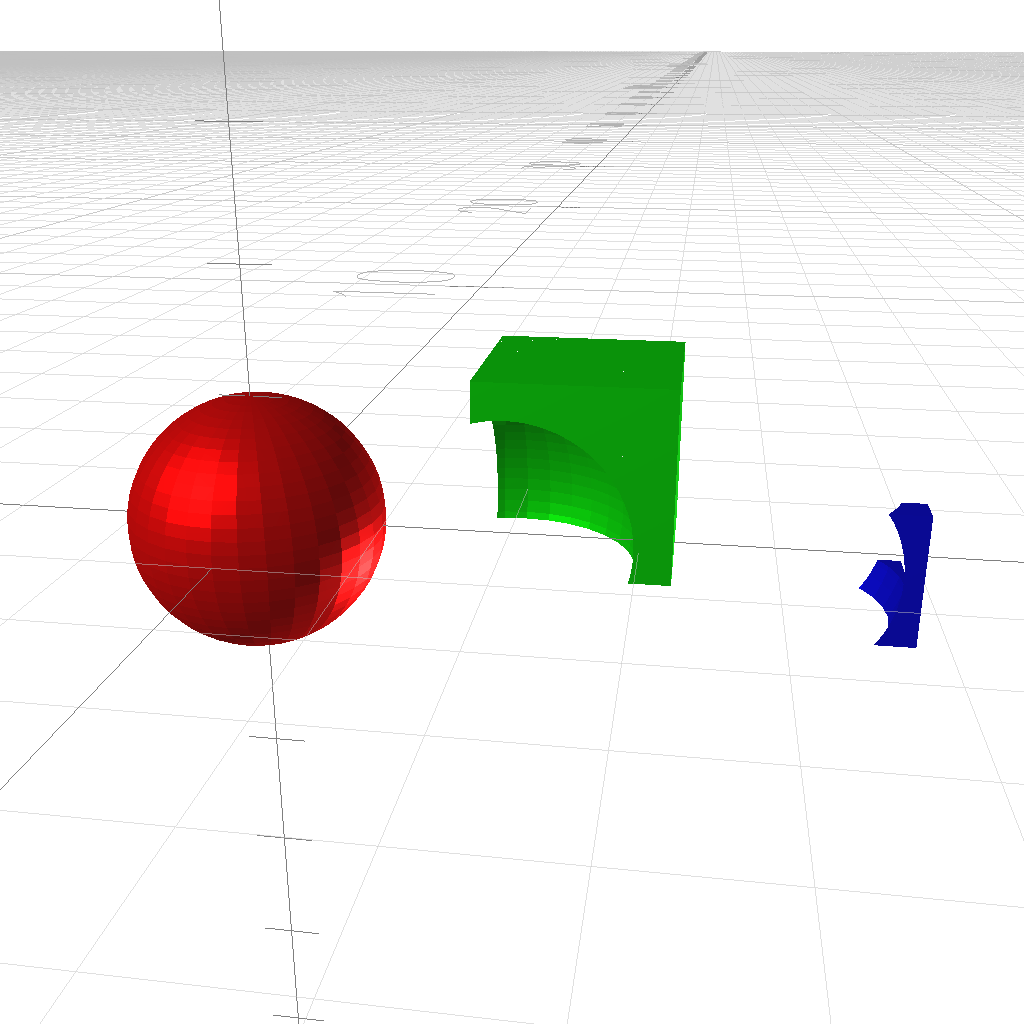
Descending Order Exclusive
exclusive(sphere().color([1,0,0]),cube({ size: 1.5, center: true }).color([0,1,0]).translate([0.5, 0.5, 0.5]),cube({ size: 1, center: true }).color([0,0,1]).translate([0.5, 0, 0]),{ order: “desc” });
Note: unlike other CSG operations, this returns the same amount of objects as output as it accepted as input, but all objects are altered (this behavior might change in the future, e.g. return a group instead).
Misc Operations
group
group(obj1, obj2, ...)group()
You may group parts into a group and translate, scale etc again, a kind of lightweight union() while maintaining their properties.
Note: group() functionality is very experimental and behavior with children() and export of AMF, 3MF and 3MJ formats might change in the future.
color
obj.color([r,g,b])obj.color([r,g,b,a])obj.color(r,g,b)obj.color(r,g,b,a)obj.color(hsl2rgb(h,s,l))obj.color(hsl2rgb(h,s,l,a))color(obj,[r,g,b])color(obj,[r,g,b,a])color(obj,r,g,b)color(obj,r,g,b,a)
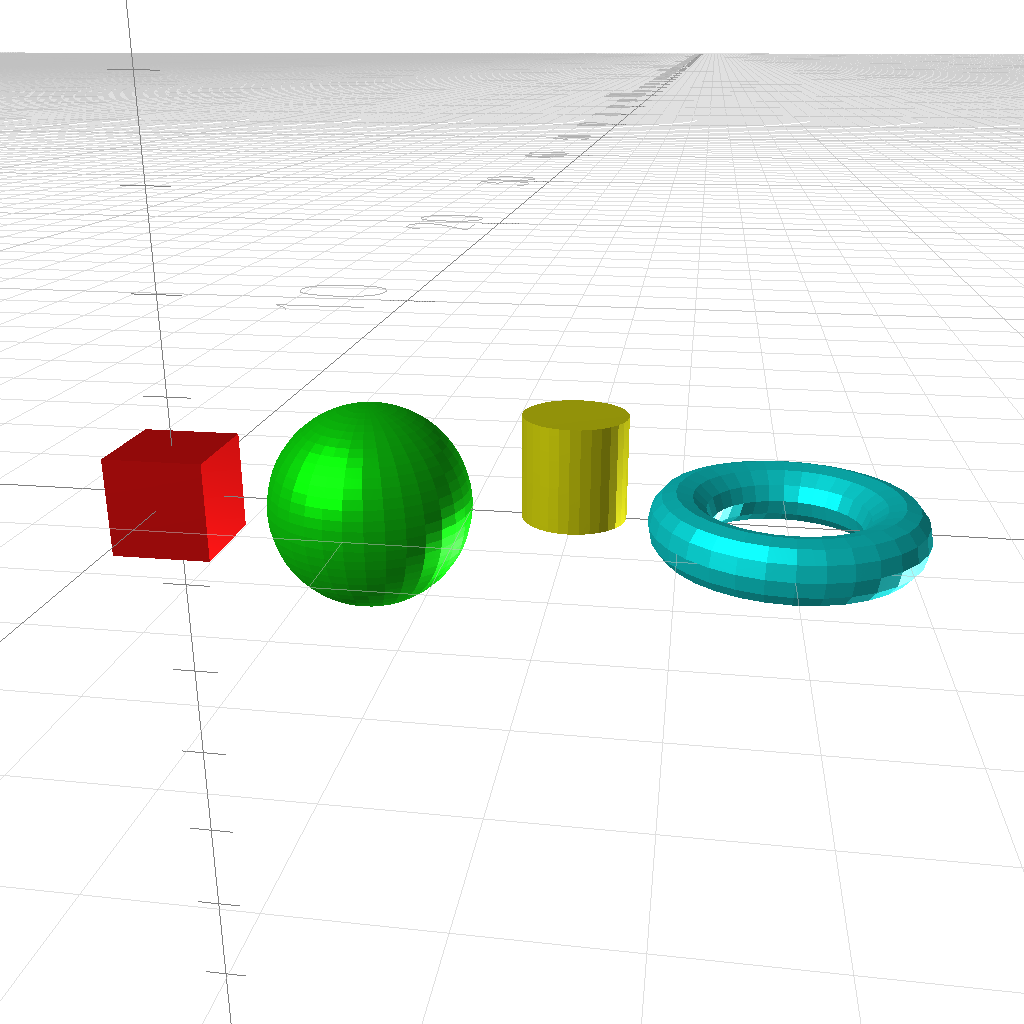
cube({color:[1,0,0],center:true});
sphere().color([0,1,0]).translate([2,0,0]);
cylinder(1,0.5).color([1,1,0]).translate([4,0,0]); circle(0.3).translate([1,0,0]).rotate_extrude().color([0,1,1]).translate([6,0,0]);
where as r, g, and b is float 0..1
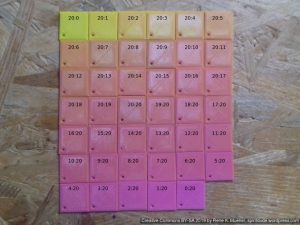
HSL color model is closer to human concept of colors:
h: hue 0..360 degrees (rainbow)s: saturation 0..1l: lightness 0..1 (0=black, 1= white, 0.5 = average)
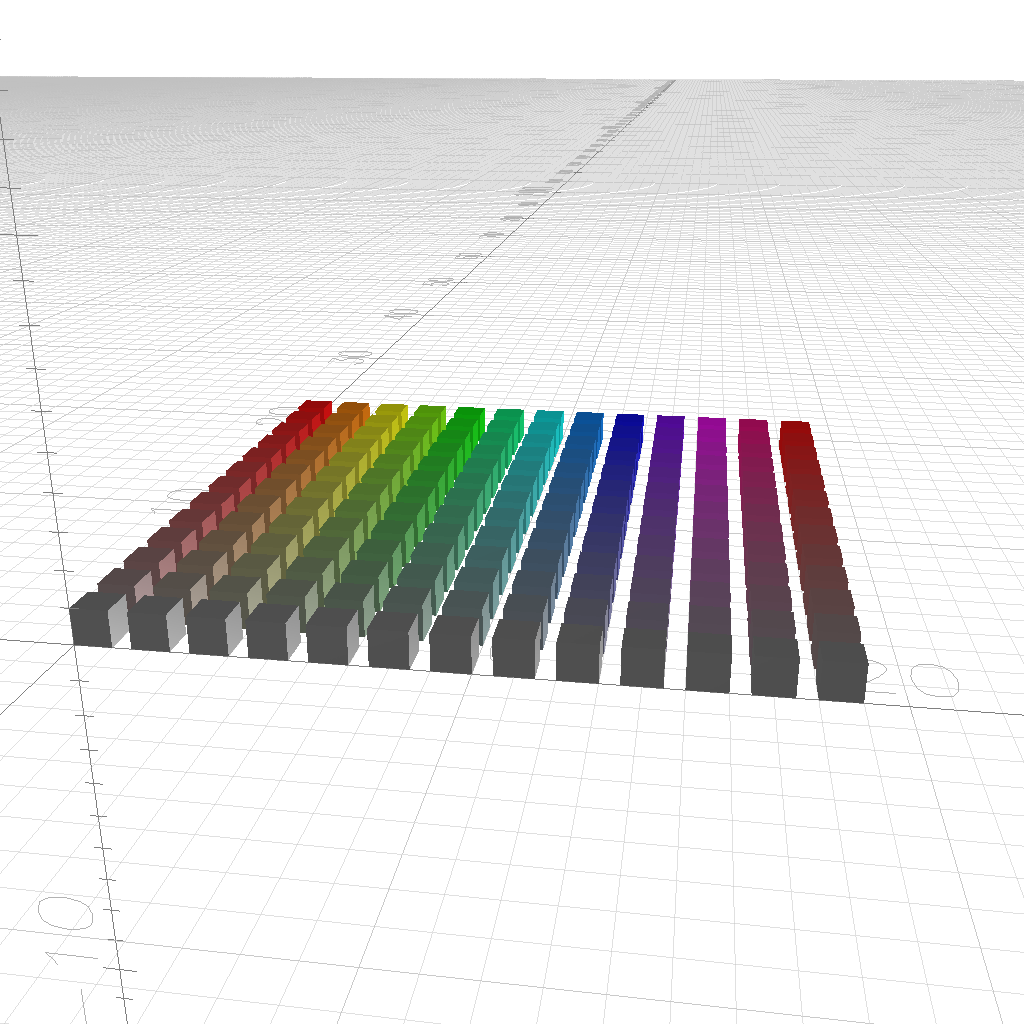
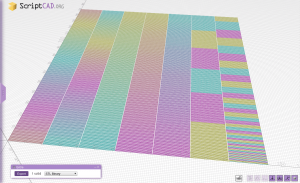
for(h=0; h<=1; h+=1/12) {
   for(s=0; s<=1; s+=1/12) {
      cube().color(hsl2rgb(h*360,s,0.5)).translate([h*12*1.5,s*12*1.5,0]);
   }
}
name
obj.name(s)name(obj,s)
Note: the name of an object is considered when exporting from ScriptCAD, e.g. as STL or 3MJ format, the filename is taken from the name of the object.
% scriptcad -of stl --code "cube().name('my sample')"
scriptcad: writing my_sample.stl [stl]
properties
obj.properties({k1: v1, k2: v2, ... })properties(obj, { .... })
Note:
.name(s)is the same as.properties({name: s}).color([r,g,b])is the same as.properties({color:[r,g,b]})- you are free to add any kind of metadata, some export format will carry those on, e.g. 3MF, AMF and 3MJ format will carry them over
Simple Functions
A few simple functions help to port OpenSCAD source code, e.g. OpenSCAD for() statement resembles the forrange() as provided:
forrange
forrange([start,end],function(i) { })forrange([start,step,end], function(i) { })
foreach
foreach([a1,a2,a3,...],function(i) { })
ifelse
ifelse(b, function() { })ifelse(b, function() { }, function() { })
children
children(function(c) { })
whenever you have a scene, you may process all objects again using children()
Scene
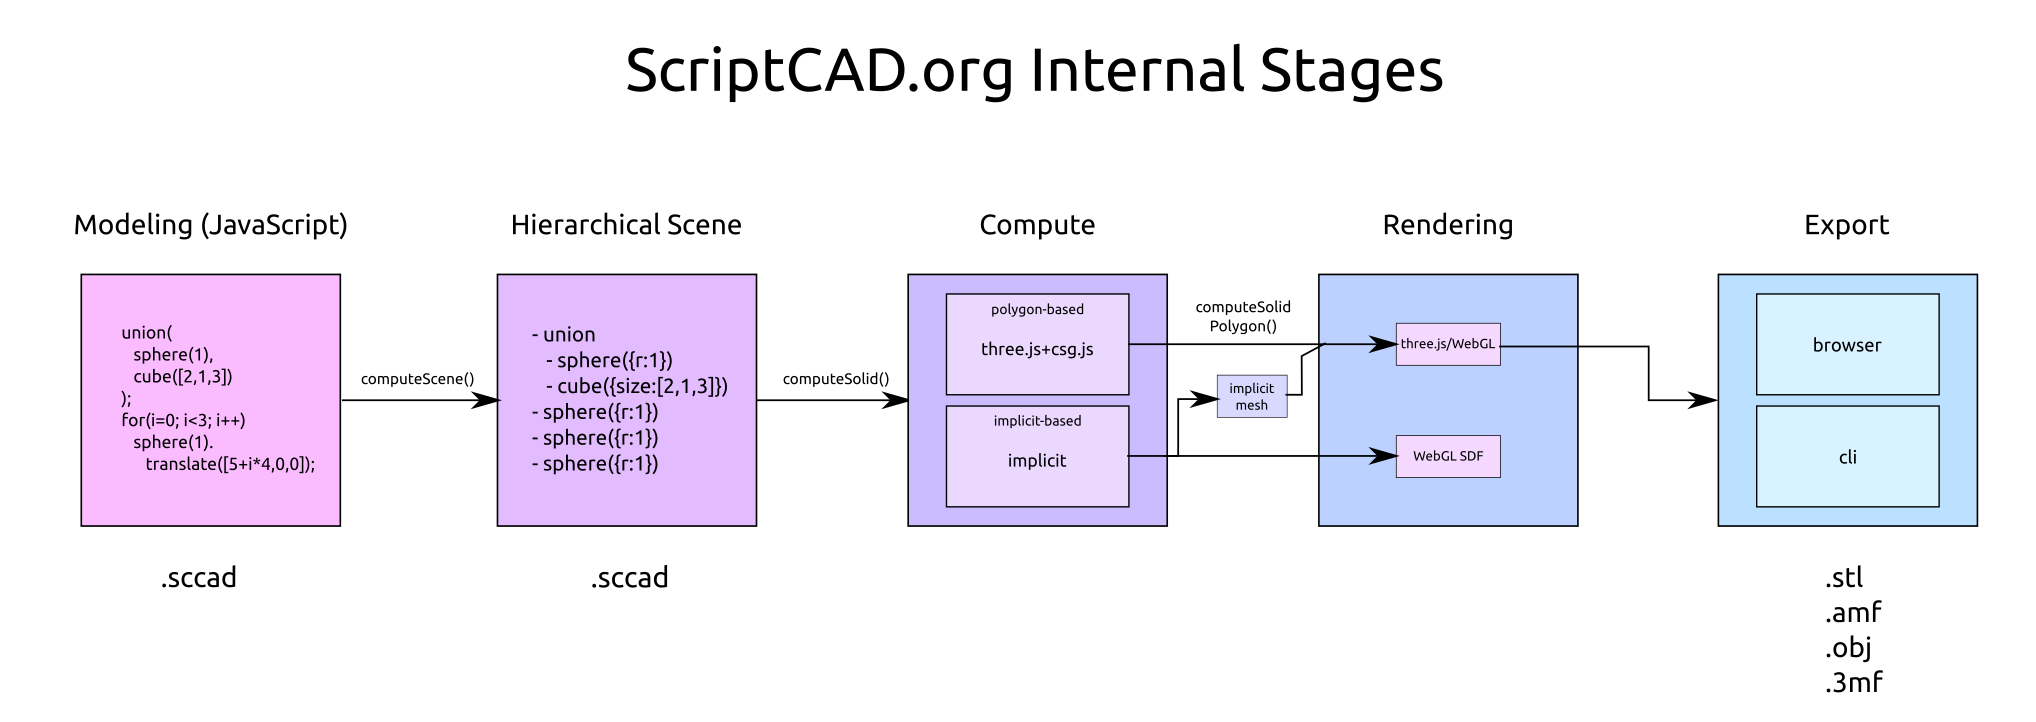
ScriptCAD computes in two stages:
- computes scene
- run the code, and create all 2D and 3D forms
- object tree is formed
- render scene
- all objects are rendered
- with triangles to display on WebGL or export to polyhedral forms (STL, OBJ, AMF, 3MF, 3MJ etc)
- all objects are rendered
computeScene
computeScene() computes the entire scene with all objects, and summarizes all transformations – at this point no vertices or actual geometries exist, only the representations.
renderScene
renderScene() takes the scene and renders it, in case WebGL or exporting a certain format, then it triangulates all objects in order to display or export.
Important: current implementation of computeScene() calls renderScene().
Import
Formats
- STL ASCII / Binary: most common format, lasting support for slicers
- OBJ Wavefront: common format, ASCII-based, compact
- SCCAD ScriptCAD: native intermittent format describing the scene
- AMF: multi-material/color format, XML-based, fading support for slicers
- 3MJ: multi-material/color format, JSON-based, optionally compressed with gzip
- Gcode: visualize 3D printing process with multitool (color) support
Any format which can be imported can also be Drag & Drop into the browser from a file browser.
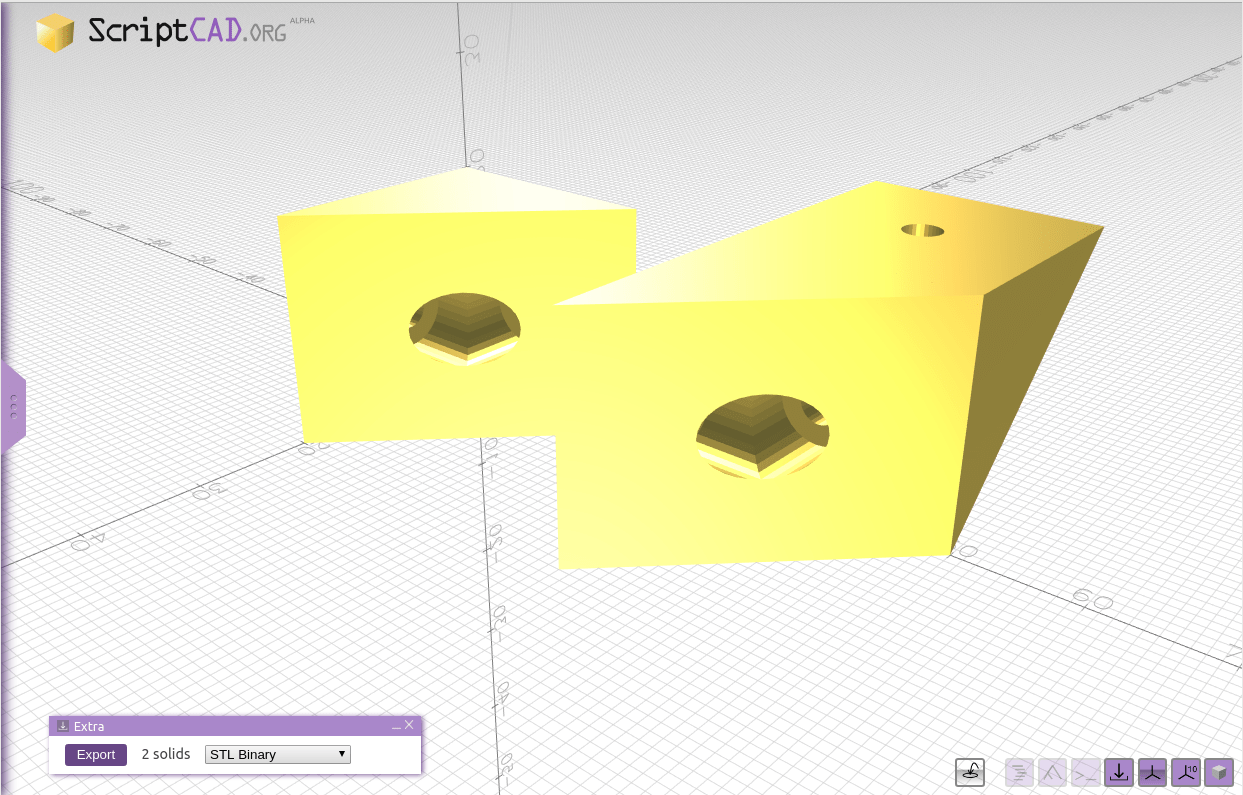
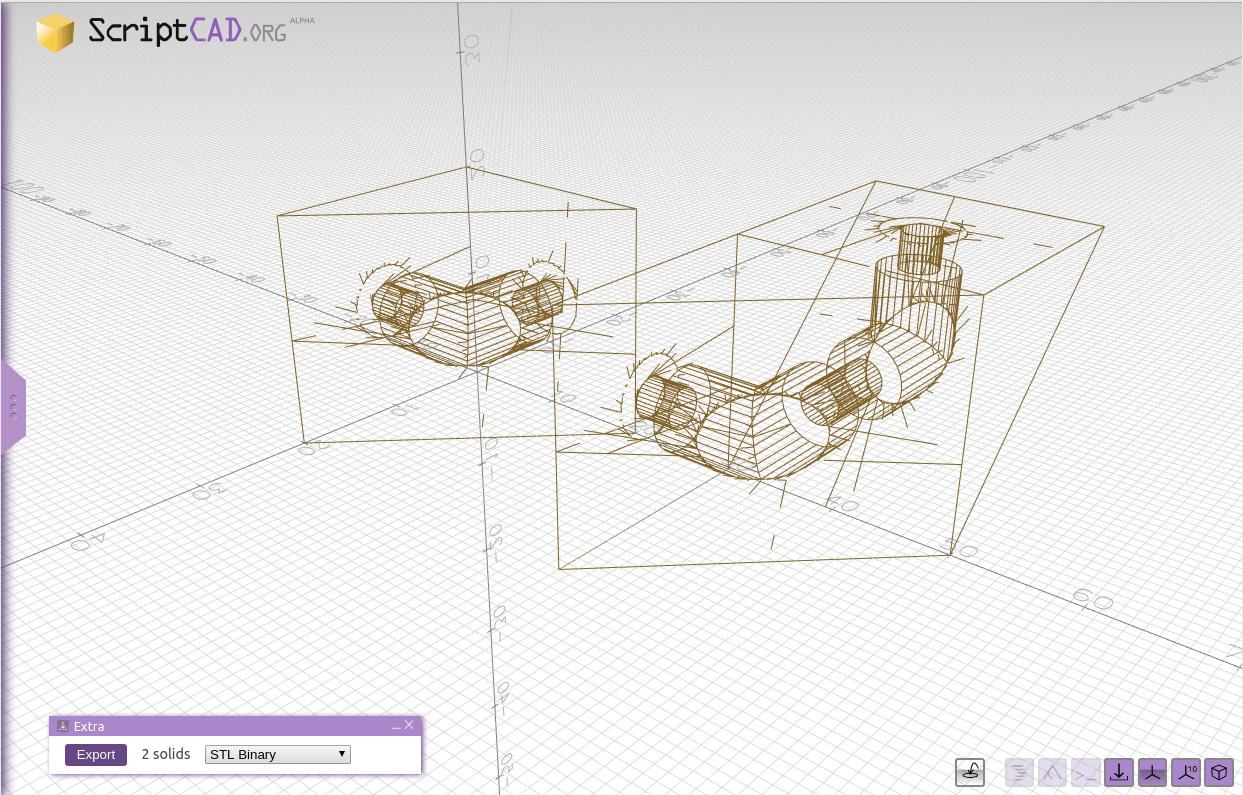
Export
Formats
- STL ASCII / Binary: most common format, lasting support for slicers
- OBJ Wavefront: common format, ASCII-based, compact
- SCCAD ScriptCAD: describing scene as intermittent format
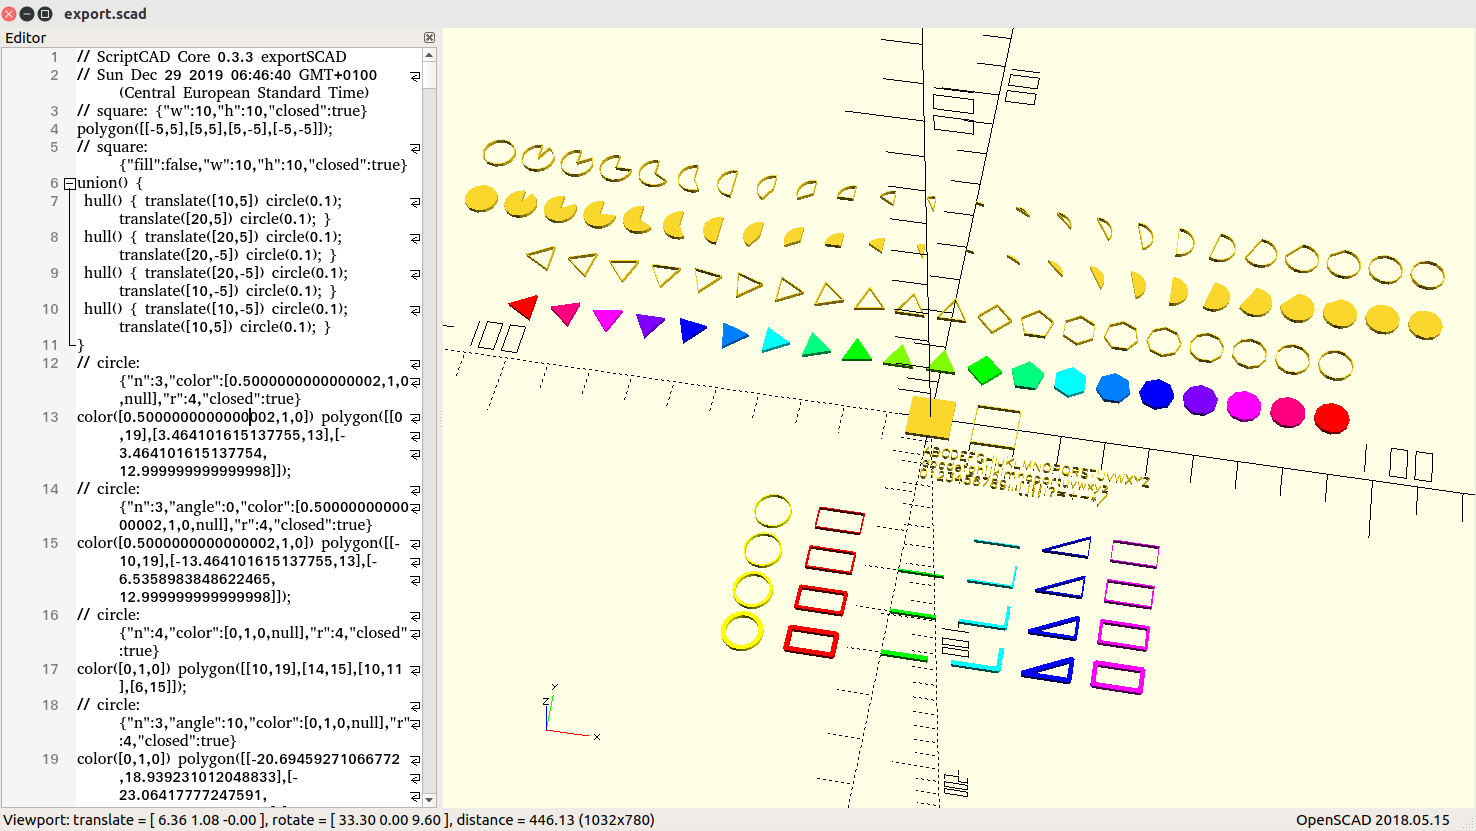
- SCAD OpenSCAD: to exchange with OpenSCAD, all objects are exported as
polyhedron()orpolygon()in triangulated form - AMF: multi-material/color format, XML-based, fading support for slicers
- 3MF: multi-material/color format, XML-based, compressed with zip, multiple files, cumbersome specification
- 3MJ: multi-material/color format, JSON-based, optionally compressed with gzip
Drag & Drop
Any Import Formats can be dragged and dropped from file browser into the inline-editor or 3D platform of your browser, and you edit the source with you preferred editor outside of the browser, and ScriptCAD automatically reloads the source and computes & renders the scene.
Command Line Usage
On the command line you can use scriptcad and it will perform:
computeScene()andrenderScene()- and export to the format you desire
best call scriptcad --help for some basic usage information (those change with new version):
ScriptCAD CLI 0.1.5 USAGE: scriptcad {<options>} [<input-file>]
    options:
       -h or --help            print this
       -v or --verbose         increase verbosity
       --version               print version and exit
       -q or --quiet           be quiet (no output)
       -o <fileout>            set output filename
       --output=<fileout>          "             "
       -of <fmt>               fmt: stl, stla, stlb, obj, amf, 3mf, 3mj, sccad, png, gcode (default: stl)
       --output-format=<fmt>
       --unname                unname all solids (enumerate multiple solids)
       --subname               add name to existing export name
       --merge                 merge all top-level solids to one
       --imgsize={w}x{h}       set image size (default: 512x512)
       --lib=<libs>            set libraries (e.g. --lib=./js/extra.js,/lib/sccad/lib.js)
       --function=<name>       set function called (default: main), may include arguments too
       --select=<name>,…       select various solids by name
       --view=<name>           select particular view
       --code                  consider arguments as code

 examples:
       scriptcad -o test.stl example/sample.sccad
       scriptcad -o test.stl --output-format=stla example/sample.sccad
       scriptcad -o test.png --imgsize=800x600 example/sample.sccad
       scriptcad -o fan_adapter-50-40.stl "--function=fan_adapter({aoff:15})" examples/fan_adapter.sscad
       scriptcad -of stl --code 'cube()'
          writes code.stl
       scriptcad -of stl --code 'cube().name("test")'
          writes test.stl
       scriptcad -of stl --subname --code 'cube().name("test")'
          writes code.test.stl
Examples:
% scriptcad -o cube.stl cube.sccad
% scriptcad -of stl cube.sscad
% scriptcad -of png --code 'cube(20)'
End of ScriptCAD Reference